DIY Painted Chippy Farmhouse Dresser
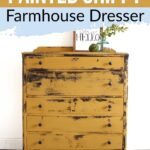
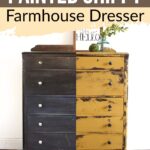
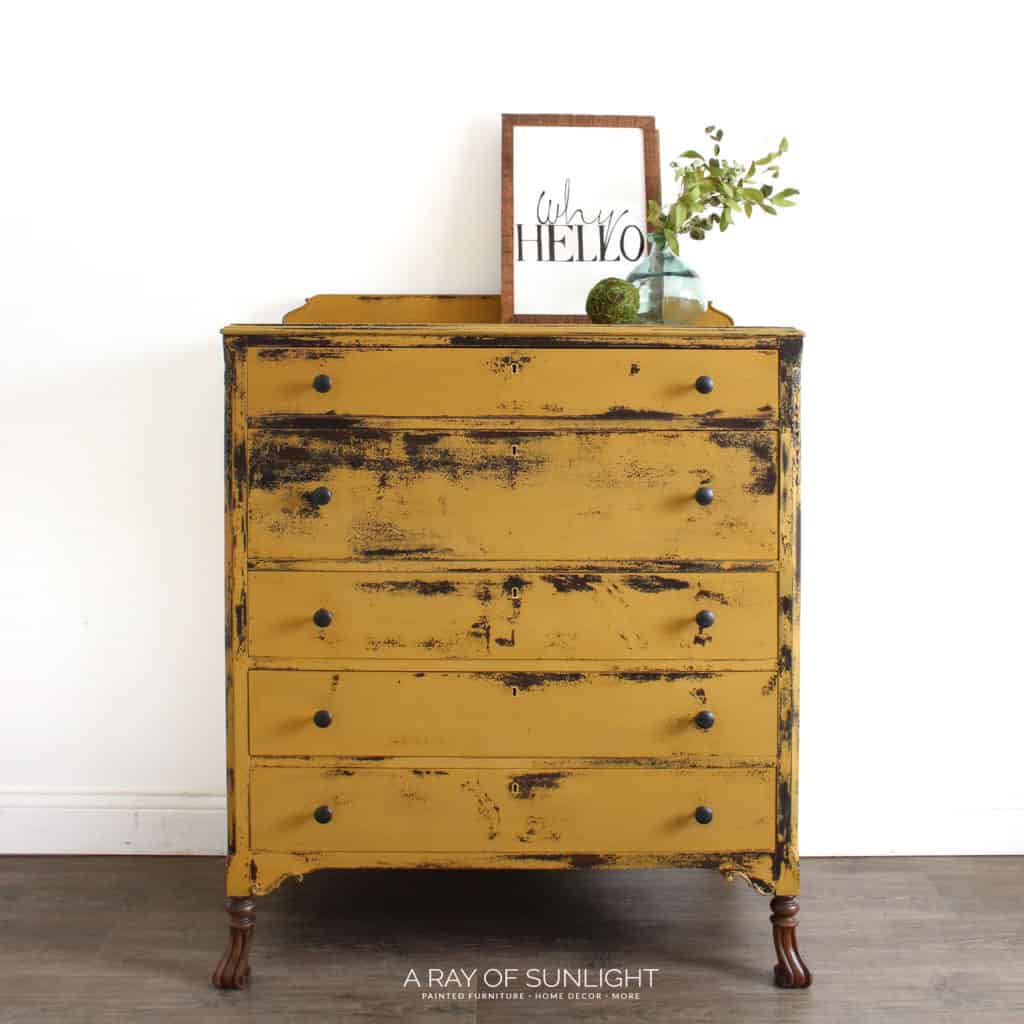
This mustard yellow dresser was such a fun easy project! From the powdered milk paint, to the way it chipped, and those stained legs! Here’s how to create your own DIY painted chippy farmhouse dresser.
Check out our list of DIY dresser makeover ideas to turn your makeover into a cheerful touch to any room. This happy hue is bright and lively, making it the perfect accent piece. Let’s dive into the tutorial!
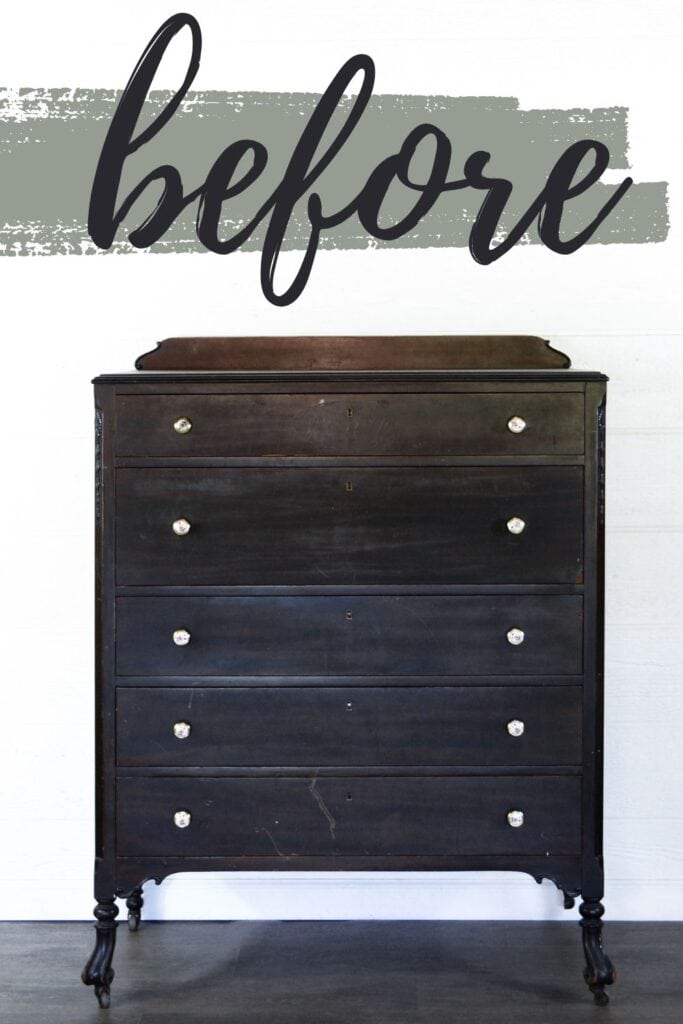
This yellow dresser just makes my heart happy. It’s not only perfect for springtime, but it’s perfect for summer, fall AND winter when you need a pick-me-up through the cold months.

To create the chippy finish on this dresser we used a one-of-a-kind paint that will do its thing and chip where it wants to. If you’re a perfectionist, this might not be the project for you.
This paint literally does what it wants. When you think you know how to control it, it does the opposite of what you’re going for.

Supplies Used For DIY Painted Chippy Farmhouse Dresser
As an Amazon Associate, I earn from qualifying purchases. I also may earn from other qualifying purchases with other companies or get free product to review and use. All opinions are my own.
- Citristrip
- Painters Tape
- Pre-Taped Plastic
- Shackteau Interiors Milk Paint in Dusty Yellow
- Zibra Paint Brush or your Paint Sprayer if experienced
- Dixie Belle BOSS or your favorite CLEAR Stain Blocking Primer
- 220 Grit Sandpaper
- Waterbased Varathane Polyurethane
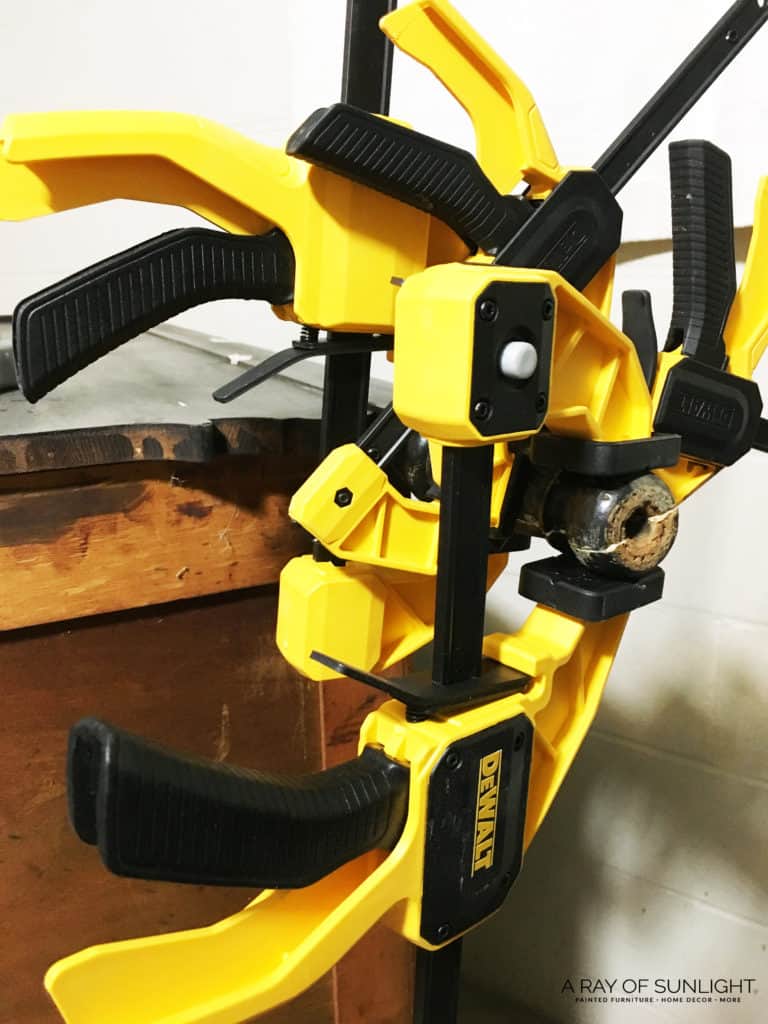
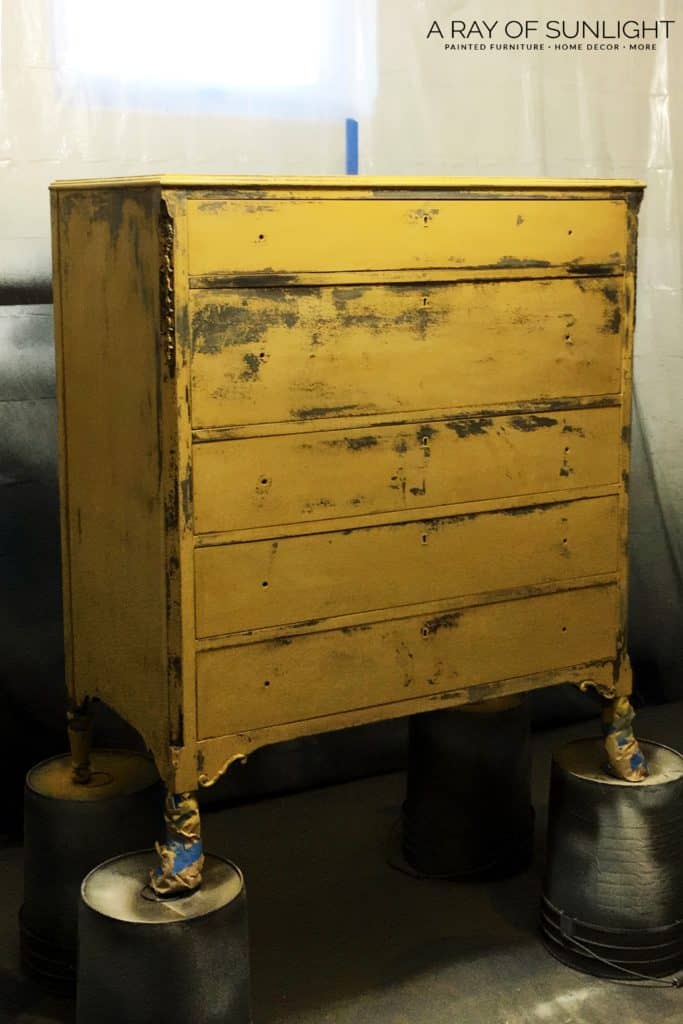
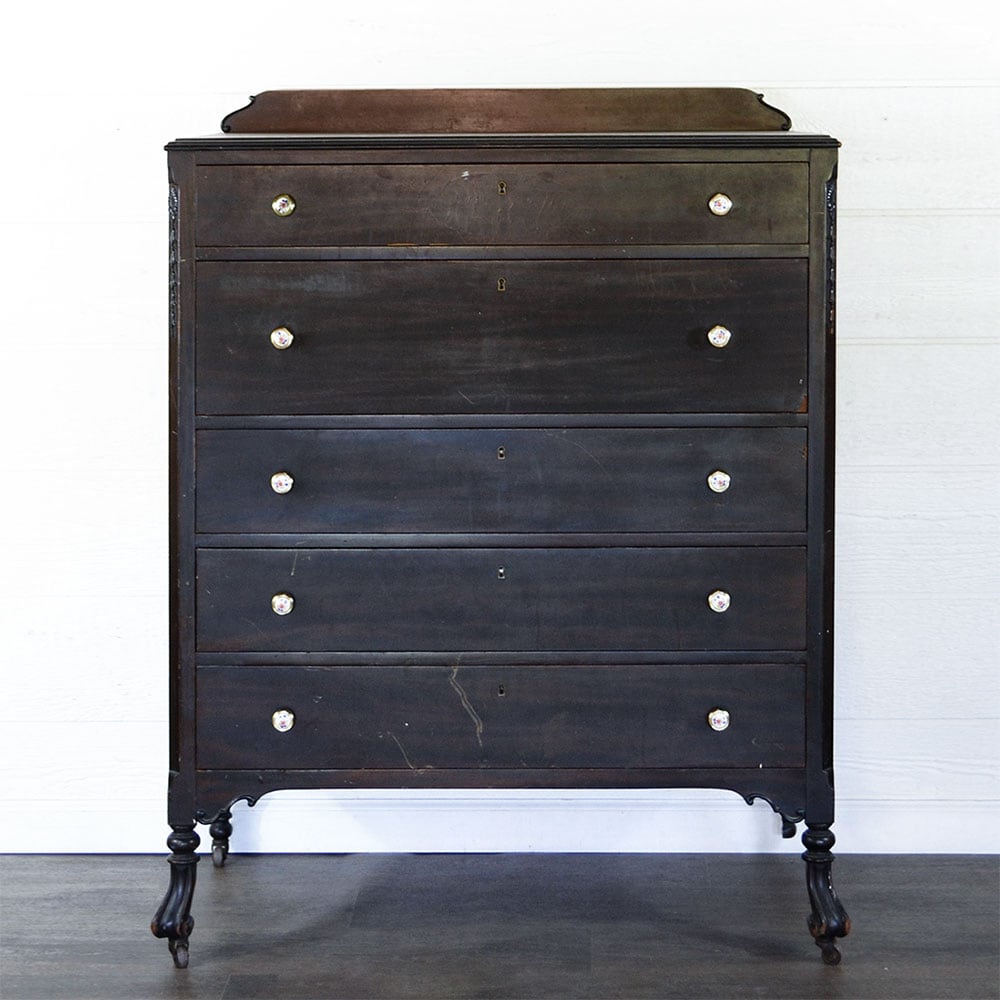
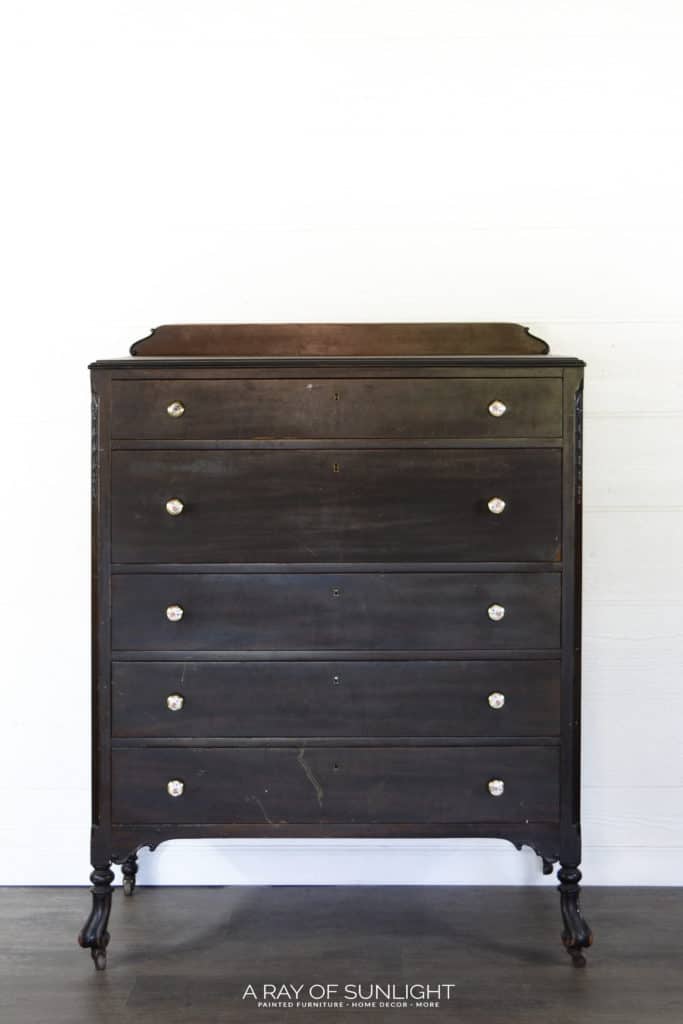
To start out, one of the legs was broken off. Thankfully the broken part was still with the dresser, so I glued and clamped it on tight until the glue was dry.
Learn more about repairing old furniture and repairing damaged furniture here, and here are broken dresser ideas to inspire you to transform your old pieces.
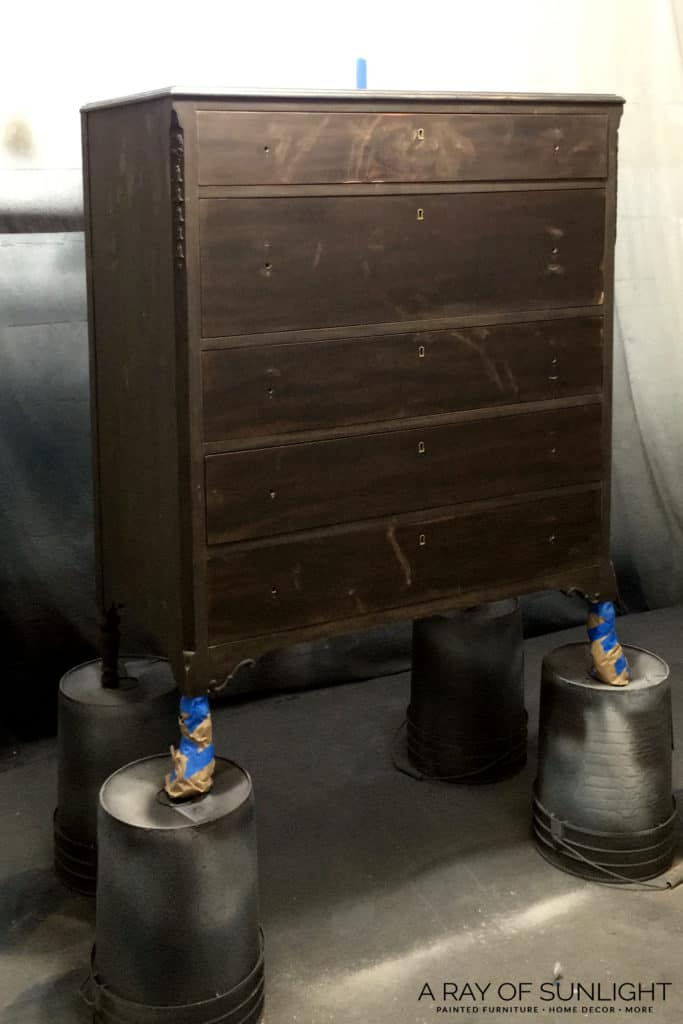
In the beginning, all I really knew about this dresser is that I wanted to keep the little feet in a wood finish. So I stripped down the legs with my favorite paint stripper.
Check out this post on how to refinish wood furniture legs to learn more about how to give your legs a wood finish.
After the legs were completely stripped down, I wrapped them in tape and plastic to keep paint from getting on them.
Prepping Dresser for Milk Paint
Then I prepped the rest of the dresser for paint by cleaning, wood filling, sanding, and priming for bleed through with Dixie Belle BOSS primer. Learn all about how to prepare furniture for painting here and how to stop stains from coming through paint here.
I love Dixie Belle BOSS primer because it comes in clear, and it doesn’t smell as bad as shellac does.
Shellac is definitely my go-to clear bleed-through primer when I have access to paint outside though! Here’s a list of the best primers for painting furniture and their pros and cons.
I also taped off the drawers so I could spray the milk paint. If you’re brushing the milk paint on, then you can skip this step. Here’s more on how to prevent overspray when painting furniture.
Painting Dresser with Milk Paint
I painted on 3 thin coats of Shackteau Interiors Milk Paint with my paint sprayer. If you’re spraying, be sure to filter out any paint clumps before putting it through the sprayer. Learn how to thin paint for a Wagner sprayer in this post.
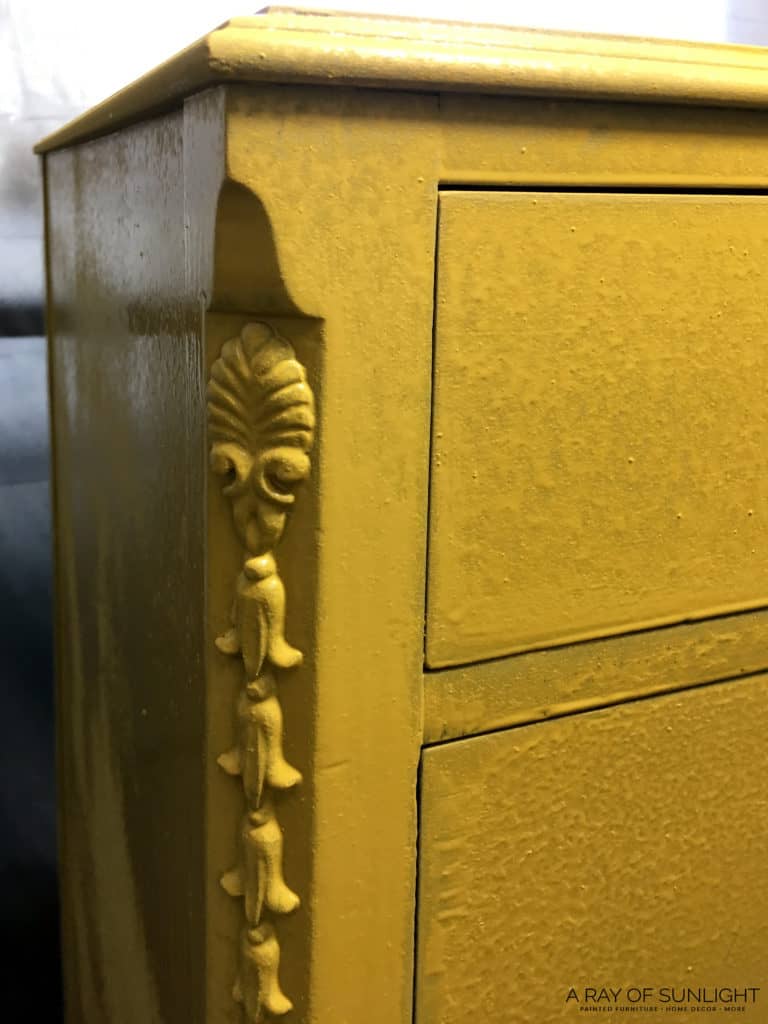
I’m still new at spraying this type of milk paint. It definitely goes on a lot faster, but the clumps in the milk paint, combined with how thin it got after I filtered out most of the clumps, made it a job for someone who has a lot of experience with their sprayer.
I’m still perfecting the best way to spray milk paint. So I ended up going back with a brush to smooth out spots that were too wet and runny.
But if you aren’t experienced with a paint sprayer, no worries!! Milk paint goes on great with a Zibra paint brush. Their fan, round, and triangle brushes are so good for getting into details!
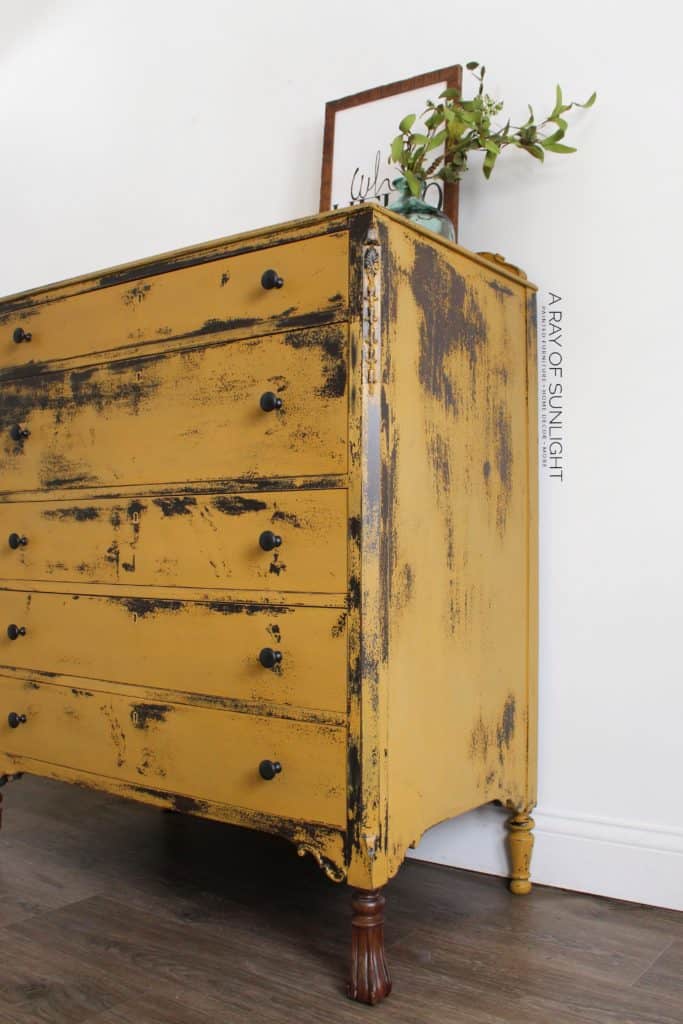
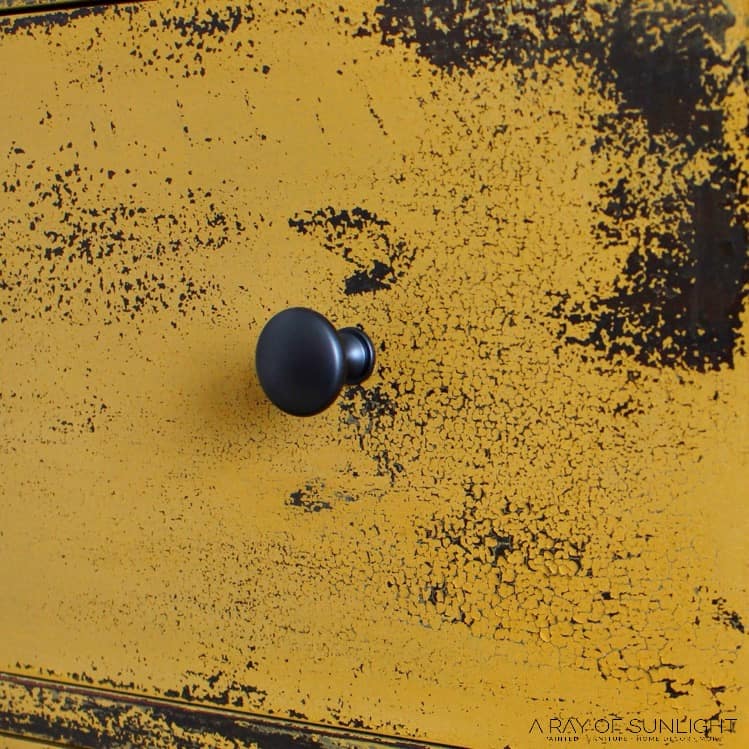
If you’re looking for an extra chippy finish, a great little tip is to use a hair dryer to heat the paint in random areas while it dries.
The heat makes the paint dry faster, which makes it crackle and fall off. In some areas, it doesn’t work (remember, milk paint has a mind of its own), but in a lot of places, it works. If you want to see how this style looks, check out these crackle painted furniture makeovers.
After all the coats were dry I sanded the paint down with 220 grit sandpaper to create more chipping and to smooth the paint. If you like the chippy style and want more farmhouse furniture inspiration, check out these rustic dresser ideas.
Would you like to save this?
Last but not least, I sealed the milk paint with a few coats of my favorite topcoat, Varathane polyurethane. Learn ALL of my tips and tricks on how to spray polyurethane here!
Learn more about how to use milk paint on this chippy gray milk paint dresser. Complete with a video of working with the milk paint.
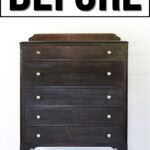
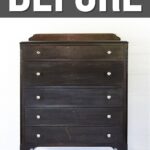
More Before and After Makeovers
See All >
Click any of these “before” photos below to view the “after” of that makeover.


If you want to add more yellow pieces to your home, here are yellow dresser ideas and yellow chalk painted furniture! And if you have another tall dresser you want to transform, check out these tall dresser ideas.
Can you mix different colors of milk paint together?
Supposing you want a different shade of yellow or want to create a unique color, you sure can mix different colors of milk paint together! But before you get started, there are a few things to keep in mind.
First, make sure you mix the powdered paint colors together before adding water. Test out a small amount first to make sure you get the right shade.
It’s a good idea to mix only small amounts at a time so you can adjust the color as needed and don’t waste too much paint. Keep track of the ratio you use for each color so you can recreate the same shade if needed.
Check out our guides on mixing milk paint and mixing milk paint colors for more detailed steps and tips.


What are some common mistakes to avoid when using milk paint on furniture?
If you’re new to using milk paint on furniture, you may run into a few hiccups along the way. One common mistake is not mixing the powdered paint well enough with water. This can result in clumps and uneven color on your furniture piece.
Another mistake to avoid is not testing out the color before painting your entire piece. Different milk paint brands and shades can behave differently, so it’s a good idea to test it on a small area first.
Using too much or too little water can also affect the outcome of your milk painted furniture. It’s important to follow the recommended ratio for mixing milk paint, and if you need to thin it out a bit, gradually add small amounts of water until you reach the consistency you want.


DIY Painted Chippy Farmhouse Dresser
Give your old furniture a pop of color with a rustic farmhouse feel. Here's how to create your own DIY painted chippy farmhouse dresser.
Materials
Instructions
- See if the dresser has any broken off parts. Glue and clamped it on tight until the glue dries.
- To keep the feet in a wood finish, strip off the legs with a chemical stripper. Then wrap them in tape and plastic to keep paint from getting on them.
- Now, prepare the dresser for paint by cleaning, wood filling, sanding, and priming for bleed through with primer.
- Paint the dresser with 3 coats of milk paint.
- For an extra chippy finish, you can use a hair dryer to heat the paint in random areas while it dries. When all the coats dry, you can then sand the paint with sandpaper to create more chipping and smooth the paint as well.
- Seal the milk paint with a few coats of waterbased polyurethane.
Recommended Products
As an Amazon Associate and member of other affiliate programs, I earn from qualifying purchases.


More Painted Furniture Ideas
- Painted Display Cabinet
- Shabby Chic Painted Furniture
- French Painted Furniture
- DIY Farmhouse Dresser in Black
- DIY Black French Provincial Dresser
Follow us on YouTube to get more tips for painting furniture. Or share your project with us on our Facebook Group and be part of our community. See you there!
Hi Natalie! I’m so glad you posted this. I definitely pinned it for later. I do appreciate every post. You are a huge inspiration to me so thank you! I have never tried spraying any kind of paint for the exact reason in your post. I feel if i have to go over with a brush then i might as well brush it all. More control i think. I would love to try it though. Have to try everything at least once. I saw a Wagner craft sprayer on someone else’s blog earlier and i think that is the one i will purchase. Well enough of my small talk. thank you! thank you! thank you!
Hey Cheryl! Thank you so much for the love! One huge benefit of spraying is that the sprayed paint can easily get into details, and it applies the paint fast. Way faster than you can load up the brush, paint it on and then load the paint brush again. Even if you have to go back and brush some drips up, spraying is sooooo so much faster. Best of luck on your painting adventures!