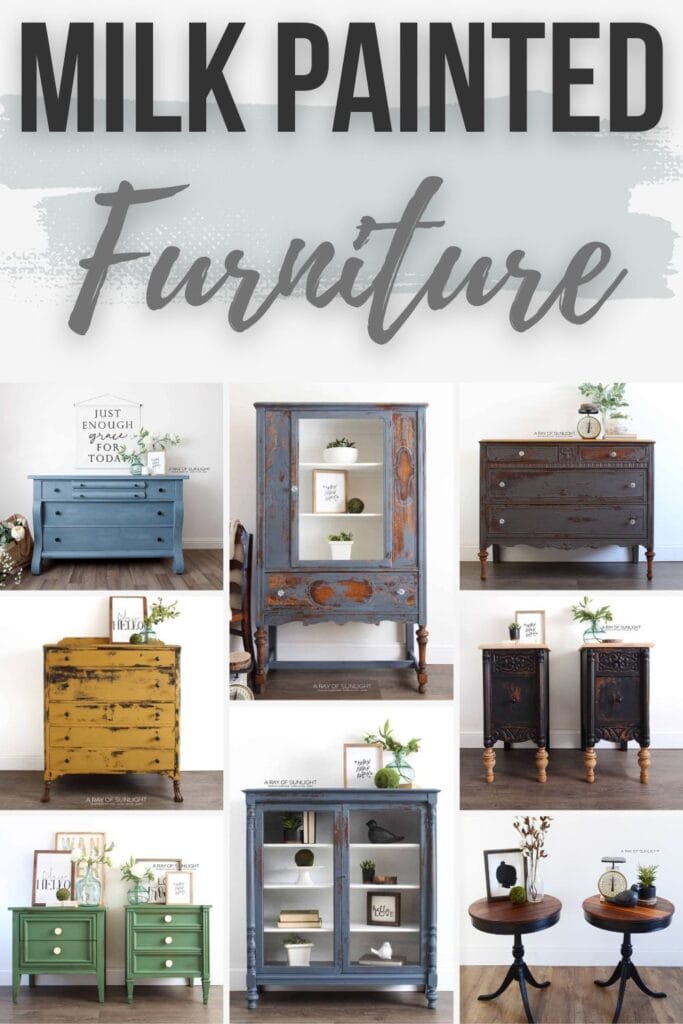
Milk Painted Furniture
One of the popular ways to incorporate a vintage or shabby chic vibe into any room in your home is by adding milk painted furniture. Whether you’re an experienced DIY-er or a beginner, painted furniture with milk paint can be a fun and rewarding project.
To help inspire your next painting project, we’ve compiled a list of creative ideas to get your creativity flowing.
Milk paint is a versatile medium that can be used to create a variety of finishes. Whether you want a rustic, distressed look or a more modern chic vibe, you can achieve a range of different styles with this paint.

With milk painted furniture, the possibilities are endless, making this DIY trend so exciting!
Before we dive into the ideas, here are some helpful tips to make sure you are on the right post.
What is the difference between milk and chalk paint?
Both paints are fantastic for giving your furniture a fresh new look, but they do have some differences that could impact your project.
Let’s dive into the main differences between milk and chalk paint to help you decide which one is perfect for your next DIY furniture makeover.
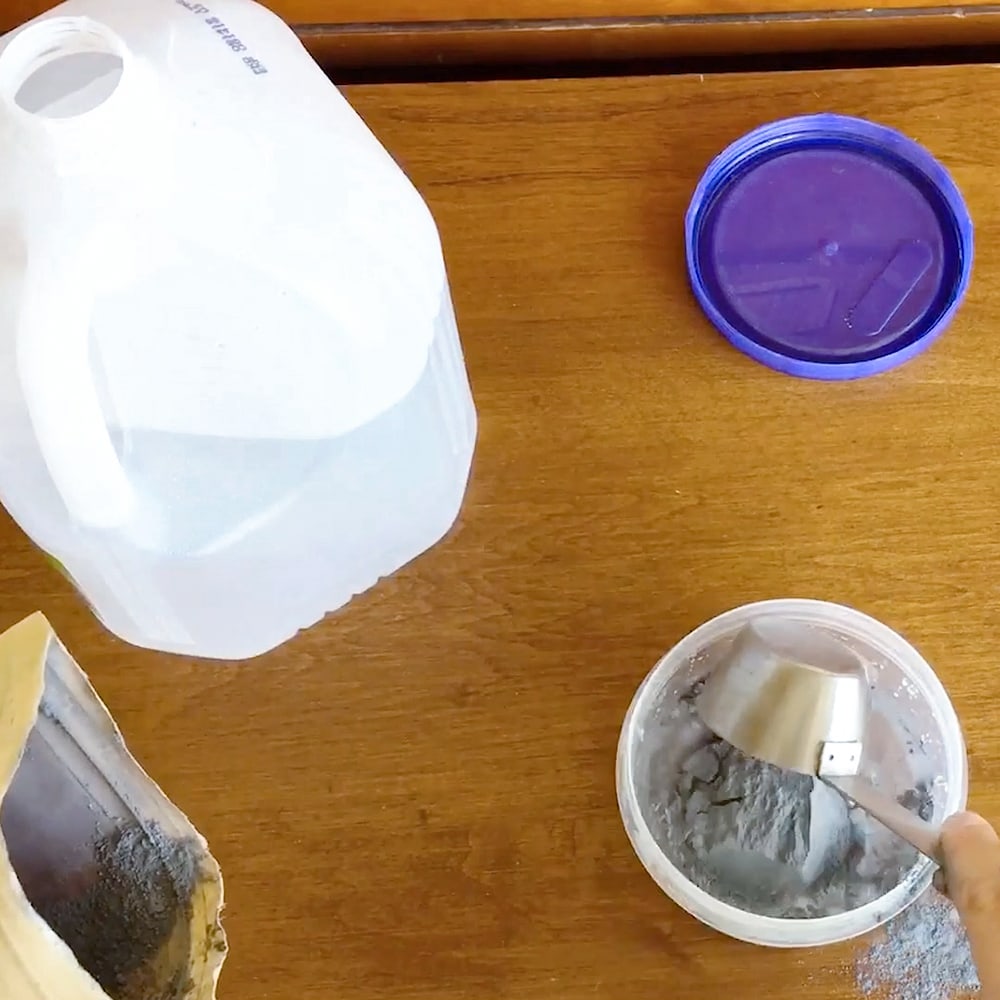
Composition: Milk paint is an all natural paint made from a blend of milk protein (casein), limestone, clay, and natural pigments. You mix it with water to turn the powder into paint.
Check out painting furniture with milk paint to learn more about what to expect. And here’s our list of the best milk paint for furniture to learn more about the top powdered milk paint options!
On the other hand, chalk paint is a waterbased paint that contains calcium carbonate, which gives it a chalky, matte finish. Chalk paint typically has a thicker consistency compared to milk paint. Learn more about what is chalk paint to help you decide if milk paint is the right choice.
Finish: Milk paint provides a more authentic, old look in a matte sheen. It’s perfect if you’re going for that time-worn, farmhouse style. Chalk paint dries to a matte finish with no variations in the color and that looks great on shabby chic or modern pieces.
Application: Milk paint comes in a powder form that needs to be mixed with water before use. You can play around with the consistency by adding more or less water to achieve your desired effect. Learn more about how to use milk paint on furniture.
Depending on how you prepare your furniture, it will either stick amazingly well, or it will chip off here and there. Chalk paint is pre-mixed and ready to use right out of the can.
It’s known for its excellent adhesion properties, requiring minimal to no surface preparation before painting. But that’s really not the case. Learn more about how to chalk paint furniture to see what to expect when using chalk paint.
Distressing: Both milk and chalk paint are perfect for creating distressed finishes. However, milk paint tends to chip and flake naturally, giving it an authentically aged appearance.
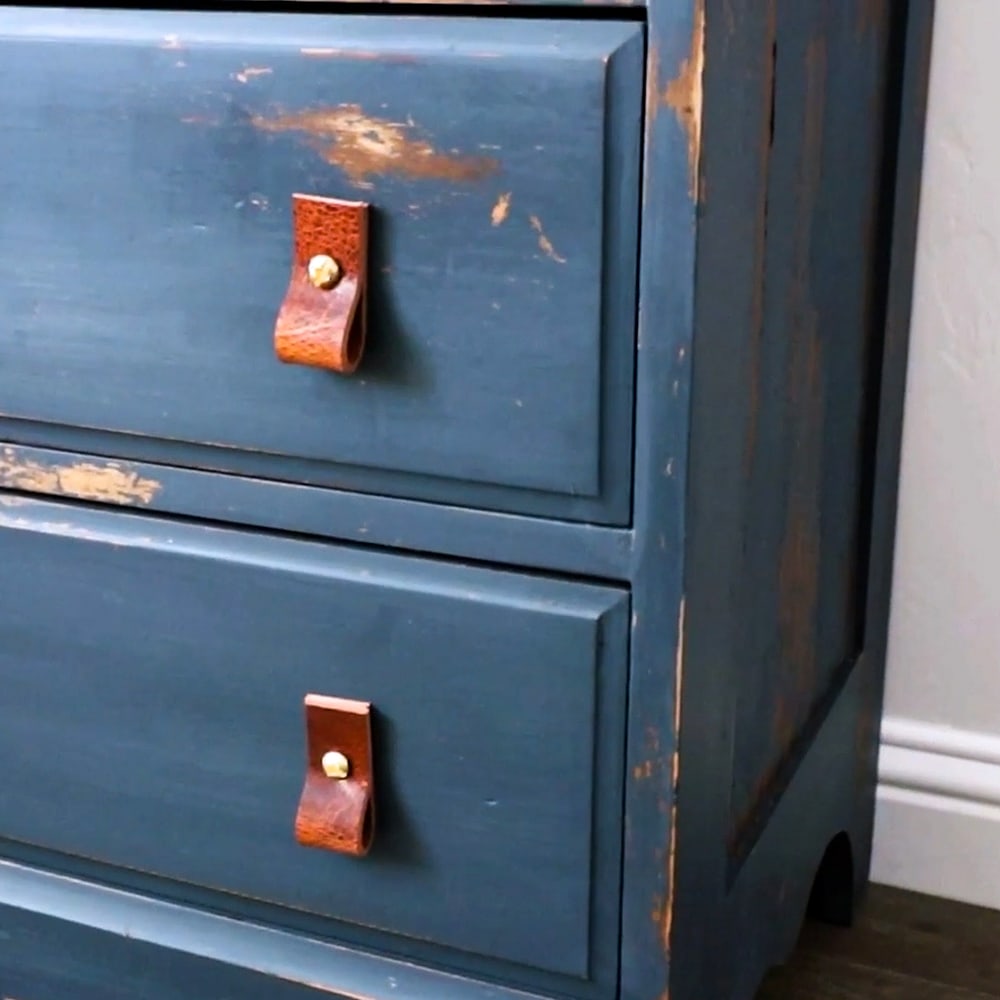
This can be a bit unpredictable, but it’s part of the charm. Learn how to get a chippy paint finish with milk paint here.
Chalk paint distresses easily with sandpaper, allowing you to have more control over the final look.
Would you like to save this?
Sealing: Milk paint requires a topcoat like wax, polyurethane, or oil to seal and protect the finish, though if you use waterbased polyurethane, the paint will most likely chip even more. Check out these ways to seal milk paint for more information.
Chalk paint also requires a topcoat to seal the finish. Check out our post on wax vs polyurethane for information to help you decide what is the best for your project.


Do you have to sand furniture before using milk paint?
The good news is that milk paint adheres well to most surfaces, even without sanding. However, there are still some cases where sanding can be beneficial before applying milk paint. Check out the best paint for furniture without sanding here.
If your furniture has a glossy or very smooth surface, lightly sanding it can help the milk paint adhere better and reduce the chances of chipping.
A quick scuff with a medium or fine grit sandpaper (150-220 grit sandpaper) should do the trick. You don’t need to remove all the existing finish; just remove the shine from the furniture for the milk paint to grip onto. Learn about the best sandpaper for furniture painting to find out what sandpaper is right for your project.
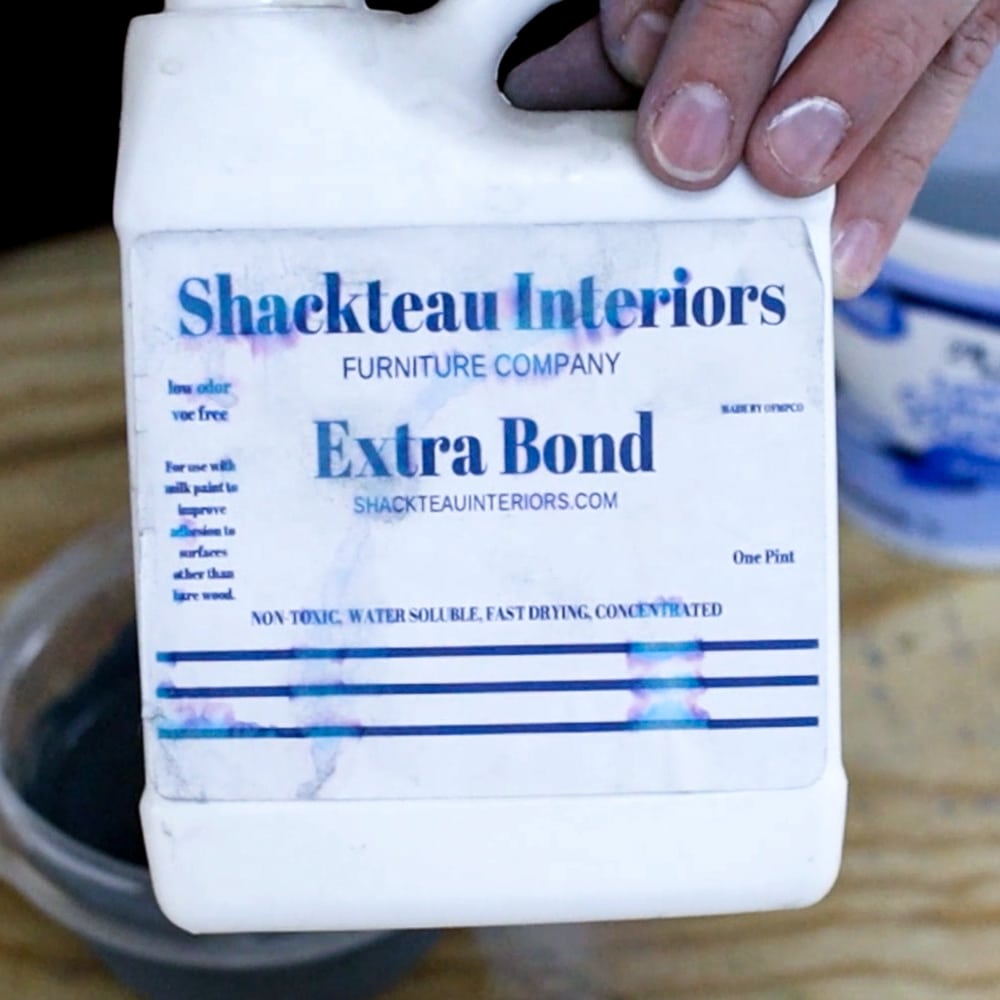
For laminate furniture, mix some of the bonding agent into the milk paint to help it stick, in addition to sanding. Here’s our blog post about the best paint for laminate furniture.
On the other hand, if your furniture has an unfinished or porous surface, you can skip the sanding step altogether, as milk paint will stick nicely to these surfaces.
Keep in mind that if you’re going for a distressed look, milk paint will naturally chip and flake over time, especially on edges and high-wear areas.
This is part of the charm of milk paint, but if you want more control over the distressing process, you might consider light sanding before painting.
So, while sanding isn’t always necessary before using milk paint, it can be helpful in certain situations to make sure the paint sticks and create your desired look.
More Painted Furniture Ideas
If you’re on the fence about using milk paint on your furniture project, don’t worry, we have lots more ideas! Here are some more lists of painted furniture ideas that will inspire you!
- Antique Painted Furniture
- High Gloss Painted Furniture
- Annie Sloan Chalk Painted Furniture
- Metallic Painted Furniture Ideas
- Painted Wicker Furniture Makeovers
Now, let’s dive into all of the milk painted furniture ideas!!
Milk Painted Furniture

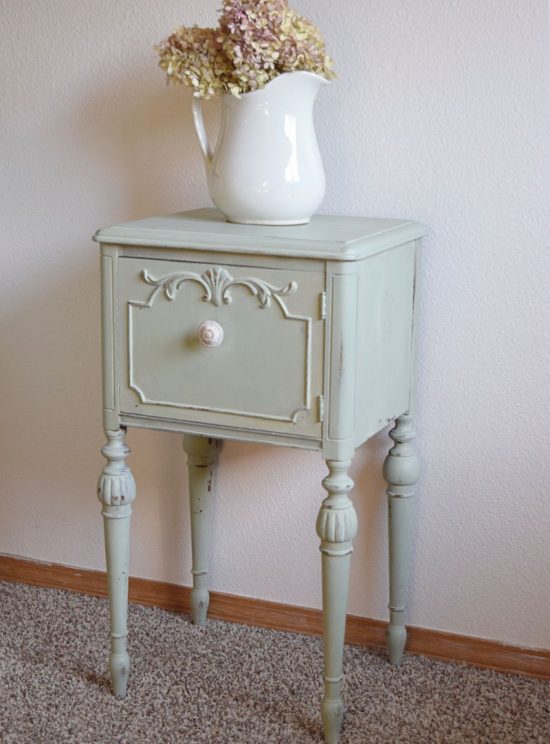
Painting Rustic Furniture
Learn how to transform this thrifted rustic accent table into a new and stylish piece with milk paint and new hardware.

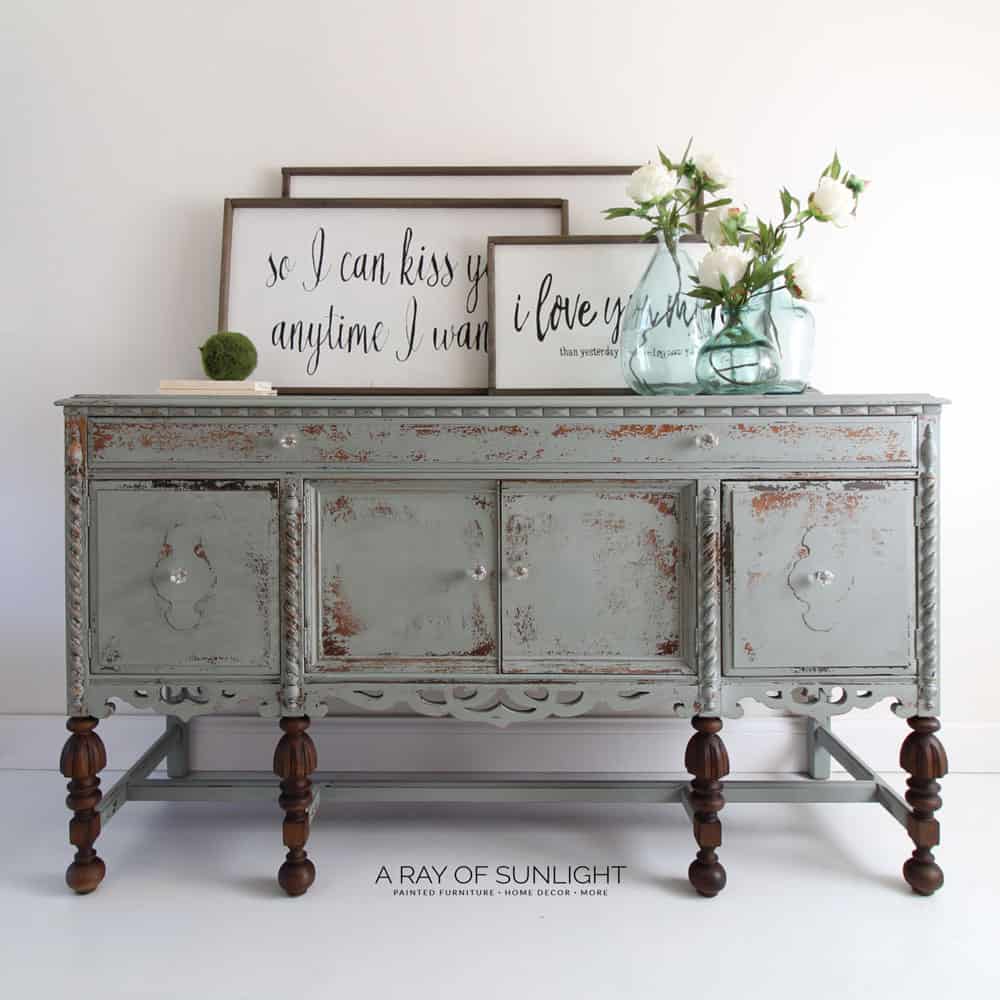
Painting an Antique Buffet
Give your antique buffet a fresh new look with this step by step guide on painting an antique buffet using milk paint turning it into a stunning centerpiece for any room.
How to Use Milk Paint on Furniture
Give your furniture a farmhouse makeover through this tutorial! Learn how to use milk paint to give old pieces a unique finish or add rustic charm to new furniture.
Modern Farmhouse Crackle Makeover
Produce a stunning, crackle finish for your furniture with milk paint. Get all the tips and tricks you need in this post to get started on your DIY project.
Chippy Paint Finish with Milk Paint
Want to achieve the perfect chippy paint finish on furniture? Get all the milk painted furniture tips and tricks you need here.
Empire Dresser Makeover
Give old furniture pieces new life with a fun layered milk paint look. Transform your old furniture into something unique with this makeover!
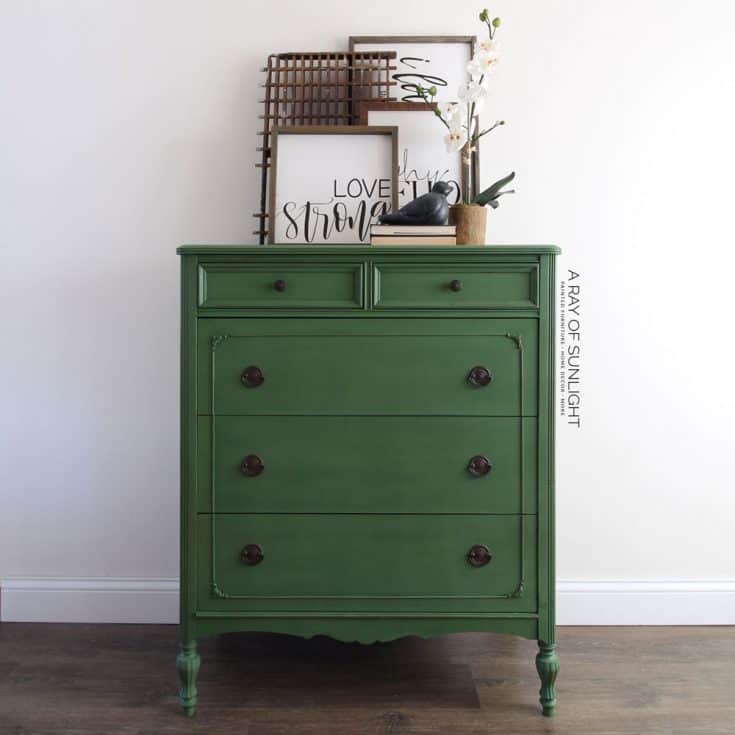
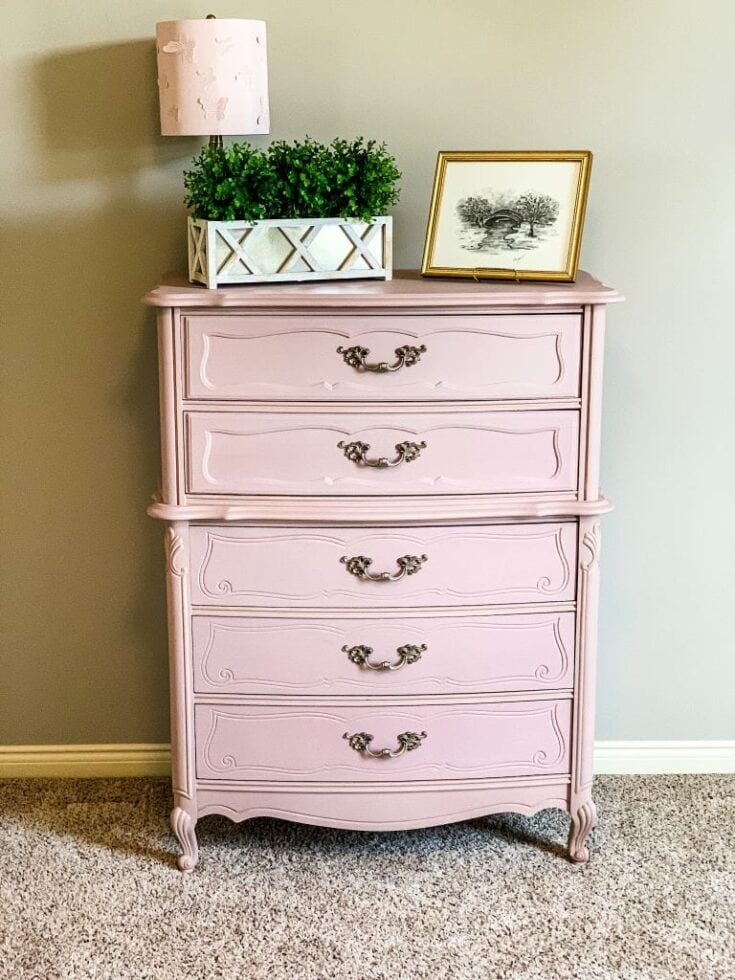
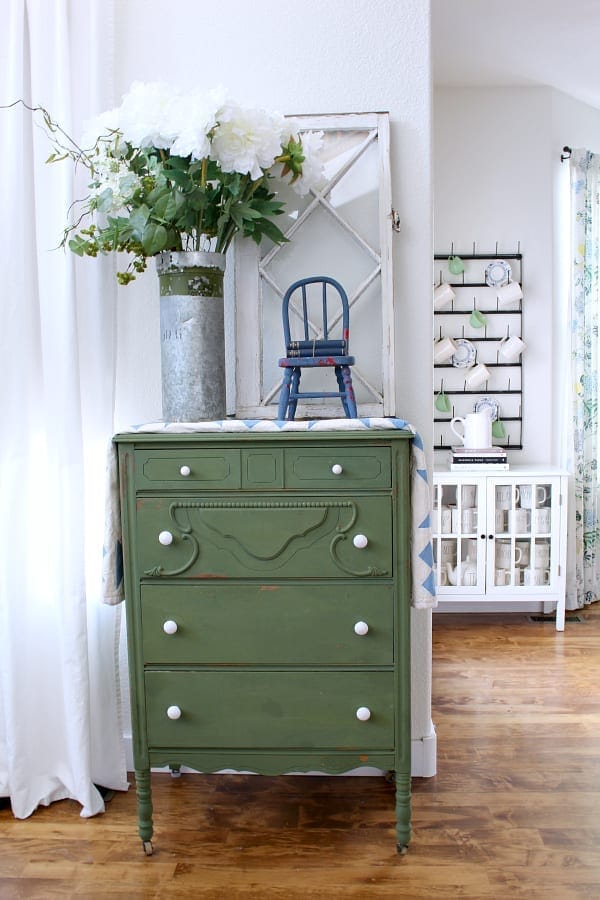
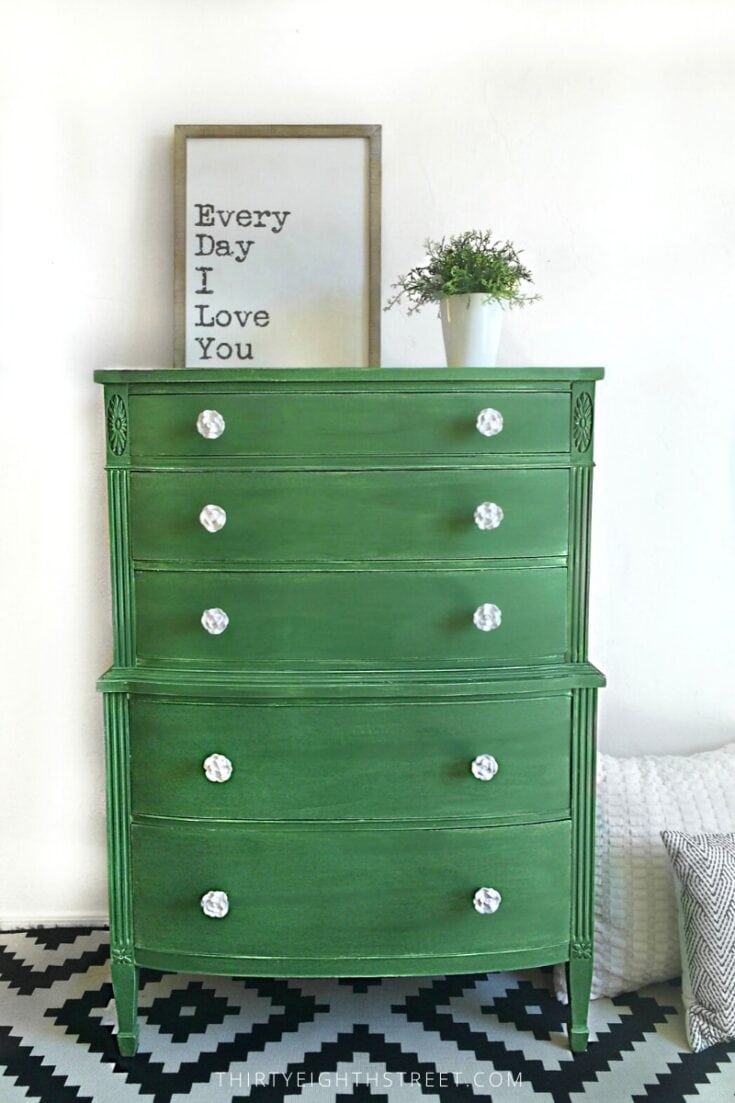
Emerald Green Painted Dresser
Don't miss out on this stylish DIY project as we share our tips and tricks to make it easy for you to get the look. Unleash your creativity and get started!
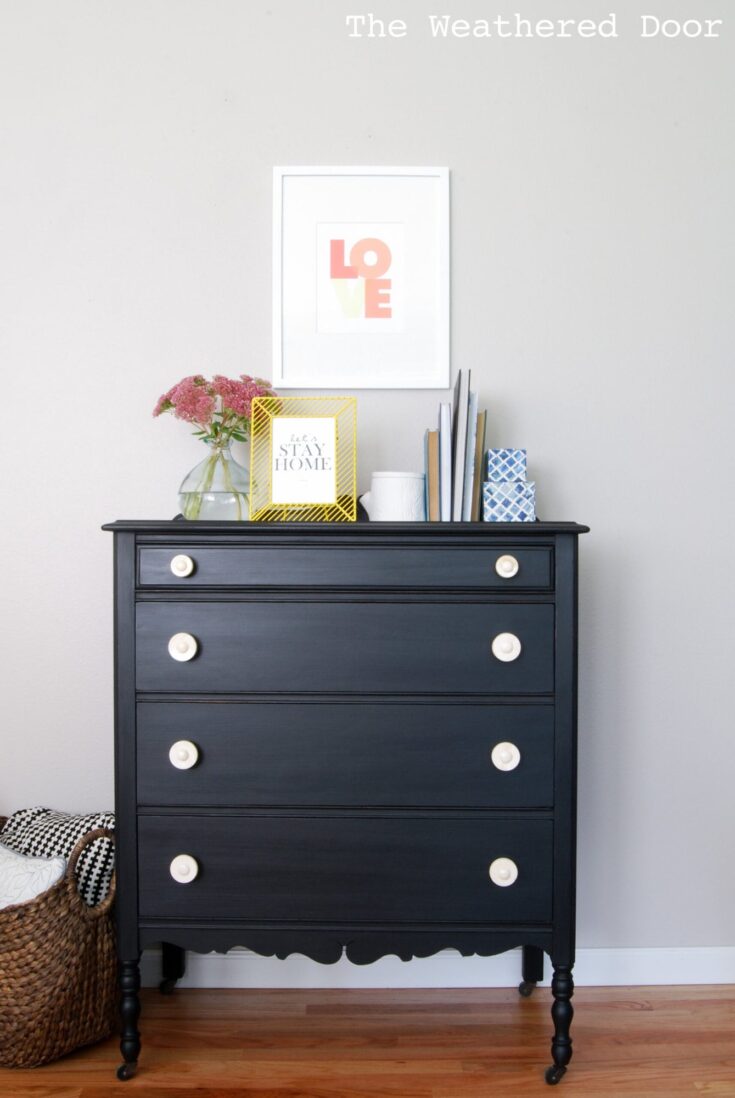
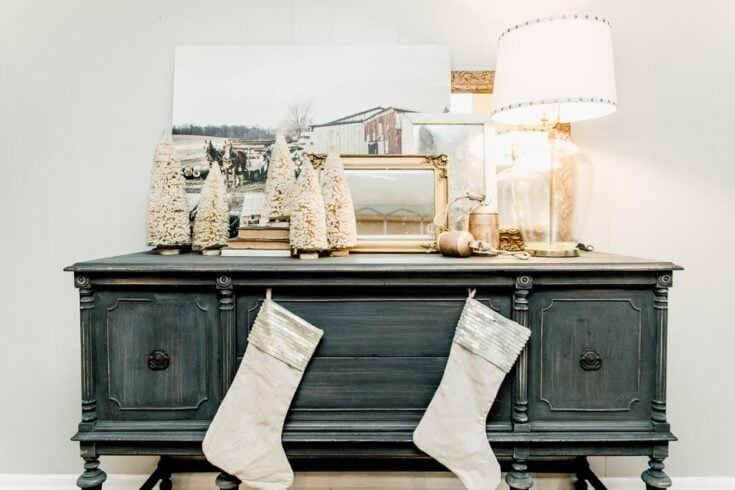
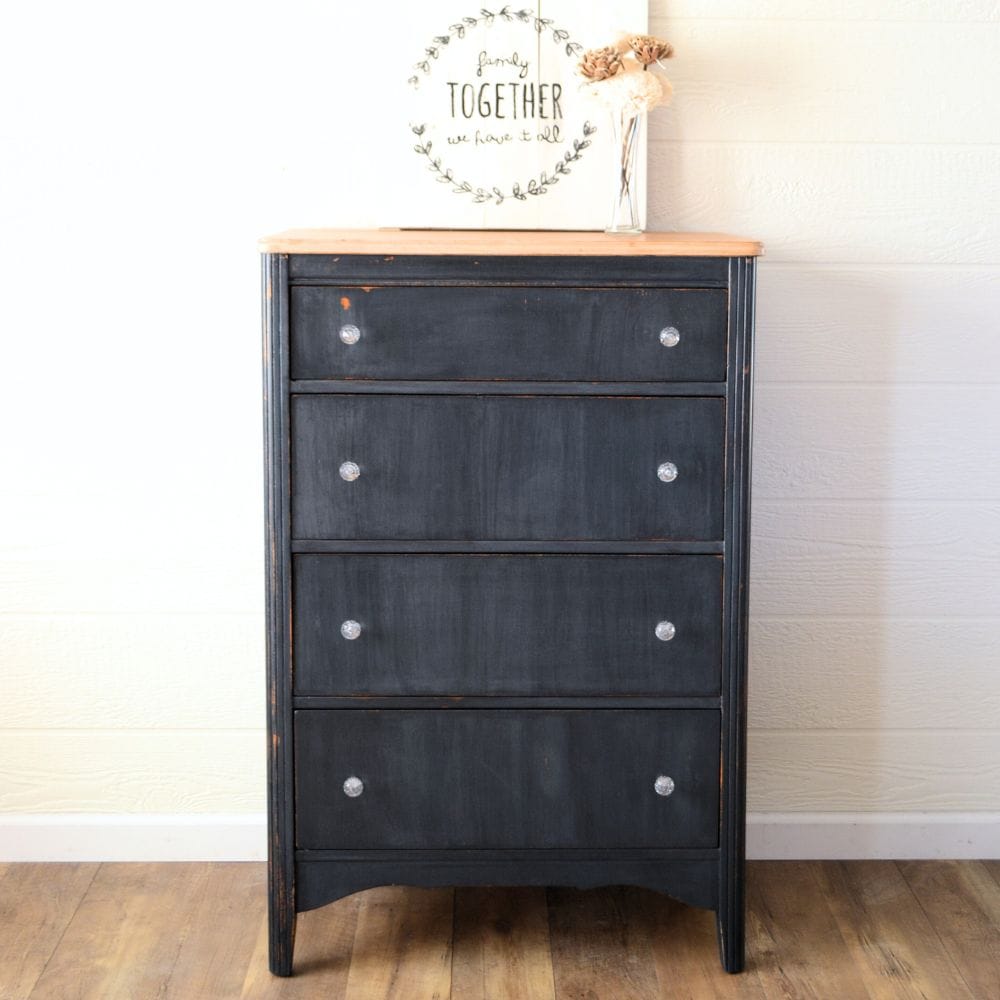
Pitch Black Painted Dresser
This dresser was given a new look using black milk paint and the result was stunning. Start with this guide and get inspired to try it on your own furniture.
Black Milk Painted Dresser
Transform your old or thrift store furniture into something special with a fresh coat of milk paint, just like this easy black dresser makeover. You'll love the results!
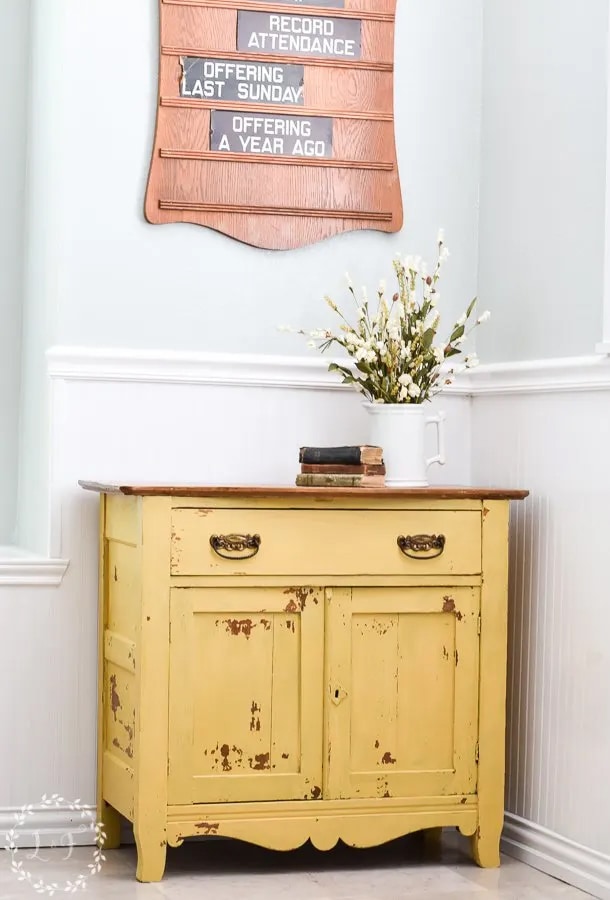
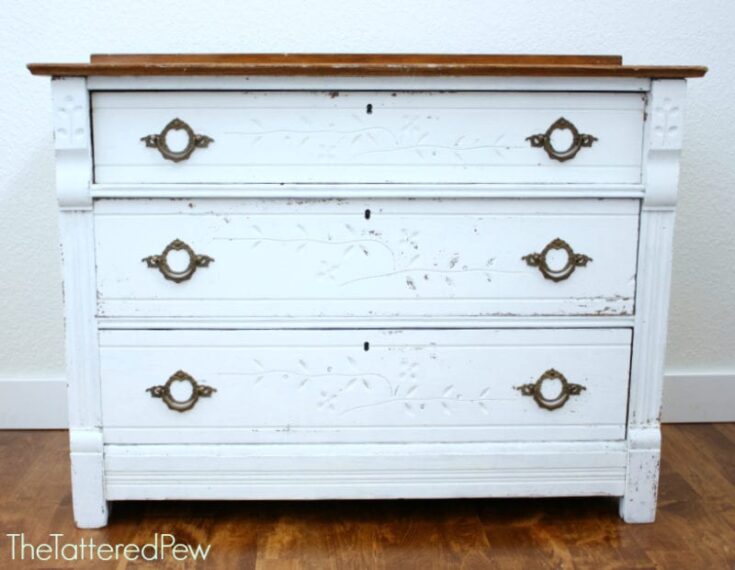
Oak Washstand Makeover
Bring your old washstand to life using milk paint and turn it into a stunning showpiece with gorgeous texture and paint.

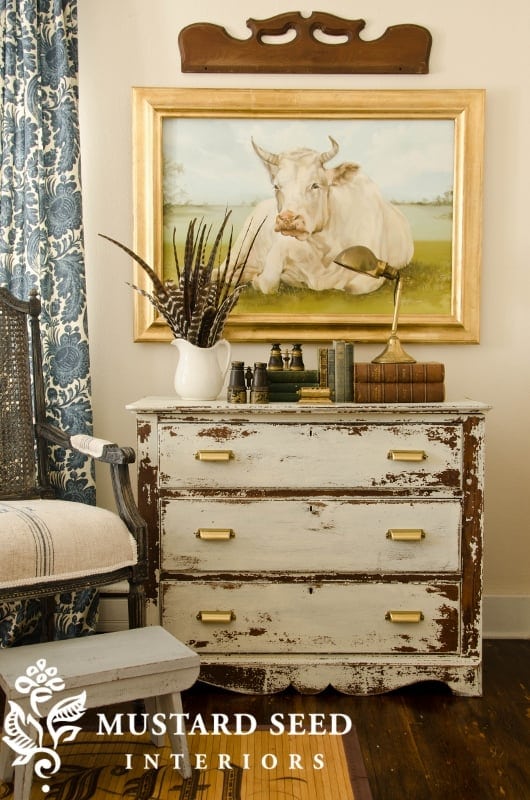
The Chippy Gray Milk Paint Dresser
Get inspired for your own project with this stunning chippy gray milk painted dresser makeover. Check it out to find out how it was done!
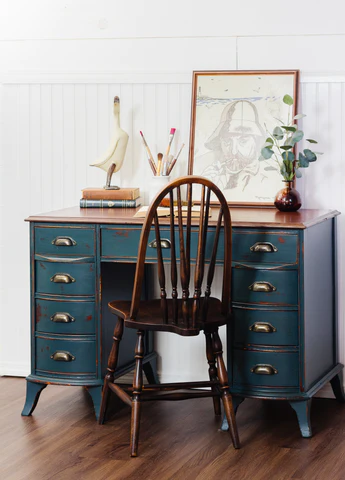
Green Desk Milk Paint Makeover
This milk paint with a beautiful mix of green and blue tones creates an instant statement piece. Recreate this look on your next painted furniture makeover!
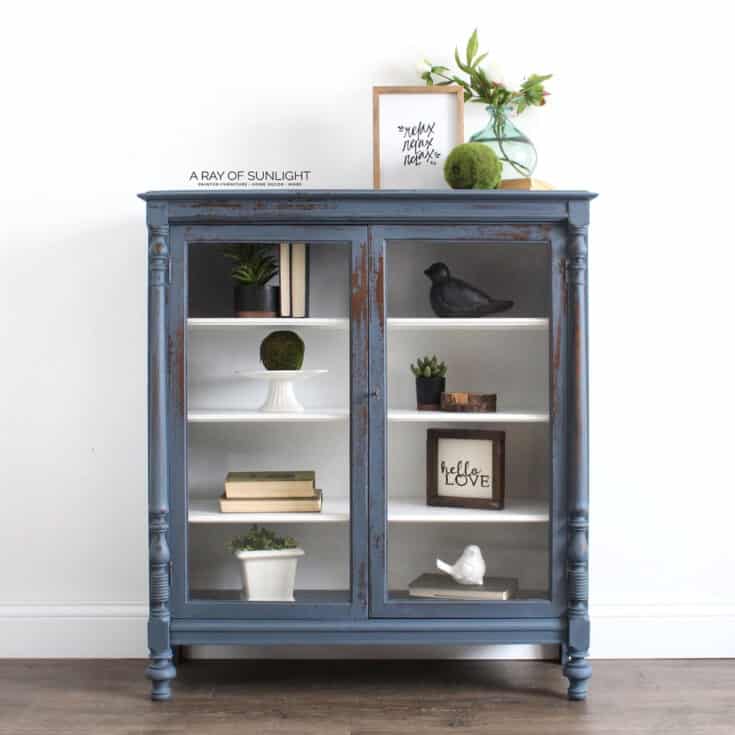
Painted Display Cabinet
Refresh an old piece of furniture by following this guide and get inspired with this milk painted cabinet project.
Milk Painted Chest of Drawers
In this tutorial, you'll learn how to best use milk paint to refresh the look of an old furniture piece. Follow this helpful guide to learn more.
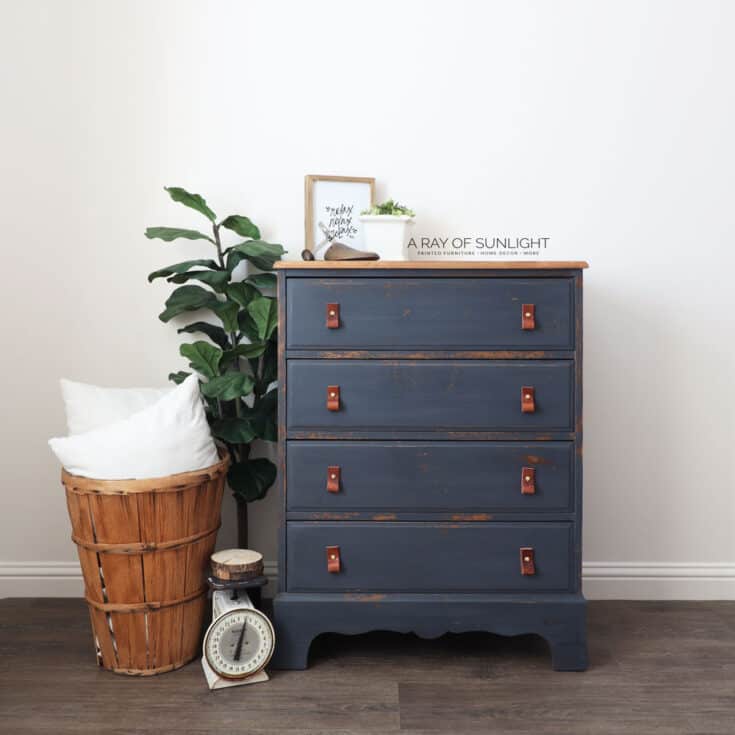
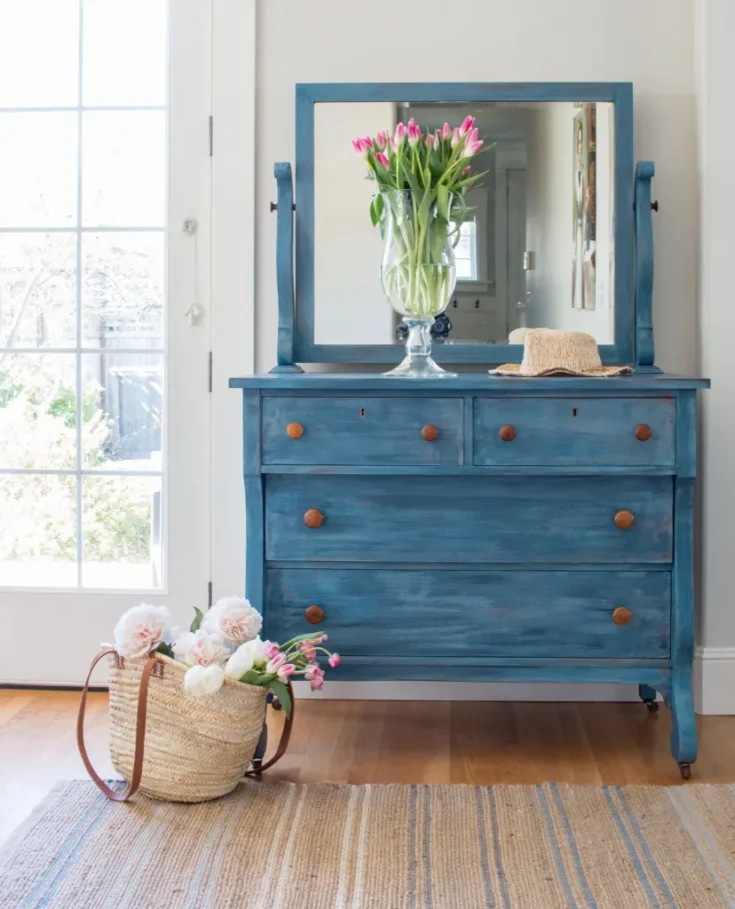
Navy Blue DIY Dresser Makeover
Upgrade your old dresser with some farmhouse vibes through this tutorial. Add charm and personality to any room by following this amazing transformation.
Milk Painted Vintage Dresser
Ready to tackle a milk paint project? Take a look at this post for essential tips and advice.
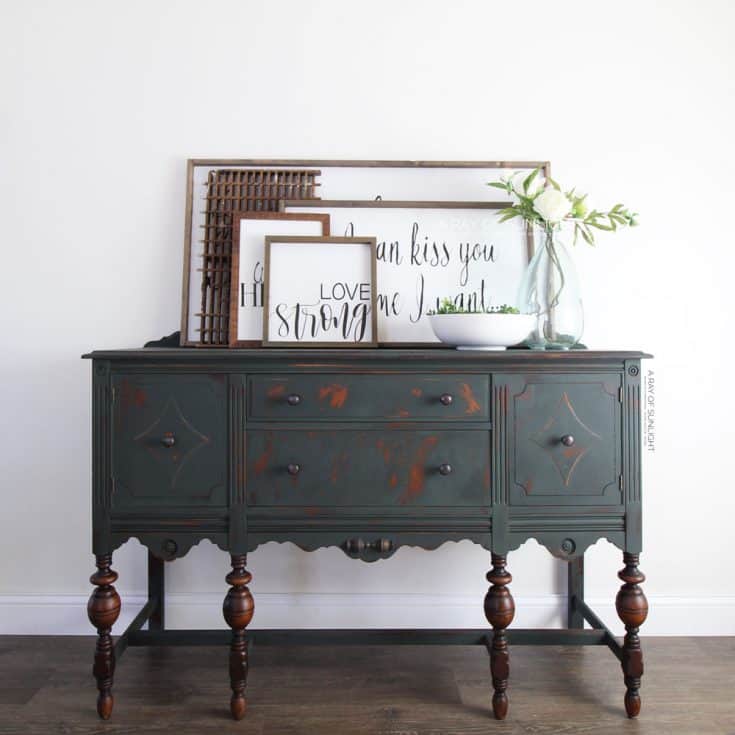
Dark Green Buffet Makeover
Don't miss out on reviving one of your favorite pieces with milk paint with the help of this guide.
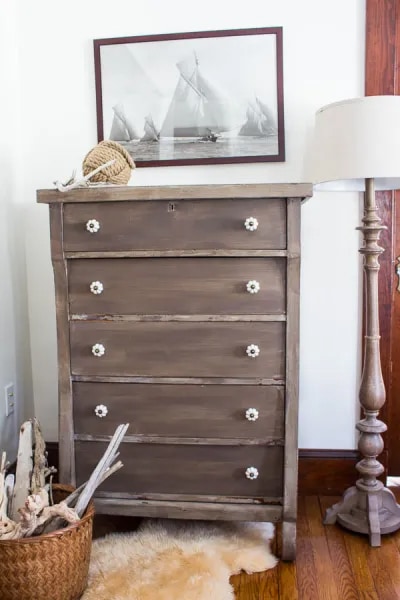
Driftwood Dresser Makeover
With milk paint, you too can create beautiful, one-of-a-kind pieces that will add character to any room. Get inspired with this makeover and make your DIY masterpiece today!
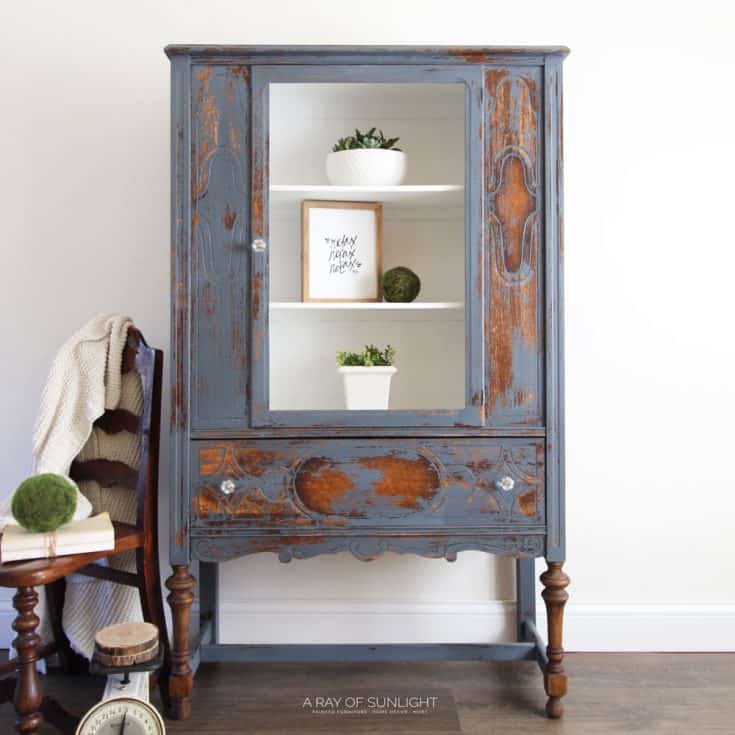
Chippy Blue Painted Hutch Makeover
In this blog post, we’ll walk you through everything you need to know about how to paint furniture with a rustic farmhouse style.
Mint End Table
Achieve a chippy look for your own furniture makeover with this guide and transform it into a beautiful piece. Click now to find out more!
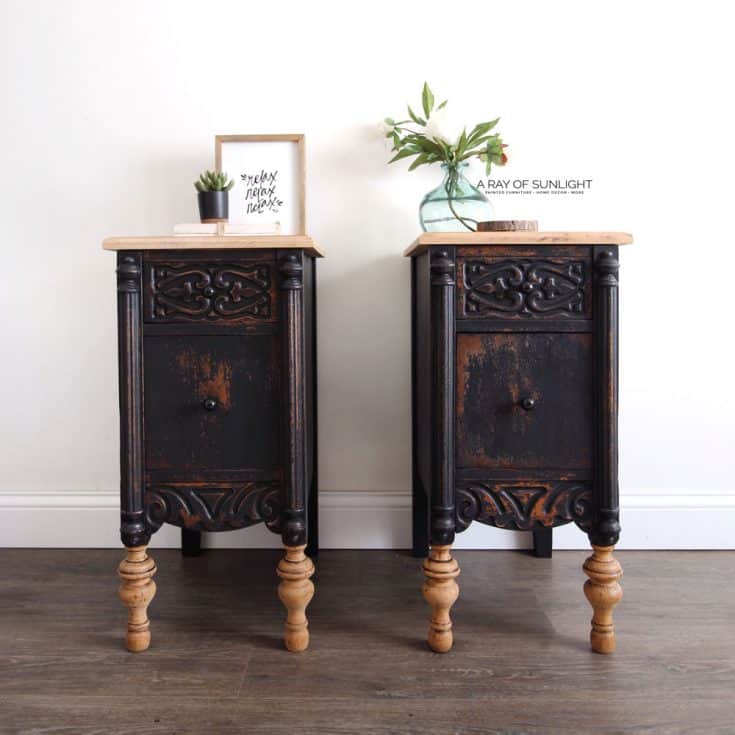
Repurposed Desks into Tall Skinny Nightstands
Get creative and turn an old desk into tall skinny nightstands with this step-by-step tutorial. See how we added a chic milk paint finish for an extra layer of charm.
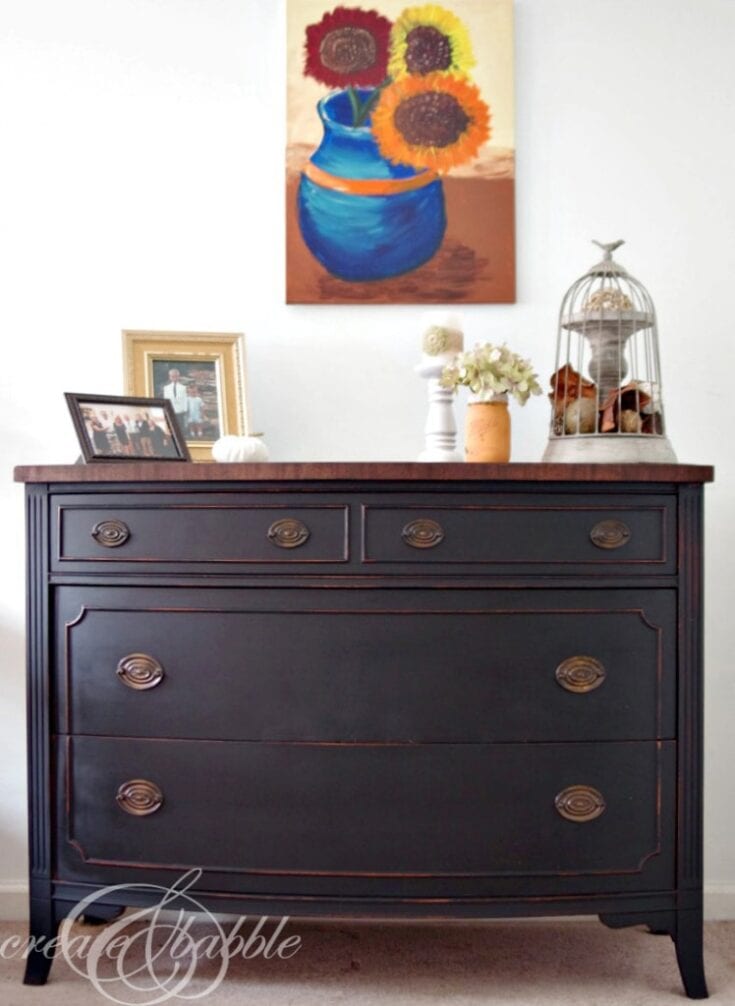
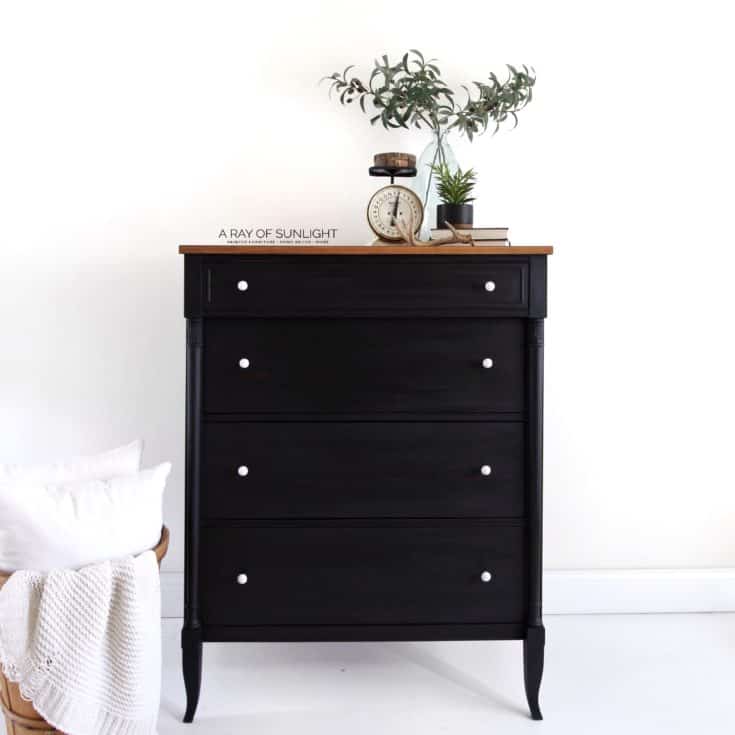
Painted Dresser With Milk Paint
This painted dresser makeover used milk paint to achieve a timeless black finish. Try it on your project and see the transformation for yourself!

DIY Emerald Green Mismatched Nightstands
Through this guide, you can make your own milk painted mismatched nightstands with a little creativity, an eye for design, and some furniture restoration skills.
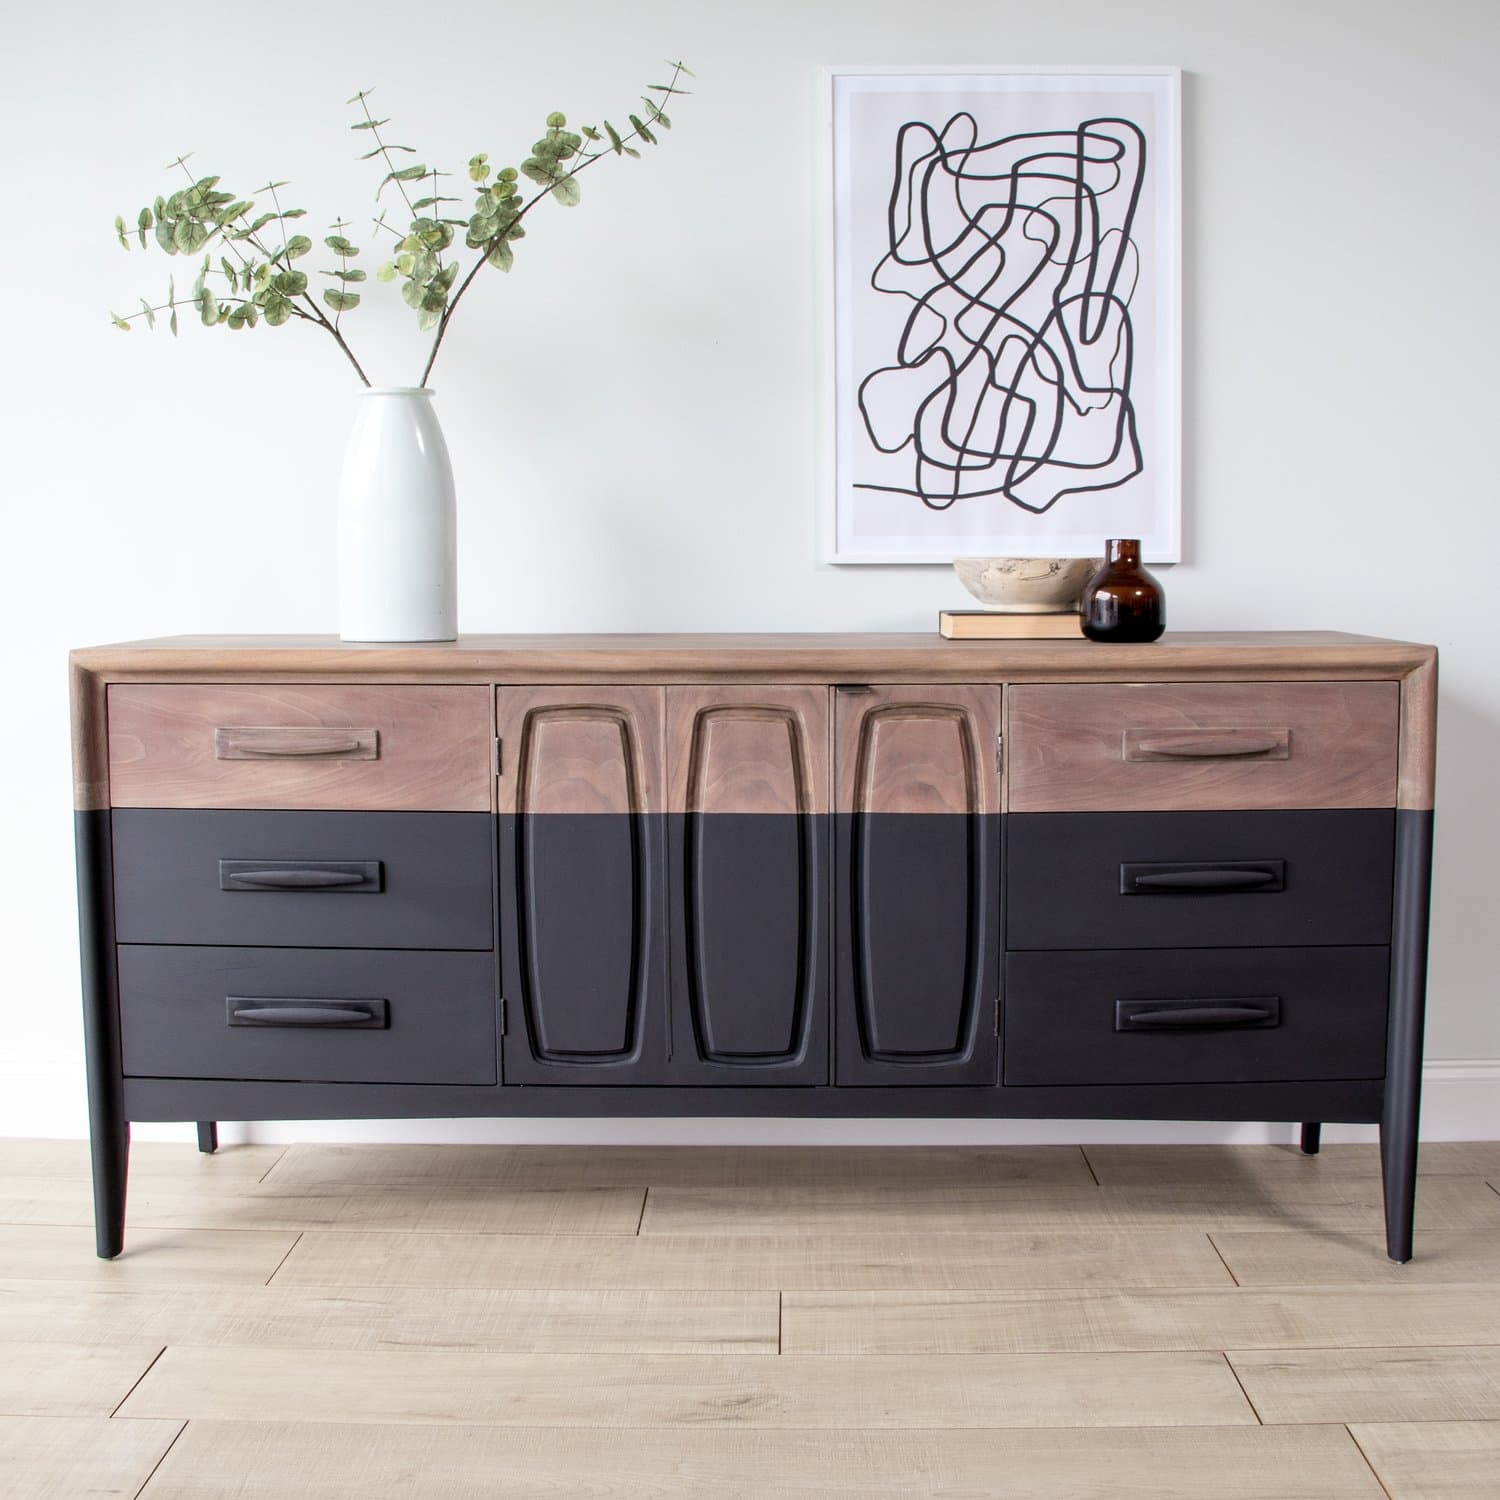
Mid Century Modern Makeover
Christina brought new life to this MCM dresser by transforming it into a beautiful piece with milk paint. Start your own makeover with this guide.

Easy DIY Teal Dresser with Floral Transfer
We added this gorgeous teal paint and a beautiful floral transfer to our dresser, and the result was strikingly unique. Find out how we did it in this step-by-step tutorial!
Milk Painted Dresser
This milk painted chipped dresser is proof that sometimes the result can be unexpected, but also amazing. Try it out and create a unique piece of furniture for your home.
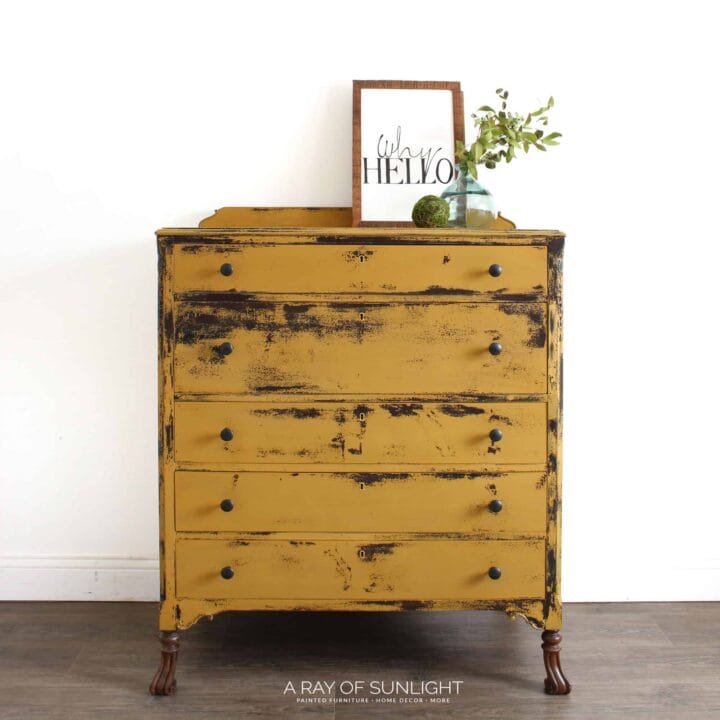
DIY Painted Chippy Farmhouse Dresser
Create your own cheerful piece of furniture at home with this modern take on a classic farmhouse style! Check out this post and learn from our step-by-step guide.
Milk Painted Vintage China Cabinet
This china cabinet makeover provides an easy and stylish way to refresh one's interior décor by using milk paint.

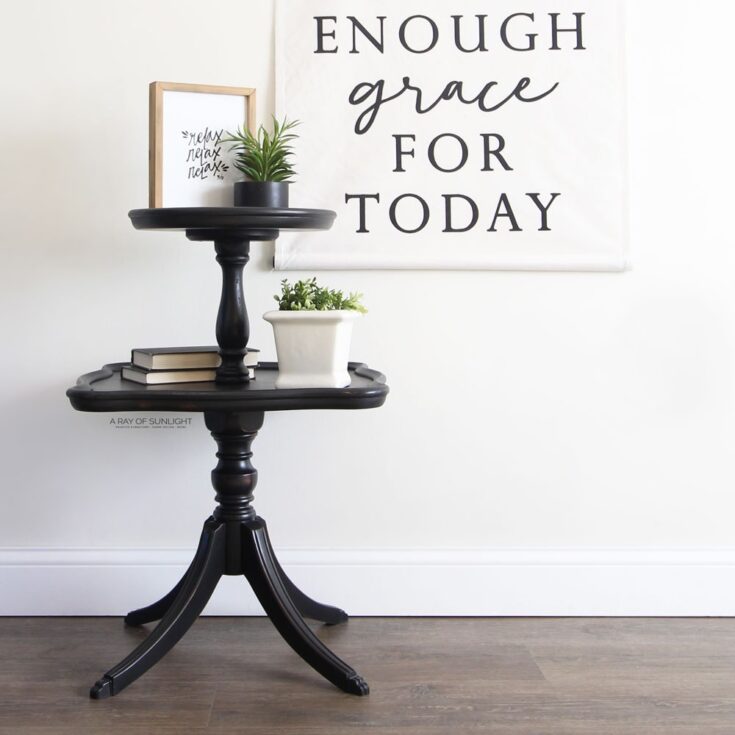
The End Table Makeover
Take a look at what this furniture piece looked like before and after its makeover. Transform your furniture from outdated to on-trend with this guide.
Antique Buffet Makeover
By using milk paint, Alyssa breathed new life into an old antique buffet and crafted a captivating yet classic piece of furniture. You can do the same by following this tutorial!
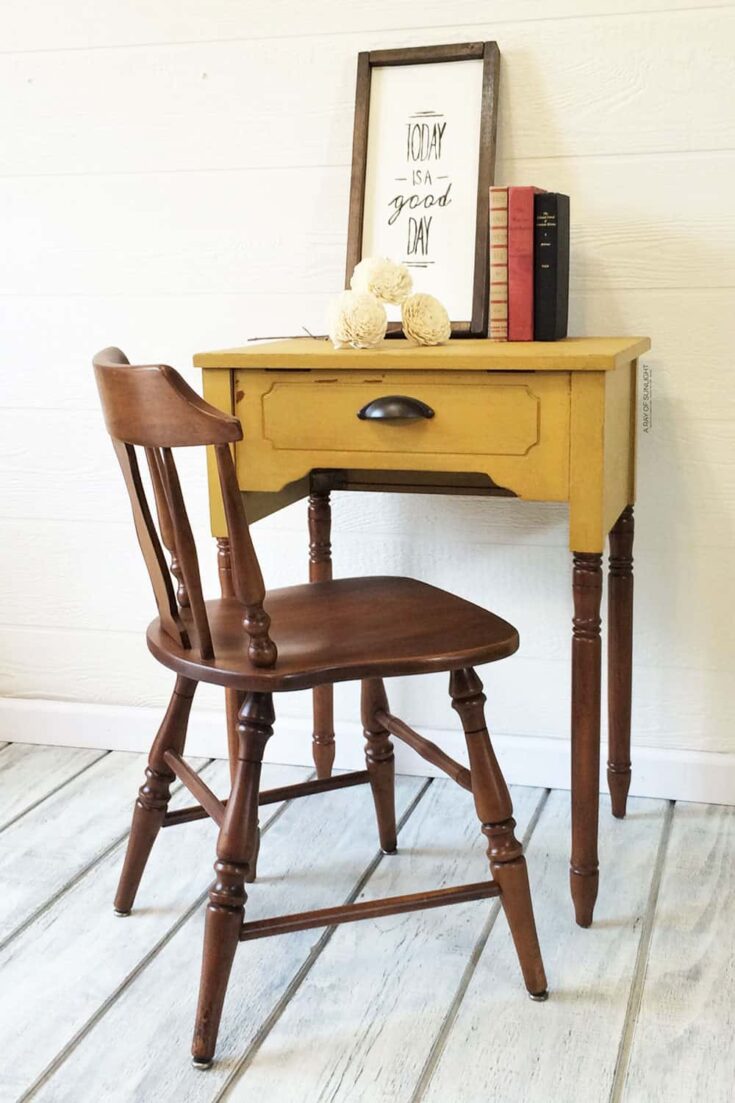
Repurposed Sewing Table
Transform an old sewing table from a thrift store into something vibrant and new with this easy tutorial!
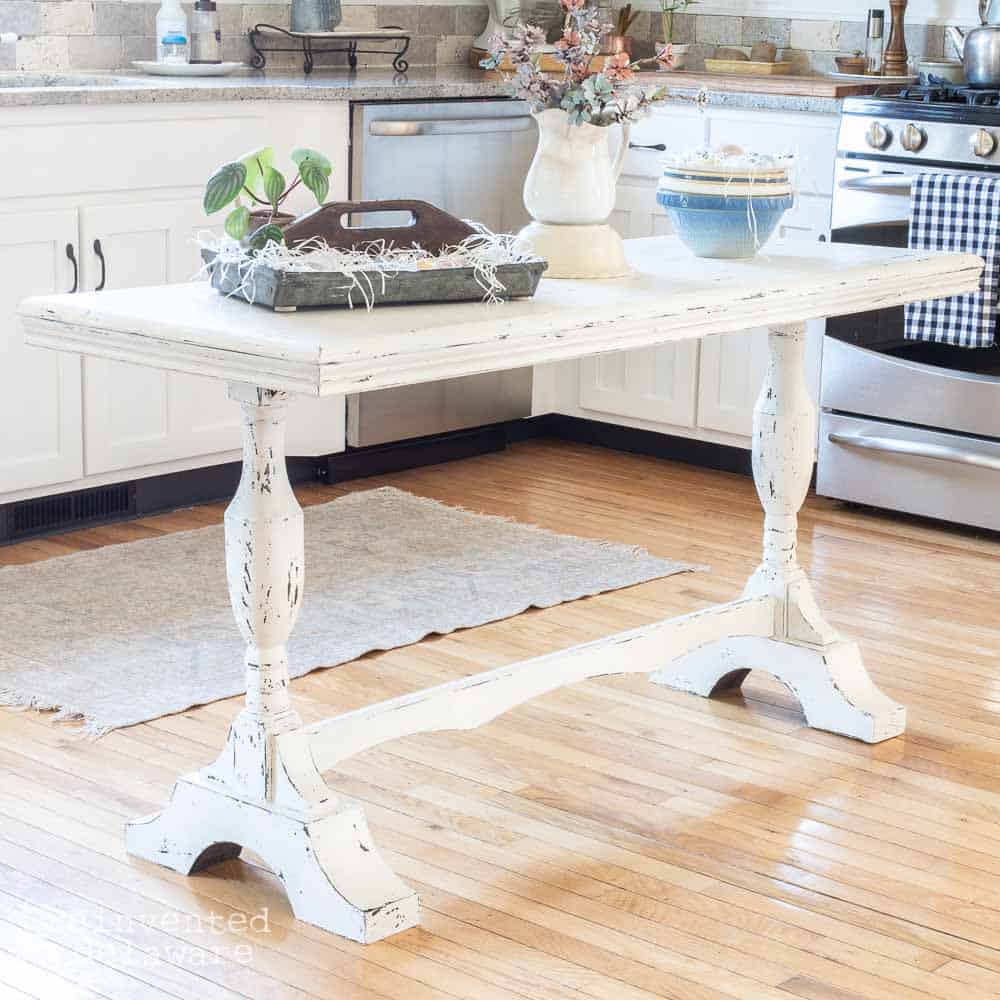
How to Milk Paint Furniture
Painting with milk paint is easier than you think, and now you can learn the tricks of the trade to transform your table with this simple tutorial. Unleash your creative side today!
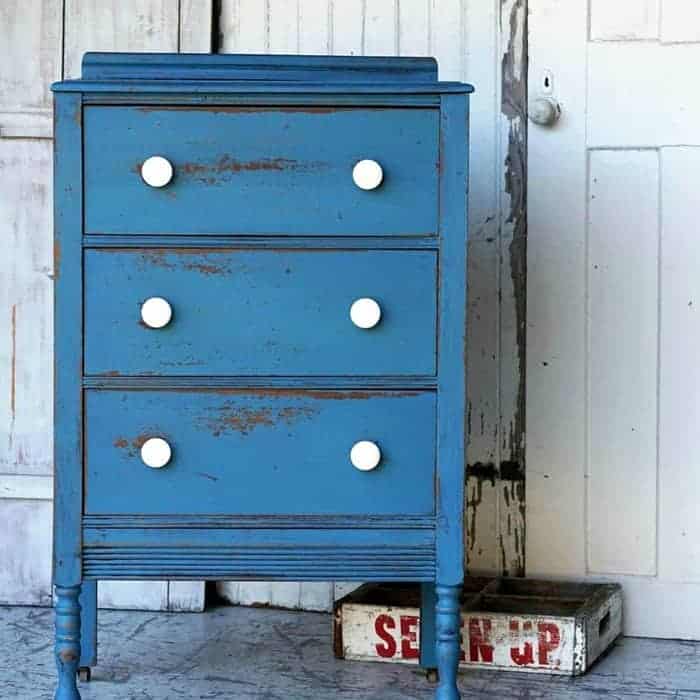
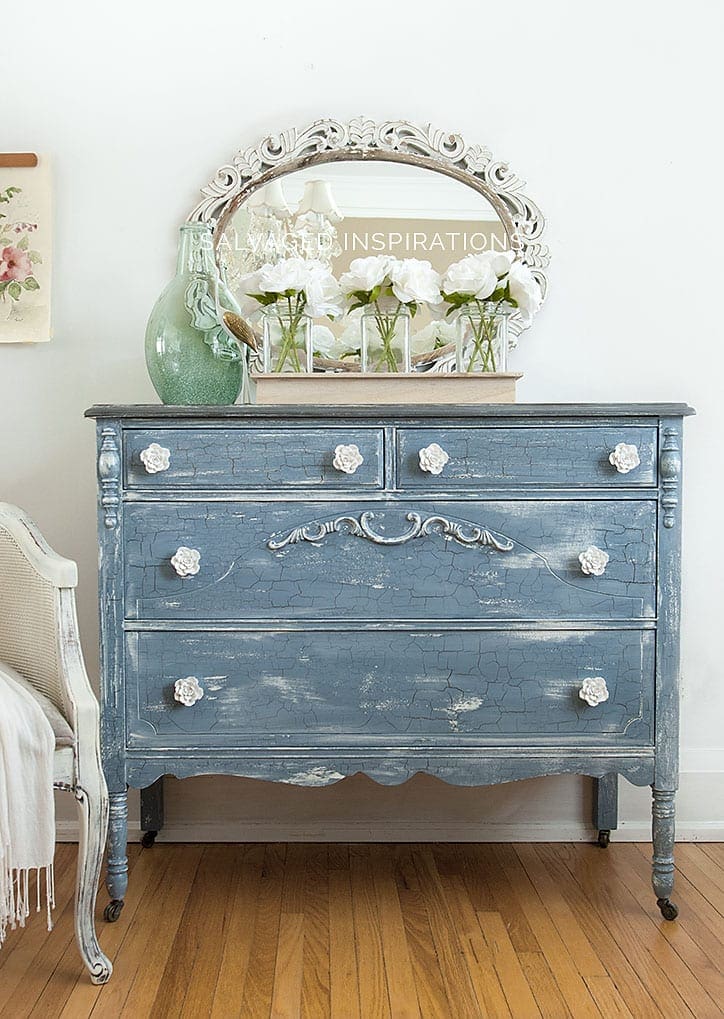
Milk Painted Vintage Blue Dresser
Do you want to create a naturally chipped painted look on your furniture? Get the details on this blog post and find out how Kathy did on this makeover.
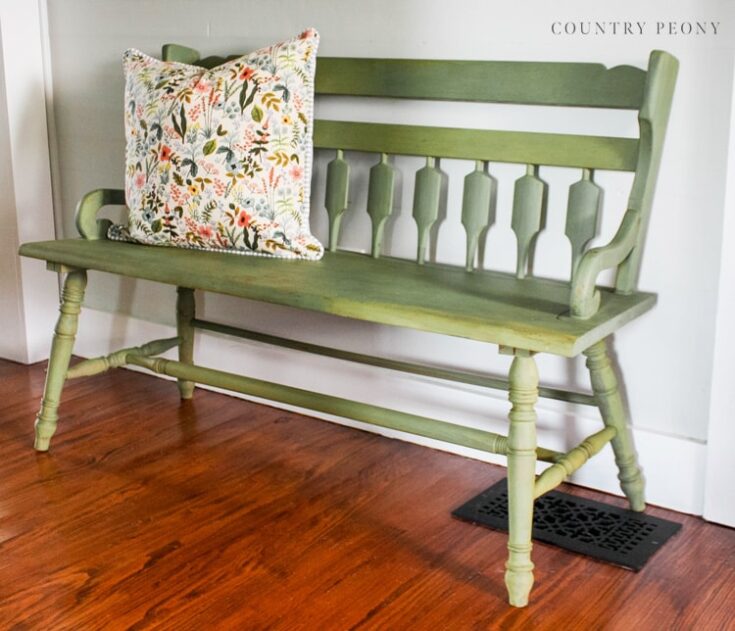
DIY Bench Makeover With Milk Paint
Learn how to use milk paint for a DIY bench makeover in this post and get the modern, rustic look you want. Get started today and give your furniture a brand new look!

Milk Painted Hutch
Bring a coastal vibe to your home with this DIY project! Try a piece like this hutch and give it a personal touch with milk paint. Check it out!
Green Painted Dresser
Take your furniture makeover to the next level with this beautiful milk paint shade. From painting techniques to finishing tips, Carrie will give you all the secrets for a great makeover.
Old Dresser Makeover Using Milk Paint
With the help of this guide, turn your old dresser into a unique, one-of-a-kind piece for your home with milk paint! Get all the tips and tricks you need to achieve that farmhouse chic look.
Antique Pie Crust Table Makeover
Upcycle your old and tired furniture with some milk paint. Check out how we just transformed this piece in this antique pie crust table makeover.
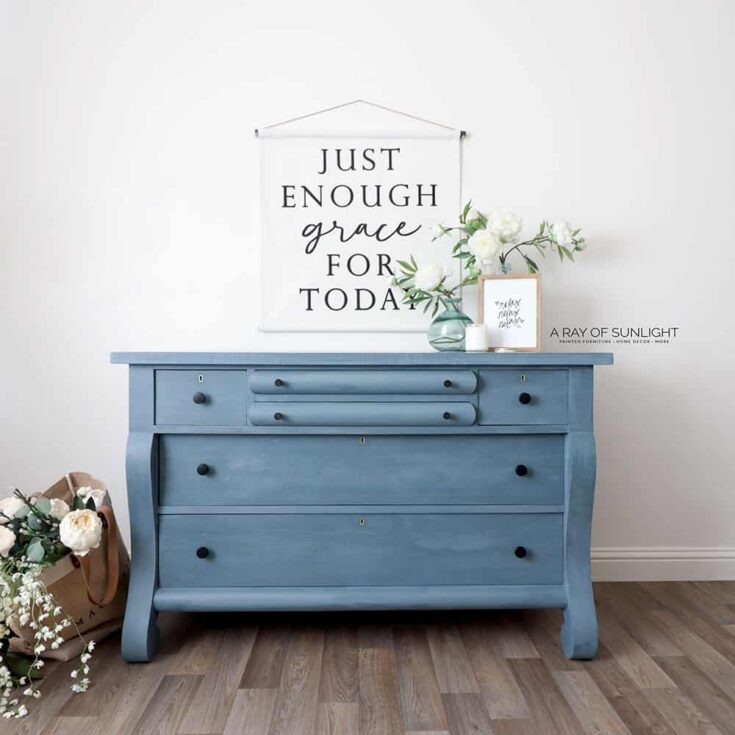
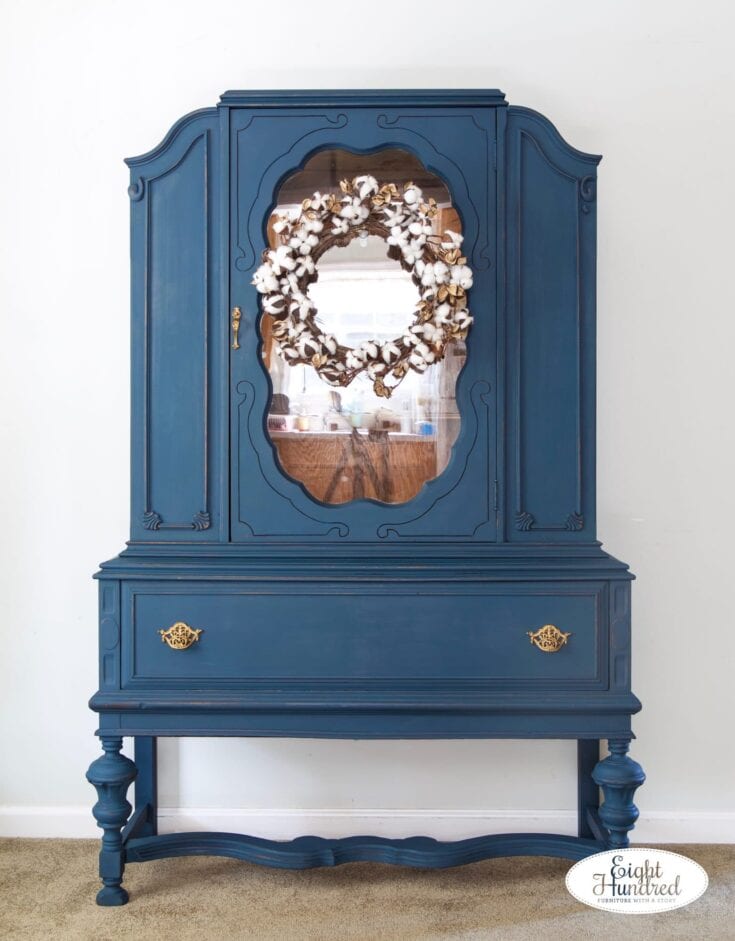
Navy Blue Milk Painted Dresser
Revamp your home decor with a touch of uniqueness! Check out our latest post for secrets on transforming a dresser into a statement piece with navy blue milk paint and DIY techniques.

Follow us on YouTube to get more tips for painting furniture. Or share your project with us on our Facebook Group and be part of our community. See you there!