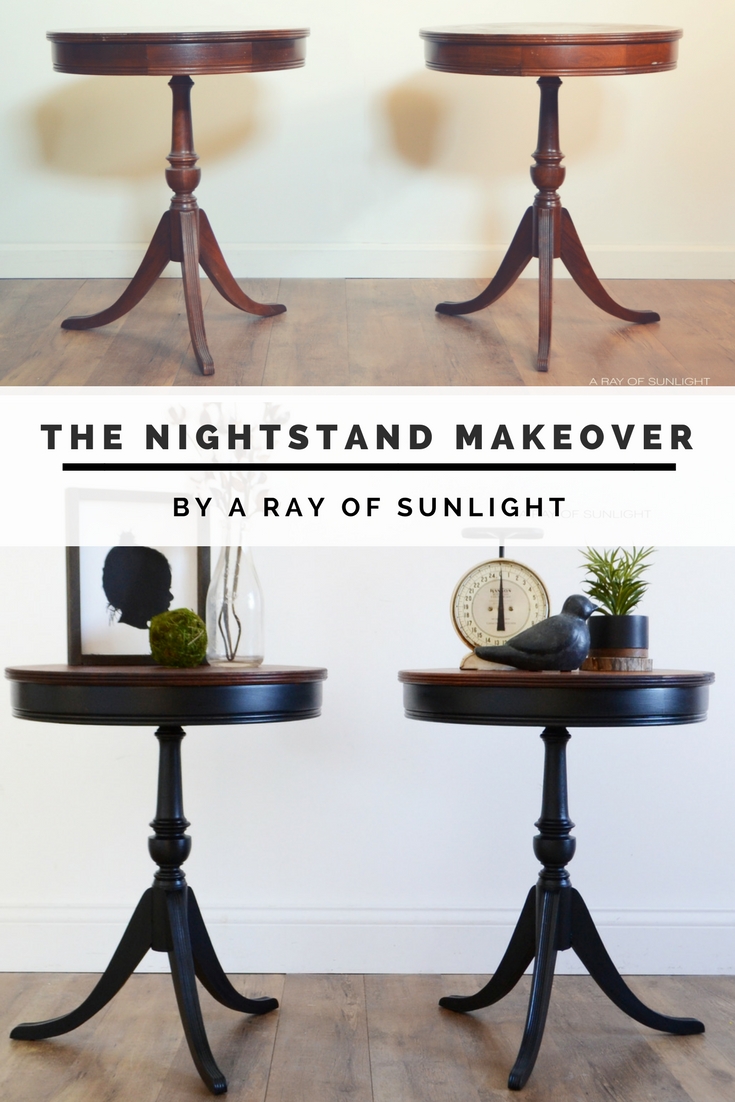
The End Table Makeover
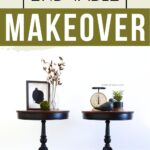

Check out this end table makeover with Old Barn Milk Paint! You won’t believe what wood was under the old finish. This painted nightstand idea is the perfect way to update your home decor with a touch of vintage charm.
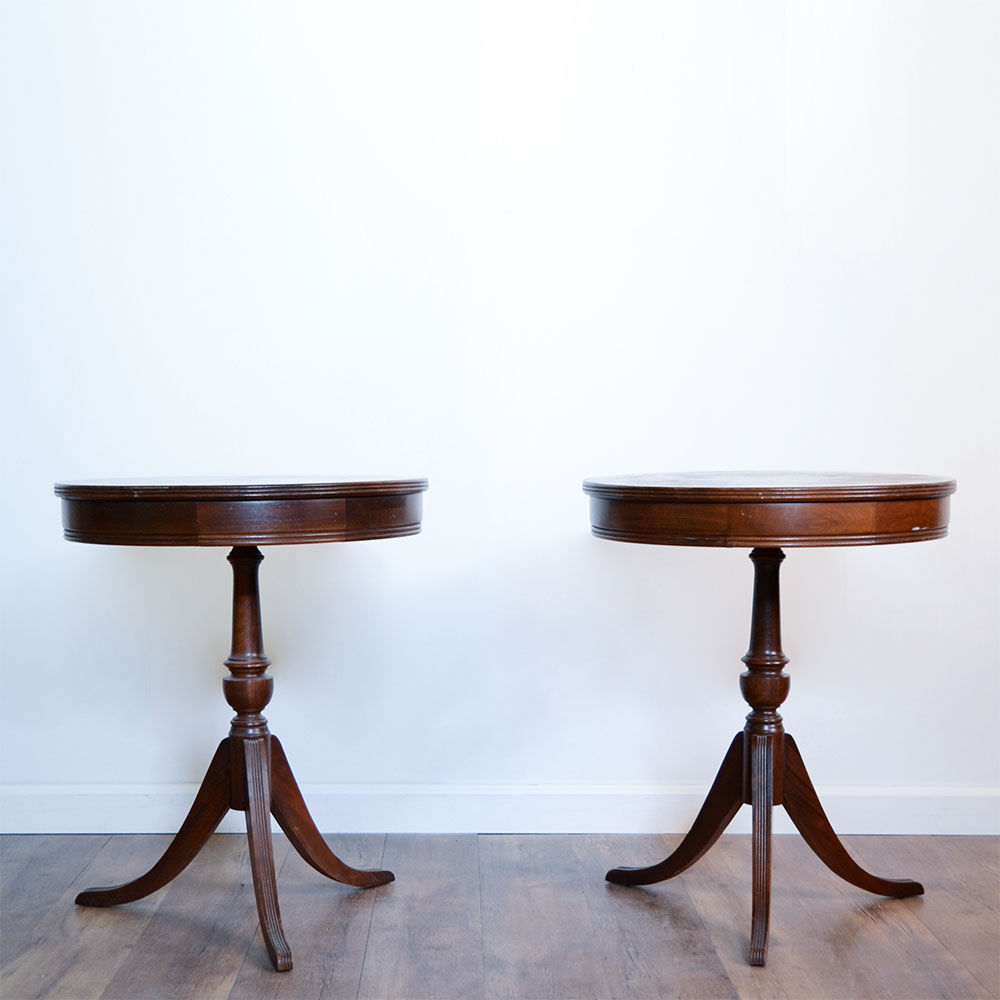
Do you have an old end table that needs some love? Try this makeover and give it a whole new look from its dull and worn appearance. Let’s get started!
Man oh man I have been dying to try out some milk paint again. I’ve used it a couple of times, but let’s be honest here, I don’t go for a chippy look very often.

As an Amazon Associate, I earn from qualifying purchases. I also may earn from other qualifying purchases with other companies or get free product to review and use. All opinions are my own.
But when Chrystal from Old Barn Milk Paint contacted me, I knew it was time to try it again.
See, I had been eyeing down her One Step Stain and Finish, especially because it’s not stinky like regular stain and it’s non-toxic.
With two little ones, and cold cold weather outside, it’s hard to do any staining with the fumes of oil-based stain. I cannot wait to use my new stain for a project!
Now that it’s finally above freezing outside. ha! But back to the paint.
So I normally haven’t used milk paint because of the chippy finish it usually makes. And it kind of has a mind of its own. It can chip a lot. Or it can adhere really really well and give you complete coverage.
Well, I love love love a smooth even coverage with distressing here and there but I didn’t think I could get that consistently with milk paint. But did you know that you can??
Learn all of my tips and tricks for painting furniture with milk paint here.

Supplies for Using Milk Paint on Furniture
No Chipping Milk Paint Finish
It’s really simple actually. You just add a product called Bonding Cream into your milk paint. That’s it. And you only have to use it for the first coat.
So I mixed up my milk paint, just like the instructions say. Basically, mix equal parts of milk paint powder to water, whisk it together, let it sit for 10 – 15 minutes, mix again and get to painting.
Learn more about mixing milk paint here.
Painting with Old Barn Milk Paint
So here’s something I never knew, but I’m going to try on the next milk paint project (because there are definitely going to be more milk paint projects in the future).
Did you know that you can spray milk paint?
I know, I know, I’m probably the only one who had no clue that you can. But now that I’ve heard that it can be done, it makes complete sense. Soo next time around I’m going to spray it!
Quick note: My sprayer is my most favorite painting tool! Learn all about the best HVLP paint sprayers for furniture here.
As always, I made sure to prep the piece for paint. You can find out more about how to prepare furniture for paint here.
For this makeover though, I used Old Barn Milk Paint’s Silhouette which is a really pretty deep black. I used my favorite painting sponge to “brush” it on, so I wouldn’t get brush marks.
Read this post to learn more about how to paint furniture without brush marks!
Guys. I’m not kidding when I say that I really only needed one coat of paint.
Yes, I know that it’s black paint and that black covers well on its own. But seriously I am impressed with how well it covered the wood in just one coat of paint.
Especially when using the painting sponge that paints coats on pretty thin (but keeps brush marks away).
Well, I used two coats because I’m just crazy like that and wanted to make sure I got everything. I can’t wait to see how the other colors cover!
How To Seal Milk Paint
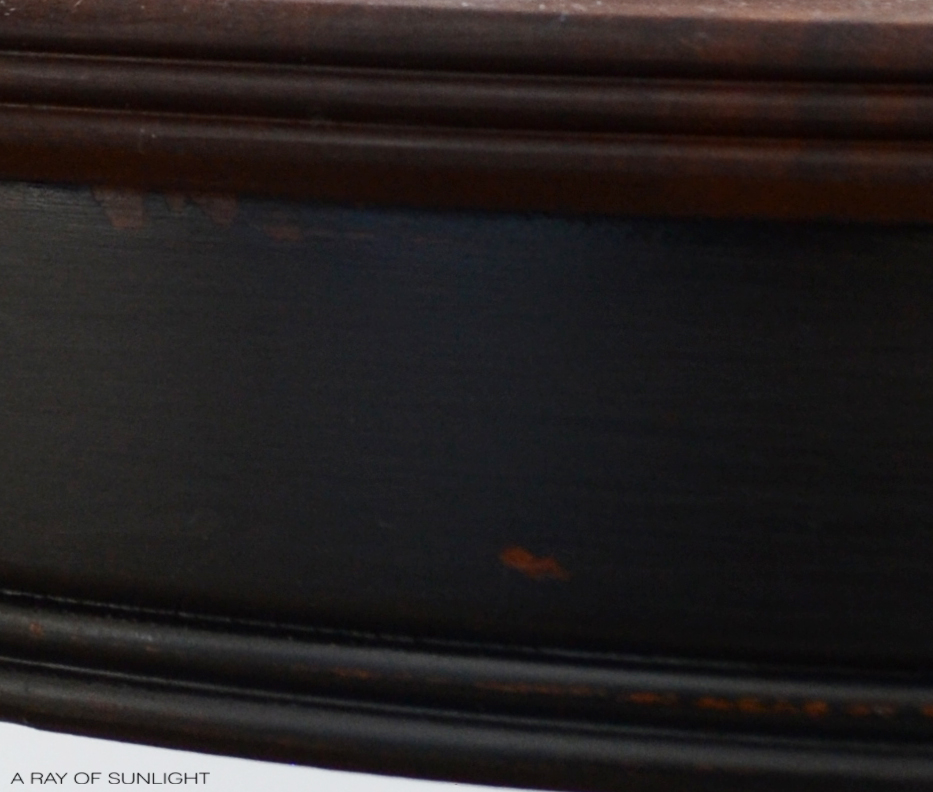
After the milk paint dried I lightly distressed the edges and details and then I used the Finish Coat to seal it up. Learn more about the 6 different techniques to distress furniture here!
Here’s where the project went a little south for a minute.
After the Finish Coat dried over the black paint, it created a foggy finish in some places where the top coat was applied a little bit thicker. Ooops!!
No worries though! I went back and sanded everything down lightly to remove the fogginess, and then went back over everything with the Oil + Wax.
Would you like to save this?
Afterwards, I talked to Chrystal and she gave me great advice!
The Finish Coat is great over bare wood or stained wood for outdoor projects. So it’s a great durable finish, just not so great over a deep black paint.
I’m usually more of a water-based poly girl, so the Oil + Wax is a completely new world for me. But I have to say that I am in love with it! Learn more about how to seal milk paint here.
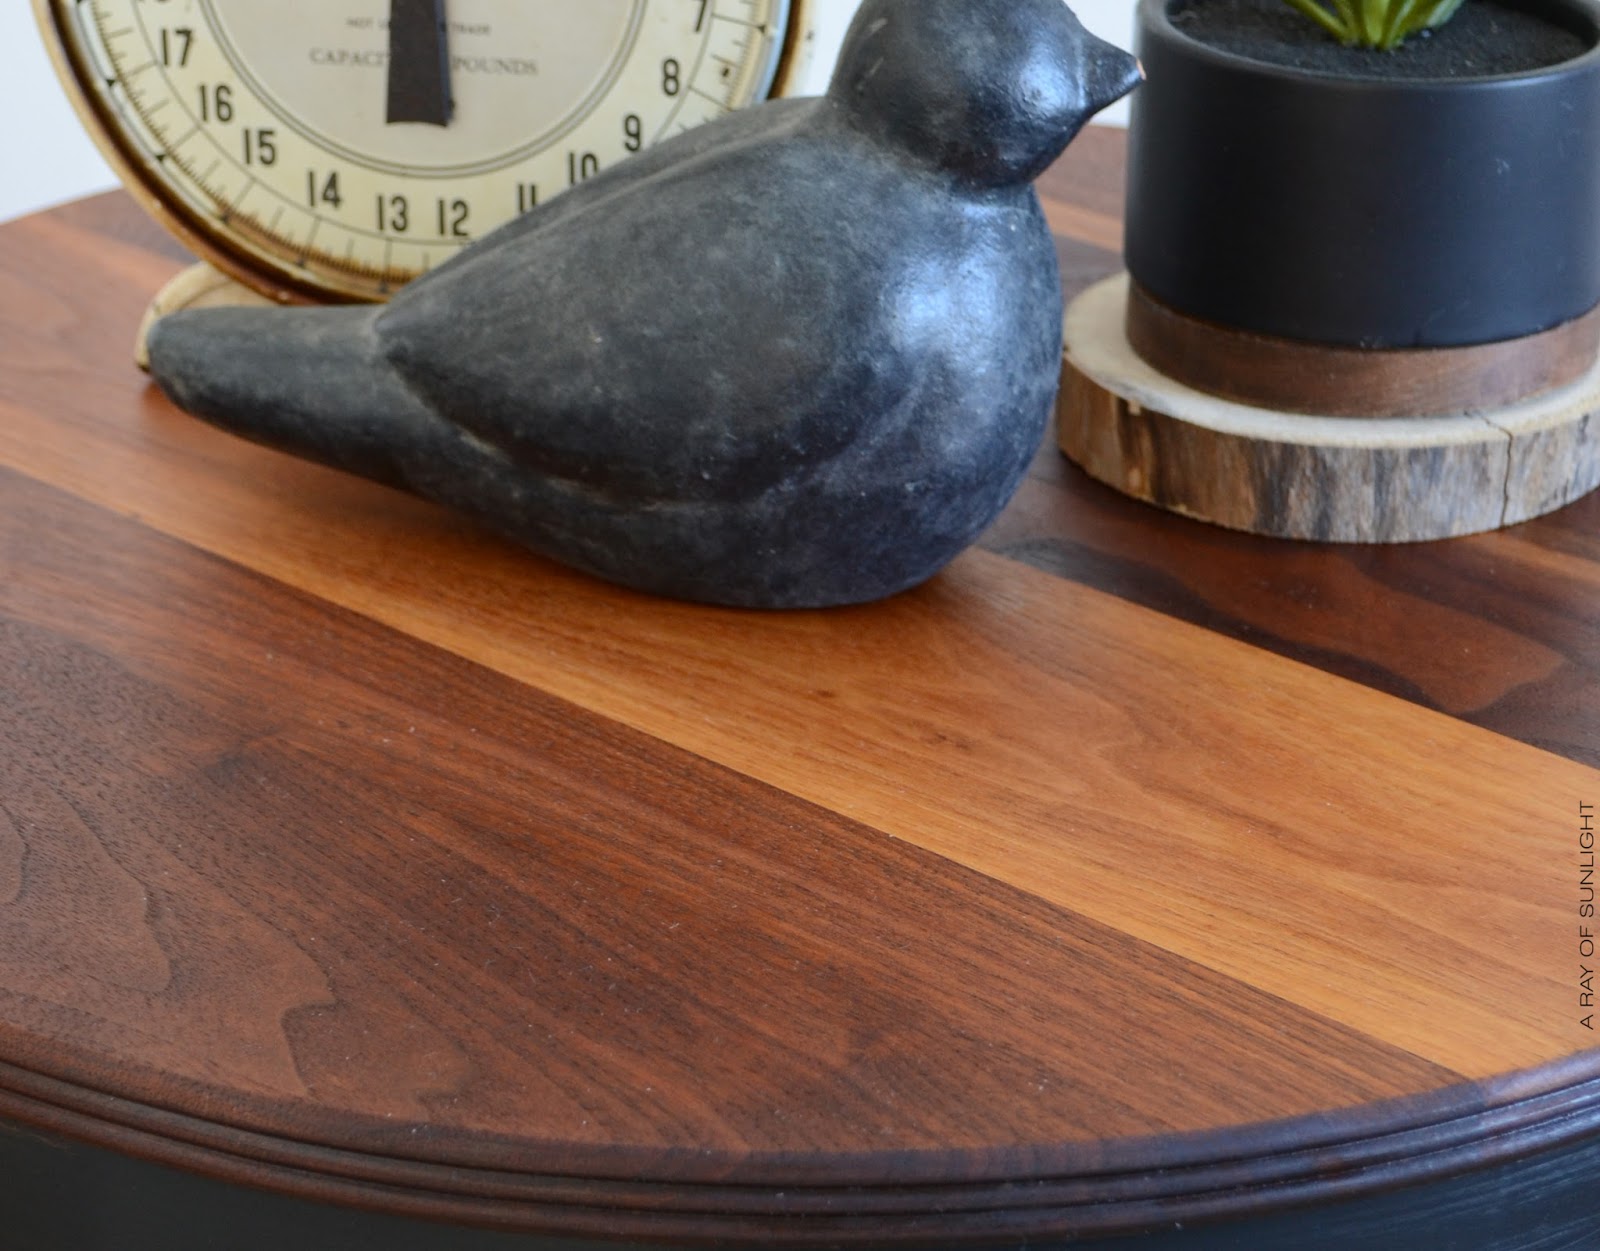
Refinishing the Wood Tops
After sanding the tops down to bare wood, I sealed them back up with Oil + Wax and the finish is just perfect.
It brought out all of the details in the wood and I just couldn’t be happier with the fun grain that they had!
So finishing the bottoms in Oil + Wax really is what I should have done in the beginning. It’s so easy to use, just wipe it on, and then wipe it off, leaving no excess.
The worst part is waiting for it to dry completely, but I think it’s worth it to have such a stunning matte finish in the end. And you don’t have to worry about streaks like you do with poly!
Check out more French painted furniture ideas here. You can also update your piece with these end table refinishing ideas!
Here’s another makeover on how to paint end tables, but using chalk paint instead.

More Before and After Makeovers
See All >
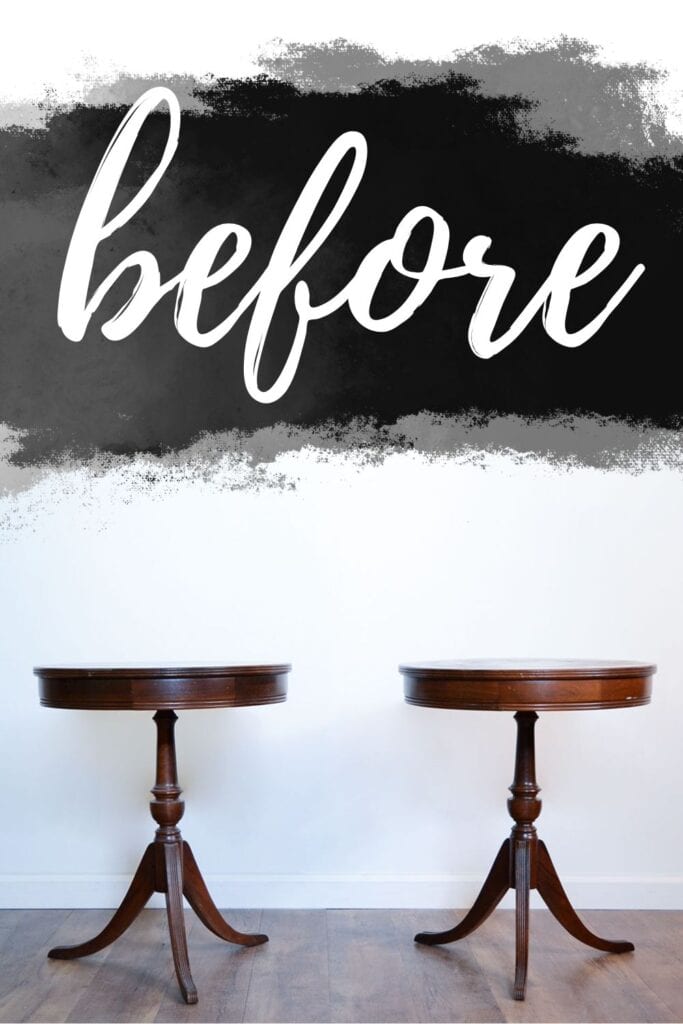
Click any of these “before” photos below to view the “after” of that makeover.


Does Old Barn Milk Paint come in many colors?
Old Barn Milk Paint offers a wide variety of colors to choose from, making it easy to find the perfect shade for your furniture project.
From soft pastels to bold and vibrant hues, there is something for every style and taste. The brand offers over 20 different colors, such as “Barn Red” and “Silhouette” (the one we used for this project.)
They also offer sample sizes so you can try out different colors before committing to a larger purchase. This is especially helpful for those who are new to milk paint and want to try it out first.


Can I mix different colors of Old Barn Milk Paint together?
Yes, you can mix different colors of Old Barn Milk Paint together to create your own custom shade! This is one of the great things about milk paint – its versatility.
You can experiment with mixing different colors to create a unique look for your furniture piece. Plus, it allows you to use up any leftover paint you may have from previous projects.
To mix different colors of Old Barn Milk Paint, you can mix equal parts of two or more colors, or play around with different ratios to get the desired shade. I like to mix the colors while they are still in the powder form.
It’s best to mix small amounts at a time and test it on a scrap piece of wood before mixing a big batch. This way, you can adjust the colors as needed for your project.
Just make sure to write down your recipe so you can recreate the exact color if needed in the future! This will also come in handy if you need to mix more paint for touch-ups or additional projects.
Now, to find my next Old Barn Milk Paint project! Maybe next time I will try for the chippy look?? Do you prefer complete coverage or a chippy finish? I’d love to know!


The End Table Makeover
Check out this end table makeover with Old Barn Milk Paint! You won't believe what wood was under the old finish.
Tools
Instructions
- Mix Bonding Cream into your milk paint. For milk paint, mix equal parts of milk paint powder to water, whisk it together, let it sit for 10 – 15 minutes, mix again and get to painting.
- Apply milk paint to end tables using a paint sponge. This way you wouldn't get brush marks on your furniture.
- Seal the paint with oil + wax.
- For the wood top, sand it down to bare wood and seal it back up with oil + wax. Wait for it to dry completely.
Recommended Products
As an Amazon Associate and member of other affiliate programs, I earn from qualifying purchases.


More Black Painted Furniture Makeovers
- Black Milk Painted Dresser
- Best Black Furniture Paint
- Black Vintage Farmhouse Dresser
- Black Painted Antique Buffet
- Painting a Bed Frame Black
Follow us on YouTube to get more tips for painting furniture. Or share your project with us on our Facebook Group and be part of our community. See you there!
It’s gorgeous!! What is the product for the oil+wax? Thank you
Thank you for letting me know the link isn’t working. I think it is similar to hemp oil though!
Stunning!!
I also like a smooth finish or just a little distressing.