No Sanding Furniture Paint Hack


Ever feel like sanding makes DIY projects drag on forever? Don’t you love a good DIY shortcut? This no sanding furniture paint hack is exactly that! I’ll show you how you can skip this messy, time consuming step and get straight to the fun part in this DIY makeover.
Don’t miss these awesome painting furniture ideas like this that can save you time and effort without sacrificing results. Keep reading to learn about this awesome hack!

Welcome to Furniture Fixer Upper day, where we join 4 of our talented furniture friends and bring you brand new makeovers! I’ll link to my friend’s makeovers after our after photos at the bottom of this post! Don’t forget to check out their masterpieces!! Okay, back to our makeover!
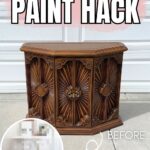
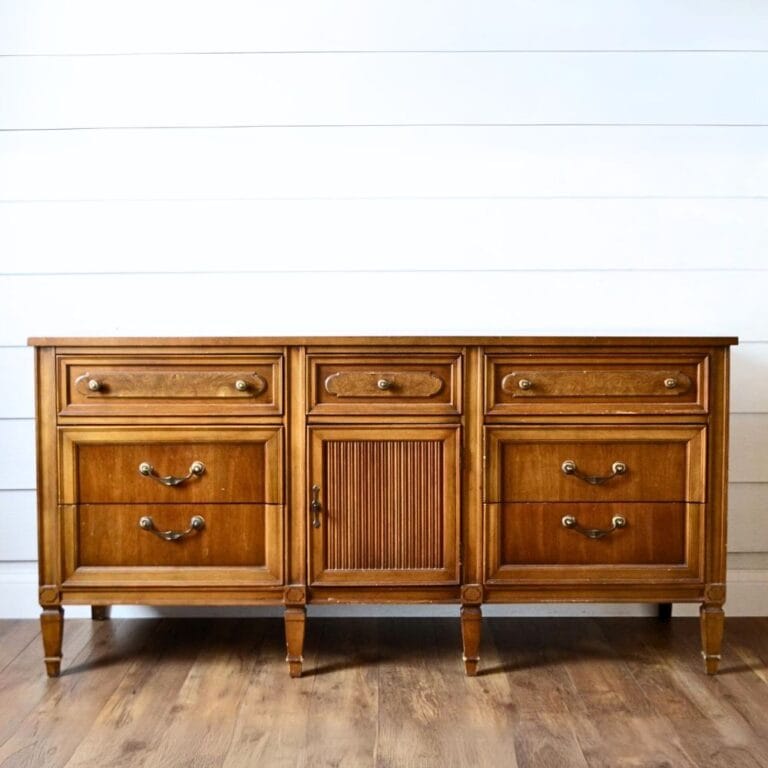
So, this is a really interesting ornate hallway cabinet I bought for $30 at the thrift store. It is made of mostly plastic, particle board, and MDF. There might be a tiny bit of wood on this, but it is, through and through, just not quality wood or furniture.

In this quick weekend makeover, let’s see if we can transform this piece without having to sand it or prime it, and if we can get the paint to stick onto this really slick surface without the usual prep work we usually do.
However, sanding is super important because it helps create a rough surface for the paint to stick to, especially on slick surfaces. But if we can skip it and still get good results, let’s save ourselves the time and effort.

Supplies Used for No Sanding Furniture Paint Hack
As an Amazon Associate, I earn from qualifying purchases. I also may earn from other qualifying purchases with other companies or get free product to review and use. All opinions are my own.
- Screwdriver
- Krud Kutter
- Damp Rag
- Zibra Small Artist Brush Set
- Heirloom Traditions Paint in Bone
- Paint Filters
- Respirator
- Vonforn Paint Sprayer
- Behr Chalk Spray Paint in Linen White
- Plastic Wood Filler
- Paintable Caulking
- BIN Shellac Primer
Prepping Hallway Cabinet
So, first, we removed this really cool handle. I’m gonna keep this, possibly clean it up, and hopefully it’s brass, so it will just shine and be a pretty brass gold color. We removed that and set it outside.

And then Taylor cleaned the piece with Krud Kutter and a damp rag to get all of the dirt, dust, grime, and grease off of it. These steps on how to clean furniture before painting help the paint stick and give us a nice, smooth finish to work with.

With all of the details and ornate grooves, I really don’t want to have to sand all of this stuff. And I for sure do not want to have to brush paint onto all of it.
Testing Out No Sanding Furniture Paint
Then, I tested out some paint on it to make sure that it would stick without sanding or priming. I used Heirloom Traditions Paint in the color Bone, and I just brushed it on a couple of spots, and I let it dry for a few days.
I tested on the door that had some shellac primer on it, and then on a spot that did not have any, because I wanted to see what would happen if I used this specific paint, which I do know sticks very well. I wanted to see what would happen and what the difference would be.
It has held on well with laminate and wood furniture, but this cabinet is mostly a very sturdy plastic, and I haven’t been able to test it on something like this yet.

So, after I came back two days later, it was not scratching off with my fingernail, which is fantastic because that does not happen with every paint, and even with those that say that it will stick, it doesn’t.
So that tells me that this Heirloom Traditions Paint is going to stick very well to the surface, even if we skipped sanding or priming! Here’s another makeover where we used it for painting furniture without sanding or priming.


Spraying Furniture White
So after that, we got things set up for spraying. The weather was kind of cold outside, so we brought it inside to work on it using our Vonforn sprayer. This is one of the best paint sprayers for beginners on our list!
I thinned the paint with 15% water, and then sprayed the cabinet with a very thin coat. Get more tips on how to thin paint for a sprayer in this post.

Fixing Brown Stains Coming Through Paint
And this is where things turned for the worse. Very soon after I sprayed, I could see little brown spots, especially in some crevices, and this is a telltale sign of bleedthrough stains. I know from a lot of experience that these stains are not going to go away on their own.

If I kept going and added more coats over them, they’re just going to keep coming back unless I use specific products to block them. Typically, we would use clear shellac so that it dries really fast, and I could paint the next day.
But, since I was going to use white paint on this piece, and I had some white spray paint left over from other projects, I used that as a bleedthrough block instead. The great thing about using spray paint is that it’s oil based, so it will block the bleedthrough. It’s also tinted white, so I can easily see, once it’s dry, if it blocked the stains or not.
With the clear shellac, I can’t tell if it is blocked until I start painting over it, and I didn’t really have the time to find out on this one. I wanted this to be a quick makeover.

The thing with the spray paint, though, is that it has to dry for 48 hours before I can apply another paint over it, which was okay because the next day was Sunday, and I don’t work on Sundays. The next chance I would get to paint this was Monday, which was 48 hours!
Applying White Spray Paint
I applied really thin white coats, letting them dry, and just making sure that I got it all over. I used Behr Premium Chalk Spray Paint in Linen White, because after I have tested multiple different types and brands in my chalk spray paint review, Behr is my favorite.
Would you like to save this?
I especially made sure to get it over the bleedthrough stains, but still really sprayed a good coat on everywhere. And I made sure that I didn’t have bleedthrough issues in other places. That dried for 48 hours and I didn’t see any signs of brown stains anymore!
Filling In Cracks and Scratches
When I went back to work on the cabinet, there were some scratches, cracks, and big gaps that were just really noticeable now that there was white paint everywhere. When everything was dark, we didn’t notice all these, really.

But the white finish just makes all of those scratches show up so much because they’re all dark against the white. So I filled in those cracks and some bigger scratches and dings with plastic wood filler, and let those dry.
I also filled in the big cracks with white paintable caulking. The caulking is a little bit more flexible and fits into these cracks a lot easier than wood fillers.

Fixing More Stains Coming Through White Paint
When the wood filler was dry, I sanded it smooth, got rid of the dust, and then sprayed another coat of Heirloom Traditions Paint all over. And I thought it looked great, though it might have needed one more coat just to get full coverage.
But when I got back and looked at the project after the coat was dry, there were still bleedthrough spots that somehow still came through. They weren’t there after the spray paint, but they showed back up once I put waterbased paint on top of that again.
So this time, I wondered if I needed to get the primer down into the cracks a little bit more to block those stains. And so, this time, I used some BIN Shellac Primer. This is what I typically use on white furniture, or when I need to brush or roll something on.
It also does a fantastic job with bleedthrough, so I brushed it on over the bleedthrough stains, and then I let it dry overnight. The next day, I added the last coat of Heirloom Traditions onto the cabinet to get full coverage everywhere.
Problems with Painting Furniture White
So, unfortunately, because of the bleedthrough with this, I had to wait a long time to paint. I couldn’t just apply everything in one day because I had to keep blocking the stains. If I had used a dark color, it would have been a very easy project.
It’s so easy to see these dark stains come through with white paint. So, if you’re looking for a really quick project, white is not really the quickest to use. It takes a lot of coats, and a lot of times, you have to deal with these dark cracks and bleedthrough issues.
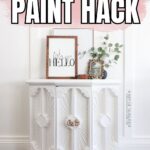
But anyway, I love the look of the white paint. It was worth it to me because I just love the light and bright feel of this.
Heirloom Traditions does not need a topcoat, which is fantastic, so that takes one step away. So I didn’t have to sand, and I didn’t have to add a topcoat, and this is a durable paint that dries to a beautiful satin finish. For more about it, check out my Heirloom Traditions All In One Paint review here!
Cleaning Cabinet Door Pull
Last but not least, we cleaned the old door pull with our tried and true method on how to clean old furniture hardware here.

This hardware was pretty tarnished, so I scrubbed it for about 20 minutes before most of it was clean. There were still some spots in the corners and crevices that I couldn’t scrub away all the way.
So once it was dry, I sprayed it lightly with some gold spray paint, just to hide those white spots that I didn’t like. Then we put the door back on, and here’s what it looks like now!
Watch the full makeover of this cabinet on our YouTube video below, or scroll down to see the after photos.


More Before and After Makeovers
See All >
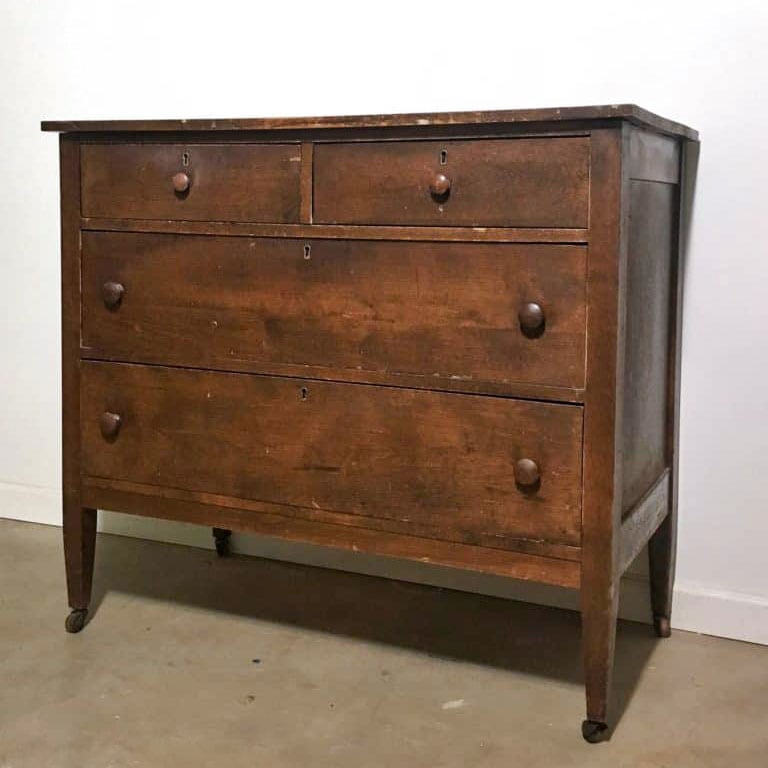
Click any of these “before” photos below to view the “after” of that makeover.


Now, over on Facebook, I asked how I should paint this, and I had a lot of different opinions. In the end, I chose to go with white because white is one of the best selling paint colors. Learn more options for what color furniture sells best here!
I absolutely love the white finish on this piece. It softens all of the details, so they’re not so stark, and it just lightens this piece up. It would have been less likely to sell if I did a bold, unique finish on it, and I just wanted this to easily sell and go into somebody’s home. But if I had a place for it, it would go into mine!
Don’t forget to check out these other awesome before and after furniture makeovers from my Furniture friends!! (Click the links below the photos!)

- DIY Dresser Bottom Makeover from Confessions of a Serial DIYer
- Refinishing Wood Furniture from Salvaged Inspirations
- Pub Table Makeover from My Repurposed Life
- Vintage Chair Makeover from Petticoat Junktion


No Sanding Furniture Paint Hack
Learn this no sanding furniture paint hack so you can skip this messy, time consuming step without sacrificing results.
Materials
Instructions
- Remove any hardware, like handles or knobs, to make painting easier. Set them aside in a safe place so you don't lose them.
- Clean your furniture thoroughly to remove dirt, dust, and grease. This step helps the paint stick and gives you a nice, smooth finish to work with.
- Spray the piece with clear shellac primer. It primes furniture without needing a brush to get into all the intricate details.
- Thin your paint with 15% water when using a sprayer, then apply at least 3 coats of the white Heirloom Traditions Paint. Light colors will need multiple coats for full coverage.
- Watch out for bleedthrough stains. If they appear, block them with an oil based primer like BIN Shellac or white spray paint.
- Tackle any cracks or scratches with plastic wood filler and sand them down after drying. For bigger cracks, use white paintable caulking.
- Refresh the hardware by cleaning it. Then, you can reattach it to your newly painted piece.
Recommended Products
As an Amazon Associate and member of other affiliate programs, I earn from qualifying purchases.


more Painting furniture Tips
- Painting Oak Furniture White
- Easiest Way to Paint Furniture Without Sanding
- How To Paint Wicker And Metal Furniture
- Best Type Of Furniture Paint For Beginners
- 3 Painting Furniture Hacks You’ll Wish You Knew Sooner
Learn the Art of Updating Furniture!
If painting furniture feels overwhelming or your past attempts didn’t go as planned, this course will guide you step by step.

Follow us on YouTube to get more tips for painting furniture. Or share your project with us on our Facebook Group and be part of our community. See you there!
This new bright look is gorgeous Natalie and thanks for the no-sand hacks! Pinned XOXO
Aww thanks so much Denise! So sweet of you to say. I’m so happy the no-sand hacks were helpful!
This sure was a a quirky little piece, but white paint did wonders for it! That pesky bleed through can be such a pain…glad you finally got it taken care of! XOXO
I’m just as glad too! Haha thanks so much Christy!