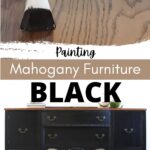
Painting Mahogany Furniture Black – Black Buffet

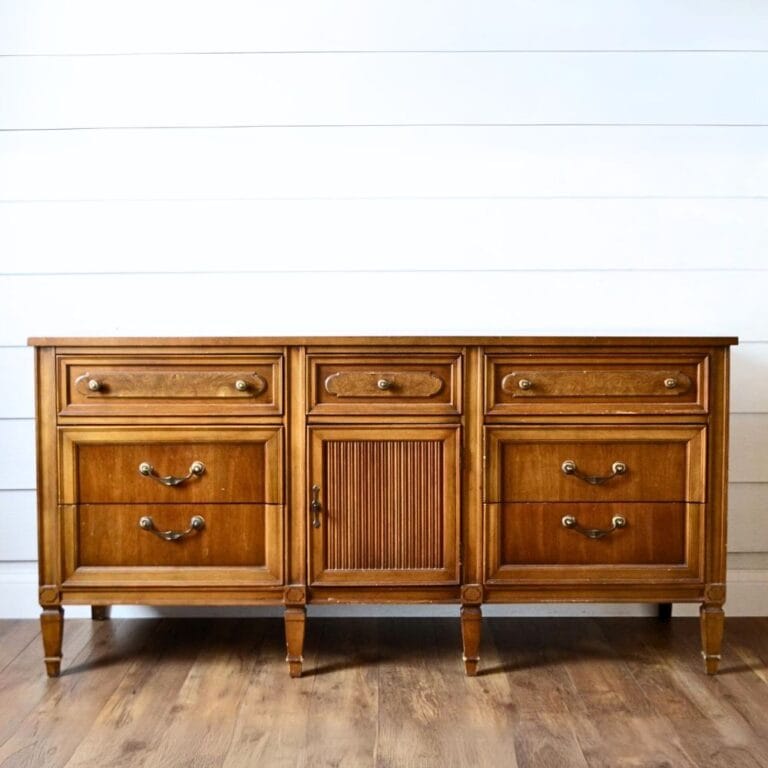
You may have some mahogany furniture that needs a little sprucing up. Lucky for you, today we’re featuring painting mahogany furniture black! Mahogany is a beautiful and durable wood as is, but sometimes you may want to change things up and give it a fresh new look.
Adding these black painted furniture ideas to your space can give it a sleek and modern vibe. This black buffet makeover is an easy and fun DIY project that will transform your mahogany furniture, so keep reading to see the transformation and try it out for yourself!

Mahogany is a classic and timeless wood that has been used in furniture for centuries. Its rich, reddish brown hues give any space a warm and elegant feel. It’s a durable and sturdy wood, so your pieces will last for years.

But if you want to update and add a touch of modern flair to your mahogany furniture, consider painting it black! This color choice is a great way to create a bold and dramatic statement, plus it can easily blend in with any color scheme or decor style, not just modern or contemporary.
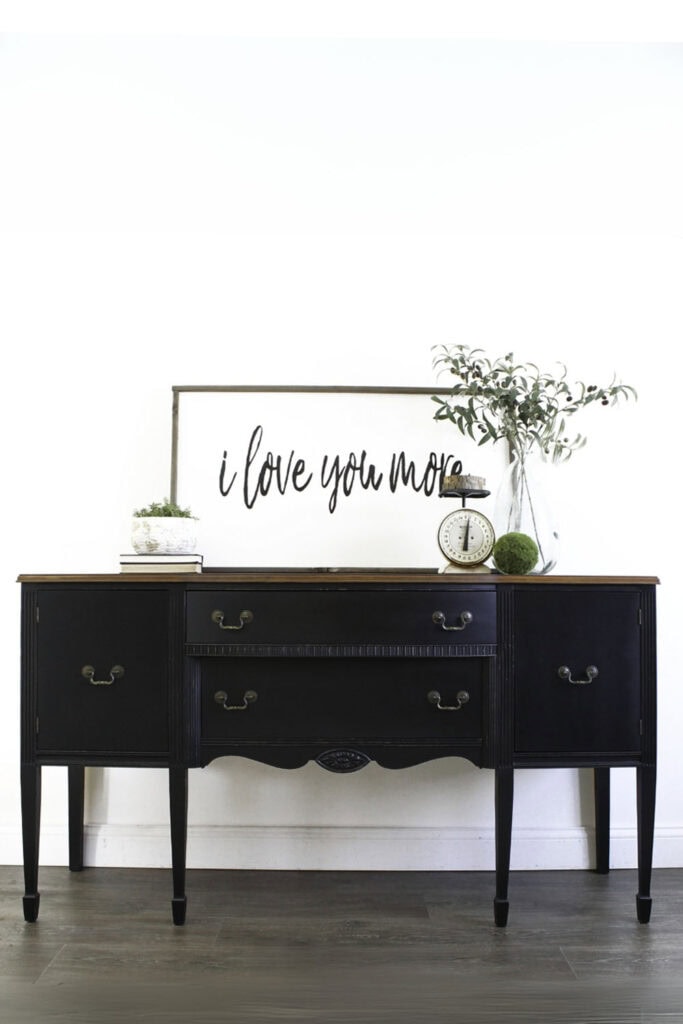
Now this once traditional and classic mahogany buffet will become a stunning black piece that will add character and style to your home. If you’re ready to take on this DIY project, let’s dive in!

Supplies Used for Painting Mahogany Furniture Black
As an Amazon Associate, I earn from qualifying purchases. I also may earn from other qualifying purchases with other companies or get free product to review and use. All opinions are my own.
- Krud Kutter
- Plastic Wood Filler
- Citristrip
- Paper Towels
- 0000 Steel Wool
- Mineral Spirits
- SurfPrep 220 Grit Sandpaper Sheets (Use code RAY10 to get 10% off your order)
- SurfPrep Sander (Use code RAY10 to get 10% off your order)
- SurfPrep Foam Pads (Use code RAY10 to get 10% off your order)
- 220 Grit Sandpaper
- Vacuum
- Tack Cloth
- Pre Taped Plastic
- Painters Tape
- Clear Shellac
- Fuji Q4 Paint Sprayer
- Behr Latex Black Paint
- Calcium Carbonate Powder
- Dark Walnut Wood Stain
- Lint Free Rag
- Waterbased Polyurethane
Prepare Mahogany Furniture for Painting
First things first, we made sure to remove any hardware on the piece. This included knobs, handles, and hinges. It’s important to do this before painting for a smooth finish without any obstructions. Here’s how to clean old furniture hardware to get it ready for reattaching after painting!

Next, we cleaned the mahogany furniture using Krud Kutter. This is a great product for removing any dirt or grime that may have accumulated over time on the surface of the wood. We want a clean surface to work with for the best results. You can get more details and tips on how to clean furniture before painting here.
After cleaning, we inspected the furniture for any scratches or dings and filled them in with plastic wood filler. Aside from a clean surface, we want a smooth and even surface for painting, so this step is also important.
Stripping The Top of a Mahogany Buffet
We were staining the top of our mahogany buffet, so next on our list was stripping the current finish using a Citristrip stripper. We let it sit for at least 4 hours before scraping it off and then cleaning it up with paper towels.

For any remaining residue, we used 0000 steel wool and mineral spirits to remove it. Once that was done, we let the stripped top dry overnight. Here’s how to strip paint from wood furniture to learn more about the step by step of this process.
Then we proceeded to sand the wood filler to blend it in with the rest of the wood. For the top, we sanded it with 220 grit sandpaper to smooth it out and remove any more residue. Then we scuff sanded the rest of the buffet – the SurfPrep sander and medium foam pads were perfect for working around curves, while the SurfPrep 220 grit sandpaper sheets were great for the flat surfaces.

We vacuumed up all the dust from sanding and wiped down the buffet with a tack cloth. Then we taped off the top using pretaped plastic and painters tape to protect it while we painted the bottom.
Priming a Mahogany Buffet
Before painting, we made sure to prime our mahogany buffet. Priming helps the paint stick better and stops any possible bleedthrough from the wood. We sprayed clear shellac on the bottom of the buffet and let it dry overnight. This also gave us a chance to take a break from all the prep work and come back refreshed for the painting process!
Here’s how to fix paint bleed through for more helpful tips on preventing paint bleed through issues! And if you’re looking for other spray paint primer options, check out the best spray paint primer for wood here.
Paint Mahogany Buffet Black with Homemade Chalk Paint
We were excited to finally start painting our mahogany buffet black! Following our homemade chalk paint recipe, we mixed calcium carbonate powder with water and then added the black Behr latex paint. You can check out other chalk paint recipes here, but this is what we usually use for our projects.
Would you like to save this?

Once the black homemade chalk paint was ready, we painted on 2 coats with our Fuji Q4 paint sprayer. For good coverage, we sprayed back and forth and overlapped the spray by about 50%. Again, we did 2 coats and let each coat dry before applying the next. Here’s how to use the Fuji Q4 Platinum paint sprayer to learn more about using this amazing tool!
And when all the coats were dry, we lightly sanded the edges with 220 grit sandpaper to create a distressed look. You can skip this if you want a more solid, modern look. Then, of course, we didn’t forget to clean and vacuum the dust after!


Stain the Top of the Mahogany Buffet
We moved to the top of the mahogany buffet – we stained it with a dark walnut wood stain for a rich and deep color. To apply the stain, we used a rag to wipe it on then let it sit for a minute before wiping off any excess with a clean lint free rag. We have a guide on how to stain wood with a rag here to help you with the process!
We made sure to lay the rags flat outside to dry before we disposed of them properly. Then we let the stained top dry for 72 hours. This allowed the stain to fully set before we added the final topcoat.
Topcoat Mahogany Buffet
And yes, we were finally ready to add the finishing touch to our mahogany buffet – the topcoat! We want to seal and protect both the paint and stain for a long lasting and durable finish. So we sprayed on 3 even coats of waterbased polyurethane all over the buffet using our paint sprayer.

After the final coat was dry, we reattached the original hardware to complete our mahogany buffet transformation! You can also choose to add new hardware for a more updated look, but we wanted to keep the original charm of the piece.
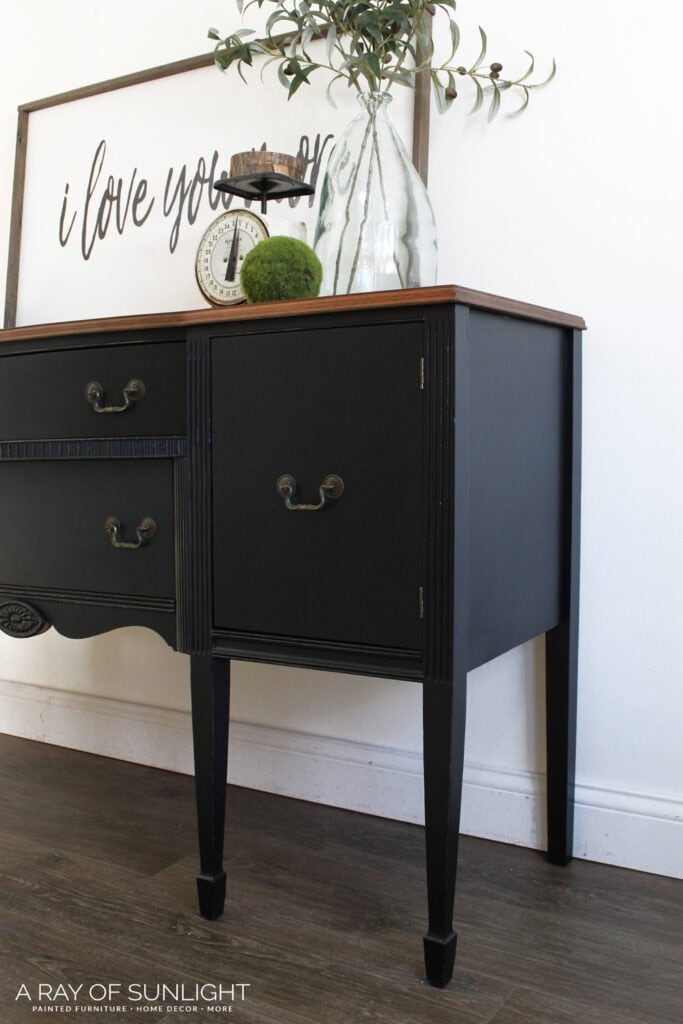
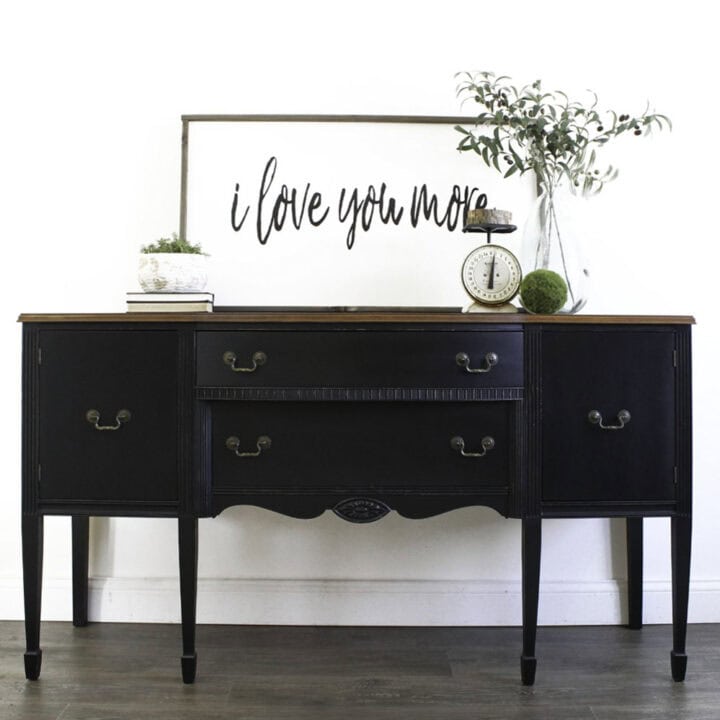
And look at the final result – a beautiful black mahogany buffet! We love how the dark stain on top contrasts with the black paint on the bottom, creating depth and interest. So, if you have a mahogany piece that needs some love, don’t be afraid to paint it and paint it black!
For similar makeovers, here are chalk paint buffet ideas. Check out this guide on painting an antique buffet if you have an antique piece.
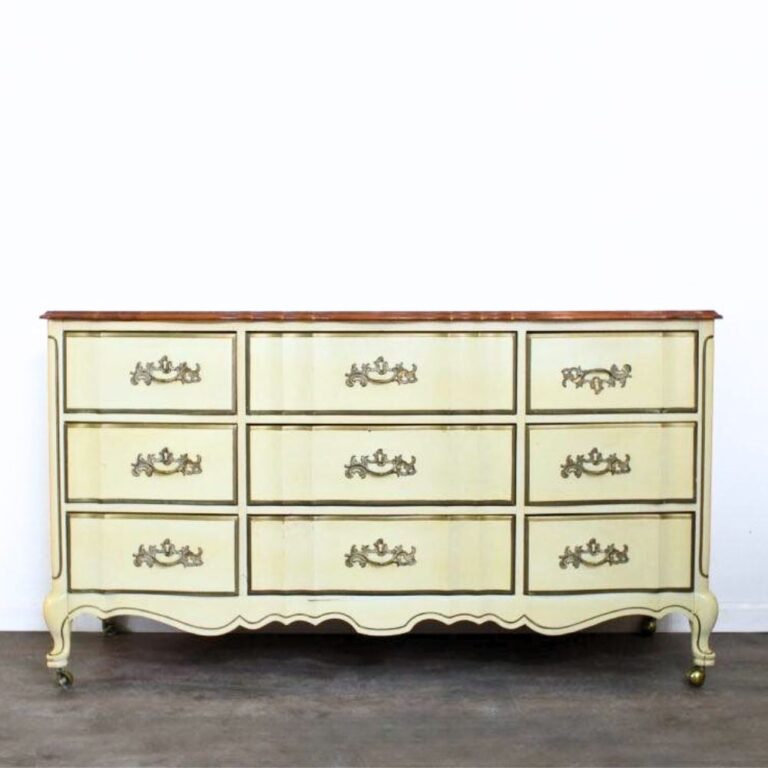
More Before and After Makeovers
See All >
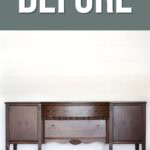
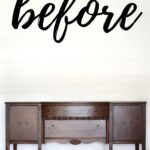
Click any of these “before” photos below to view the “after” of that makeover.


Painting Mahogany Furniture Black - Black Buffet
This painting mahogany furniture black guide features a mahogany buffet transformed into a stunning black piece with a stained top.
Materials
- Krud Kutter
- Plastic Wood Filler
- Citristrip
- Paper Towels
- Mineral Spirits
- SurfPrep 220 Grit Sandpaper Sheets (Use code RAY10 to get 10% off your order)
- SurfPrep Foam Pads (Use code RAY10 to get 10% off your order)
- 220 Grit Sandpaper
- Tack Cloth
- Pre taped Plastic
- Painters Tape
- Clear Shellac
- Behr Latex Black Paint
- Calcium Carbonate Powder
- Dark Walnut Wood Stain
- Lint Free Rag
- Waterbased Polyurethane
Tools
Instructions
- Start by removing any hardware on the piece, such as knobs and hinges. This will make painting easier without any obstructions.
- Clean the furniture using a product like Krud Kutter. This will remove any dirt or grime, giving you a clean surface to work with for the best results.
- Inspect the furniture for any scratches or dings and fill them in with plastic wood filler. This step is important for creating a smooth and even surface for painting.
- Strip the top using a Citristrip stripper. Let it sit for at least 4 hours before scraping it off and cleaning up any residue.
- Sand the wood filler to blend it in with the rest of the wood. For the top, sand it with 220 grit sandpaper to smooth it out and remove any more residue. Then scuff sand the rest of the piece - the SurfPrep sander and medium foam pads are perfect for working around curves, while the SurfPrep 220 grit sandpaper sheets are great for the flat surfaces.
- Vacuum up all the dust from sanding and wipe down the furniture with a tack cloth. Then tape off the top using pretaped plastic and painters tape to protect it during painting.
- Prime the furniture, spraying clear shellac on the bottom of the piece and letting it dry overnight. This will help the paint stick better and prevent any potential bleedthrough from the wood.
- Mix your own homemade chalk paint using calcium carbonate powder, water, and black Behr latex paint. You can also use store bought chalk paint if desired.
- Apply 2 coats of the black chalk paint with your paint sprayer, making sure to overlap and cover evenly. Let each coat dry before applying the next.
- For a distressed look, lightly sand the edges with 220 grit sandpaper after the final coat of paint has dried. Clean up any dust from sanding afterwards.
- Stain the top of the furniture with a dark walnut wood stain using a rag to wipe it on and then wiping off any excess after a minute with a clean lint free rag. Let the stained top dry for 72 hours.
- Seal and protect your painted and stained furniture by spraying on 3 coats of waterbased polyurethane with your paint sprayer. Let the final coat dry completely before attaching hardware.
- Enjoy your transformed black mahogany furniture!
Recommended Products
As an Amazon Associate and member of other affiliate programs, I earn from qualifying purchases.


More Painted Furniture Makeovers
- Chalk Painting End Tables Black
- Painting A Bedside Table
- Caviar Style Vintage Dresser Makeover
- Painting a Side Table
- Vintage Buffet Makeover
Follow us on YouTube to get more tips for painting furniture. Or share your project with us on our Facebook Group and be part of our community. See you there!


