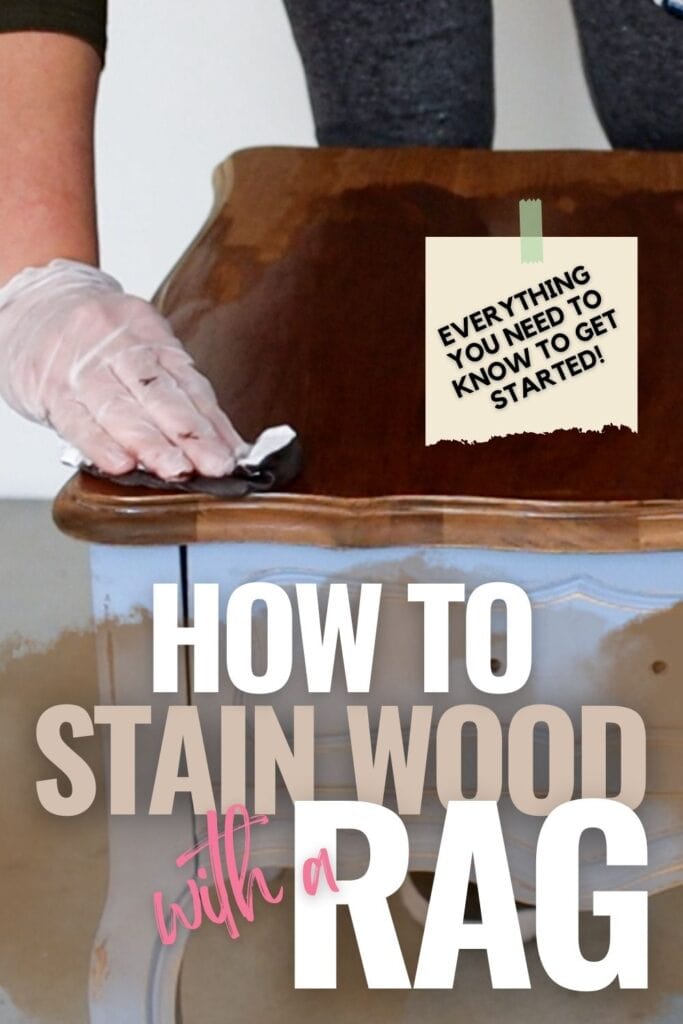
How To Stain Wood With A Rag
Welcome to our guide on how to stain wood with a rag! If you’re looking for an affordable and effective way to give your wooden projects a fresh, professional looking finish, you’ve come to the right place. Staining wood with a rag is not only cost effective, but it’s also one of the efficient refinishing furniture techniques.
We’ll walk you through the entire process, sharing valuable tips, product recommendations, and personal experiences to help you get started on your journey to becoming an expert in staining wood with a rag. So let’s dive in and explore staining wood with a rag together!
Staining wood with a rag is an easy way to give your furniture and other wooden projects a beautiful finish. You do not need a lot of supplies to do it, but it gives you more control over how much stain you apply to the surface.

This allows for better precision when staining intricate details on your project. Plus, because you don’t need expensive tools like brushes or sprayers, staining with a rag is one of the most cost-effective methods out there! With just a bit of practice, anyone can master this method.
However, please note that if the wood you are staining is rough or has a coarse texture, using a rag may result in the rag getting caught easily and leaving behind a lot of lint. So, this method works the best if used on smooth surfaces.
Supplies for Staining Wood with a Rag
As an Amazon Associate, I earn from qualifying purchases. I also may earn from other qualifying purchases with other companies or get free product to review and use. All opinions are my own.
- 150 Grit Sandpaper or 220 Grit Sandpaper
- Shop Vacuum
- Tack Cloth
- Intex Lint Free Rags
- Wood Stain (Oil Based or Water Based)
- Disposable Gloves
- Stir Stick
- Respirator (if using oil based stain)
- Topcoat (Oil Based or Water Based Polyurethane)
Preparing the Wood
First, if your piece is dirty, clean it off. Dust and debris can mess up the next step, so it’s best to remove them before you sand the wood to get it ready for stain. Learn more about how to clean furniture before painting here.
Once the wood is clean, use a piece of 150 grit sandpaper or 220 grit sandpaper to smooth out the surface, smooth the edges a little and open up the wood grain to better accept the stain.
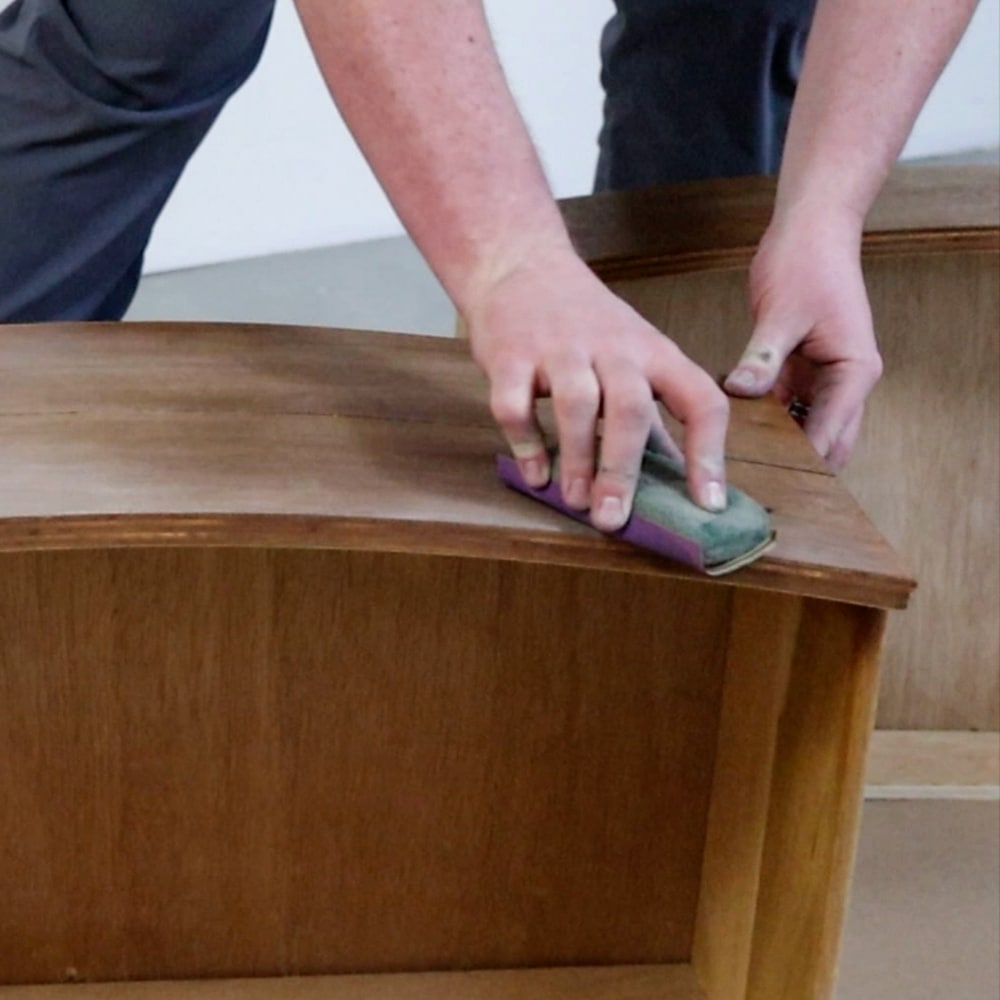
This step will also help smooth out the surface so that your rag won’t get caught on any rough patches when applying the stain. Be sure to sand with the direction of the wood grain to prevent scratches in the wood that will be magnified once you stain the wood.
Learn more about the importance of sanding before painting furniture here. But if you want to skip this step, check out our guide on how to stain furniture without sanding.
If using a power sander, go slow and don’t push hard. This will prevent it from leaving swirl marks in the wood, which will also be magnified once you stain the wood. Check out the best sanders for furniture to know which one is the right one for your project.
Then, use a shop vacuum with a hose and brush attachment to suck up the dust on the wood. Use a tack cloth to remove any remaining dust. This will create a very clean surface so that nothing interferes with the staining process.
Choosing the Right Stain
Once you’ve prepared your wood, it’s time to choose the right stain for your project. There are different types of wood stains, such as gel stain, oil based wood stain, and water based wood stain.
Gel stain is typically oil based, but it is a thicker consistency that can sit on the surface of the wood. Gel stain is great for wood that already has a finish on it. Check out this blog post about the farmhouse cabinet makeover where we used gel stain.
Oil based wood stain is the most common and popular stain; it penetrates the wood more than water based stains. Water based wood stain also penetrates the wood, but not as much as oil based stain. But water based wood stain dries very quickly, so it is best for small projects.
For more information on all of these stains, check out our blog post on the best wood stains for refinishing furniture. It will also help you decide which one to go for.
Unsure how to stain already stained wood or if you can you stain over paint, check out the blog posts to know the answers.
Applying the Stain With a Rag
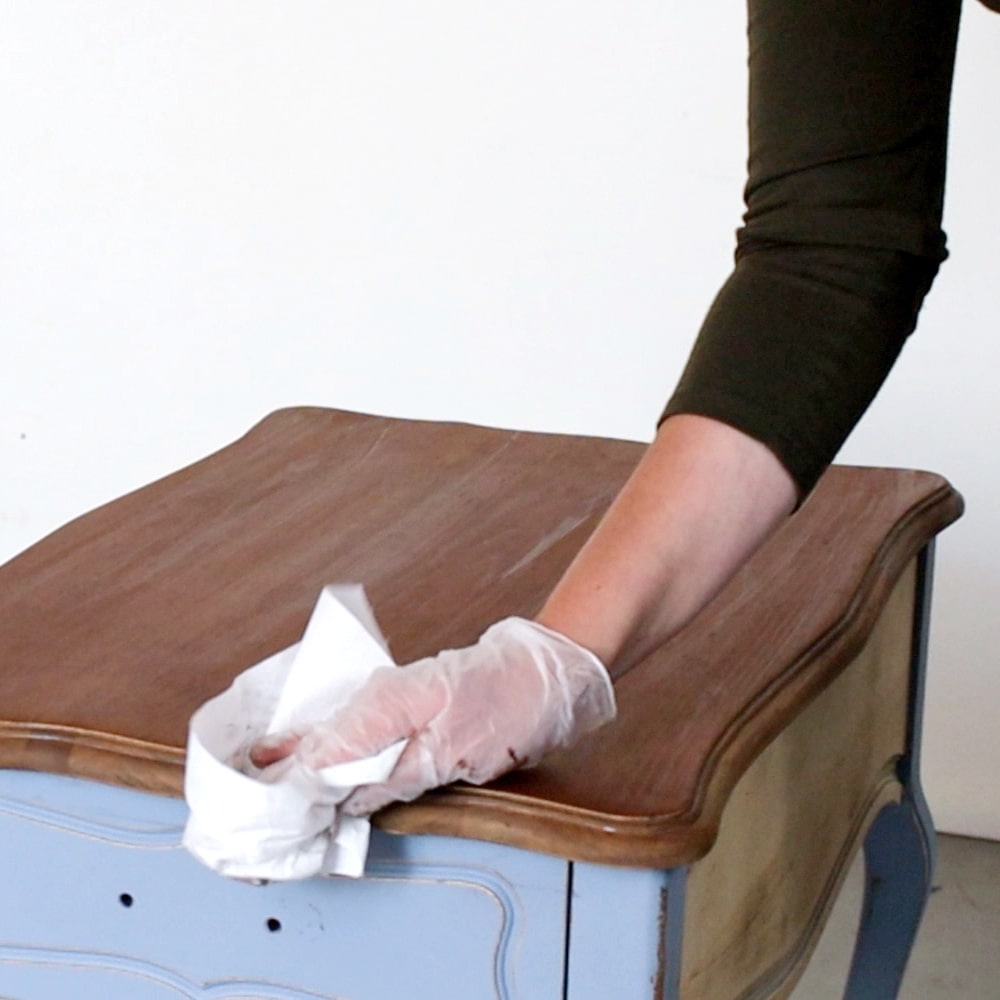
Now that you’ve chosen the right stain, it’s time to start applying it with a rag. To do this, dip your rag into the stain and then wipe it onto the wood in the direction of the wood grain (follow the natural lines in the wood.)

This creates an even coat and helps to avoid streaks. If you’re using a water based stain, work quickly and in small, long sections since it dries quickly.
Once you have coated the wood with stain you can let the oil based stain sit on the wood longer to help it soak in more, which creates a deeper stained color. Then use a clean rag to remove any excess stains.
Would you like to save this?
I don’t let the wood based stain sit long on the wood since it dries so quickly.
It’s important to note that oil based stains are flammable, so make sure your rags are completely dry before disposing of them. I lay them flat outside to dry completely.
Staining wood with a rag is not difficult, but there are some tips to keep in mind to make sure you get the best results. The most important thing is to be prepared and patient. However, if you don’t want to use a rag, check our list of best brushes for staining wood here.
If you’re working with a larger piece and wondering, “can you spray wood stain with a paint sprayer?”, read here to find out.
Make sure you have all of your supplies ready before starting, and that you’re taking your time with each step. Here are a few other tips to help you get started:
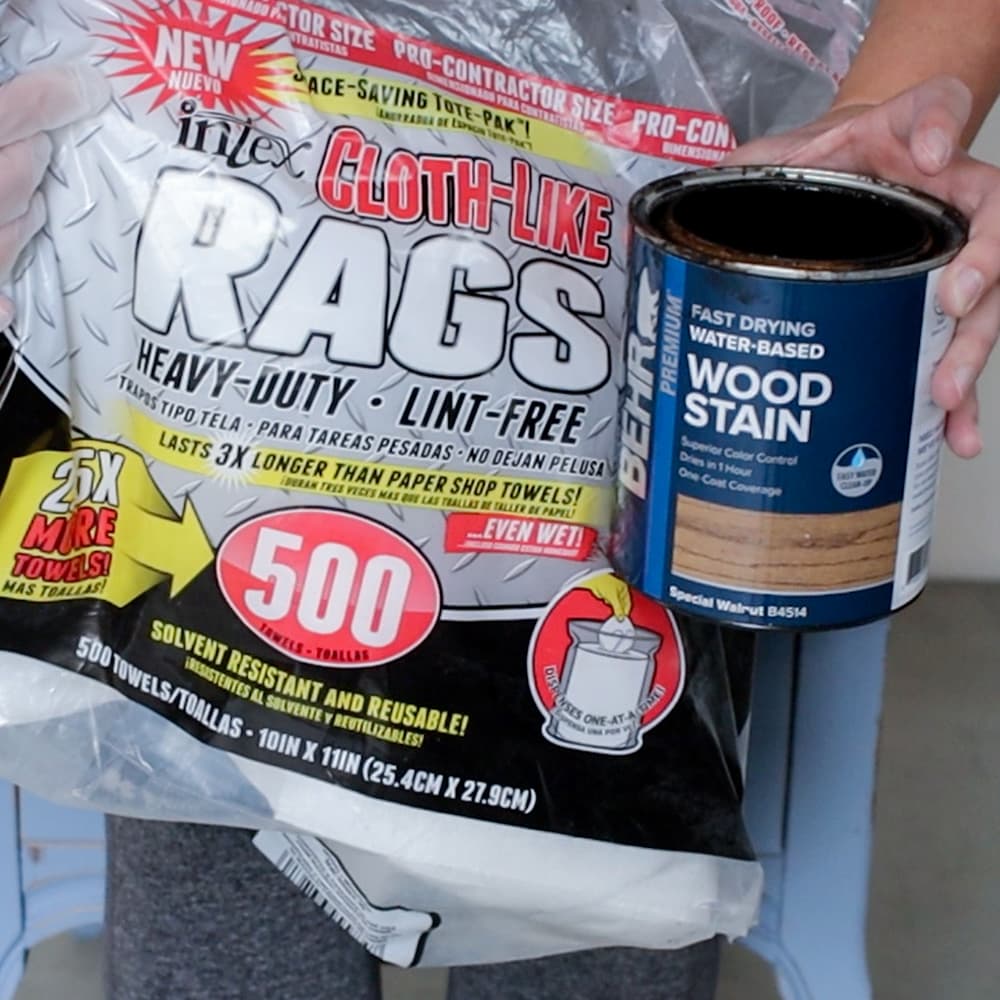
Use quality supplies – Invest in good lint-free rags and a high-quality wood stain for the best results.
Test the stain – Before applying it to your main project, test it on some of the same wood first to make sure you like the color and that it’s working correctly. Each piece of wood can take the stain differently, even if it is the same type of wood.
Wipe off excess – As mentioned, wipe off any excess stain with a clean rag after the staining process is complete. This will prevent any drips, runs, or splotchy coloring in the finish. Check out my step by step guide on how to stain wood furniture here to see the process in action.
Finishing the project
Once you are finished staining the wood with the rag and wiping off any excess, let it dry. Oil based stains need to dry for about 24-48 hours, water based stains dry completely within a few hours. Check the back of your can for specific times.
Then, depending on what type of finish you want, you can either leave it as is or add a top coat to seal in the stain. The topcoat will help protect the wood and the stain, and it will make it easier to clean. Here’s our list of the best topcoats for painting furniture to learn more about what is best for your project.
You can use oil based polyurethane, water based polyurethane (also known as polycrylic), or even a wax topcoat. If you aren’t sure, here is our post on wax vs polyurethane, and here is our post on polycrylic vs polyurethane. Here is how to spray polyurethane, and here is how to apply polycrylic by hand, to see the different methods.
Please remember, if you are using oil based products to let them dry completely before wadding up the rags and throwing them away! Good luck!
That’s all there is to it! Staining wood with a rag is an easy and cost effective way to get professional looking results. With the right supplies, prep work, and patience, you can transform your furniture and projects in no time!
If you’ve never done any of this before, here’s how to stain furniture for beginners to learn the basics.
You can also distress furniture with a rag – you can see how I did it in this Heirloom Traditions All In One Paint review. Check out other distressing furniture techniques you can do here.


Is it better to brush or rag wood stain?
A common debate is whether it’s better to use a brush or a rag for applying stain. Honestly, both have their pros and cons, so it really comes down to personal preference and the type of project you’re working on.
Using a brush to apply wood stain can give you more control and precision in terms of where the stain is applied. It also allows for a thicker coat of stain, which can create a deeper color. However, using a brush can also result in visible brush strokes that can ruin the smooth finish of your project.
On the flip side, using a rag to apply wood stain can give you a smoother, more even finish. It also lets you apply a lighter coat, making it easier to control and blend. But keep in mind, using a rag might take more time and effort to get the right color and coverage, as it isn’t as good at reaching tight corners or detailed spots.
Don’t be afraid to try both methods and see which one works best for you and your project. You might even find that a combination of both can give you better results. Just remember to always work in the direction of the wood grain and use a clean rag or brush for each coat of stain.

How To Stain Wood With A Rag
If you're looking for a cheap and easy way to give your wooden projects a fresh look, staining with a rag is a great option! Here's our guide on how to stain wood with a rag.
Materials
Instructions
- Remove the dust and any gunk from the wood. Clean the wood so the debris can't mess with the staining process.
- After cleaning, sand the wood using 150 grit sandpaper or 220 grit sandpaper to smooth out the surface. Suck up the dust using a shop vacuum and a tack cloth to remove any remaining dust.
- Dip the rag into the stain and then wipe it onto the wood in the direction of the wood grain. Remove any excess stain using a clean rag and let it dry. Oil based stains need to dry for about 24-48 hours, water based stains dry completely within a few hours.
- Once the stain is completely dry, apply a topcoat to seal the stain. The topcoat will help protect the wood and the stain, and it will make it easier to clean.
Notes
Use a water based topcoat with water based stain OR oil based topcoat with oil based stain for best results.
Recommended Products
As an Amazon Associate and member of other affiliate programs, I earn from qualifying purchases.


More staining wood tips
- Staining Wood Filler
- Staining A Dresser Darker
- How To Stain Wood With Paint
- How To Use Retique It
- How to Restain a Coffee Table

Follow us on YouTube to get more tips for painting furniture. Or share your project with us on our Facebook Group and be part of our community. See you there!