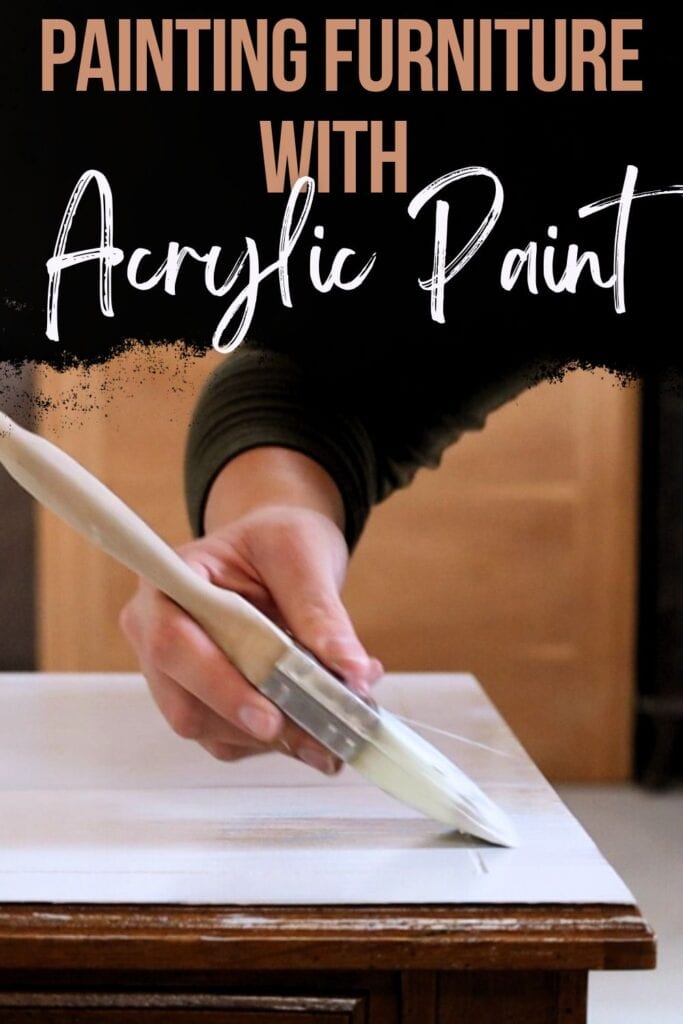
Painting Furniture with Acrylic Paint
Are you looking to update your furniture with a fresh coat of paint? Painting furniture with acrylic paint is an easy and effective way to transform any piece in your home. In this blog post, we will discuss all there is to know about using acrylic paint as a type of paint for furniture.
We will tackle the benefits and drawbacks of acrylic paint for furniture, as well as provide a step-by-step guide on using it.
When it comes to painting furniture, an option that has gained popularity in recent years is acrylic paint. Acrylic paint can be used to create a classic solid finish or even a distressed farmhouse look.

With so many looks you can create with acrylic paint, it’s no wonder that more and more people are turning to this paint for their furniture projects.
But what exactly is acrylic paint? Acrylic paint is a water-based paint made from acrylic resin and pigment.
It is known for its smooth finish, easy application, and versatility. It is usually confused with powdered milk paint but acrylic paint creates a different type of finish that is loved by many furniture painters.
Let’s dive into the pros and cons and steps for using acrylic paint on furniture, so you can decide if this is the right option for your next project.
As an Amazon Associate, I earn from qualifying purchases. I also may earn from other qualifying purchases with other companies or get free product to review and use. All opinions are my own.
Pros and Cons of Using Acrylic Paint
Acrylic paint has so many advantages! First off, it sticks to surfaces way better than regular latex paint, which makes it perfect for furniture that gets a lot of action.
For surfaces that don’t get much traffic, another perk is that you don’t have to seal it, so it saves you time and effort when finishing up.
And let’s not forget how easy it is to clean up – acrylic paint is low-VOC and a breeze to tidy up after.
Another great thing about using acrylic paint on furniture is how well it levels out. This means that any brush strokes or imperfections will smooth out as the paint dries, giving you a nice and smooth finish.
Acrylic paint is also easy to sand and distress, so you have more options to create different looks. Plus, it comes in a wide range of colors, so you can mix and match to create your own custom shades.
Pros
- Sticks to surfaces better than regular latex paint
- Does not require sealing for low traffic surfaces
- Easy to clean up after and low-VOC
- Levels well for a smooth finish
- Sands and distresses well
- Available in a range of colors for customization
Using acrylic paint for furniture has its pros, but let’s not forget its limitations. One major downside is that it can be pricier compared to latex paint.
It may also not be readily available at your local hardware store, so you may need to purchase it online or from a specialty store.
This can be inconvenient if you need the paint for a last-minute project.
Another downside is its limited color options. While it does come in a range of colors, it might not offer the same variety as other types of paint.
Finding the exact shade you want could be a challenge, limiting your design choices.
And if you want the best durability and protection for your furniture, you’ll need to seal it with water-based polyurethane, which means an extra step in the painting process.
Cons
- Can be pricier than latex paint
- Not readily available at local hardware stores
- Limited color options
- Requires sealing with water-based polyurethane for best durability
Steps for Painting Furniture with Acrylic Paint
Now that you know the pros and cons, let’s get into how to actually use acrylic paint on furniture.
Before starting your project, make sure to remove all hardware from the furniture piece you will be painting. This includes drawer pulls, knobs, and hinges.
This will prevent any accidental paint getting on them and guarantee a clean finish when reattaching later.
Next, give the furniture a good cleaning with a degreaser. This will not only remove any grime or dirt but also prep the surface for better paint adhesion.
Would you like to save this?
You shouldn’t skip cleaning furniture before painting as it can make a big difference in the final result.

If the furniture has any damage, now is the time to fix it. Here’s how to fix damaged wood furniture before painting if you need some guidance.
Once the furniture is clean and repaired, scuff sand the surface with a fine-grit sandpaper.
Sanding before painting furniture helps the paint stick better and creates a smoother finish. Here’s a complete guide for sanding for paint prep.
After sanding, wipe down the furniture with a damp cloth to remove any dust.
Now it’s time to prime the furniture. While acrylic paint already has good adhesion, using a primer will guarantee an even better bond and prevent stains from coming through paint.
Apply two coats of primer, letting each coat dry completely before moving on to the next. Check out our post on the best primers for painting furniture to learn your options.
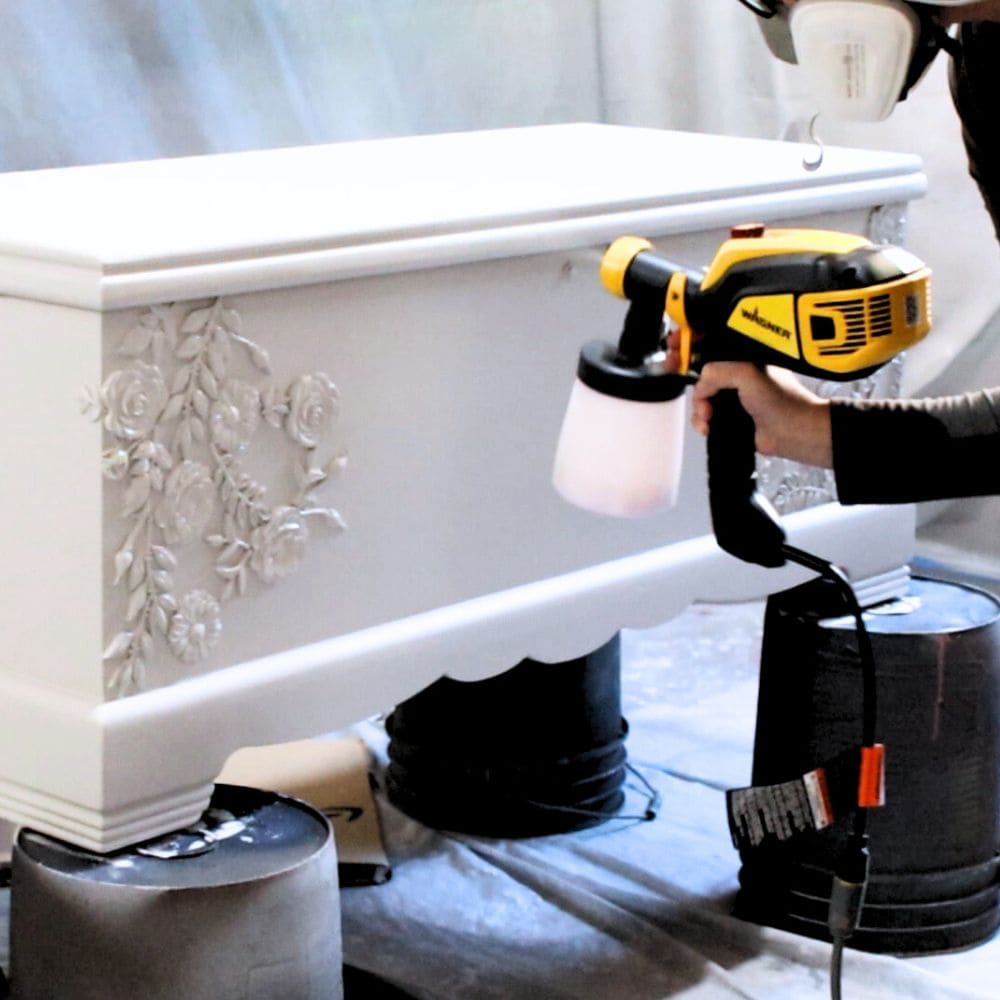
For painting acrylic paint, a paint sprayer will give you a smooth and professional finish. Check out the best HVLP paint sprayers for furniture if you’re looking to invest in one.
Acrylic paint is pretty thick though, so if you do use a sprayer, make sure to thin it with water first.
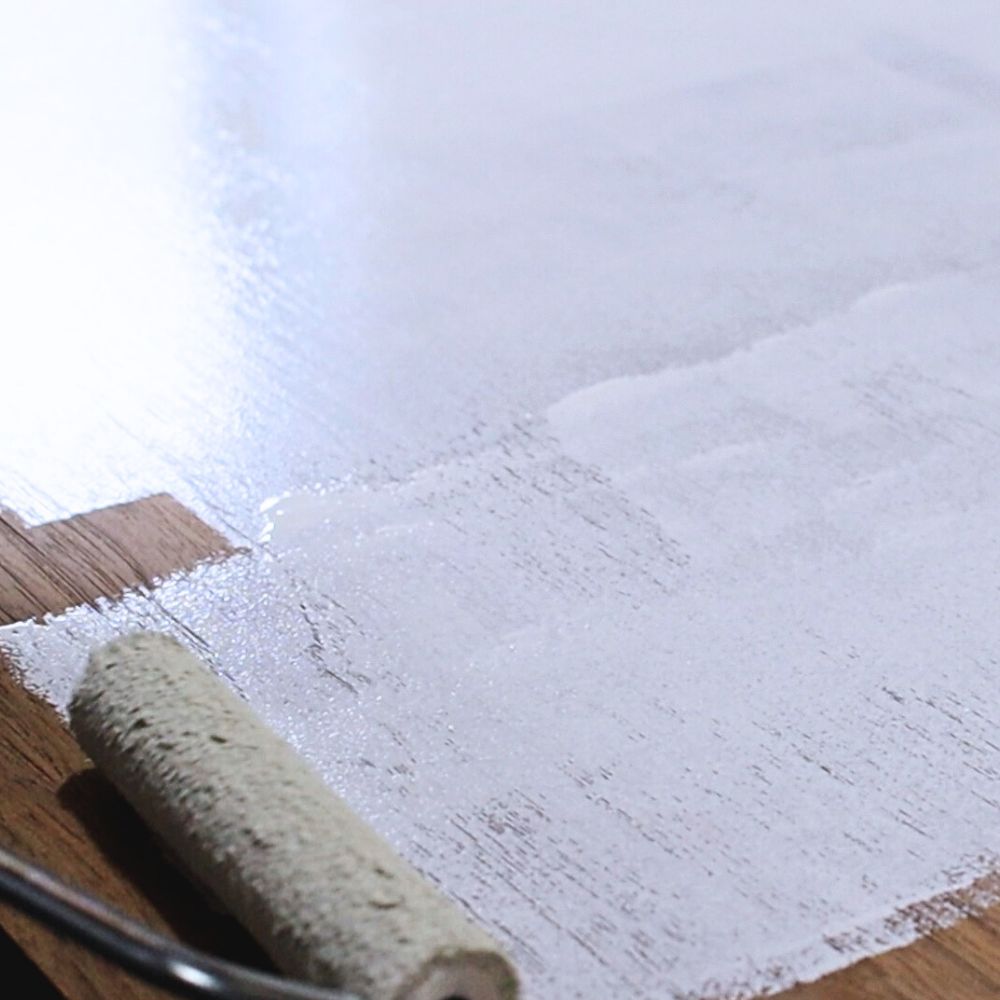
But if you don’t have a sprayer or you’re not yet ready to make that investment, a high-quality paintbrush or roller will do the job just fine.
Here are the best paint brushes for painting furniture and the best rollers for painting furniture if you need recommendations.
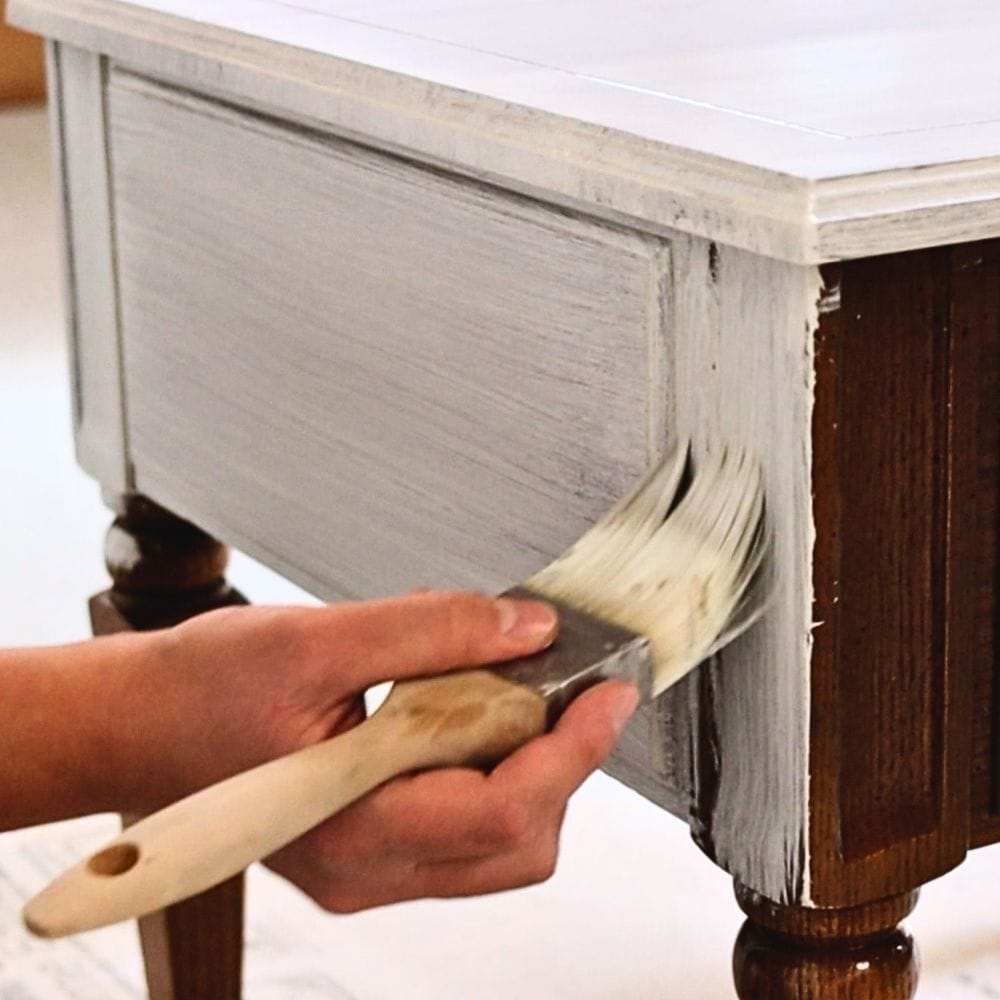
Start painting your furniture with acrylic paint, making sure to use long and even strokes. You’ll likely need two coats of paint for full coverage, so let each coat dry completely before adding the next one.
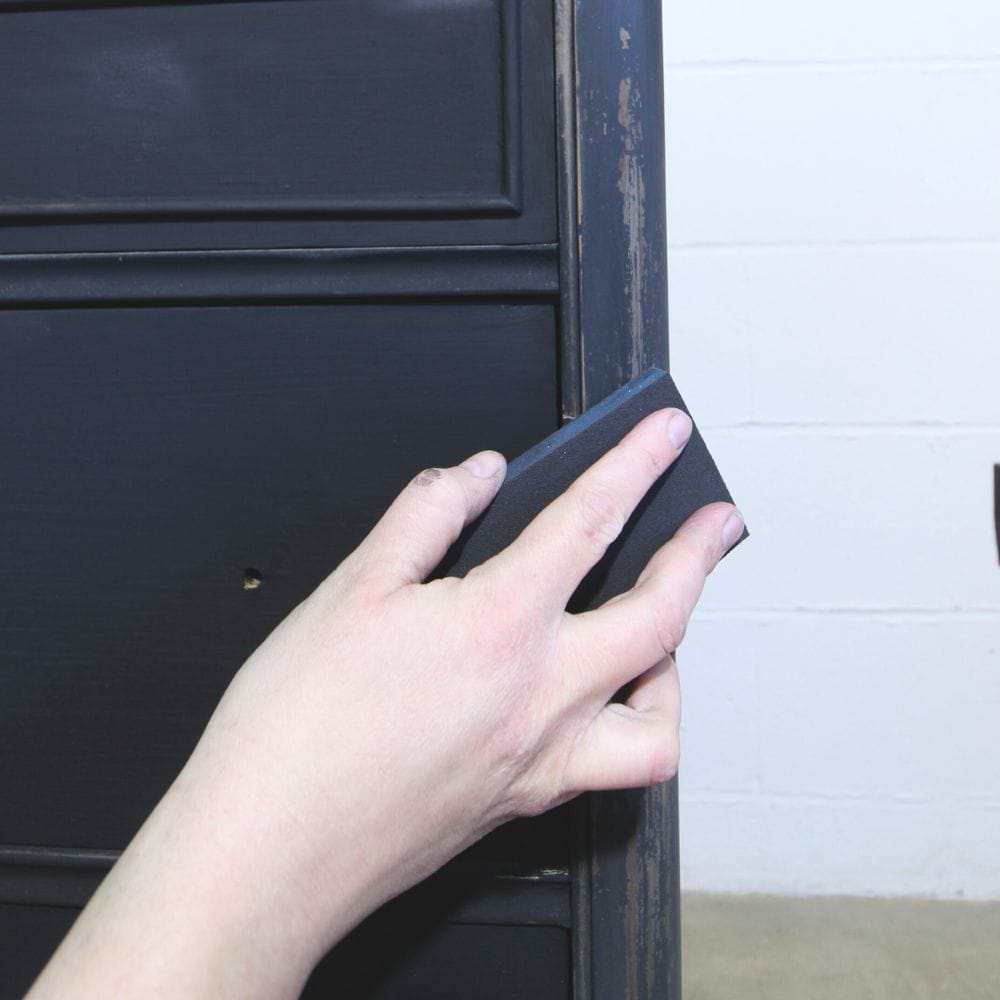
Once the final coat is dry, you can distress or sand for a more vintage look if desired.
Seal the paint with a water-based polyurethane for added durability. If you’re unsure about how to apply polyacrylic to painted furniture, our guide will walk you through the process step-by-step.
Finally, let your newly painted and sealed furniture piece dry completely before reattaching any hardware and using it in your home.


What You Can Create with Acrylic Paint
With acrylic paint, the possibilities for creating unique and customized furniture are endless.
You can get a classic solid finish in any color you desire, making it perfect for adding a pop of color to your home decor.
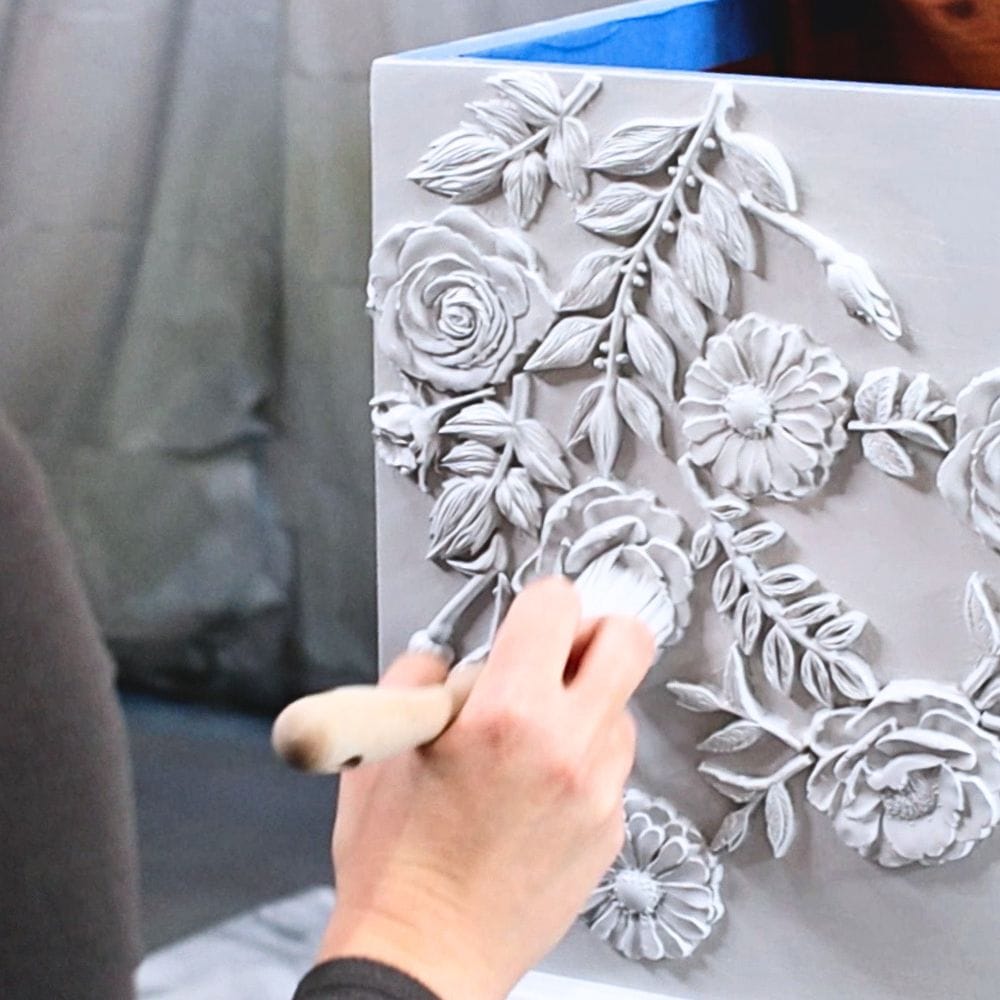
But if you’re looking for a more rustic and worn look, distressing furniture painted with acrylic paint can also be done for that farmhouse feel.
Another fun technique to try with acrylic paint is blending or dripping multiple colors for a vibrant and abstract look.
You can also water down the paint for a thin wash effect that adds depth and character to your furniture.
Check out this cedar chest makeover to learn more about how to color wash painted furniture using acrylic paint.
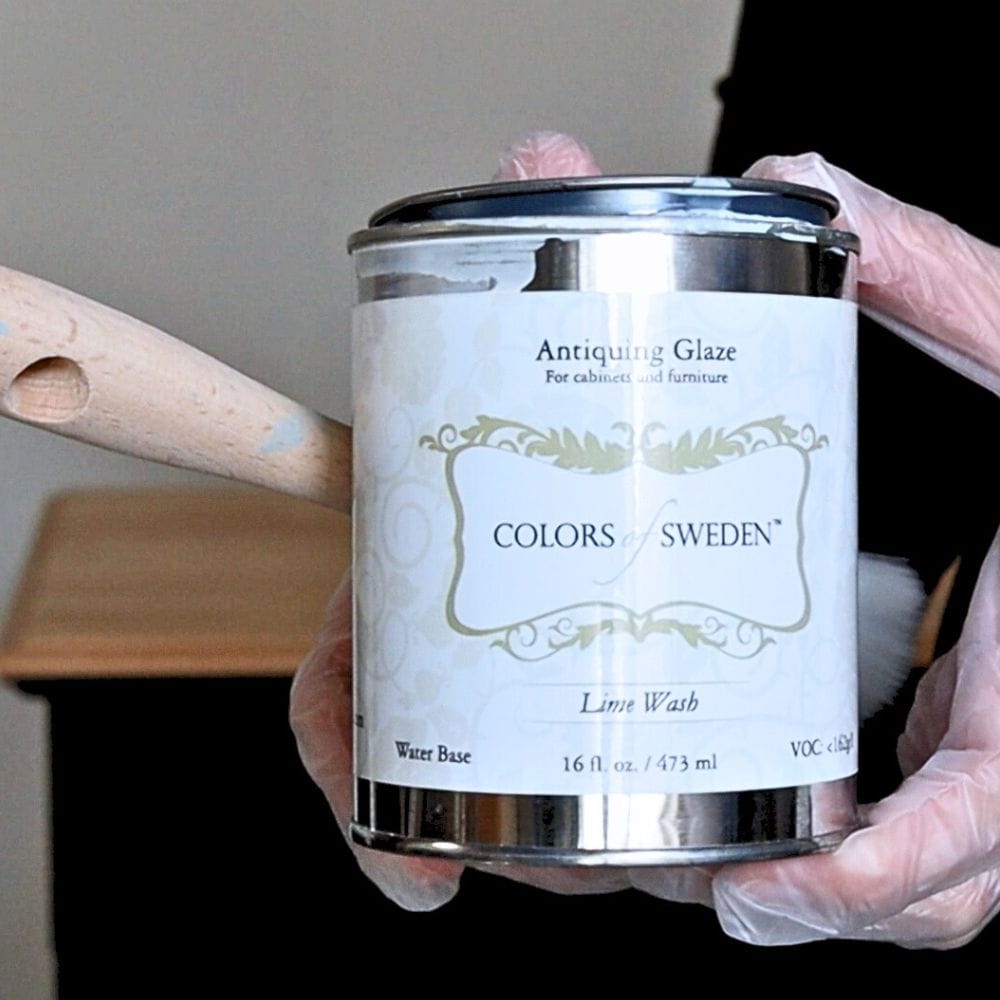
For an antiqued finish, you can use glaze or dark wax chalk paint. And don’t be afraid to mix and match these techniques to create a truly unique and personalized piece!
Now that you know the ins and outs of painting furniture with acrylic paint, you can confidently tackle your next DIY project.
And remember, have fun with it! Experiment with different colors and techniques to create a unique piece that reflects your personal style.
More Painting Furniture Tips
- Painting Furniture With Enamel Paint
- Painting Furniture With Latex Paint
- Is Chalk Paint Durable for Kitchen Table
- How to Paint Stripes on a Wall Without Bleeding
- How to Paint Particle Board Furniture

Follow us on YouTube to get more tips for painting furniture. Or share your project with us on our Facebook Group and be part of our community. See you there!