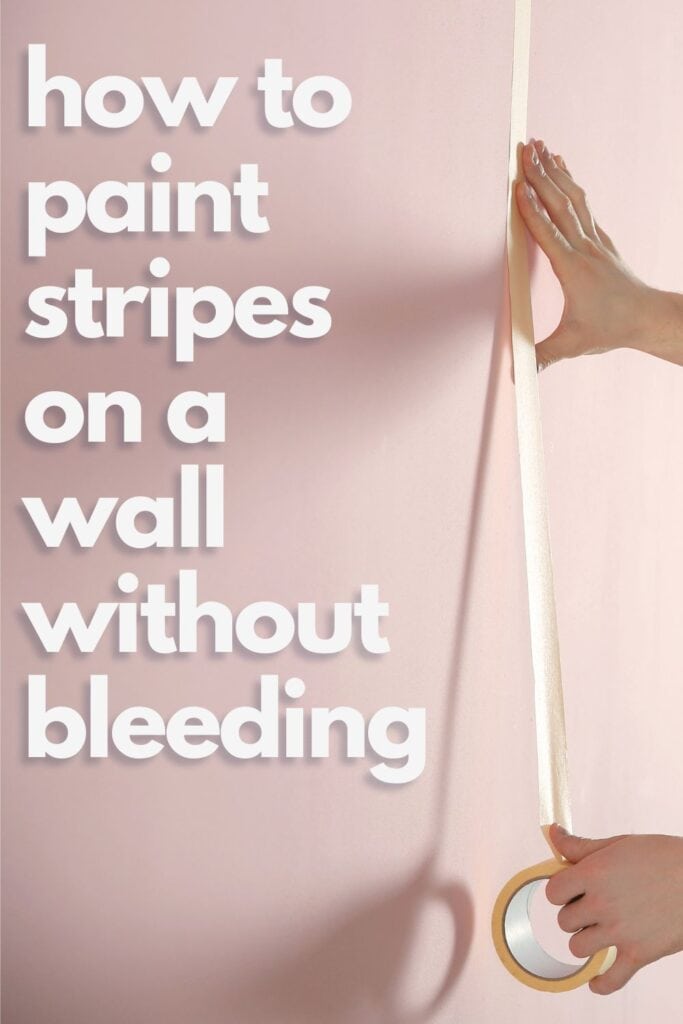
How to Paint Stripes on a Wall Without Bleeding
Are you looking to add some personality and design to your walls without the hassle of touch-ups and mistakes? We’ll teach you how to paint stripes on a wall without bleeding using one simple, reliable tool. And since you’re painting, here are the different painting techniques for furniture that you can incorporate to your home design!
This easy yet effective method will give you clean, pro-looking stripes every time!
Painting stripes on a wall is a great way to add visual interest and personality to any room. Whether you’re going for a bold statement or a subtle touch, stripes can instantly transform the look of your walls. Getting those clean and crisp lines is also so satisfying.

However, painting stripes can be quite a challenge. One tiny mistake can mess up the whole look and require time-consuming touch-ups.
No one wants to spend hours perfecting their stripes only to find out that the paint has bled through the edges.
That’s where Frog Tape comes in to save the day.
Supplies For Painting Stripes on a Wall Without Bleeding
As an Amazon Associate, I earn from qualifying purchases. I also may earn from other qualifying purchases with other companies or get free product to review and use. All opinions are my own.
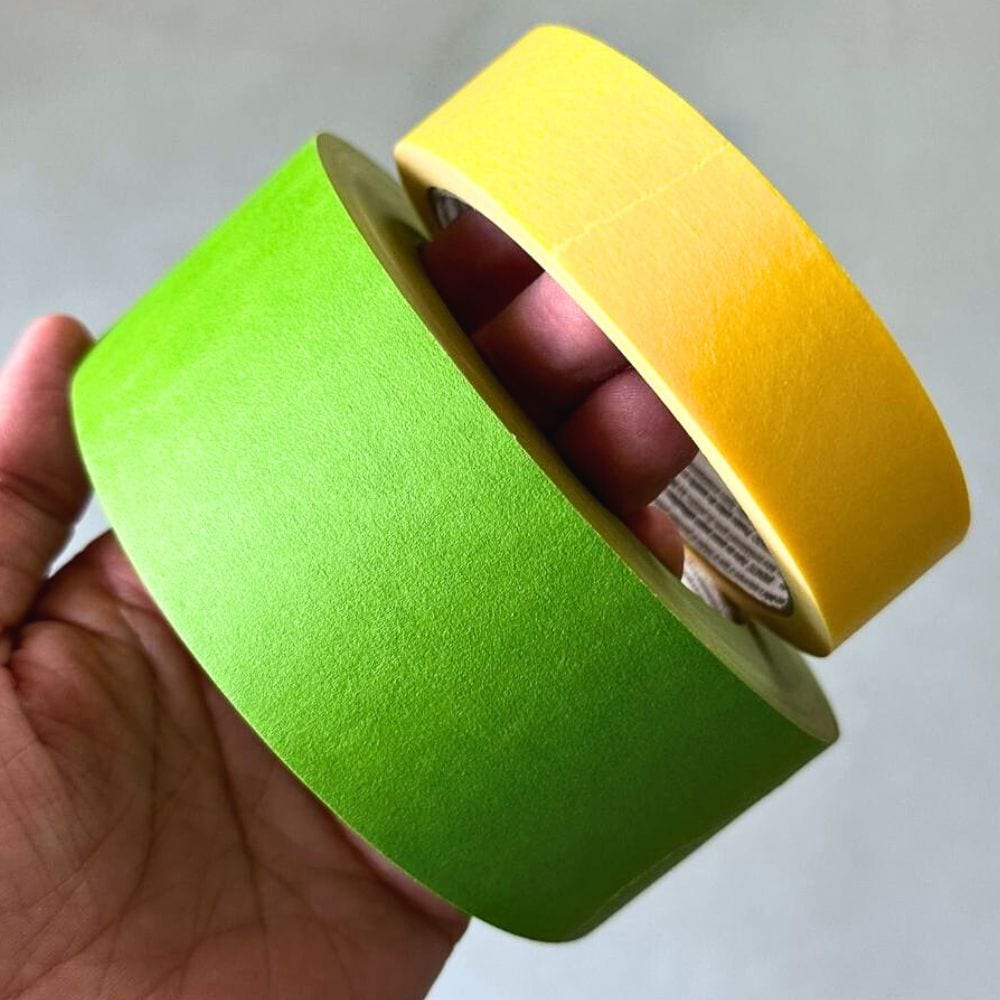
Best Tape to Use for Stripes
Frog Tape is a brand of painter’s tape that uses innovative PaintBlock® Technology to prevent paint bleed – it’s a game-changer for DIYers and professional painters alike.
The super-absorbent polymer in Frog Tape reacts with the water in latex paint, creating a micro-barrier that flawlessly seals the tape’s edges.
This guarantees no paint bleed and gives you sharp, clean lines every time!
But that’s not all, Frog Tape also allows you to leave the tape on for up to 60 days without any damage or residue.
This makes it perfect for larger projects that require multiple coats of paint or a longer time to complete.
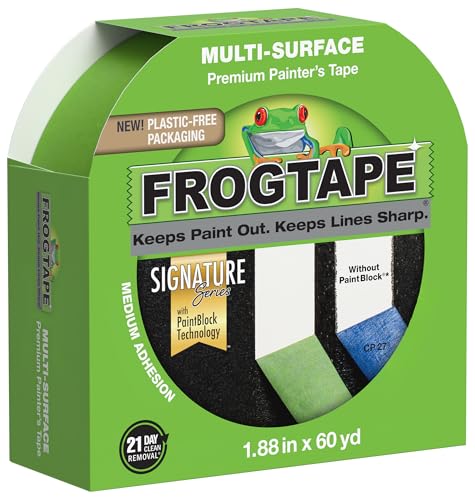
Frog Tape offers three different types of painter’s tape: Multi-Surface, Delicate Surface, and Pro Grade. All of them use the same PaintBlock® Technology but offer different levels of adhesion to match your surfaces and needs.
So what is the best painters tape that doesn’t bleed? Whether you’re working on textured walls, freshly painted surfaces, or delicate materials, there’s a Frog Tape for you.
Painting Stripes on a Wall Using Frog Tape
Before applying Frog Tape, it’s important to prepare your wall properly. Make sure it’s clean and free of any dust or moisture that can affect the tape’s adhesion. Any debris or moisture on the surface can cause paint to bleed through, ruining your stripes.
So take the time to clean and dry your wall before starting. Here’s how to clean furniture before painting if you need some guidance on that.
For longer pieces of tape, it’s best to have someone else holding the other end while you’re applying it. This prevents stretching and helps keep the tape straight and even.
If you’re working on a smaller project, cutting shorter sections of Frog Tape can make the application more manageable.
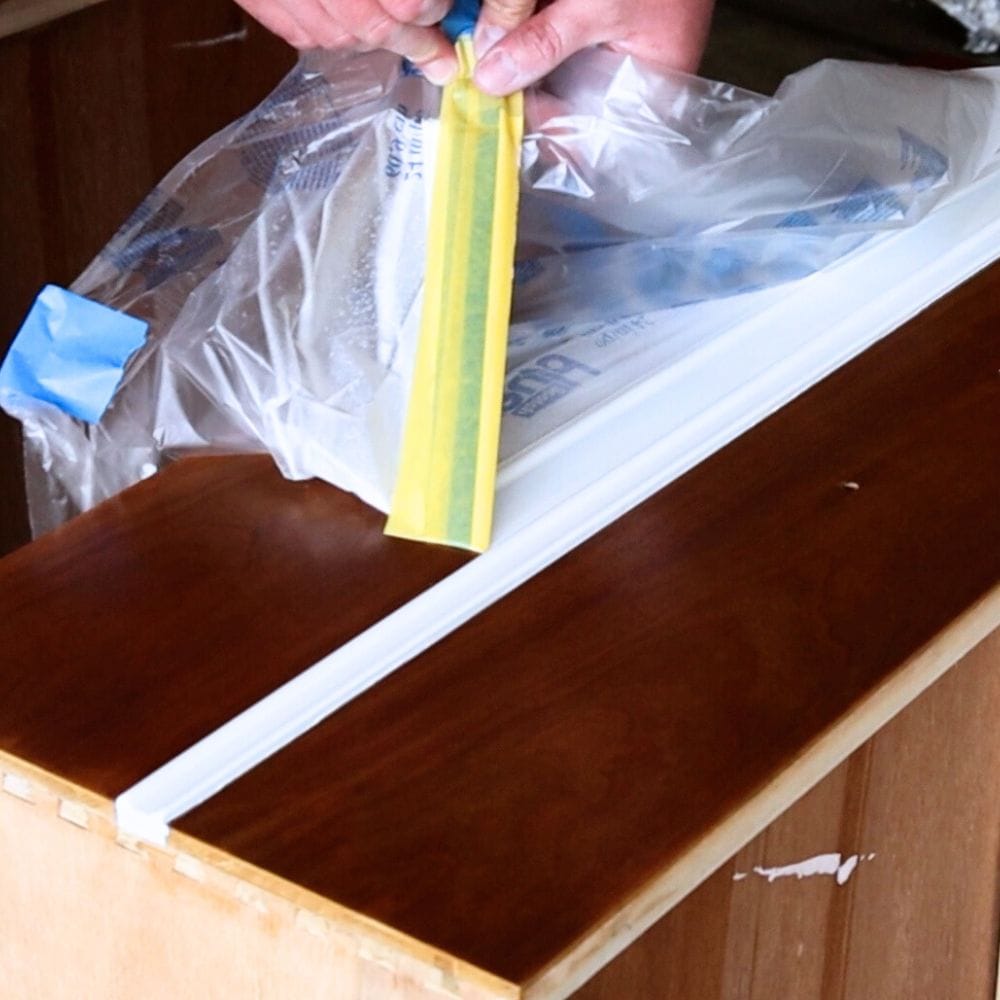
Once you’ve applied the Frog Tape, use a putty knife or plastic card to firmly press down along the edges. This creates a tight seal that prevents paint from seeping underneath and ruining your stripes.
Take your time and make sure there are no air bubbles or loose edges that can allow paint to bleed through.
Now proceed to painting your stripes! Use a roller or brush to apply paint within the taped-off area, making sure not to go over the edges. Let the paint dry for a few minutes before applying a second coat if needed.
Would you like to save this?
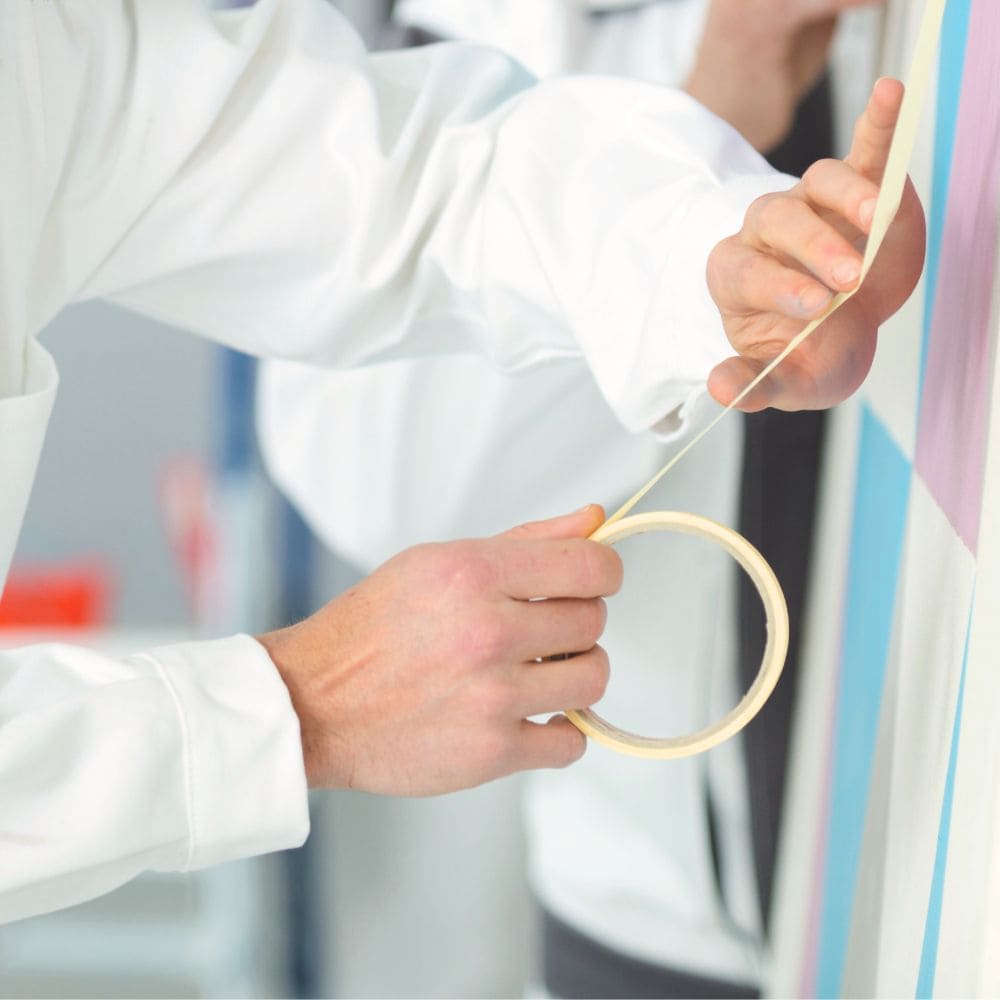
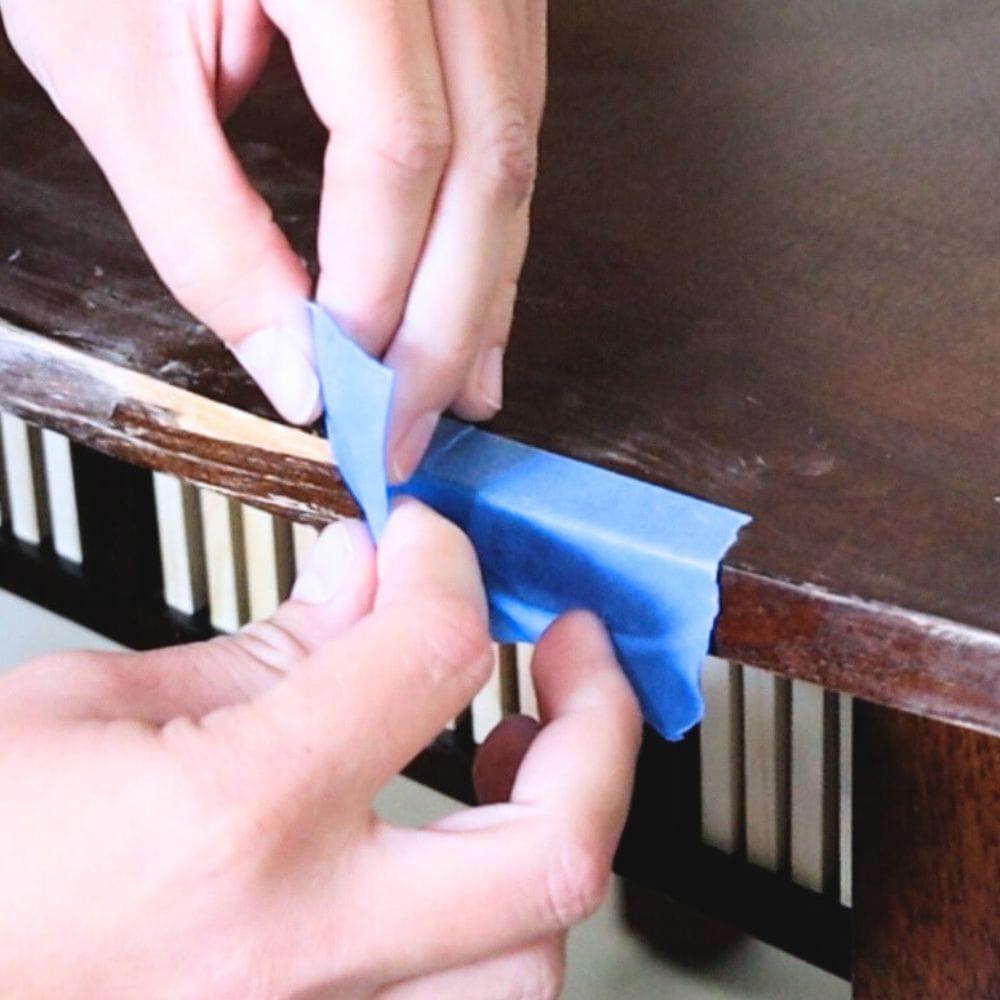
When it’s time to remove the tape, do it slowly and carefully at a 45-degree angle. If you hear any ripping noises, it means you’re going too fast and may cause damage or leave residue on your freshly painted surface. Again, slow and steady wins the race!
Now, for walls with lots of texture, there might be some bleeding when using just tape. It’s a good idea to paint the base color over the edge of the frog tape too, as it creates a better seal on highly textured walls.
Let the base color dry before applying the stripe paint, then remove the tape while the final coat of paint is still wet.
What’s the difference between Multi-Surface, Delicate Surface, and Pro Grade Frog Tape?
FrogTape® Multi-Surface painter’s tape is the most versatile option, suitable for a wide range of surfaces including cured painted walls, carpet, metal, and unfinished wood. It has medium adhesion and can be cleanly removed from surfaces within 21 days.
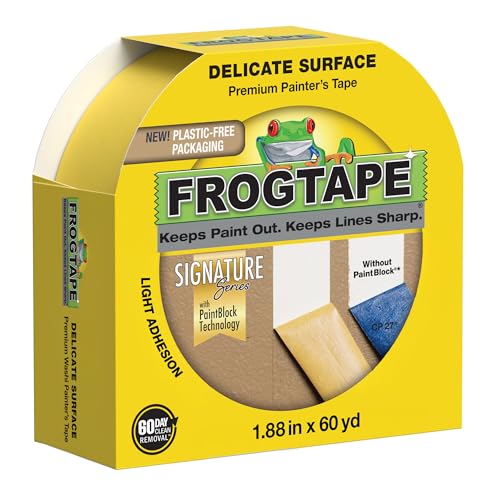
FrogTape® Delicate Surface painter’s tape is designed for more delicate surfaces such as freshly painted walls or cured wallpaper.
It has low adhesion and can be safely removed up to 60 days after application without causing damage or leaving residue behind.
For those looking for premium grade tape, FrogTape® Pro Grade Painter’s Tape is the way to go. It offers excellent medium adhesion and can be used on a variety of surfaces including glass, carpet, and even unfinished walls.
It also guarantees clean removal within 14 days, making it a reliable choice for professional painters and DIY-ers alike.
Can I use Frog Tape for other painting projects besides stripes on walls?
Absolutely! Frog Tape is a versatile tool that can be used for various painting projects, not just for creating stripes on walls.
It’s perfect for stenciling designs on furniture or walls, adding sharp lines to crafts, and even hanging decorations.
Overall, the goal is to prevent paint bleed through painter’s tape, and with Frog Tape, you can do that while also being creative and having fun with your projects.
Can I reuse the same piece of Frog Tape for multiple painting projects?
While it may be tempting to save money and reuse the same piece of Frog Tape for multiple projects, it’s not recommended.
The adhesive on the tape weakens after each use, making it less effective in preventing paint bleed. This can result in uneven lines and frustration during your next project, and you don’t want that.
When reusing tape, there’s also a higher chance of residue or damage being left behind on your surfaces. This can be time-consuming and costly to fix, defeating the purpose of using Frog Tape in the first place.
So to save yourself from potential headaches, it’s best to use a fresh piece of Frog Tape each time.
Painting stripes on a wall without bleeding is easily doable with the help of Frog Tape!
By choosing this type of tape for your project and following our tips for application and removal, you’ll easily get clean, crisp stripes.
Check out this blog post about a red, white, and blue chair makeover where frog tape is used to paint stripes on the chair.
Plus, with the option of leaving the tape on for up to 60 days, you have plenty of time to perfect your project.

How to Paint Stripes on a Wall Without Bleeding
Here's how to paint stripes on a wall without bleeding using one simple, reliable tool.
Materials
- Frog Tape
- Paint
Instructions
- Prepare your wall by cleaning it thoroughly and making sure it's free of any dust or moisture that can affect the tape's adhesion.
- Have someone help you hold longer pieces of Frog Tape while applying it to prevent stretching and for a straight, even application.
- Use a putty knife or plastic card to firmly press down along the edges of the tape to create a tight seal that prevents paint from seeping underneath. Make sure there are no air bubbles or loose edges.
- Use a roller or brush to apply paint within the taped-off area, making sure not to go over the edges. Let the paint dry for a few minutes before applying a second coat if needed.
- When removing the tape, do it slowly and carefully at a 45-degree angle, as going too fast can cause damage or leave residue on your freshly painted surface.
- For walls with lots of texture, paint the base color over the edge of Frog Tape before applying the stripe paint. This creates a better seal and prevents bleeding.
Recommended Products
As an Amazon Associate and member of other affiliate programs, I earn from qualifying purchases.


More Furniture Painting Tips
- How to Stencil Without Bleeding
- Best Primers to Stop Tannin Bleed
- How To Stop Wood Knots From Bleeding Through Paint
- How to Paint Particle Board Furniture
- How to Paint Wooden Furniture

Follow us on YouTube to get more tips for painting furniture. Or share your project with us on our Facebook Group and be part of our community. See you there!
Doesn’t matter what tape and I only use frog now, but it will still bleed ever time unless it’s sprayed. Just my opinion but it is all sub par.
Oh, I’m sorry to hear that it doesn’t work that well for you.