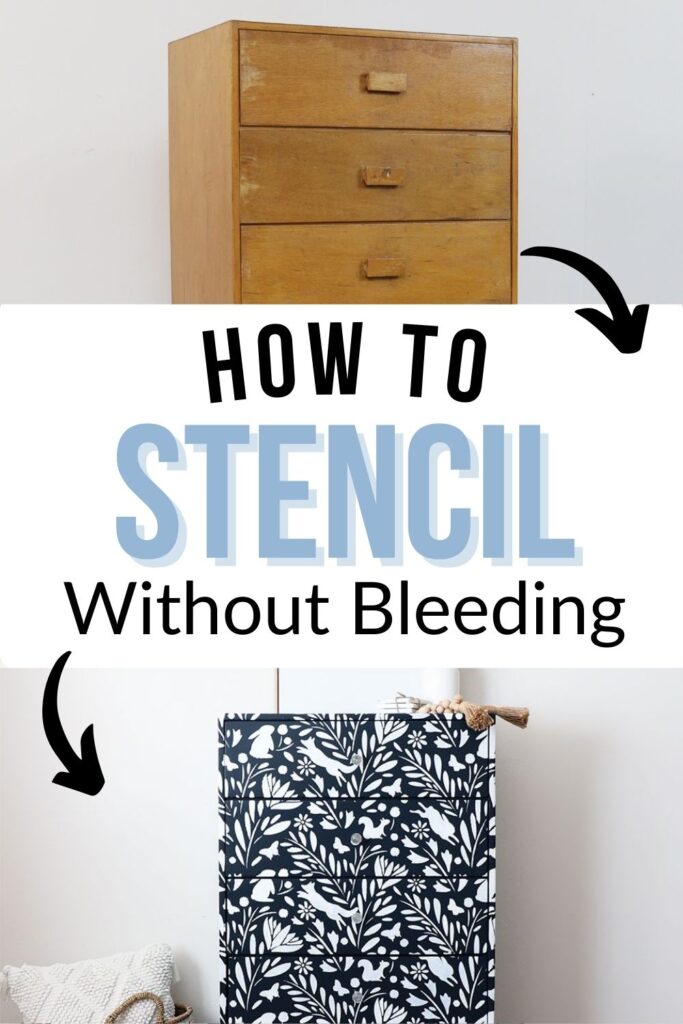
How to Stencil Without Bleeding


Stenciling is a great way to add a personal touch and create unique designs on your furniture. But if you’re not careful, painting with stencils can lead to messes and smudges that ruin your hard work. With these tips on how to stencil without bleeding, you’ll be able to stencil without any unwanted blurring or smearing of your design!
Painting furniture with stencils is an easy and affordable DIY project that can make any piece of furniture stand out from the rest.
Stencils provide endless possibilities for customizing your home decor, as you can use different colors, patterns, and textures to create whatever look you desire!

With the right techniques, painting with stencils doesn’t have to be messy or difficult.
If you don’t use the right techniques, paint can easily seep beneath the stencil, resulting in blurred lines and a sloppy finished product… yeah I’ve been there and it hurt to know that I could have done it better.
So let’s dive into how to create beautiful results without any bleeding or smudging.
Supplies Used for Stenciling Furniture without Bleeding
As an Amazon Associate, I earn from qualifying purchases. I also may earn from other qualifying purchases with other companies or get free product to review and use. All opinions are my own.
Get our list of the best painting furniture supplies here!
How to Stencil Furniture Without Bleeding
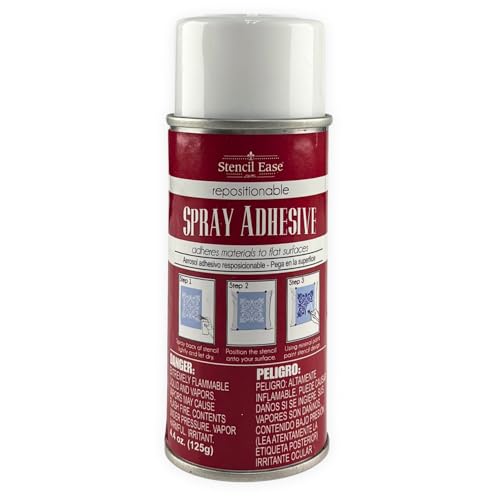
Spraying temporary adhesive onto the back of the stencil is an essential step in stenciling furniture without any bleeding or smudging.
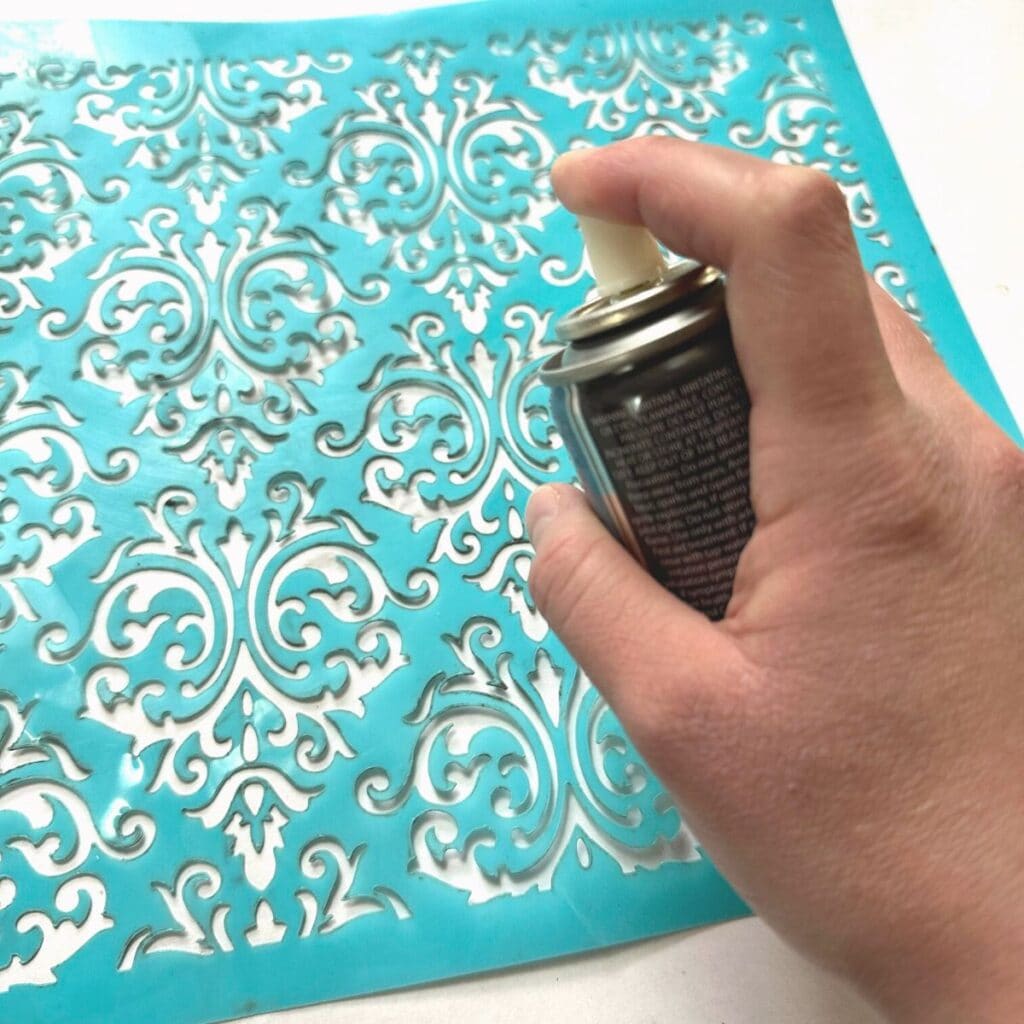
The adhesive will help to hold your stencil firmly in place and makes sure that paint won’t seep beneath it.
Make sure to use a temporary adhesive that can easily be removed when the painting is finished… you don’t want your stencil to stick too well!
Once you have stuck the stencil to the furniture, press down firmly around the edges and outlines in the stencil so that all parts are held in place.
This will create a tight seal that prevents any paint from seeping beneath it while painting. If you don’t do this step, the paint may seep beneath the stencil and create a blurred mess.
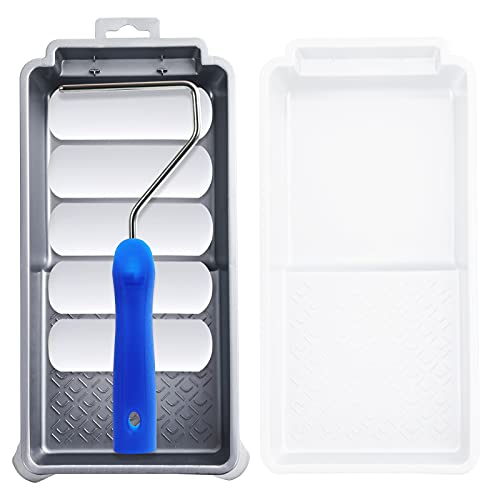
Then it’s time to start painting! Using a mini foam roller, apply a very thin coat of paint onto the stencil.
Be sure to roll most of the paint off before you roll it onto the stencil. Too much paint will cause it to seep beneath the stencil, resulting in unwanted smudges or blurred lines.
Check out the best rollers for painting furniture in this post!
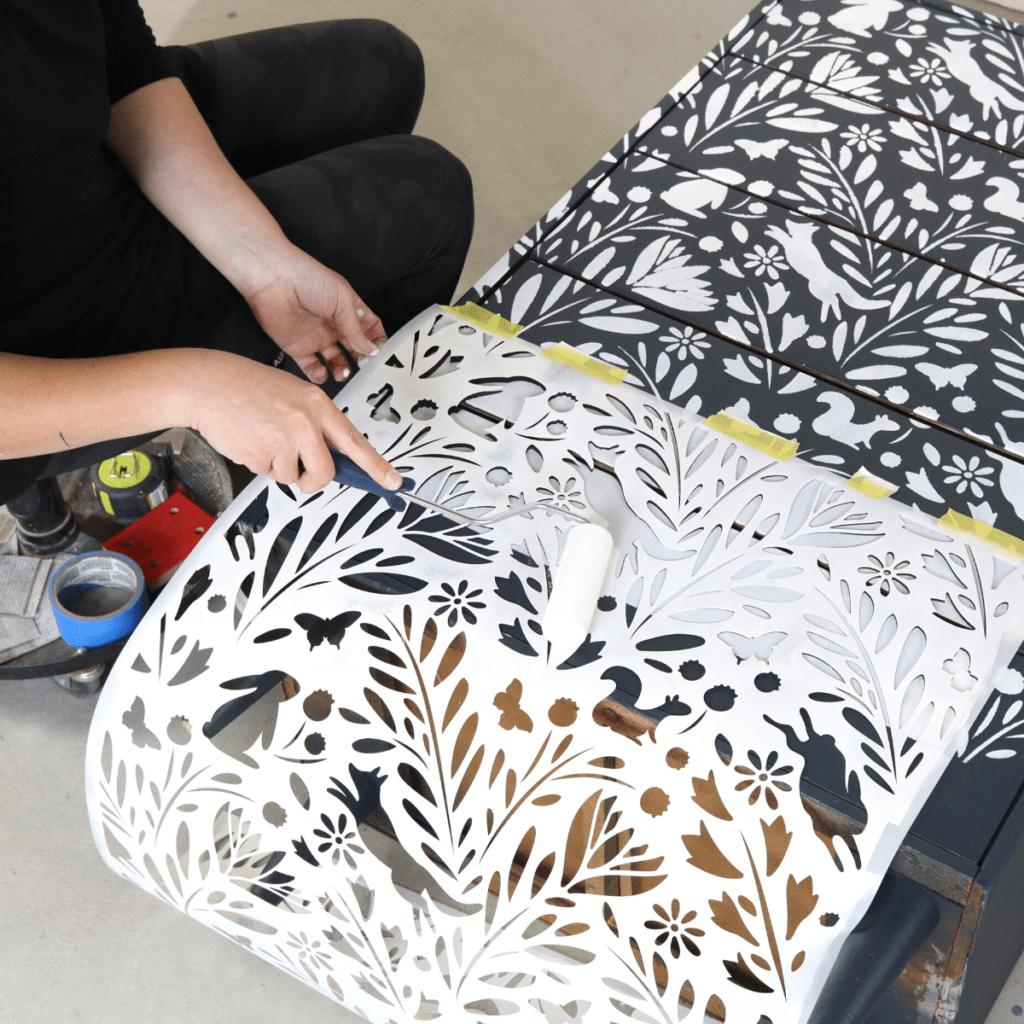
Once you have finished painting that section, carefully lift up the stencil from its edges while the paint is still wet.
Don’t pull it up too quickly, as this may make the stencil move around, causing smudges in the paint. Then wait for the paint to dry before working on any connecting sections.
While you wait, you can either wipe the paint off of the stencil with a wet rag, or you can just let the paint dry on the stencil.

Do you need special paint for stenciling?
When stenciling furniture, you don’t need to use any special type of paint. Any type of furniture paint will work and can easily be found at your local hardware store or online.
For best results, use one of these paints on my best paint for furniture list.
Would you like to save this?
Where to Buy Stencils for Furniture
Finding stencils for furniture painting can be done easily on Amazon or Etsy.
Both of these sites have a wide selection of stencils for painting furniture, ranging from simple designs to more intricate and detailed works.
Here are some of my favorites from Amazon!

Creating unique designs on your furniture without any messes or smudges is possible if you follow the right techniques. Learn all about painting techniques for furniture here!
So go ahead and get creative – have fun creating beautiful pieces of art that are truly one-of-a-kind!

Can any type of furniture be stenciled?
Sure, you can stencil almost any furniture – wood, metal, or even plastic! With the right methods and materials, you can create awesome stencil designs on your furniture.
But, using a stencil on furniture with a rough or uneven surface can be trickier. Opt for smoother surfaces for your stencil projects for better results!
Stenciling on furniture with intricate details or curves can also pose a challenge, as the stencil may not lay flat against the surface and result in smudges. In these cases, it’s best to go for simpler stencil designs or choose a different furniture piece to stencil.
It’s key to think about the size and shape of your furniture when stenciling. Bigger pieces, like dressers or tables, might need more time and effort than smaller ones such as chairs. Yet, with some patience and practice, you can stencil nearly any furniture type and size you want!
For stenciled dresser makeovers, here’s our list of dresser stencil ideas! And check out these dresser drawer painting ideas to update your drawers, including stenciling.
Does color of furniture or paint affect the outcome of stenciling?
The color of your furniture and paint can definitely matter when it comes to stenciling.
Lighter colored furniture or paint will make your stenciled design appear more vibrant and noticeable, while darker colors may require more coats of paint for the stencil to stand out.
Also, some colors can offer better contrast, making your stencil stand out more.
For instance, a light yellow stencil on a dark blue surface will pop and grab attention compared to a white stencil on a light gray piece.
Play around with different color combinations to find what works best for your stenciling project!

How To Stencil Without Bleeding
Painting with stencils can lead to messes and smudges that ruin your hard work. To avoid the paint from bleeding past the stencil design on the surface, here are tips on how to stencil without bleeding.
Materials
Tools
Instructions
- Spray temporary adhesive onto the back of the stencil to hold it firmly in place. Press down around the outlines of the stencil so that it is all tight.
- Apply thin coats of paint onto the stencil using the mini foam roller.
- Once you have finished painting a section, carefully lift up the stencil from its edges while the paint is still wet. Don’t pull it up too quickly to avoid any paint smudges.
- Wait for the paint to dry before working on other sections of the furniture.
Recommended Products
As an Amazon Associate and member of other affiliate programs, I earn from qualifying purchases.


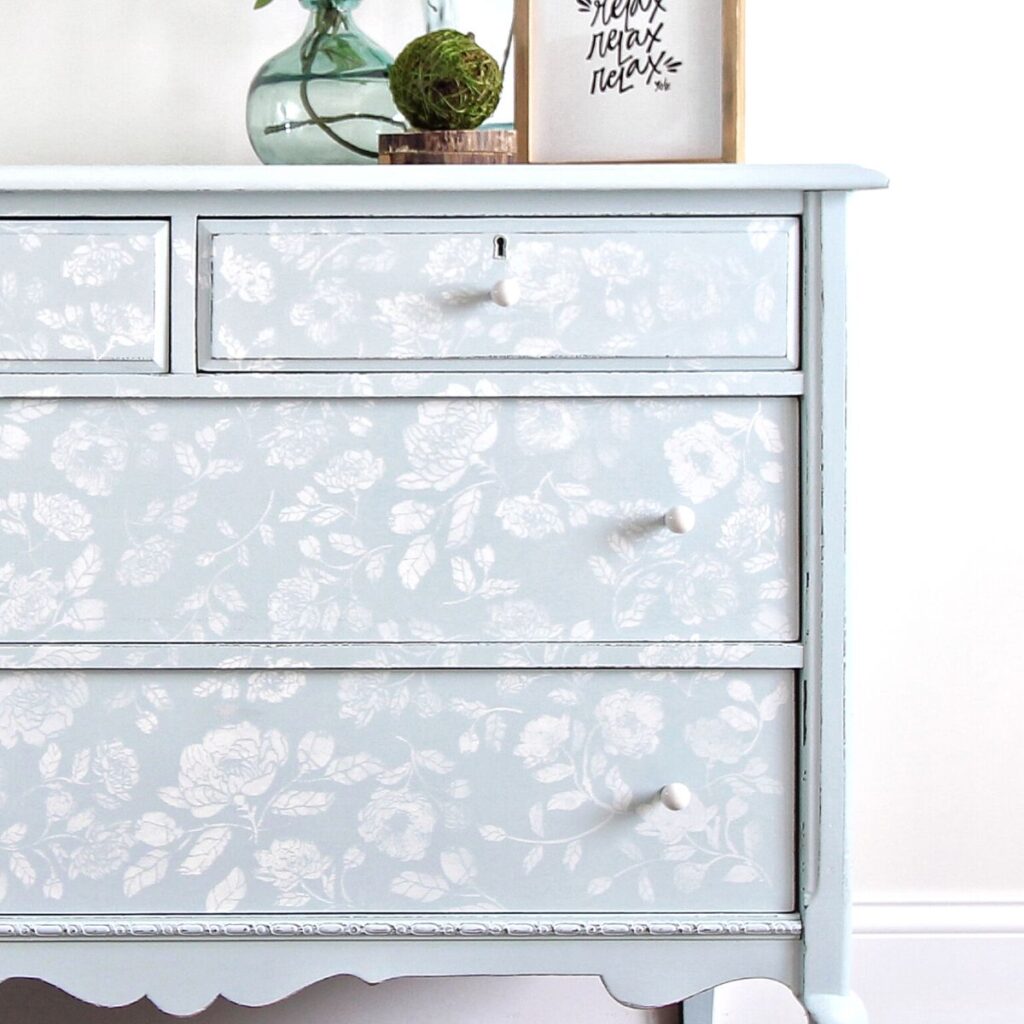
More Stenciled Furniture Makeovers
Check out these stenciled furniture makeovers for more ideas and inspiration. With a few supplies, a bit of creativity, and the right technique, you can transform any piece of furniture into a one-of-a-kind showpiece.
- How to Stencil Painted Furniture
- Shabby Chic End Tables with Raised Stenciling
- Raised Stencil
- Stenciled Furniture
- DIY Navy Chest of Drawers

Follow us on YouTube to get more tips for painting furniture. Or share your project with us on our Facebook Group and be part of our community. See you there!