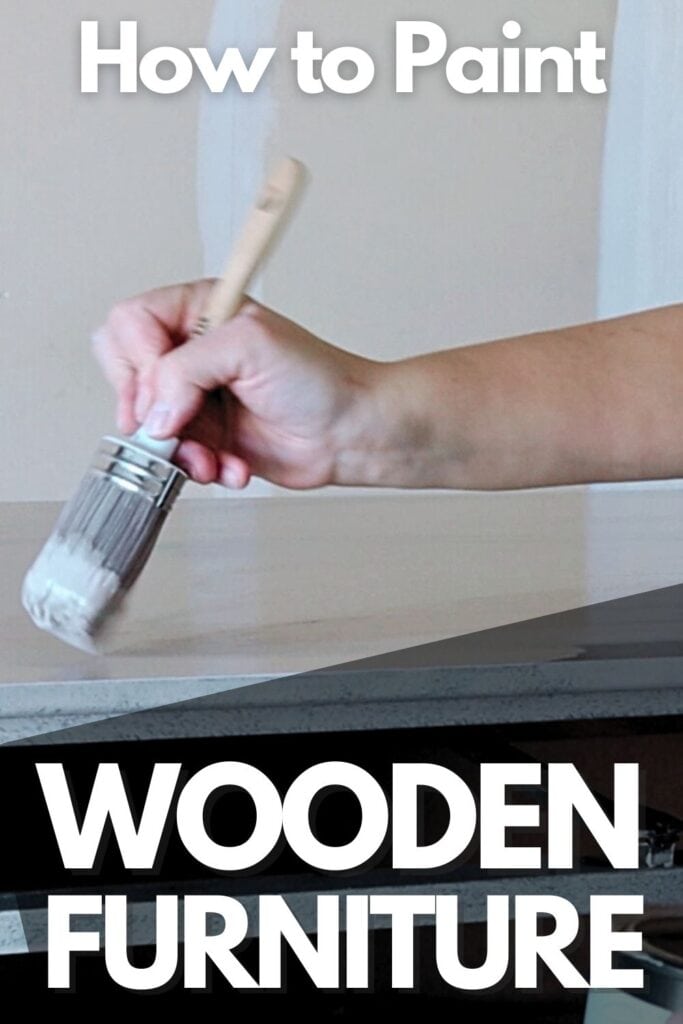
How to Paint Wooden Furniture
Welcome to our guide on how to paint wooden furniture! Painting furniture is a great way to update and breathe new life into old pieces. Plus, it’s a fun and budget friendly DIY project that allows you to customize the look of your furniture.
In this blog post, we will walk you through each step of painting wooden furniture, from preparation to finishing touches.
First, let’s talk about wooden furniture. Wood is a popular choice for furniture because of its durability and timeless appeal. However, over time, wooden furniture can start to look worn and dated.

But by giving your wooden furniture a fresh coat of paint, you can transform it into a stylish and modern piece that fits your personal style.
Not to mention, painting wooden furniture is a much more affordable option compared to buying new furniture.
So whether you have an old piece of furniture lying around or want to update the look of your current wooden furniture, follow these simple steps!
Supplies Used to Paint Wooden Furniture
As an Amazon Associate, I earn from qualifying purchases. I also may earn from other qualifying purchases with other companies or get free product to review and use. All opinions are my own.
- Screwdriver or Drill
- Degreaser
- Wood Filler
- Wood Glue
- Sandpaper
- Tack Cloth or Vacuum
- Shellac-Based Primer
- Paintbrush, Roller, or Paint Sprayer
- Paint of your choice
- Topcoat of your choice
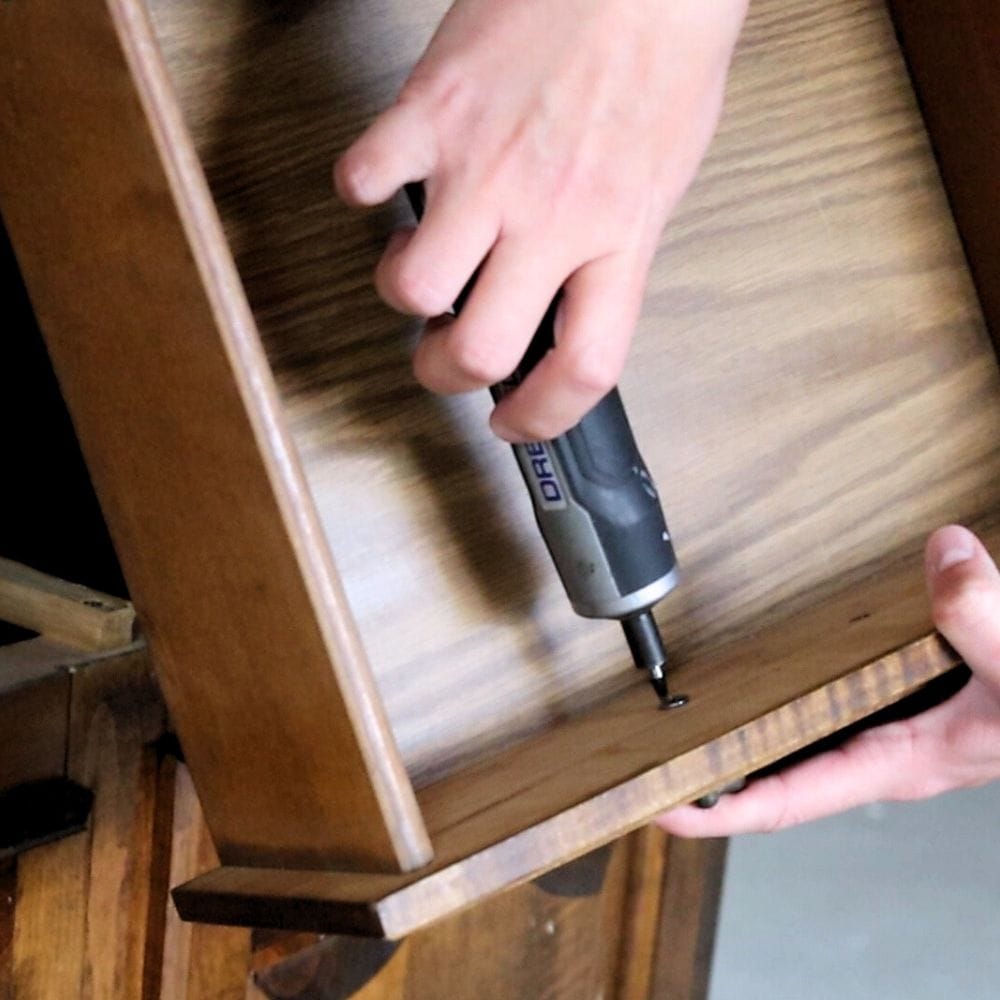
Remove All Hardware from Wooden Furniture
The first step in painting wooden furniture is to remove all hardware, such as knobs, handles, and hinges.
This is to make sure that you don’t get any paint on the hardware and make it easier to paint the entire piece evenly.
Use a screwdriver or drill to remove the hardware and keep them in a safe place so you don’t lose them.
For larger pieces of furniture, you may want to label each piece of hardware with a sticky note or tape to make it easier to remember where they go when reattaching them later. This will save you time and frustration in the long run.
If you plan to change the hardware on your furniture, fill the holes with wood filler and let it dry before sanding it smooth.
This will give you a clean canvas to work with and allow you to choose new hardware that fits your updated vision for the piece.
You can check out the ways of filling holes when replacing cabinet or furniture hardware here if you need more guidance.
Clean Wooden Furniture
Before starting to paint, it’s important to clean your wooden furniture thoroughly.
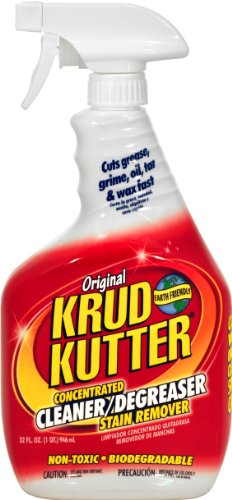
Use a degreaser like Krud Kutter to remove any dirt, dust, or grime that may have accumulated on the surface of the furniture.
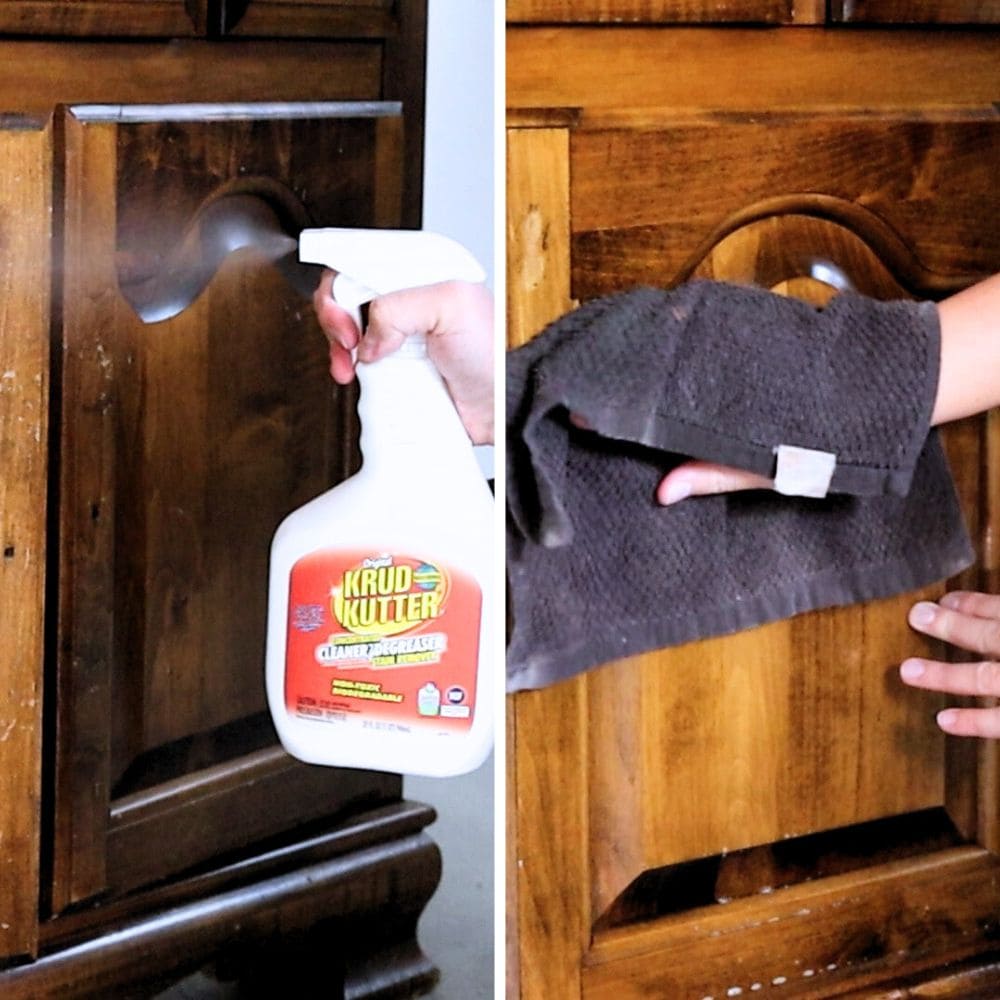
Make sure to wipe down all surfaces, including the back and underneath of the furniture. This will guarantee a smooth and even application of paint later on.
Use a damp cloth to remove any remaining residue and let the furniture dry completely before moving on to the next step.
We have a guide on how to clean furniture before painting that goes into more detail on the cleaning process and different products you can use.
Fix Damage on Wooden Furniture
Sometimes wooden furniture can get damaged, and it’s best to fix any cracks, scratches, or dents before painting.
This will not only improve the overall appearance but also prevent further damage from occurring.
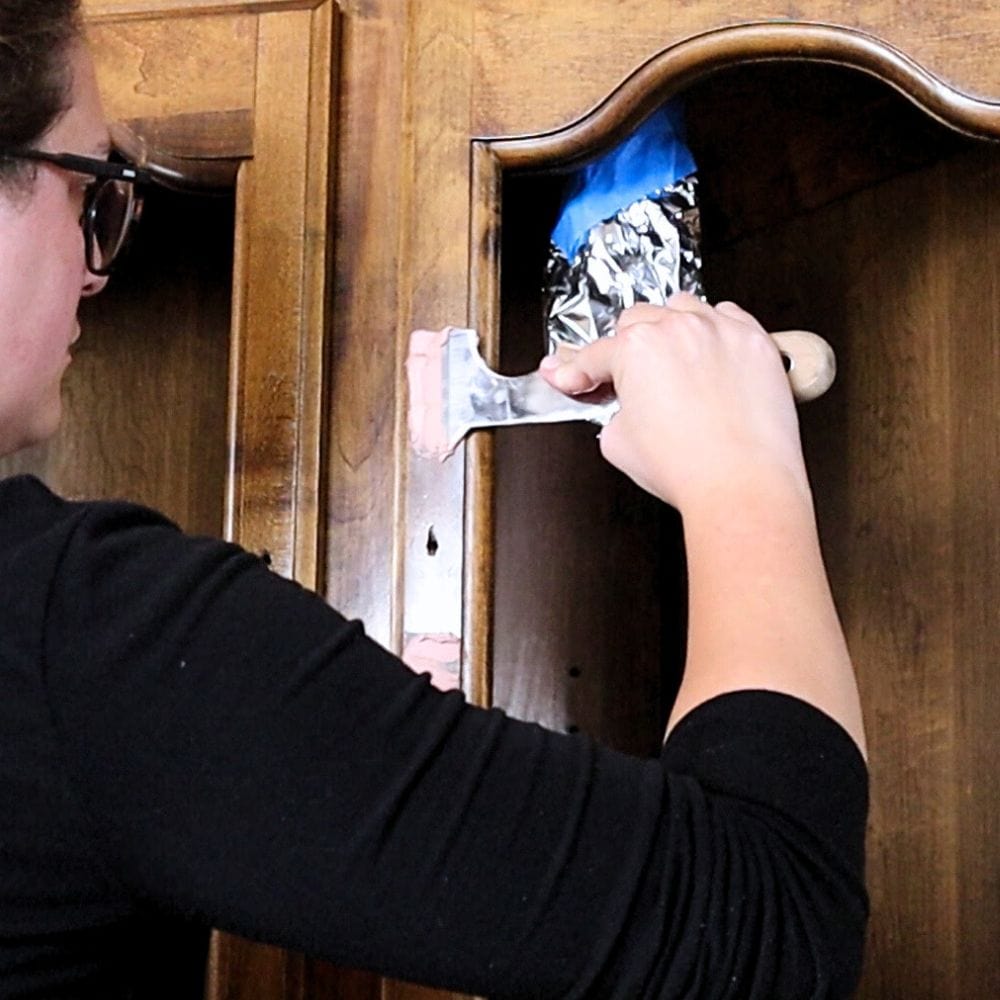
For small cracks or holes, use wood filler to fill in the gaps and let it dry completely before sanding it smooth.
For larger cracks or missing chunks of wood, you may need to use wood glue and clamps to repair the damage.
After the glue has dried, sand the area until it’s flush with the rest of the furniture. Check out the best glue for repairing wood furniture here.
If you’re unsure about this process, our tutorial on how to fix damaged wood furniture before painting can provide more detailed instructions.
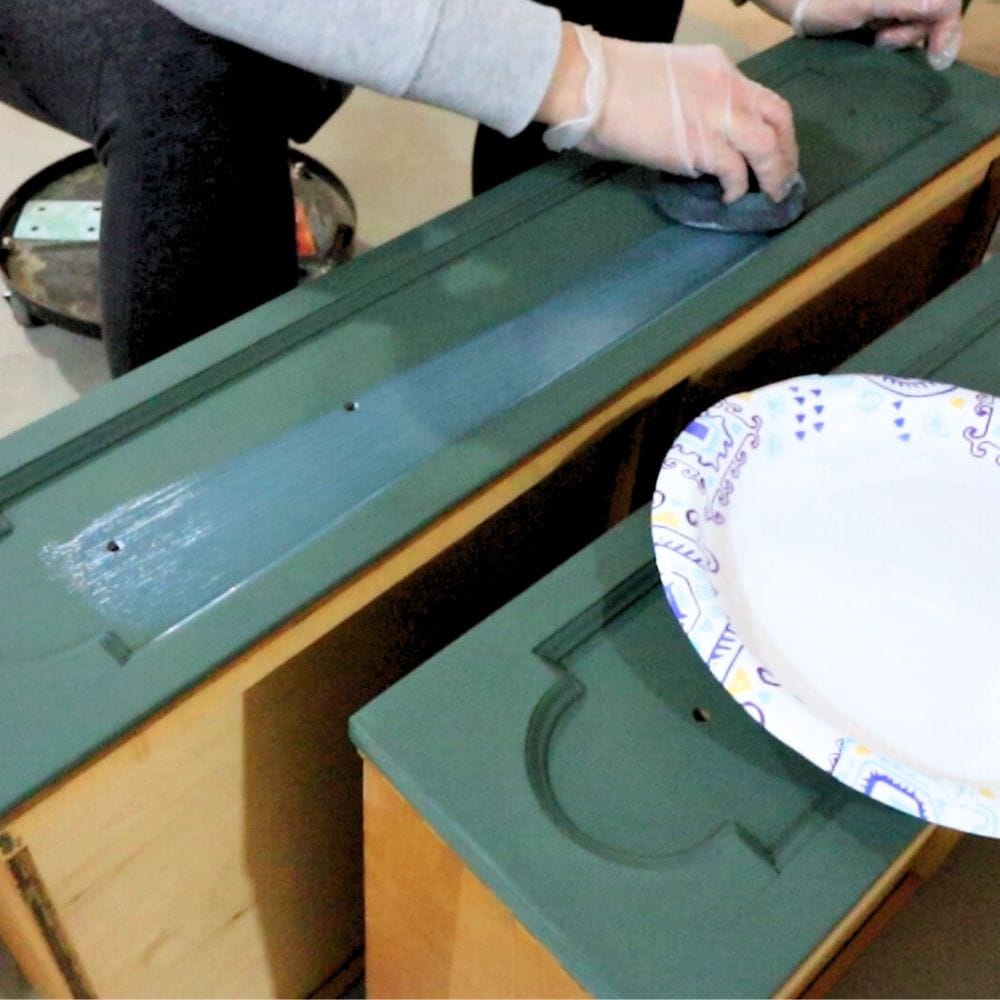
Scuff Sand Wooden Furniture
Next, it’s time to scuff sand your wooden furniture. This step involves lightly sanding the surface of the furniture with high grit sandpaper (220 or higher) to create a rough texture for the paint to adhere to.
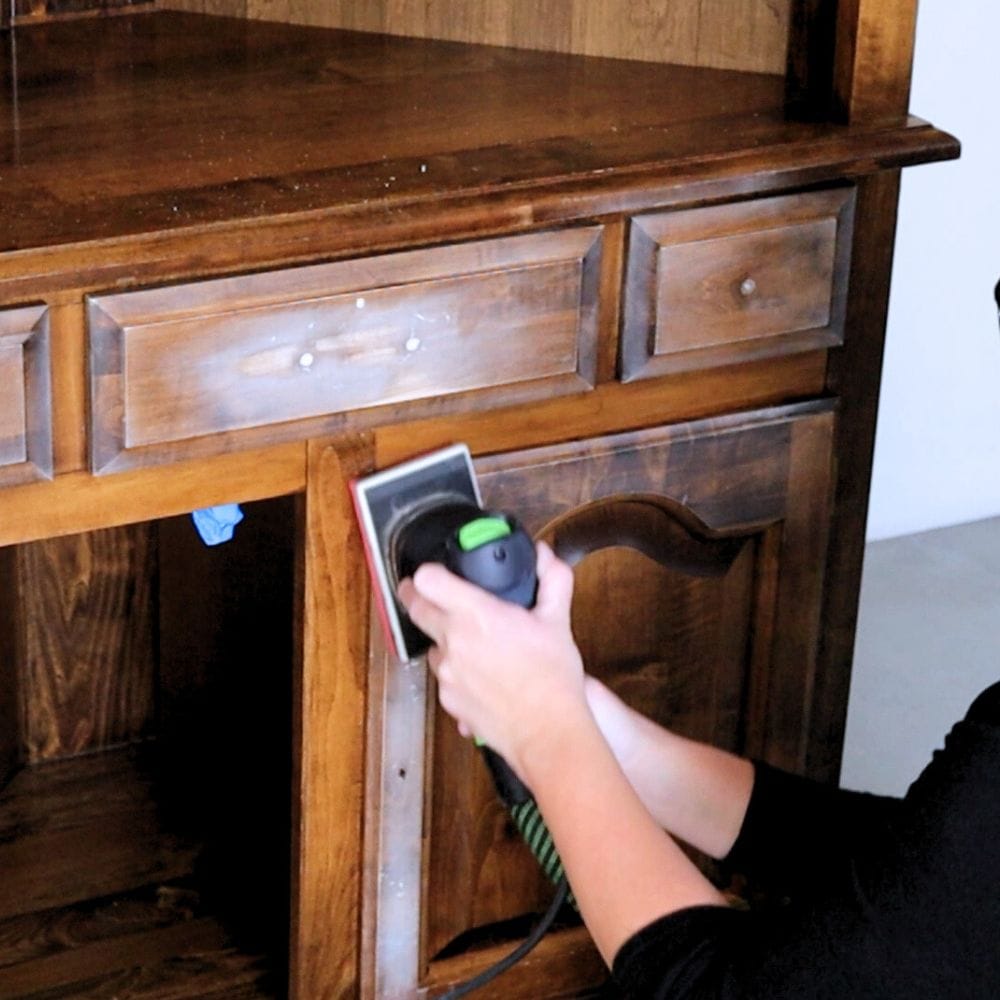
Scuff sanding is especially important if you have a glossy or shiny finish on your furniture, as this can prevent the paint from sticking. It also helps to remove any remaining residue from the cleaning process.
Be sure to sand in the direction of the wood grain and avoid pressing too hard, as this can damage the furniture. Use a tack cloth or vacuum to remove the dust from the sanding before moving on to the next step.
Sanding before painting furniture must not be skipped for a successful paint job, and we have a helpful sanding furniture guide that covers everything you need to know about this step.
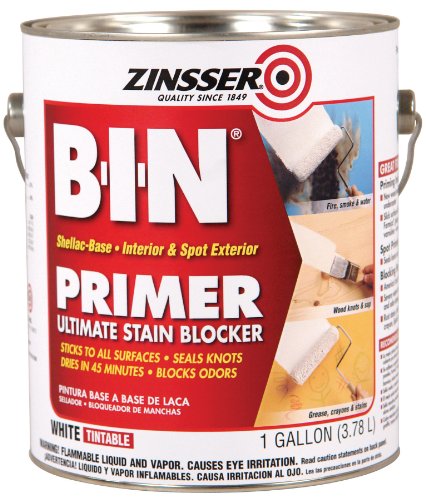
Prime Wooden Furniture
After scuff sanding, it’s time to prime your wooden furniture. Priming helps stop stains from coming through paint and creates a smooth base for the paint to adhere to.
Not does it only help with adhesion, but it also prevents chipping or peeling in the future. Learn more about the importance of priming wood for painting plus tips here.
Would you like to save this?
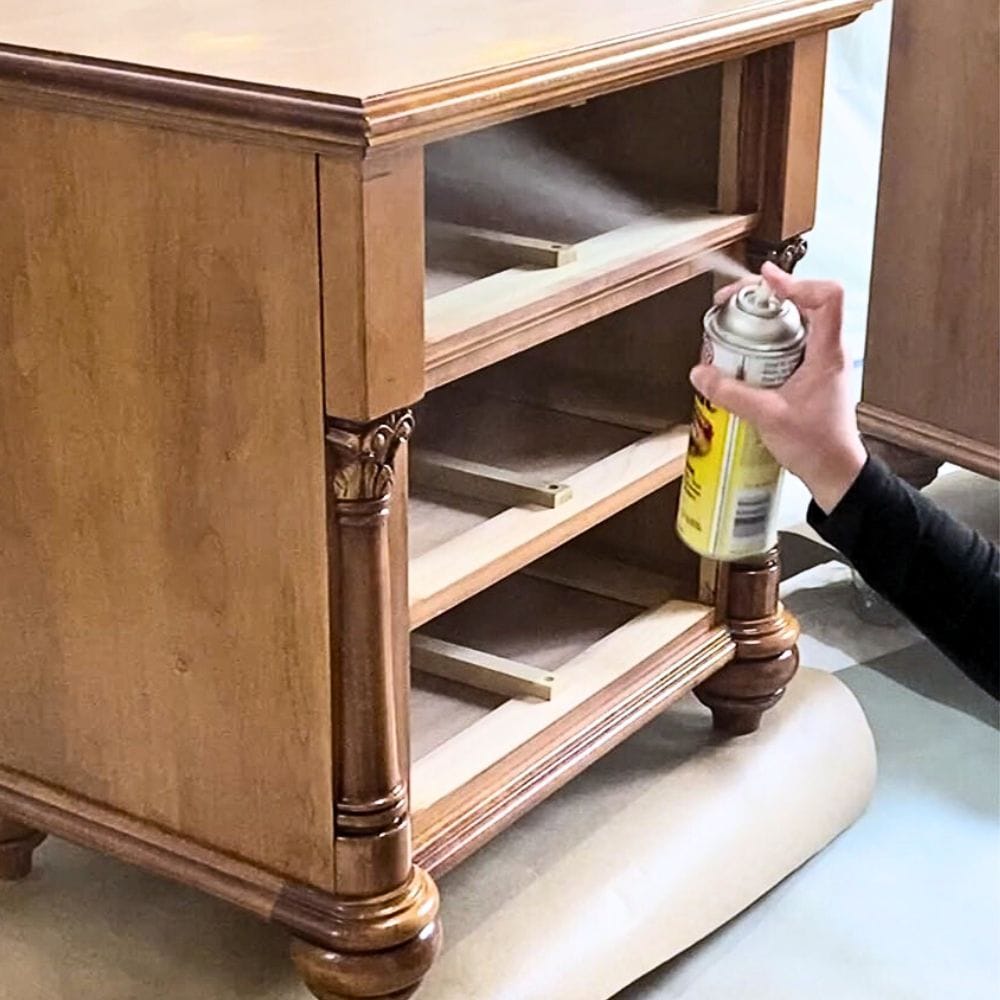
For wooden furniture, it’s best to use a shellac-based primer like BIN Shellac or clear shellac.
This type of primer is specifically designed to block bleedthrough so you won’t have to worry about the stains mentioned earlier.
One coat is usually enough, but you can apply a second coat if you want extra coverage. Make sure to let the first coat of primer dry completely before applying a second one.
You can check out our post on the best primer for painting furniture to know your options and learn how to choose the right one for your project.
Paint Wooden Furniture
Before we start painting, the first step is to choose the right paint for your project. The options can be overwhelming.
Some popular types of paint for wooden furniture include chalk paint, acrylic paint, milk paint, and latex paint.
Consider the finish you want, the level of durability you need, and your budget when making your decision.
Our post on the best paint for furniture tackles each of these options in more detail, including their pros and cons, to help you decide.
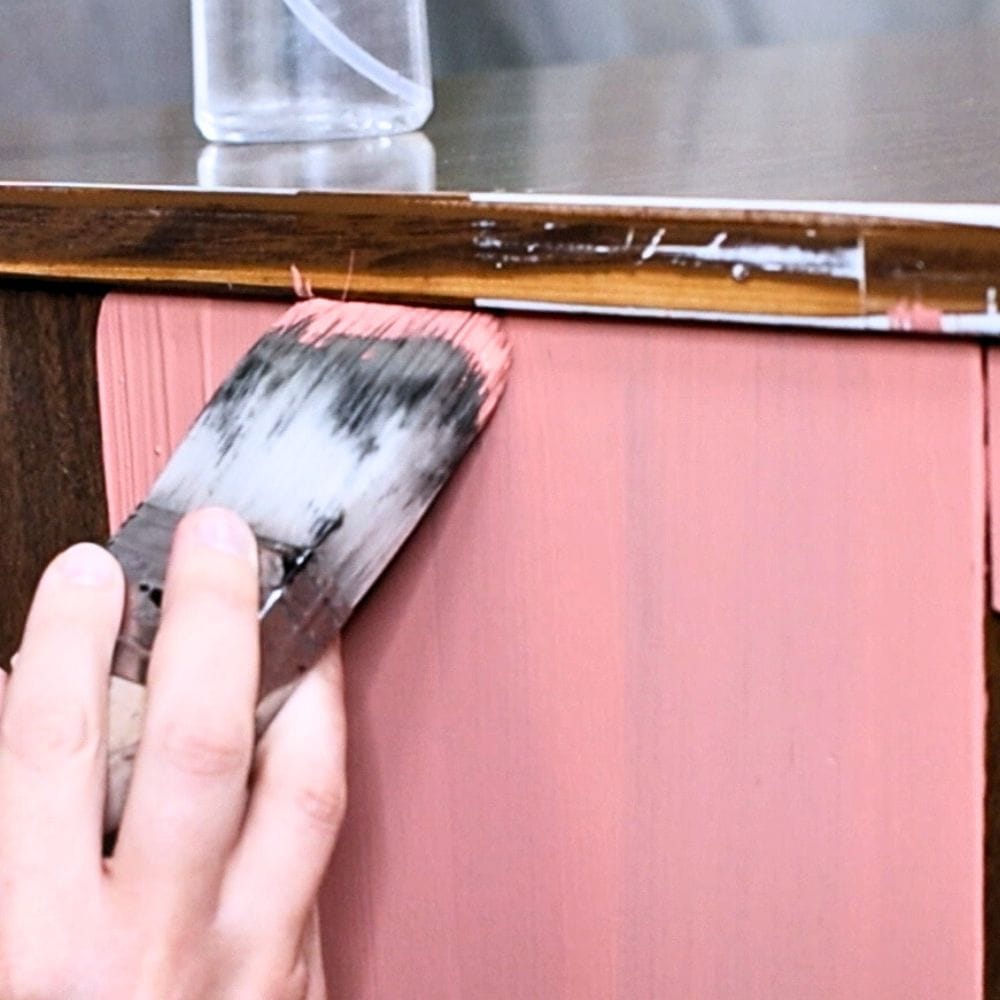
There are a few different painting methods you can choose from. You can use a paintbrush for a traditional approach, a foam roller for a smooth finish, or paint sprayer for a professional-looking result.
Along with the type of paint you use, the painting method can also affect the final outcome.
Here are the best paint brushes for painting furniture, the best rollers for painting furniture, and the best HVLP paint sprayers for furniture that we recommend for furniture painting.
Check out our comparison between paint sprayer vs roller to get an informed decision on the right tool to use based on your needs and preferences.
No matter what painting method you choose, be sure to apply thin and even coats. Check out this guide on painting furniture for beginners if you’re just getting started.

Allow the paint to dry completely between each coat before moving on to the next one. This will prevent drips and help you get a smooth finish.
You may need to do multiple coats depending on the type of paint and desired coverage. Once you’re satisfied with the color and coverage, let the final coat dry completely then seal it with a topcoat for added protection.
Seal Painted Wooden Furniture
After spending time and effort to paint your wooden furniture, it’s important to protect it with a topcoat.
A topcoat helps to seal the paint and create a protective barrier against scratches, stains, and wear. It also adds a glossy or matte finish depending on your preference.
There are various topcoats for painting furniture available, such as polyurethane and wax.
Our post will guide you on how to choose the right topcoat for your project, including the best brands and application methods.
Applying a topcoat is similar to painting – use thin and even coats, and allow each coat to dry completely before adding another one.
Be sure to follow the manufacturer’s instructions for drying times and how many coats are recommended.
Once the topcoat has dried, your painted wooden furniture will have a beautiful finish that will protect it for years to come.
Reattach Hardware to Sealed and Painted Wooden Furniture
Now that your furniture is painted and sealed, it’s time to reattach any hardware you removed earlier. Use a screwdriver or drill to carefully attach the hardware back onto the furniture.
If you’re using new hardware, make sure to properly measure and place them before attaching.
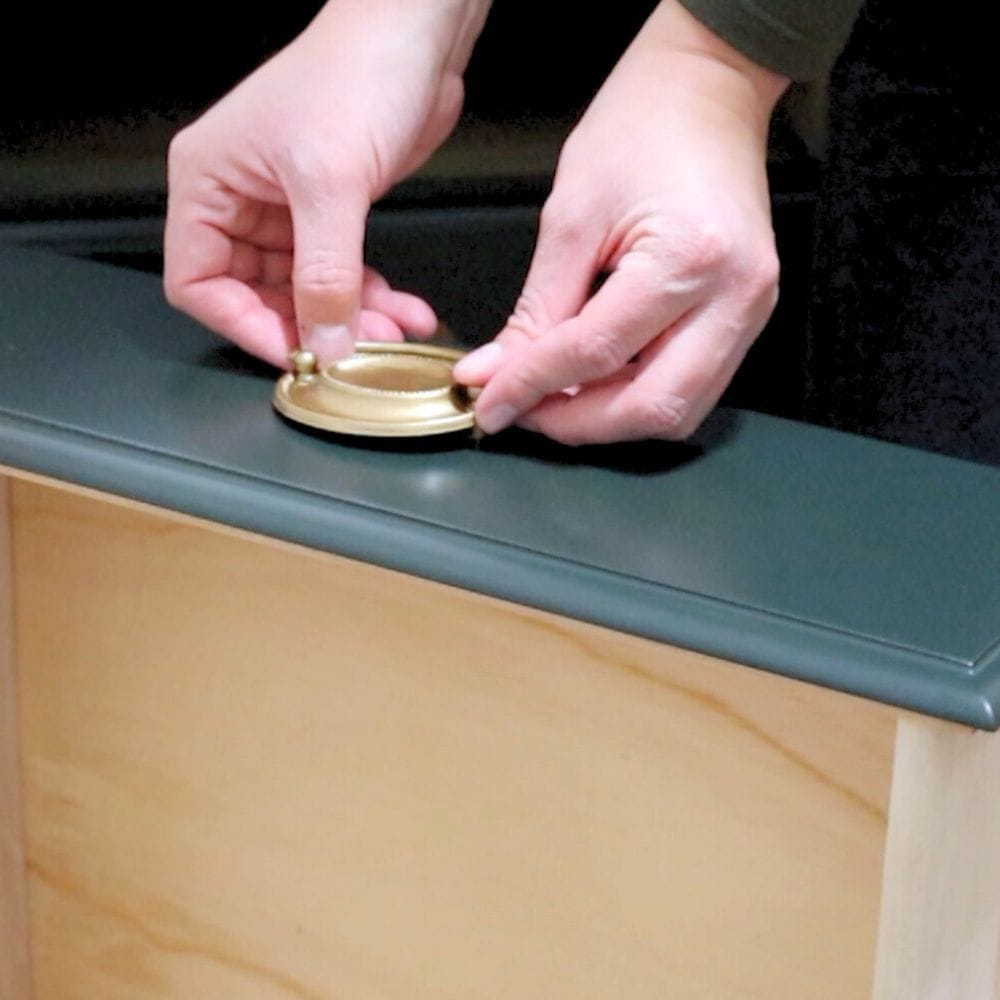
And there you have it – your damaged wooden furniture has been repaired, sanded, primed, painted, sealed, and with hardware reattached.
Painting wooden furniture isn’t rocket science, but it does require patience and attention to detail for the best results.
We hope this guide has been helpful, and that you feel confident in tackling your own furniture painting project!

How to Paint Wooden Furniture
Our guide on how to paint wooden furniture will walk you through each step of painting wooden furniture, from preparation to finishing touches.
Materials
- Degreaser
- Sandpaper
- Wood Filler
- Wood Glue
- Tack Cloth
- Shellac Based Primer
- Paint of your choice
- Topcoat of your choice
Tools
Instructions
- After everything has dried, reattach any hardware that was removed earlier using a screwdriver or drill.
- Remove the hardware from your wooden furniture and keep them in a safe place. This will make it easier to paint and avoid getting any paint on the hardware.
- Clean the furniture thoroughly to remove any dust, dirt, or grease that may affect the paint's adhesion. You can use a degreaser for this step.
- Inspect for any damage or imperfections on the furniture and repair them before painting. This includes filling in any holes, cracks, or scratches with wood filler.
- Scuff sand the furniture using sandpaper to create a smooth surface for painting. Be sure to sand in the direction of the wood grain and use a tack cloth or vacuum to remove any dust before moving on to the next step.
- Prime the furniture with a shellac-based primer to prevent stains from coming through and create a smooth base for the paint to adhere to. Apply one or two coats, letting each coat dry completely before adding another.
- Use a high-quality brush, foam roller, or paint sprayer to apply thin and even coats of paint on the wooden furniture. Let each coat dry completely before adding another one.
- Once you're satisfied with the color and coverage, seal the paint with a topcoat for added protection.
Recommended Products
As an Amazon Associate and member of other affiliate programs, I earn from qualifying purchases.


More Painting Furniture Tips
- How to Hide Wood Grain When Painting
- Painting Techniques for Furniture
- How to Paint over Painted Furniture
- Best Way to Paint Furniture
- Painting Veneer Furniture

Follow us on YouTube to get more tips for painting furniture. Or share your project with us on our Facebook Group and be part of our community. See you there!