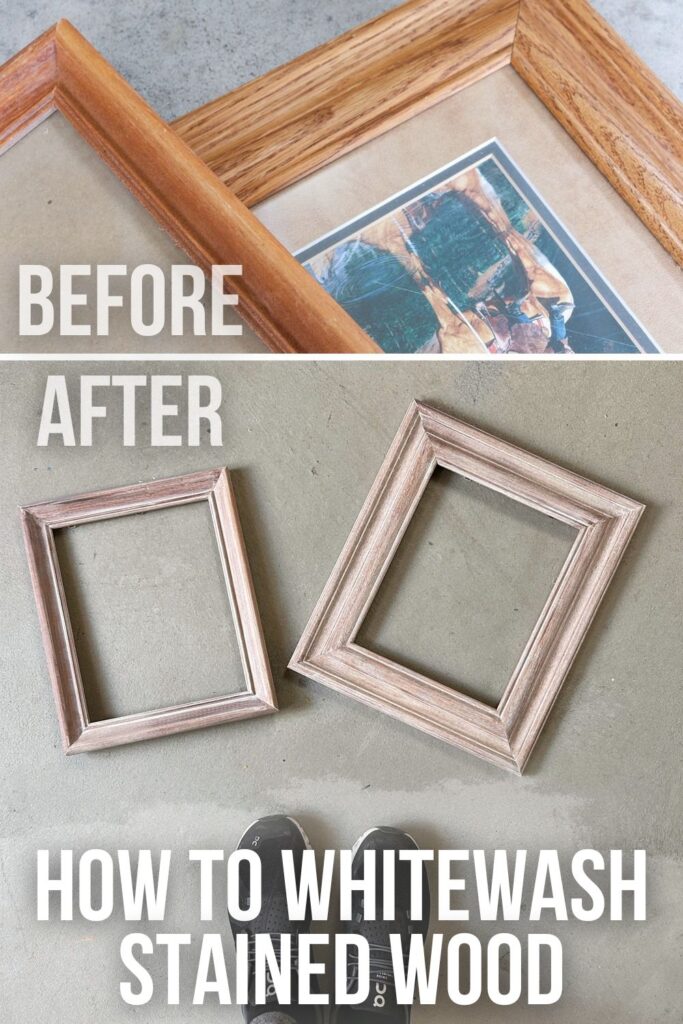
How To Whitewash Stained Wood
Welcome to our guide on how to whitewash stained wood! If you’re looking into refinishing furniture to breathe new life into your old wooden furniture or decor, then this easy and affordable technique is perfect for you. Whitewashing can transform dark or stained wood surfaces into lighter, more vibrant pieces with a natural wood, weathered or coastal charm.
In this post, we’ll walk you through the process of whitewashing stained wood using everyday materials and simple tools. So, gather your supplies and get ready to give your wood items a fresh, stylish makeover!
Whitewashing stained wood is not only a fantastic way to update the appearance of your furniture or decor, but it’s also an eco-friendly option for repurposing items you already have. This versatile technique allows you to customize the look of your wood pieces to match your personal style and home aesthetic.

As you follow along with our step-by-step guide, you’ll discover just how easy and enjoyable it is to create stunning, one-of-a-kind pieces that will enhance your living space. Whether you’re a seasoned DIY enthusiast or a beginner looking for a fun project, whitewashing stained wood is an accessible and satisfying undertaking for everyone.
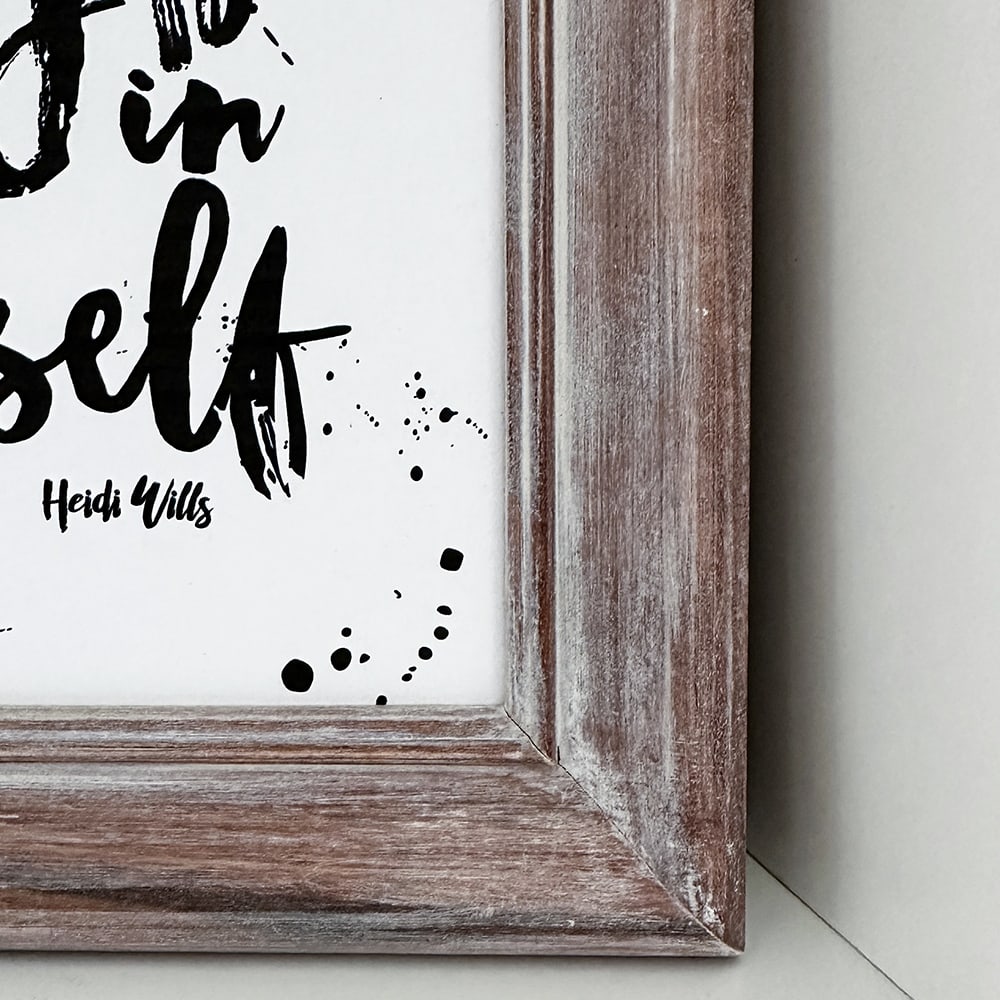
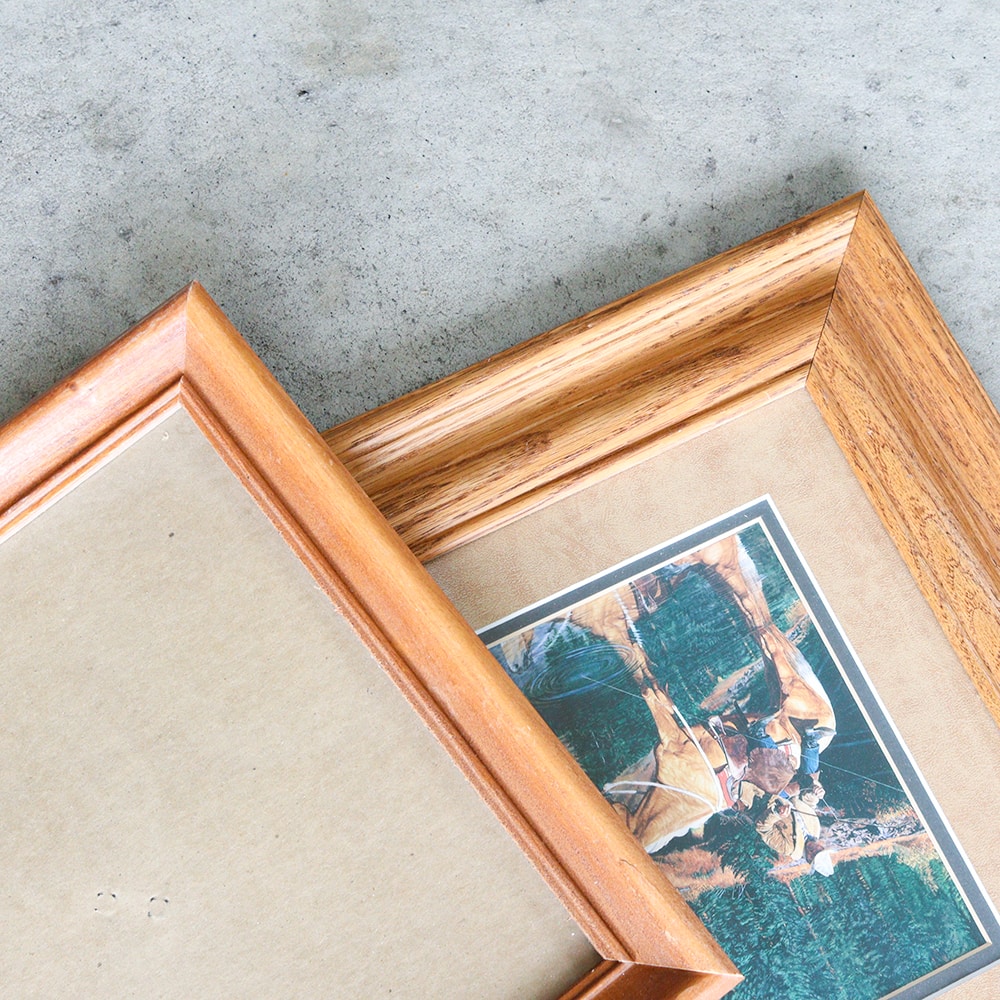
I personally picked up a couple of wooded picture frames for cheap from our thrift store to use in my own home and show how easy it is to update your furniture or decor with whitewash.
Supplies for Whitewashing Stained Wood
As an Amazon Associate, I earn from qualifying purchases. I also may earn from other qualifying purchases with other companies or get free product to review and use. All opinions are my own.
- Krud Kutter cleaner
- 220 Grit Sandpaper
- Tack Cloth
- White Paint
- Stir Stick
- Water
- Paintbrush or Cloth
- Lint-Free Rag
- Topcoat for protection
Choosing the Right Wood Surface
Before you begin the whitewashing process, it’s important to choose or know what the right wood surface is for best results. The type of wood and its current finish will impact how well the whitewash adheres and the final appearance of your project.
Stained Wood Without a Topcoat: Whitewashing works best on stained wood surfaces that do not have a protective topcoat. The absence of a topcoat allows the whitewash to penetrate more easily into the wood, creating a more even and consistent finish. If your wood item has a natural, unfinished look, it’s likely a good candidate for whitewashing.
Stained Wood With a Topcoat: If your wood surface has a glossy or sealed appearance, it probably has a topcoat. While it’s still possible to whitewash this type of wood, you’ll need to take extra steps to make sure the whitewash adheres properly. This includes lightly sanding the surface before application, which we’ll cover in a later section.
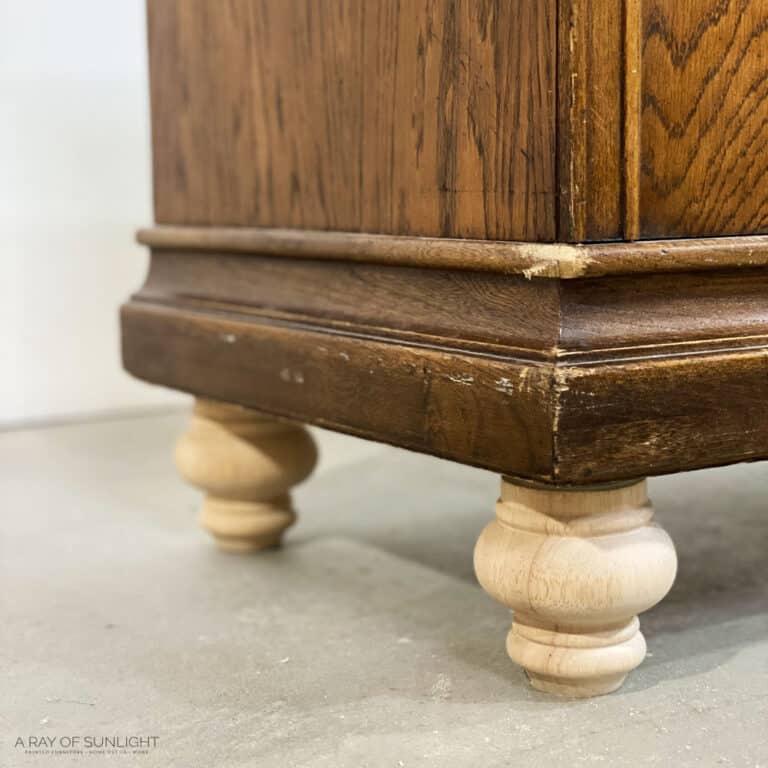
Wood Type and Grain: The type of wood and its grain pattern can also affect the outcome of your whitewashing project. Wood with a lot of deep grain like oak will absorb and keep more of the whitewash than woods that don’t have them deep. Here are more tips on updating oak furniture!
All wood will still take the whitewash, but it can look different depending on what type of wood you stain and if it has a topcoat on it or not.
Preparing the Stained Wood for Whitewash
First, clean the surface of the wood with a degreasing cleaner like Krud Kutter. Just spray it on and wipe it off along with any gunk or grime on the surface with a damp rag. This will create a clean surface that the whitewash can stick to.
Check out our blog post about cleaning furniture before painting to learn more about the different processes of cleaning furniture before painting.
It’s best to do this before sanding so then you don’t push oils and grime into the wood when sanding.
If your surface has a protective topcoat, and you want the whitewash to adhere well, lightly sand the surface before applying the whitewash. Here’s our blog post about the importance of sanding furniture to learn more about how to sand and why we do it.
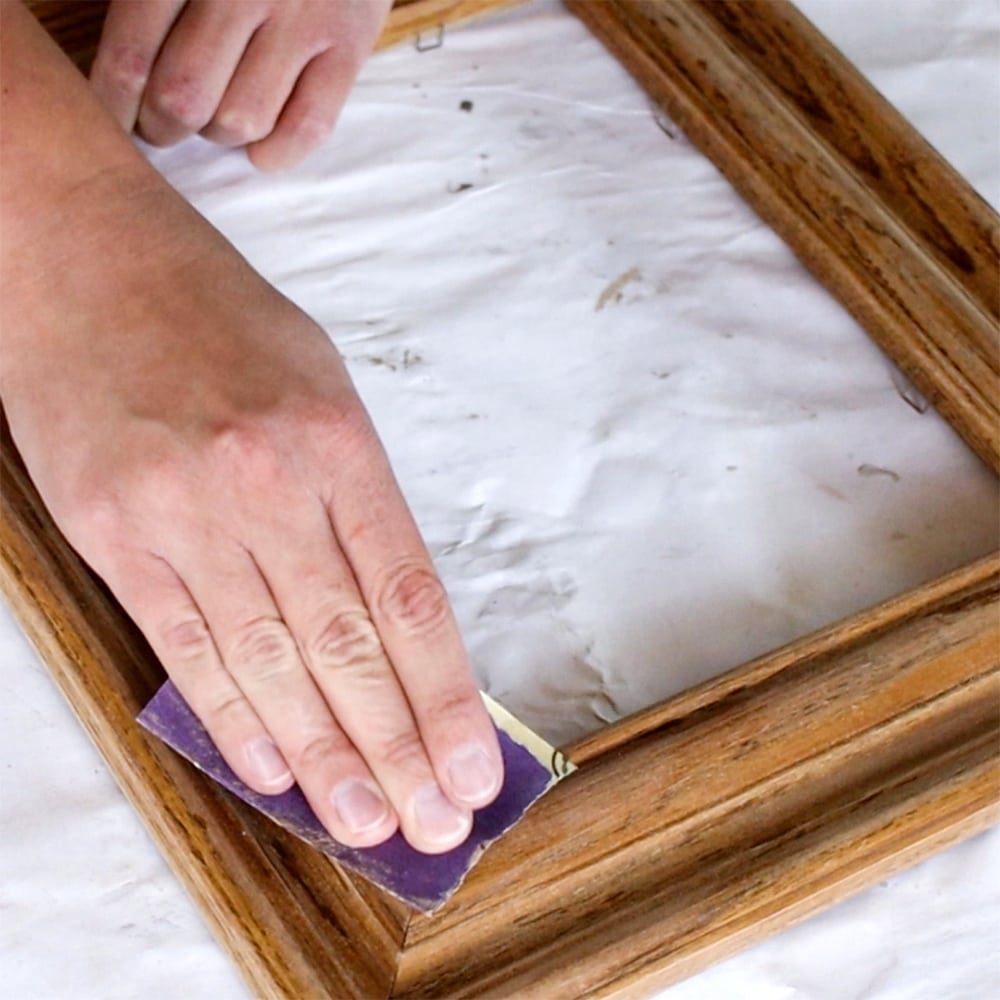
This step helps to slightly remove the topcoat and create a surface that allows the whitewash to adhere better and soak into the wood more effectively.
Use 220 grit sandpaper to lightly sand the surface. Make sure to sand the grooves and crevices on your surface. This should be quick and easy. We aren’t trying to remove the old finish, just remove the shine.
Here is our list of the best sandpaper for furniture so you can pick out the right sandpaper for your project.
Then remove the dust with a vacuum and wipe the surface down with a tack cloth. For small projects, you can just wipe off the dust with a tack cloth.
Making Homemade Whitewash
Whitewash is a very thin white paint and is easy to make from white latex paint or chalk paint.
You can use either white or tan paint for your whitewash mixture, depending on the desired effect. White paint will give the wood a greyish appearance, while tan paint will create a more natural-looking wood tone.
For these picture frames, I used Kilz Chalk paint in white. But I honestly wish I would have used a tan paint like Fusion Mineral Paint Algonquin for a light wood look.
In a mixing container, combine equal parts of paint and water. A little goes a long way, so only mix a few tablespoons for small projects like picture frames. For furniture mix up about a cup of whitewash.

Mix the paint and water together thoroughly using a stir stick until it is all mixed together. The mixture should be thin enough to easily brush onto the wood surface. I thin it out enough that it would be drippy on a vertical surface.
Before applying the whitewash to your entire wood surface, it’s a good idea to test it on a small, inconspicuous area or a scrap piece of wood. This will allow you to see how the mixture looks on the wood and make any adjustments to the paint-to-water ratio if needed.
Applying the Whitewash
Now you’re ready to whitewash your stained wood!
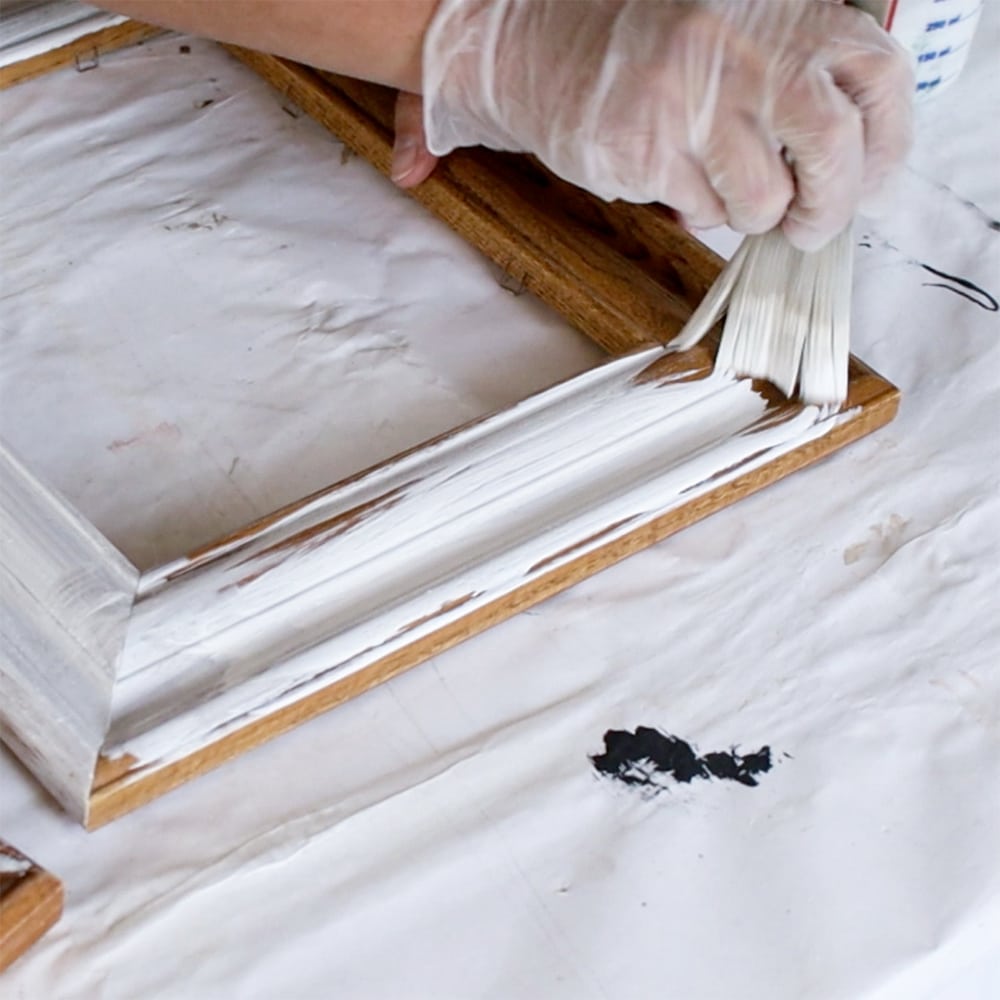
Dip your paintbrush or foam brush into the whitewash mixture, and starting at one end of the wood surface, gently brush the whitewash onto the wood, following the direction of the wood grain. Make sure the whitewash gets into the crevices and corners.
Would you like to save this?
Here’s our list of the best paint brushes for painting furniture to know which one will give you the best results for your project.
Work in small sections that are manageable to get through the whole process before the whitewash dries.
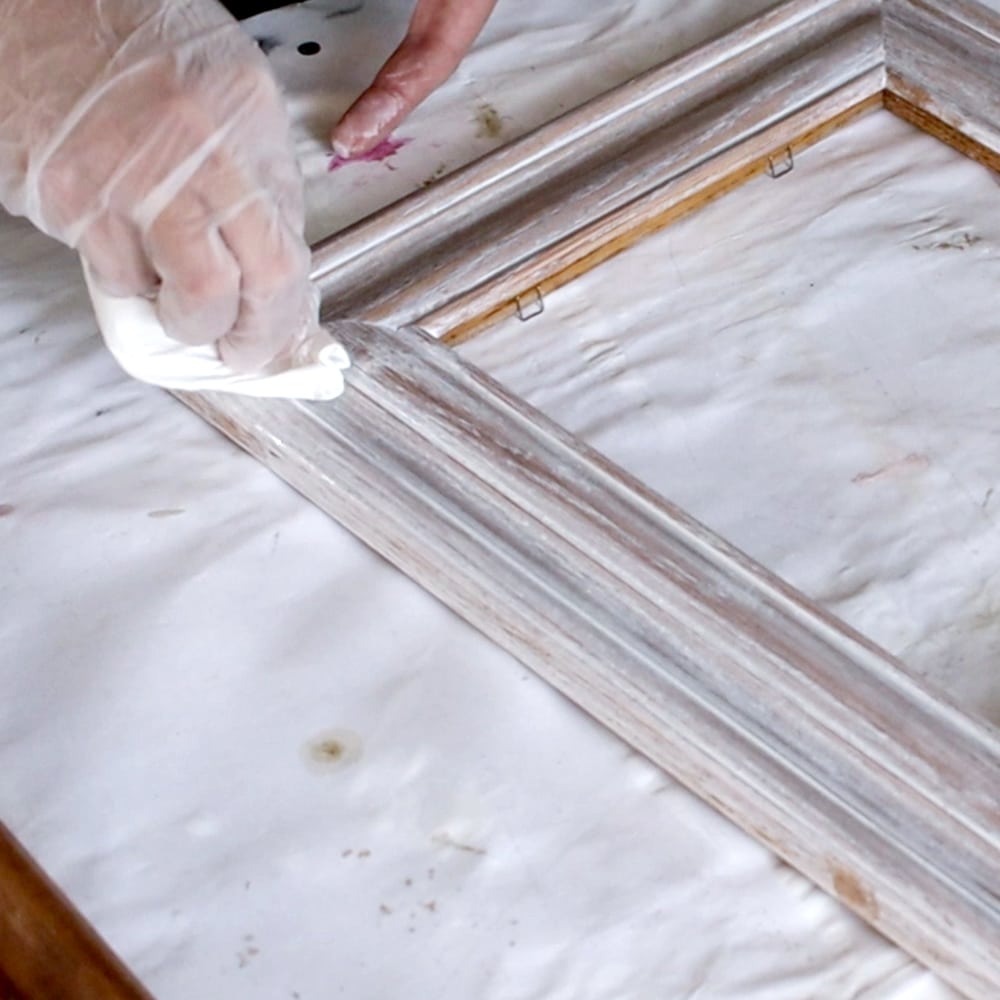
Then wipe off the excess whitewash with a lint free rag. Just lightly wipe away the whitewash until you get the look you are wanting. Wipe it off with the direction or lines of the wood grain to create a professional look.
Let the whitewash dry completely. This should take no more than a couple of hours. Learn more about whitewashing furniture in our post on how to whitewash wood furniture.
You may need to apply additional coats of whitewash to create the look you want. Just follow the same process for each coat, making sure the whitewash has dried for at least a couple of hours before applying the next coat.
The next coat can reactivate the paint on the first coat and lift it off.
Applying a Protective Topcoat
Once your whitewashed wood surface is completely dry, it’s a good idea to apply a protective topcoat. Especially for furniture surfaces or cabinets, or really any surface that will be used and abused.
Here’s our list of best topcoats for furniture to learn which is the best topcoat for your next project.
This extra layer will help preserve the finish, protect against wear and tear, and make it easier to clean in the future.
There are several topcoat options available, such as waterbased polyurethane, spray can polycrylic, or clear wax. Consider the following factors when choosing the best topcoat for your project:


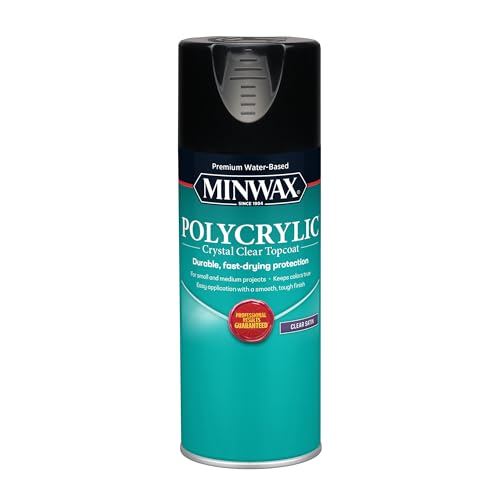
- Durability: If your wood item will be exposed to heavy use or moisture, opt for a more durable topcoat like polyurethane or polycrylic.
- Appearance: Some topcoats can slightly alter the appearance of the whitewash, so choose one that maintains the desired look. Polycrylic is typically a good choice for maintaining the original color, as it dries clear and doesn’t yellow over time.
- Ease of Application: Clear wax is generally easier to apply than polyurethane or polycrylic and can be buffed to create a shinier smooth finish. However, it may need to be reapplied periodically to maintain its protective qualities.
Learn more about these different topcoats in our wax vs polyurethane post and our what’s the best polyurethane for furniture post.
If you use a poly topcoat, here are the best brushes for polyurethane, and here is how to apply polycrylic to furniture.
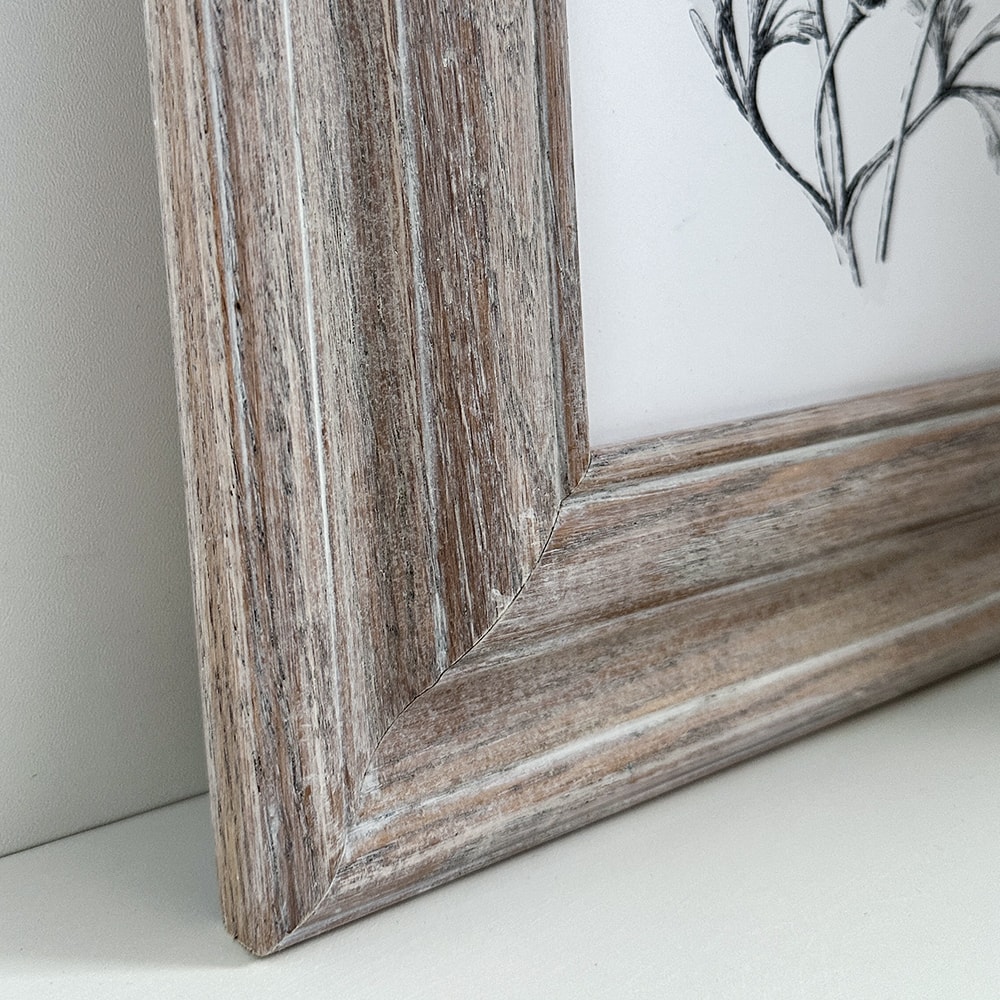
Here’s what our wooden picture frames look like now! I used a white paint to create this look and now I have some cute frames to display some art in my home!
Whitewashing is one of the great ways how to change wood color without sanding off the old finish which saves you time and allows easy decor home changes whenever you want. If you want to change the finish from dark stain to light, learn how to change dark wood stain to light here!

More Before and After Makeovers
See All >
Click any of these “before” photos below to view the “after” of that makeover.


How To Whitewash Stained Wood
Discover just how easy and enjoyable whitewashing is and how to create stunning pieces. Follow this step by step guide on how to whitewash stained wood.
Materials
Tools
Instructions
- Clean the wood surface with Krud Kutter and a damp rag.
- Use 220 grit sandpaper to lightly sand the wood surface.
- After sanding, remove the dust using a vacuum and wipe the surface with a tack cloth.
- Thoroughly mix an equal part of Kilz Chalk paint in white and water in a container using a stir stick. Then test the mixture on a scrap piece of wood.
- Apply the whitewash gently using a paintbrush, starting at one end of the wood and following the direction of the wood grain. And don't forget the crevices and corners.
- Using a lint free rag, wipe off the excess whitewash and let it dry completely.
- If there's a need to apply an additional coat, follow the same steps but make sure that the whitewash has dried for at least a couple of hours.
- Apply a protective topcoat once the whitewash is completely dry.
Recommended Products
As an Amazon Associate and member of other affiliate programs, I earn from qualifying purchases.


more Whitewashed furniture ideas
- How to Whitewash Furniture
- Whitewashed Furniture
- DIY Whitewash Dresser
- White Wash Furniture With Chalk Paint

Follow us on YouTube to get more tips for painting furniture. Or share your project with us on our Facebook Group and be part of our community. See you there!
Thanks for sharing all your smarts, its priceless!!!!!!!!!!!!!!!!!!!!!!!!!!!!!!!!!!!!!!!!!!!!!!
You are too sweet! Thanks as well!