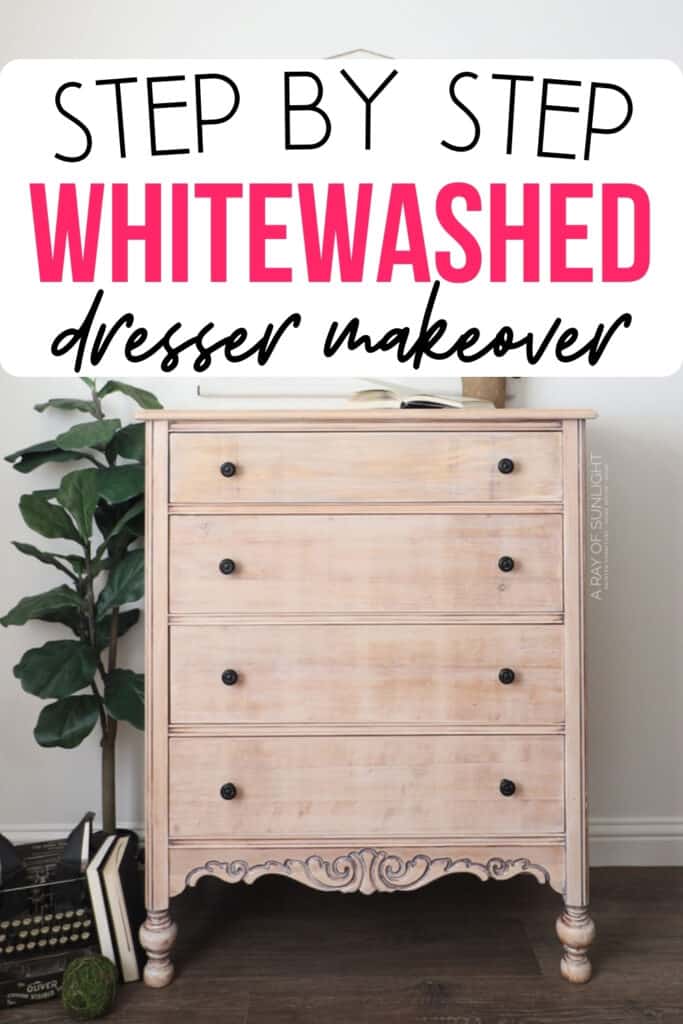
DIY Whitewash Dresser


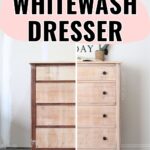
Learn how to turn your old dresser into a raw wood / whitewashed beauty with this step by step tutorial. Here’s our DIY whitewash dresser makeover! Not only does this technique create a beautiful weathered look, but it’s also easy to do and budget friendly.
If you’re in need of some inspiration, check out these DIY dresser makeover ideas to see how creative and fun a simple update can be. Let’s dive into whitewashing a dresser and giving it a fresh, unique look!
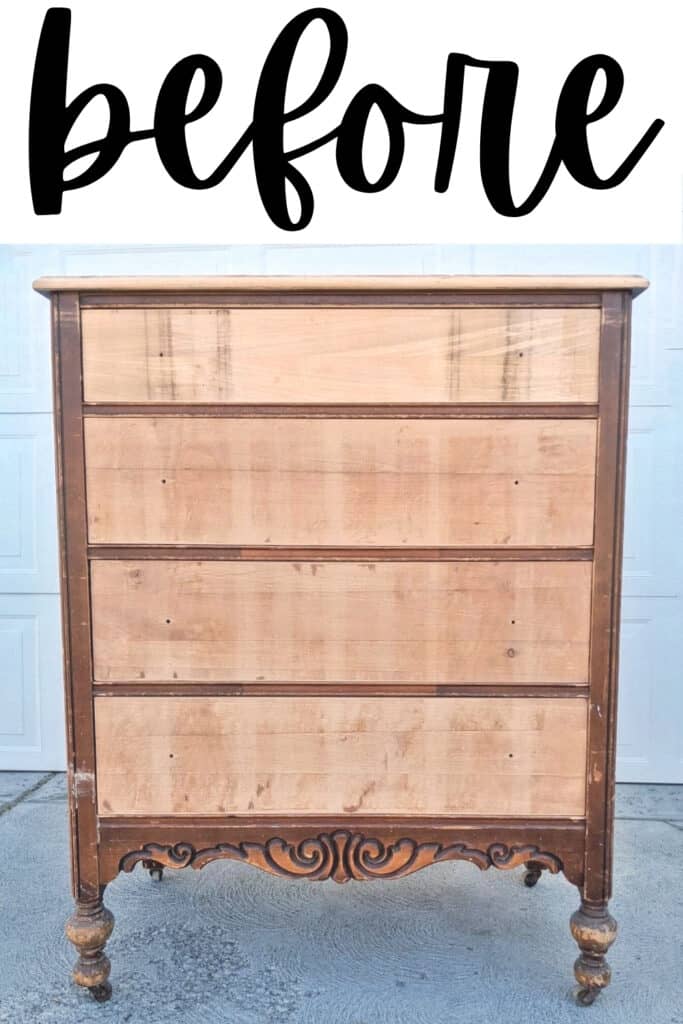
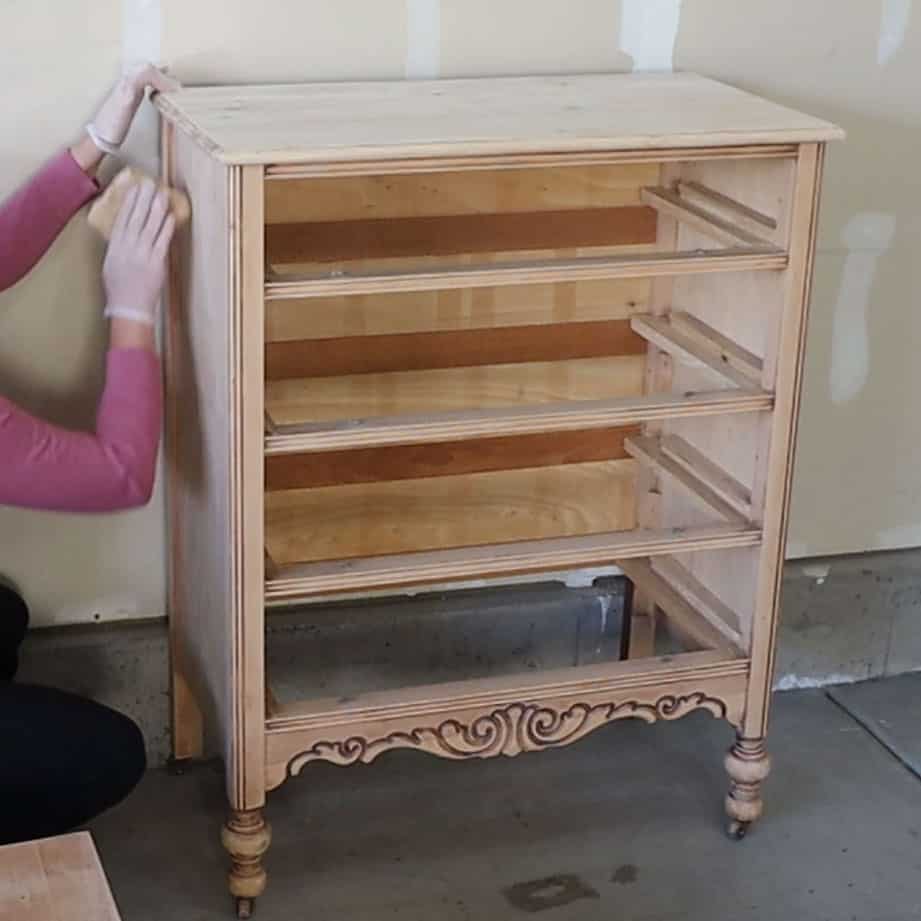
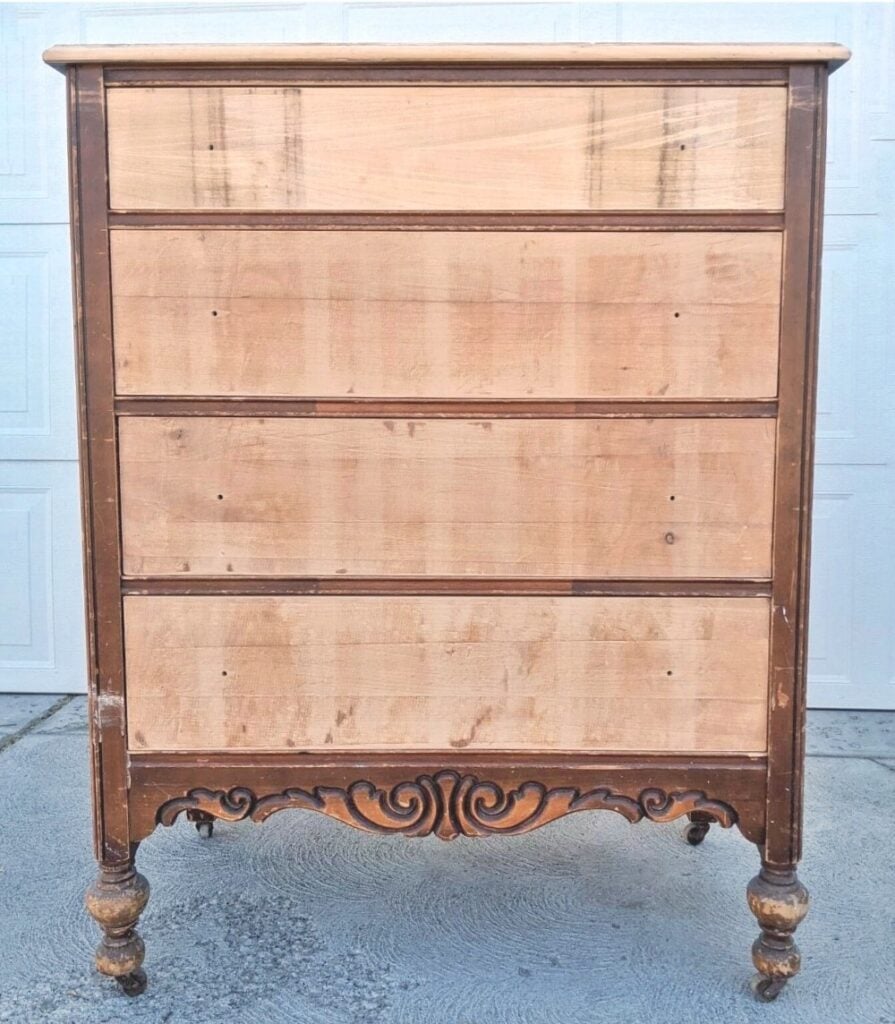
Above is what the dresser looked like when we bought it on Facebook Marketplace. The previous owner removed most of the damaged veneer before she sold it to me.
She was probably completely worn out by the time she got it to this point. I can’t blame her, though. If you don’t know the trick, removing veneer can be a huge pain! Since she had already done so much work, I decided to roll with all of the raw wood.

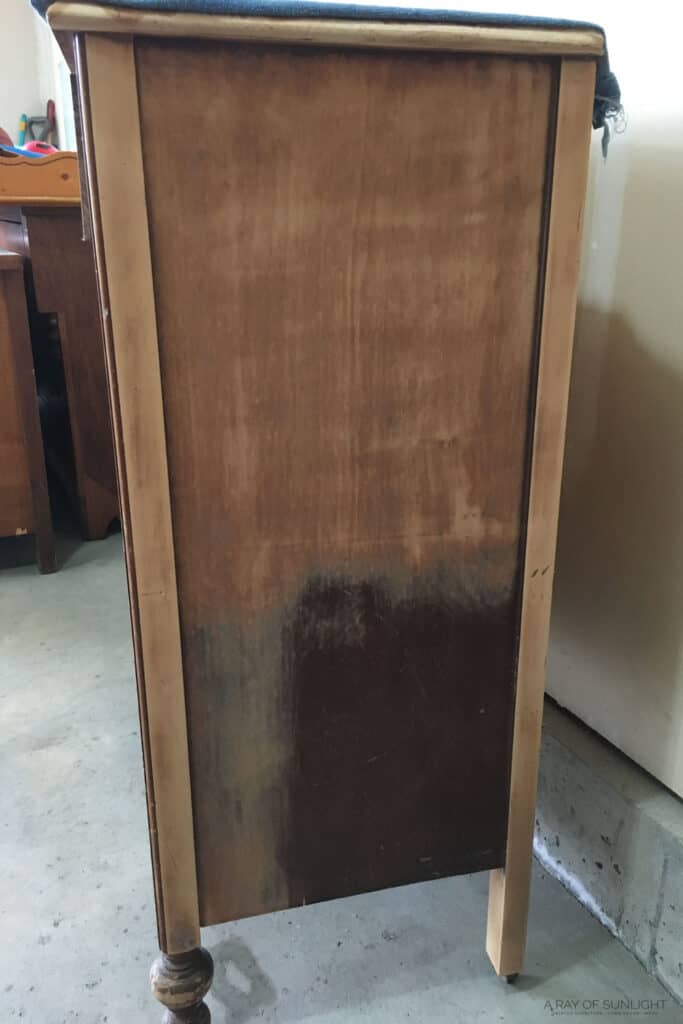
Thankfully, I recently learned the easiest way to remove veneer from furniture, so I was able to easily finish removing it on the top. I wanted a raw and natural look for this piece, basically exactly how it looked when I was done sanding.

Supplies Used for This DIY Whitewash Dresser
As an Amazon Associate, I earn from qualifying purchases. I also may earn from other qualifying purchases with other companies or get free product to review and use. All opinions are my own.
- 3×4 Vacuum Compatible SurfPrep Sander (Use code RAY10 to get 10% off your order)
- 100, 150, and 220 Grit Sandpaper (Use code RAY10 to get 10% off your order)
- Shop Vac
- Tack Cloth
- Waterbased Polyurethane
- Foam Sponge
- Disposable Gloves
- White Paint
- Zibra Paint Brush
- Lint Free Rags
- New Knobs
Removing Old Finish By Sanding
First, I got to work removing the old finish that was left on the dresser. This antique piece sanded down pretty fast since the existing finish was dry and pretty thin.
I started by using 100 grit sandpaper to get most of the finish off as fast as possible. I used my favorite little SurfPrep sander, but you could use any ole sander for the most part. Check out our Surfprep Sander reviews here to learn more about it. These SurfPrep vs Festool sander reviews will also help you if you’re considering the two brands.
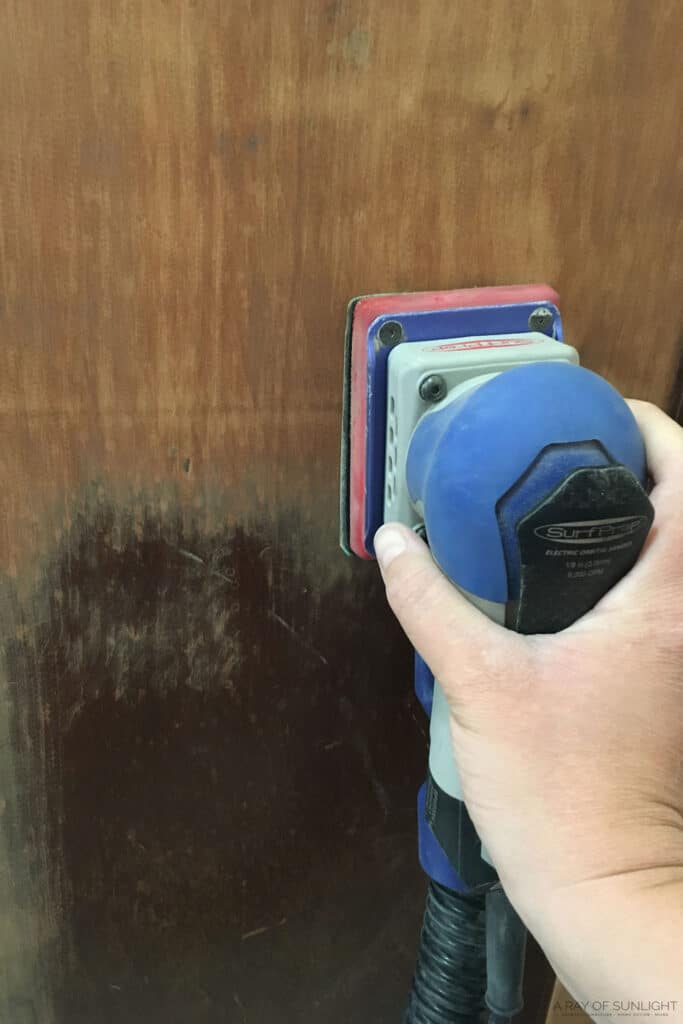
I love this SurfPrep Sander because of the foam sandpaper I can use with it, and because it’s a rectangle, I can get right up to the edges and in the corners with it. Learn more about it in our honest SurfPrep sander review here!
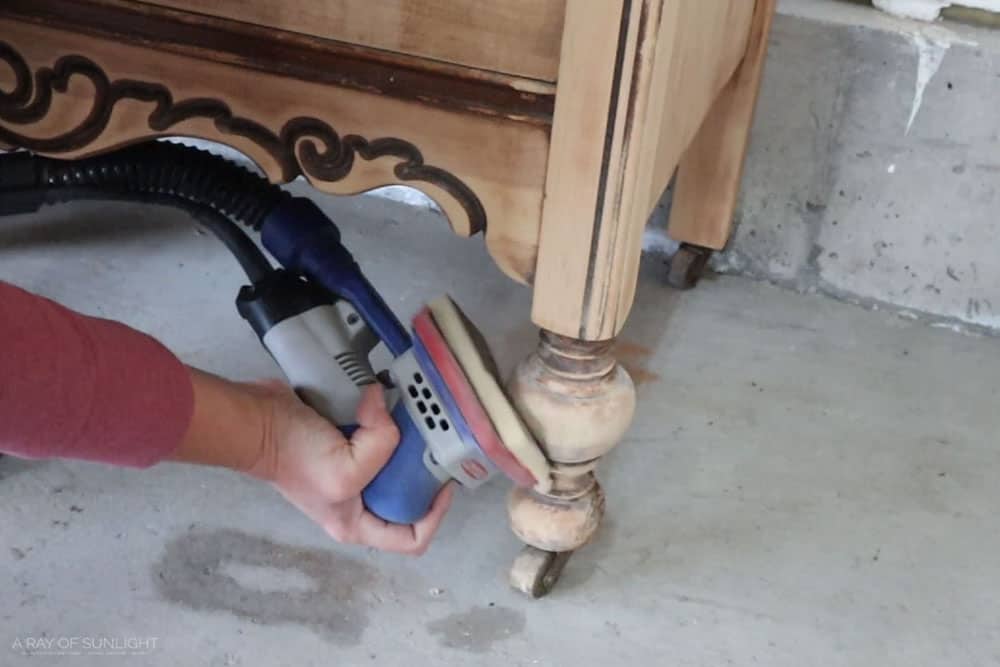
If you use an orbital sander, you’ll need to work on the corners and edges by hand. Here are more options for the best sanders for furniture here.
After 100 grit, I sanded everything down with 150 grit sandpaper and then with 220 grit sandpaper. I used 150 instead of jumping straight to 220 to help avoid any sanding marks that come from using a power sander. Learn about the best sandpaper for furniture painting here.
I also tried to work slower, without applying very much pressure to the sander to help avoid those sanding swirls. For the details at the bottom, I just folded a piece of sandpaper in half. Then I removed some of the dark stain but left most of it to show off the pretty details.
I ended up sanding the entire thing, even the drawers and top, with 220 grit sandpaper before moving on. Check out my guide on how to sand down wood for more tips!
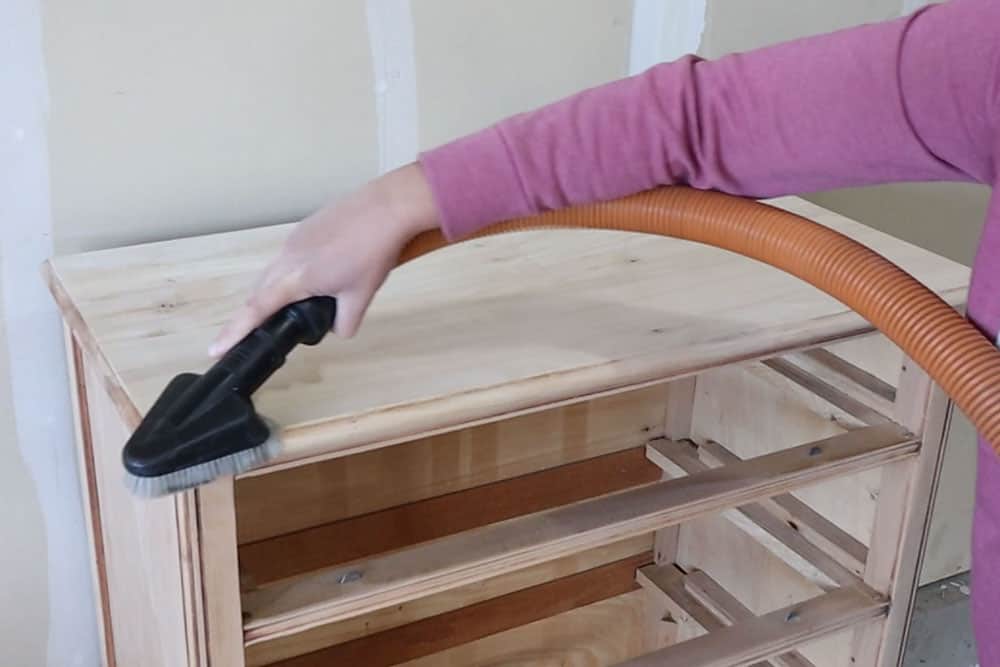
And then I removed the dust that was left behind with a vacuum and then with a tack cloth. (Tack cloths are amazing at picking up all the little specks of dust left!)
Removing Old Finish With Chemical Stripper
You don’t have to be limited to only sanding to remove the old finish, though! Sometimes, the old finish is hard to remove with this method. In that case, a chemical stripper is the best option. If you want to skip this tedious step, here’s how to remove paint from wood without sanding!
Check out this post to learn about how to remove wood stain with a (not harsh) chemical stripper. Also, here are the best tools for removing paint from wood.
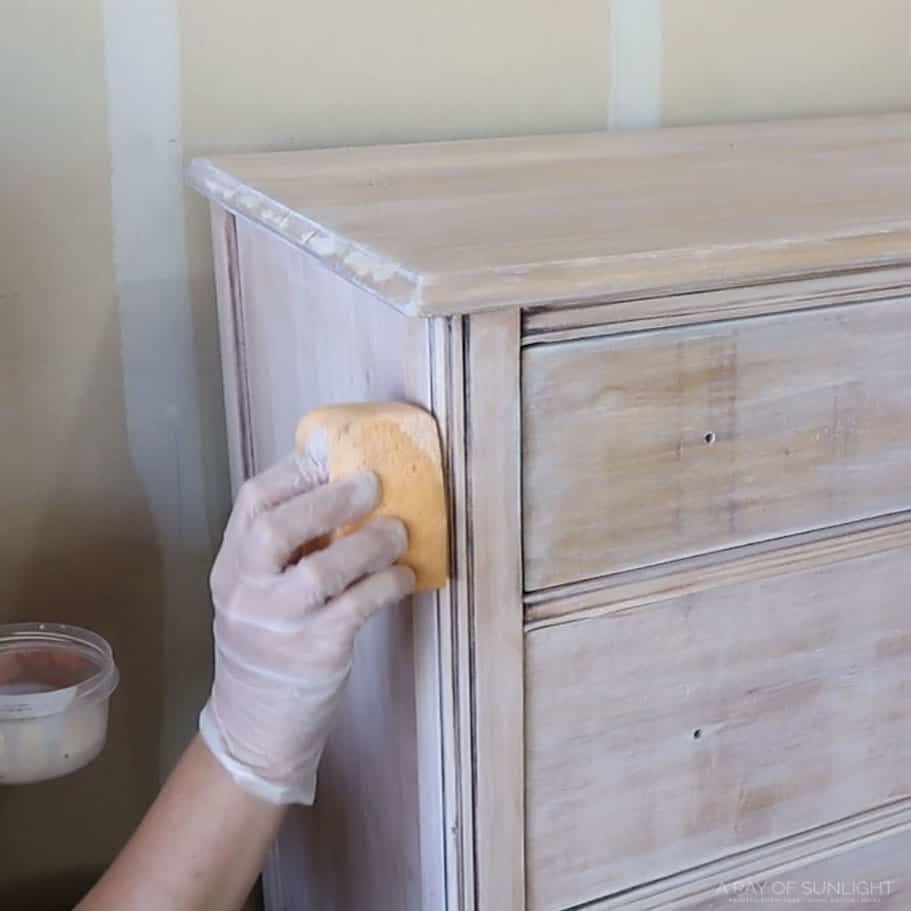
Sealing Raw Wood
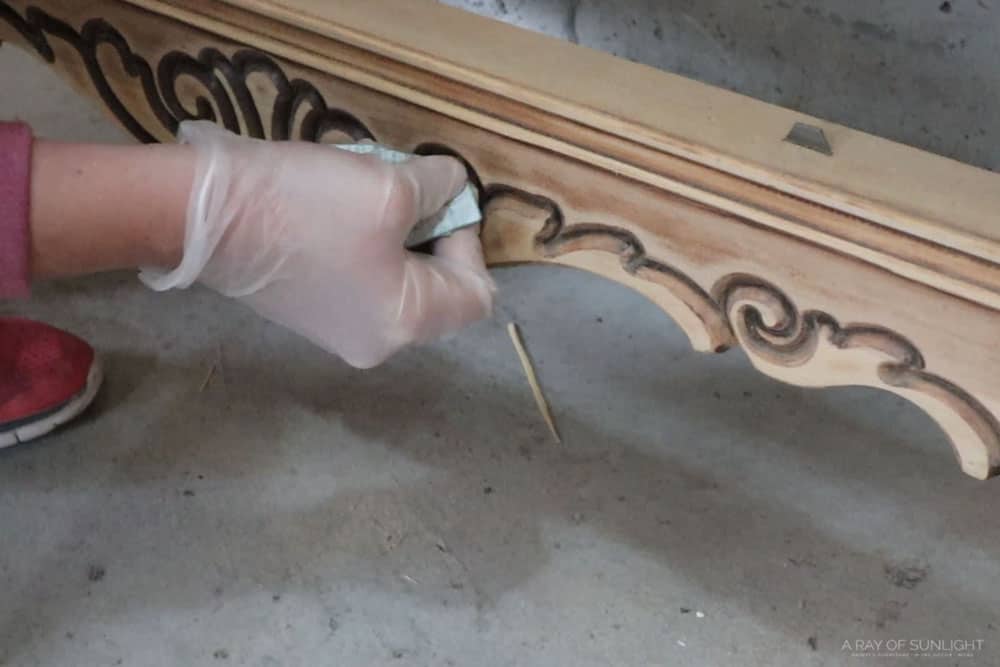
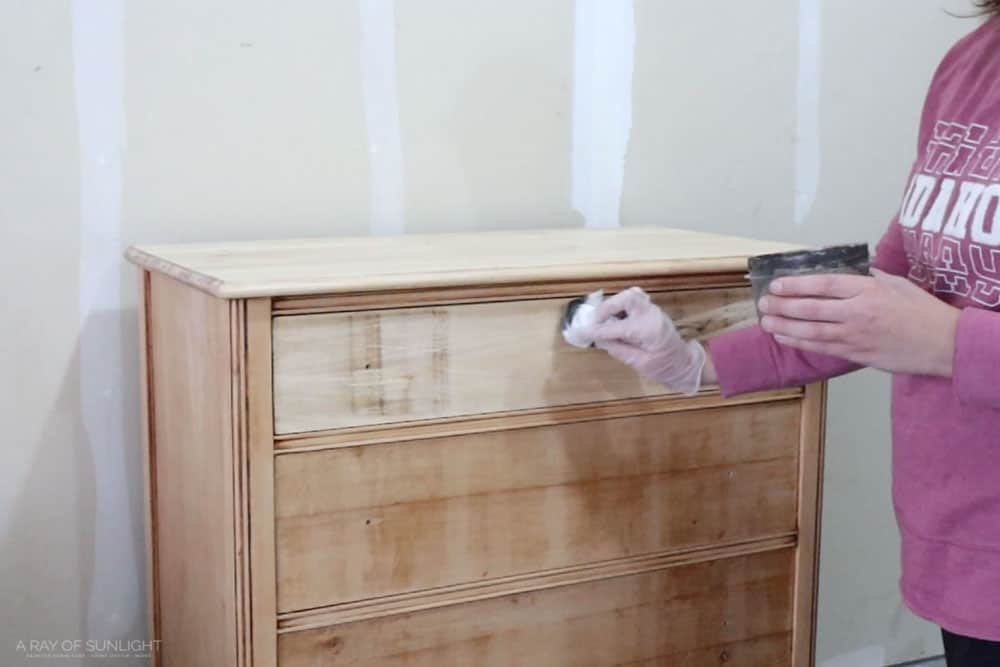
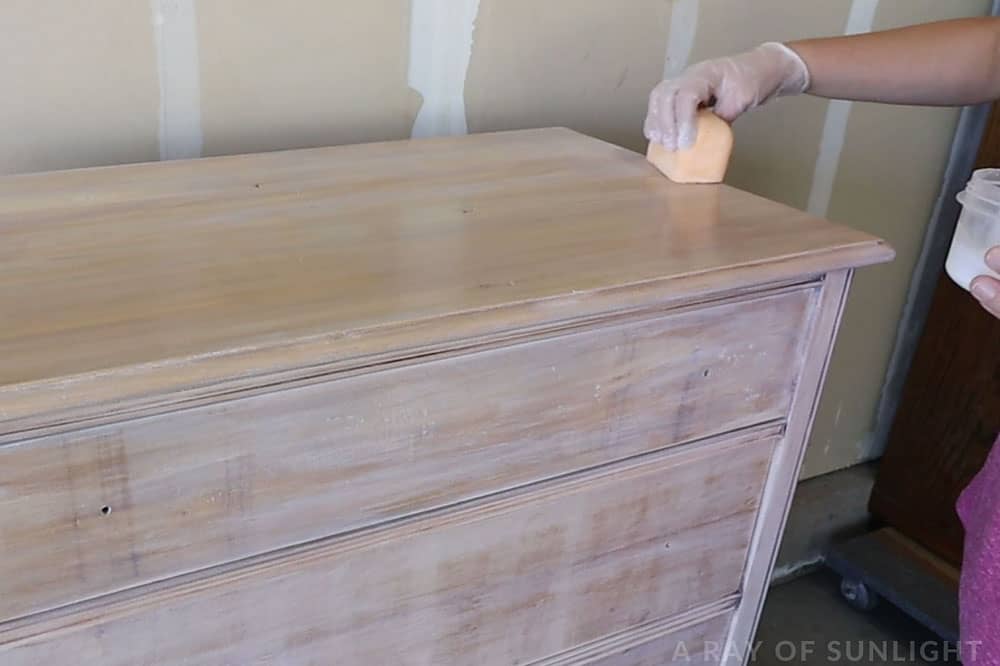
Then, I wiped a coat of poly all over the raw surface to keep the new white finish from soaking into it too much.
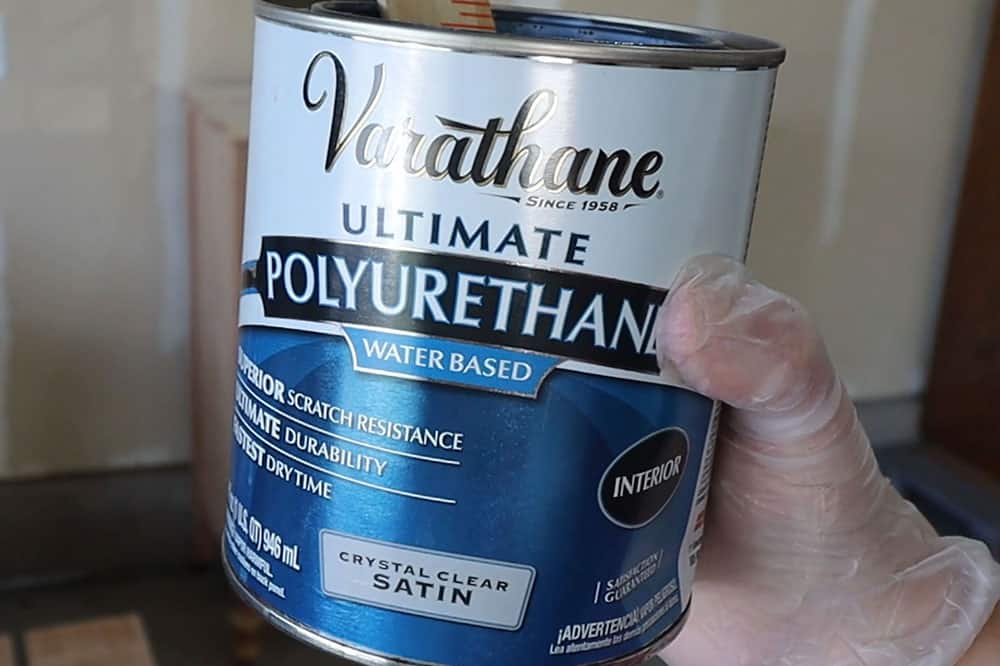
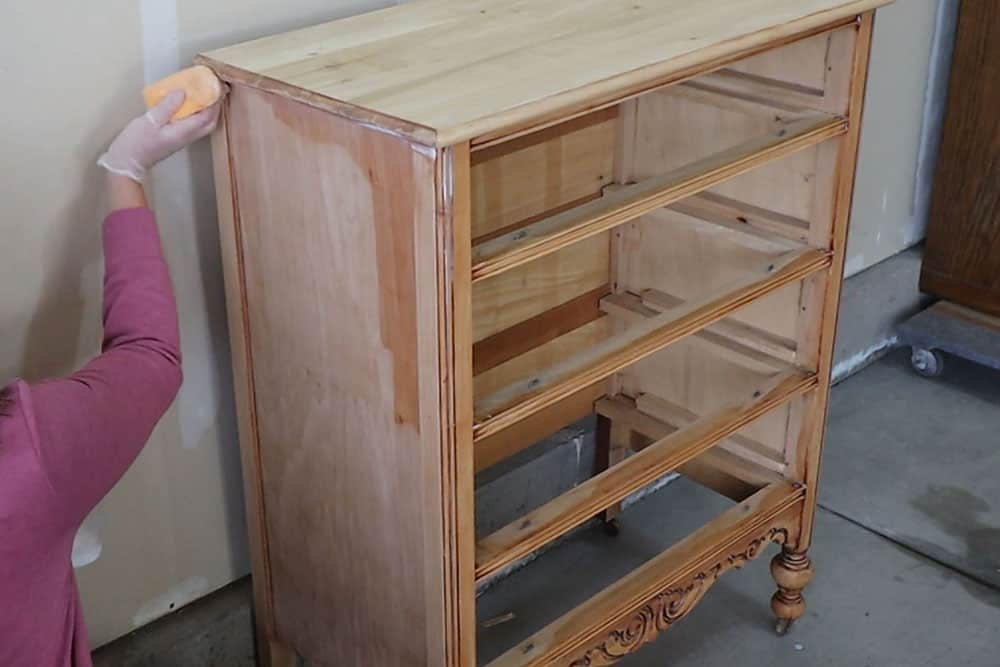
Notice how much darker the surface gets from just one coat of poly on it! I wiped the poly on with a foam sponge. I love the painting sponge from Country Chic Paint to apply poly by hand, but the ones I have right now have been used and abused.
So I tried this tile grout sponge out, and I was super happy with the results!

Since the 1 coat of poly is so thin, it only acts as a barrier to keep the whitewash from soaking in too much (and making it so you can’t wipe it back off). And since the whitewash is such a thin coat, it has no problem adhering to the 1 coat of poly.
So, the poly gives you more control over the whitewash, and the whitewash lightens up the sealed wood. Find out what the best polyurethane for furniture is here!
Staining Wood Top and Drawer
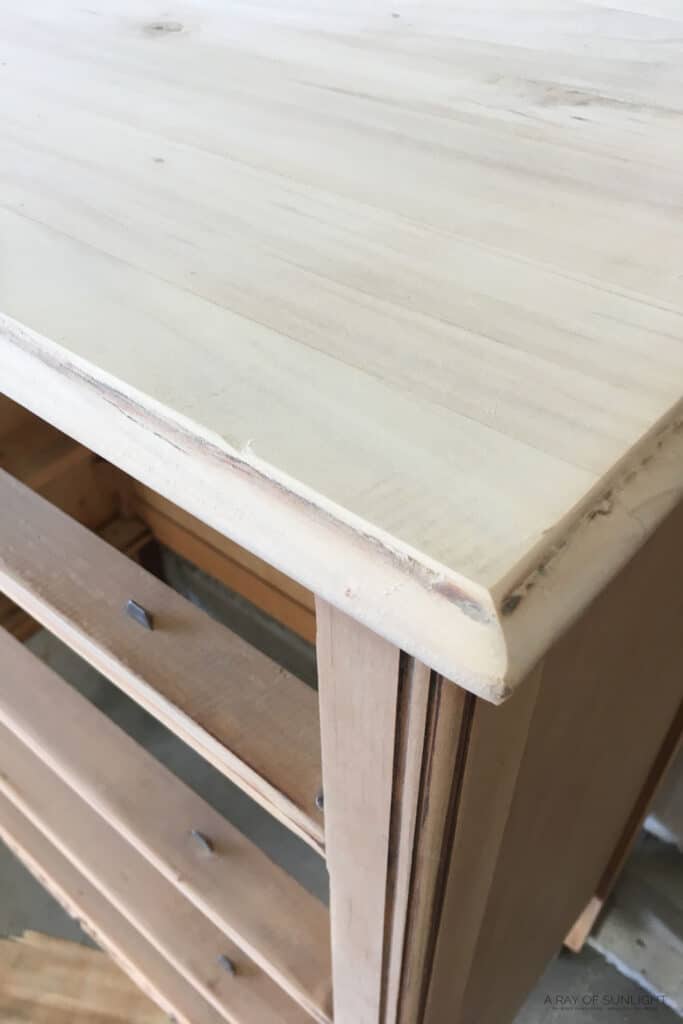
For some reason, the wood on the top drawer and on the top were different than the rest of the piece. Everything else was a lot more orange. So, I tried to stain it to a closer shade of what everything else was before I moved on.
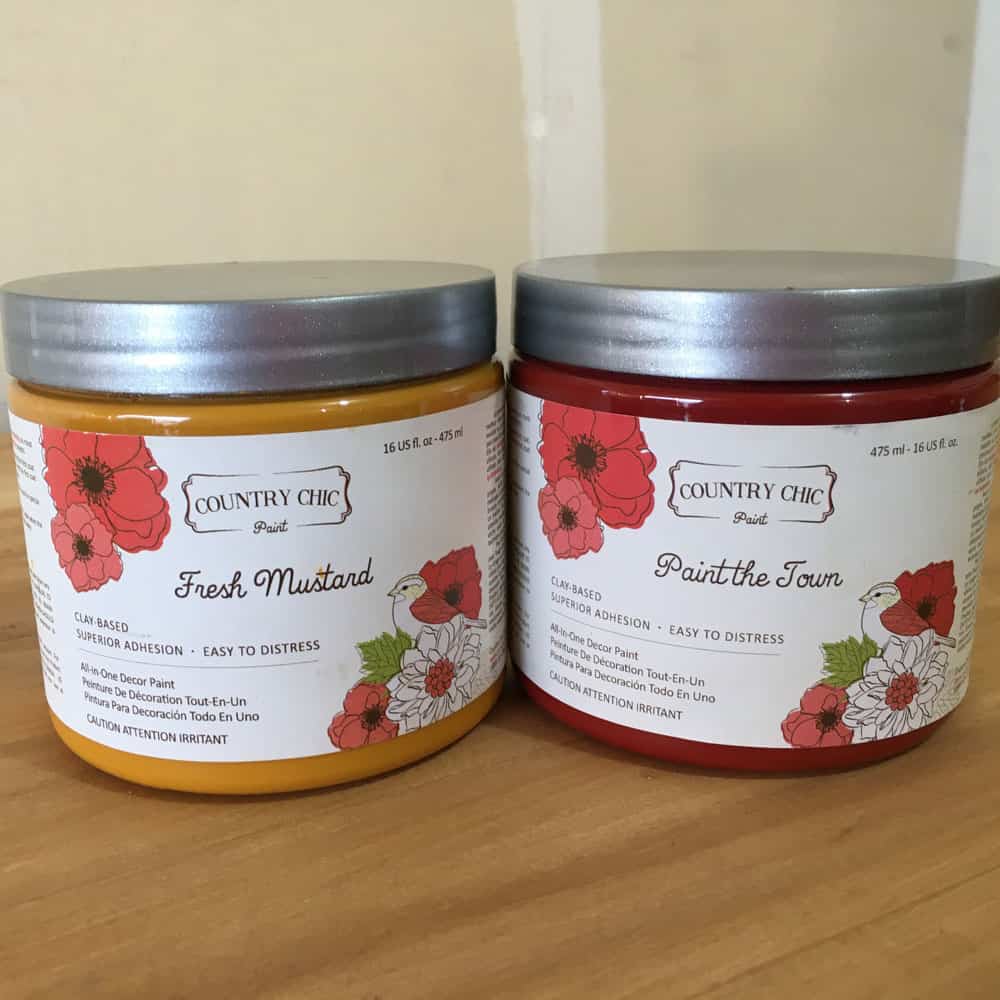
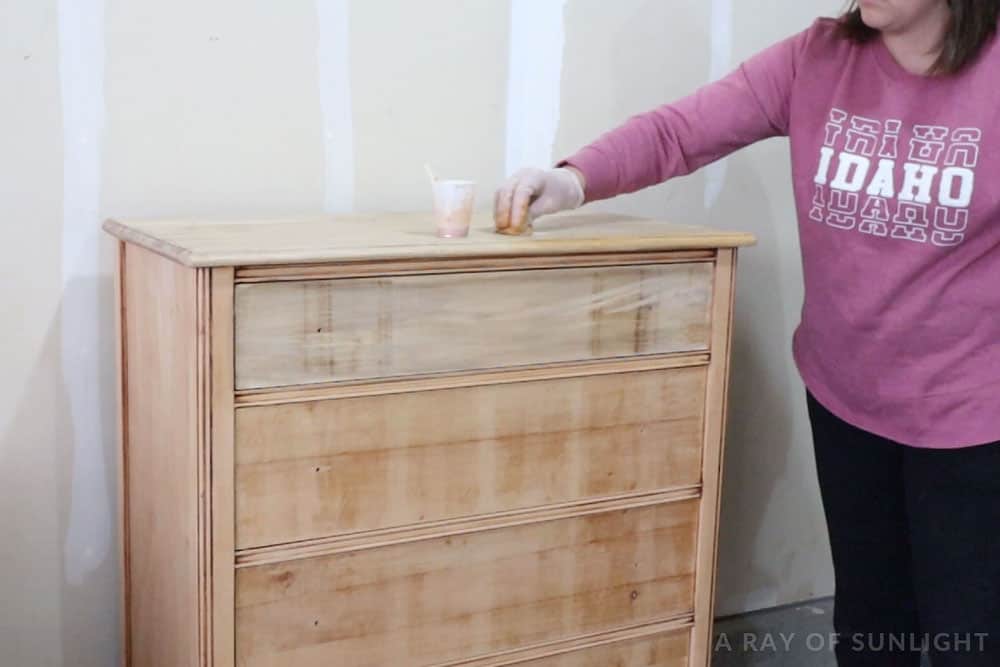
First, I used a little mix of brown latex paint and water to see if that helped, but it was definitely not even close. I didn’t have any orange coating to try to stain the surface to match the orangey tones, so I grabbed the red and yellow ones that I had on hand and mixed up an orange.
I mixed it with more water to basically create a wash, but orange instead of white. Then I wiped it onto the top of the dresser and top drawer.
Would you like to save this?
When it dried, it was a pretty close match!! I’m not gonna lie, I was pretty excited about how close it was! Haha learn more about how to stain wood with paint here, and check out the best wood stains here and the best brushes for staining wood here.
I put a coat of poly over the orange wash to seal it in and make sure everything was the same before moving on. If you want to get rid of the orange instead, here’s how to tone down orange wood furniture.


How to Make Whitewash
After the poly was dry, I watered down some white chalk paint I had on hand. Any waterbased white paint will work for this. Learn more about the different types of paint for furniture here.
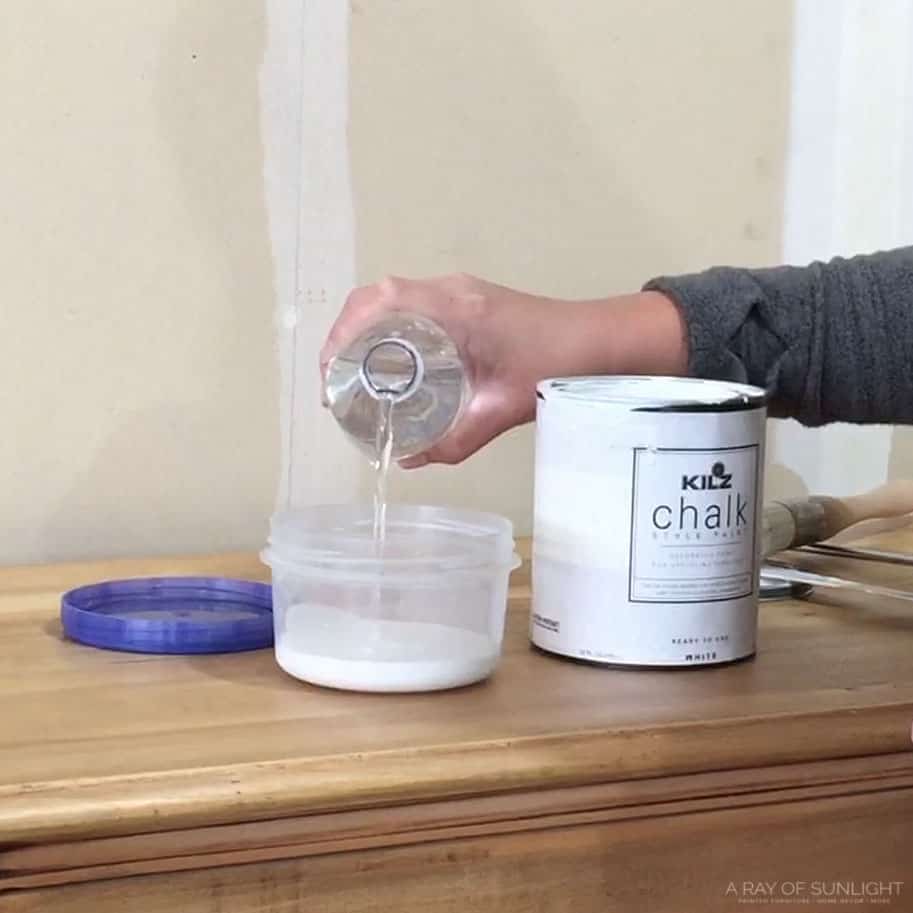
I didn’t really measure the water to paint ratio, but basically, you want it to look like water that is tinted white.
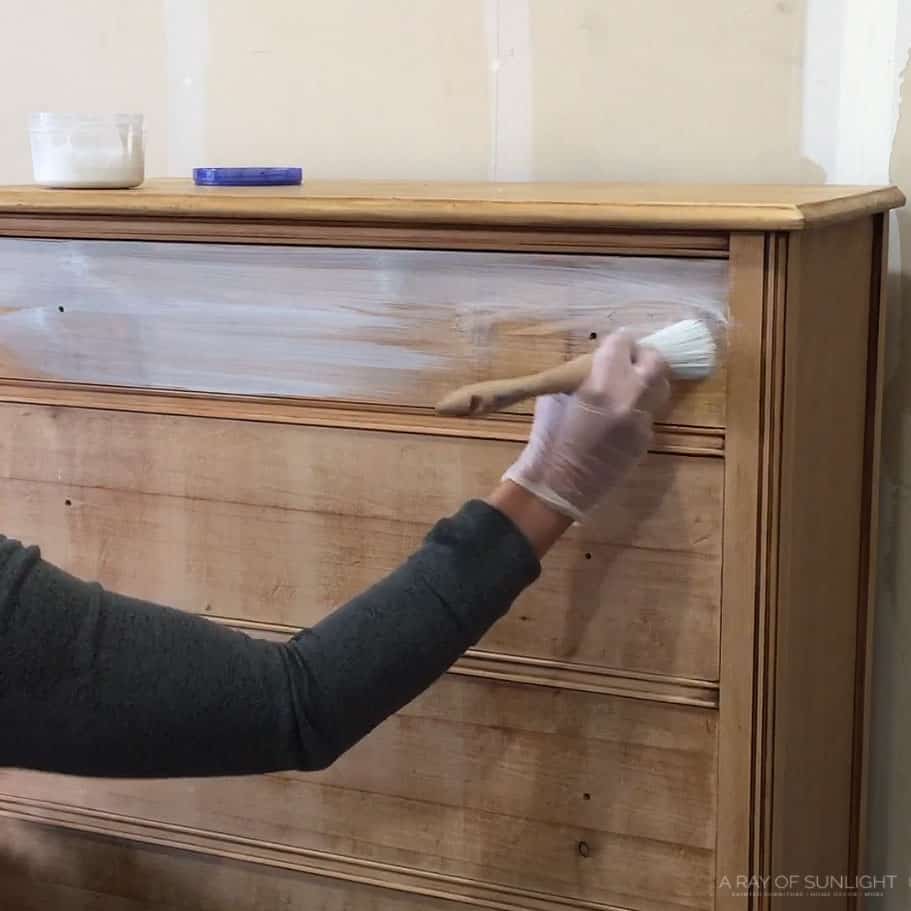
How to White Wash Dresser
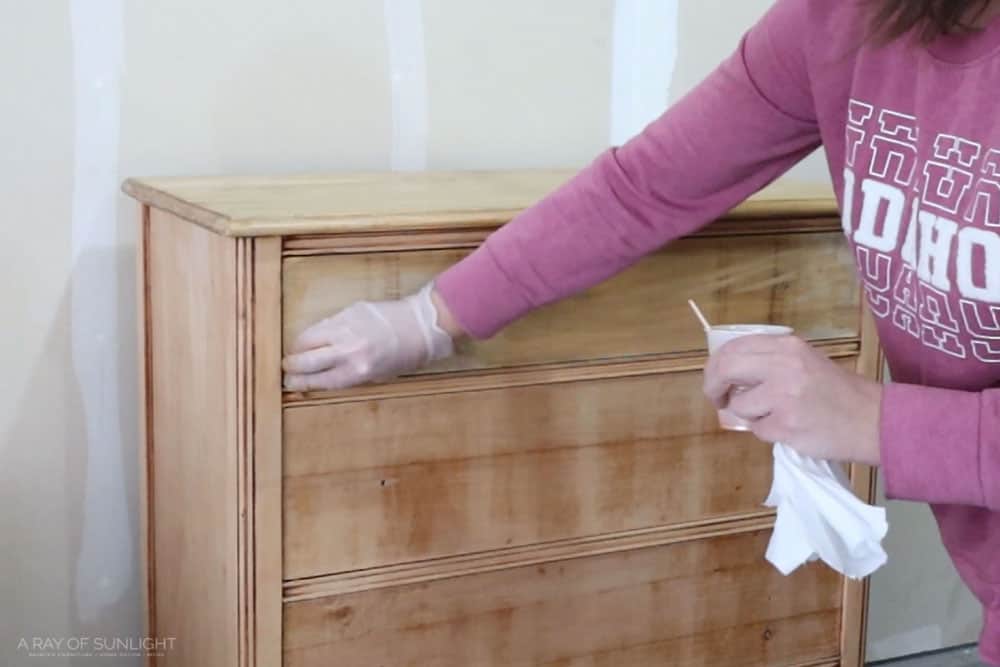
Then I got a little bit of the white mixture on my paintbrush, and brushed it on, staying with the direction of the wood grain. Check out this list of the best paint brushes for painting furniture for recommendations.
I worked in really small sections so it didn’t have time to dry or soak into the wood much.
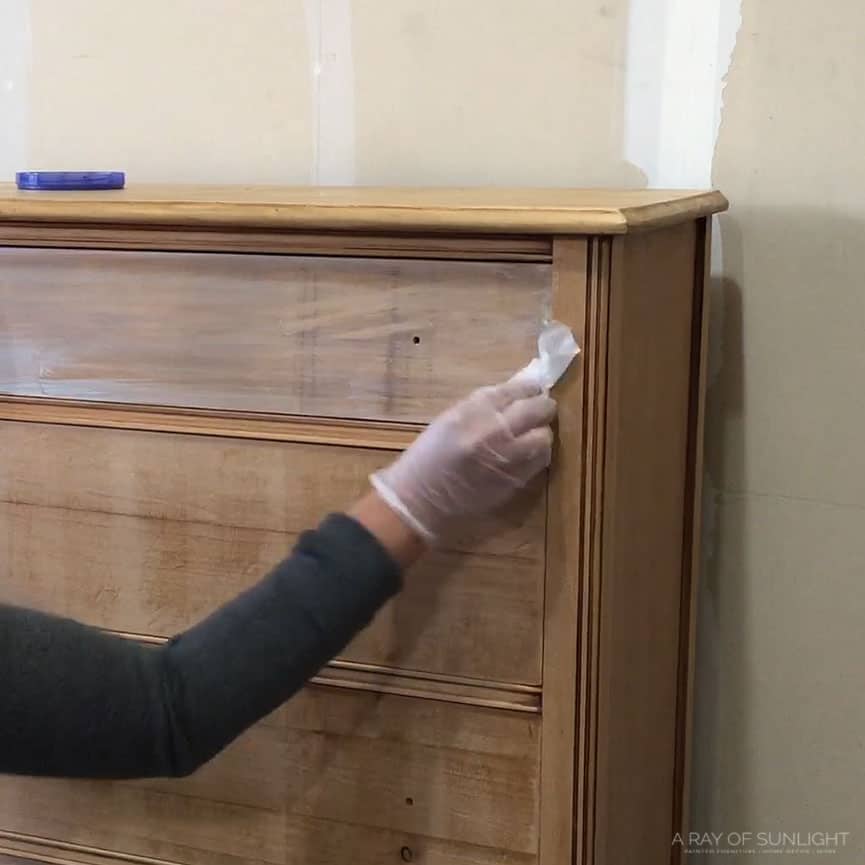
Then, I used a lint free rag to wipe it off and spread it out a little more. I actually used the same rag for the whole piece.
The next day, when I checked it out, the white finish was a little thicker on the top drawer than I wanted. So I sanded it down a bit and added just a little bit more of the tinted layer to try to even it out.
Topcoat DIY Whitewashed Dresser
When I was happy with everything, I wiped the piece down with a tack cloth and then wiped on 3 more coats of poly. Each coat of poly dried in 15 minutes or so, so it went really fast!
I used satin poly for the first coats and then the last coat I used a matte poly to decrease the shine. I love the extra durability the satin poly provides, but the flat finish of the matte poly.
**Notice that the whitewash blended better with the raw wood after being sealed with poly.
If you have a sprayer, you can also spray the poly on for a more even finish! Learn how to spray polyurethane to seal your finished pieces here. You can find the best HVLP paint sprayers for furniture here!
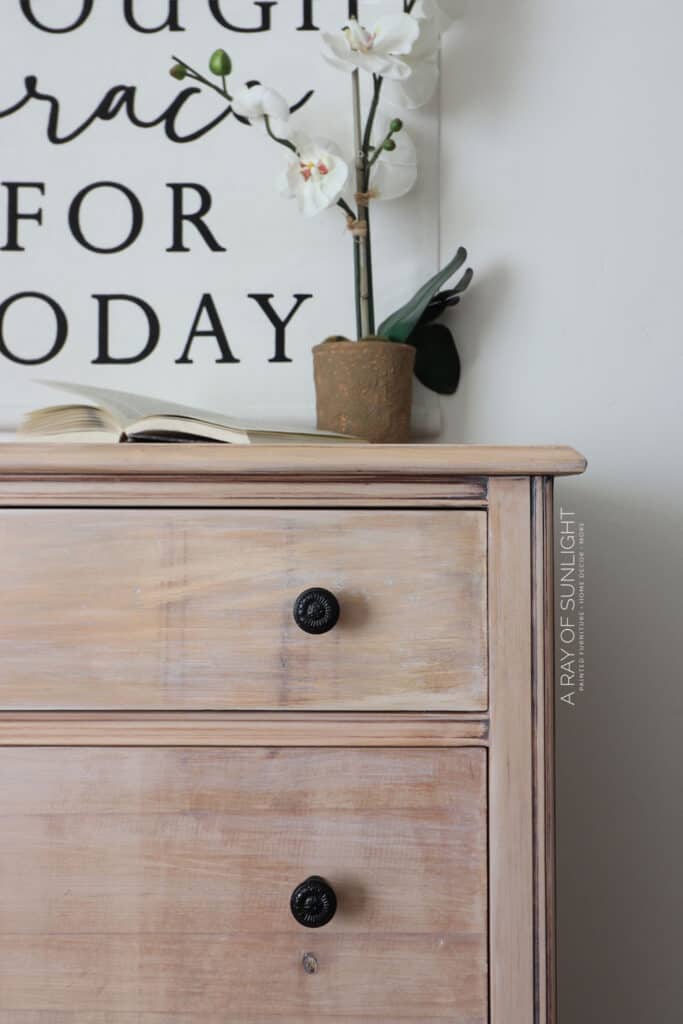
Add New Hardware
To finish it up, I added these cute little dark knobs to contrast the light raw look. And to accent the dark stain that I intentionally left in the details. These DIY leather pulls would be super cute on this makeover, too.
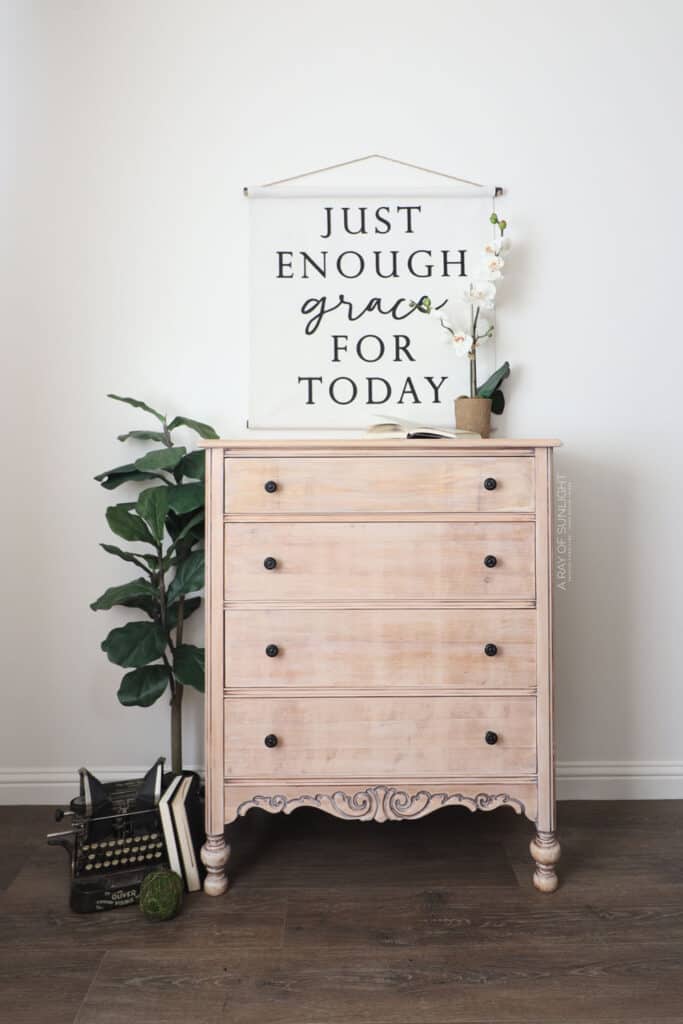
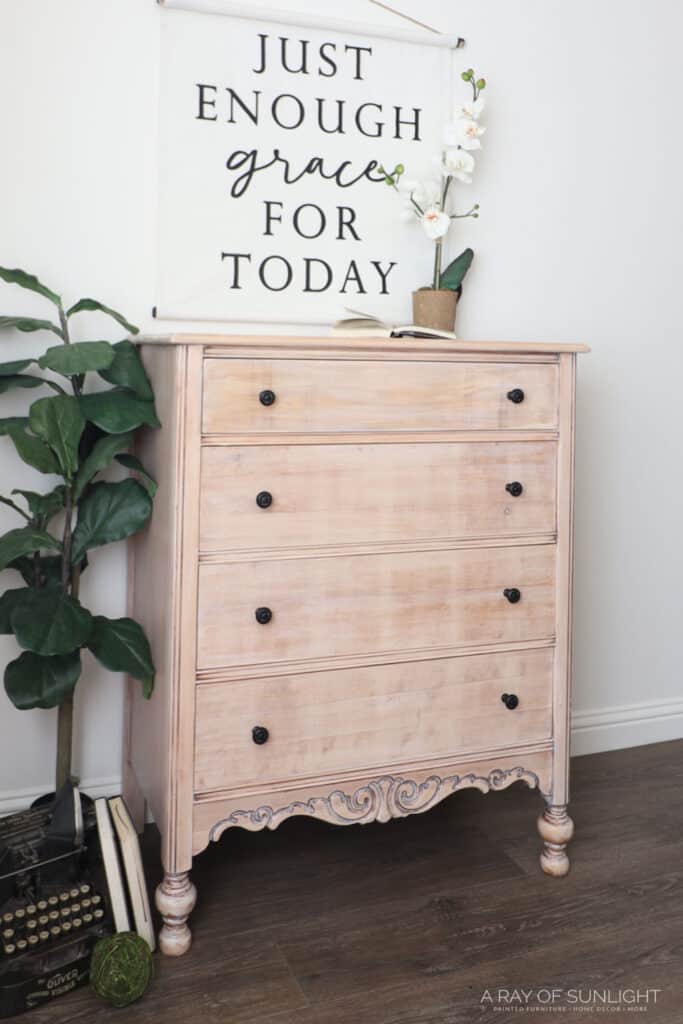
Now, here’s what the dresser looks like now!
More Before and After Makeovers
See All >
Click any of these “before” photos below to view the “after” of that makeover.


If you want more furniture makeover ideas, check out this post for a bunch of really cool ways to make your piece and home feel brand new! For more budget friendly makeovers, here’s our list of refurbished dresser ideas. If you have an antique dresser that needs an update check out these antique dresser refinishing Ideas for inspiration. For boho theme furniture here’s our list of boho painted furniture ideas.
How to Whitewash Wood With Color
If you want the same rustic charm but with a pop of color, you can make a color wash instead. This means using other colors to create a translucent wash. You can use any waterbased paint for this in the shade you want! Here’s our buffet turned into bathroom vanity where we used tan colored wash.
Similar to what we did here, water down the colored coating. If you want a more subtle look, you can use less paint and more water and then vice versa for a stronger color. Once your color wash is prepared, follow the same steps as when applying it to your piece.
Check out how to color wash painted furniture to see an example and for more tips and tricks!


How to Whitewash Laminate Furniture
But first, can you whitewash laminate? We tried it in this painting a dresser makeover, and the results weren’t great. The wash won’t soak into the laminate like it would with real wood, making it difficult to get the desired look.
Here’s how to stain laminate furniture if you’re determined to refinish your laminate piece!
This DIY whitewash dresser project is a great way to give your old piece a fresh, rustic look. Experimenting with different ratios of paint and water can help you create the perfect natural light look. And remember to seal everything to protect it and give it a professional finish!


DIY Whitewash Dresser
Give your old dresser a stunning raw wood finish. Here are the steps for this DIY whitewash dresser.
Materials
Instructions
- Remove the old finish from the dresser by sanding it off. Start by sanding everything with 100 grit sandpaper then moving to 150 grit and 220 grit. Try to sand slower and without applying very much pressure to help avoid those sanding swirls. For the details at the bottom of the dresser, just fold a piece of sandpaper in half.
- Now, sand the entire dresser with 220 grit sandpaper. Clean up all the dust from sanding with the vacuum and tack cloth.
- Seal the raw wood with a thin coat of waterbased polyurethane. This is to keep the whitewash from soaking into the wood too much.
- Water down some paint to make whitewash. Basically, you want it to look like water that is tinted white. Brush the whitewash on the furniture, staying with the direction of the wood grain. Work in really small sections so the whitewash doesn't have time to dry or soak into the wood much. Wipe the excess off and spread it out a little more with a lint-free rag.
- The next day, wipe the whitewashed dresser with a tack cloth then seal everything with 3 more coats of poly.
- Attach new hardware!
Recommended Products
As an Amazon Associate and member of other affiliate programs, I earn from qualifying purchases.


More DIY Whitewashed Furniture
- How to Whitewash Wood – Nightstands
- How to Whitewash Furniture – Cedar Chest
- How to Remove Paint from Wood Furniture
- Whitewashed Furniture
- How To Whitewash Stained Wood
Follow us on YouTube to get more tips for painting furniture. Or share your project with us on our Facebook Group and be part of our community. See you there!
Just gorgeous, y’all. I love a whitewashed finish! Thanks for sharing at Tuesday Turn About! I’m delighted to be featuring your post at this week’s party!
Yay! Thanks so much!
Beautiful makeover! I am happy to feature you at Thursday Favorite Things this week over at followtheyellowbrickhome.com!
Thanks for sharing!
Ahh thank you so much Amber!! Appreciate it!