How to Whitewash Furniture
Whitewashing is one of the painting techniques for furniture you can do to give your old piece a new and refreshed look. So, step by step, we’ll show you how to whitewash furniture as part of this DIY cedar chest makeover.
If you’re going for a rustic or farmhouse style in your home, then this technique is perfect for you. Plus, it’s an easy and affordable way to transform any piece. Let’s get started!
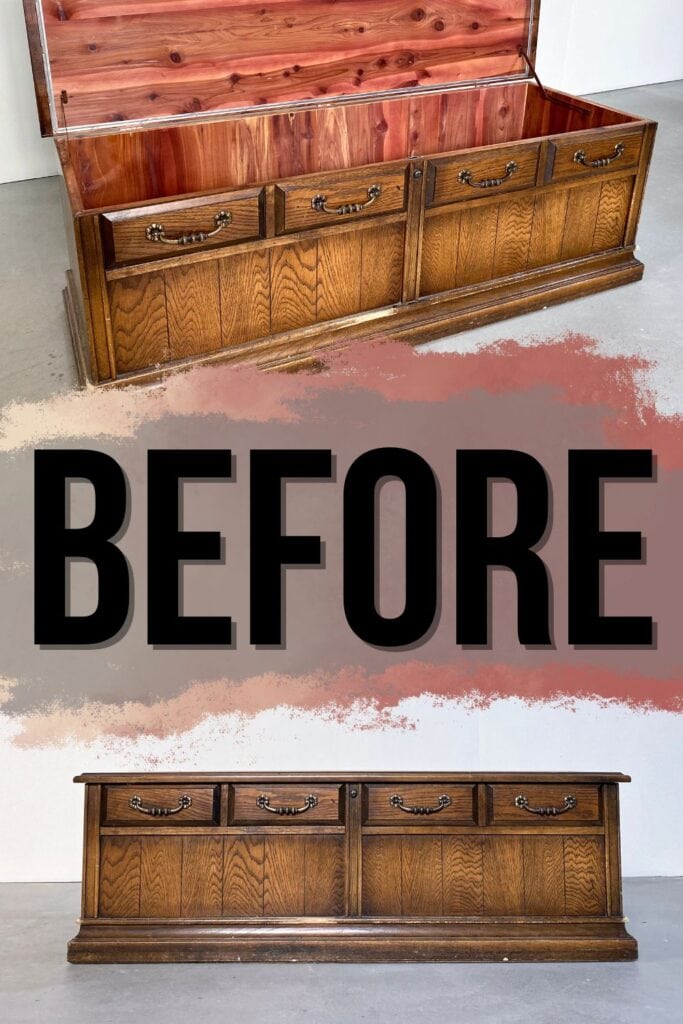
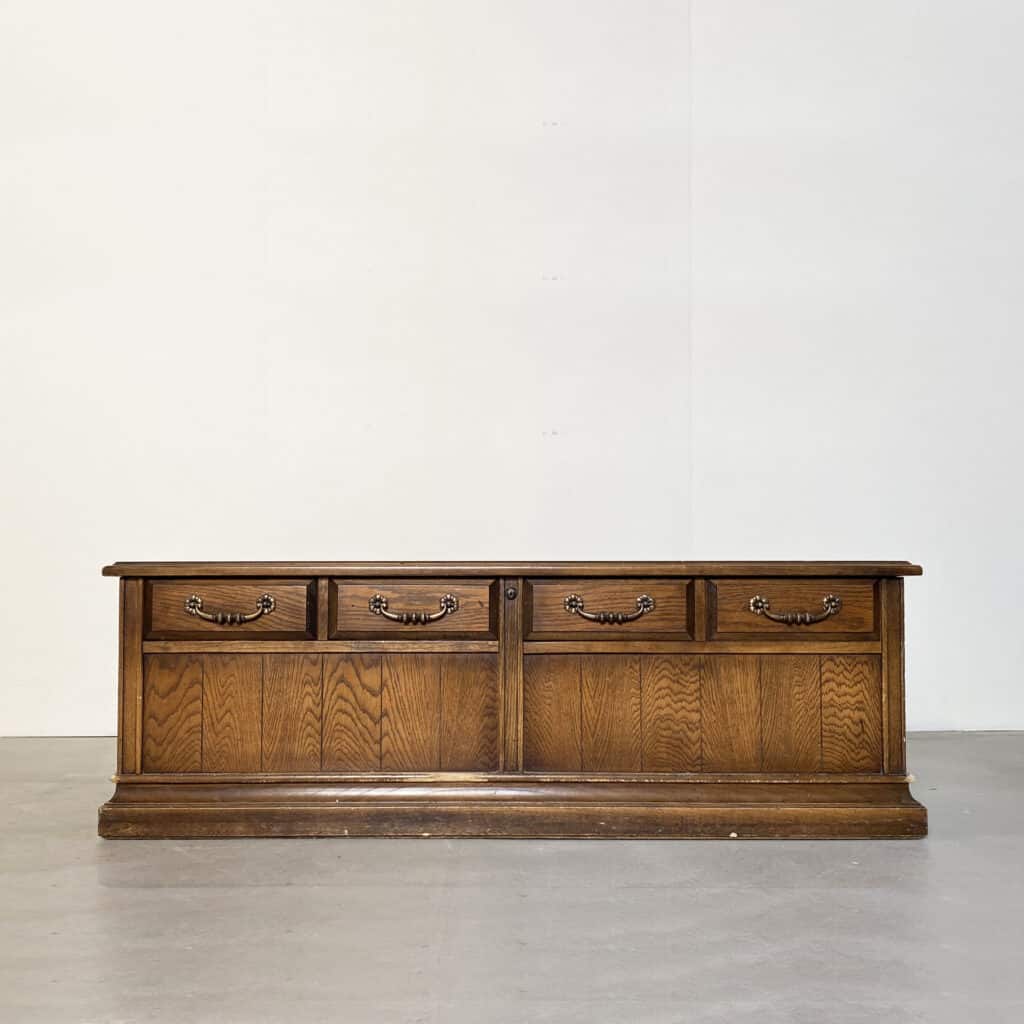
You can see above what the cedar chest looked like when we picked it up from the thrift store for only $30. Before we got around to whitewashing, we added legs to it – check it out in our post on adding legs to a cedar chest. We also painted the body.
If you’re not familiar with this technique, you basically apply a thinned out white or light colored paint on your furniture. This allows the natural wood grain to show through while also giving it a light and airy feel.

Now, let’s dive into how we whitewashed the top and legs of this cedar chest! You can totally transform the whole piece or go for this two tone look. But if you’re wondering, “is two-toned furniture in style?” – get answers here!

Supplies Used to Whitewash Furniture
As an Amazon Associate, I earn from qualifying purchases. I also may earn from other qualifying purchases with other companies or get free product to review and use. All opinions are my own.
- 3×4 Vacuum Compatible SurfPrep Sander (Use code RAY10 to get 10% off your order!)
- Foam Pad (Use code RAY10 to get 10% off your order!)
- Shop Vac
- Tack Cloth
- Zibra Square Brush
- Antiquing Glaze
- Varathane Waterbased Polyurethane
- Country Chic Sponge
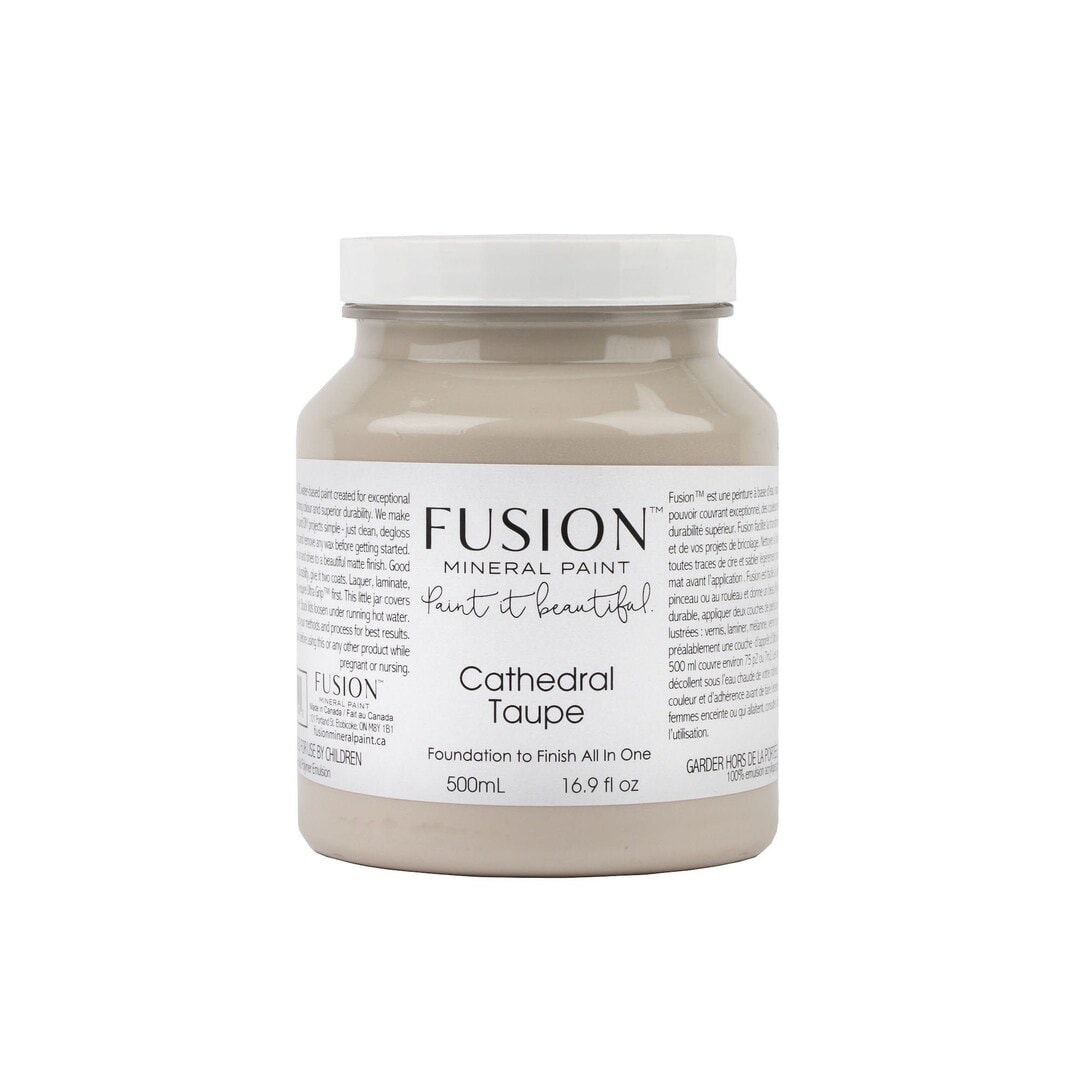
- Fusion Mineral Paint in Cathedral Taupe
- Lint Free Rags
- Fuji Q4 Platinum Sprayer
Sanding Off Old Finish
First, I sanded the old finish off with my SurfPrep sander with 100 grit sandpaper, trying to go slow and without putting much pressure on the sander so I didn’t leave any marks.
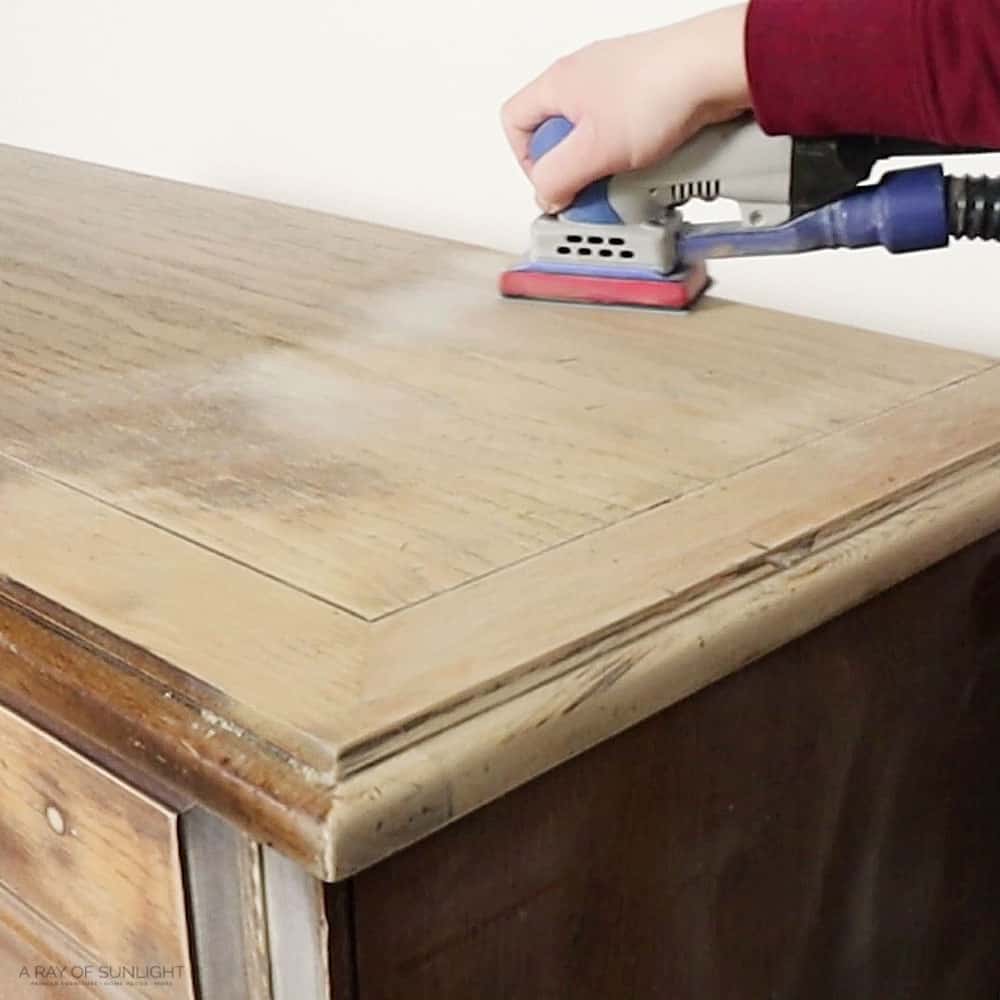
Check out our SurfPrep Sander reviews for more about this tool and these best sanders for furniture for more options.
Then I switched to 150 grit sandpaper, and finally to 220 grit sandpaper. For the edge detail, I used a coarse foam pad to sand the curves without changing their shape. Learn more about foam sanding pads for electric sanders in this post.
It didn’t get really close to the details, so I went back with some folded up pieces of sandpaper to get some of the stain off there. Learn about the best tools for removing paint from wood here.
Then, I moved onto the legs to try to get them to match the top of the cedar chest. I wanted to go for a raw wood, whitewashed type finish, but the top was really rustic and I intentionally had left some of the old dark stain in the corners.
So, I needed to make the legs look the same. I tried to recreate the look of the stain in the corners and tight spots by brushing a little bit of antiquing glaze into those areas.
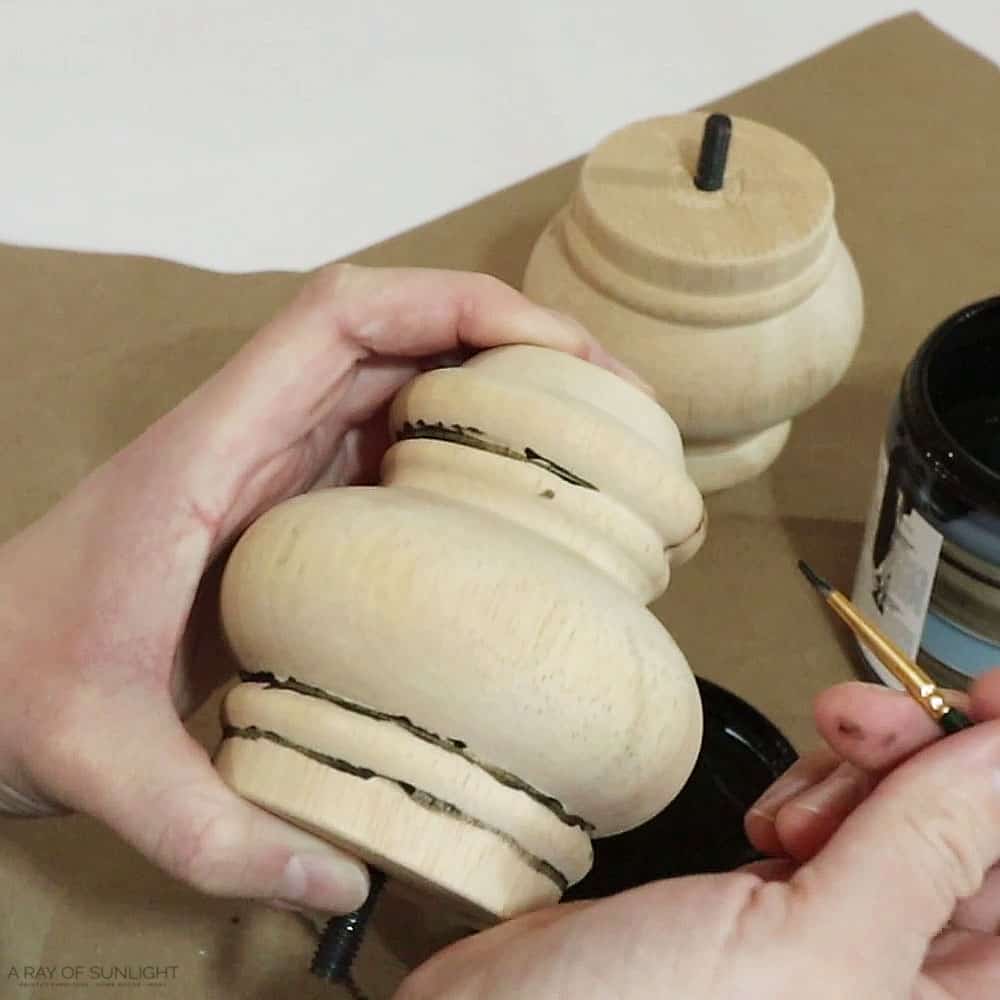
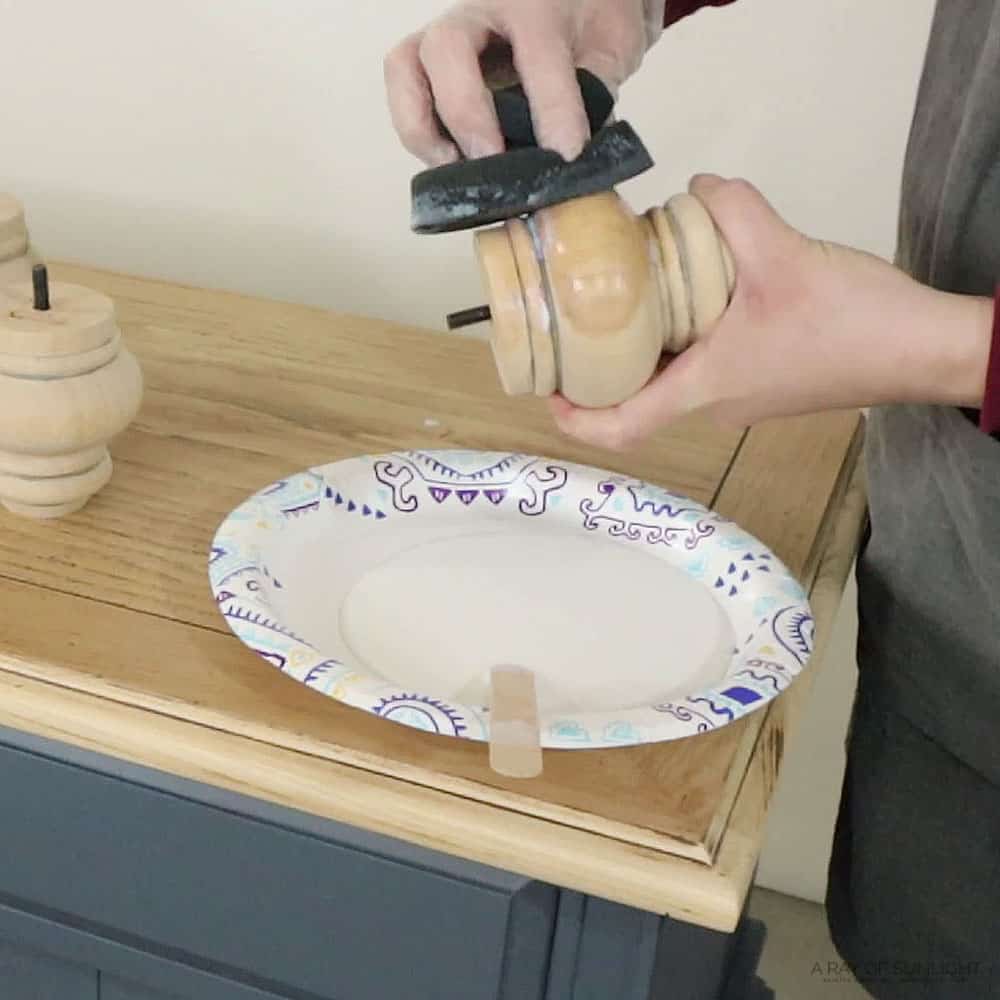
It definitely looked really, really rough at this point! But after the glaze dried, I sanded the legs down, kind of like I would if there was wood stain that I needed to sand off. And they still looked rough. But I still had one last step to hopefully make them look good.
Sealing Raw Wood
Then, I wiped a coat of my favorite waterbased poly on the legs and the top. Learn what’s the best polyurethane for furniture here.
The topcoat acts like a really thin barrier to help keep the whitewash from soaking into the wood too fast. But since it’s so thin and over raw wood, it doesn’t repel the whitewash at all, making it still soak in pretty fast. Learn more about topcoats for painting furniture here.


How to Make Whitewash Paint For Wood
While the topcoat dried, I mixed up a batch of whitewash. I really like using cream instead of stark white for the wash. Here are white chalk paint for furniture options you can use. Check out this buffet turned into bathroom vanity makeover where we used tan colored whitewash.
So, I used this Cathedral Taupe color from Fusion that I had on hand. And I mixed a little bit of it with water to thin it out a lot.
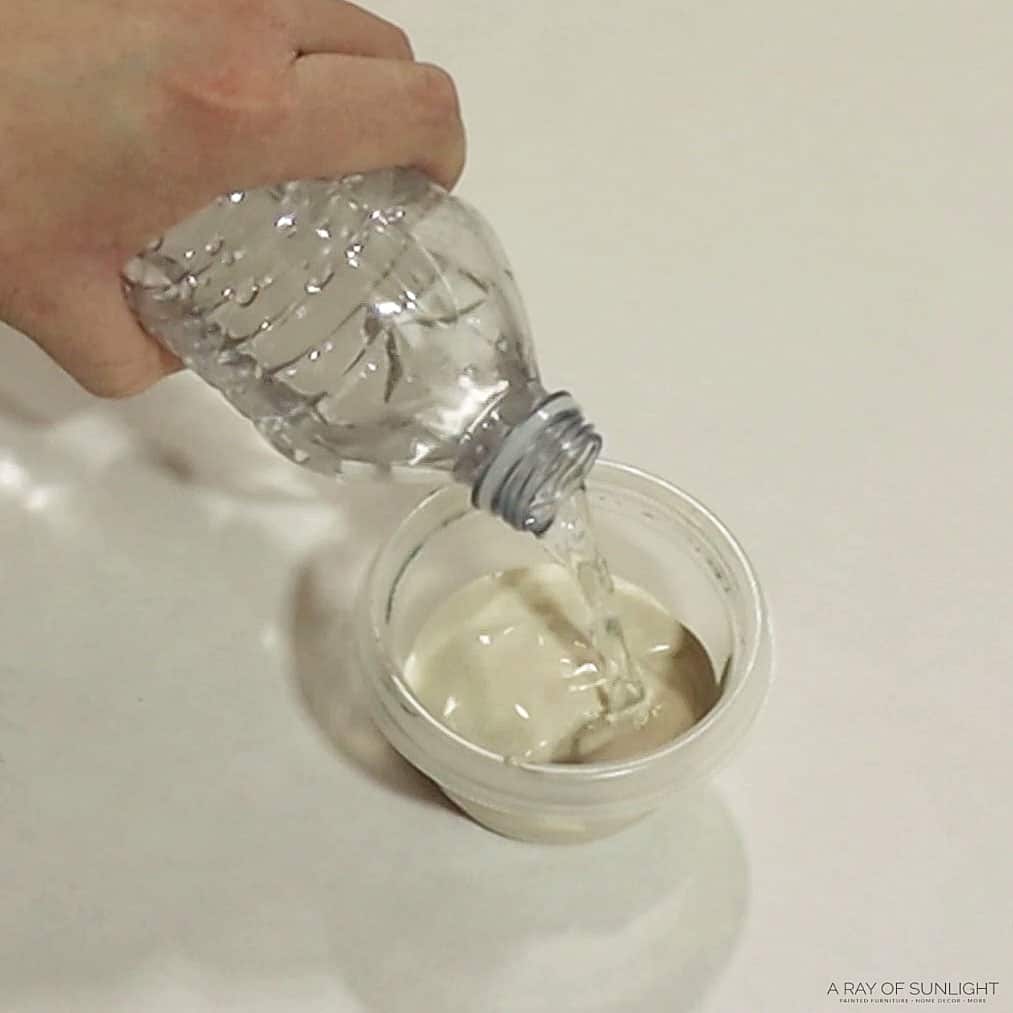
You can use basically any waterbased paint to make a wash. Fusion is just the kind I had on hand in the right color. If you want to know the best paint for furniture for your project, check out the post!
Would you like to save this?
How to Whitewash Wood
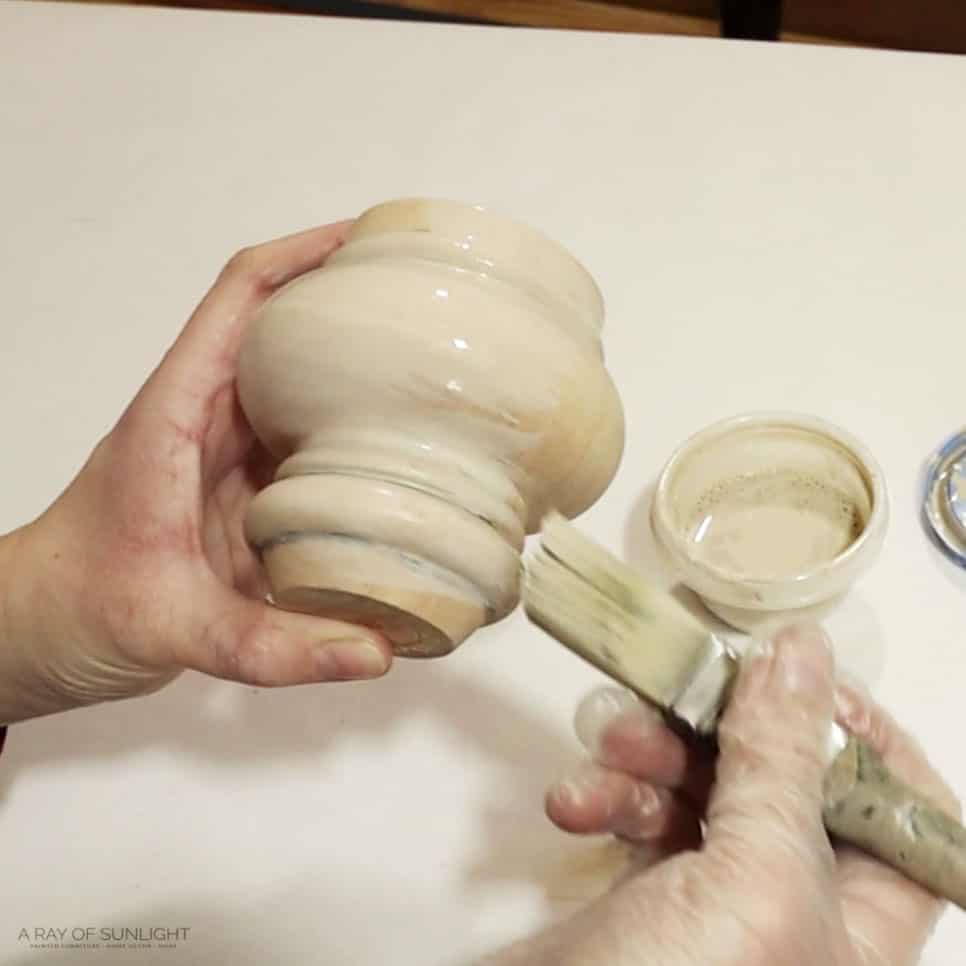
After the topcoat was dry, I brushed the whitewash onto the legs and the top. Check out the best paint brushes for painting furniture you can use here.
I tried to leave the wash in the details as much as possible to help blend the stain that was left in the details, but not cover it. And then, I quickly wiped it back off as fast as I could.

The top of the cedar chest was a little bit more difficult because it was a much larger surface. But I tried to brush it on as quickly as possible so I could wipe it off as fast as I could. I didn’t think about it much before I started to brush the wash on, so I started on one side and then moved to the other side.
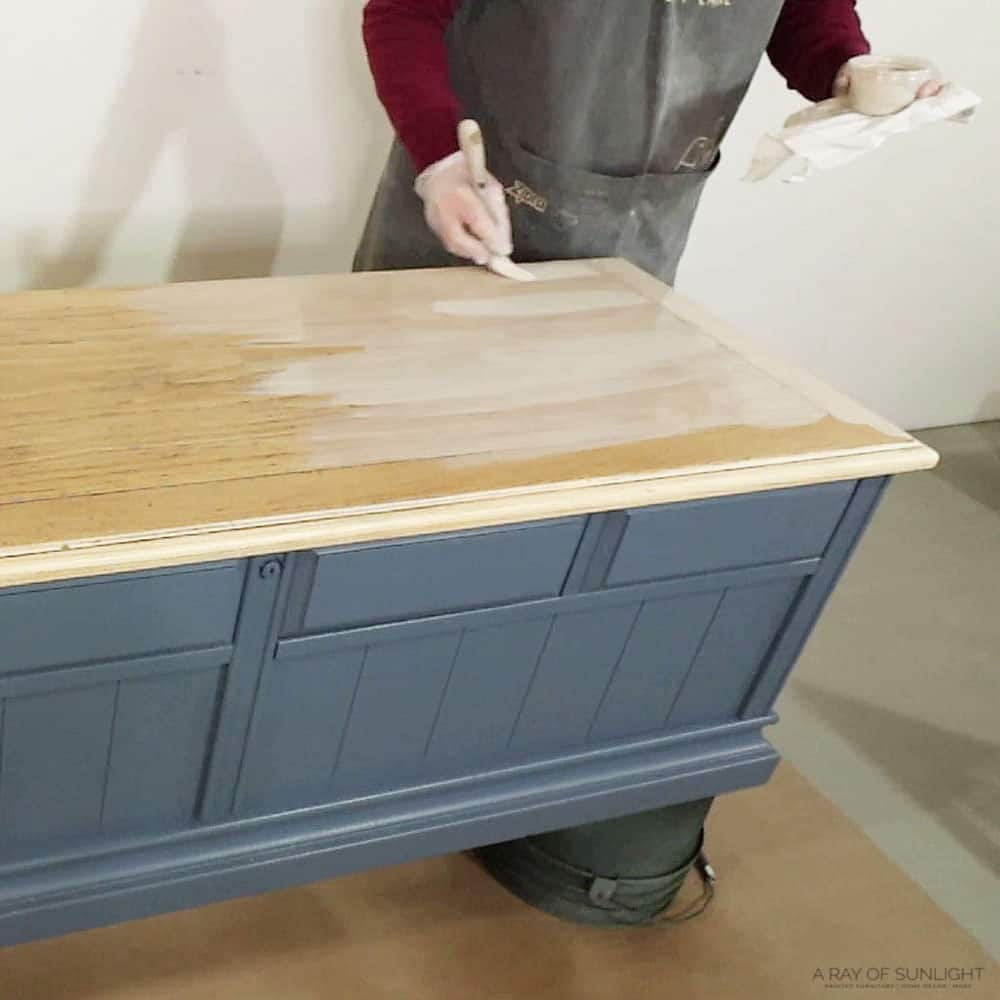
If I had been thinking before brushing it on, I would have worked along the entire back part first, brushing it on in about a 4” section from the back.
Then, I would have wiped it off in that area before brushing on the next 4” section. That way I would have been able to brush it on and then wipe it back off quicker.
So, when I wiped off the wash, it soaked in too fast in some areas, making it really hard to wipe off. I tried using a baby wipe to help wipe it off, and it worked a little bit, but it looked pretty splotchy.
So I waited for it to dry all of the way, and then I sanded the wash away where it was too thick. This worked really well and helped smooth out the raised grain that I had created.
How to Seal Whitewashed Wood
To finish it all off, I sprayed the whole cedar chest with 3 coats of my favorite waterbased poly topcoat. Check out these tutorials on how to spray polyurethane and how to apply polycrylic to painted furniture to guide you with this step.
More Before and After Makeovers
See All >
Click any of these “before” photos below to view the “after” of that makeover.


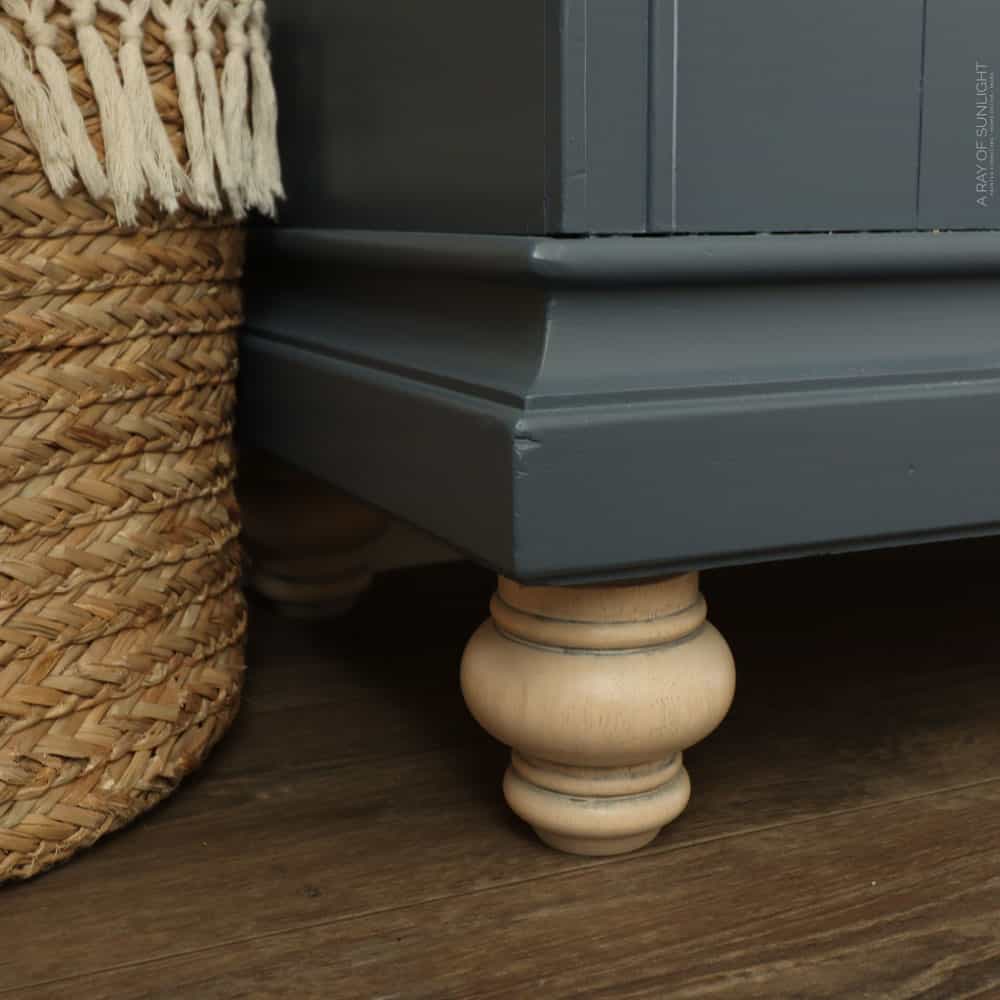
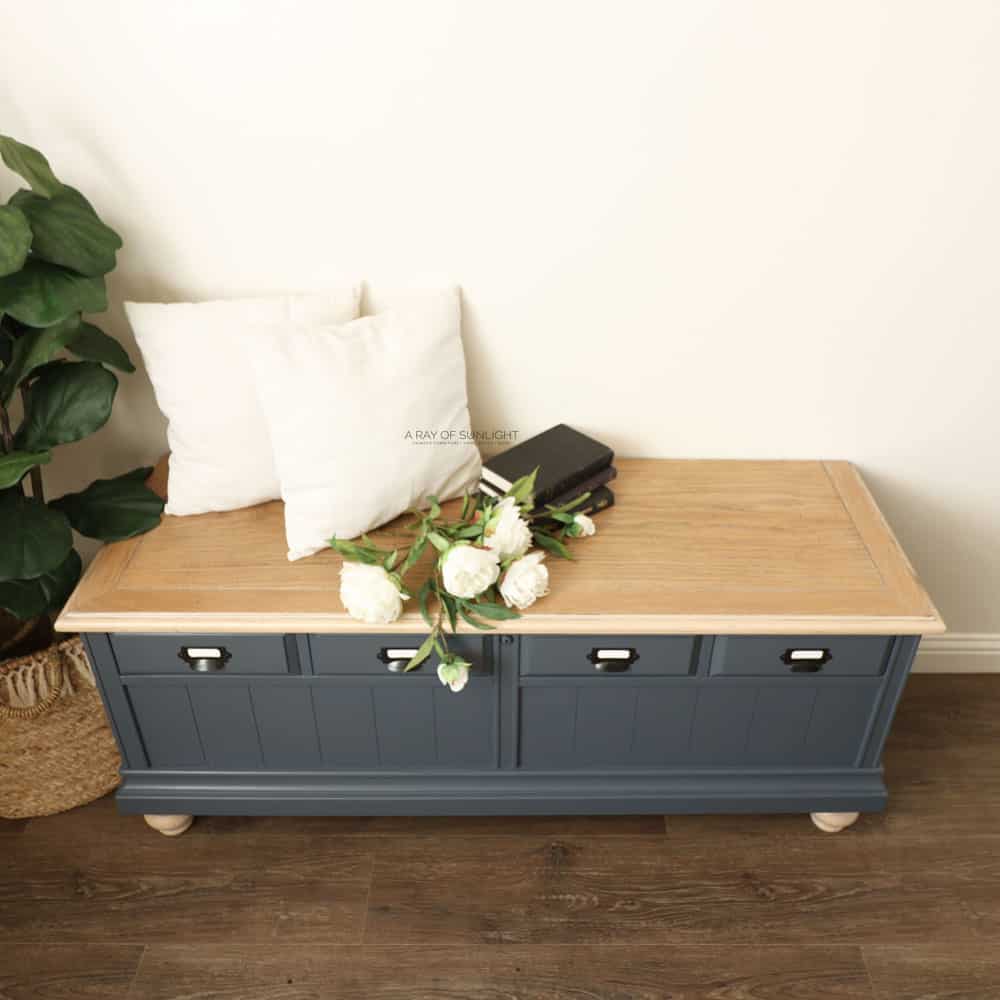
I love how the feet and top turned out! Just enough to keep them light, almost like raw wood. If you’re getting tired of the color of your piece, this is one of the ways how to change the wood color without sanding off the old finish. See the full DIY cedar chest makeover here!
How to Whitewash Wood With Color
You don’t need to stick to white or cream. In fact, you can use any color you want and make a color wash out of it! The process is basically the same as creating a white wash: just mix your chosen shade with water to thin it out.
When working with colored washes, make sure to consider the color of your wood and how it’ll react with the wash you’re using. It’s always a good idea to test the wash on the same or a similar wooden piece before diving into the actual project. This way, you can see the results and adjust accordingly.
Check out our blog post on this is what a damaged dresser can turn into for a makeover using color wash.
If you want more vibrant results, just add more paint to your wash. The more you mix in, the less of the wood grain will show through. Experiment with different amounts until you get the look you’re going for! This is perfect if you don’t want a fully solid painted finish but still want to add some color to your piece.


How to Whitewash Furniture
Give your furniture a rustic raw wood look. Here's how to whitewash furniture.
Materials
Instructions
- Sand the old finish off with a power sander and sandpaper. Apply antiquing glaze for a rustic look.
- Seal the raw wood with a coat of water-based polyurethane to prevent the whitewash from soaking in too fast.
- While the topcoat dries, mix white or cream colored paint and water to make a whitewash.
- Brush the whitewash onto the furniture then wipe it off as fast as I could.
- Wait for the whitewash to dry all of the way, and then sand the whitewash away where it was too thick.
- Seal everything with 3 coats of water-based polyurethane.
Recommended Products
As an Amazon Associate and member of other affiliate programs, I earn from qualifying purchases.


More Whitewashed Furniture makeovers
- DIY Whitewash Dresser
- How to Remove Paint from Wood Furniture
- Refinishing an Old Dresser
- White Painted Coffee Table
- How to Whitewash Wood
Follow us on YouTube to get more tips for painting furniture. Or share your project with us on our Facebook Group and be part of our community. See you there!

This is very nice! I would buy this piece in a heartbeat
That turned out gorgeous! You’ve provided such great information and I appreciate the how to steps.
Thanks’ so much for sharing with Sweet Tea & Friend’s this month. I’m so happy you’re here.
Ahh thank you SO much! And I’m so thrilled to know you like the how to steps as well. Appreciate all the feedback!