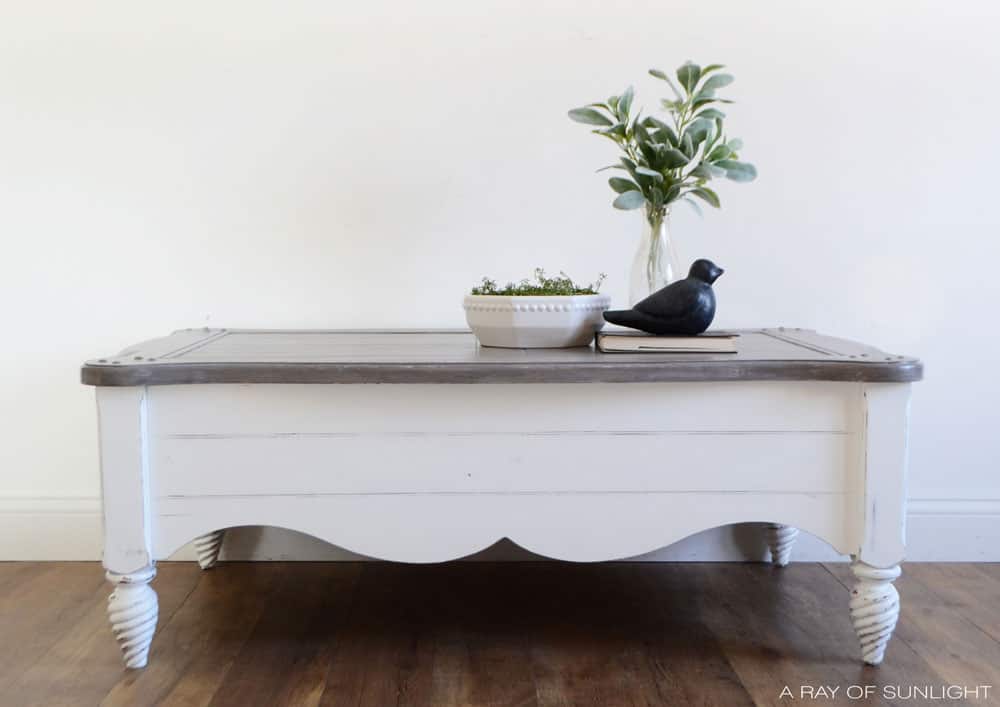
White Painted Coffee Table
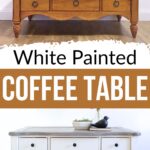
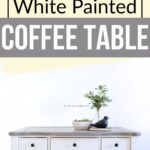
Looking to update your living room without breaking the bank? A white painted coffee table with a weathered wood painted top might just do the trick. With a little creativity and some homemade chalk paint, you can transform an old, drab coffee table into a stylish centerpiece that complements your decor.
We’ll take you through our step-by-step process of how we gave our coffee table a much-needed facelift using chalk paint and a weathered wood effect on the top. We promise that by the end of this article, you’ll be inspired to start your own furniture makeover project!
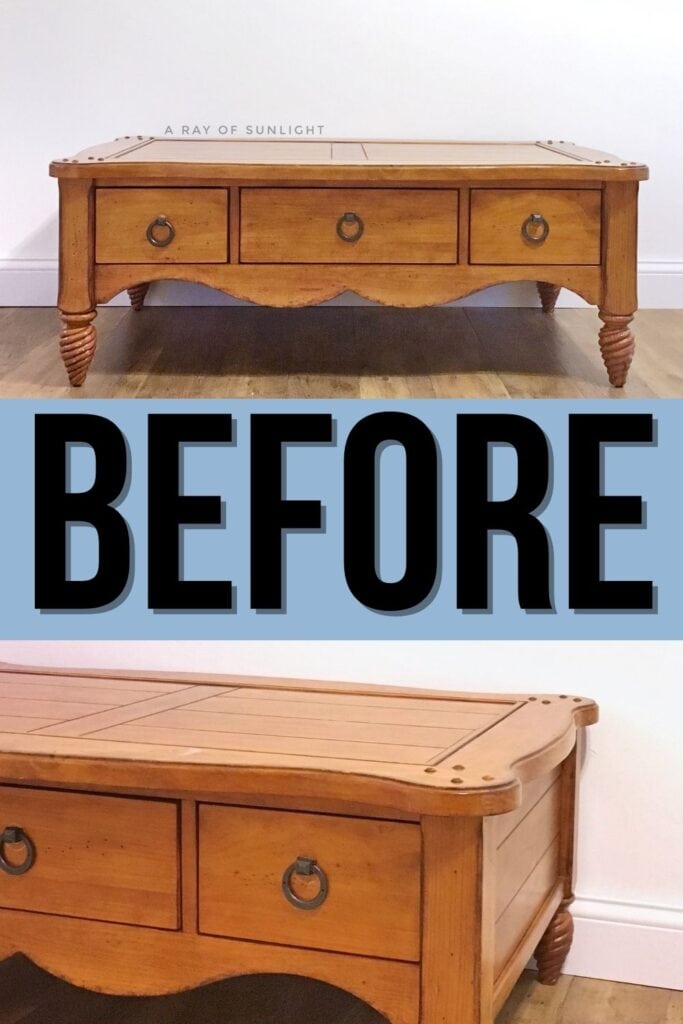
This makeover is perfect for the DIY farmhouse lover and the funny thing is that I didn’t even realize that I was sitting on that much of a gem for MONTHS! Ooops!

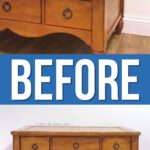
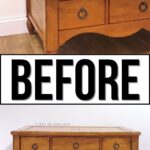
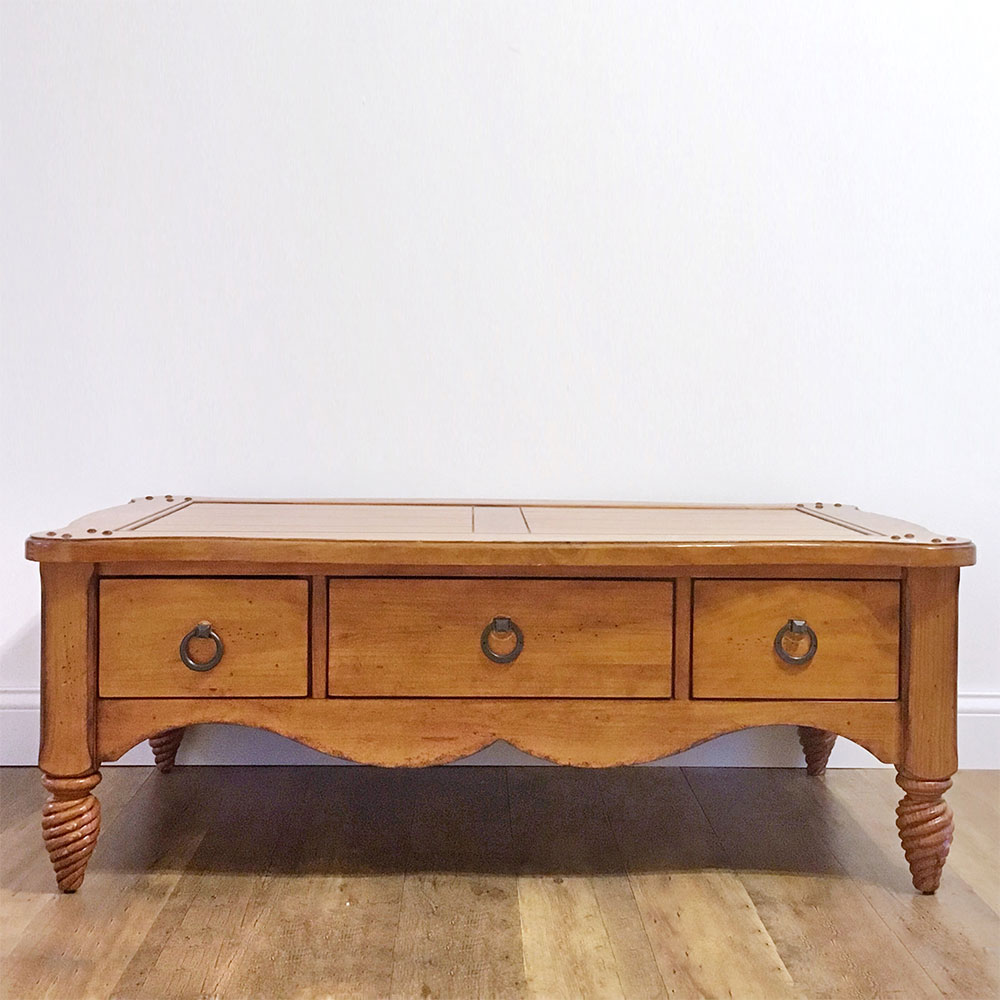
Above is what it looked like before. You know, the usual. Wrong wood color, knicks, dings, dents and scratches. Unwanted and donated to a local thrift store.
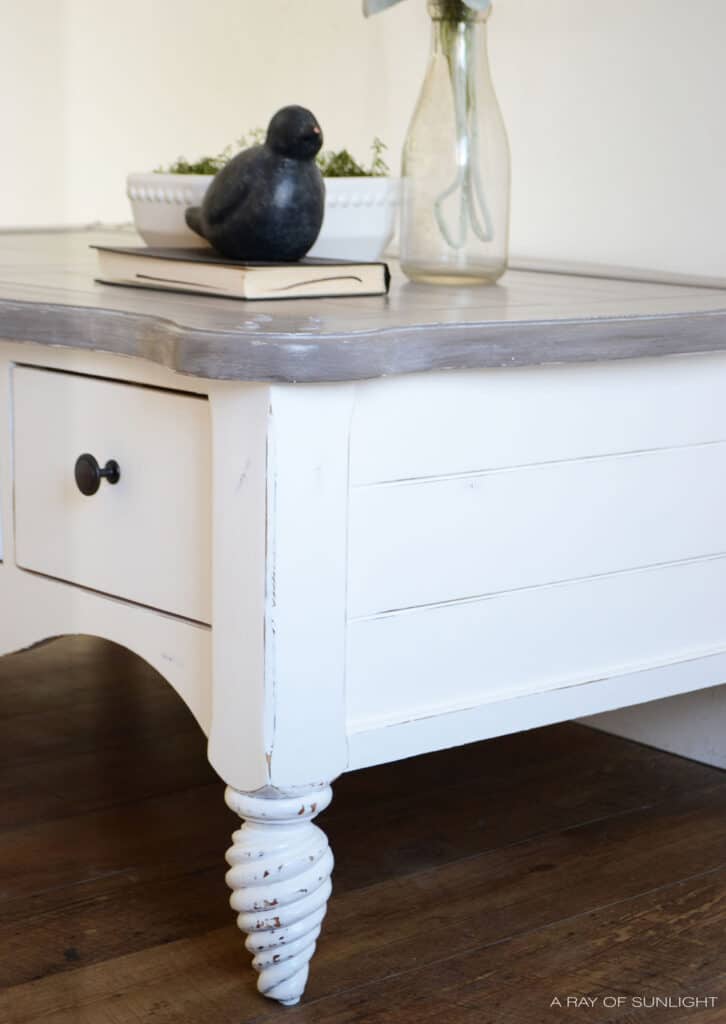
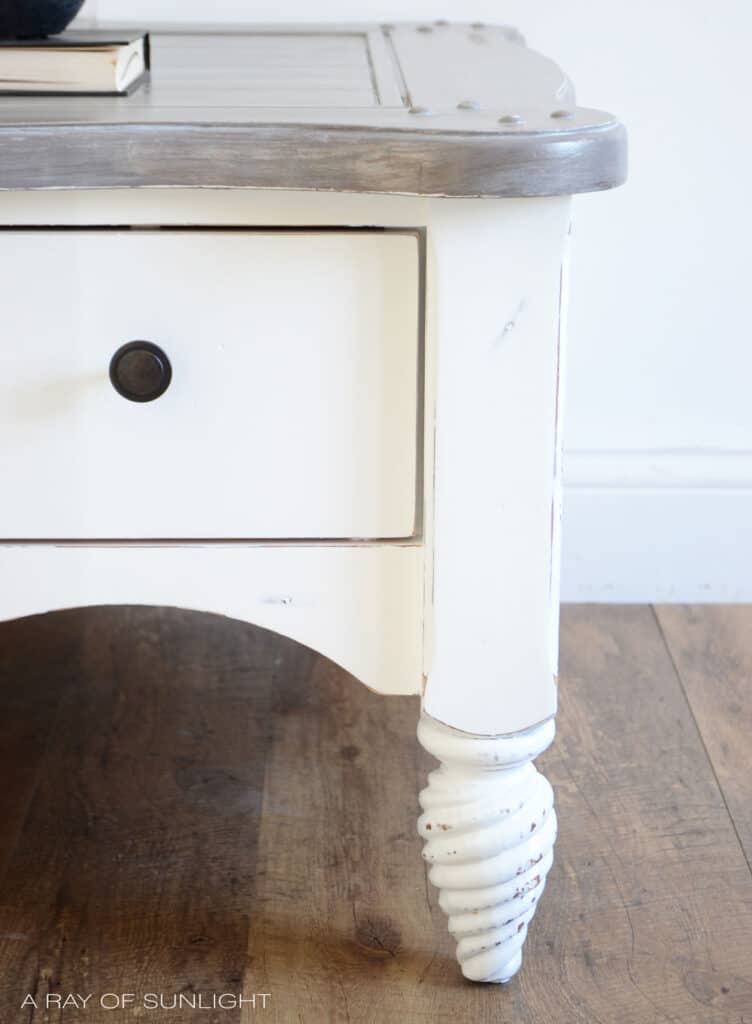
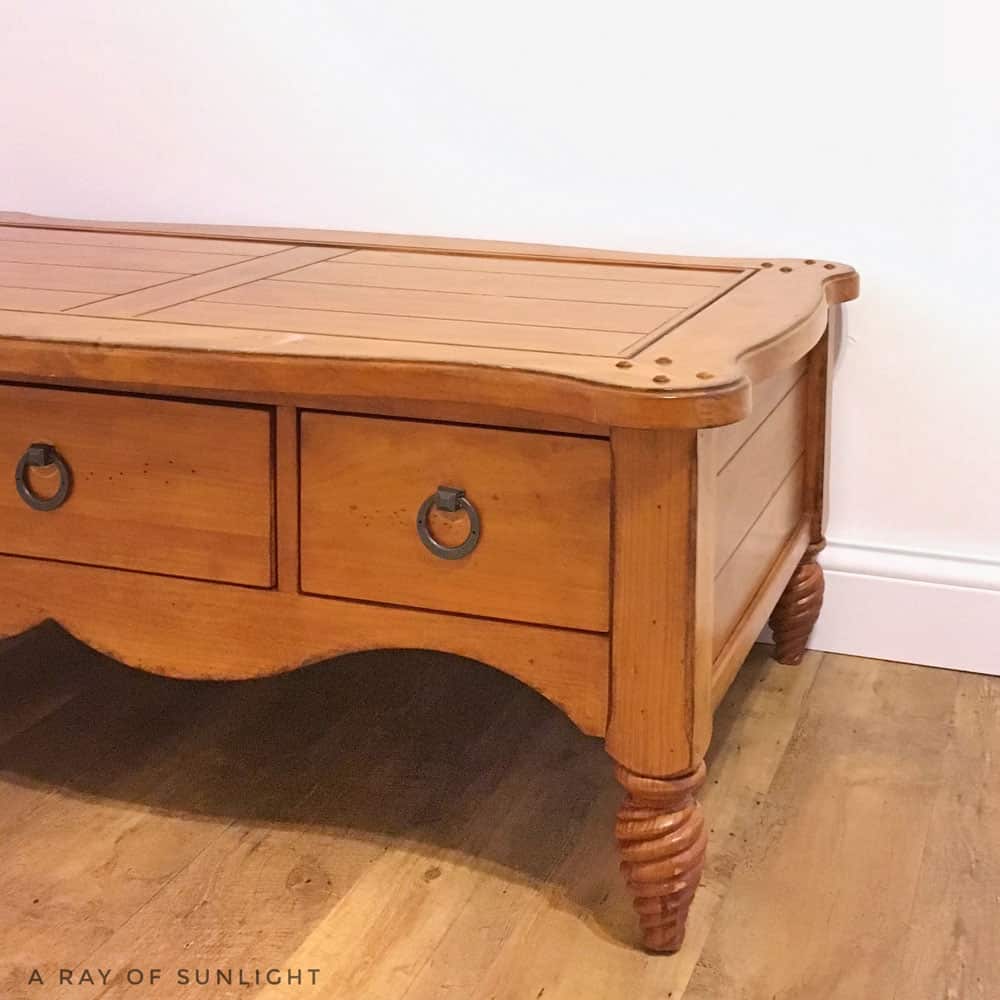
I originally picked it up for its legs, or feet. Whatever you want to call them. I love love love how unique they are! Of course, it had to pass the test of solid wood, working drawers, and a strong sturdy build too.

Supplies Used for White Painted Coffee Table
As an Amazon Associate, I earn from qualifying purchases. I also may earn from other qualifying purchases with other companies or get free product to review and use. All opinions are my own.
- Krud Kutter
- 220 Grit Sandpaper
- General Finishes Stain Blocking Primer
- Behr Latex Paint
- Behr Paint – Suede Gray
- Behr Paint – Black
- Behr Paint – Kindling
- Behr Paint – White
- Calcium Carbonate Powder
- Wagner Paint Sprayer
- Waterbased Polyurethane
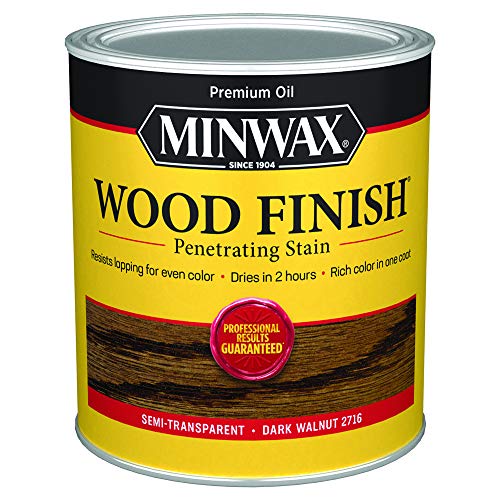
- Dark Walnut Stain / Brown Glaze
- New Knobs
Check out our top 10 list of the best painting furniture supplies!
Prepping Coffee Table
I started out by prepping it. You know the drill. Chalk paint calls for “no prep,” but I beg to differ. Especially when I’m selling these pieces and am looking for a long-lasting finish.
If you want to learn how to make money painting furniture, check out this post to learn more. And even if I was keeping it for myself, I would want all of my hard work to last a long time right??
So I de-gunked it with Krud Kutter, wood filled the scratches, lightly sanded it to give the new finish something to hold on to, and then wiped and vacuumed all the dust away.
The usual and the very basics. Get more details on prepping furniture for paint here!
Priming Coffee Table to Prevent Stains
I had a sneaky suspicion that this one was going to bleed. (You know those yellowish spots that won’t go away no matter how much paint you put on them? Here’s why is yellow coming through white paint to know the reason behind this common problem and help you prevent or fix those stains.)
So I used a stain blocking primer to prevent them. Learn more about bleedthrough and why I always prime to prevent it. And here’s our whole guide on how to prevent wood tannins coming through paint from ruining your beautiful paint job.
Spraying Chalk Paint onto Coffee Table
After priming, I sprayed on multiple coats of my homemade chalk paint using Pure White by Behr using my favorite budget-friendly paint sprayer.
(Note: The Wagner Double Duty has been discontinued, and the Wagner Control Spray 250 Sprayer is its newer model. Here’s our Wagner Control Spray 250 review so you can learn more about its features.)
Check out the best white chalk paint for furniture here and get more white painted furniture ideas here.
OF course, you hear me talking about it ALL THE TIME. And I should stop, but I won’t. Because I depend on this thing so much. I’ve had it for 2 full years and it has been my constant companion.
Update: Read my full honest Wagner Double Duty paint sprayer review (including how to use the dang thing) on my favorite Wagner paint sprayer here.
Check out the best Wagner paint sprayers for furniture here.
Only giving out on me a bit in the 100+ degree heat during the Arizona summer. I thought it was done for. Bought a new one, but held on to the old one just in case.
Well, I was in a pinch one day, pulled the old sprayer back out, and wham. It still worked its magic. It just needed a rest from 100+ degrees.
Of course, you can brush on the paint with your favorite brush too! Check out my list of the best paint brushes for painting furniture here. But I prefer the brush-free and faster way.
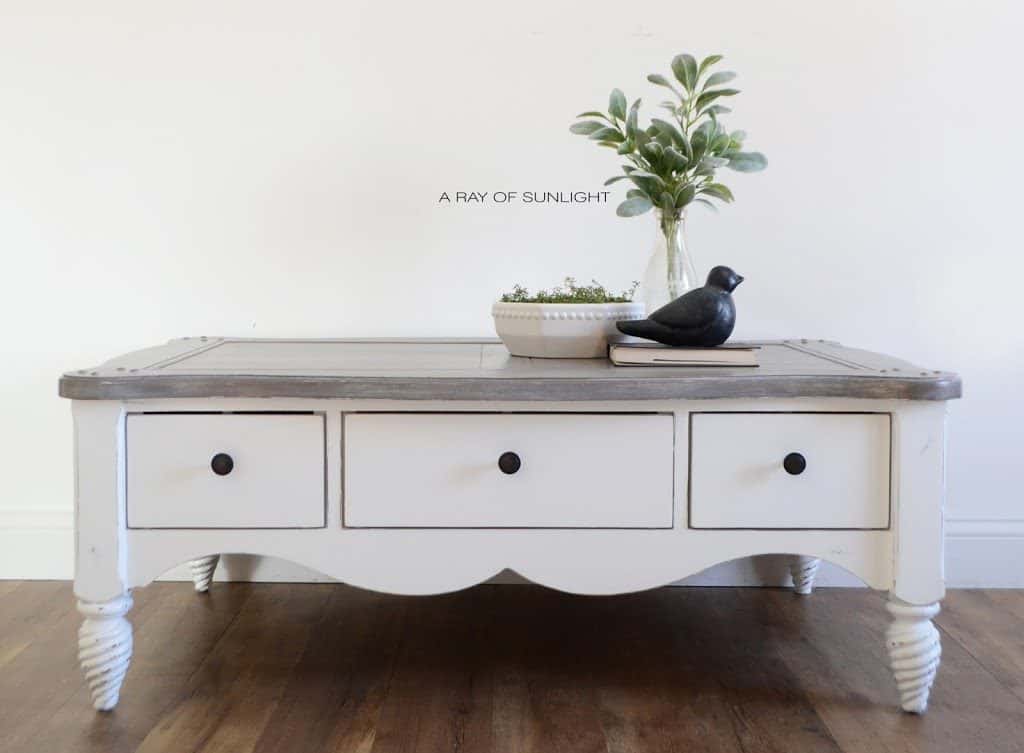
But once all of the coats of white paint were dry, I distressed it with 220 grit sandpaper to let the wood show through and really make those legs pop. Learn more distressing furniture techniques here, and for distressing chalk paint, here’s how to distress chalk paint for a more detailed guide.
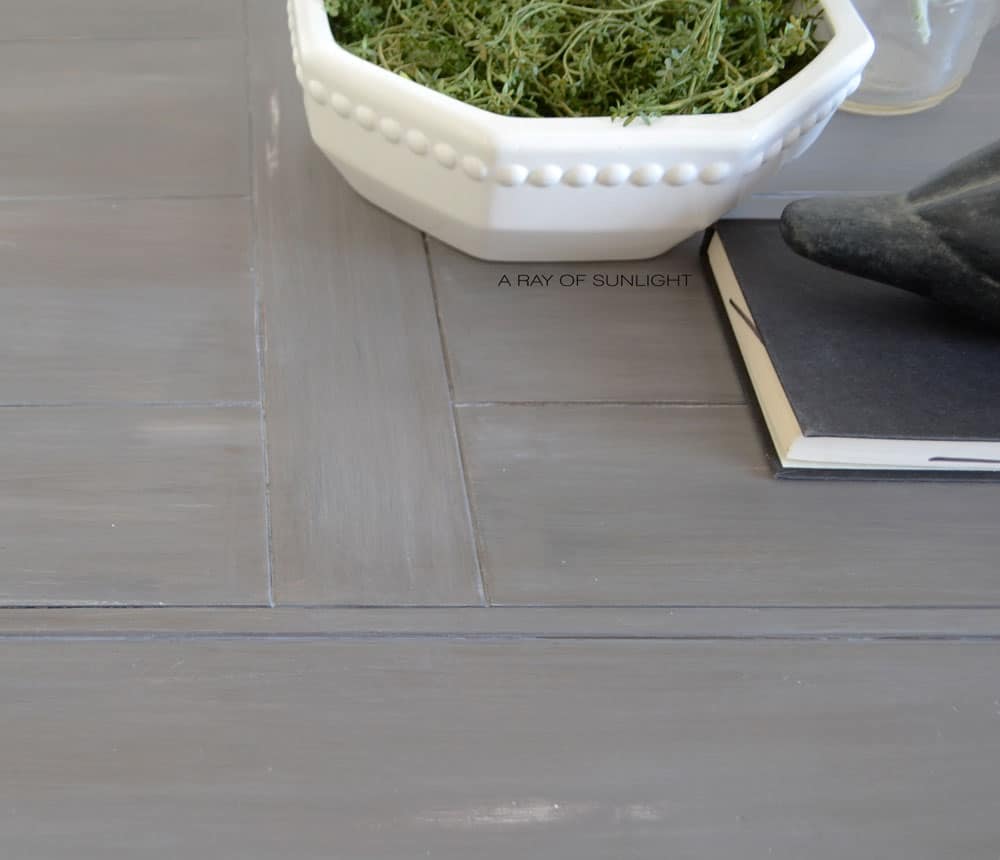
How to Create Weathered Wood Top
After the base was painted and distressed, I started working on the top. I’ve used this method so many times and it’s always a showstopper.
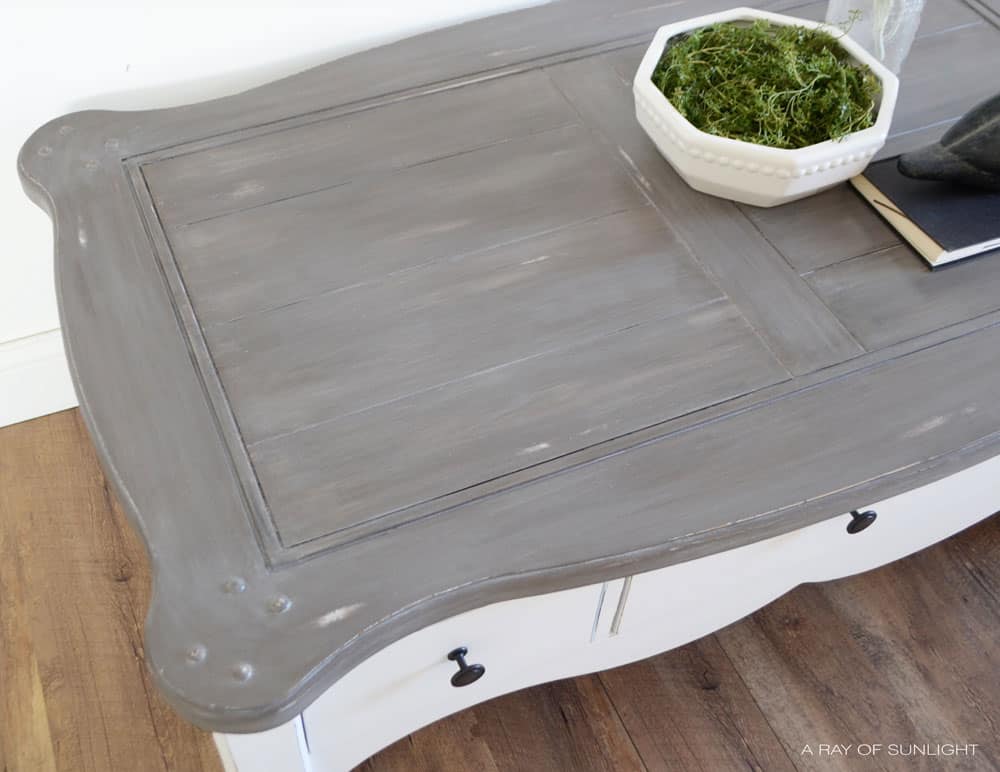
Really, it’s a combination of multiple shades of gray (I used Kindling and Suede Grey from Home Depot), white and black all layered together and partially dry brushed but also mixed together at the same time.
You following me still? Then I wipe on a dark walnut stain or brown glaze coat to blend all the crazy layers together.
And finally I add a layer of whitewash to make it a bit lighter. Check out how to whitewash wood here. It’s really a fun method and you can’t go wrong! Just keep layering until you’re happy.
Here are a few other tutorials that used the same method for you to check out: how I created a weathered finish on chairs and a weathered wood gray finish on farmhouse tables.
Would you like to save this?
After all the layers were done, I distressed the top here and there to let the white primer and layers of paint show through.
Sealing Chalk Paint Without Wax
I honestly hate wax. I’ve tried it a few times, and used different brands, but I’ve never been able to get the finish even. Read more about the pros and cons of using wax for chalk paint here.
Instead I poly everything. Check out my list of the best polyurethane for furniture here.
I love to use my paint sprayer to spray on the poly because it gives me the perfect finish AND it’s super fast! Plus poly really is more durable, and I haven’t had this poly yellow on me like most do.
Learn ALL of my tips and tricks on how to spray polyurethane here!
For the drawer hardware, I upgraded to these simple dark bronze knobs. Simple but perfect! Learn more on how to change hardware on a dresser here.
More Before and After Makeovers
See All >
Click any of these “before” photos below to view the “after” of that makeover.


There is just something about the farmhouse feel that I still cannot get enough of!
Can I use wax to seal chalk paint?
Yes, you can use wax to seal chalk paint, but as we mentioned in the post, wax may not be the best option.
It can be difficult to apply evenly and can leave a streaky or blotchy finish. Additionally, it may not provide as much durability as other sealers like polyurethane.
We have a comparison post on wax vs polyurethane so you can see for yourself the pros and cons of each option. We also have this glaze vs wax over chalk paint post that discusses about these 2 finishes.
If you enjoy the look and feel of wax, it is still a viable option for sealing chalk paint. Just be sure to apply it carefully and evenly, using a lint-free cloth or wax brush.

Can I apply polyurethane over waxed chalk paint?
Sure, you can technically apply polyurethane over waxed chalk paint, but it’s not the recommended method.
If you’re going to use both, make sure to apply the polyurethane first and then apply the wax as a final step.
But if you’ve already applied wax over your chalk paint and decide you want to switch to polyurethane, don’t worry! You can still make it work.
Just remove the wax first using mineral spirits. If you don’t, the wax may repel the polyurethane and ruin your finish.
Painting a coffee table white can be a fun and easy DIY project that adds a touch of farmhouse charm to your living space. For more makeovers like this, check out these ideas for painting a coffee table and chalk painted coffee table ideas. Here are more coffee table makeover ideas for inspiration.
If you like black instead, try these black painted coffee table ideas! For upcycling pieces, here are redoing coffee table ideas. You can also go for a more natural look with these coffee table refinishing ideas.
By following the simple layering and distressing techniques mentioned above, you can create a beautiful weathered finish on your table. And by sealing with polyurethane instead of wax, you can guarantee a more durable and even finish.


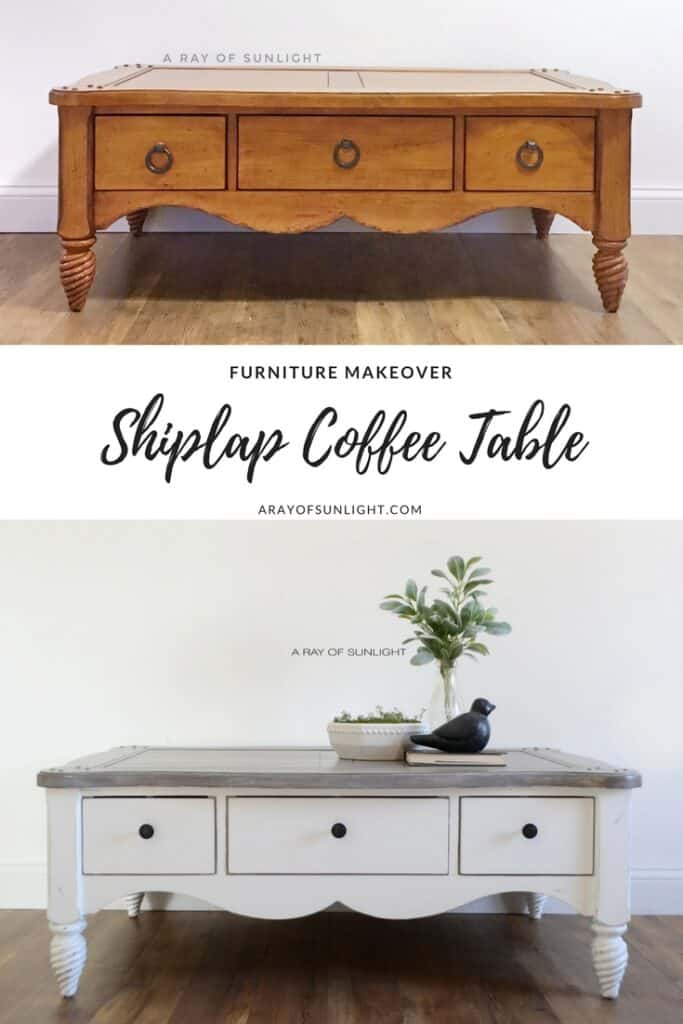
The Shiplap Coffee Table with a Painted Weathered Wood Top
Are you looking to update your living room without breaking the bank? A white painted coffee table with a weathered wood painted top might just do the trick.
Materials
Tools
Instructions
- Prep your coffee table for painting by cleaning, filling in scratches, and scuff sanding.
- Apply stain blocking primer onto the table to block bleed through stains.
- Make homemade chalk paint by mixing a few tablespoons of calcium carbonate powder with water, and then mixing it into a cup of latex paint.
- Paint the coffee table with 2-3 coats of paint. Once dry, distress with 220 grit sandpaper to let the wood show through and make its legs pop.
- For the top, brush layers of black, white, and gray paint. Then wipe on a dark walnut stain or brown glaze coat to blend all the crazy layers together. Add a layer of whitewash to make it a bit lighter. Keep layering until you're happy with the result.
- Seal everything with waterbased polyurethane.
- Add in your drawer hardware.
Recommended Products
As an Amazon Associate and member of other affiliate programs, I earn from qualifying purchases.


More Coffee Table Makeovers
- Coffee Table Makeover Idea
- Printmaker’s Farmhouse Industrial Coffee Table
- Blue Chalk Paint Coffee Table
- Painting a Coffee Table
- Chalk Painted Coffee Table
Follow us on YouTube to get more tips for painting furniture. Or share your project with us on our Facebook Group and be part of our community. See you there!
Everything you redo is beautiful. You never disappoint!
Your work is fabulous, and you have given me so much great info. I have a garage full of furniture I am hoping to do this Spring and sell. Thank you for all your help and inspiration.
Best of luck!!