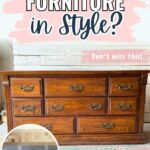
Is Two Toned Furniture In Style?
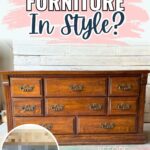


Are you ready to transform your outdated furniture into a fresh, modern masterpiece, but you’re wondering is two toned furniture in style? Welcome to our step by step guide on creating this trendy look, no matter if it’s for yourself or for flipping furniture for profit!
This post will walk you through the process, from selecting the perfect piece and color scheme to the actual painting and staining, and, finally, selecting the finishing touches. If you’re a seasoned DIYer or a beginner, this will equip you with the know how to create a stunning piece that will be the highlight of any room.
Today, Kara from Lemons to Lemonade Furniture is walking us through how she incorporates the two tone look into her pieces that she sells for profit! Here’s her masterpiece and advice!

As interior design trends continually evolve, homeowners and decorators are always on the lookout for fresh looking pieces to elevate their living spaces. One trend that has gained considerable attention in recent years is two toned furniture.
But is it just a passing fad, or is this two toned style here to stay? Let’s explore this today as I show you how I created this look that has proven to be my most watched YouTube how to video month after month!
What is Two Toned Furniture?
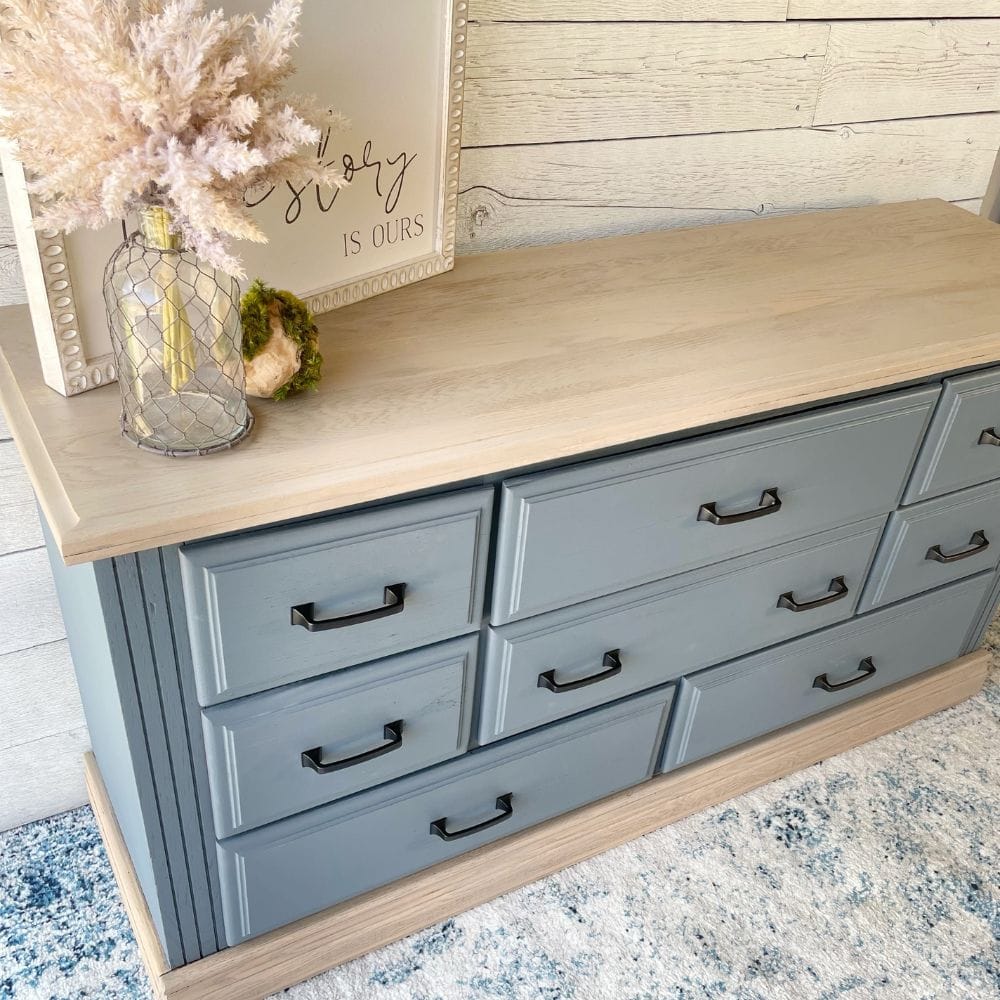
It’s exactly what it sounds like. It incorporates two different colors or finishes within a single piece. The easiest way I have found to integrate this is to sand the top of my pieces and paint the main body a calming, neutral color. Here’s our list of two tone dresser ideas for more inspiration!

Supplies used to Create this two toned look
As an Amazon Associate, I earn from qualifying purchases. I also may earn from other qualifying purchases with other companies or get free product to review and use. All opinions are my own.
- Simple Green Cleaner or A Good Degreasing Cleaner
- Scrub Brushes
- Orbital Sander
- 80 Grit Sanding Pad
- 180 Grit Sanding Pad
- Wood Filler (to fill any damage or hardware holes if you are replacing the hardware)
- Paint Sprayer
- Tack Cloth
- Respirator
- Paint Filters
- Paint Color of Choice (I used Lilly Moon Opulent in Ocean Shore)
- Misting Bottle
- Stain Color of Choice (I used Lilly Moon Gel Stain In Old Fashioned & Cork)
- Chip Brush
- Lint Free Rag
Prepping the Dresser
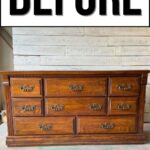
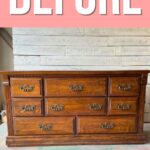
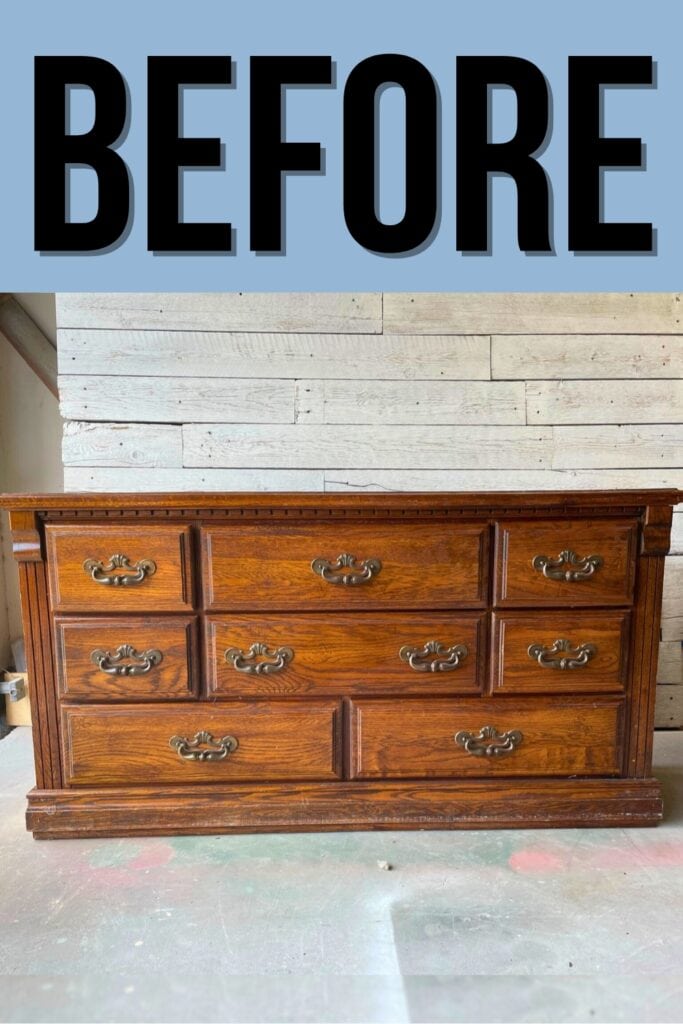
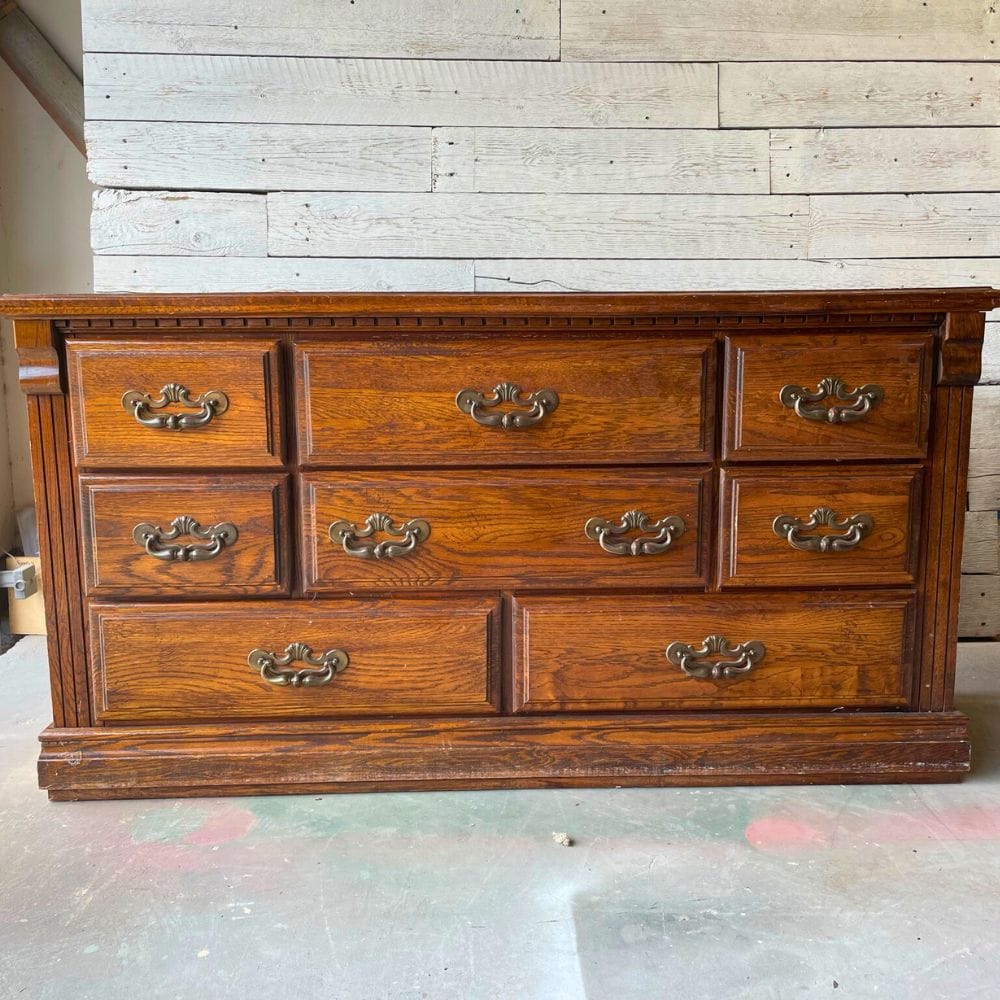
I picked up this piece from Facebook Marketplace for a cheap price. It had a lot of dated details on it but I knew by using the two toned look, I could draw attention away from the details by sanding the top and the bottom of this dresser.
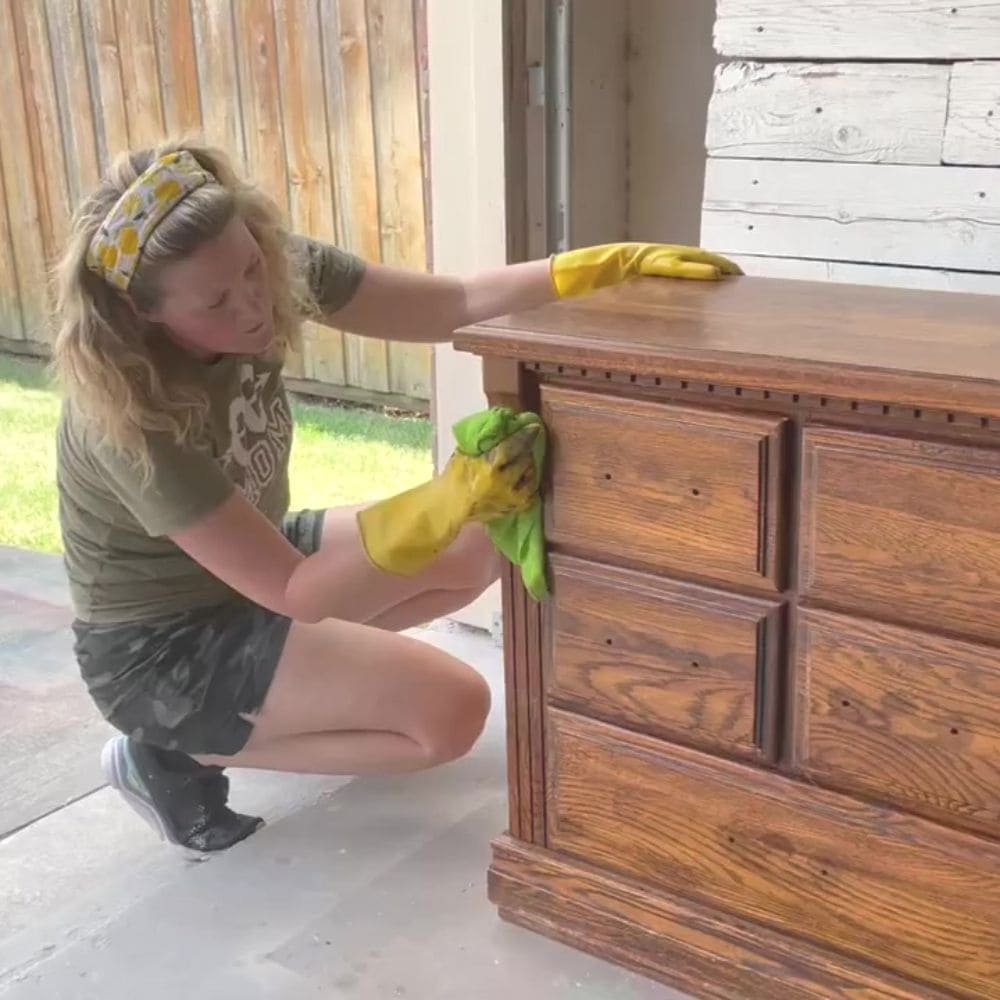
I started by cleaning my piece with Simple Green. Simple Green cuts through all of the dirt and grime to a clean surface to apply paint to. Cleaning is a must for old items if you want a lasting finish. Learn more about how to clean furniture before painting if you are not sure about the step by step process.
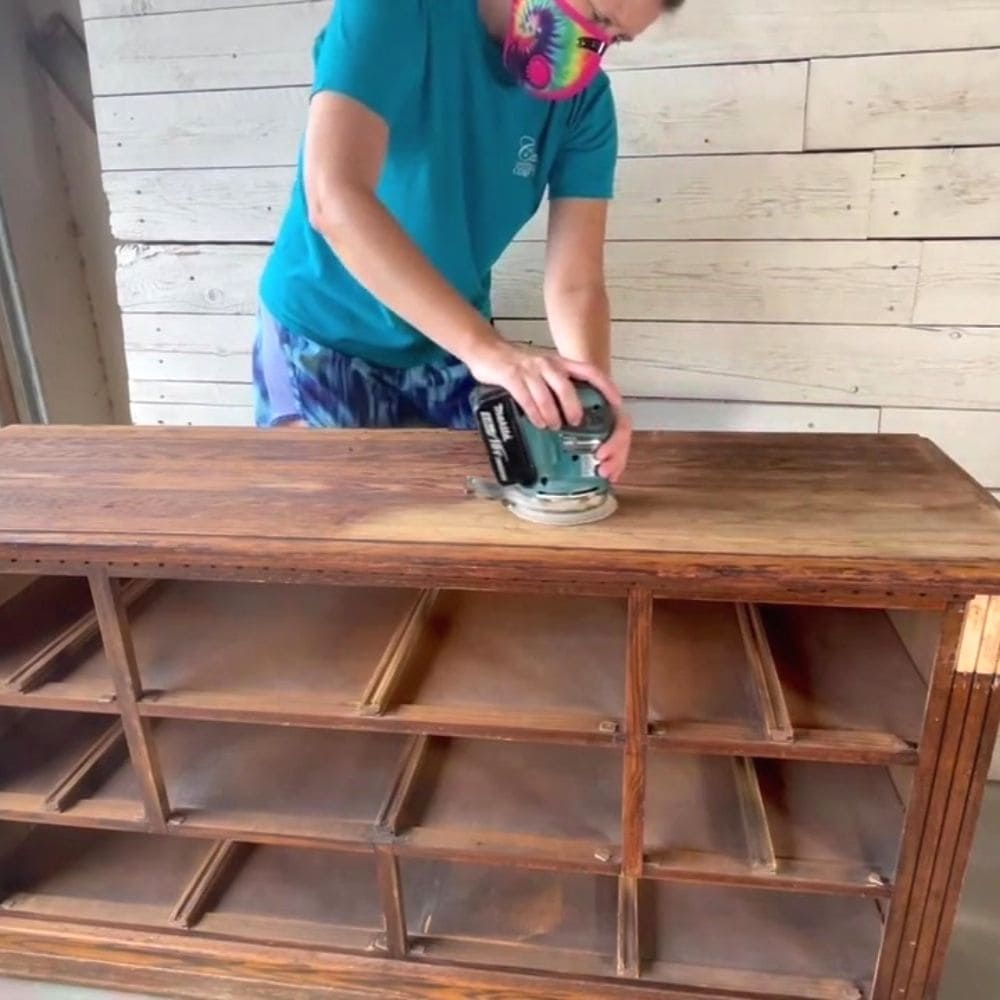
Next, I used my orbital sander to remove the failing finish on the top and on the bottom trim pieces on the dresser. I started with an 80 grit sanding pad and worked my way up to 180 grit for a smooth finish on the top and bottom. Here’s our blog post about the importance of sanding before painting furniture.
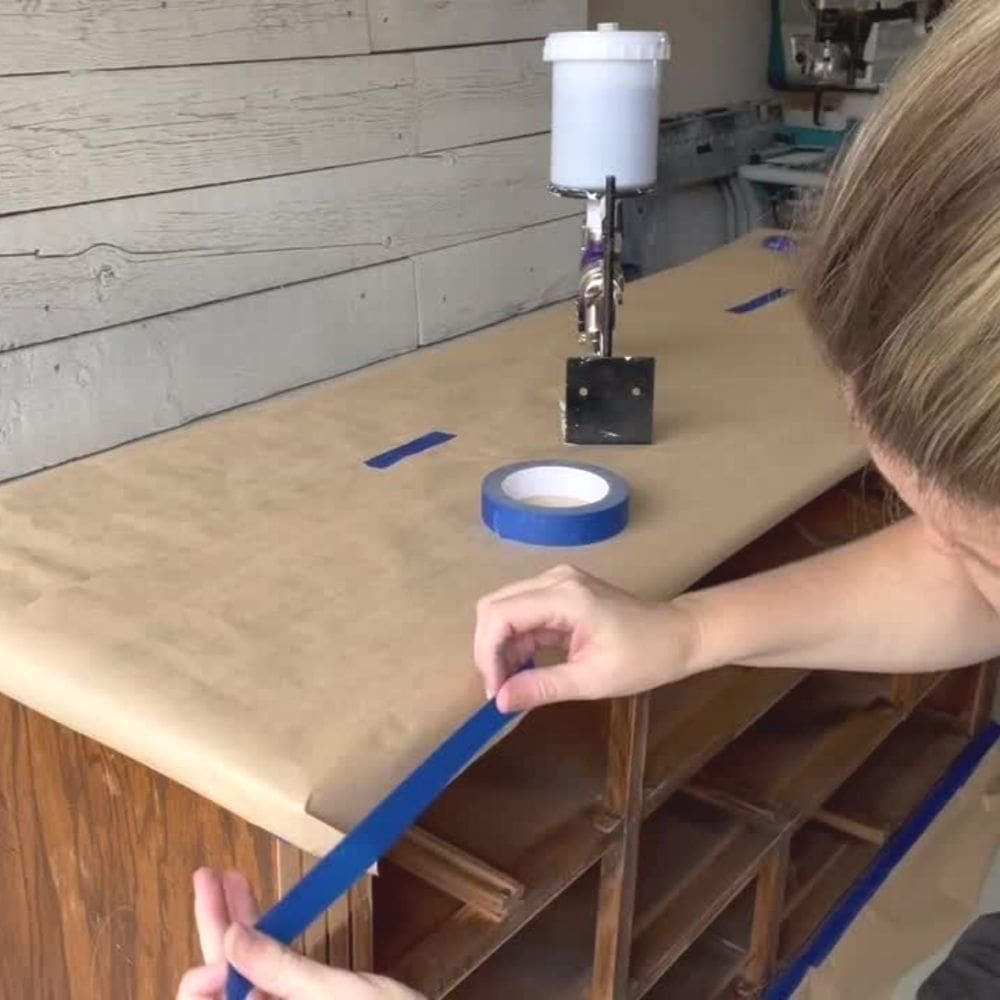
Once I cleaned off all of the sanding dust with a damp cloth, I taped off all of the newly sanded parts so I could apply my paint without worrying about it touching the raw wood.


Painting with Lilly Moon Paint
I chose a moody blue grey by Lilly Moon’s Opulent collection called Ocean Shore. The Opulent collection contains a built in primer and topcoat, saving me some steps as I went. Check out our blog post about painting furniture with Lilly Moon Paint where we also used this collection.
Check out our Lilly Moon Paint review where we also talked about the different types from the brand.
I prefer to use an HVLP spray gun that is attached to an air compressor, but you can always use a paint brush and still achieve a beautiful finish. Here’s the list of the best HVLP paint sprayers for furniture to learn more about the differences between each one.
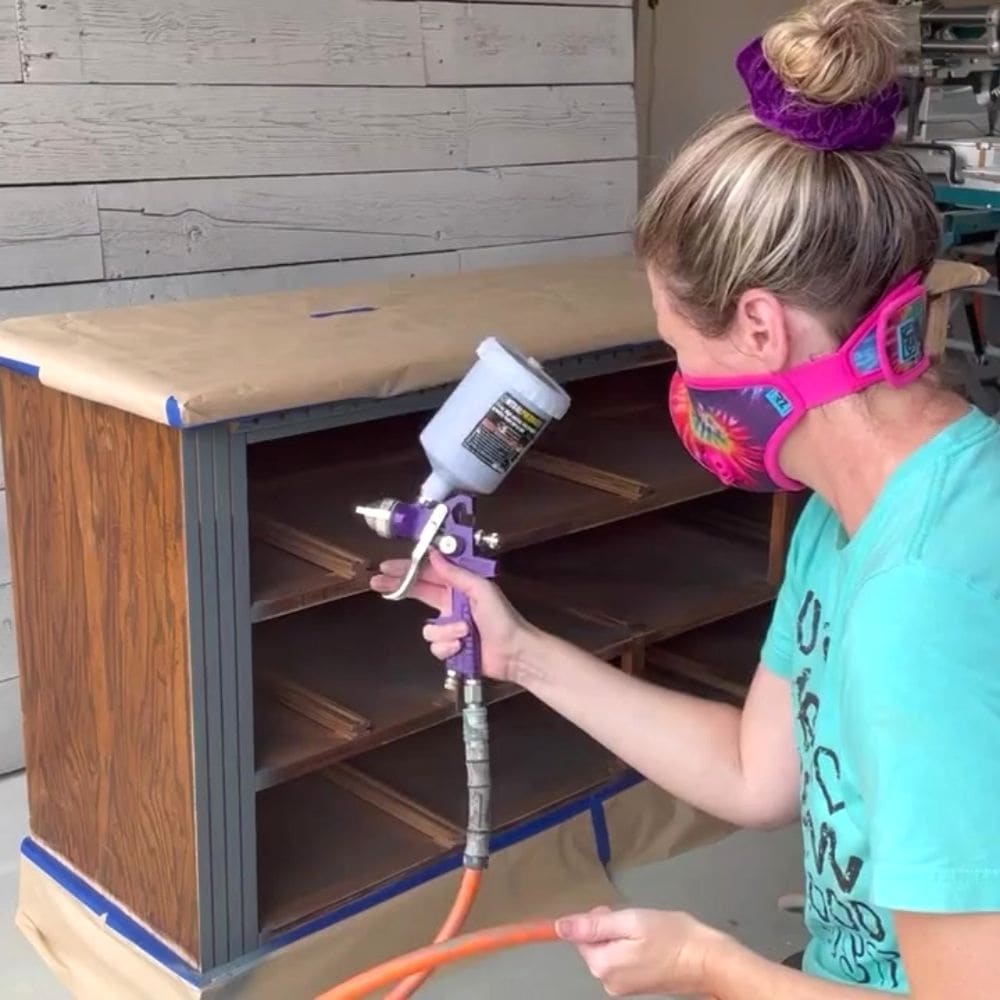
After two coats of Ocean Shore, I had full coverage on the dresser and let it dry fully overnight before I began to work on the top and bottom that I had sanded. I used a tack cloth on the sanded surfaces to remove any dirt or debris.
Staining Wood with Gel Stain
To create a stunning two toned effect, start by selecting two complementary colors of stain. I chose Lilly Moon Gel Stain in Natural Cork and Old Fashioned. Check out this hexagon end table makeover, where we also used this project.
Would you like to save this?
These waterbased stains offer a rich, deep finish that adds dimension and character to your piece. I enjoy the durability and the ability to mix these stains for the desired color you are aiming for.
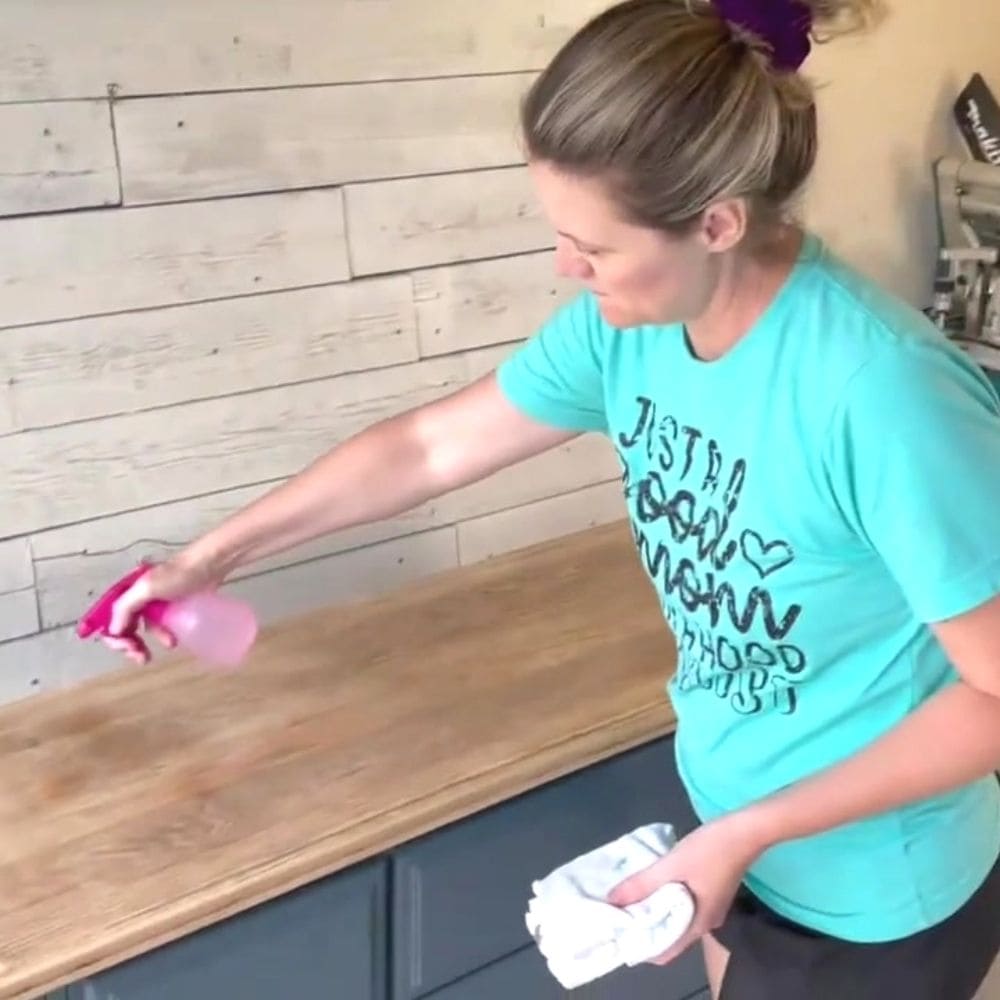
When I use waterbased stains, I will mist the surface first, making sure that I have plenty of “open time” or workability time before my stain begins to dry. Here’s our list of the best wood stains for more about the type best suited for different pieces.
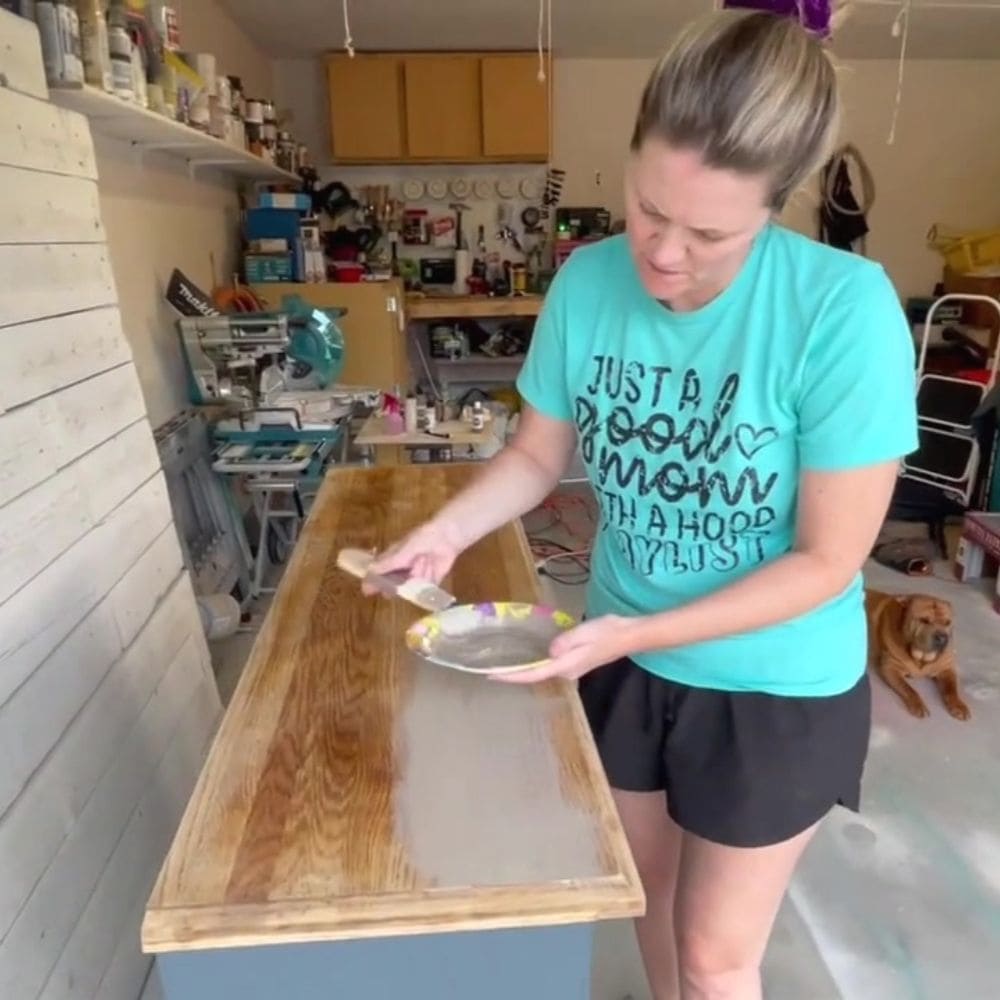
Once the surface has been misted, I layer on equal amounts of gel stain colors with a chip brush and spread across the top. Start with a small amount and build up the color as you go.
Here’s our list of the best brushes for staining wood to learn more about the different options and find one that fits your needs perfectly.
You can apply as many layers of the waterbased stain as needed to create the color you are looking for. If you want it lighter or darker after your first coat, you can apply another layer focusing on the desired tint of choice. That’s the beautiful thing about a water based stain!
The gel stain sat on the surface for about 45 to 60 seconds before I began wiping it back with a lint free rag. I followed these same steps on the bottom trim of the dresser as well.
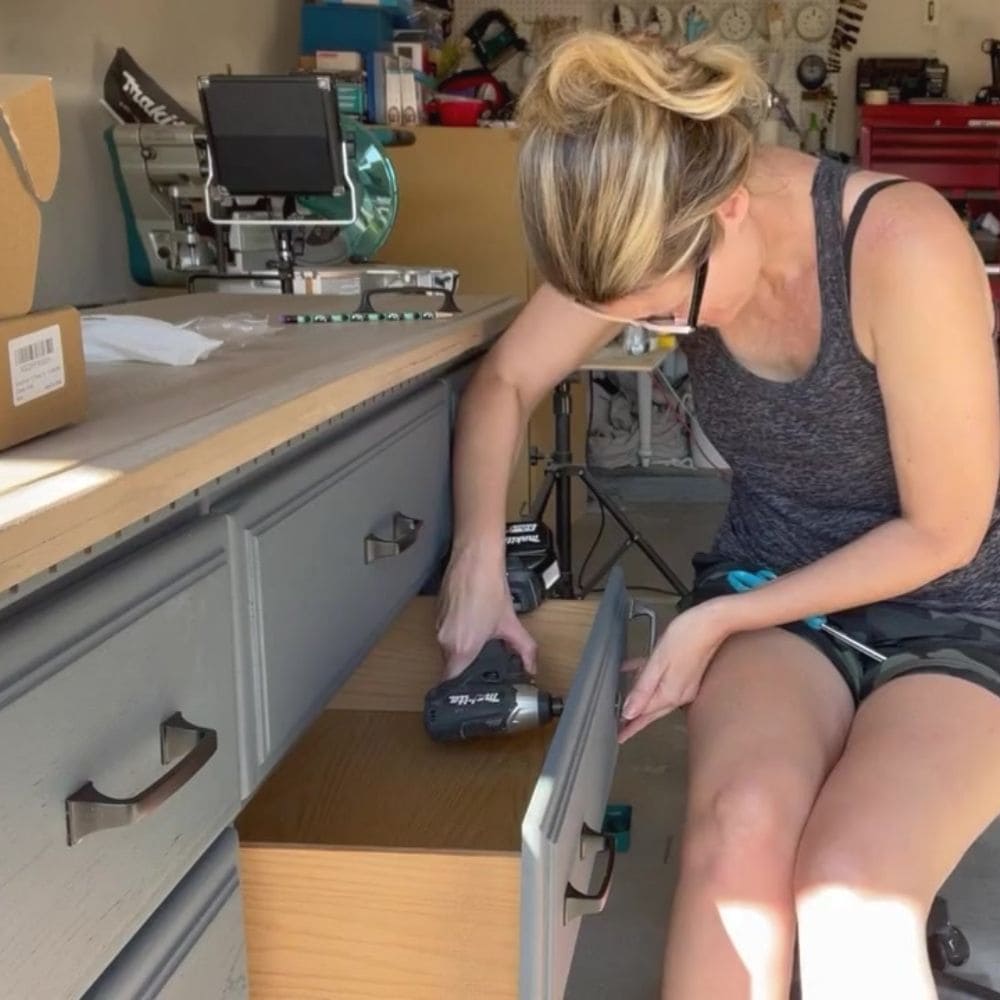
Changing Dresser Hardware
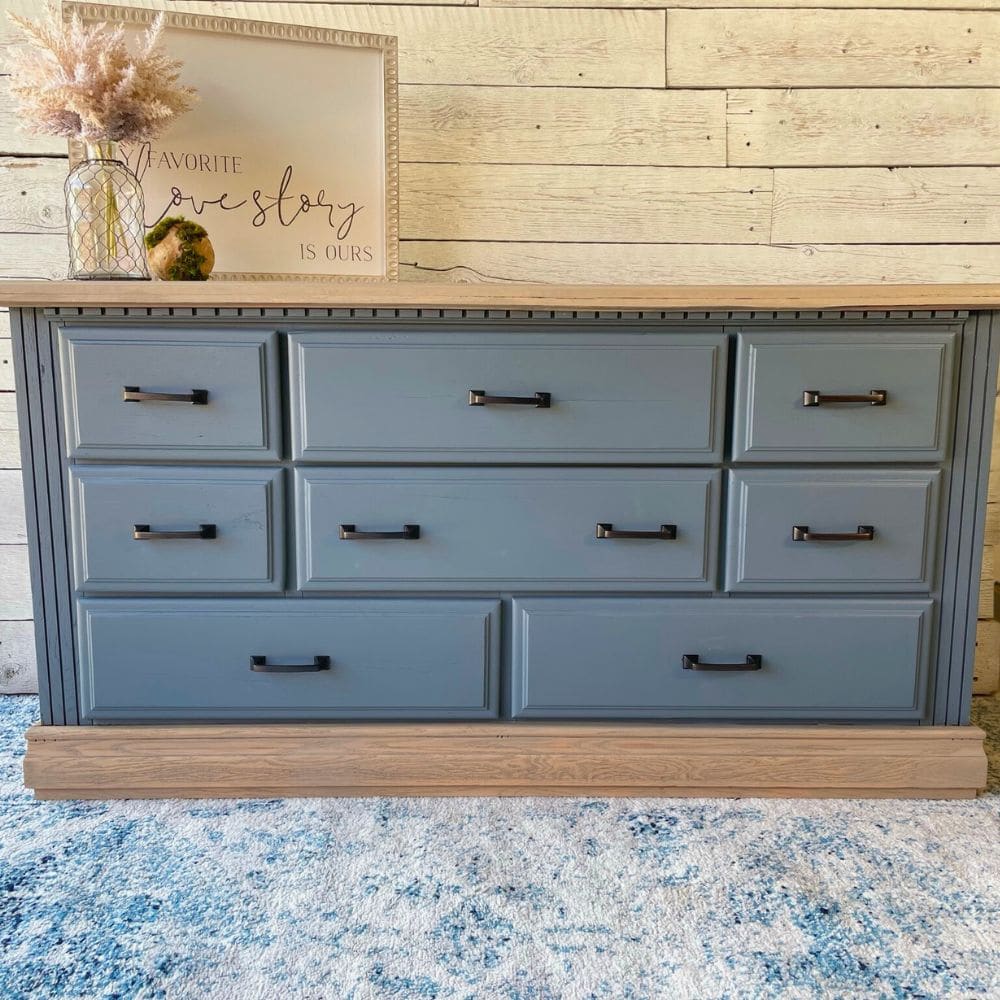
To complete the high end look of my two toned furniture, I carefully choose handles that complemented the style and color scheme. I decided on sleek, modern hardware to enhance a contemporary aesthetic.
The key is to make that your hardware flows seamlessly with the overall design. Here’s how to change hardware on a dresser for a more detailed guide about this step.
So, is two toned furniture in style? Yes, incorporating this into your interior design not only creates a high end look but also adds a touch of timeless sophistication to your space.
By following these steps and experimenting with color combinations and hardware, you can breathe new life into your pieces, making sure they remain stylish and relevant for years to come.
Watch the YouTube video below!
More Before and After Makeovers
See All >
Click any of these “before” photos below to view the “after” of that makeover.


So, unleash your creativity and let your furniture shine with the elegance of two toned perfection. For other similar makeovers, here’s painting a wooden dresser with two tone finish and this vintage buffet makeover. If you like this grey color, check out these grey painted bedroom furniture ideas to see how it looks in other pieces.
You can also join me on Instagram for more behind the scenes tips and tricks on how I stay up on all the trends for selling furniture in my area.
If you enjoyed this flip tip, you can find Kara on Youtube under Lemons to Lemonade Furniture. And for more behind the scenes content you can also join Kara on Instagram!


Is Two-Toned Furniture In Style?
If you're wondering is two-toned furniture in style, this makeover will show you the process of creating this trendy look.
Materials
Instructions
- Clean the piece thoroughly using Simple Green (or any other degreasing cleaner).
- Use an orbital sander to remove the old finish on the top and bottom parts of the furniture. Start with an 80 grit sanding pad and progress to a 180 grit pad for a smoother finish. Clean off all the sanding dust with a damp cloth and tape off the newly sanded parts.
- Choose a paint color and apply to the main body of the furniture. Let the paint dry completely.
- Use a tack cloth on the sanded surfaces to remove any dirt or debris. Select two complementary stain colors to create the two-toned look. Mist the surface to ensure more workability time before the stain starts to dry.
- Layer on equal amounts of the stain colors with a chip brush and spread across the top of the furniture. Start with a small amount and build up the color as you go. Let the stain sit on the surface for about 45-60 seconds before wiping it off with a lint-free rag.
- Repeat the same staining process on the bottom trim of the dresser.
- Choose and install new handles that complement the style and color scheme of the furniture.
Recommended Products
As an Amazon Associate and member of other affiliate programs, I earn from qualifying purchases.


more flipping Furniture Ideas
- Flipping Furniture For A $675 Profit In 30 Hours
- What Color Furniture Sells Best?
- Best Furniture to Flip for Profit
- Easy Way To Paint Furniture In One Day: From Trash To $300
- Why I Still Paint Thrifted Furniture After All These Years
Follow us on YouTube to get more tips for painting furniture. Or share your project with us on our Facebook Group and be part of our community. See you there!