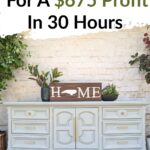
Flipping Furniture For A $675 Profit In 30 Hours

Today, we’re sharing an inspirational story of how flipping furniture for profit is something that really happens, and can be your story too! If you’ve been wondering, “Is furniture flipping profitable?”, here is a great example of flipping furniture for a $675 profit in 30 hours!
We’re super excited to introduce Kristen, an amazing mom who’s a pro at this! She’s got an incredible eye for finding hidden treasures at thrift stores and chooses the great pieces to bring back to life.
With her artistic touch, she works her magic and gives these furniture finds a whole new look through her expert painting techniques. And guess what? Kristen’s not just doing it for fun – her passion is also a blooming business. She sells her beautifully restored pieces and makes a great profit. Here is just one of her invigorating furniture flips!

Welcome!! My name is Kristen from the Broken Masterpiece!! Honored to be on the amazing Natalie’s blog!
Back in the spring, I challenged myself to see if I could flip a thrifted piece in 30 hours for a really good profit ($675 to be exact!) Could you do it?! Let me show you how!! Here’s flipping furniture for beginners for more tips on getting started!

Supplies Used for this Furniture Flip
As an Amazon Associate, I earn from qualifying purchases. I also may earn from other qualifying purchases with other companies or get free product to review and use. All opinions are my own.
- Electric Sander
- SurfPrep 3×4″ Sander (Use code RAY10 to get 10% off your order)
- 120 Grit Sandpaper
- Tack Cloth
- Tape Measure
- BIN Shellac Primer
- Bondo Wood Filler
- Bondo Spreader
- TSP mixed in a spray bottle
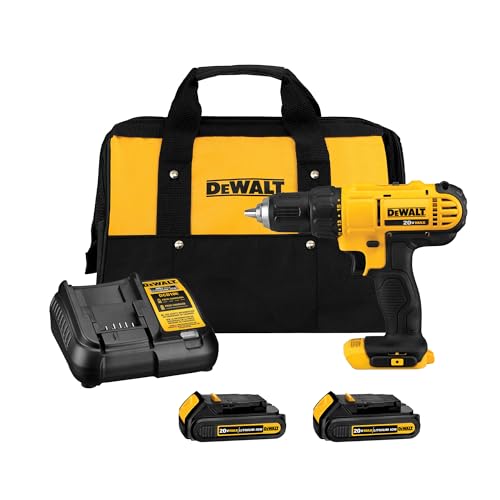
- Drill and Bits for new hardware holes
- Spray Gun (makes it super easy and fast!)
- Paint Filters
- Metallic Spray Paint
- New Hardware
- Cascade from Lilly Moon Paint
- Stellar Shield Topcoat
- Staging Items!
Pick out Your Piece!
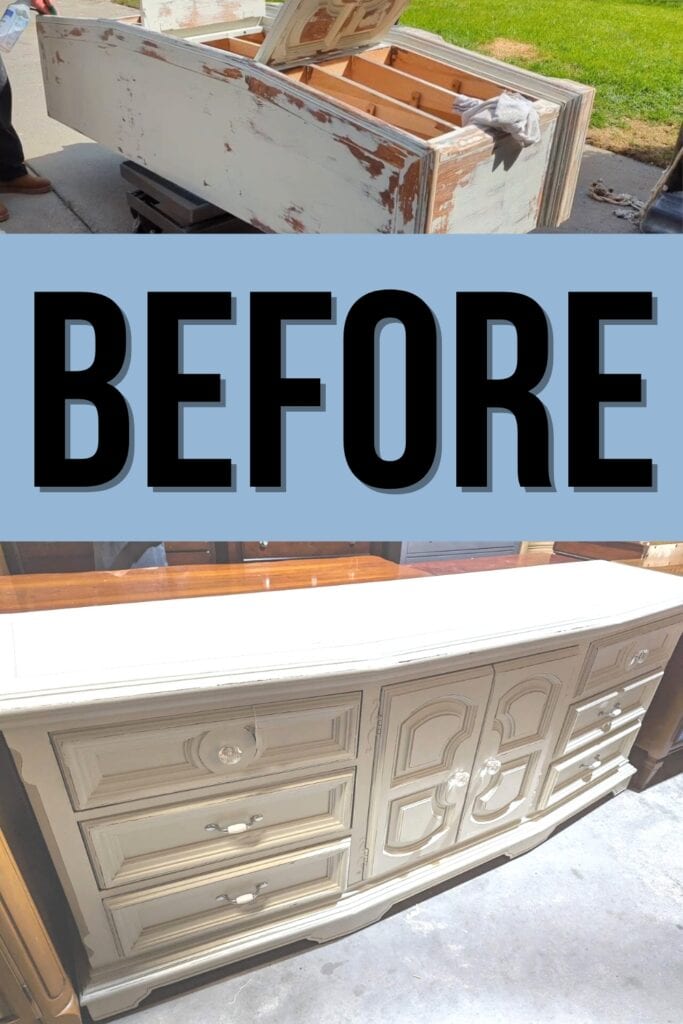
This adventure started off at our local Furniture Depot! It’s a consignment treasure trove that sells used furniture at a discount. If you want to know the best places to get good furniture for cheap, read through this post to learn more.
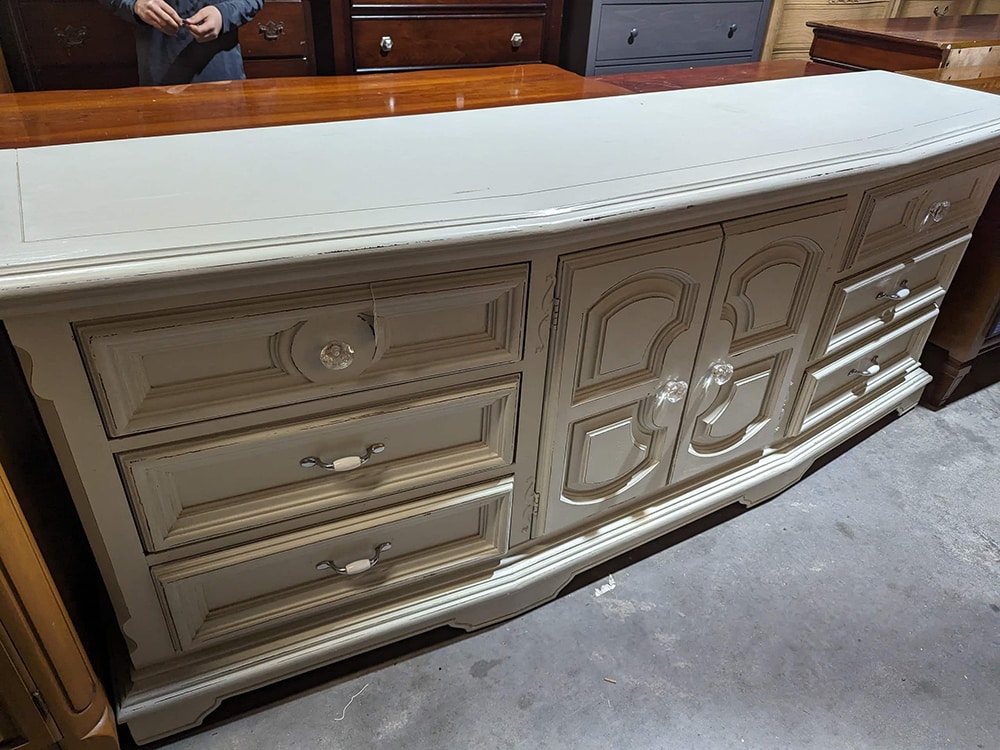
The pick of the day: a massive 80 inch buffet for $250, which is more than I normally spend, but I knew I could flip this quickly.
How did I know? I scratched the surface, and it was not latex (horrible to remove). It was furniture paint! That is very easy to clean, sand down part way, and reprime and repaint. It would fit into my time frame challenge! You do not have to remove the existing paint completely!
Learn more about how to prepare furniture for painting in this post. If the finish easily scratches off, here is a great method on how to remove paint from wood furniture.
The Restoration Process
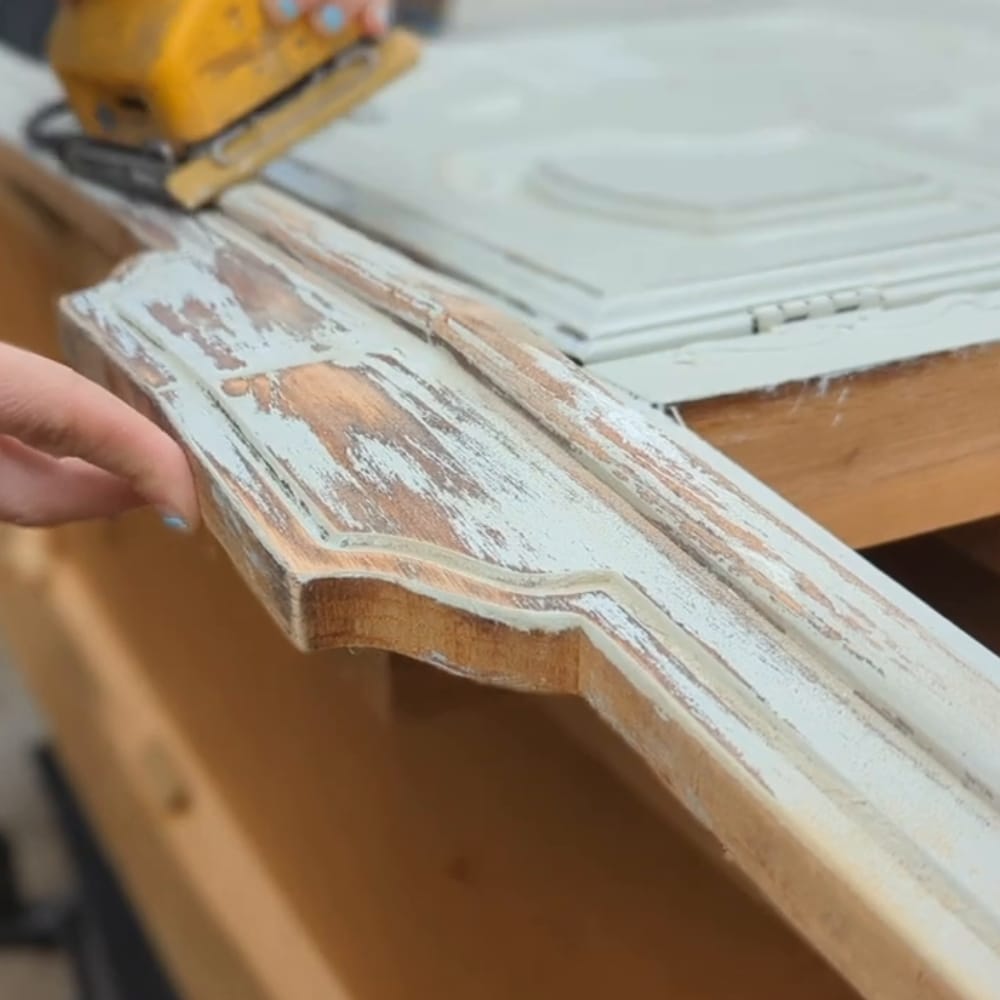
To begin with, I used 120 grit and sometimes an 80 grit to scuff sand the majority and remove anything loose. Embracing an array of tools, from a Surf Prep Sander with a pro foam pad (which is great for molding over uneven surfaces) to my spectacular DeWalt beast square sander.
These tools were important to tackle the drip marks, brush marks, and uneven primer. This piece definitely had some drip marks from someone who had hand painted it a bit poorly.
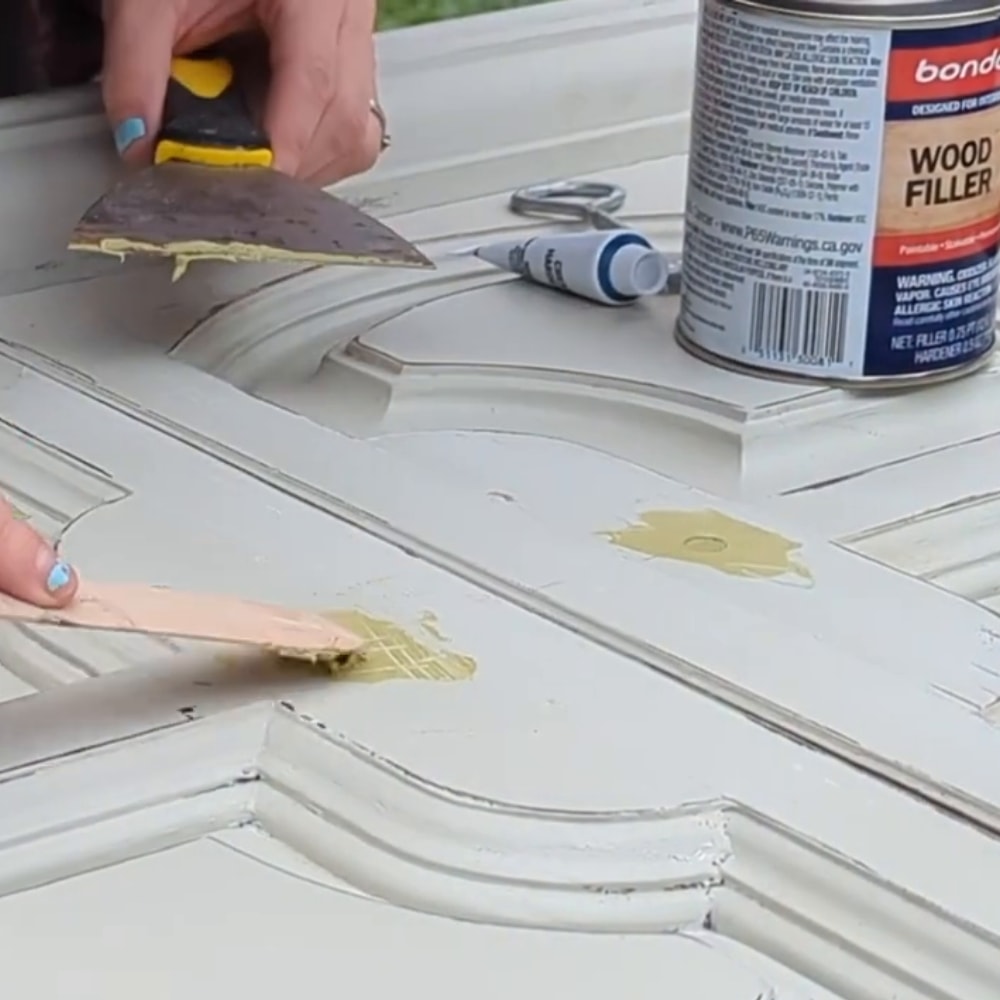
Afterward, I filled in all the hardwood holes with Bondo, a fabulous wood filler. I noticed that a previous owner of the piece had filled in some holes as well, so I made sure to start fresh, making sure we got pulls that fit the piece perfectly.
You do need to sand down the Bondo you add front and back to make sure it’s completely flush with the surface, and add more if you need! Here is a great comparison on filling holes when replacing cabinet or furniture hardware, comparing Bondo to other methods.
After sanding the Bondo, I cleaned the piece thoroughly with a green scrubber and a spray TSP to degrease and degloss the finish, prep it for the new primer, and blend in any uneven marks. If you aren’t sure about cleaning, here is our how to clean furniture before painting post.
Drilling for New Holes
When drilling for holes, I usually LOVE my Kreg jig hardware tool for this, but the drawers had so much detail that it was impossible to use the jig. I got my good ol’ tape measure out and did it the old fashioned way!
I used old client pulls for the front door, and found pulls on Amazon for the drawers that were very similar.
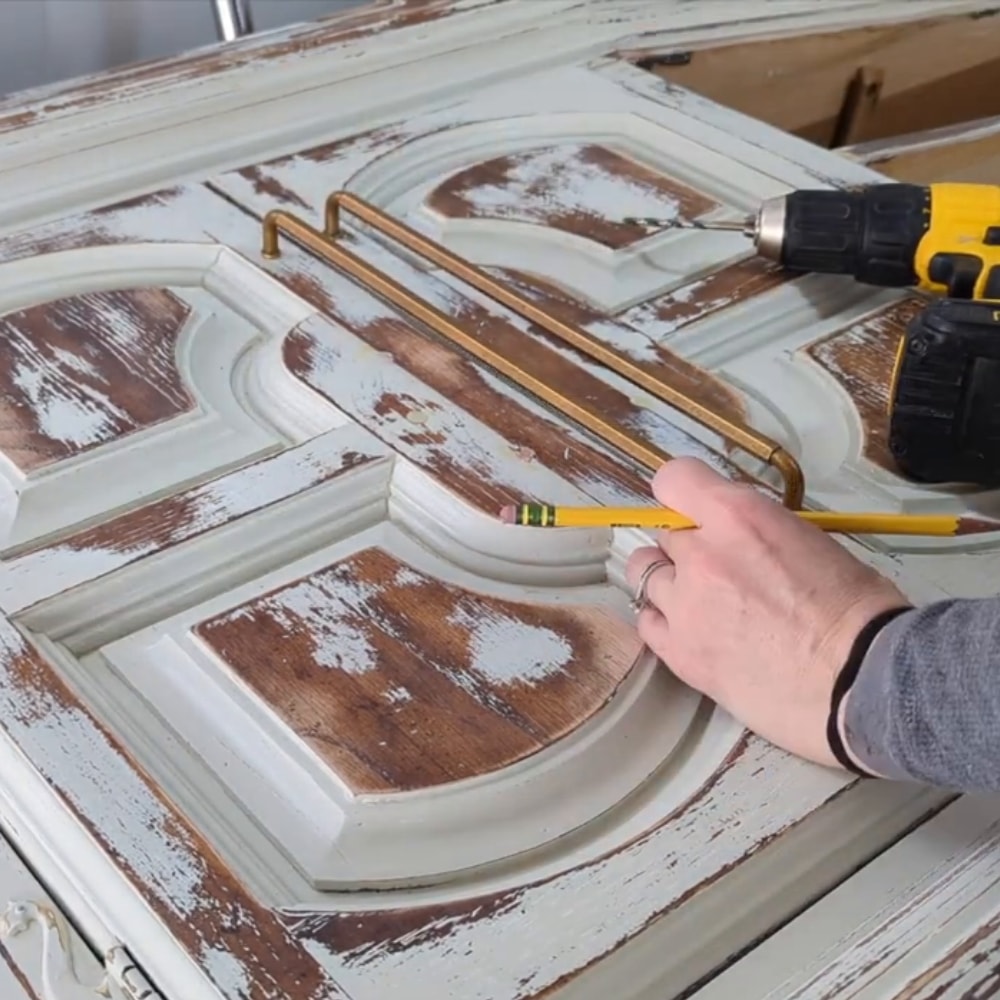
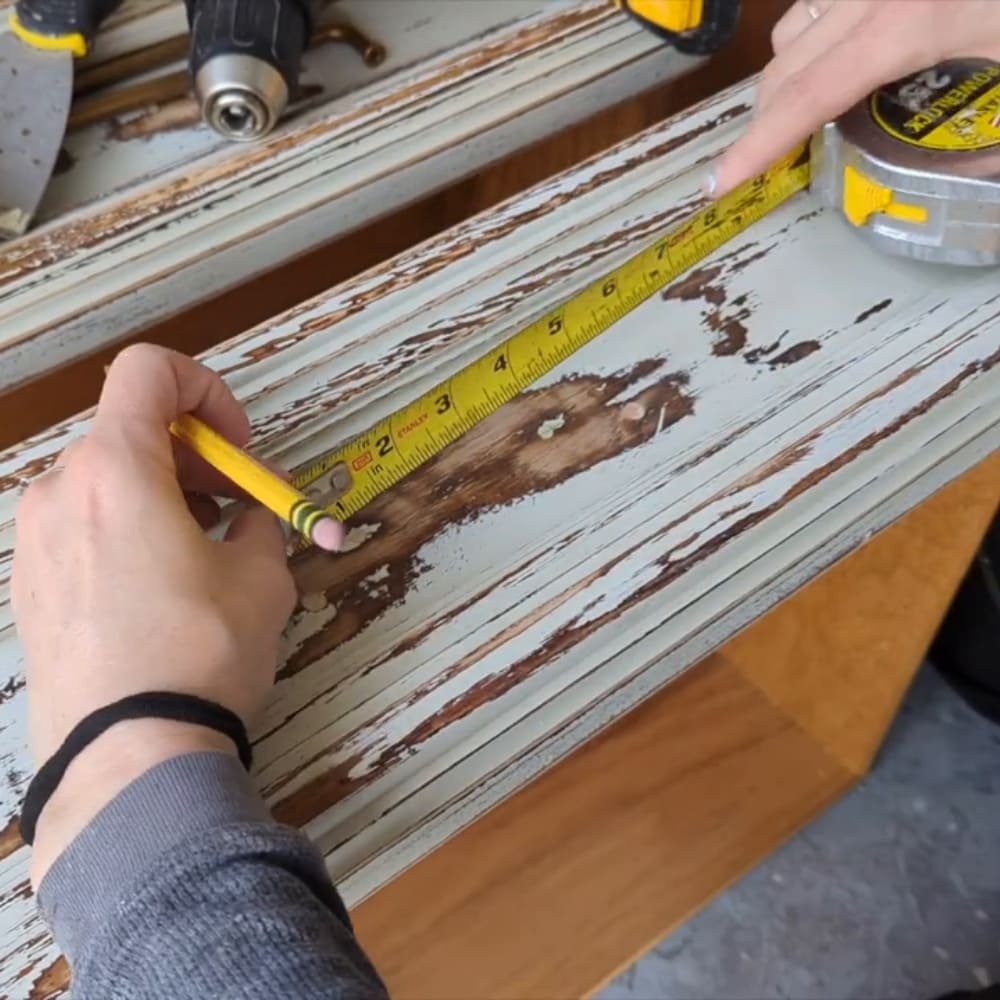
Using a drill bit just bigger than the hardware that will be screwing into the back of the pull – you will measure, mark and drill where your new hole will be located.
Priming and Painting A Buffet
I applied BIN Zinsser shellac for the primer. You can use any primer, but since I was doing a light color, I did not want any bleed through. Shellac sealed everything. Here is more information about how to stop stains from coming through paint, and our list of the best primers for painting furniture.
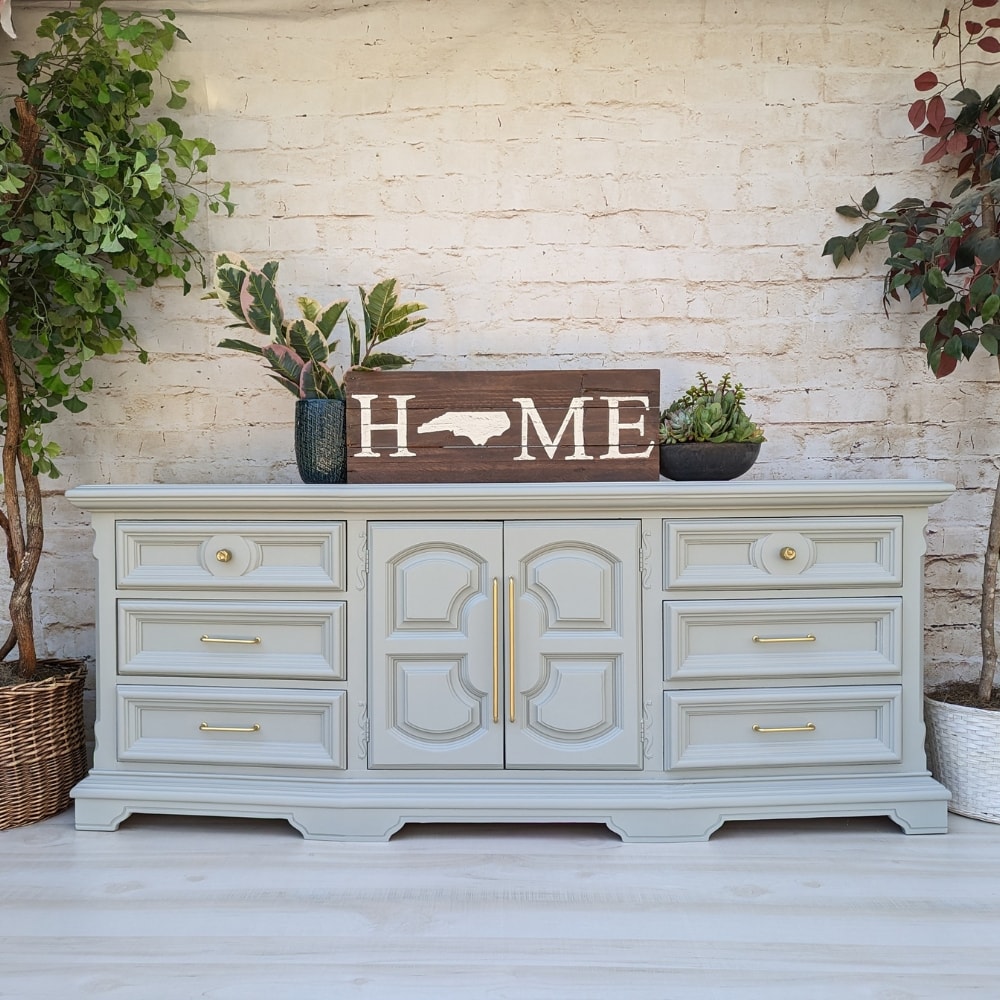
It came out a bit gritty, so I sanded it down with 220 grit. I then cleaned off the dust with a tack cloth, prepping it for the paint round. I picked Cascade Green from Lilly Moon Paint, a favorite that I had in stock (again, we are working with a very short time frame!)
Would you like to save this?
Check out our Lilly Moon Paint review here to learn more about this brand. Here’s a hexagon end table makeover where we also used Lilly Moon Paint and Gel Stain.
Although I initially was using my control Wagner Double Duty with 10% thinning, it wasn’t atomizing my paint well enough. I could have thinned it more, but instead, I abandoned it for my Devilbiss Finishline spray gun.
Learn more about the best HVLP paint sprayers for furniture to make transforming furniture even faster and more profitable!
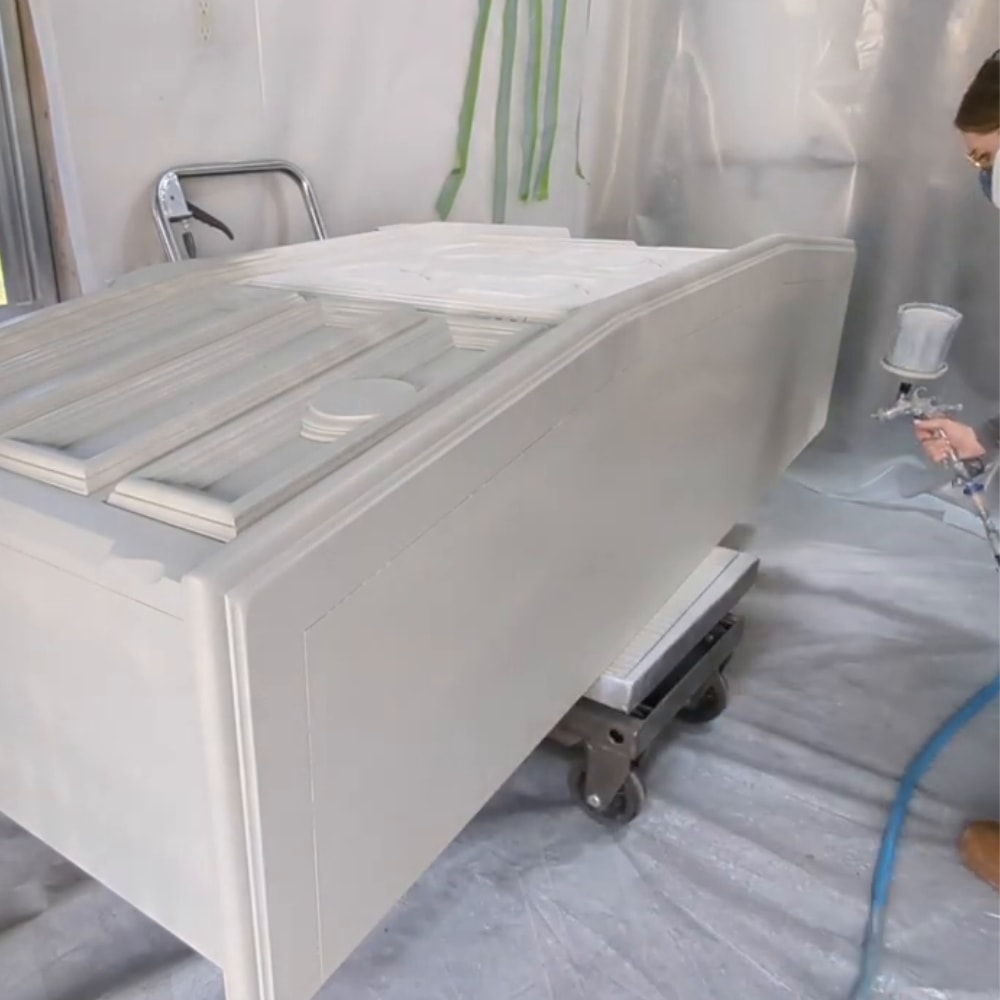
If you are working with a beginner sprayer, thin the paint with distilled water until it runs perfectly smooth through. With the latter, the application was as smooth as butter. Here is more information on how to thin paint for a Wagner sprayer. I applied 3 coats of the thinned paint.
After a few hours of drying, I added 2 coats of Stellar Shield by Lilly Moon to protect the piece from wear and tear. Cascade is all-in-one, but I like to make sure my pieces are extra protected.
If you want to spray your topcoat, here is how to spray polyurethane (the waterbased topcoat), but here are the differences between spray polyurethane vs brush on polyurethane for a comparison of the two methods.
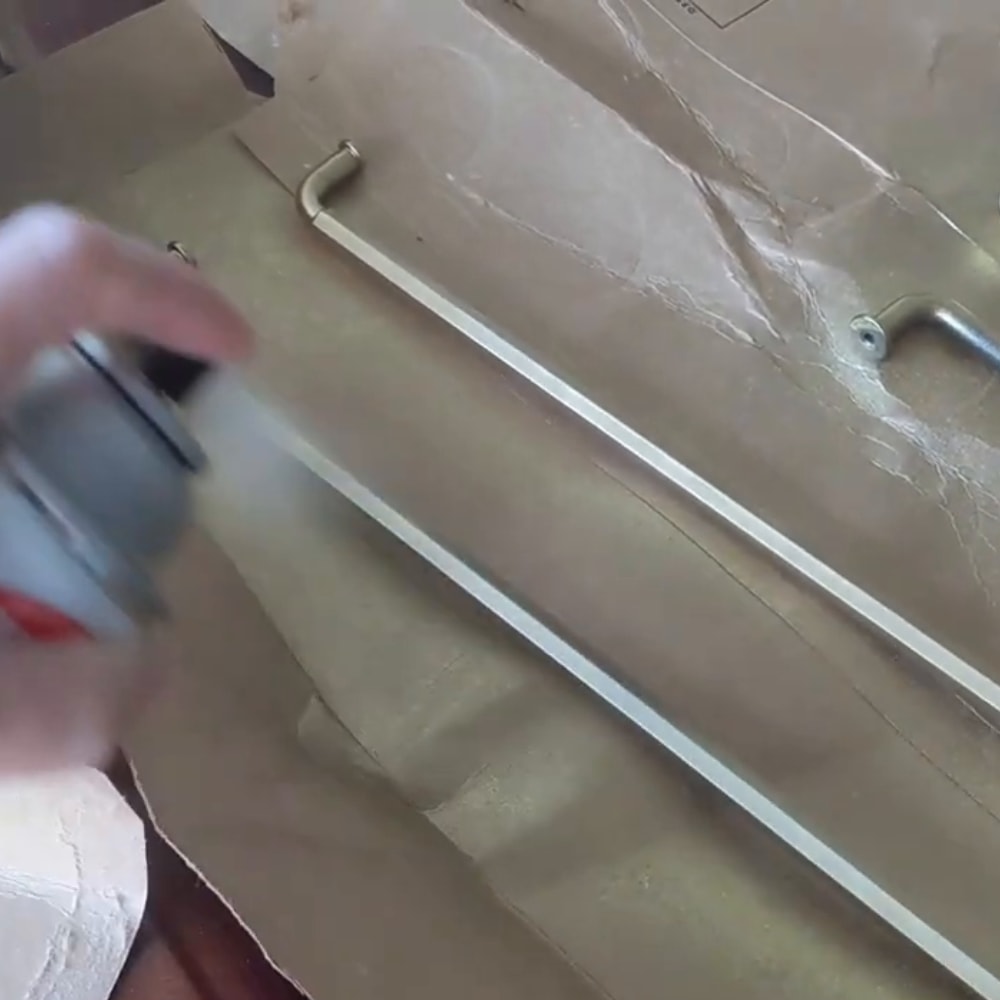
To my joy, all the pulls came in the same day and I spray painted them, along with a couple of extra knobs I had on hand, with metallic spray paint to match the whole ensemble. We are on track to make our time frame!!!! Here’s our guide on how to paint drawer pulls if you’re not sure how.
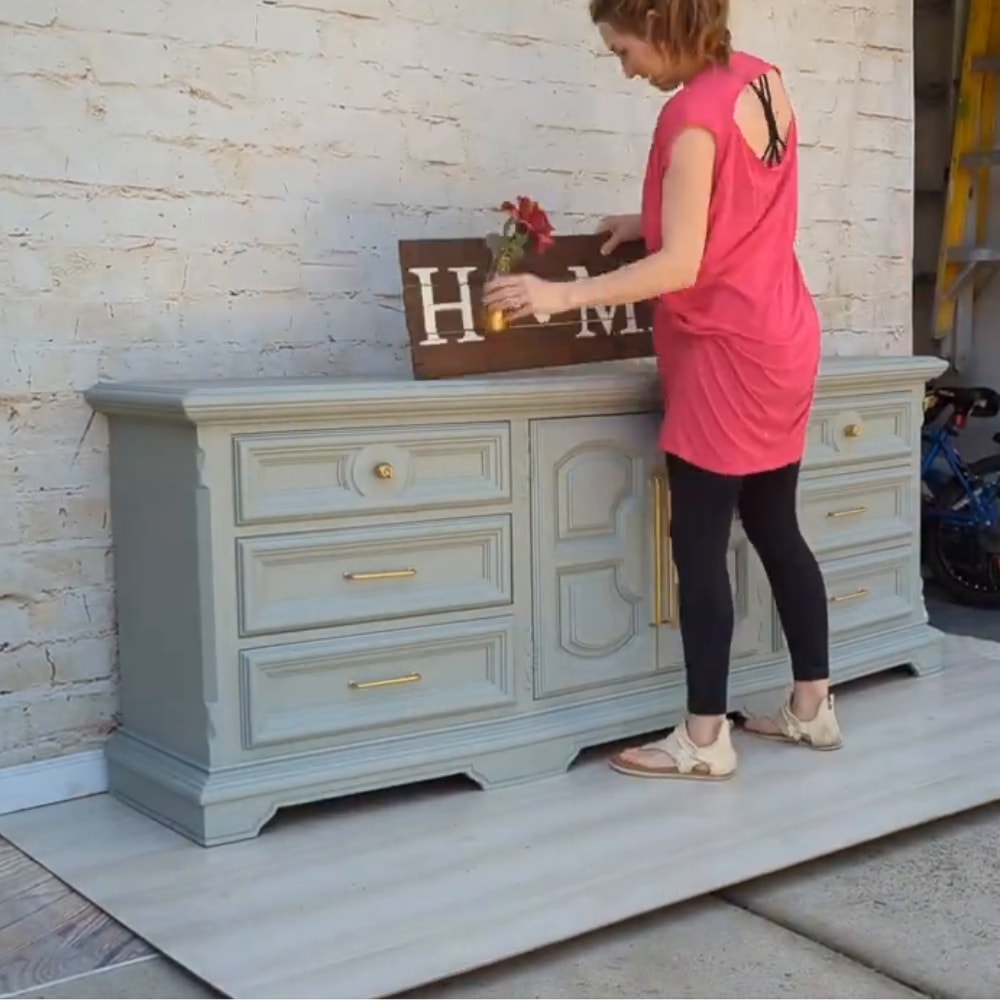
Stage Well and Sell!
My current staging set up is right out front of my garage! The natural light is perfect for great photos! Thanks to my vinyl 10×10 photo booth, faux wall paneling from Lowe’s (for the faux floor), and leftover baseboard from our house –> it creates a perfect photo backdrop!
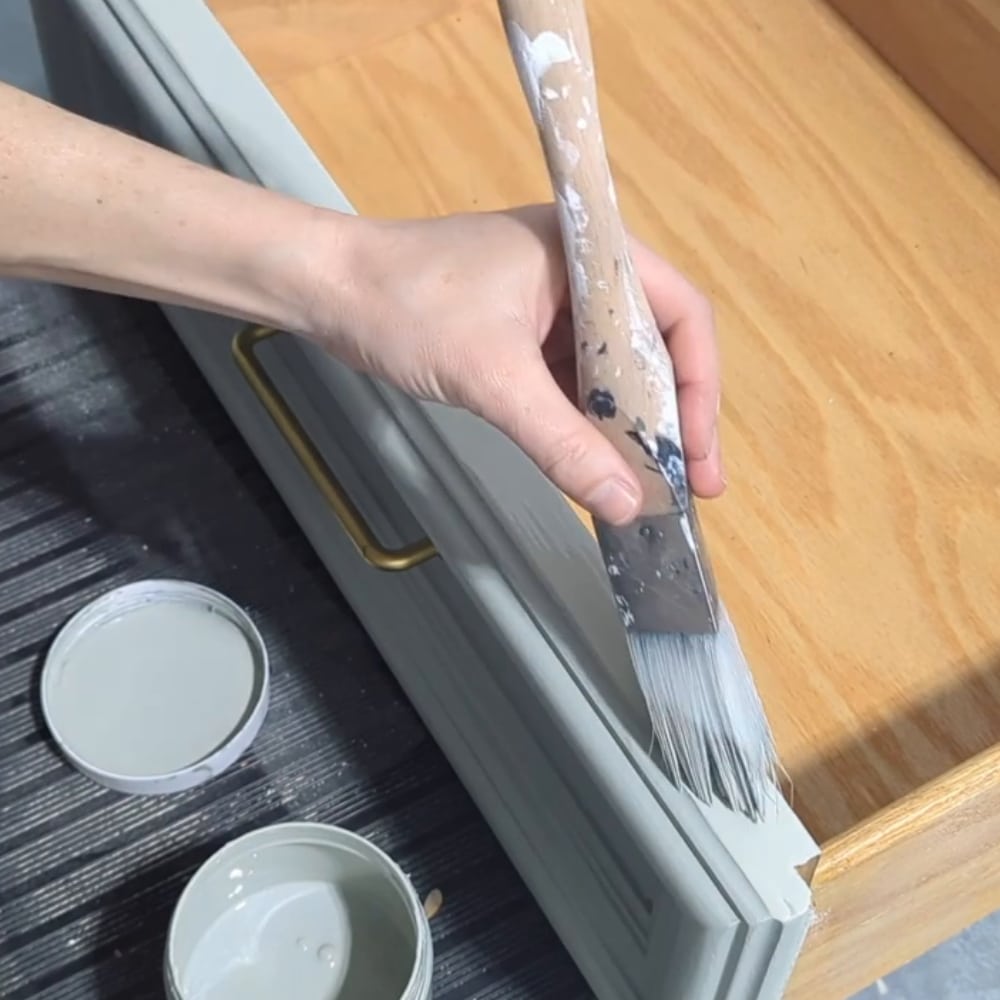
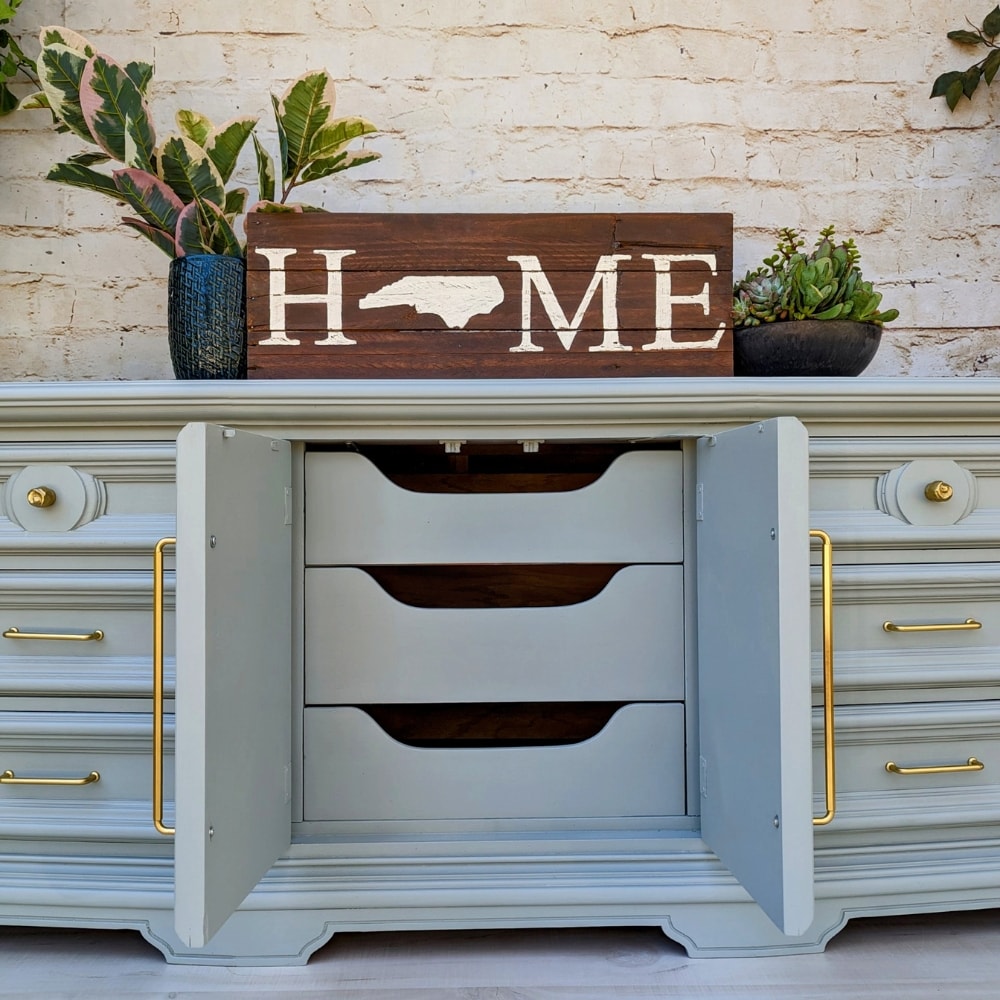
I used a hydraulic lift to move the piece and a drill bit to fix the handles. Next up, I painted the top lips and sides of the drawers to create a unified look.
Finally, I staged my piece! I used decor from inside my home and my faux plants from my back porch. The more effort you put into staging and good photos – the HIGHER the price it will sell for.
Once I finished, I shared the images on a local Facebook group and sold the piece for $925 in just a few hours! Who would have thought it’s possible to flip a piece in just 30 hours! Check out this easy way to paint furniture in one day: from trash to $300 for another similar makeover.
Here are some more top tips on how to sell used furniture and how to sell furniture fast that you should know. And wondering how to start selling furniture online? Check out this post to help you get started!
If you enjoyed this flip, you can find Kristen on YouTube under The Broken Masterpiece. And for more behind-the-scenes content you can also join Kristen on Instagram, or Facebook!
How to Price Flipped Furniture
Pricing flipped furniture can feel a little overwhelming, especially if you’re just starting, but don’t worry, I’ve got you! First, add up all your material costs. That’s the price you paid for the piece, plus anything you spent on paint, hardware, brushes, or other supplies.


Then, think about your time. How many hours did you spend on this project? From prep work to those final finishing touches, your time is valuable! Set an hourly rate for yourself that feels fair based on your experience.
But here’s the thing: even if this is just a hobby, you deserve to get paid for your hard work! As your skills grow and your pieces get better, you’ll be able to charge more. People will see the quality and love you’ve put into your work and be happy to pay for it!
So don’t be afraid to price confidently, especially if you’ve put in the effort and skill. I have more tips on how to price flipped furniture in this post! Watch this makeover on YouTube below:
More Before and After Makeovers
See All >
Click any of these “before” photos below to view the “after” of that makeover.


Flipping Furniture for $675 Profit in 30 Hours
Interested in flipping furniture but don't know how to start? Use this step by step guide to flipping furniture for a $675 profit in 30 hours!
Materials
Tools
Instructions
- Picked out the furniture piece from a local Furniture Depot.
- Scuff sanded the majority of the surface using some sanders. Filled in the hardwood holes with bondo filler. Sanded the Bondo smooth.
- Cleaned the piece thoroughly with TSP.
- Drilled new holes for the hardware manually, with the help of a tape measure and drill.
- Primed the piece with BIN Zinsser shellac. Then sanded the piece down with 220 grit sandpaper and cleaned off the dust with a tack cloth.
- Applied three coats of Cascade Green from Lilly Moon paint.
- After drying, added two coats of Stellar Shield by Lilly Moon to protect the piece.
- Spray painted the pulls and extra knobs to match the whole ensemble.
- Staged the piece for photography using a vinyl 10x10 photo booth, faux wall paneling from Lowe's, and leftover baseboard.
- Shared the images on a local Facebook group and sold the piece.
Recommended Products
As an Amazon Associate and member of other affiliate programs, I earn from qualifying purchases.


More Flipping Furniture Ideas
- Is Selling Furniture Profitable?
- Best Furniture to Flip for Profit
- What Color Furniture Sells Best?
- Best Place to Sell Furniture Online
- How to Get Rid of a Dresser