Hexagon End Table Makeover


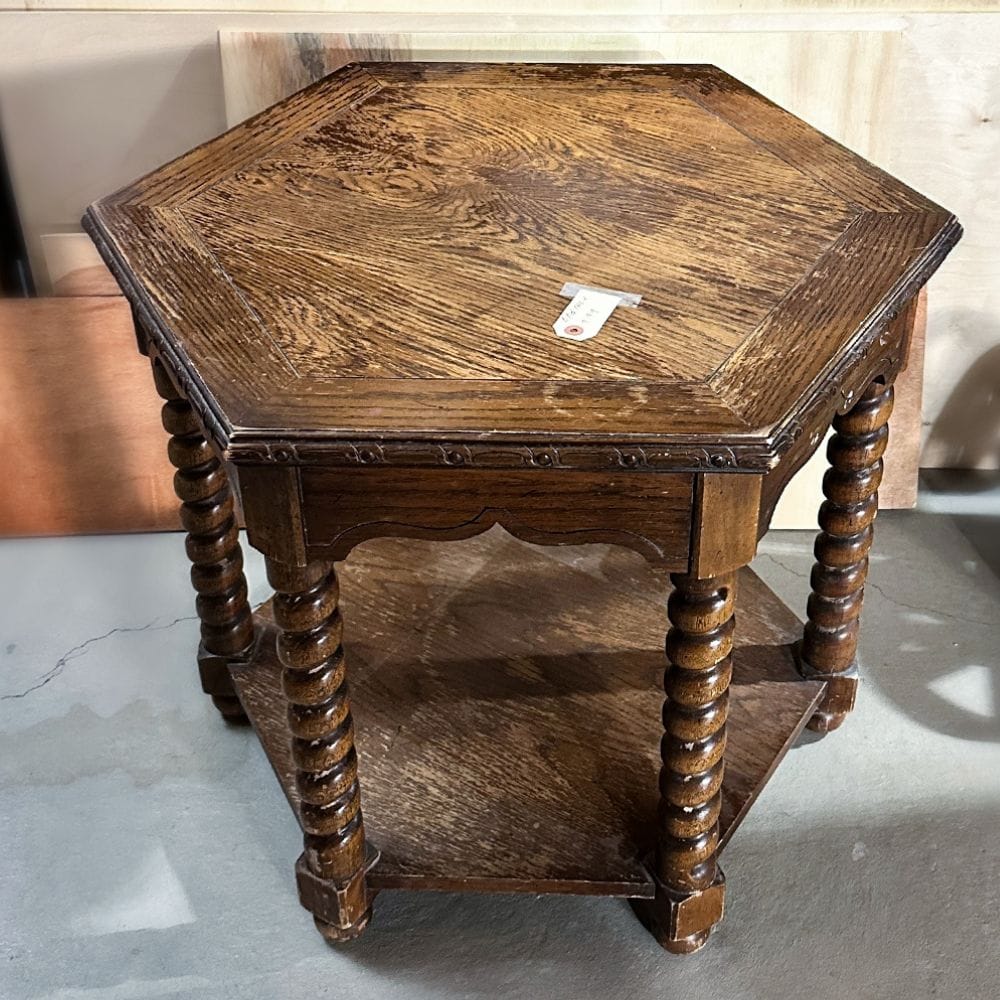
We’re taking on the challenge of transforming a tired and worn out end table into one of these best green painted furniture ideas. This hexagon end table makeover will show you the step by step process of using green paint and gel stain to give new life to an old, outdated piece.
This project is perfect for anyone looking to add some unique and colorful pieces to their home decor. Your transformed piece will be a standout in any room!
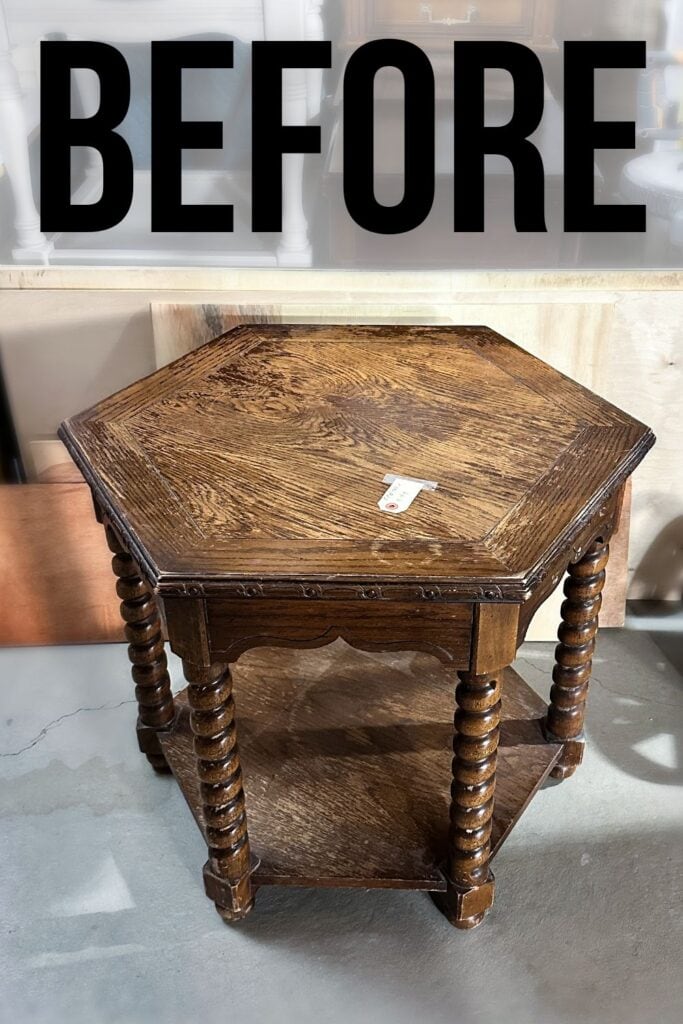
The end table holds a special place in our homes – it’s where we rest our drinks, display our favorite items, and add the finishing touches to our interior design. But what do you do when yours is looking a little dull and outdated? You give it a makeover, of course!

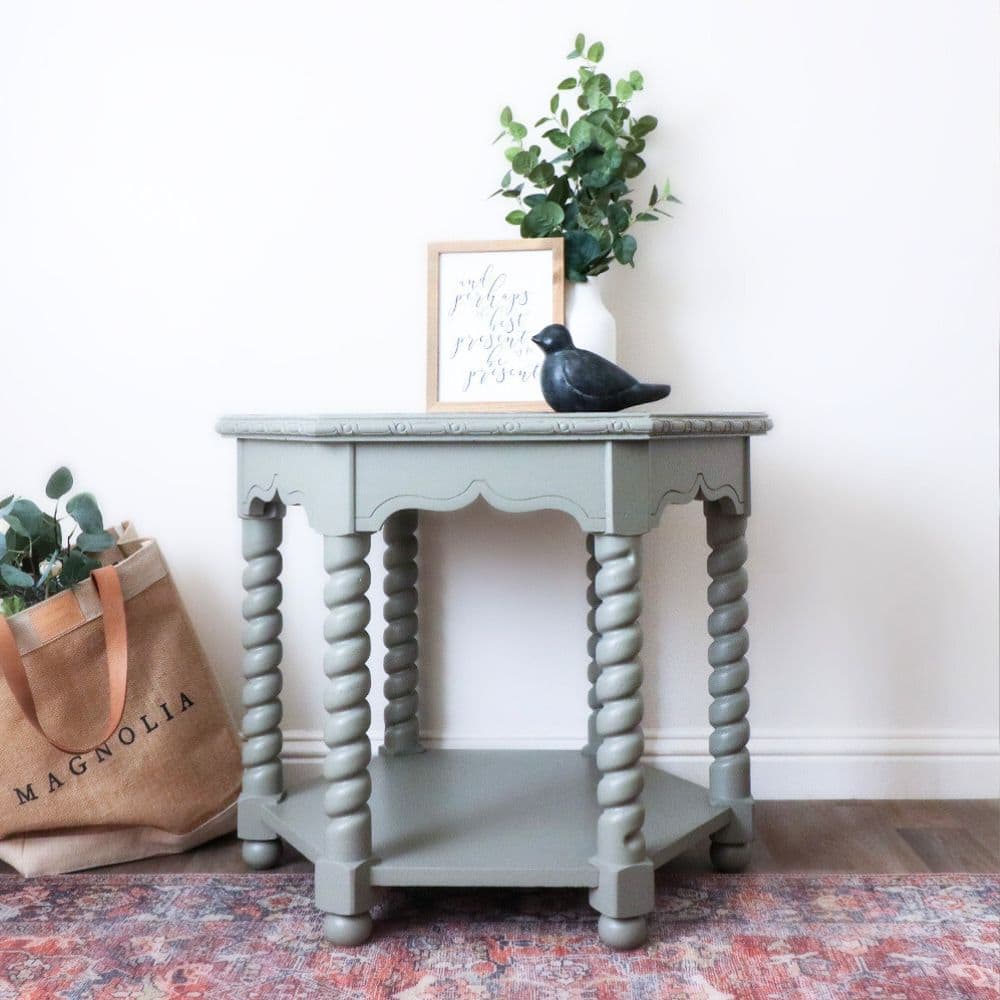
There are so many different ways to use green paint, from bold statement pieces to subtle accent colors. For this, we chose Lilly Moon in the color Magnolia Garden. This beautiful sage green is perfect for brightening up a room and adding a touch of whimsy.
So let’s get started on how to transform it into a stunning piece that will have all your guests asking, “Where did you get that?”

Supplies Used for Hexagon End Table Makeover
As an Amazon Associate, I earn from qualifying purchases. I also may earn from other qualifying purchases with other companies or get free product to review and use. All opinions are my own.
- Krud Kutter
- Damp Rag
- Sander
- Tack Cloth
- Clear Shellac
- Lilly Moon Paint in Magnolia Garden
- Wise Owl Oval Paint Brush
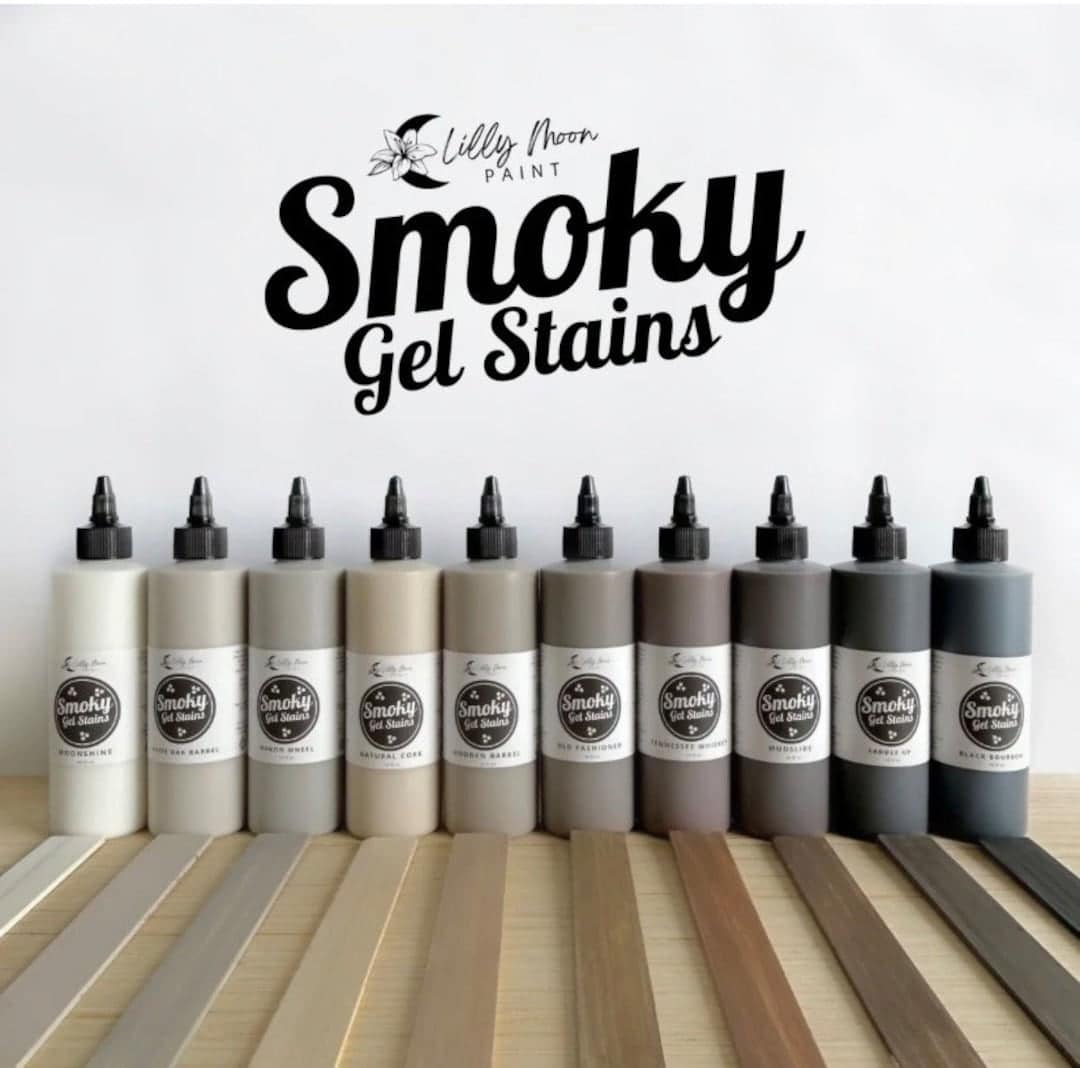
- Lilly Moon Gel Stain in Old Fashioned
- Lint Free Rag
- Medium+ Grit 1/2″ Foam Pad (Use code RAY10 to get 10% off your order)
- Yellow Frog Tape
- Small Paint Brush
- Waterbased Polyurethane
Prep Hexagon End Table
We need to make sure our piece is prepped and ready for a makeover. Don’t skip this step – it will make a huge difference in the end result! Here’s all about how to prepare furniture for painting.
The first step is to clean it thoroughly. We used Krud Kutter and a damp rag to remove any dirt, grease, or grime that may have built up over time. Our guide on how to clean furniture before painting will be very handy for this.
After that, we had to sand the top down to bare wood because the finish was all uneven and messed up. You should do this to smooth out any imperfections and make the paint job look better. Learn why sanding before painting furniture is important here.
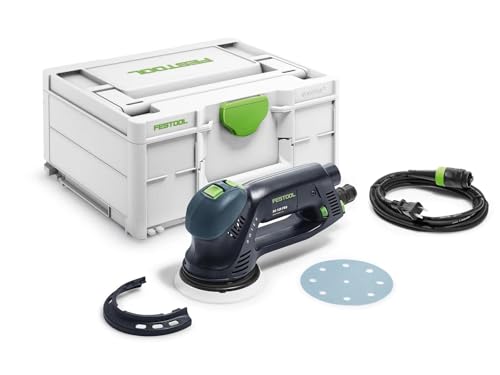
While doing so, we compared two different sanders – the Festool Rotex 125 and the Festool RTS 400 REQ.
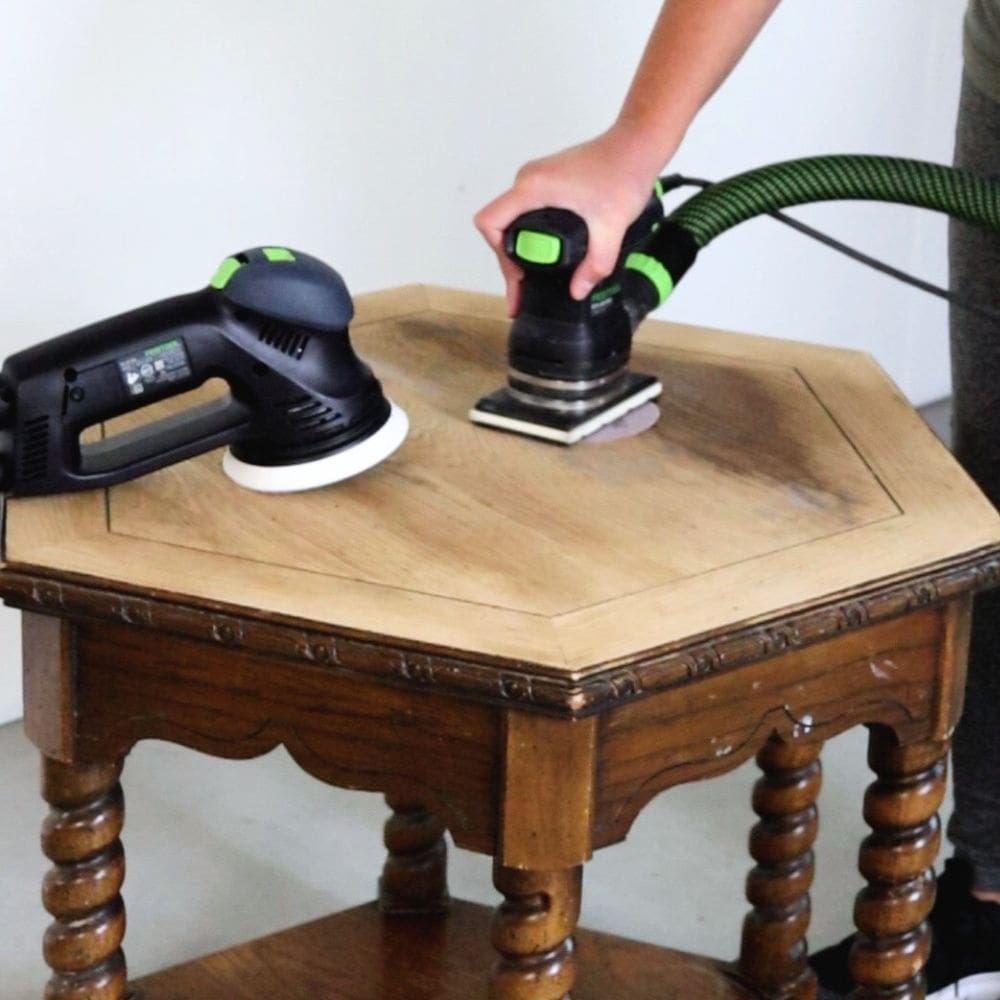
The Rotex 125 sander was faster at sanding, taking about half the time of the RTS 400 REQ. After, we used a tack cloth to get rid of any dust before moving on.
After that, we brought the piece outside and gave it a couple of coats of clear shellac. This step is important because it helps for better adhesion and blocks bleedthrough. Here’s more on how to stop stains from coming through paint. We let the shellac dry overnight.
Painting End Table Green
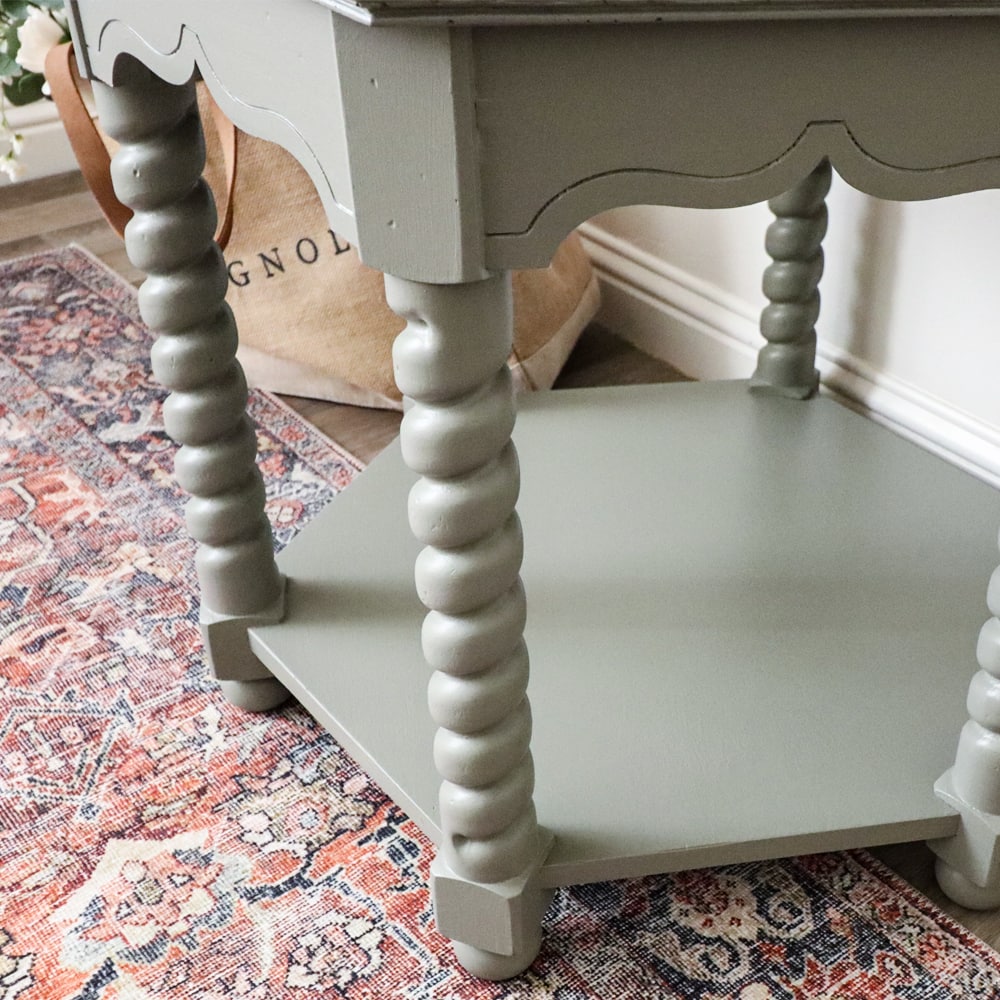
Now for the fun part! We gave the base, legs, and bottom shelf two coats of the Lilly Moon in Magnolia Garden color. We used a Wise Owl oval paint brush to apply it, and we found that lightly misting with water helped prevent brush marks and helped it dry smoother.
It didn’t leave too many brush marks without the water, though, so if you want to skip the water, you can.
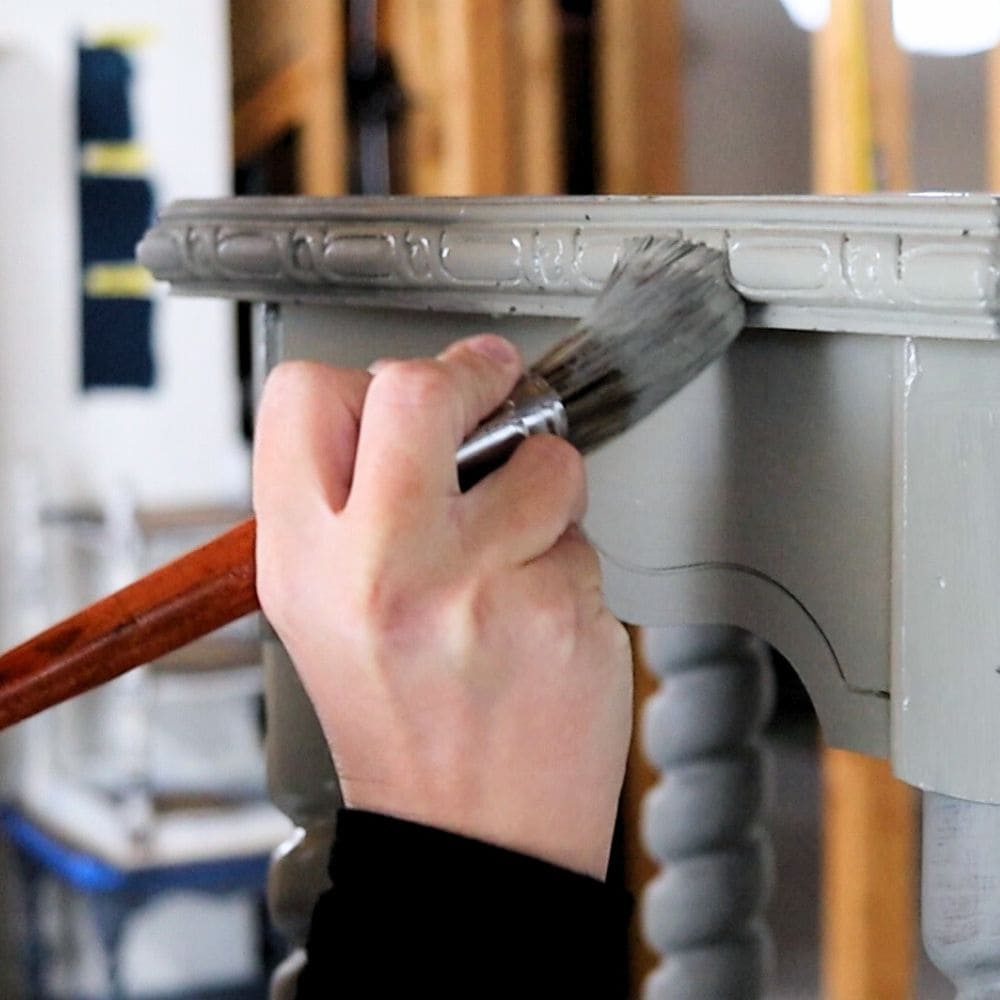
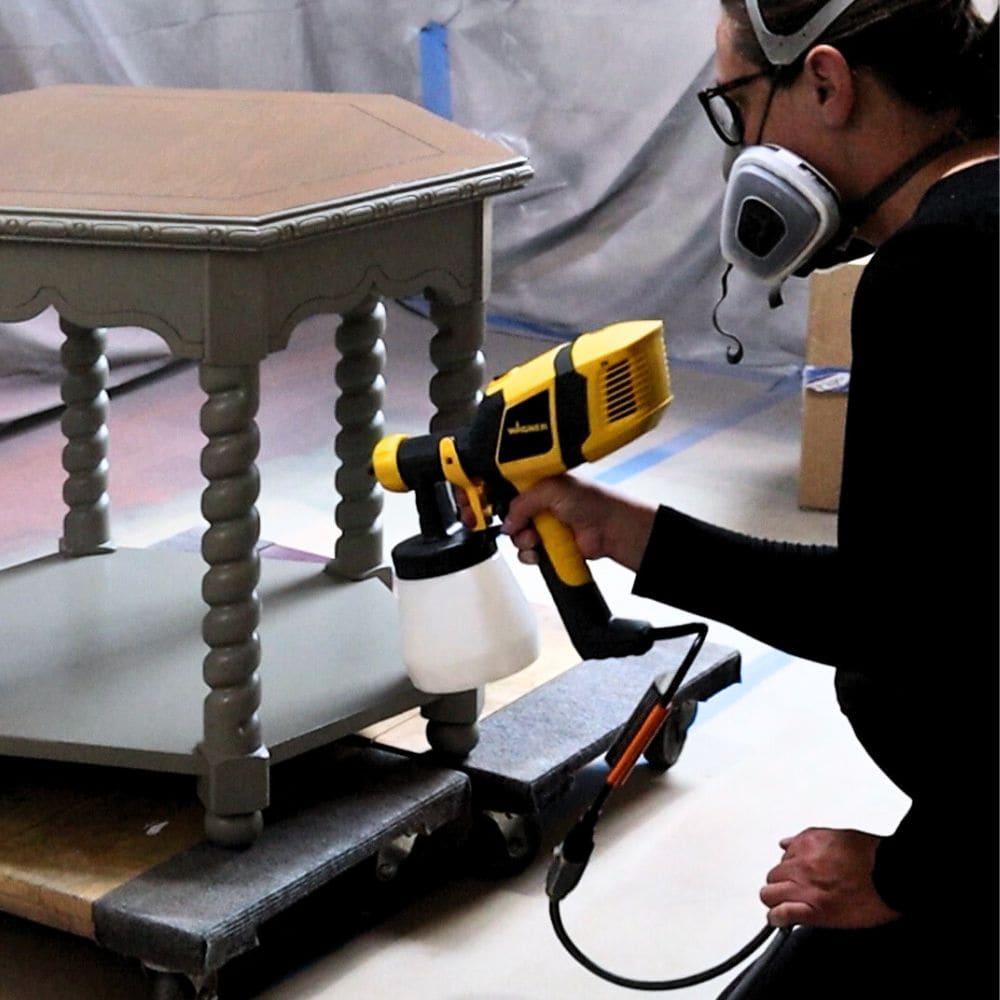
Two coats did the trick, covering everything perfectly. Just remember to let each coat dry before applying the next one. For more info on this brand, check out our Lilly Moon Paint review. You can also spray it – check out how we did it in this post on painting furniture with Lilly Moon Paint.
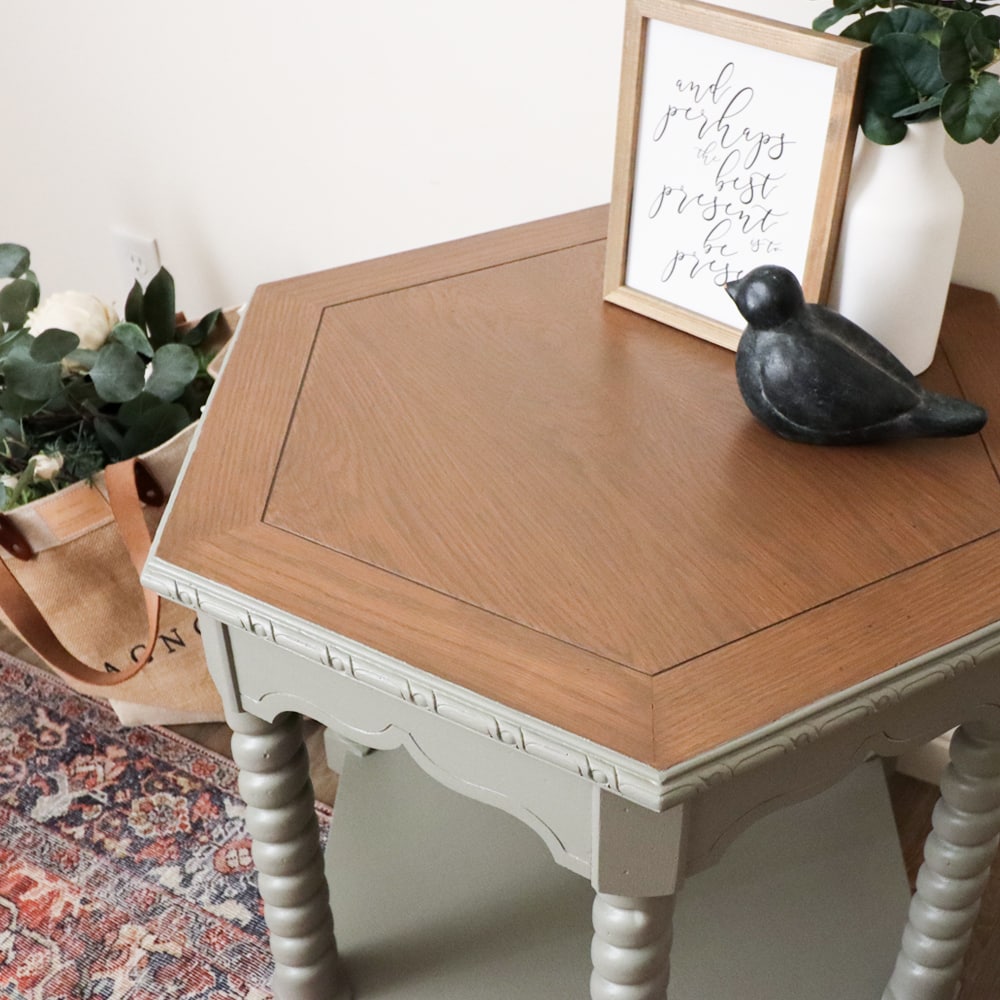
Staining Top With Gel Stain
We decided to stain the top instead of making it green like the rest. We used another Lilly Moon product – their gel stain in Old Fashioned color. It’s a medium toned brown that complements the green perfectly.
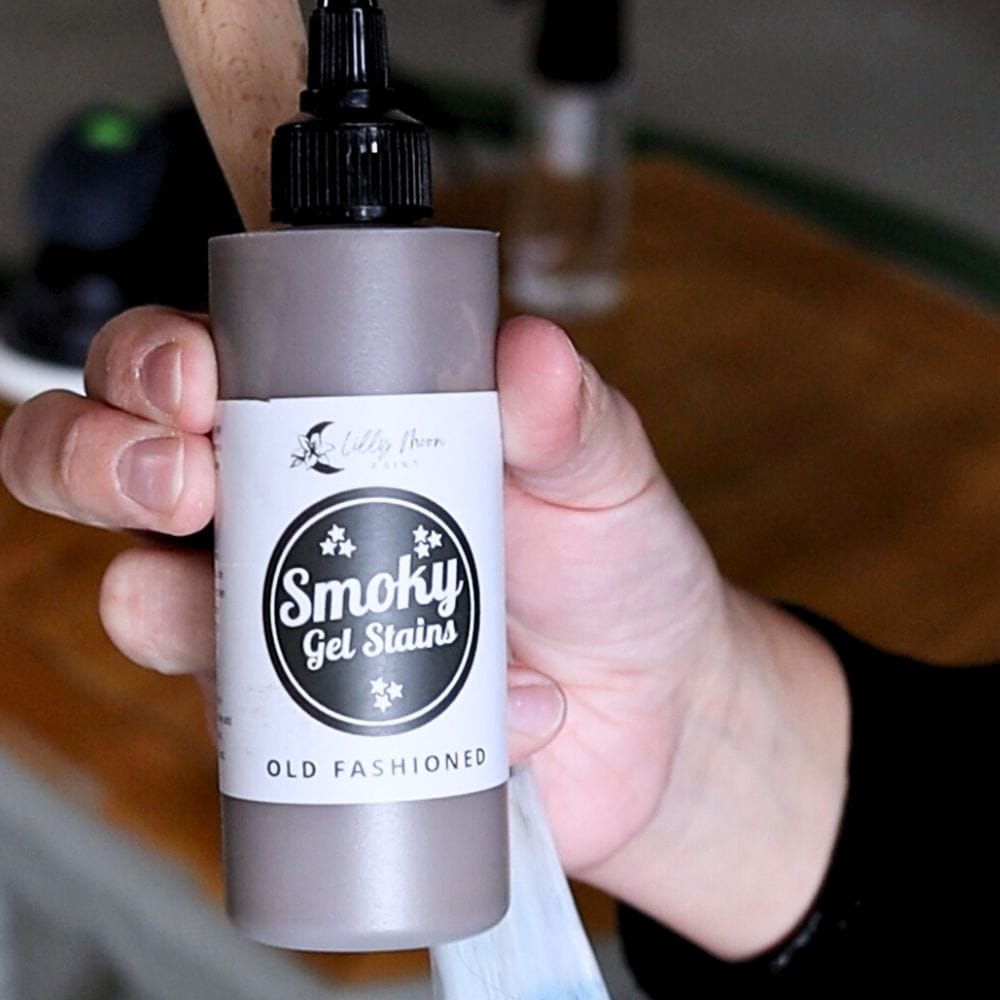
Here’s our list of the best wood stains to learn more about what type is best suited for different pieces and how to select the right one for your project.
To start, we had to remove some paint residue that got on the top. I used our trusty Festool Rotex 125 sander. The coating was stuck on there good, even though it had only been a week! We cleaned up the dust from sanding with the vacuum hose and a tack cloth.
Would you like to save this?
When removing paint from wood, make sure to use the correct type of sandpaper. Check out Festool compatible sandpaper here to save you some time and effort. Here’s our honest Festool Rotex 125 review to know more about my personal experience with it.
Then, we lightly sprayed some water on the top to slow down the absorption of the stain into the raw wood. We brushed the gel stain onto the surface and quickly wiped it away with a lint free rag, both following the direction of the wood grain.

You gotta work quickly here to avoid any uneven patches. It looked a little spotty to me, and I even accidentally got some of the stain onto the green areas.
Anyway, after letting it dry for a few hours, we came back and lightly sanded over it using a medium+ grit 1/2″ foam pad. The goal was to even out the spotty finish and give it a smoother feel since water can raise the wood grain and make it feel rough.
We cleaned off the dust and sprayed more water onto the top. Next, we applied a light coat of gel stain on the top, again brushing it with the grain, but this time, we didn’t wipe it away because it was just a very thin coat. We let it dry for a day or so.
Remember the stain that got into the green finish? We painted over it using a small paintbrush, being extra careful not to get any coating onto the top, though we did tape it off with yellow frog tape to help with this step. Check out this post to find out what is the best painters tape that doesn’t bleed.

Topcoating Paint and Gel Stain
To wrap up this hexagon end table makeover, we sprayed 3 coats of waterbased polyurethane in a satin sheen all over. This will help protect the new finish, making it easier to clean and preventing scratches and dings.
The gel stain itself does have a built in topcoat, but for a heavily used piece like an end table, it’s always a good idea to add some extra protection. You can read more on the importance of topcoat for painting furniture in our blog post.
Our hexagon end table makeover was a success, and we couldn’t be happier with the results! It’s amazing what a little paint and stain can do to transform any piece.
Watch the whole process in our YouTube video below, or scroll down to see the after photos!
More Before and After Makeovers
See All >
Click any of these “before” photos below to view the “after” of that makeover.


We hope this tutorial has inspired you to give your own piece a makeover and add some green to your home. For similar projects, check out these painted sofa table ideas. Here are end table refinishing ideas you can recreate!


Hexagon End Table Makeover
Transforming a simple end table into a gorgeous furniture piece with Lilly Moon paint and stain. Here’s the step by step process of the hexagon end table makeover.
Materials
Instructions
- Clean the end table thoroughly with a cleaner like Krud Kutter to remove any dirt or grime.
- Sand the top of the end table down to bare wood using a sander. Remove any dust before moving on.
- Apply clear shellac to help the paint stick better and prevent stains from coming through.
- Paint the base, legs, and bottom shelf of the end table with two coats of Lilly Moon Paint in Magnolia Garden. Let each coat dry before applying the next one.
- Stain the top of the end table with Lilly Moon Paint Gel Stain in Old Fashioned. Brush the gel stain onto the surface and quickly wipe it away with a lint-free rag, following the direction of the wood grain. Let the gel stain dry for a few hours.
- Finish off the end table by spraying 3 coats of water-based polyurethane in a satin finish. This will protect the paint and stain and make it easier to clean.
Recommended Products
As an Amazon Associate and member of other affiliate programs, I earn from qualifying purchases.


More End Table Makeover Ideas
- Redoing End Tables
- Chalk Painted End Tables
- Painting Wood End Tables
- DIY Emerald Green Bedside Table
- Painting Cane Furniture
Follow us on YouTube to get more tips for painting furniture. Or share your project with us on our Facebook Group and be part of our community. See you there!
Love the way this end table turned out, and love the color!!!!!!!!!!!!!!!!!!
Thank you so much for the love on this end table makeover! It’s SO appreciated!