Redoing End Tables


If you’re redoing end tables, we’ll show you how to use Heirloom Traditions Paint in the easiest way possible! This furniture paint requires no sanding and can be used to quickly transform any piece of furniture into something special.
With just a few simple steps, you can create a stunning new look that will last for years to come. Whether you have old end tables need a fresh start or you’ve found some vintage pieces at a thrift store, this guide will help you give them the makeover they deserve.
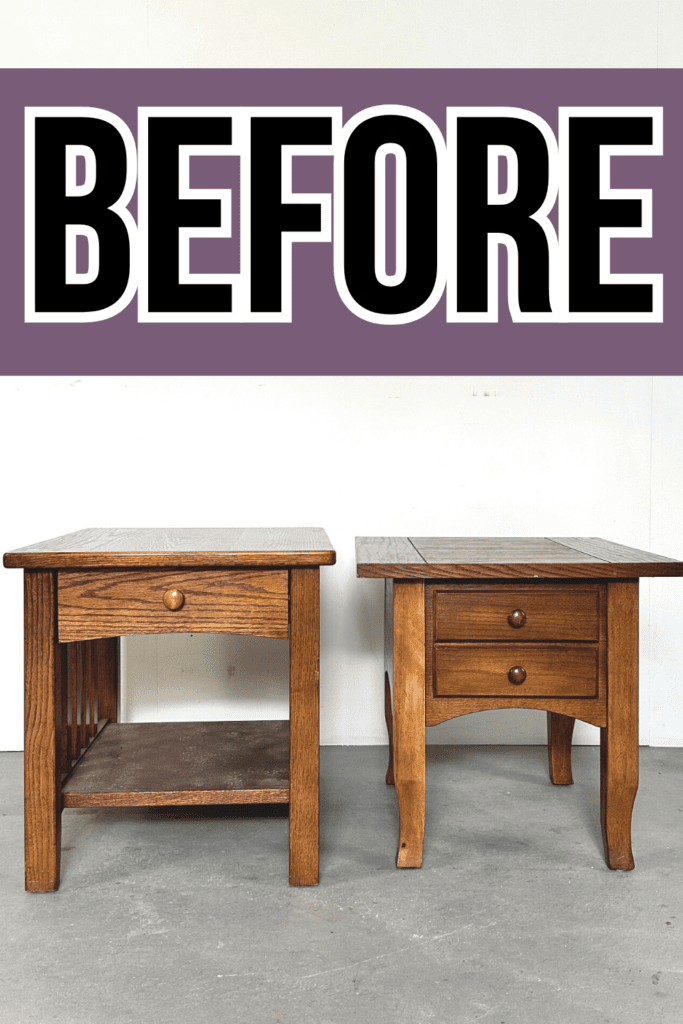
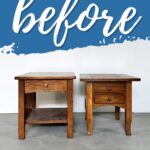
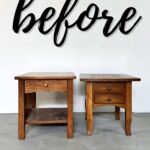
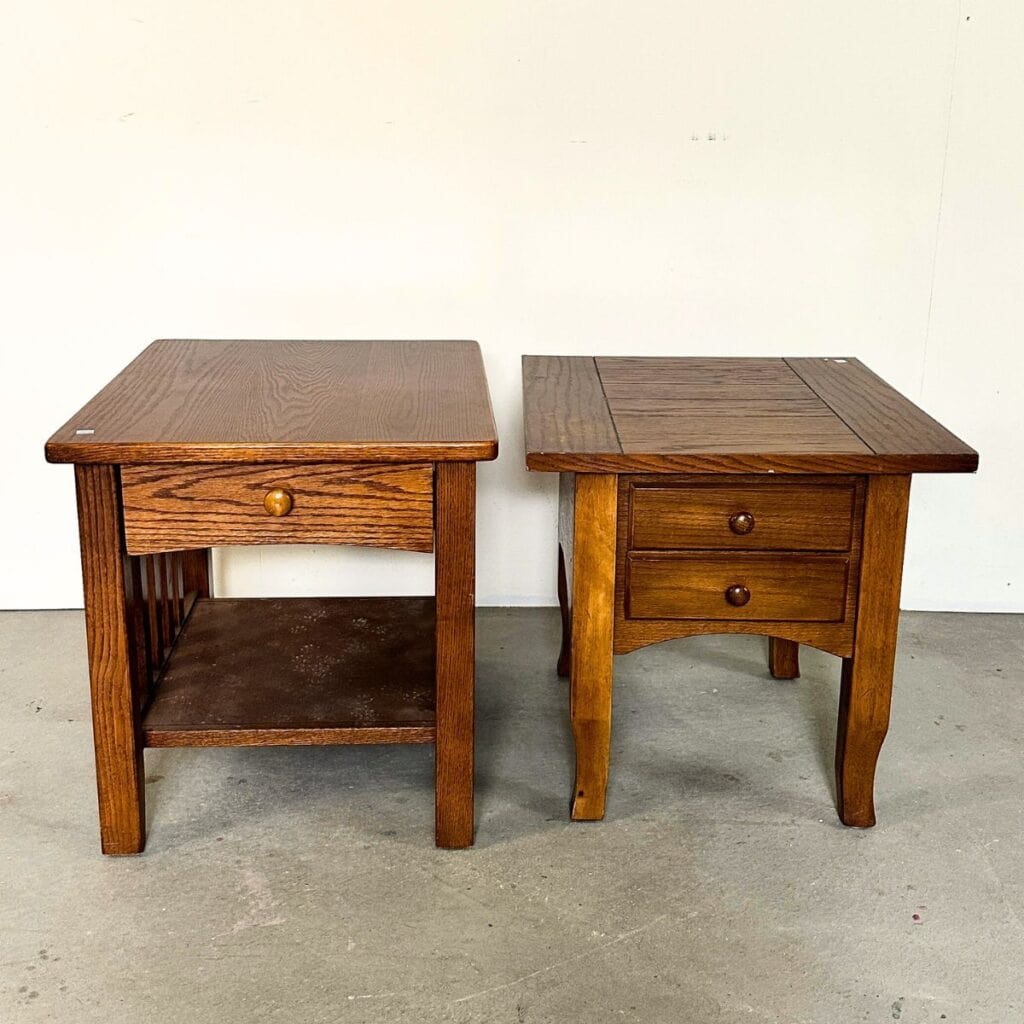
Do you have an end table that’s looking a bit dreary like these end tables? Have you been searching for a way to give it some new life without breaking the bank? Heirloom Traditions Paint very well might be your answer!

With its wide range of colors, easy application, and no sanding required, this paint can turn any piece of furniture into something truly special. It quickly has become one of my absolute favorite paints for furniture because of how easy it is to use. You can brush it on, but I like to spray it on for a perfect finish!
Whether you’ve tried this paint out or not yet but interested to see it in action, we’ll give you all the tips and tricks you need to successfully redo your end tables using Heirloom Traditions Paint. Let’s get started!

Supplies Used for Redoing End Tables
As an Amazon Associate, I earn from qualifying purchases. I also may earn from other qualifying purchases with other companies or get free product to review and use. All opinions are my own.
- Electric Screwdriver
- Deglosser
- SurfPrep Sander (Optional) (Use code RAY10 to get 10% off your order)
- 220 Grit Sanding Screens (Optional) (Use code RAY10 to get 10% off your order)
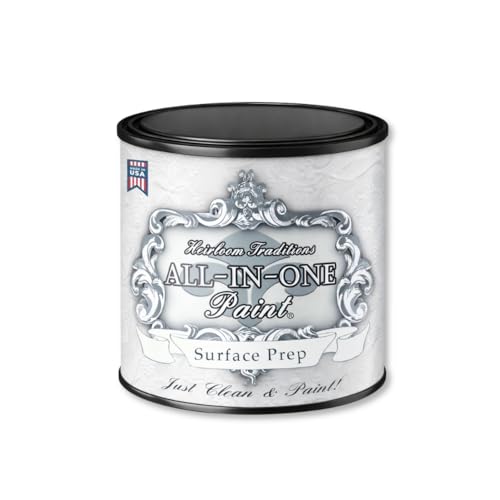
- Heirloom Traditions Paint – Polo
- Wagner FLEXiO 3500
- Paint Filter
- Respirator
- Fine Grit Foam Sanding Sponge (Use code RAY10 to get 10% off your order)
- Hexagon Knobs
Don’t let these end tables fool ya! The one that looks like it has 2 drawers, really doesn’t have any drawers! But I still had to remove the knobs from the fake drawer fronts.
While these look like they are both high quality wood end tables, the underside of the smaller one didn’t even try to hide that it was made of particle board and oak wood veneer.
Painting particle board can be a bit tricky – learn more on how to paint particle board furniture here. Particle board is also prone to water damage and heavy weight – follow our guide on how to repair damaged particle board furniture if yours has any damage.
If you’re painting veneer furniture, here’s our guide on the process with tips and tricks.
Cleaning and Deglossing Tables with Heirloom Traditions Deglosser
With the hardware off, I brushed on some deglosser to clean and degloss the surface to get it ready for paint. I brushed it on, let it sit for a couple of minutes, and then I wiped it all off.
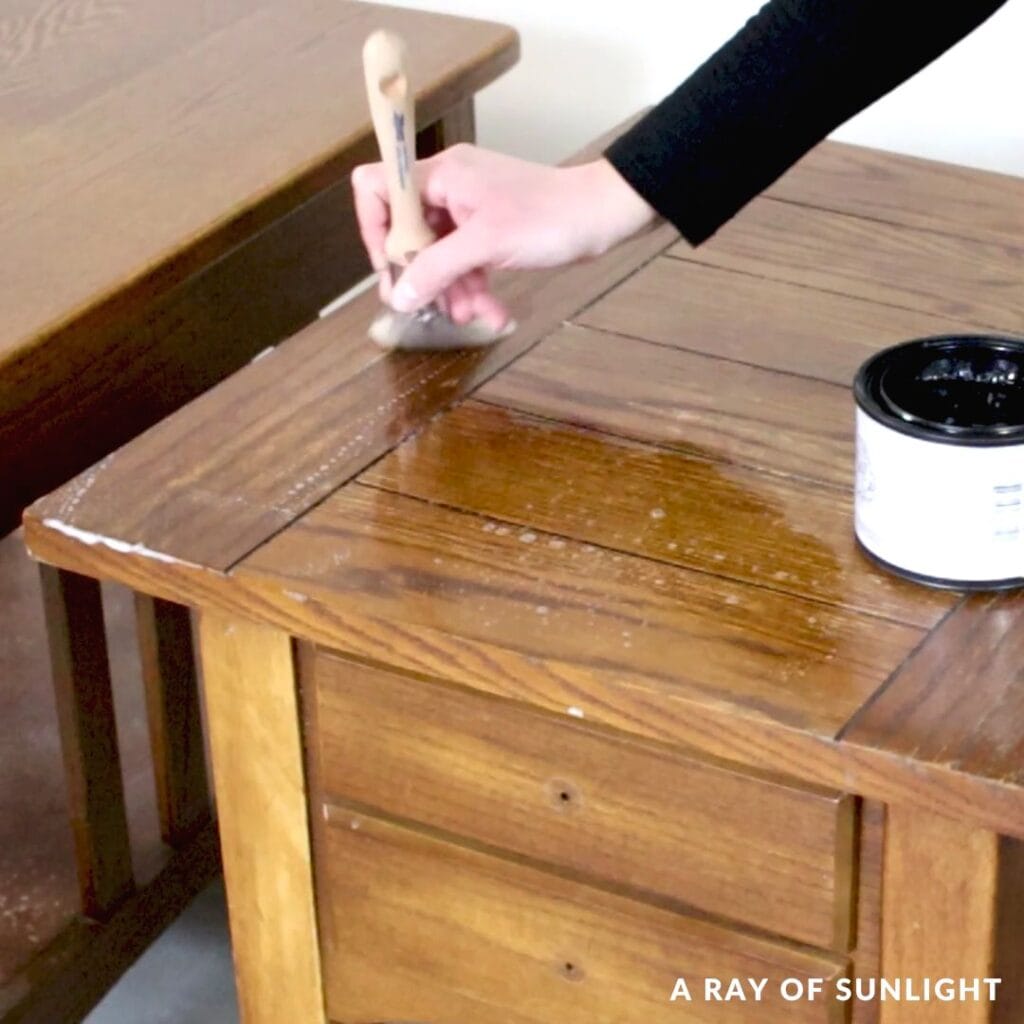
While cleaning, I could see that the finish on the small table was worn out and damaged. The other had a little bit of damage to its finish. So, I sanded both of the tops with 220 grit sanding screens to smooth out the finish and then I cleaned up the dust with a vacuum and tack cloth. You can learn more about the importance of sanding before painting furniture here.
For this paint, that’s all I had to do to get these tables ready for paint. Seriously. This stuff sticks SO well and covers SO well, without any more prep! Check out these best paints for furniture without sanding for other paint options that don’t need preparation like sanding.
Is Heirloom Traditions Paint Self Leveling?
The one downside of this paint is that it doesn’t level out if you brush or roll it on, so if you don’t like brush marks or roller texture, you won’t be happy if you brush or roll it on… but when you spray it on, it dries to a perfectly flawless finish!
You can check this painting furniture without sanding or priming makeover to see what you can expect when you brush or roll on Heirloom Traditions Paint.
How to Thin Heirloom Traditions Paint for Paint Sprayer
So, I poured the Heirloom Traditions Paint Polo through a filter and into my paint sprayer’s container. And then I added about 20% water to the paint.
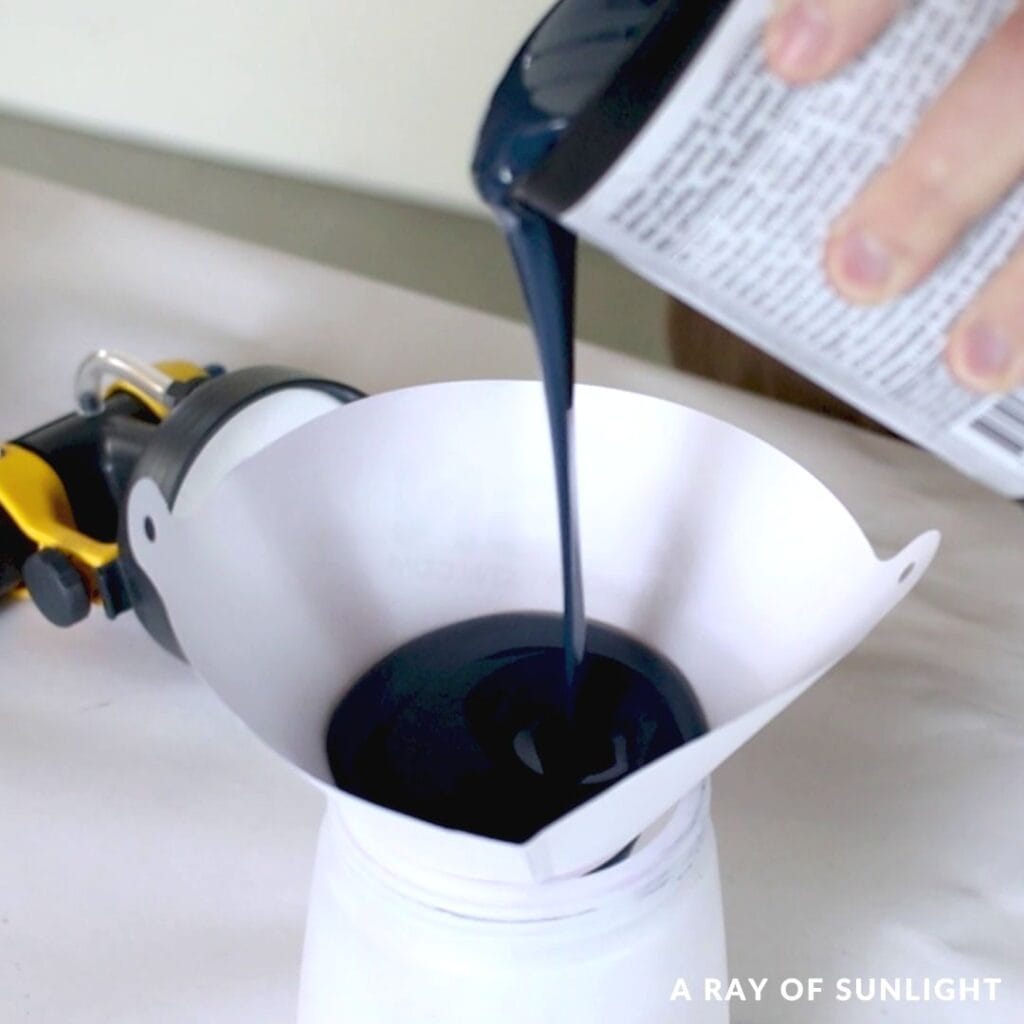
I used the markers on the side of the container to see how many ounces of paint were in the container, and then I multiplied that number by .2 to figure out how much water I needed to add. And then I mixed the paint and the water together really well and put my sprayer together. Learn more about how to thin paint for Wagner FLEXiO sprayer here.
I tested the sprayer on some cardboard to make sure it was spraying with a fine mist, and to adjust how much was coming out of the sprayer with the knob behind the trigger. My air flow setting was on 4 or 5.
That’s it, I was ready to spray! Learn more about painting furniture with a sprayer here, and check out the spray paint tools you need when painting furniture here.
How to Paint End Tables with Paint Sprayer
The large end table took a bit to spray because of that inside shelf, and I accidentally unplugged the sprayer while using it, so it splattered a bit and dripped out the front. But I cleaned it up and was able to keep going without any more splattering.
Would you like to save this?
I don’t know if you’ve noticed, but I don’t use my expensive Fuji paint sprayer anymore because this one is just as good for a fraction of the price! Read more about my honest review and thoughts on the Fuji Q4 paint sprayer here if you’re interested with this tool.
This is the first time the Wagner FLEXiO 3500 sprayer ever splattered on me… and it was because it was suddenly unplugged. Haha.
Read this post to learn more about how to use Wagner FLEXiO 3500 paint sprayer properly, and check out my honest Wagner 3500 Paint Sprayer review here to learn about the features and pros and cons of this sprayer.
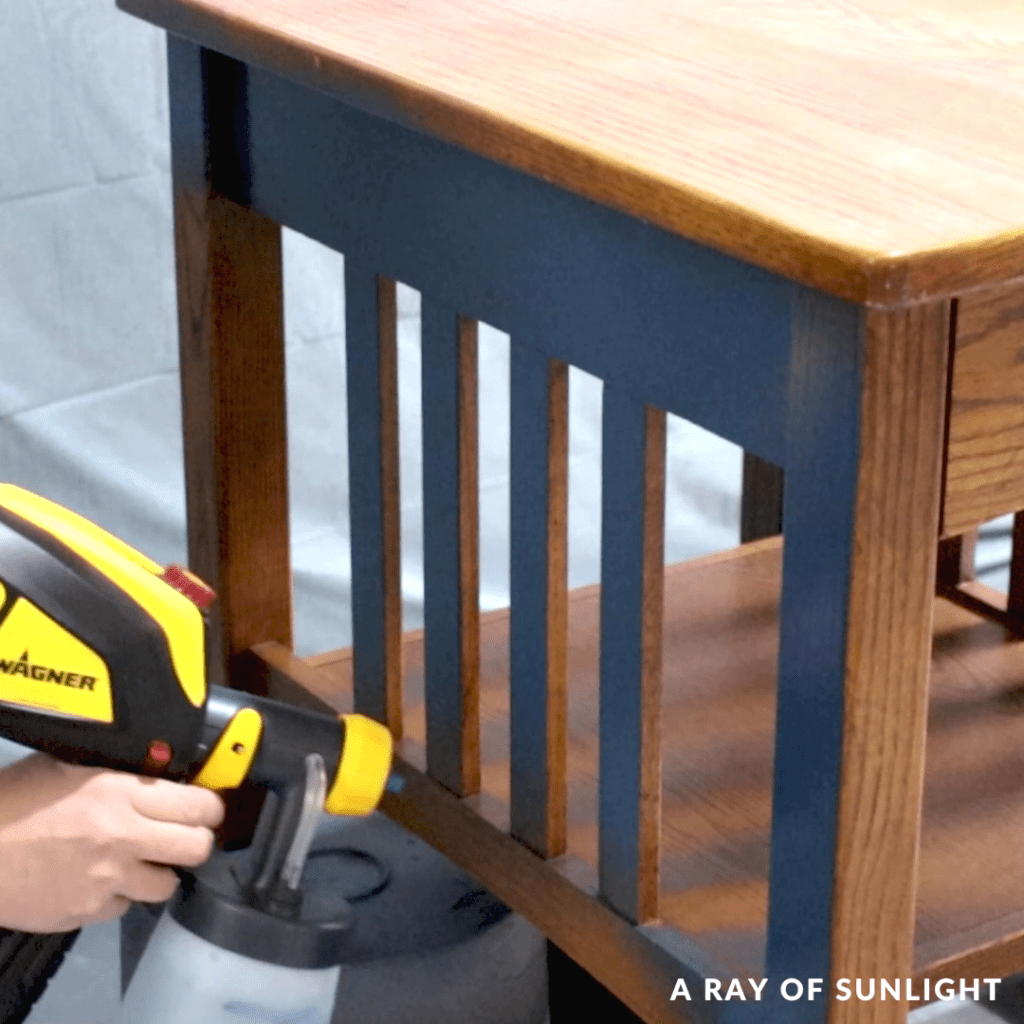
Then I let the paint dry for a couple of hours. When I came back, I lightly sanded everything with a fine grit foam sanding sponge to make sure that everything felt super smooth. There was mostly just a little bit of gritty texture on the tops from the overspray landing back on the tops.
Then I cleaned off the dust with a tack cloth and I sprayed on another coat of paint and let it dry. I had some more paint in the sprayer and there were a couple of spots that I missed, so I sprayed on one more coat a couple of hours later.
Then I cleaned out the sprayer… Learn more about how to clean a Wagner paint sprayer here, so you can keep it clean and working like new for all of your future painting projects.
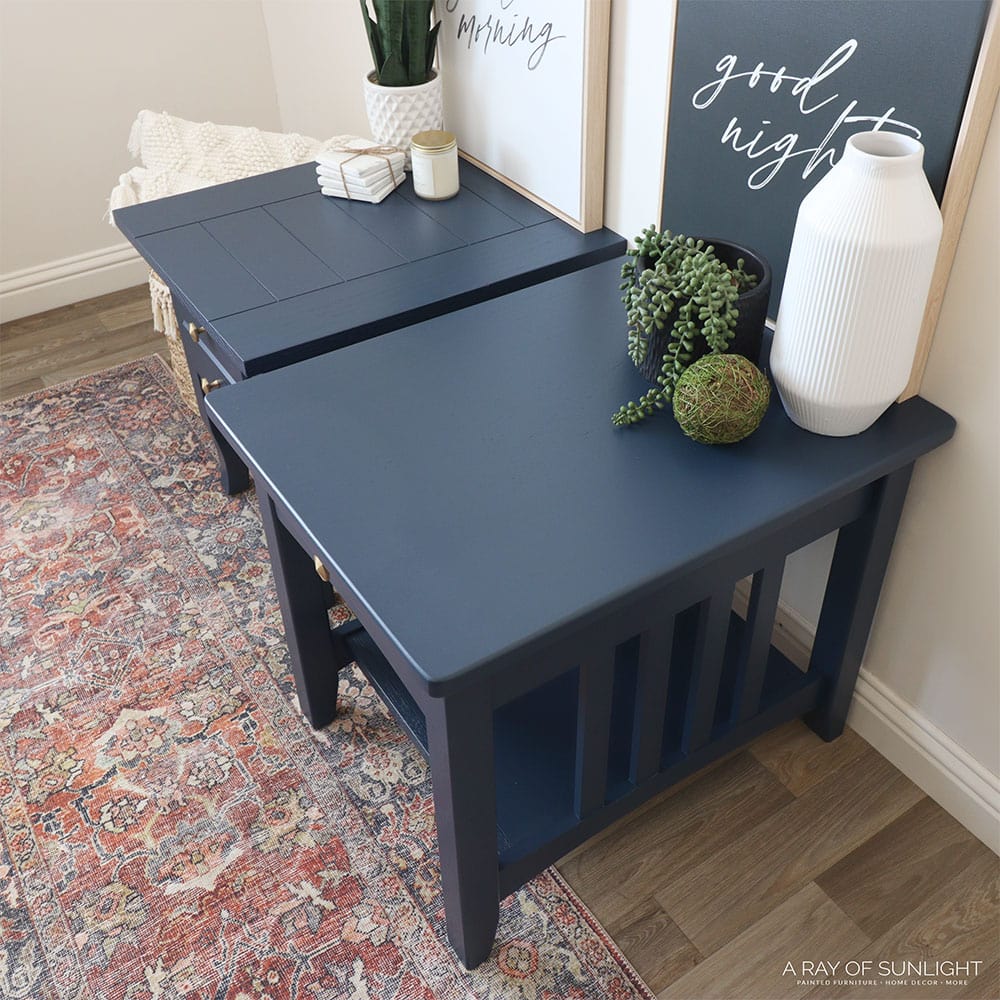
And here’s what they look like now! Get more tips on how to paint end tables in this post.

More Before and After Makeovers
See All >
Click any of these “before” photos below to view the “after” of that makeover.


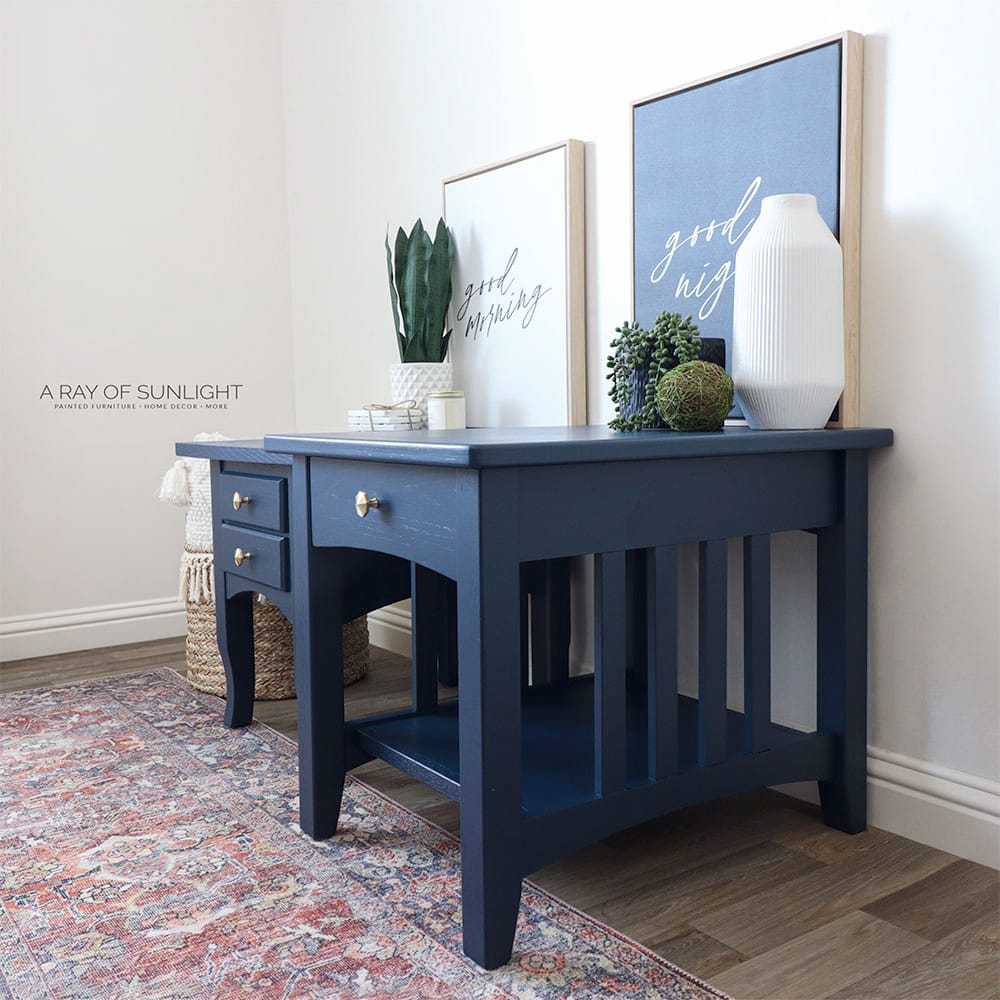
I love these cute little hexagon knobs against the navy blue. And I absolutely love how fast and easy it is to paint furniture with Heirloom Traditions Paint and the Wagner paint sprayer. And no, this is not sponsored in any way, shape, or form!
What do you think of the new look? Let me know in the comments! You can also check out more dark blue painted furniture ideas here if you’re liking this color!
Oh, also I’ve tested the durability of this paint many times, and every time, it passes my scratch test within only a couple of days of drying! No topcoat needed!

Heirloom Traditions Paint Mixing Colors
Yes, you can mix different colors of Heirloom Traditions Paint to create a custom shade. In fact, this is one of the great features of this paint brand. They offer a wide range of shades that you can easily mix and match to create your desired color.
When mixing colors, it’s important to keep track of how much of each color you are using in case you need to recreate the same shade for future projects. You can do this by measuring the exact amount of each paint color you add to your mixing container or by keeping a record of how many drops or tablespoons you use.
However, it’s important to note that not all colors are mixable. Some shades may blend together well, while others may create a muddy or undesirable color. And it’s always a good idea to test on a small area first before committing to painting an entire piece using your custom mix.
Does the Heirloom Traditions Paint have a glossy finish?
The Heirloom Traditions Paint does not have a glossy finish. It has more of a satin sheen, which gives the furniture pieces a subtle shine without being too shiny or reflective. This makes it perfect for both modern and rustic furniture styles, adding just the right amount of sophistication to any piece.
The paint itself has a built-in topcoat that helps to resist scratches and chipping, making it perfect for high-traffic areas such as tables and dressers. You can check out my Heirloom Traditions All In One Paint review for my thoughts and experience with this paint!


Redoing End Tables
Transform your living space by redoing end tables with Heirloom Traditions Paint. With no sanding required, this easy-to-use furniture paint gives your end tables a fresh, unique look.
Materials
Tools
Instructions
- After removing hardware, use deglosser to clean the surface and get it ready for paint. Brush it on, let it sit for a couple of minutes, and then wipe it all off.
- If needed, sand the tops to smooth the finish. Clean the dust with a vacuum and tack cloth so it doesn't end up in your paint.
- Pour the Heirloom Traditions Paint into the paint sprayer container and add 20% water to the paint to thin it. Mix the paint and water together very well.
- Test the sprayer on cardboard to make sure that it has a fine mist. And adjust the sprayer setting if needed.
- Spray the tables with 2-3 coats of Heirloom Traditions Paint. You can lightly sand the tables with a fine grit sanding sponge between coats to make sure the surface is smooth. Let the paint dry completely for a few hours.
- Reattach the hardware once everything is dry and enjoy your beautifully redone end tables! Don't forget to clean your paint sprayer so it stays in good condition for future projects.
Recommended Products
As an Amazon Associate and member of other affiliate programs, I earn from qualifying purchases.


More Painted End Table Makeovers
- Painting Wood End Tables
- End Table Makeover
- Gray Chalk Painted End Tables
- Chalk Painted End Tables
- Hexagon End Table Makeover
Follow us on YouTube to get more tips for painting furniture. Or share your project with us on our Facebook Group and be part of our community. See you there!
Beautiful! Love the navy color, the knobs, and pairing these mismatched tables in a room.
Wonderful I love the navy you used very very nice
Thanks so much!!