Is a Fuji Q4 Paint Sprayer Worth it? Honest Review
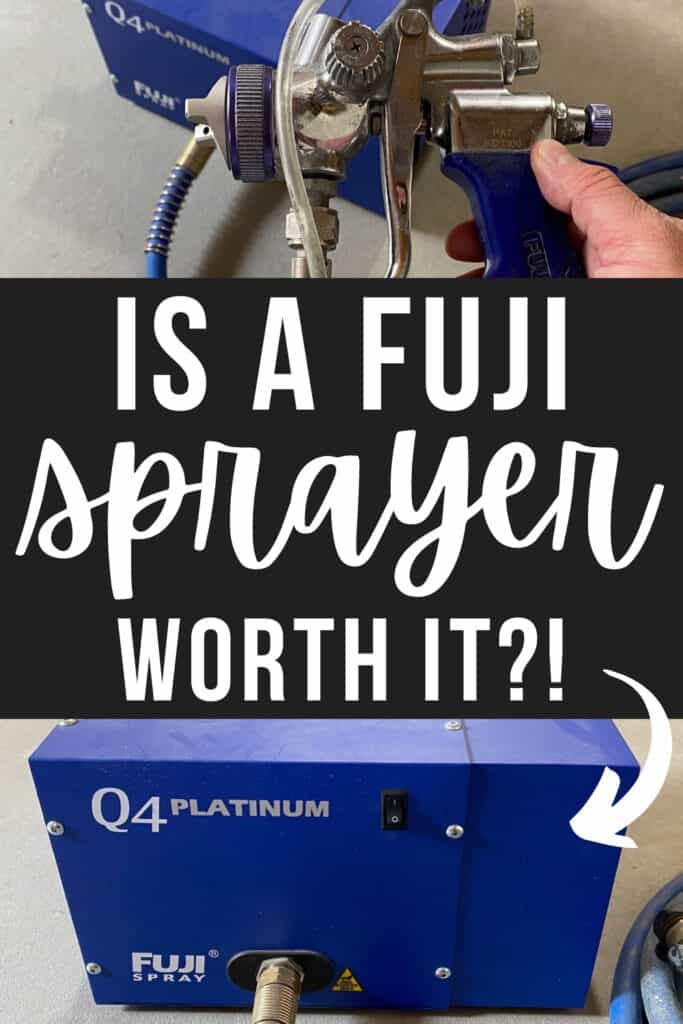
A paint sprayer can really speed up (or slow down) your paint project. Here’s my honest review and thoughts on the Fuji Q4 paint sprayer after using it for 3 years!
So whether you’re a beginner who’s learning how to use a paint sprayer on furniture or an experienced painter, read on for all the info you need!
As an Amazon Associate, I earn from qualifying purchases. I also may earn from other qualifying purchases with other companies or get free product to review and use. All opinions are my own.
For 3 years of my furniture painting career, I used a cheaper hobby Wagner Double Duty paint sprayer. It worked for a while, until I really craved the perfect finish that I was only getting after messing around with the sprayer and paint for a while on each project.
I ended up spending A LOT of time messing around with the Wagner to get it to spray the perfect finish.
For about 2 of those years I half-heartedly looked for a better paint sprayer. I wanted something I could rely on more, but I didn’t have the money to really invest in something.
So I found a few paint sprayers that were a couple hundred dollars, but I really didn’t want to spend money on something that was going to work just like my hobby paint sprayer. Check out my paint sprayer reviews to learn more about the different sprayers I’ve used on my projects.
I also didn’t want to have a huge air compressor, because I wanted to be able to move my sprayer around and take it places.
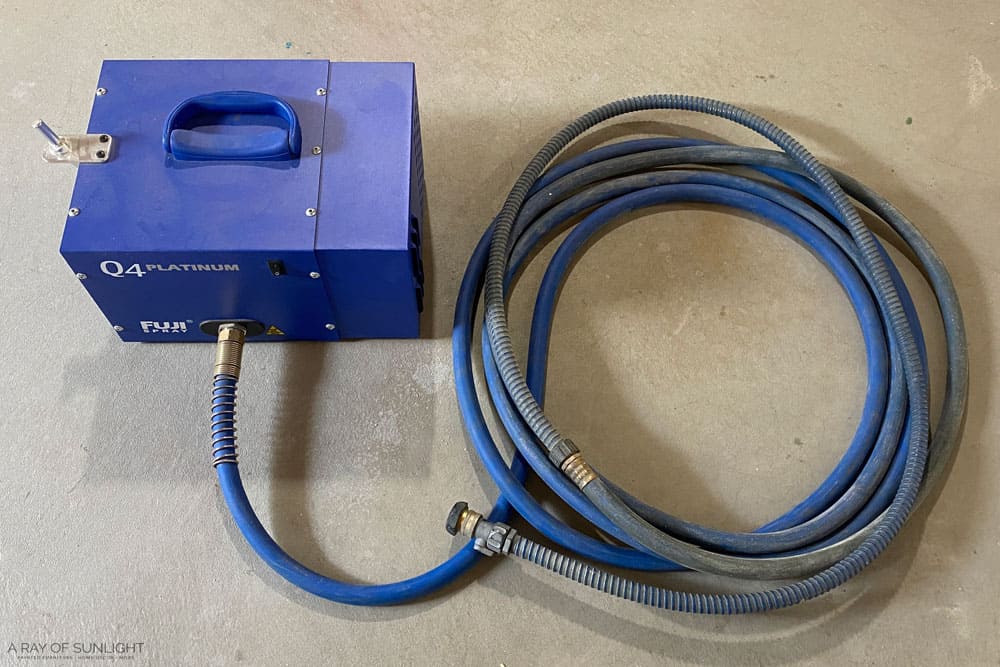
Then I landed on Fuji paint sprayers and learned that they are known for their top notch customer service and excellent spraying ability.
They also have their own powerful turbine (kind of like an air compressor) that is light enough and small enough to easily move.
I heard amazing things about their paint sprayers. So I decided to jump all in. And I bought the second most expensive sprayer they had. The Fuji Q4 paint sprayer.
Is the Q4 Worth the Price Tag?!
For me, the answer is hands down yes!
I’ve been using the Q4 since 2018, and I have rarely come across any issues with it. And actually, those issues are totally user error or me just not cleaning it good enough.
I’ve had to take it apart for a really deep clean about 3, maybe 4 times because it was clogged with dried up paint somewhere. I’m talking about taking it apart more than you would need to take it apart for a regular cleaning.
There was definitely a learning curve to figure out what settings I like, what tip I like for paint and poly, and how to use it.
But honestly, there have only been a handful of times that it hasn’t sprayed a perfectly fine finish for me. And that’s when I have used a different paint (Fusion Mineral paint).
I know that I can always count on the Fuji to create a beautiful finish on my furniture. And that’s a huge deal coming from the Wagner Double Duty paint sprayer.
I mean, there is a HUGE DIFFERENCE between those two paint sprayers, but I’m so happy with the Fuji Q4. Speaking of differences in sprayers, check out my honest review on the more wallet-friendly HomeRight Super Finish Max paint sprayer.
Why Did I Choose the Fuji Q series?
The Q series was made to be quieter than the other turbines. It’s basically the same machine as the Mini-Mite sprayers, but it’s a lot quieter!
Since I spray in an unfinished basement right now, which is right underneath where my little kids sleep, I wanted something that was quieter. But is it really that much more quiet? I don’t know the exact decibels. But…
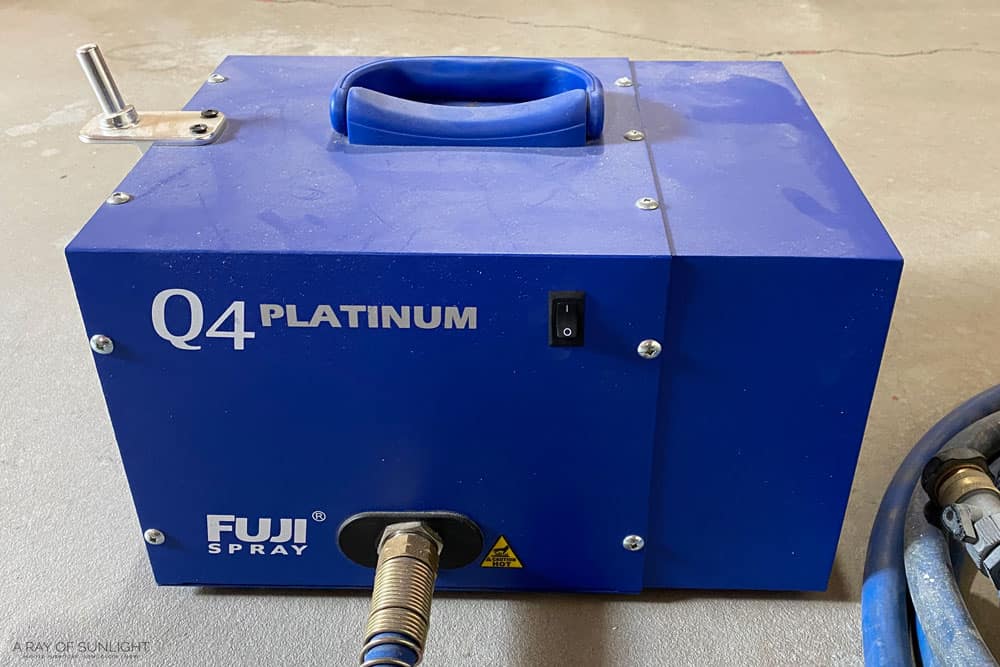
It definitely is quieter than a shop vac. I have the large RIDGID shop vac, and it’s pretty loud! But, it’s louder than my super quiet air compressor. (I love that little guy for my nail gun!) It’s somewhere in between the two.
The Q series also has what they call a Heat Dissipation Box (HDB). “The HDB expels excess heat from the turbine resulting in much cooler operating temperatures.” Cooler operating temperatures mean that your turbine will last longer!
Is the Q series worth it?
Only you can answer that. The Q models are a few extra hundred dollars compared to the Mini-Mite models.
And from my research, the specs on the Mini Mite 4 and the Q4 are the same, other than the quiet and HDB factors.
The Fuji Q4 vs Mini Mite vs Semi-Pro
When I was looking for a paint sprayer, I knew I wanted a sprayer that would be able to spray thicker paint, because I didn’t want to always be thinning out paint
Side note: I still do thin out my paint. Not because the sprayer can’t handle it (because it can definitely spray thick chalk paint!) but because the finish looks the very best when it is thinned out a bit. I don’t really measure how much I thin out the paint though, and that’s a huge game changer!
I was nervous that one of the smaller models wouldn’t be able to spray latex without thinning it out. To be honest, I’m still not sure if the lower models can or can’t spray thick latex without thinning it.
But I also didn’t want to spend a few hundred dollars on a sprayer, just for me to wish that I would have bought something better. So I basically went all in. (Well, almost all in. I could have spent a little more to get the Q5 instead of the Q4. haha)
The Semi-Pro models are more for DIYers who aren’t constantly using the sprayer. The Mini-Mite is a professional spray gun (but is great for DIYers who want a better system).
While I don’t call myself a professional, I do paint a lot and people buy my painted furniture. If you are a weekend warrior, the Semi-Pro or Mini-Mite would work great for you!
The biggest difference between the Mini-Mite and the Q series is the sound level. And the higher the number (2, 3, 4, or 5) the more powerful the sprayer is.
My Fuji Q4 Setup
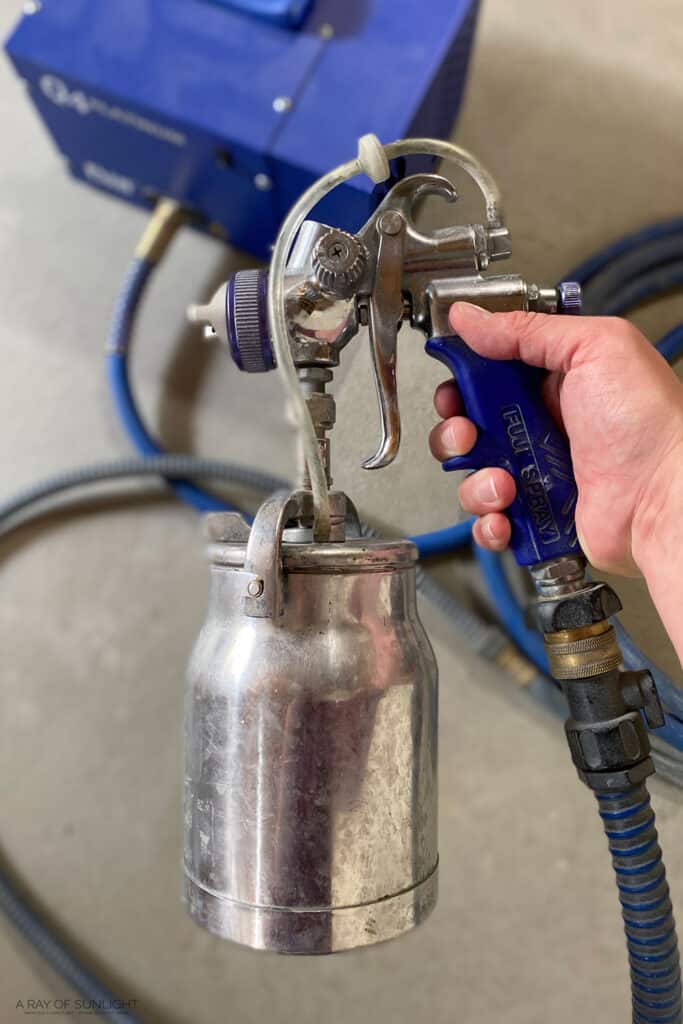
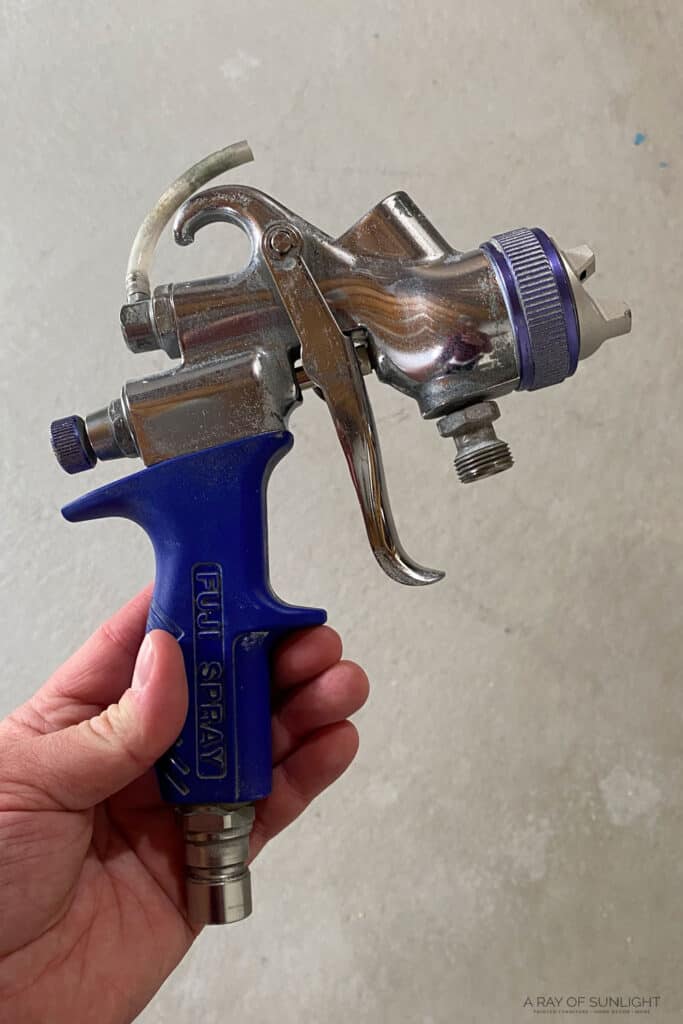
I absolutely love the setup and accessories that I have with my Fuji paint sprayer. Here are the accessories that I have and use with my Fuji Q4.
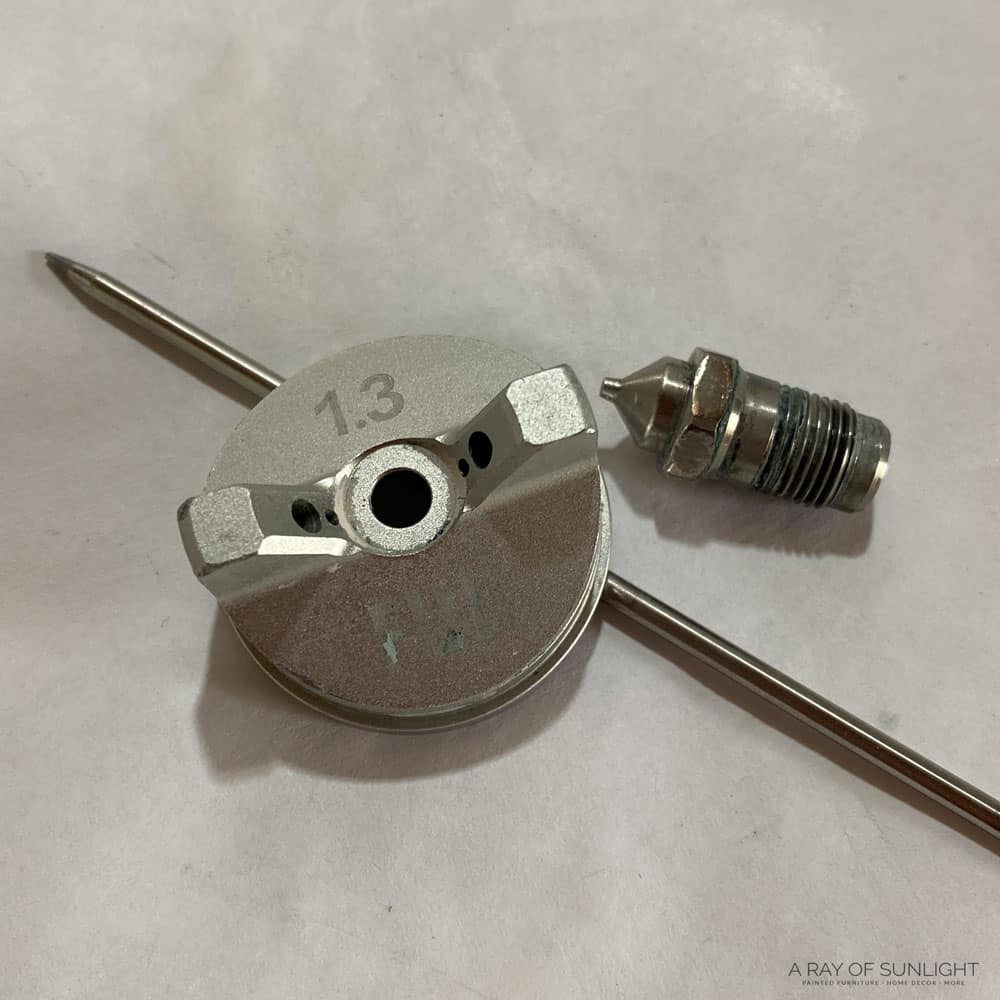
1.3mm Tip and Needle
This is the tip that’s included with the sprayer. I also bought the 1.5mm and the 1.8mm tip and needle, but I never use them!
After using the 1.5 and the 1.8 tips I realized that the paint has more of a texture with the larger tips. So I personally like to thin the paint and polyurethane a little and use the 1.3mm tip for a flawless fine finish.
Flex Hose
The flex hose is a shorter hose that attaches to the main hose. The flex hose is just that, it’s a flexible hose. It’s also more lightweight than the main hose, making the sprayer lighter.
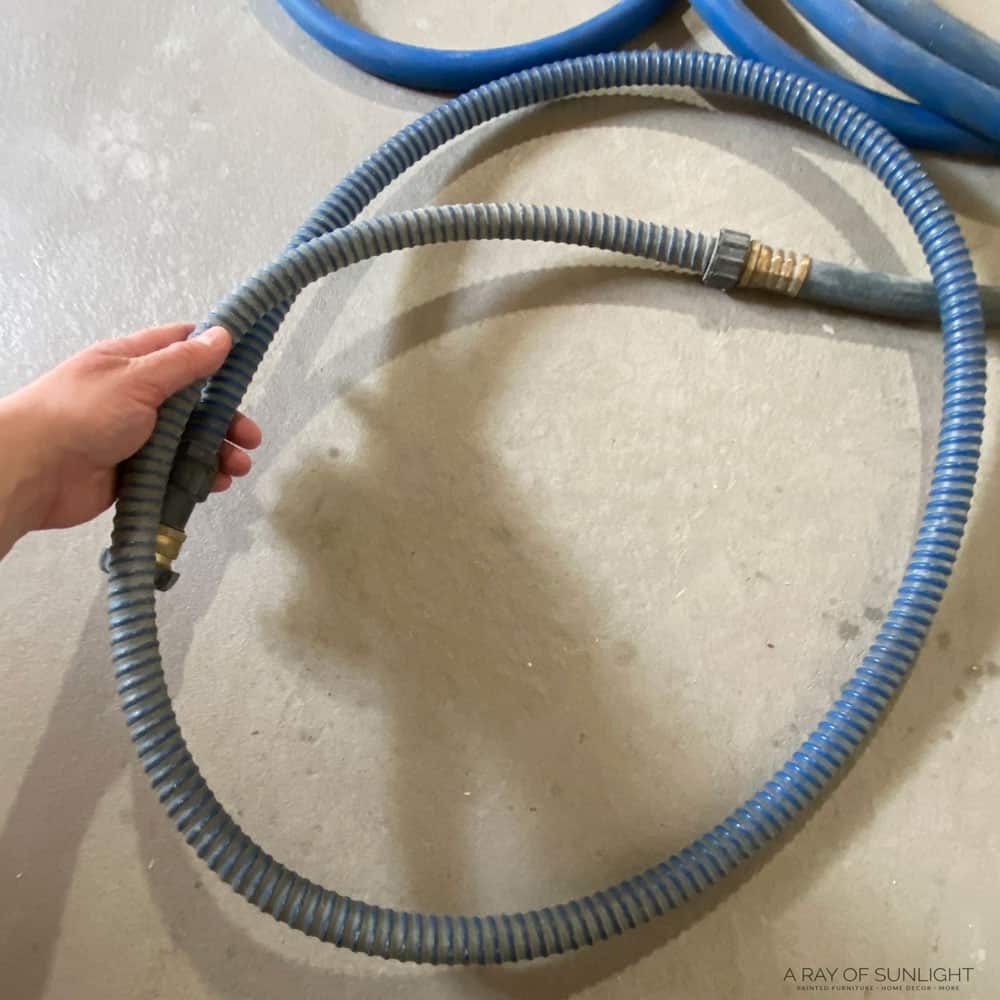
The flex hose isn’t a must, but if you can swing it, it really helps make spraying easier because you can move around easier.
Remote
I love this little remote! You plug the sprayer into the adapter, and then you can use the remote to turn the sprayer on and off.
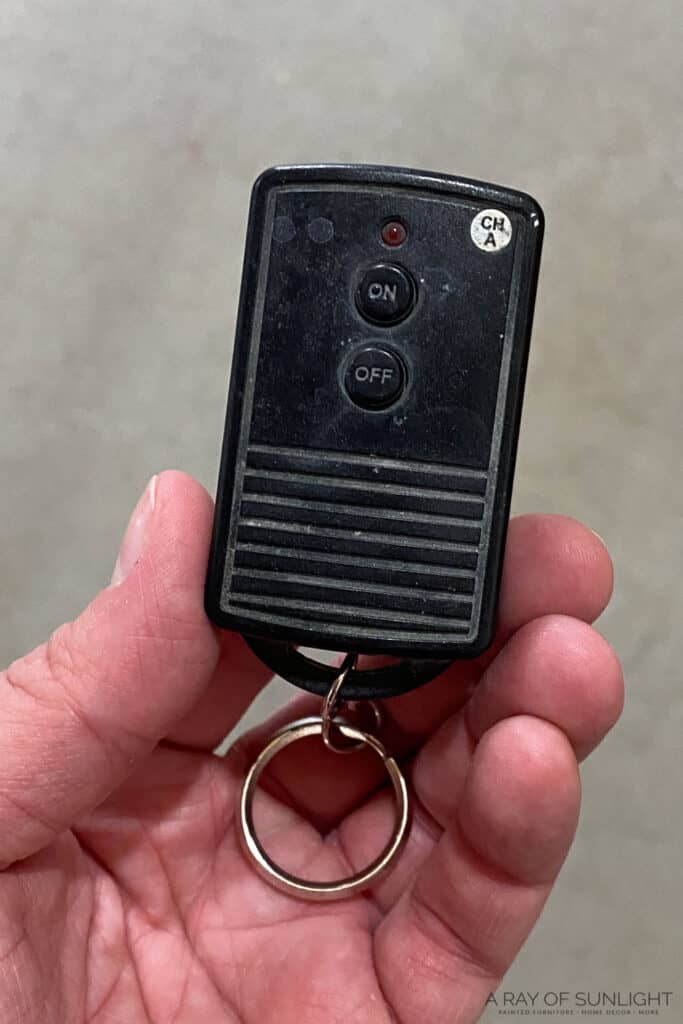
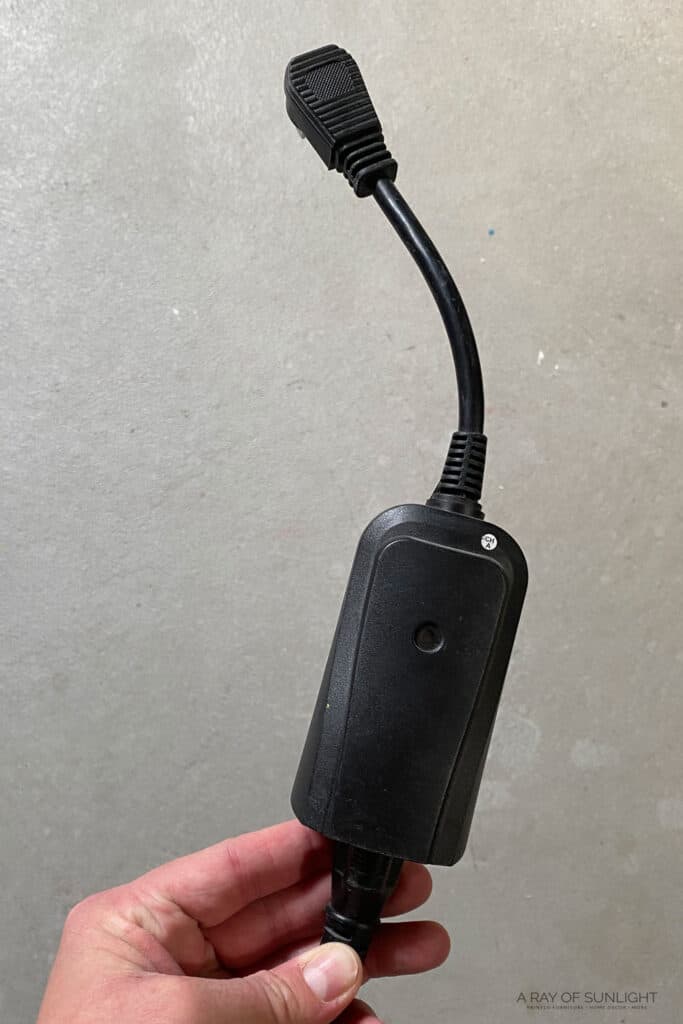
They say that the turbine needs to be at least 20 feet away from the area that you’re spraying. So I like to keep my sprayer in a different room.
The on/off switch for the sprayer is on the turbine, which means that if you don’t have the remote, you have to go into the other room to turn the sprayer on and off.
With the remote, I can be in my spray room and turn the turbine on and off. This isn’t a must, but it’s definitely a nice convenience!
8 Ounce Mini Containers
I adore these little containers. Though if they were just a little bit larger, say 10 ounces, they would be perfect!
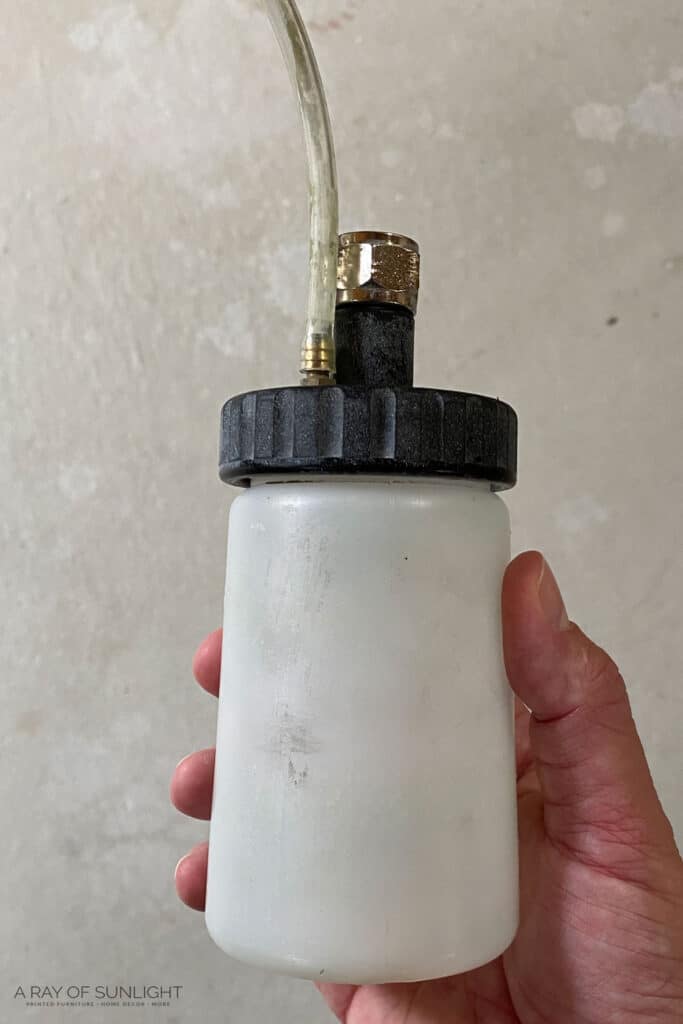
The container that comes with the Fuji sprayer can hold a lot of paint! Which is great, until you only need a small amount for a smaller piece of furniture.
With the regular container, the suction tube doesn’t reach all the way to the bottom, so you end up with some paint down at the bottom.
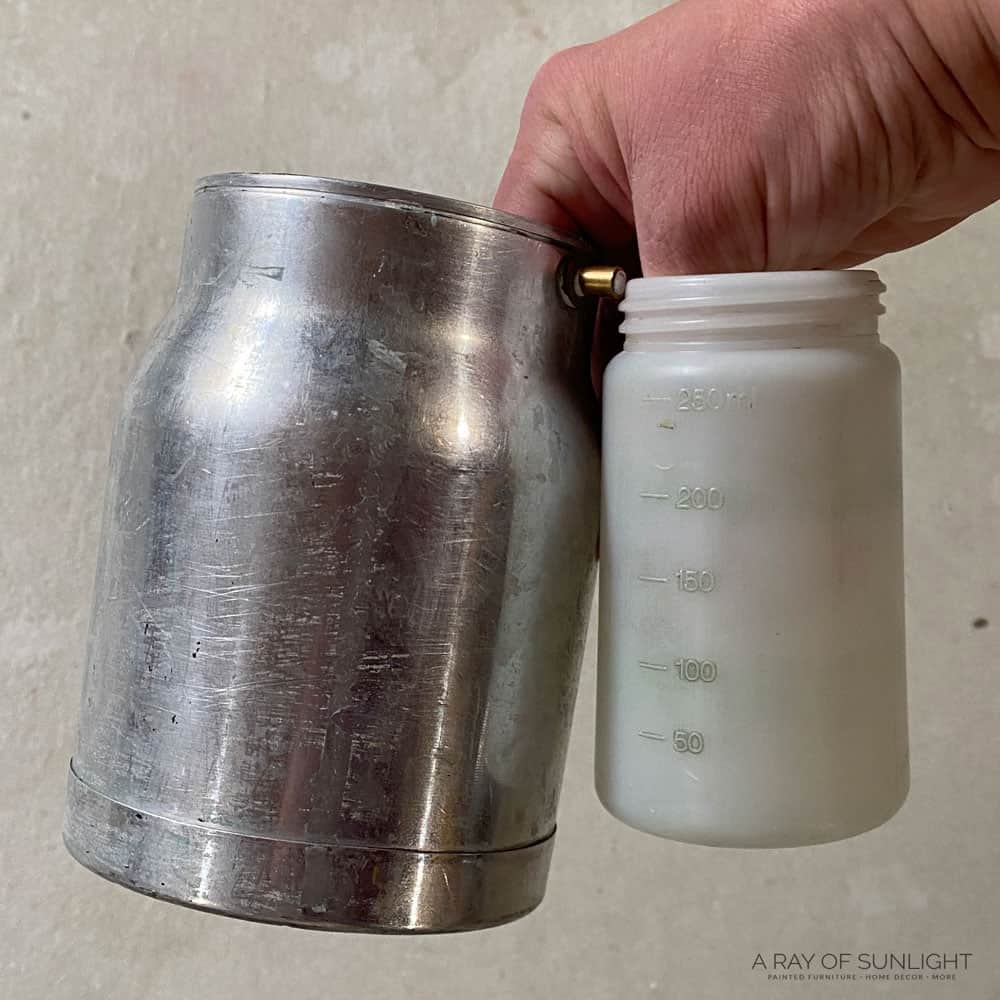
So if you’re running low on paint, and you tilt your sprayer just a little bit, you won’t have any paint to spray.
With the little containers, the suction tube reaches the bottom, so you don’t have much paint left in the bottom of the container when it stops spraying. This comes in really handy when you are using a paint color that you only have a small amount of.
If you put it in the regular container, your sprayer will stop spraying before all of the paint is used up. And if you don’t have any more paint, that can be a problem. But if you use the mini container, then the paint sprayer will be able to spray until the paint in the container is basically all gone.
How to Attach the Mini Container
To switch the regular container out for the mini containers, you use the little wrench that is included with the sprayer to loosen the bolt that is right above the lid of the container. If this is your first time loosening the nut, it might be really really tight and hard to loosen.
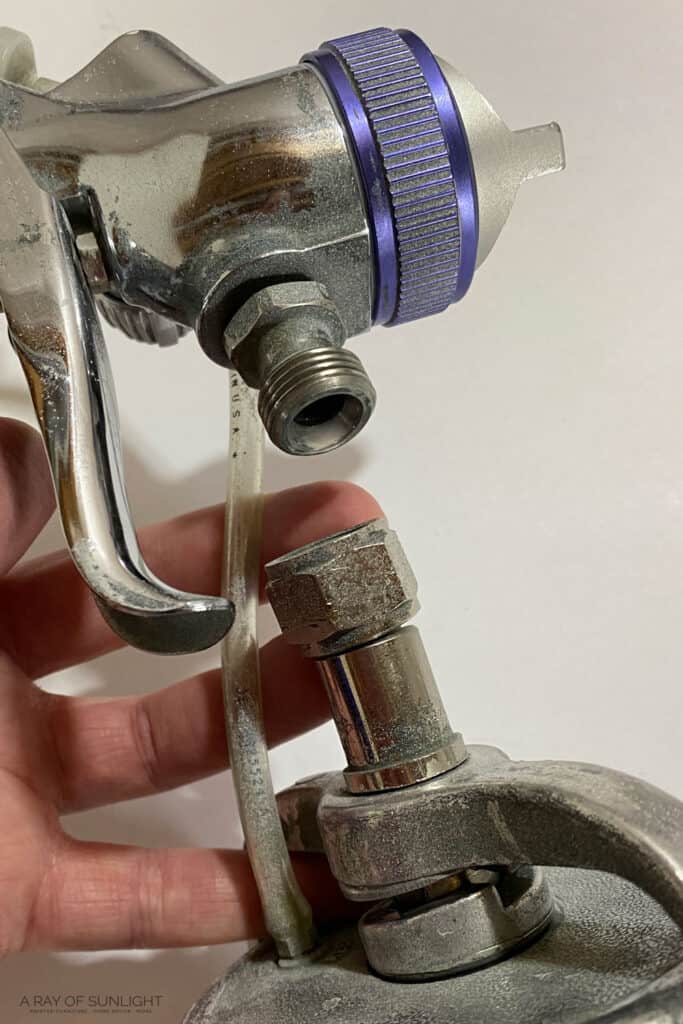
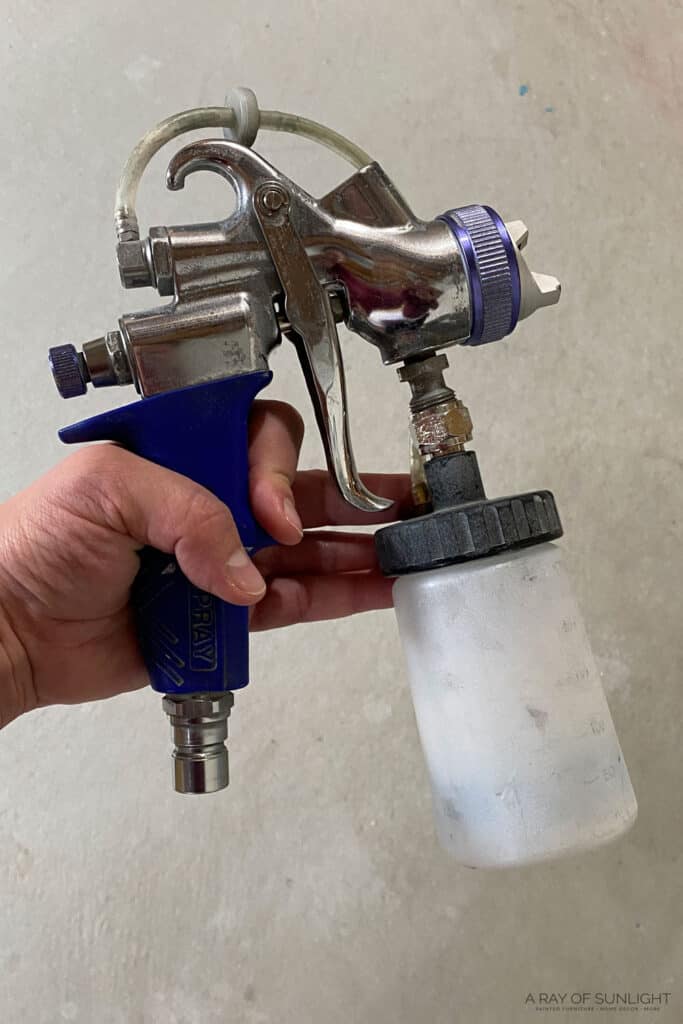
But once you get it loose, you can unscrew the lid of the regular container, and then screw on the lid of the mini container. You’ll also need to switch out the pressure tube.
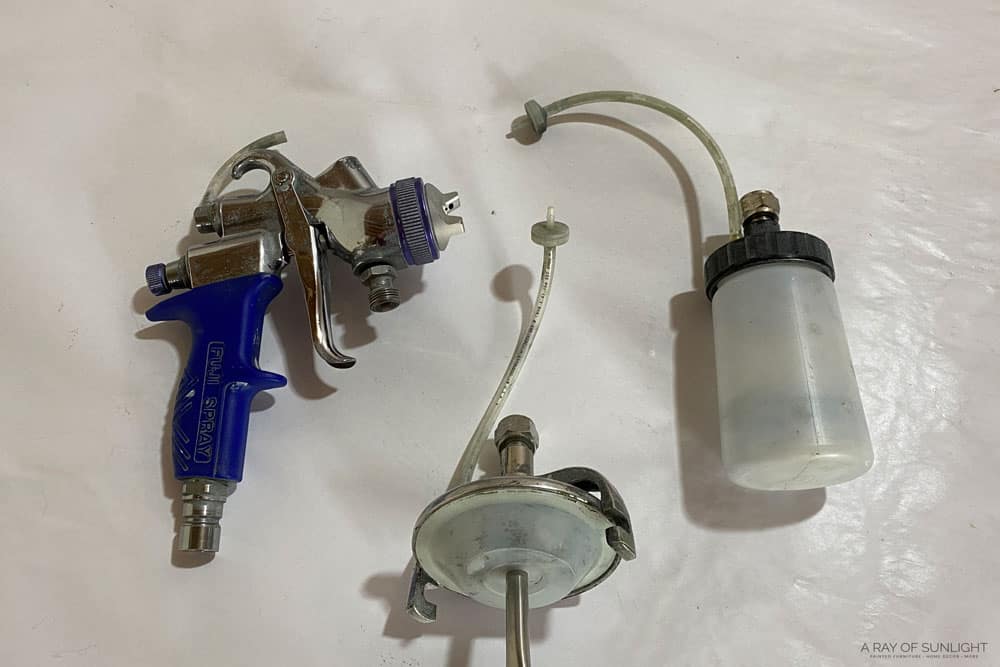
I like to disconnect and connect the pressure tube in the middle area. In this set of mini containers, there is one lid that has an attachment on it, and the others are just regular lids.
Cleaning Brushes
You definitely need a set of small brushes to help you clean all of the small parts of the paint sprayer.
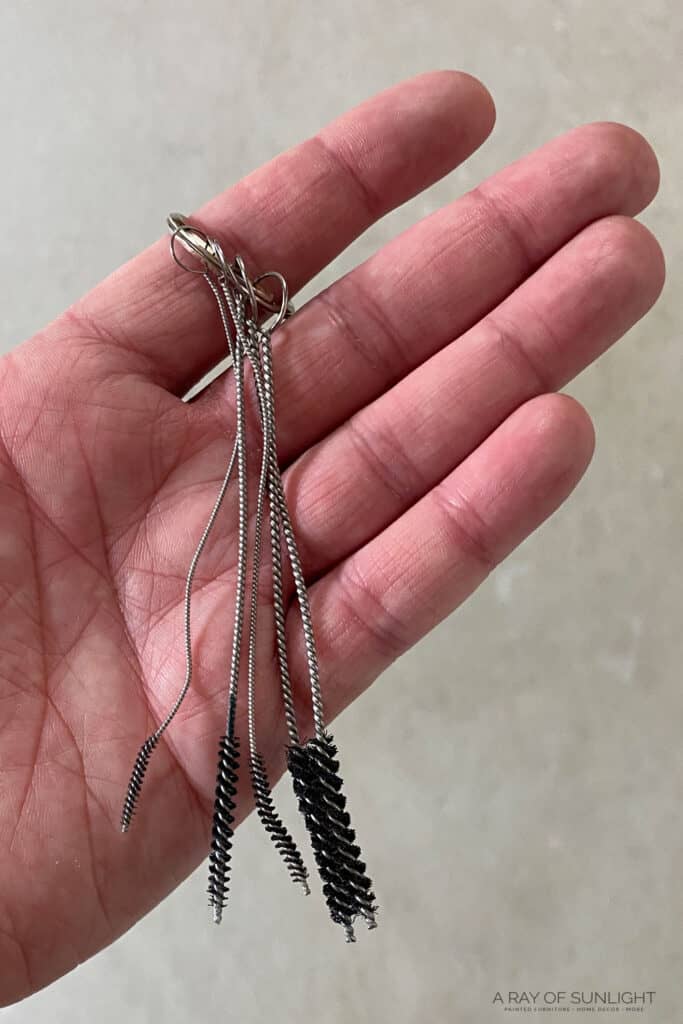
No matter what paint sprayer you have. I love that this set comes with a few different sizes of brushes.
Extra Seals and Pressure Tubes
If your pressure tube gets plugged or damaged, your paint sprayer won’t spray. If your container isn’t sealed correctly, it also won’t spray.
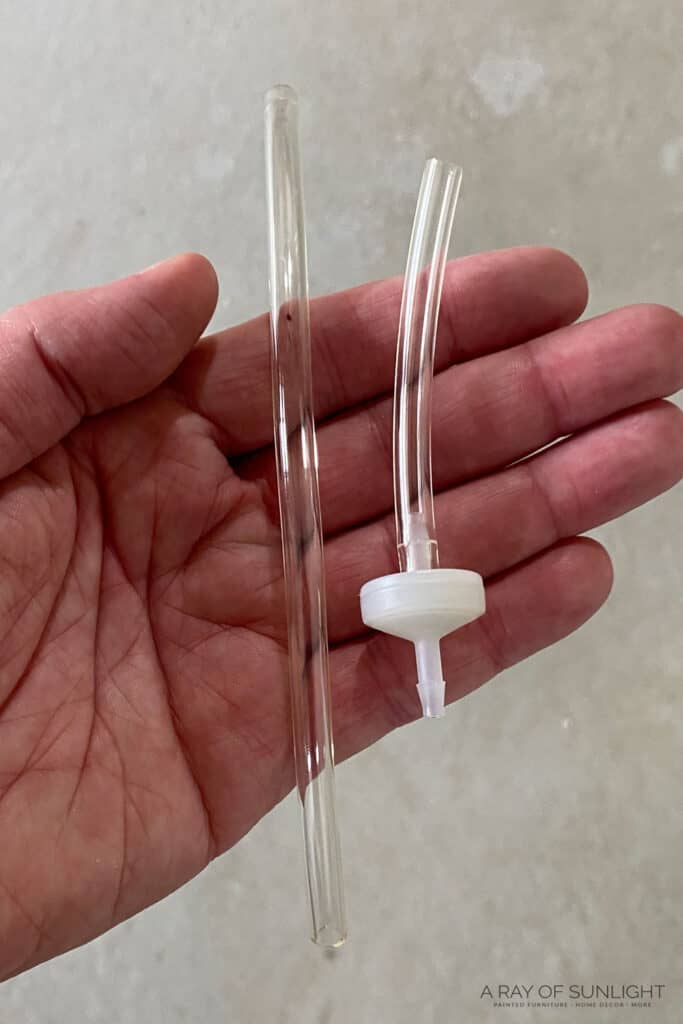
So I like to have extra of these seals and pressure tubes on hand so I don’t have to stop and wait for an order to come in. If you’re in the middle of a project that is a nightmare!
Extra Filter for Turbine
I also like to have an extra filter for the turbine so I can remove one filter and clean it, and I can pop the other filter in while the first filter dries.
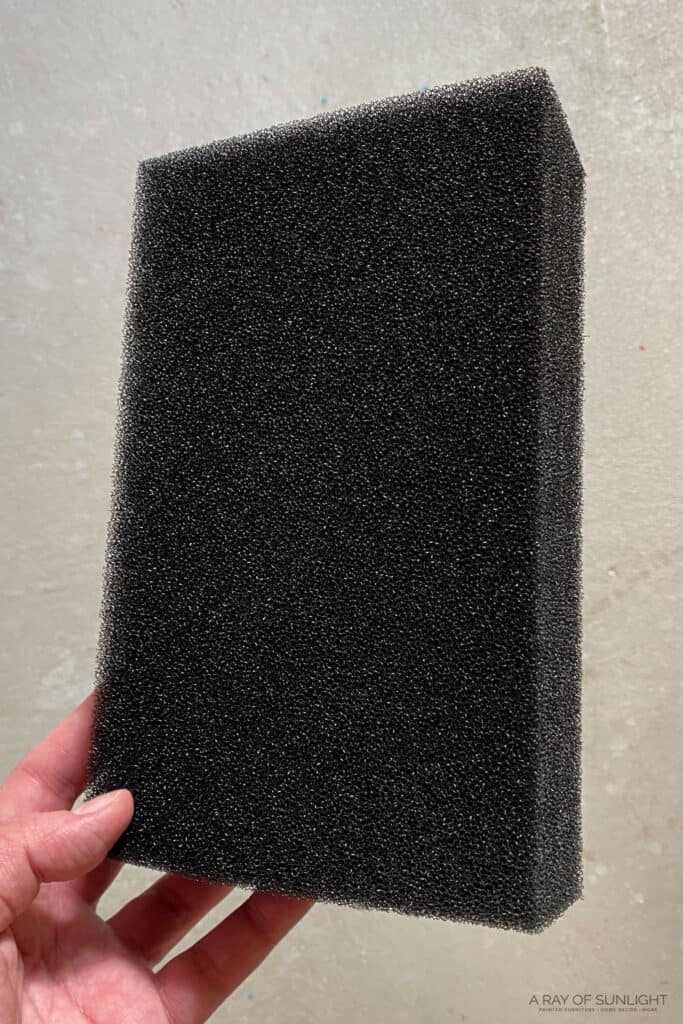
Paint Filters
A must is some paint filters though. No matter what paint sprayer you’re using, and even if you’re using brand new paint.
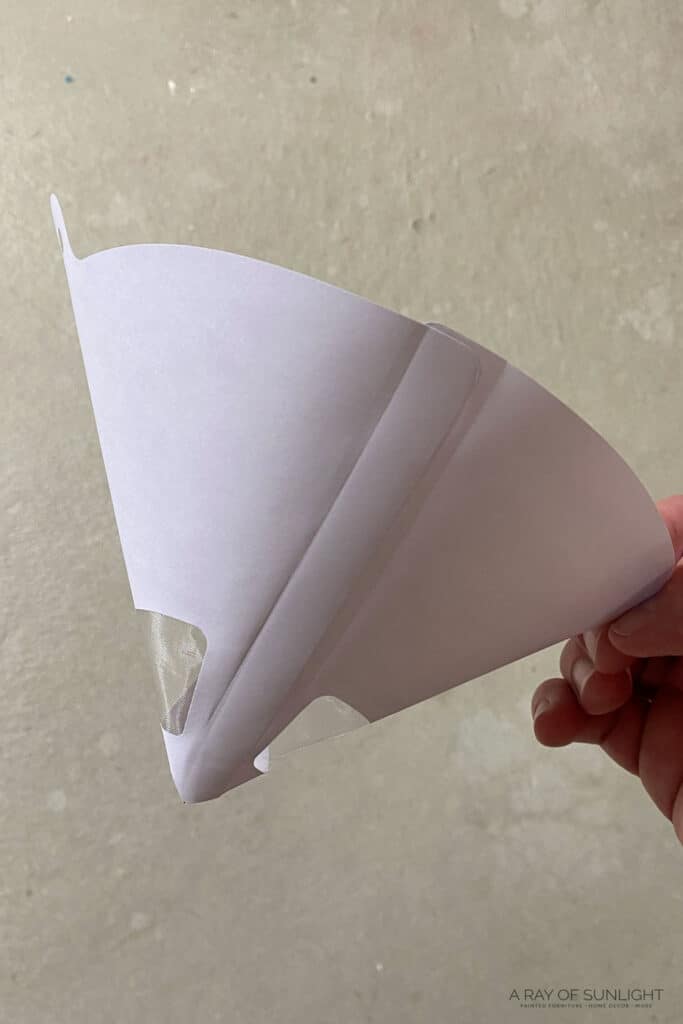
Teeny tiny little pieces of debris or dry paint can get into the sprayer and clog it up! So before I put any paint in my sprayer container, I filter it through these paint filters.
How to Clean the Fuji Q4 Paint Sprayer
Head over here to get all the details on how we clean the Fuji Q4 in about 5-10 minutes! Or learn everything you need to know about using the Fuji Q4 paint sprayer here.
Can you use any type of paint with Fuji Q4 paint sprayer?
Yes, the Fuji Q4 paint sprayer works with various paints like latex, oil-based, and water-based options. You can even apply stains and varnishes with this versatile sprayer.
As we mentioned above, we do thin our paint a bit even though the Fuji Q4 has a powerful 4-stage turbine and can handle thicker paints.
Thinning the paint helps us get a smoother finish and also prevents clogs in the sprayer. Here’s how to unclog a paint sprayer if you do run into clogging issues. We also recommend following the manufacturer’s recommended thinning ratio for best results.
And don’t forget to clean your sprayer thoroughly after each use to prevent any build-up that could affect its performance. With proper use and maintenance, you can put in and apply any type of paint for furniture with your Fuji Q4 paint sprayer and do successful paint projects with ease!
Is Fuji Q4 Paint Sprayer suitable for beginners?
While the Fuji Q4 paint sprayer is a professional-grade tool, it can also be used by beginners! The user-friendly design and easy set-up make it simple to learn how to use, even for those who have never operated a paint sprayer before.
Plus, with the various tips and settings available, you can experiment and find the perfect solution for your project without feeling overwhelmed.
If you’re not quite ready to invest in a professional paint sprayer like the Fuji Q4, you can always start with a smaller and more affordable option and work your way up.
This will allow you to get used to handling a paint sprayer and perfecting your techniques before upgrading to a more powerful tool. Here are the best HVLP paint sprayers for furniture you can consider if you’re just starting out.
But if you’re ready to take on a lot of projects and larger pieces of furniture, and you’re willing to spend a little more on a high-quality sprayer, then you can go for the Fuji Q4 without hesitation. It’s a reliable and durable sprayer that will last you for years to come, making it a smart investment.
More Paint Sprayer Resources
- Best Wagner Paint Sprayers for Furniture
- Wagner vs HomeRight Paint Sprayers
- Spray Paint Tools
- How to Clean Homeright Paint Sprayers
- Best Electric Paint Sprayer
Follow us on YouTube to get more tips for painting furniture.
Or share your project with us on our Facebook Group and be part of our community. See you there!
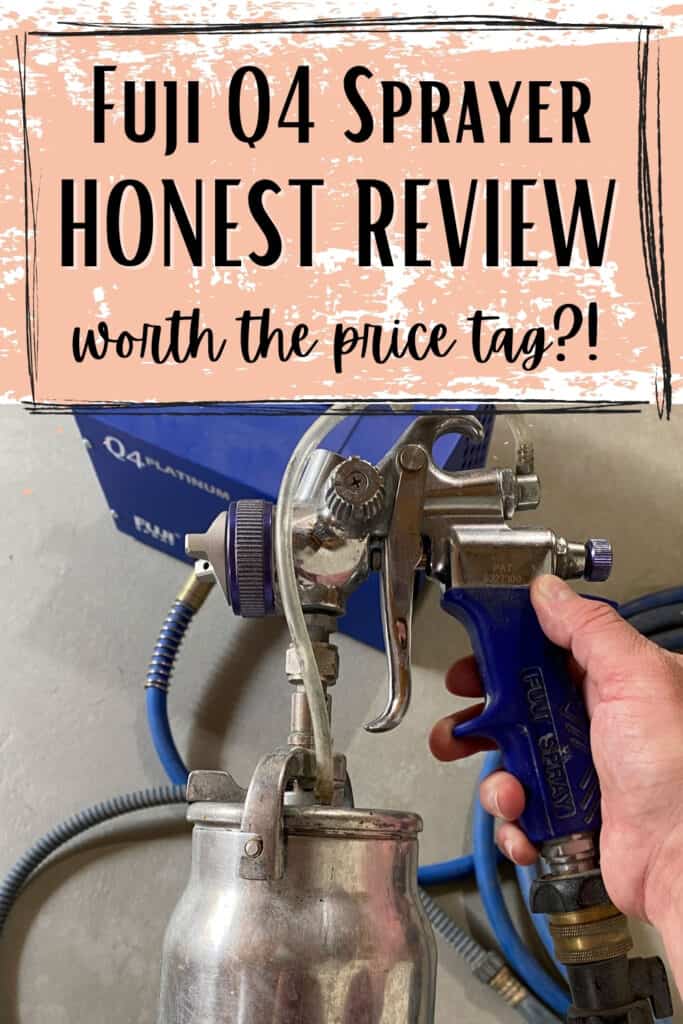


Thank you for the review! I’m looking at possibly investing in the Fuji Q4 Platinum. Do you ever wish you had the gravity fed gun? They say it is smaller and you can tilt it in different directions for spraying. Seems like this would be an advantage on furniture, even if the cup is much smaller. Can you share thoughts on this?
I went back and forth about getting the gravity fed. I would love to try one and see if I like it any better. I’m sure it has it’s advantages, and maybe some disadvantages. You could use a smaller amount of paint without the sprayer “running” out of paint (when there really is more paint in the bottom of the container.) But you wouldn’t be able to get it on the floor without having something to hang it on. Those are just two pros and cons I can think of on the top of my head.
Natalie and Taylor:
Thank you very much for the good review and great tips. Always nice to hear about someone elses experiences with a product and the little things that make a difference in the project going smoothly. I am considering the purchase of a Mini Mite 4 as all of my children are grown and feel I can put up with the noise occasionally with my noise abatement hearing earmuffs. One thing that I thought I would share is that in looking at the G-XPC System is that it evidently has a stand of some sort that enables the user to position it upright when setting it down. Still looking for pictures of this (or a video) but thought I would mention as that sounds like a great feature. Thank you again for the time and effort you put into this. Very well done.
Maury
Indianapolis, IN