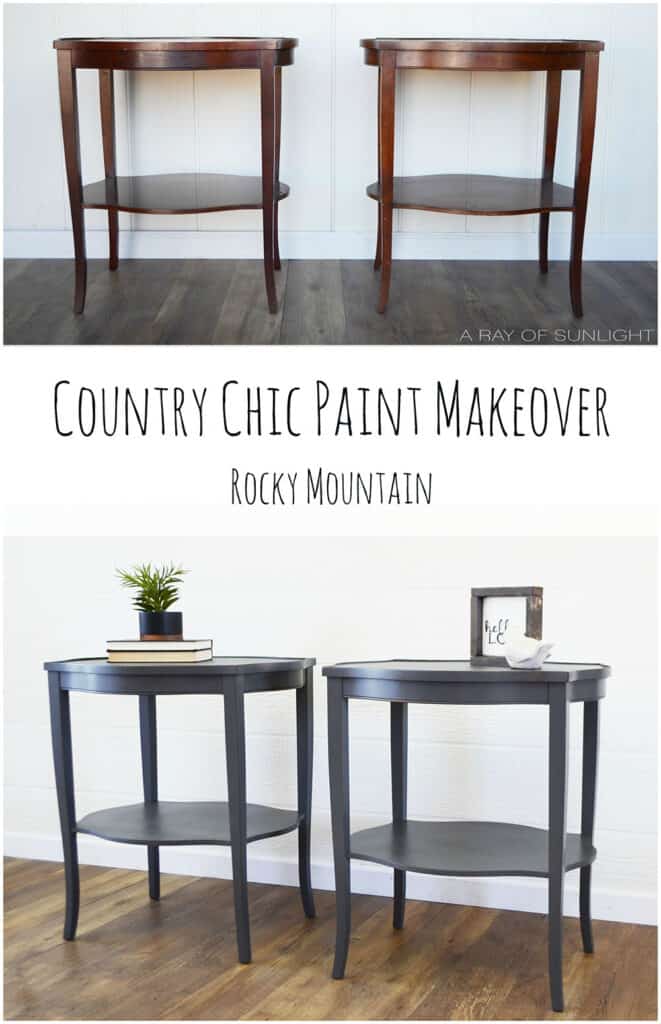
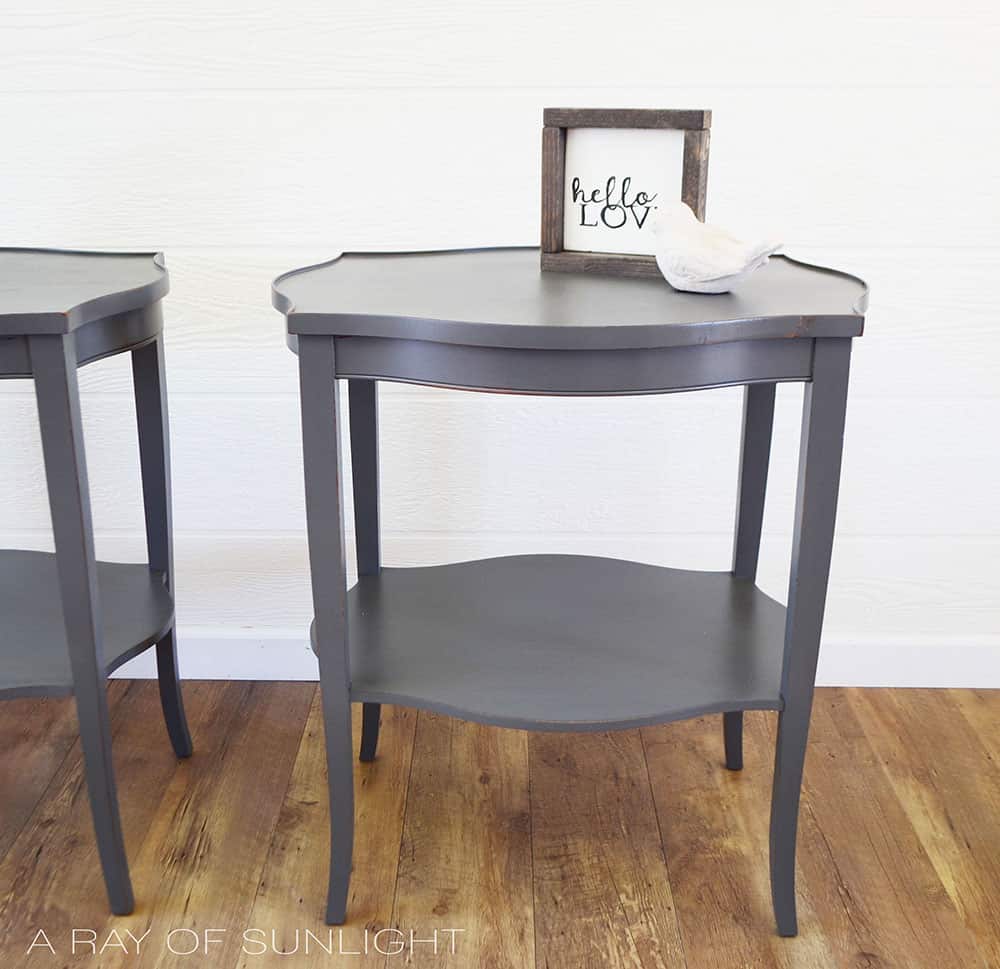
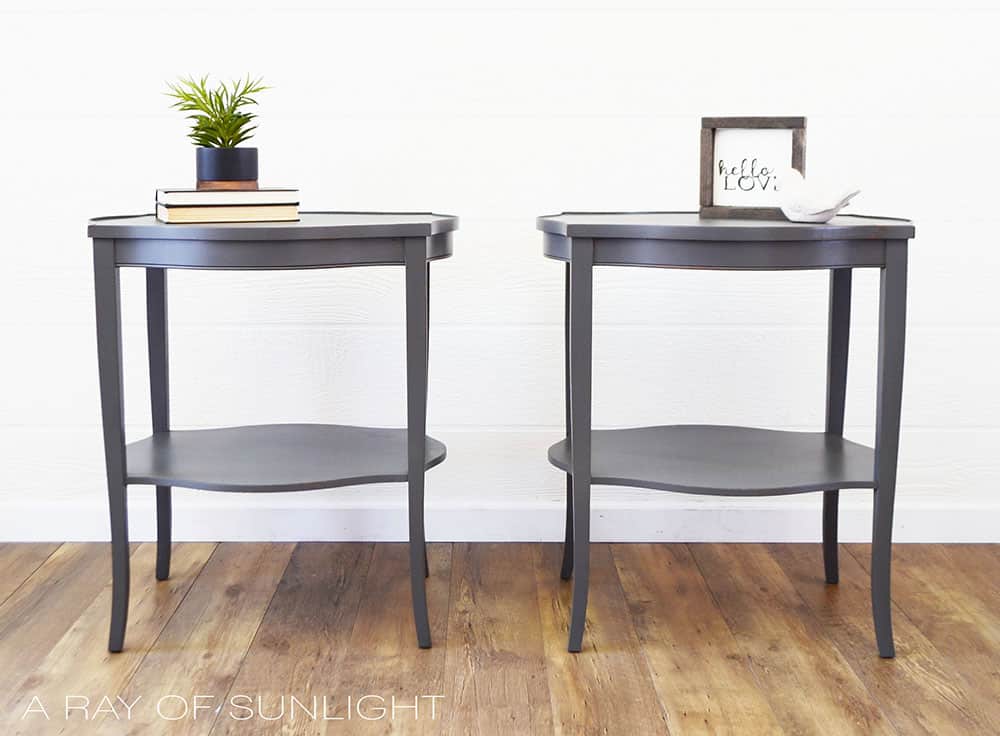
Gray Chalk Painted End Tables
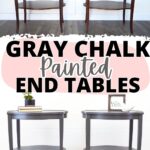
If you’re a fan of the trendy and versatile shade of gray, this makeover is perfect for you! We’re talking about gray chalk painted end tables – a simple but chic way to refresh your living space. Gray is a popular choice for furniture as it compliments any color scheme.
So why not take your old end tables and give them a fresh coat of gray paint for a stylish upgrade With this easy tutorial, you’ll have gorgeous gray painted furniture in no time!
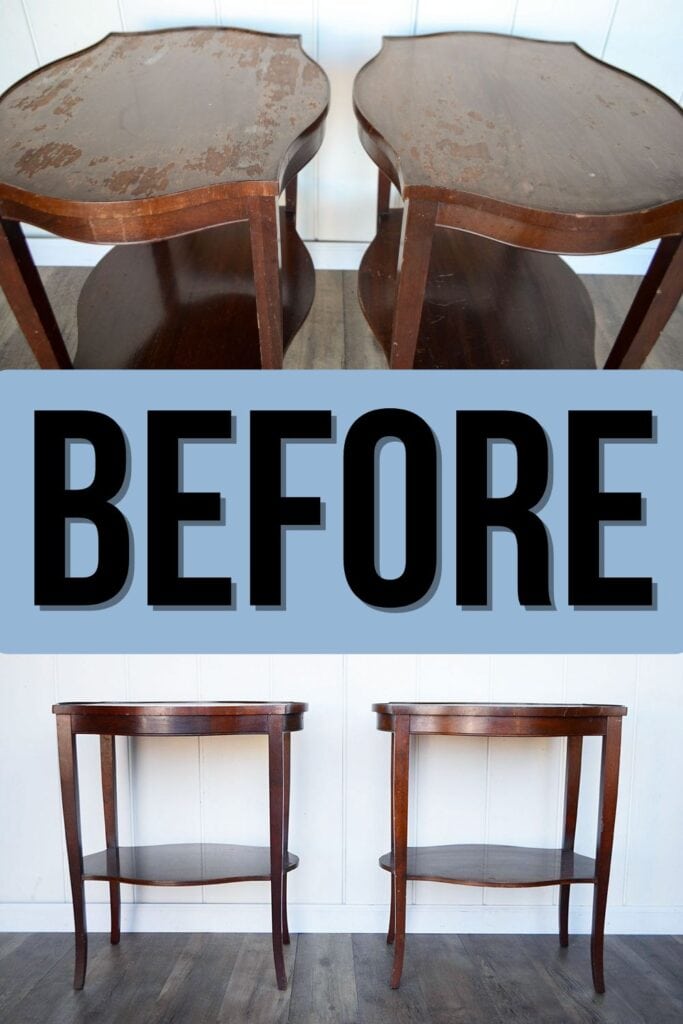
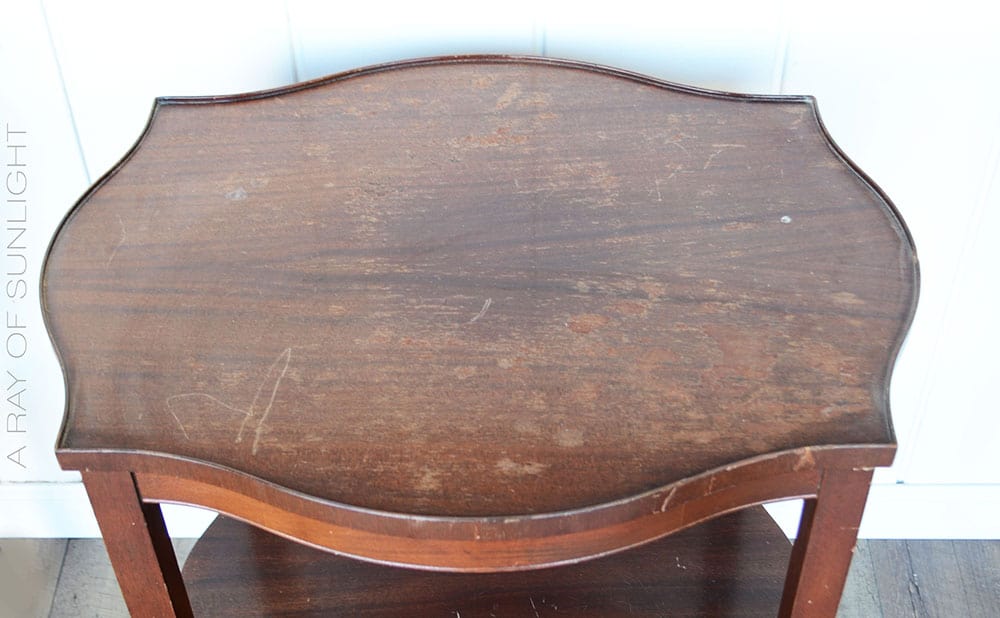
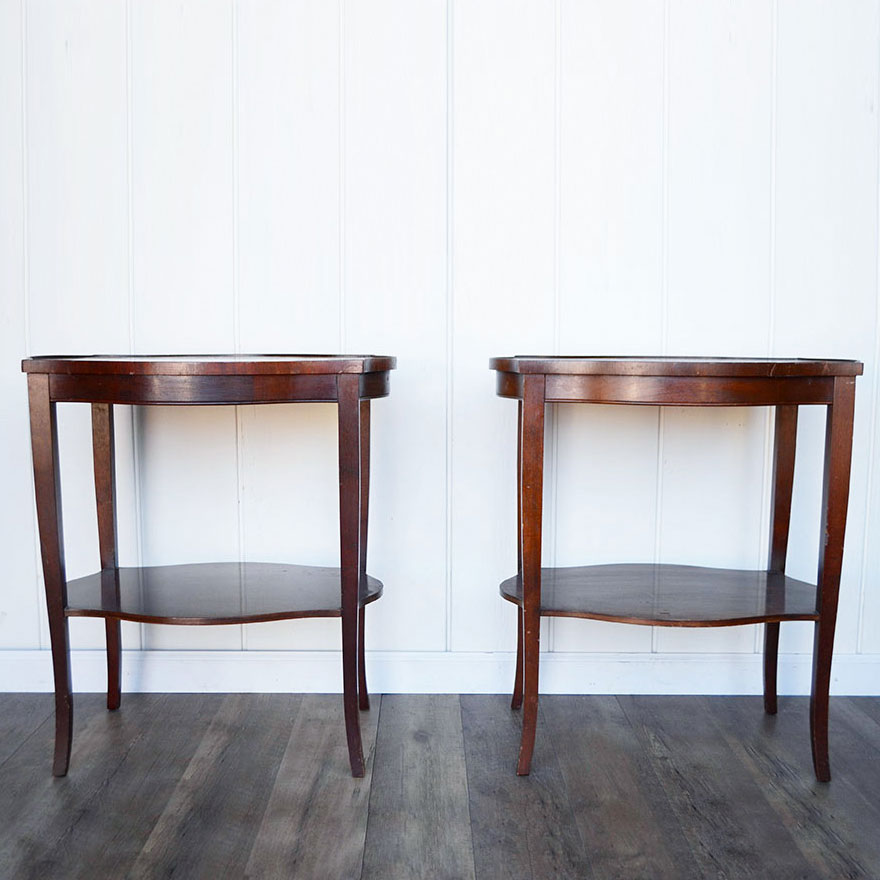
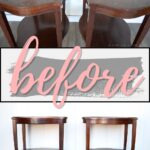
These poor end tables were beaten and bruised when we came across them. The finish was scratched and completely missing in some areas. Plus, the color was outdated and did not match our decor at all. But that didn’t stop us from seeing their potential!

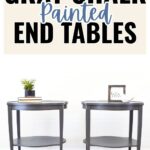
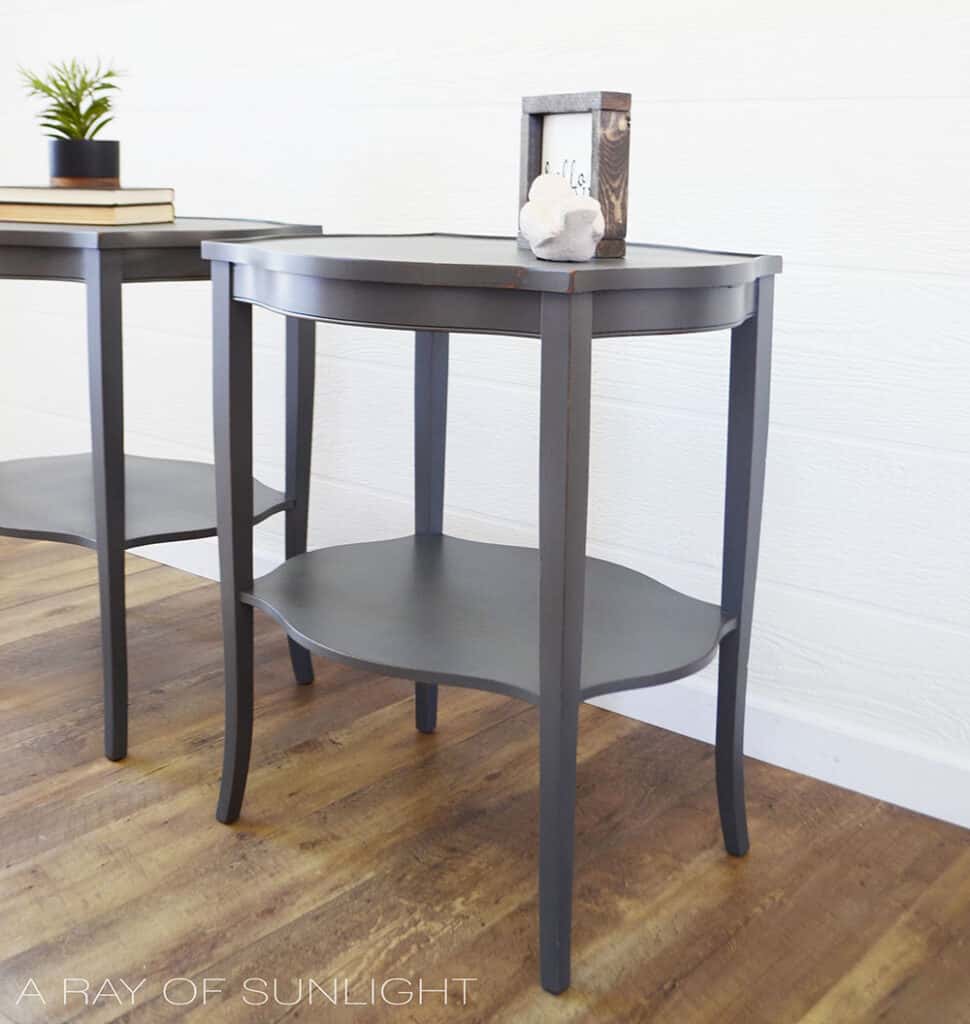
Thankfully we were able to fix them up quickly with a little bit of Country Chic Paint’s Chalk Paint. Painting them a beautiful shade of gray brought new life to the tables and made them blend seamlessly with our modern farmhouse style.
Here’s how the transformation went down!

Supplies Used for these Gray Chalk Painted End Tables
As an Amazon Associate, I earn from qualifying purchases. I also may earn from other qualifying purchases with other companies or get free product to review and use. All opinions are my own.
Grab our list of 10 must have painting furniture supplies too!
Sanding End Tables
Because the old finish was really chippy, I grabbed some 220 grit sandpaper and sanded the tops and shelves of each of the tables to smooth out the uneven finish.
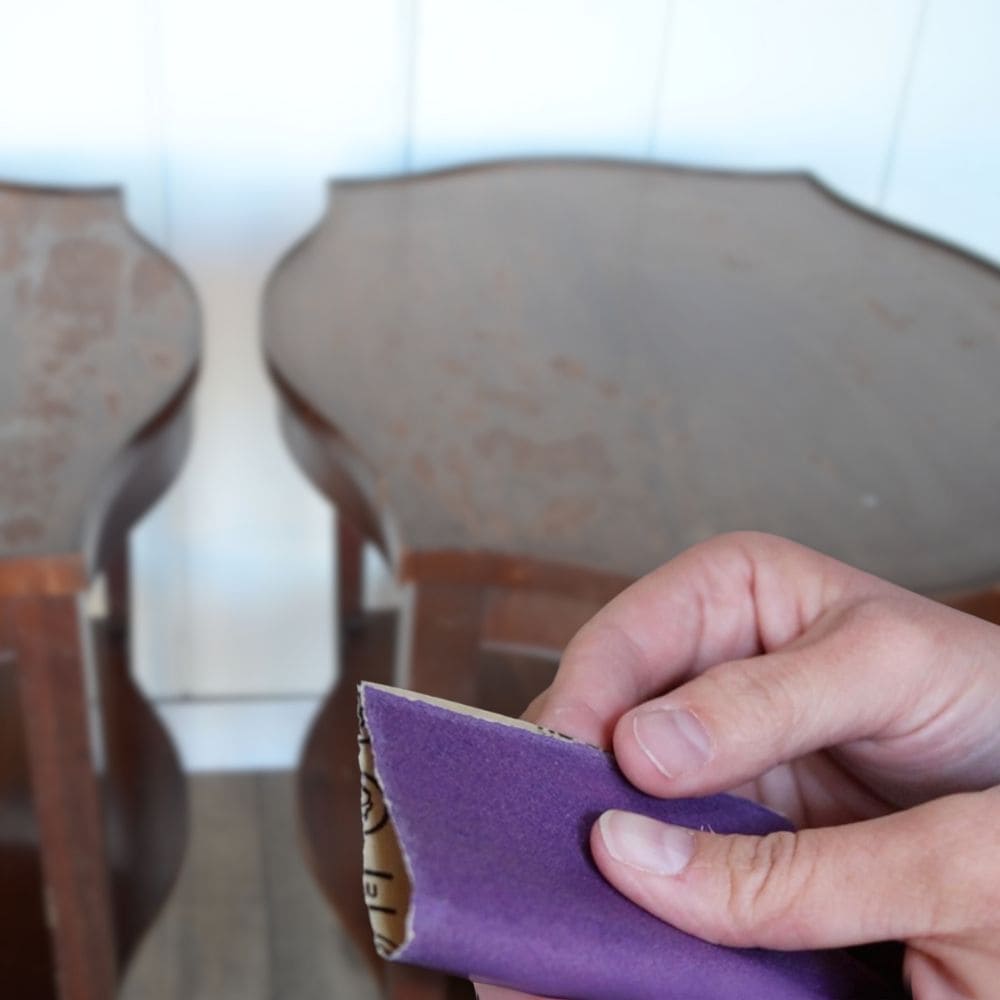
Read this post to learn more about the importance of sanding before painting furniture.
I just wanted to erase and blend the edges of the chippy finish so we would get a smooth finish.
Painting End Tables Gray
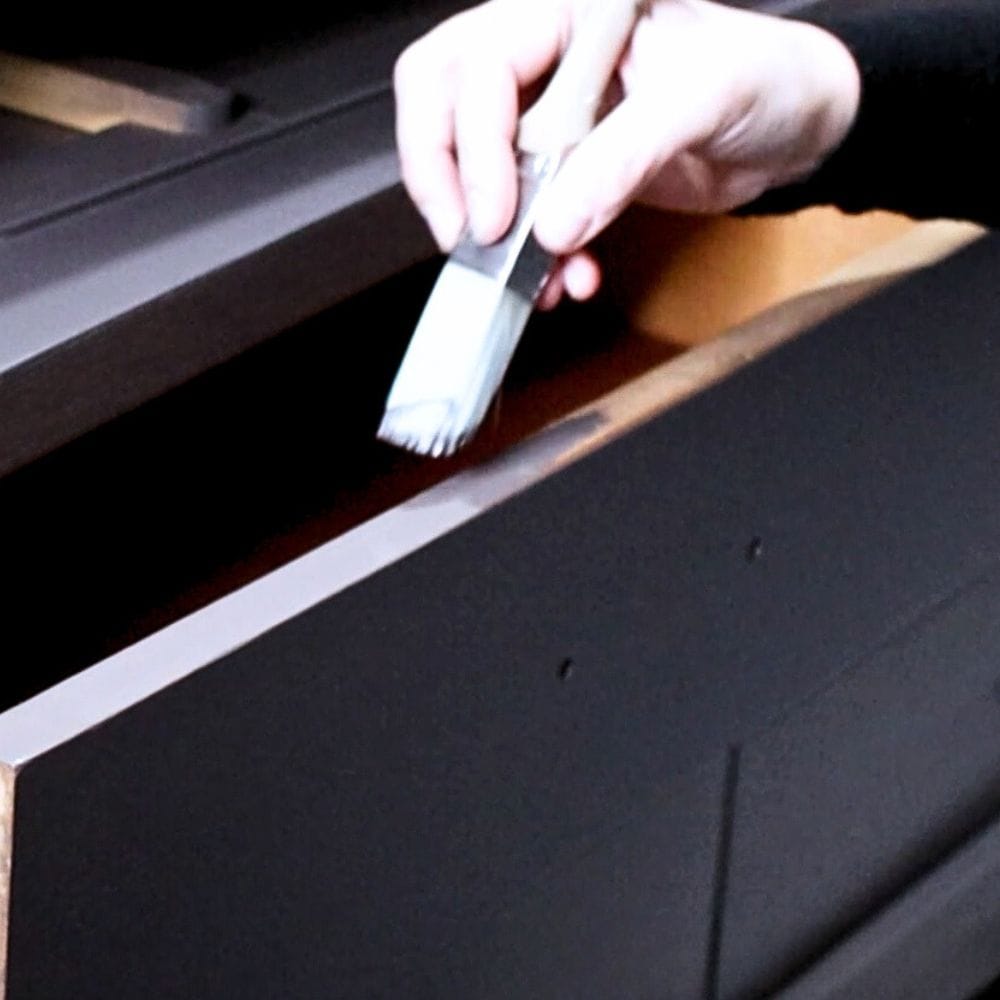
Once everything was wiped down with a damp rag and prepared for paint, I painted on this beautiful warm gray paint from Country Chic Paint known as Rocky Mountain.
Check out my honest and detailed Country Chic Paint Review here to see what I think about this paint after using it for years.
It only took two light coats to get complete coverage! Check out my list of the top chalk paint brands for your future furniture makeovers.
**Side note: I did this makeover way back before I knew how important priming is to prevent bleedthrough and to help the paint stick better!
So even though I skipped the primer in this makeover, I would highly recommend priming these before painting! Priming wood for painting is a crucial step that I always do now.
Especially because these end tables are made of mahogany which is known to cause bleedthrough issues!
Read this post to learn more about how to stop stains from coming through paint. Learn all about the best primers to stop tannin bleed through here!
Distressing and Sealing Gray End Tables
The edges all received a light distressing with some more 220-grit sandpaper. Here are more distressing furniture techniques you can do if you want to try out something different.
To give the end tables a little bit more of a sheen, as well as added durability, I sealed them with a poly topcoat.
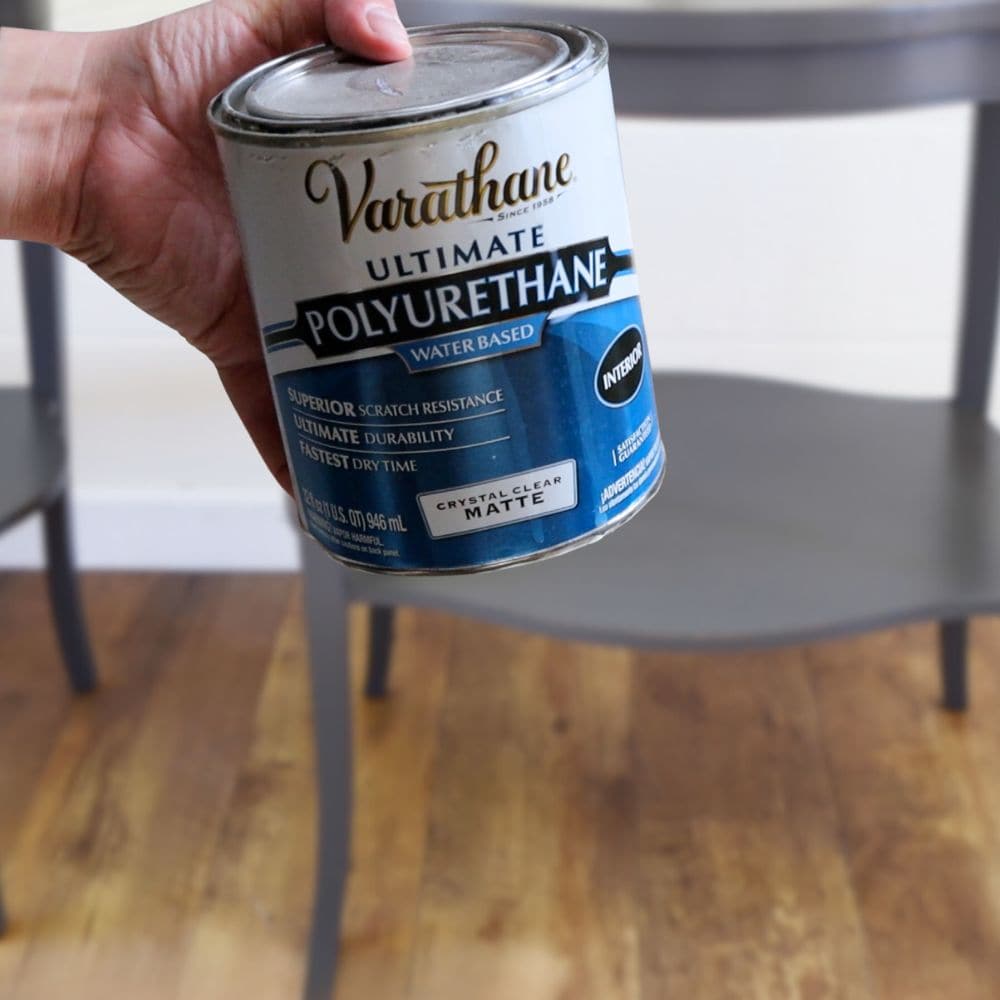
Polyurethane is my go-to topcoat for high-use pieces of furniture because it provides strong protection against scratches, stains, and water damage.
Learn all about the best topcoats for painting furniture here and learn how to spray polyurethane here!
Would you like to save this?
The transformation was so quick and painless! It’s amazing what a small amount of paint can do!
Tips for Getting a Smooth Finish When Painting End Tables Gray
Be sure to thoroughly sand and clean your end tables before painting with gray chalk paint. This will help the paint adhere better and create a smoother finish.
Use a high grit sandpaper to smooth out any rough spots or imperfections in the wood. You can know your options for the best sandpaper for furniture painting here.
When applying the gray chalk paint, use light coats and avoid overloading the brush. This will help prevent drips and uneven coverage.
Allow each coat to dry completely before applying another, and lightly sand between coats for an even smoother finish.
To avoid brush strokes and get a flawless finish, consider using a paint sprayer instead of a brush. This will give you more control over the application and create a professional-looking finish. Here are the best HVLP paint sprayers for furniture if you’re interested in trying this method.
If using a brush, make sure to use a high-quality one and apply the paint in long, smooth strokes. We have a recommended list of the best paint brushes for painting furniture here. But if brush strokes are unavoidable, check out our detailed guide on how to fix brush strokes in chalk paint here.
And don’t forget to seal your end tables with a topcoat for added durability and shine! Sealing painted furniture is an important step for long lasting and beautiful results.
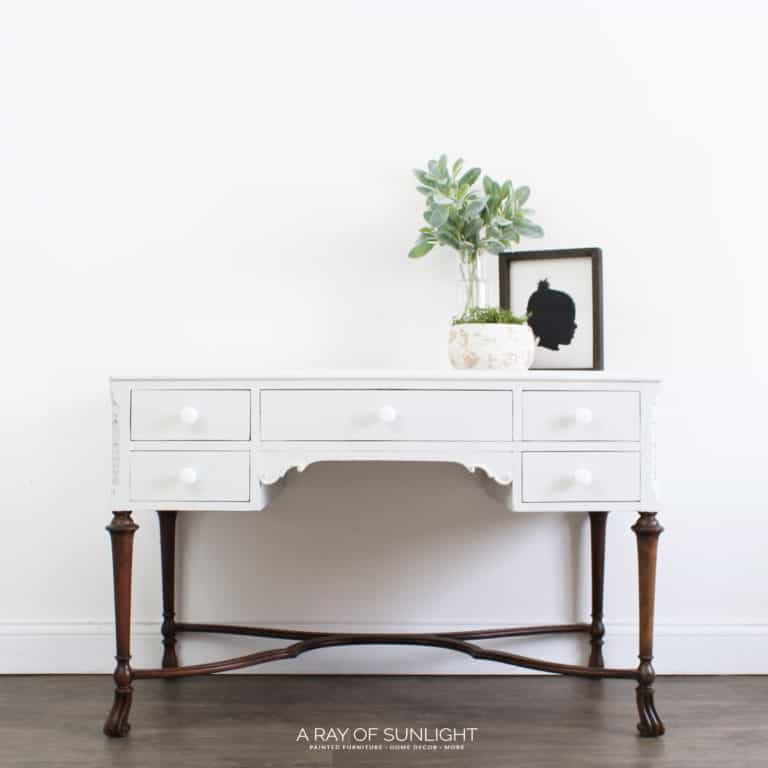
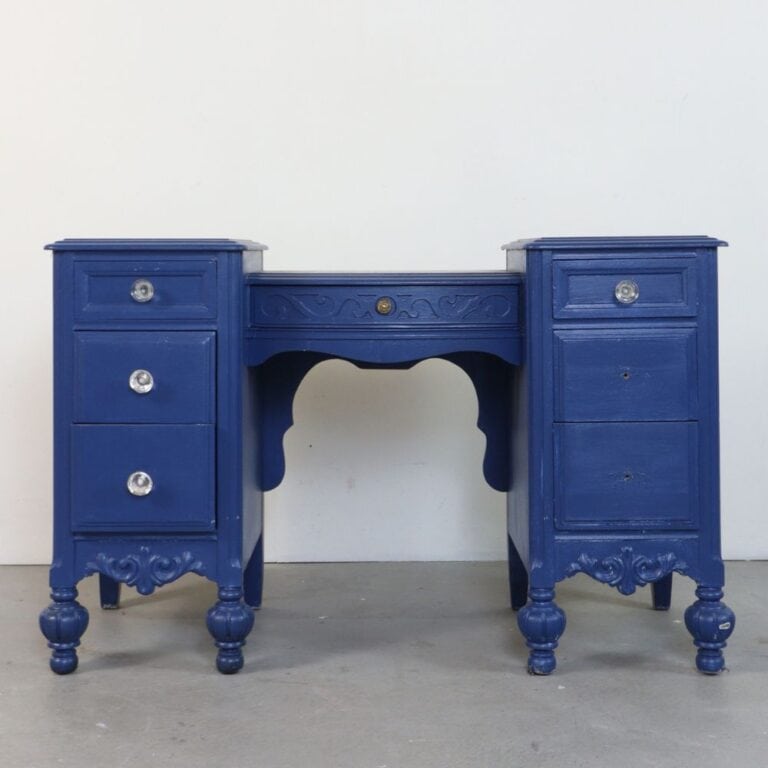
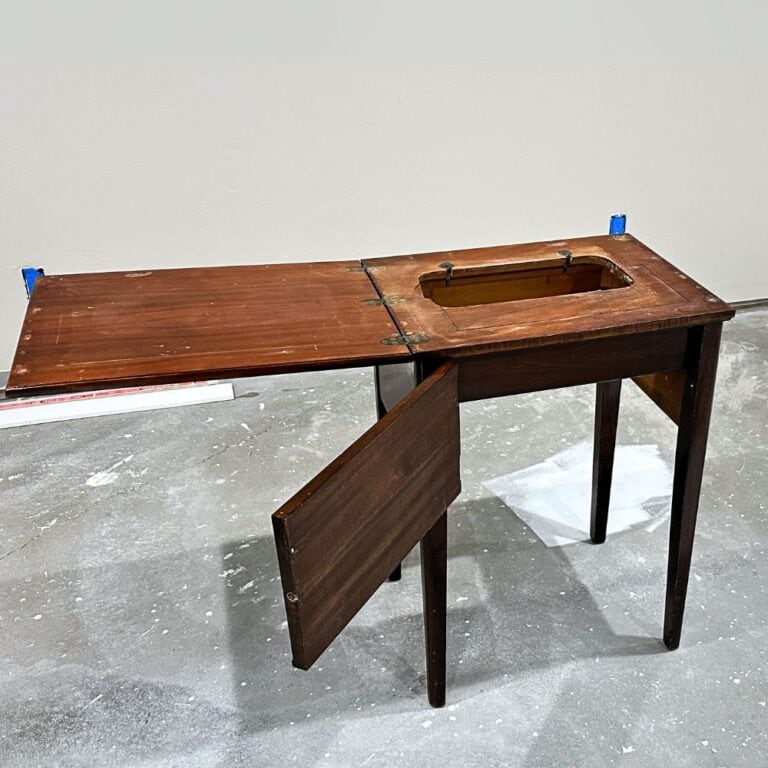
More Before and After Makeovers
See All >
Click any of these “before” photos below to view the “after” of that makeover.

If you like the grey in this makeover, check out more grey painted bedroom furniture ideas and dark grey chalk painted furniture here. You can also update your pieces with these end table refinishing ideas.
What other colors can complement gray painted furniture?
Gray is a versatile color that can be paired with many other shades to create a cohesive and stylish look.
For a classic and elegant feel, pair gray with navy blue or rich burgundy. These darker hues provide a beautiful contrast to the lightness of gray. You can also try pairing gray with shades of white or cream for a timeless and sophisticated look.
If you’re feeling bold, consider pairing gray with brighter colors like sunny yellow or vibrant teal. These pops of color will add a playful and modern touch to your gray painted furniture.
You can also experiment with different shades of gray, such as pairing a light gray with a darker charcoal or slate for a monochromatic look. This can create depth and interest in your furniture piece. For more mismatched styles, check out these mismatched nightstands ideas.


Gray Chalk Painted End Tables
Update any beaten and bruised old furniture with these simple steps. Here's how to recreate these gray chalk painted end tables.
Instructions
- Sand the tops and shelves of the tables to smooth out the uneven finish. Wipe the end tables down with a damp rag to remove the dust.
- Apply 2 coats of gray chalk paint. onto the tables. Make sure to use light coats and lightly sand between coats for a smoother finish. Allow each coat to dry completely before moving on to the next step.
- Distress the edges of the end tables with 220-grit sandpaper for a rustic look.
- Seal the gray end tables with waterbased polyurethane for added durability and shine. Let the topcoat dry completely before using the tables.
Recommended Products
As an Amazon Associate and member of other affiliate programs, I earn from qualifying purchases.


More Gray Painted Furniture Makeovers
- Vintage Nightstands Makeover
- Grey Chalk Paint Dresser
- Grey Painted Dressers
- Painting Furniture Grey
- DIY Modern Grey Dresser
Follow us on YouTube to get more tips for painting furniture. Or share your project with us on our Facebook Group and be part of our community. See you there!