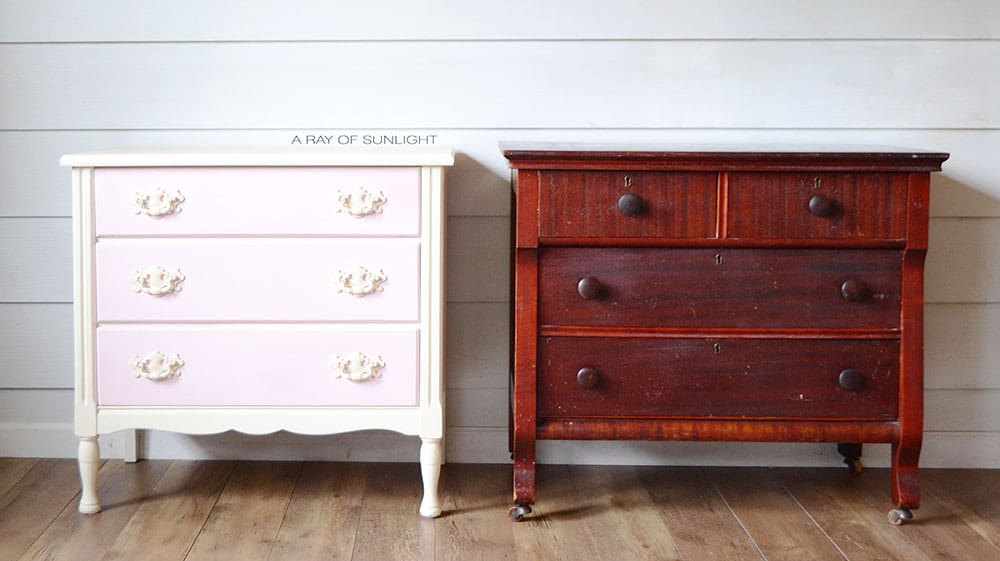
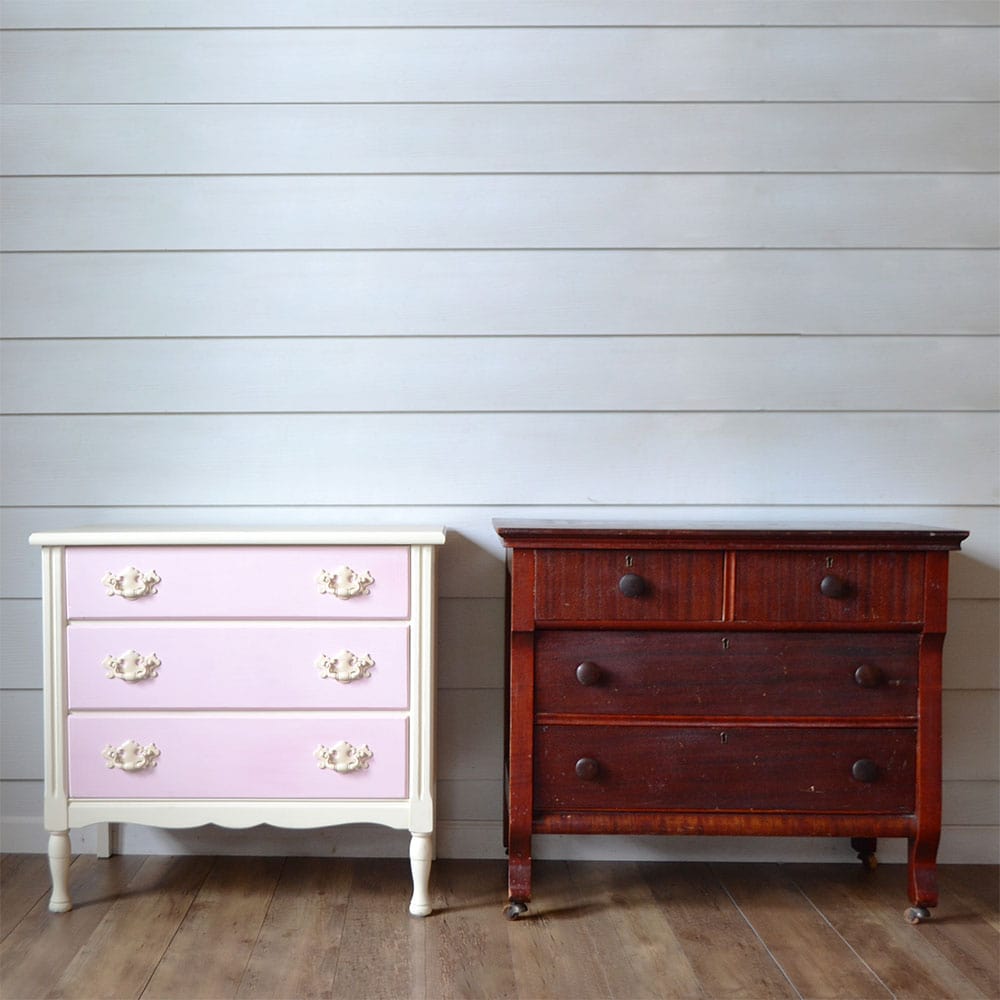
Grey Painted Dressers
Painting furniture is a great way to add a personalized touch to your furniture Here’s a great grey painted dressers idea if you’re looking for an easy and affordable way to give your dresser a makeover.
Instead of buying new furniture, why not try painting your current dresser? And gray painted furniture is popular these days – it’s stylish and trendy, yet classic and timeless.
Gray may not be the first color that comes to mind when thinking about painting furniture, but it’s definitely a color worth considering. Gray is a versatile color that pairs well with almost any other color, making it easy to incorporate into your existing home decor.

Grey has so many shades and tones to choose from. You can go for a light, airy gray for a more modern feel, or opt for a deeper charcoal hue for a more dramatic look. Plus, with the variety of paint finishes available, you can get a sleek and smooth finish or go for a more rustic and distressed look.
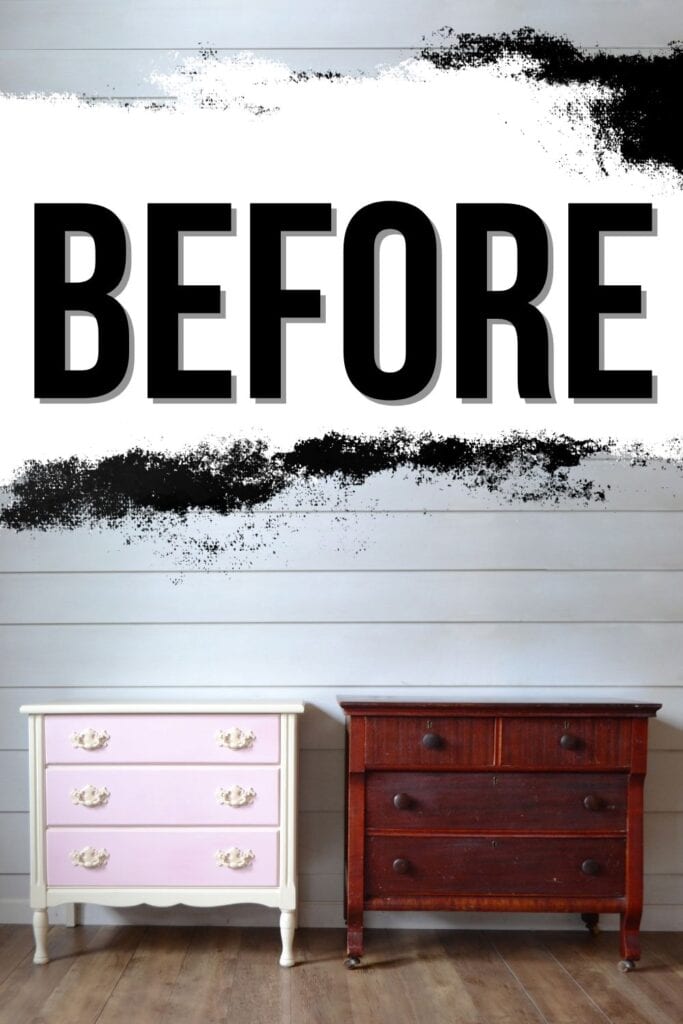
This tutorial will walk you through the steps for how to transform two different dressers with homemade chalk paint and glaze. Keep reading for more information!

Supplies Used for Grey Painted Dressers
As an Amazon Associate, I earn from qualifying purchases. I also may earn from other qualifying purchases with other companies or get free product to review and use. All opinions are my own.
- Electric Screwdriver
- Krud Kutter and An Old Rag
- 220 Grit Sandpaper
- Shop Vacuum and Tack Cloth
- Clear Shellac
- Respirator
- Behr Latex Paint tinted to Urbane Bronze from Sherwin Williams
- Calcium Carbonate Powder
- Paint Filters
- Wagner Double Duty Paint Sprayer
- Waterbased Polyurethane
- Black Glaze
- Cheap Paint Brush
- Lint Free Rags
Get my must-have list for painting furniture supplies here.
Prepping Before Painting Dressers
Before you start painting, there are some important steps you should take to ensure that the paint looks its best when it’s finished.
First, remove all of the hardware from the dresser. I love my little electric screwdriver for this. It makes it so easy and painless.
Then give it a good cleaning with Krud Kutter. Learn more about cleaning furniture before painting here.
Once the dresser is clean, lightly sand with 220 grit sandpaper, then clean up the dust with a shop vacuum and a tack cloth. Learn all about the importance of sanding before painting here.
To prevent bleedthrough stains from ruining the paint job, prime with two coats of clear shellac to prevent any bleedthrough while painting.
If you want to spray like I did, here is how to prevent overspray when spray painting furniture. Learn everything you need to know about how to prepare furniture for paint here.
Painting Dressers with Chalk Paint
Now that the prep work is out of the way, it’s time to get started on painting your dresser! Check out more painted dresser ideas here.
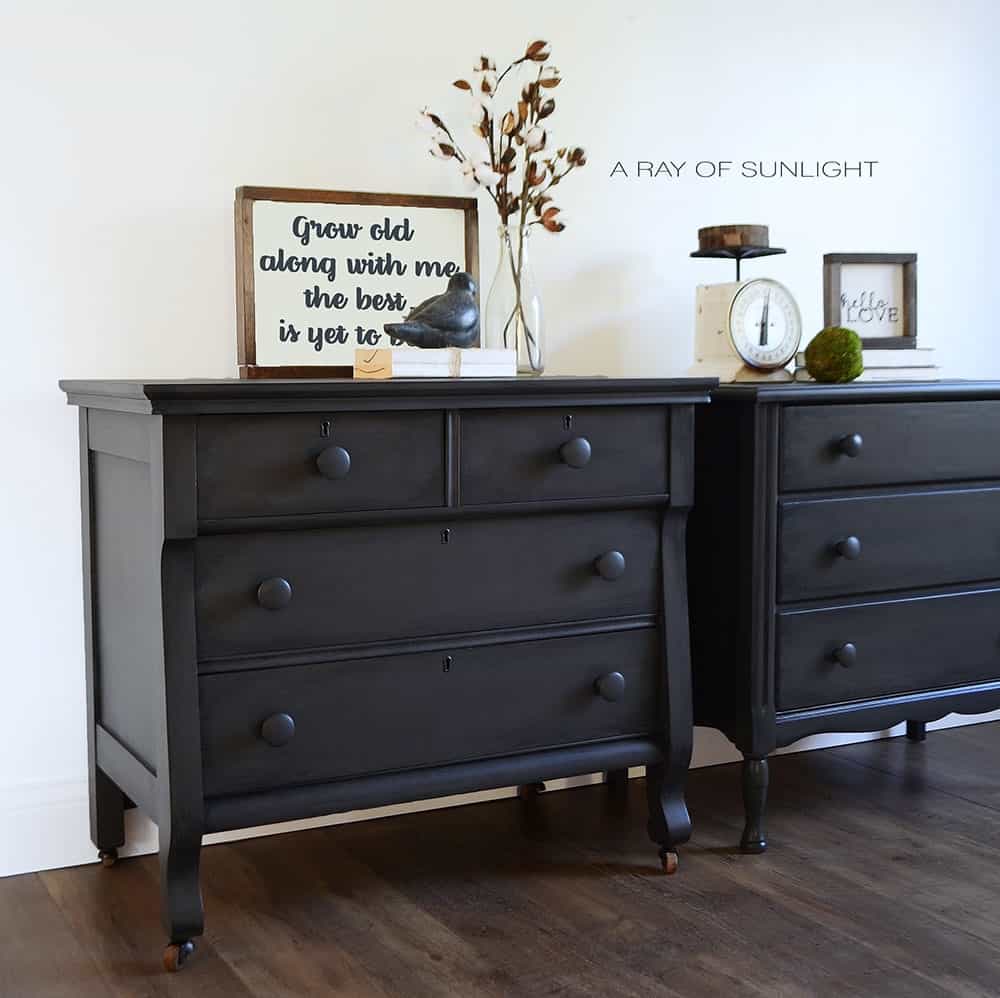
For this project, we used Urbane Bronze from Sherwin Williams as our color of choice. I used cheap Behr latex paint and mixed it with calcium carbonate powder to turn it into homemade chalk paint.
Alternatively, you can use BB Frosch Paint Transformer Powder to make chalk paint from latex paint. It is amazing and much better than my homemade chalk paint recipe.
Check out my honest BB Frosch Paint Transformer review to learn more about the features, and pros and cons of this product.
Since the other dresser has existing paint, you might want to visit our guide on how to repaint a dresser for more tips.
I sprayed it on using my Wagner Double Duty paint sprayer for a smooth brush-free finish. Read through this post on painting furniture with a sprayer to learn more. Here are tips and tricks on how to paint a dresser for a successful makeover.
**Update: I’ve tried a lot of sprayers since I painted these dressers. Here’s my list of the best HVLP paint sprayers for furniture.
Sealing Chalk Paint with Polyurethane
Once you have applied two coats of paint, it’s time to seal it with waterbased polyurethane. This will protect the paint from scratches and dirt while also giving it an extra shine.
But, since I wanted to add some black glaze over the chalk paint, the coat of waterbased polyurethane was used to help the glaze not soak into the paint too fast.
I sprayed a coat or two of the waterbased polyurethane onto the dressers with my paint sprayer. Learn how to spray polyurethane here.
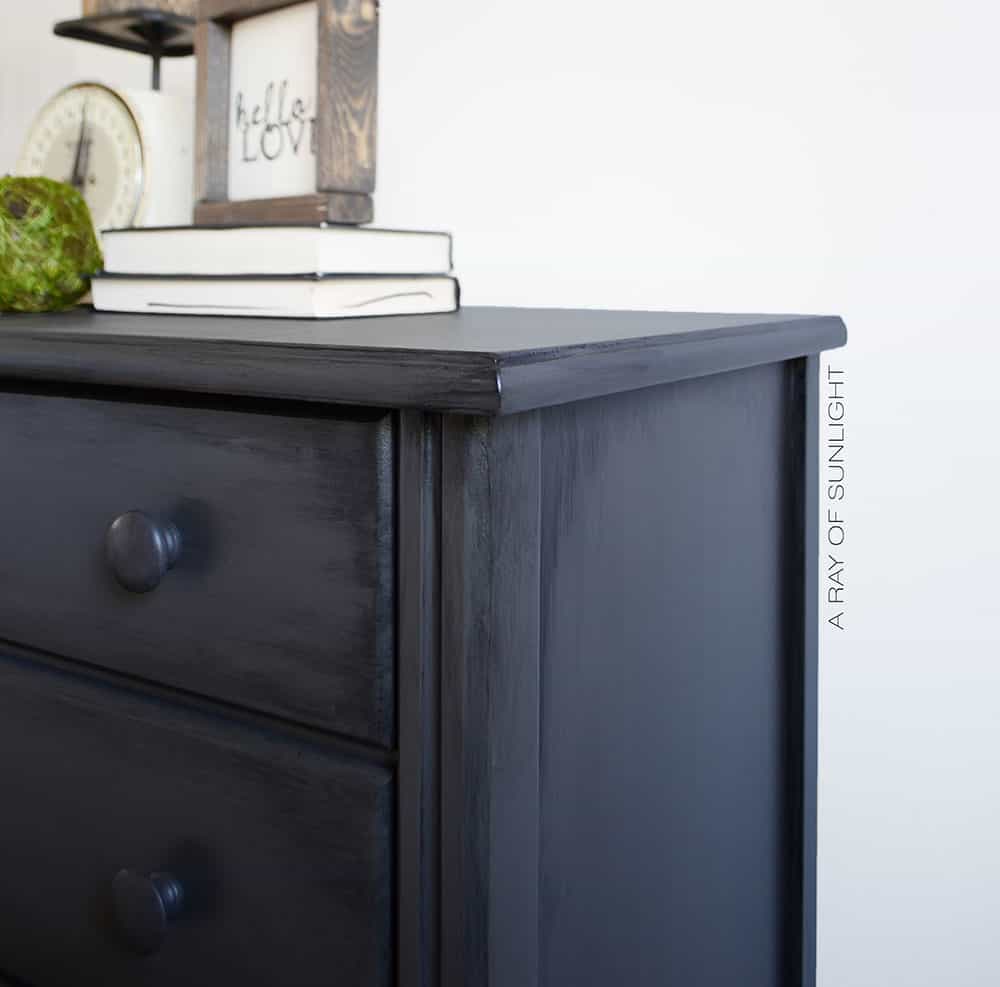
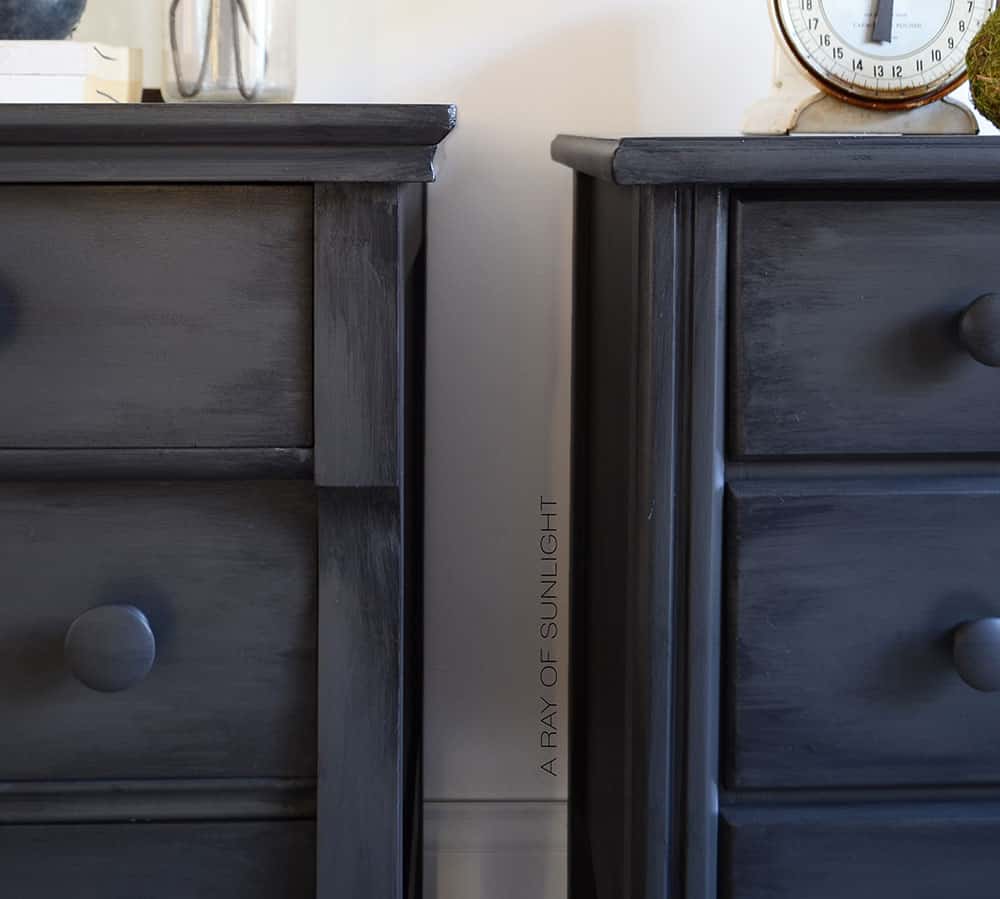
Glazing Over Chalk Paint
If you want your finished product to have an extra pop of depth and detail, consider adding a black glaze over the chalk paint. Check out my comparison between glaze vs wax over chalk paint to see how the two methods differ.
To learn more about how this technique works, check out our YouTube video on glazing over chalk paint below!
Learn more about how to glaze over chalk paint here!
Sealing the Glaze
Once you have added the glaze, seal your glaze with waterbased polyurethane so that the glaze doesn’t easily get scratched or ruined over time.
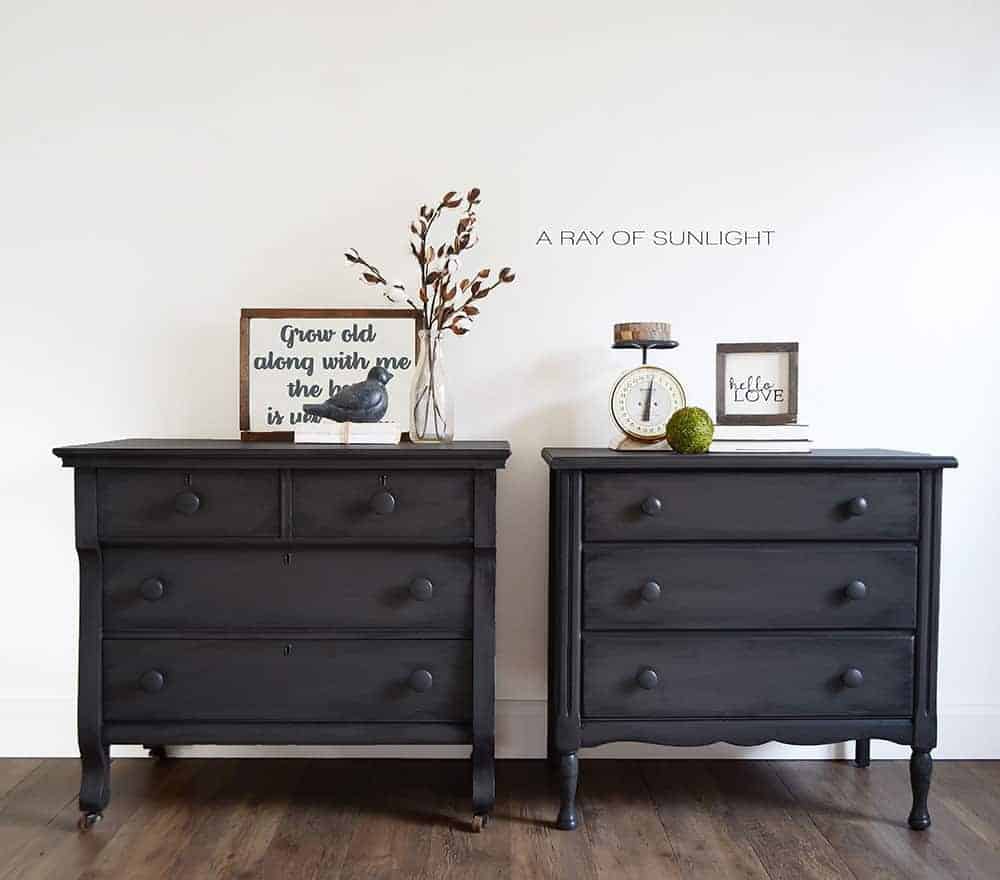
Then let everything dry before enjoying your grey painted dressers! We painted the hardware in the same finish as the dresser, removing the hardware and painting them separately.
Would you like to save this?
More Before and After Makeovers
See All >
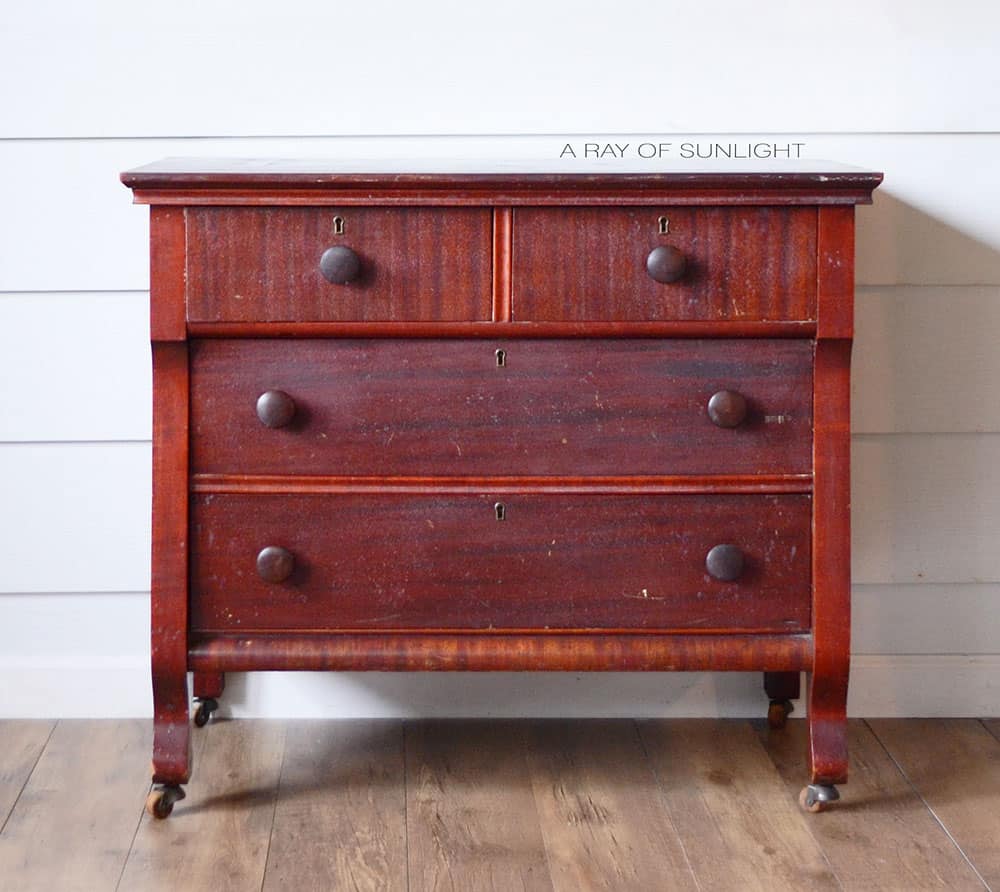
Click any of these “before” photos below to view the “after” of that makeover.
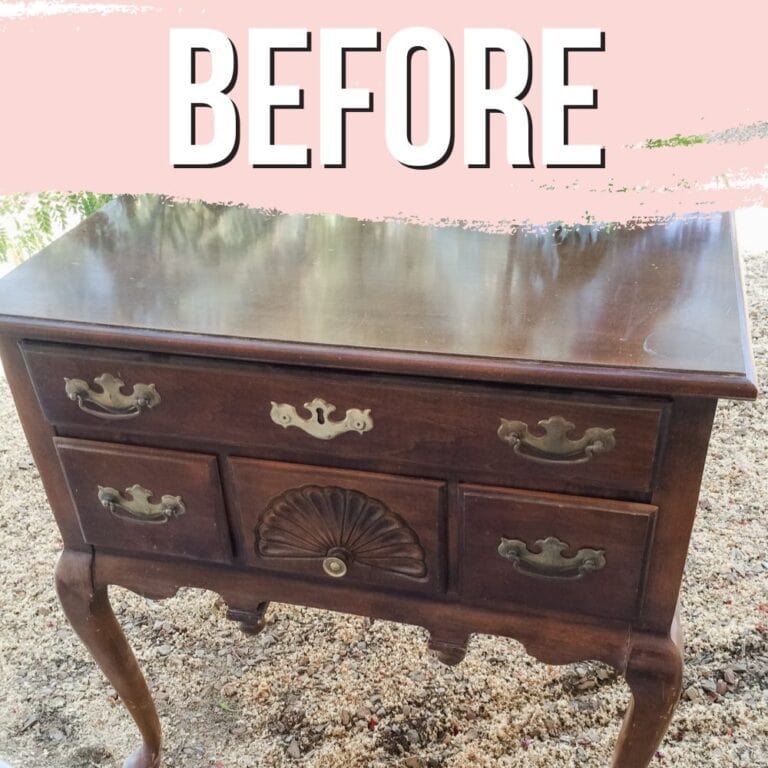


Glazing furniture is the perfect way to bring out the character and add even more charm to the finish. I couldn’t be happier with these mismatched nightstands!
Learn more about the finishing touches of painting furniture here.
Does Chalk Paint Have to Be Sealed?
Applying a coating of waterbased polyurethane when you finish painting with chalk paint is an important step for any DIY project. Here’s how to apply polycrylic to painted furniture.
Chalk paint has a matte, porous finish that can easily get dirty and stains from spills may be impossible to remove if left unsealed.
Taking the time to seal your painted surface not only enhances the look but also makes it washable and more durable.
With just one extra step in the process, you can be sure that after all your hard work, your project will last and you won’t be frustrated by dirt and messes. Learn more about topcoats for painting furniture here.
How to Paint Furniture without Brush Marks
Painting furniture without leaving brush marks doesn’t have to mean splurging on a paint sprayer.
To get great results, invest in a high quality paint brush, such as a Cling On, Country Chic, or Staalmeester paint brush.
If the paint you are using is water-based, thin it out with 5-10% of water before brushing it onto the furniture in thin layers.
This approach will give you a nice finish, free of brush marks – and all without having to break the bank! Learn more tips for how to paint furniture without brush marks here.
Whether you’ve been wanting to repurpose old furniture or just add some color and texture into your home decor, painting furniture is one of the most fun ways to do so!
And by following these easy steps for how to paint a grey painted dresser you now have all of the necessary tools for creating something timeless that can be enjoyed for years to come. Happy painting! For more grey dresser makeovers, here’s our list of grey painted dresser ideas.


What color goes best with grey furniture?
Wondering what color goes best with your grey painted furniture? Well, the answer is actually quite simple. Grey is a neutral color that pairs well with a wide range of other colors. It’s all about finding the right shade and balance to create a cohesive look in your home.
For a classic and timeless look, you can’t go wrong with pairing grey furniture with white. This combination creates a clean and modern look, while still feeling warm and inviting. For more grey inspiration for your space, here’s our list of grey painted bedroom furniture ideas and dark grey chalk painted furniture.
You can also add pops of color through accent pieces like pillows or throws to make the space feel more lively. Another great neutral to pair with grey is beige or cream. This creates a soft and serene feel in any room.
If you’re feeling a bit more adventurous, consider pairing grey furniture with bold and vibrant colors like teal or mustard yellow. These color combinations create a fun and playful vibe in any space. You can also incorporate different shades of grey to add depth and dimension to the room.
For a bolder look, try pairing grey with black. This creates a sleek and modern aesthetic that’s perfect for a minimalist style. You can also add in metallic accents like gold or silver for an added touch of glamour.
With so many color options, you can truly make grey furniture work in any space. There’s no wrong answer when it comes to pairing colors with grey furniture, so have fun finding the perfect combination that reflects your personal style.


Grey Painted Dressers
These simple steps will guide you in creating beautiful grey painted dressers that will add style to any space in your home.
Materials
Tools
- Electric Screwdriver
- Shop Vac
- Respirator
- Paint Sprayer
- Cheap Paint Brush
Instructions
- Remove the dresser's old hardware. Then clean the dresser with a degreaser and lightly sand. Clean up the dust with a shop vacuum and a tack cloth.
- Prime with two coats to prep for paint and prevent any bleedthrough while painting.
- Mix latex paint with some calcium carbonate powder to turn it into homemade chalk paint.
- Apply 2 coats of paint onto the dresser.
- Seal the paint with two coats of waterbased poly. This will protect the paint from scratches and dirt while also giving it an extra shine.
- Glaze over the chalk paint to add depth and detail.
- Topcoat the glaze with some more waterbased polyurethane so that the glaze doesn’t easily get scratched or ruined over time.
- Attach new hardware and enjoy!
Recommended Products
As an Amazon Associate and member of other affiliate programs, I earn from qualifying purchases.


More Grey Painted Furniture Makeovers
- Grey Chalk Paint Dresser
- The Chippy Gray Milk Paint Dresser
- Painting Furniture Grey
- Painted Hutch Makeover
- DIY Modern Grey Dresser
Follow us on YouTube to get more tips for painting furniture. Or share your project with us on our Facebook Group and be part of our community. See you there!
I love this!! Are they for sale?
Sorry Amanda, these are sold. You can see what I currently have for sale on my Etsy shop at arayofsunlight.etsy.com.
The dressers turned out great! 🙂 Can I ask, did you thin the paint a bit to get it to come through the sprayer? I have yet to buy a sprayer but it sure would make working on this buffet a lot easier!
Thank you for the tutorial,
Hugs,
Barb 🙂
Yes, I definitely thin the paint out to help it spray out of the sprayer. Even when I have sprayers that can spray thick paint, it looks much better if it is thinned out a little.