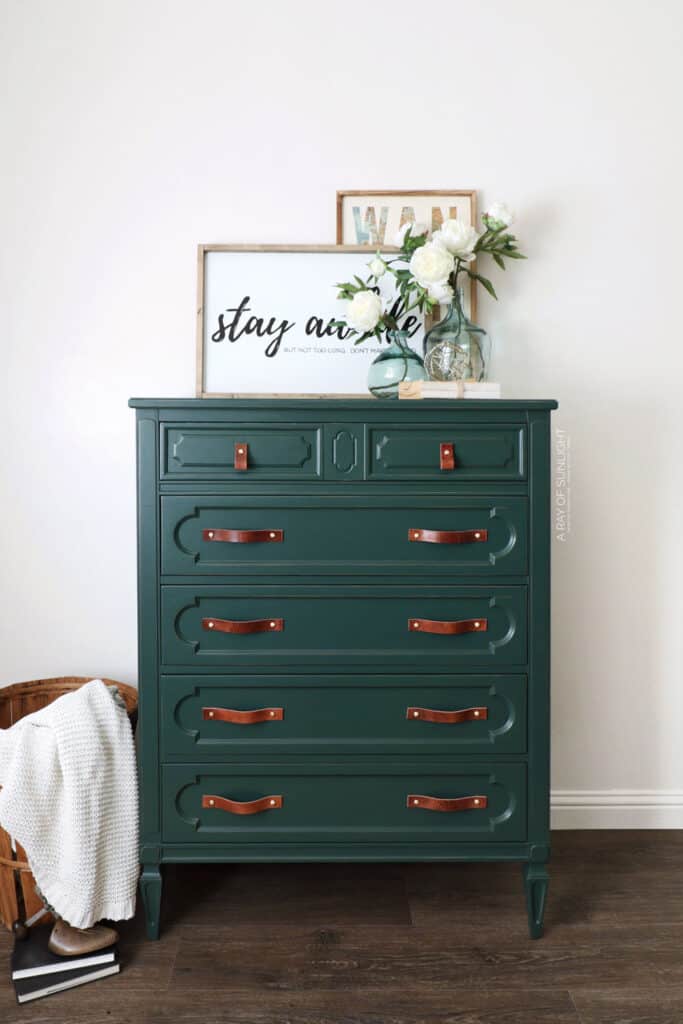
Dark Green Chalk Painted Dresser


If you’re looking for a unique and eye-catching furniture piece, how about a dark green dresser? This unconventional yet stunning color choice for furniture is all the rage, and you’ve gotta see this stunning dark green chalk painted dresser makeover!
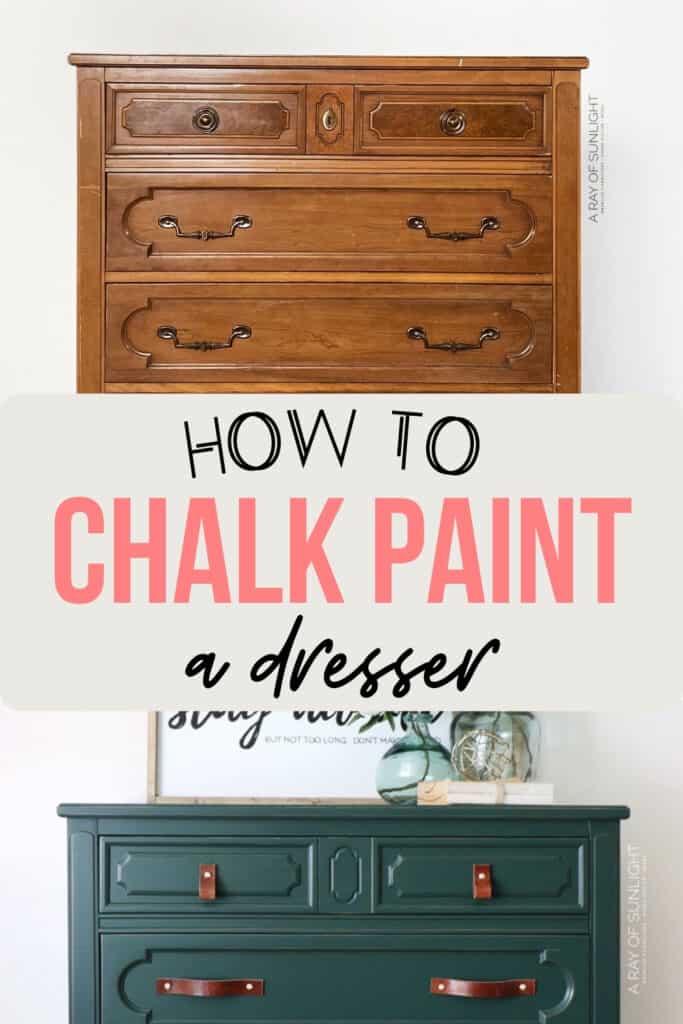
Here’s the step by step on how to paint a dresser with green chalk paint and how to paint furniture without brush marks. It’s an excellent green painted furniture idea that is sure to impress.
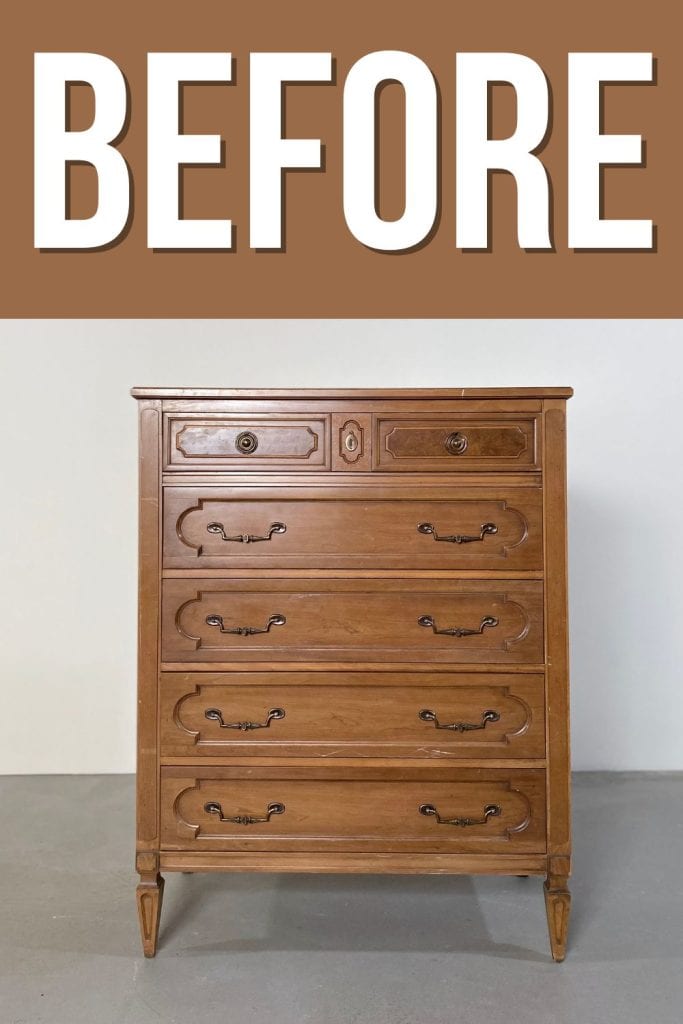
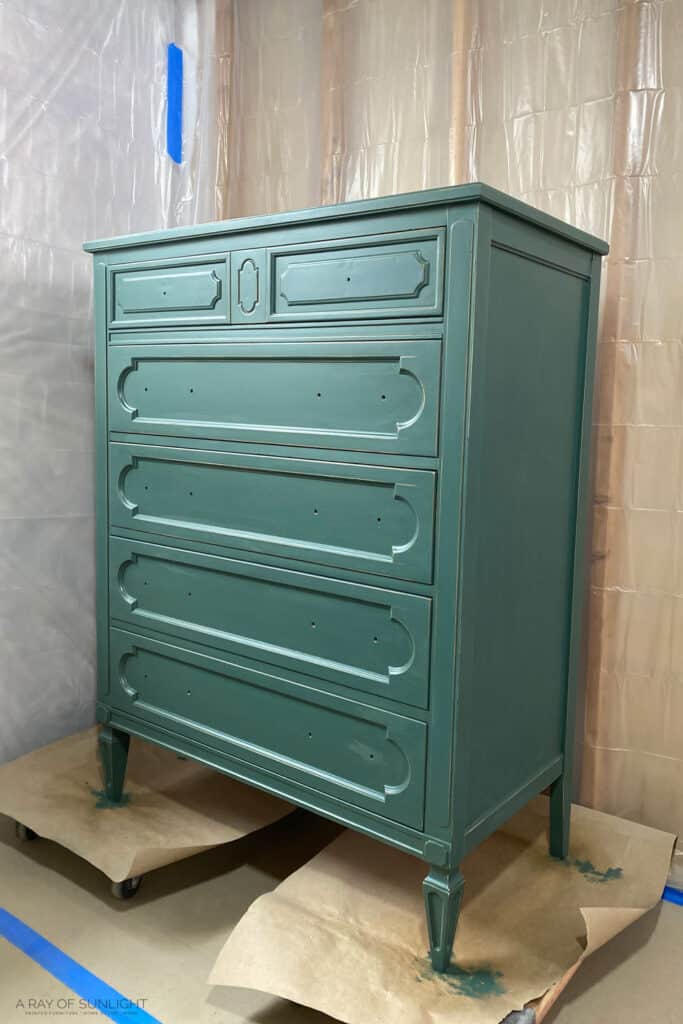
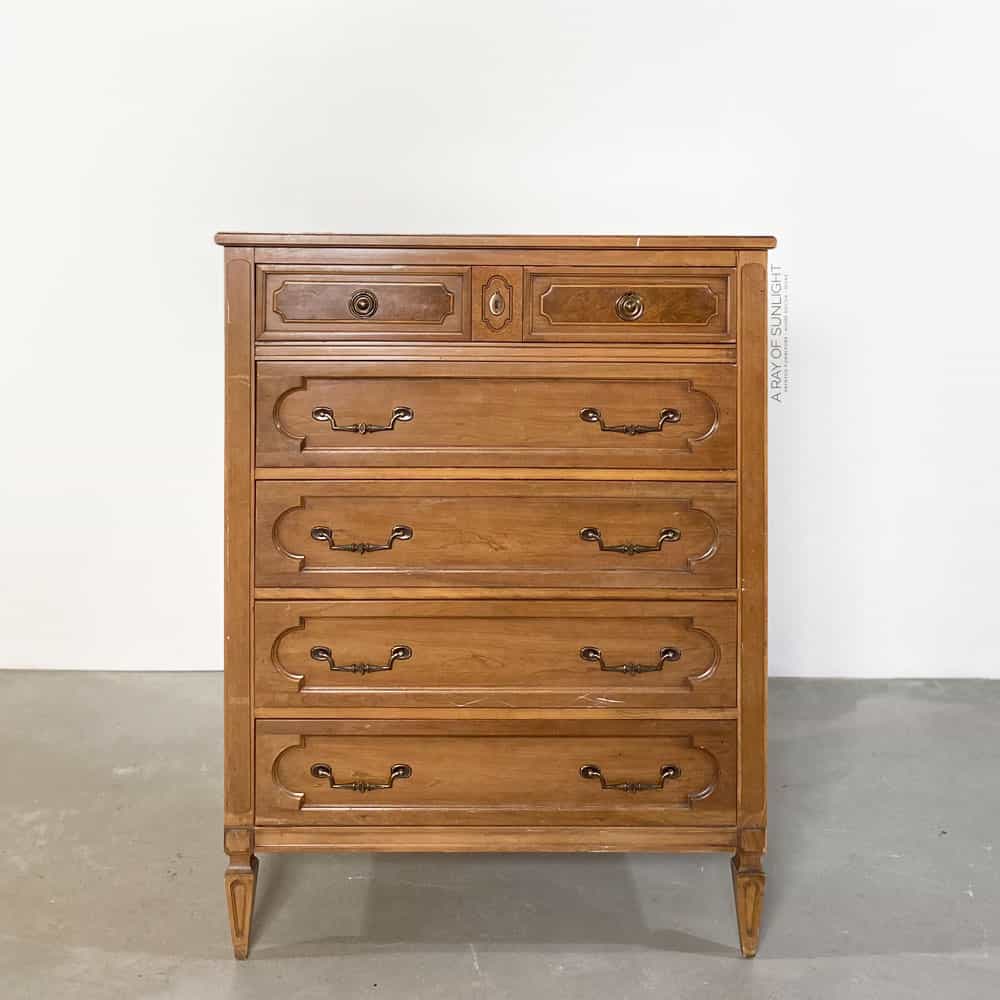
Today I’m sharing this modern dresser makeover with chalk paint. Above is what the dresser looked like before. We picked it up from an ad on Facebook Marketplace and it was in pretty good condition other than a damaged corner. I knew it would be the perfect candidate for a chalk paint makeover.

Painting it dark green may seem like a bold choice, but it’s a color that adds a touch of elegance and modernity to any room. Instead of sticking to traditional colors like white or black, why not try something stylish and different?

Supplies Used For This Dark Green Chalk Painted Dresser
As an Amazon Associate, I earn from qualifying purchases. I also may earn from other qualifying purchases with other companies or get free product to review and use. All opinions are my own.
- Electric Screwdriver to remove hardware
- KwikWood to fill in hardware holes
- Disposable Vinyl Gloves
- Wood Filler
- 3×4 Vacuum Compatible SurfPrep Sander (Use code RAY10 to get 10% off your order!)
- Foam Pads
- Krud Kutter Cleaner Degreaser
- Shop Vac
- Tack Cloth
- Clear Shellac
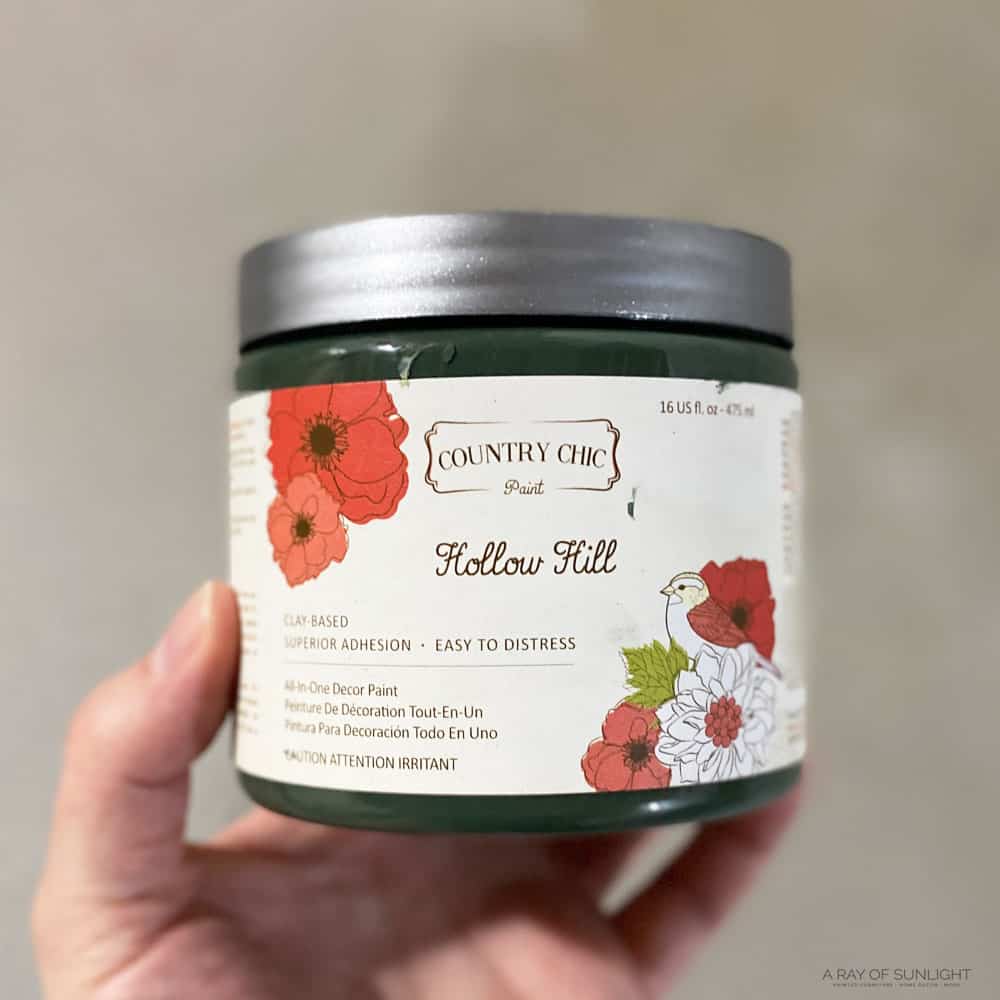
- Country Chic Paint – Hollow Hill
- Zibra Round Brush
- Varathane Water Based Polyurethane
- Fuji Q4 Paint Sprayer
- DIY Leather Pulls
Grab our list of 10 must have painting furniture supplies too!
Prep Dresser for Chalk Paint
First I removed the old hardware with my electric screwdriver. I planned to clean up the hardware and put it back on, so I didn’t fill in all of the hardware holes.
Read this post to learn how to clean old furniture hardware.
But one of the top drawer pulls was broken so I filled in the holes on the top drawer so then I could put new hardware on the top drawer.
Fill Holes in Drawers
I filled them in with KwikWood, my favorite product to fill hardware holes and repair damage. Read more in this post about filling holes when replacing cabinet or furniture hardware.
Get Our Secrets!
Grab this super convenient How to Repair Furniture Ebook with all of our secrets on how to repair furniture for only $14.
You can print it out and have instant access whenever you come across damaged furniture, and know exactly how to fix it!
Click on the picture of the book to purchase!

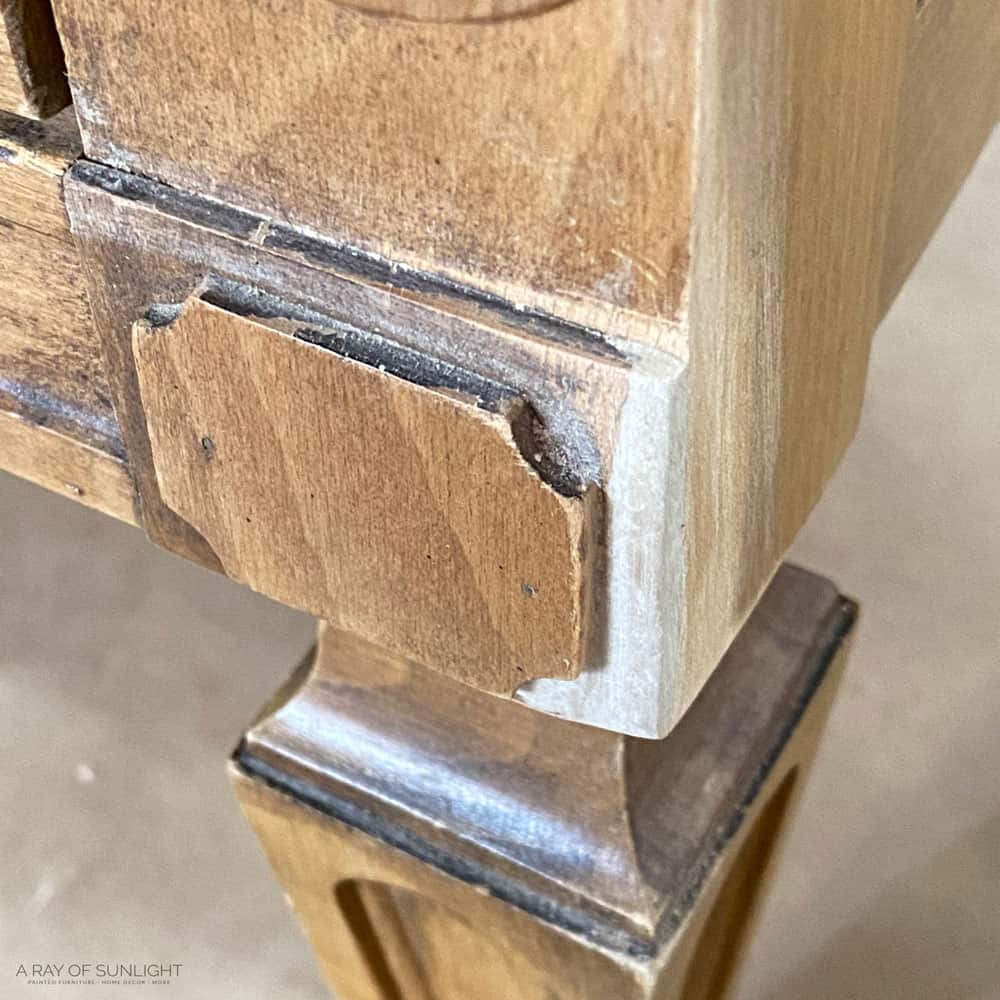
It’s a two-part epoxy that’s the consistency of clay. It dries hard in about an hour, and it doesn’t shrink and crack like most wood fillers do.
While I had it out, I shaped it around the broken corner to fill in the missing wood. Check out this post to learn more about how to use KwikWood.
Clean and Scuff Sand Dresser
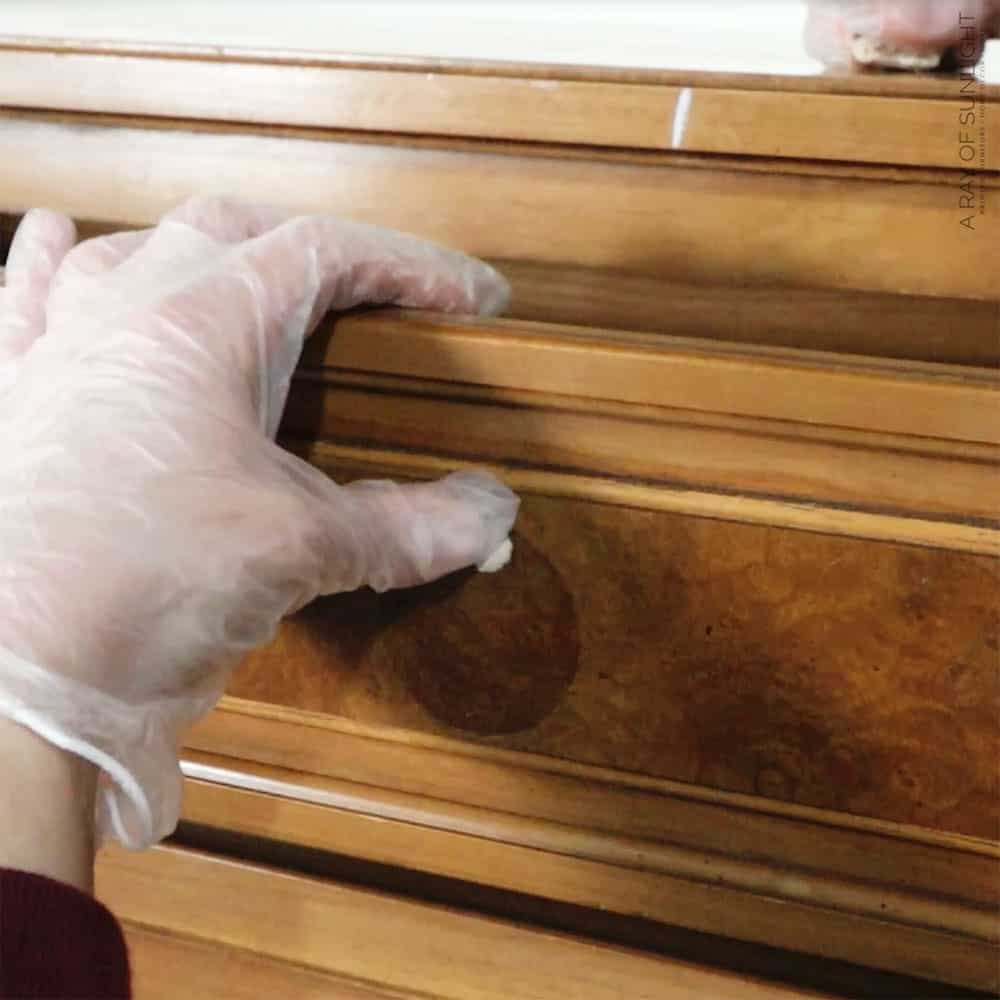
While I waited for the KwikWood to dry, I cleaned the whole dresser with Krud Kutter and an old damp rag to get rid of any dirt, oil or grime that was on it.
I don’t want any of those things to interfere with the paint being able to stick to the dresser. Read this post to learn more about how to clean furniture before painting.
After the KwikWood was dry, I sanded the KwikWood down smooth and to a better shape. Then I scuff sanded the rest of the dresser, with a fine sandpaper pad just to remove the shine.
Read all the details of sanding before painting furniture in this post.
I used my shop vac with the hose and brush attachment to remove most of the dust that was left behind, then a tack cloth to pick up the rest of the dust.
Prime Dresser to Prevent Bleed Through
Even though I’m using chalk paint on this dresser, I still like to prime before painting.
Not necessarily to help the paint stick, because this chalk paint will stick to a scuff sanded wood surface pretty well on its own.
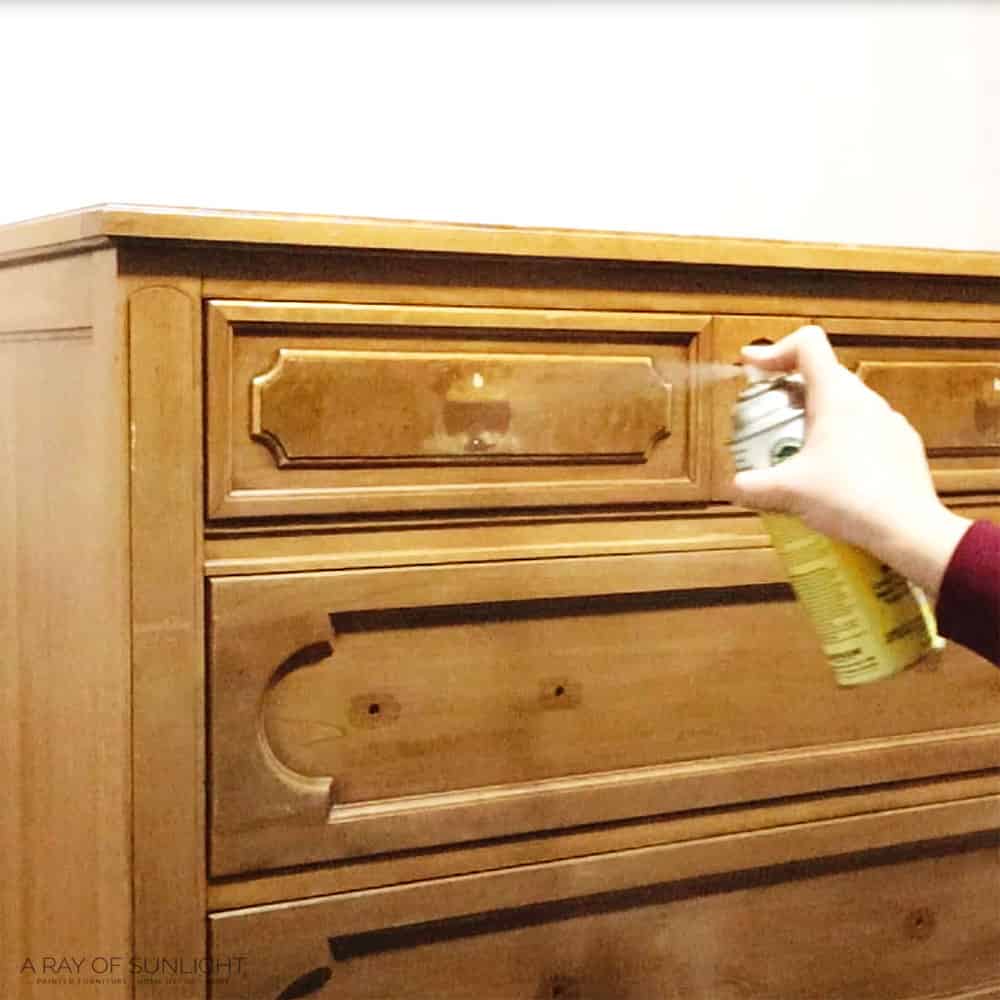
But I like to prime to prevent bleed through stains from showing up in my paint. Bleed through is only really prevented by using the right kind of primer, and a shellac-based primer is my go-to for blocking it.
Clear shellac is specifically my go-to primer to stop stains from coming through paint. I use it on almost everything!
I sprayed two coats of shellac all over the dresser, letting it dry for at least an hour in between coats, and then overnight before I painted.
Read this post to learn more about the best primers for painting furniture.
Paint Dresser With Dark Green Chalk Paint
Then I was finally ready to paint! I picked out this gorgeous deep, moody green from Country Chic Paint called Hollow Hill. Check out my honest and detailed Country Chic Paint Review here. And here are more of the best green chalk paint for furniture.
Check out my list of the top chalk paint brands for your future furniture makeovers and get more chalk painted furniture ideas here.
Avoid Brush Marks
I poured it into a separate container and added a little bit of water to it to thin it out a little bit, because Country Chic Paint, and chalk paint in general is pretty thick stuff.
Adding some water helps prevent some brush marks, because it makes the paint take a little bit longer to dry.
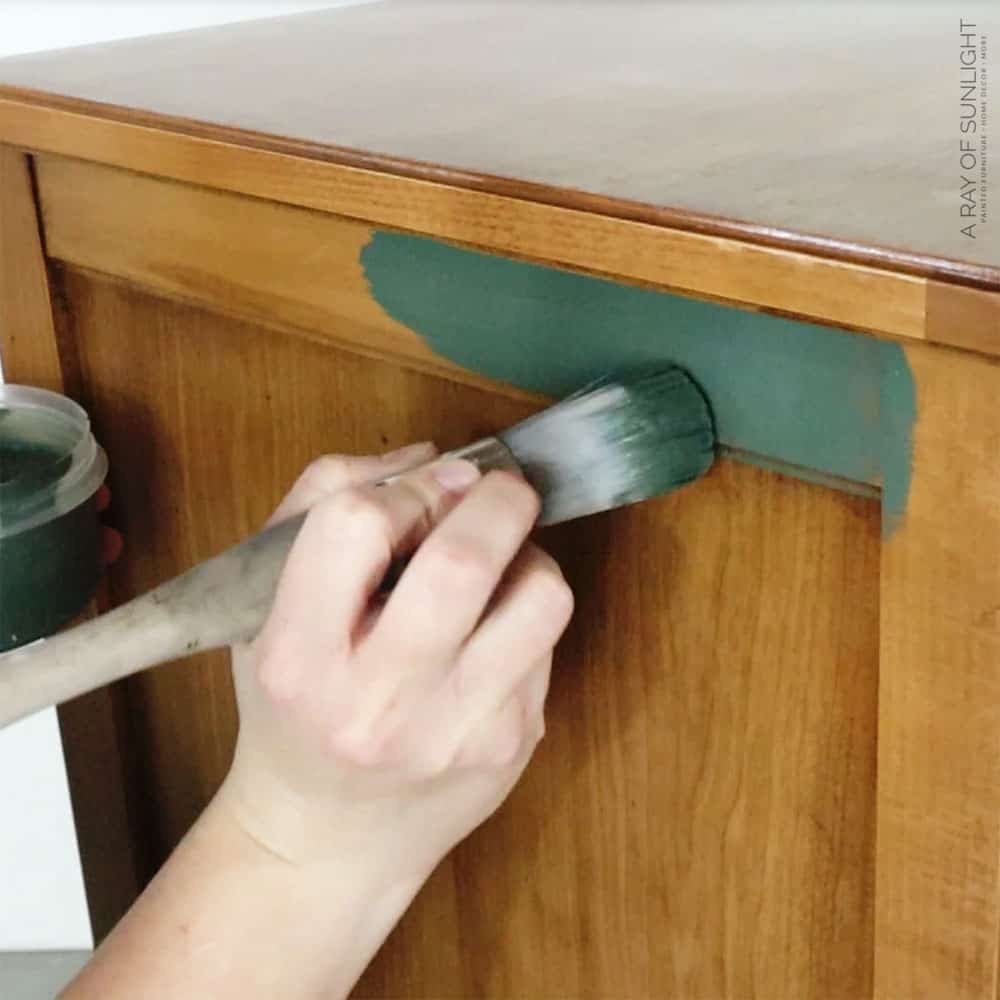
I brushed the paint on all over with my favorite round paintbrush from Zibra. Check out this post to read more about the best paint brushes for painting furniture.
Honestly, I LOVE spraying paint with my paint sprayer instead of brushing it on, but this time I just wanted to use my paintbrush. Check out this post to learn about painting furniture with a sprayer.
But, I really don’t like brush marks on my furniture, so I still tried to do what I could to minimize them. Learn all about how to paint furniture without brush marks here!
I worked in smaller sections and tried to brush it with long brush strokes, from edge to edge, before moving to the next section.
Would you like to save this?
I pulled out the drawers so I could paint all sides of them, and just painted really carefully on the edges so I didn’t get paint on the drawer boxes.
When everything was painted with one coat, I wrapped my brush with plastic wrap to keep it from drying out in between coats.
And then I let the paint dry. It only took about an hour before I could paint the second coat.

This paint has pretty good coverage and needed only 2 coats to get full coverage, even after I thinned it out.
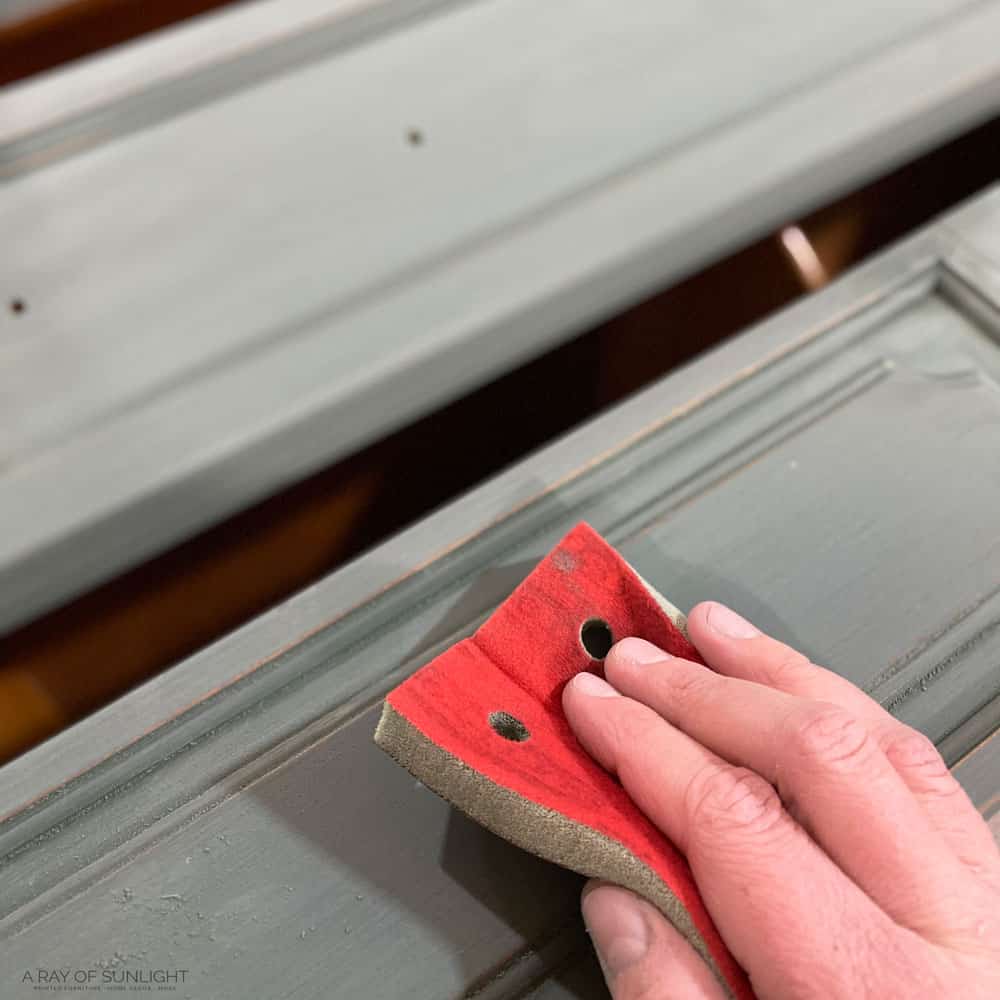
Sand Away Any Brush Marks
After the second coat was dry, I sanded everything to help remove any brush marks that were made.
This is also a great time to create a distressed look. Learn all about the 6 best distressing furniture techniques here!
Then I removed all of the dust and I lightly brushed some more paint on the areas that needed more paint.
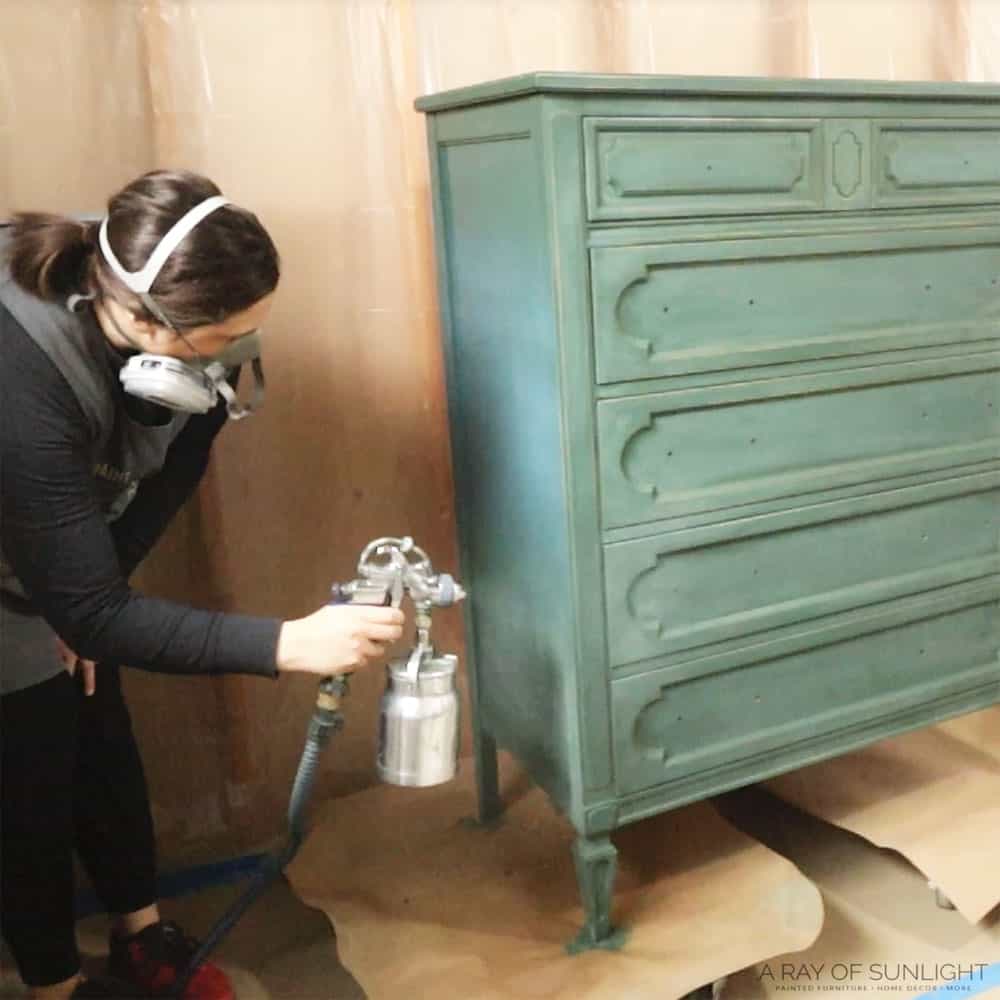
Topcoat Dark Green Chalk Painted Dresser
And then I used my tried and true method of top coating chalk paint. I filtered the water-based poly into my paint sprayer and added a tiny bit of water to thin it out a little bit.
Then I sprayed 3 coats of poly all over the dresser, letting it dry for a few hours in between coats. Check this post to learn more about the best topcoats for painting furniture.
I scuff sanded lightly between coats of poly with fine grit sanding pads to help the finish feel silky smooth.
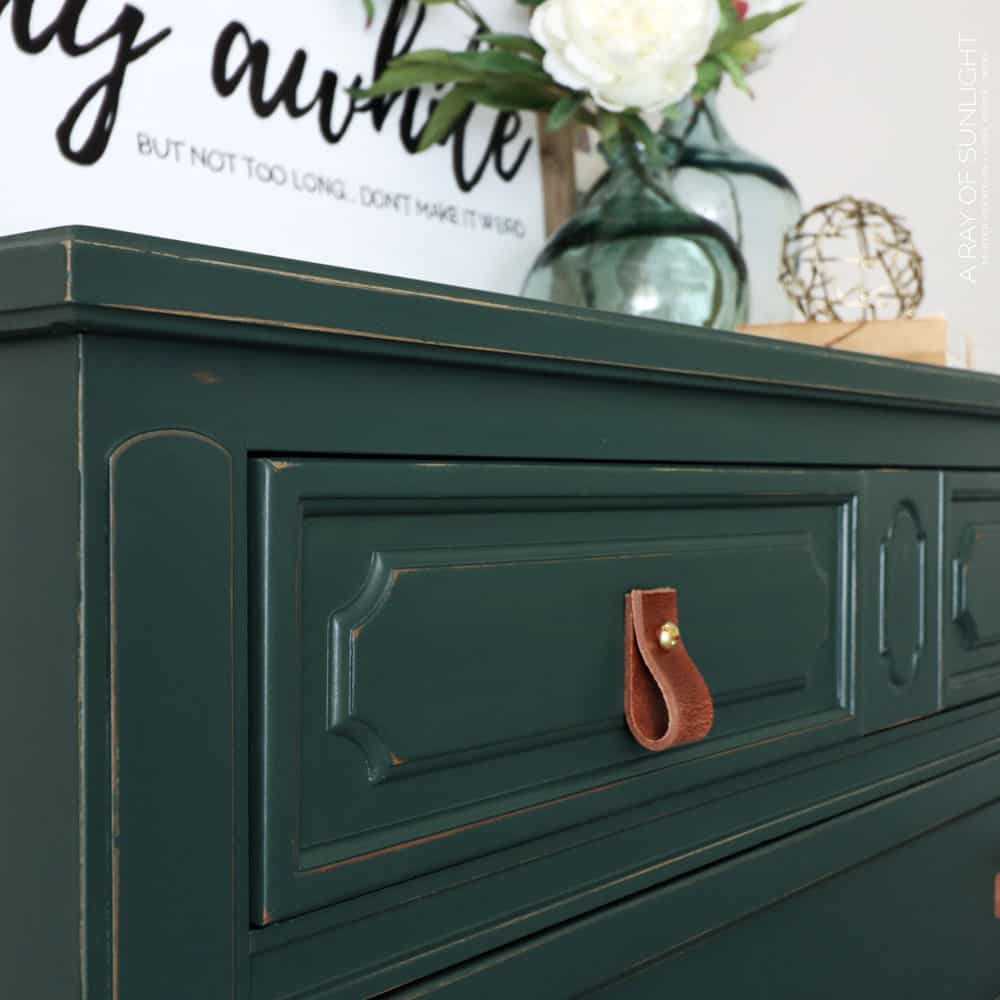
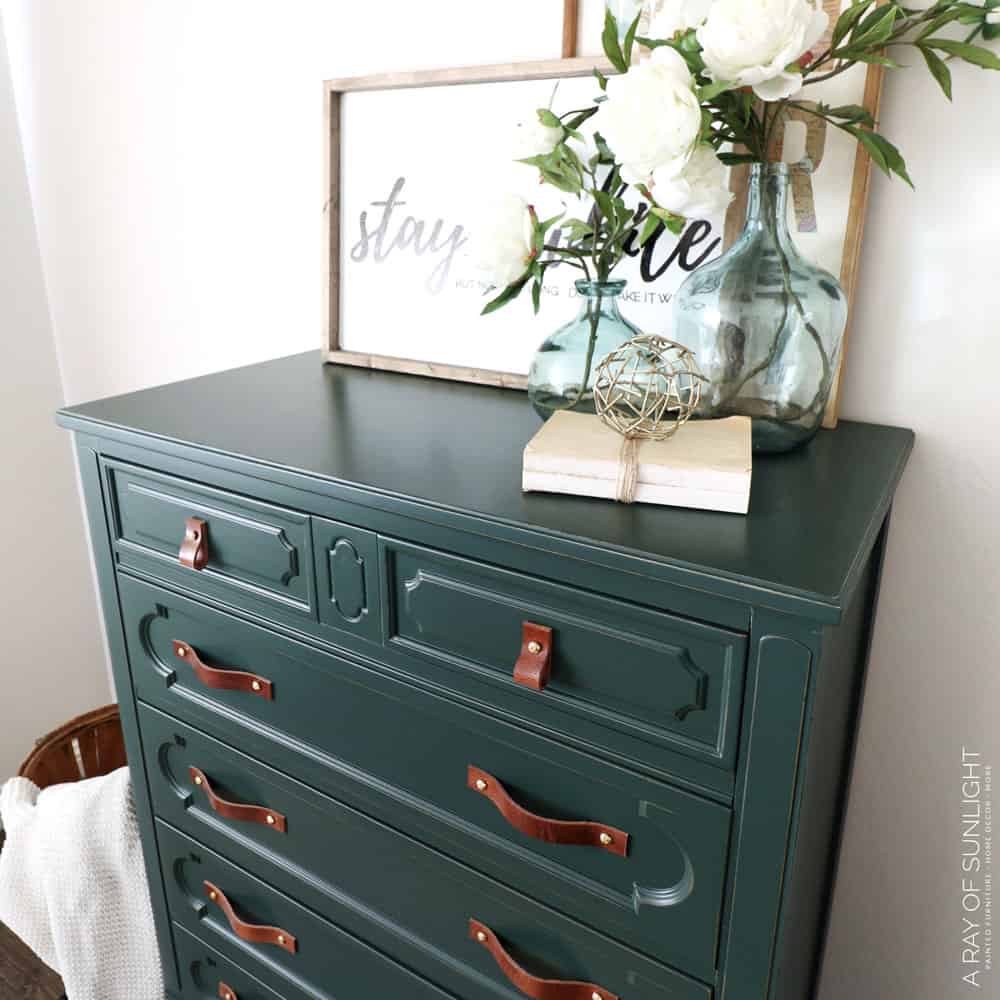
Attach New DIY Leather Pulls
After the poly was all dry, I started to put the original, cleaned-up hardware back on. But I just wasn’t feeling it. So, I switched gears and made new DIY leather pulls for the drawers.
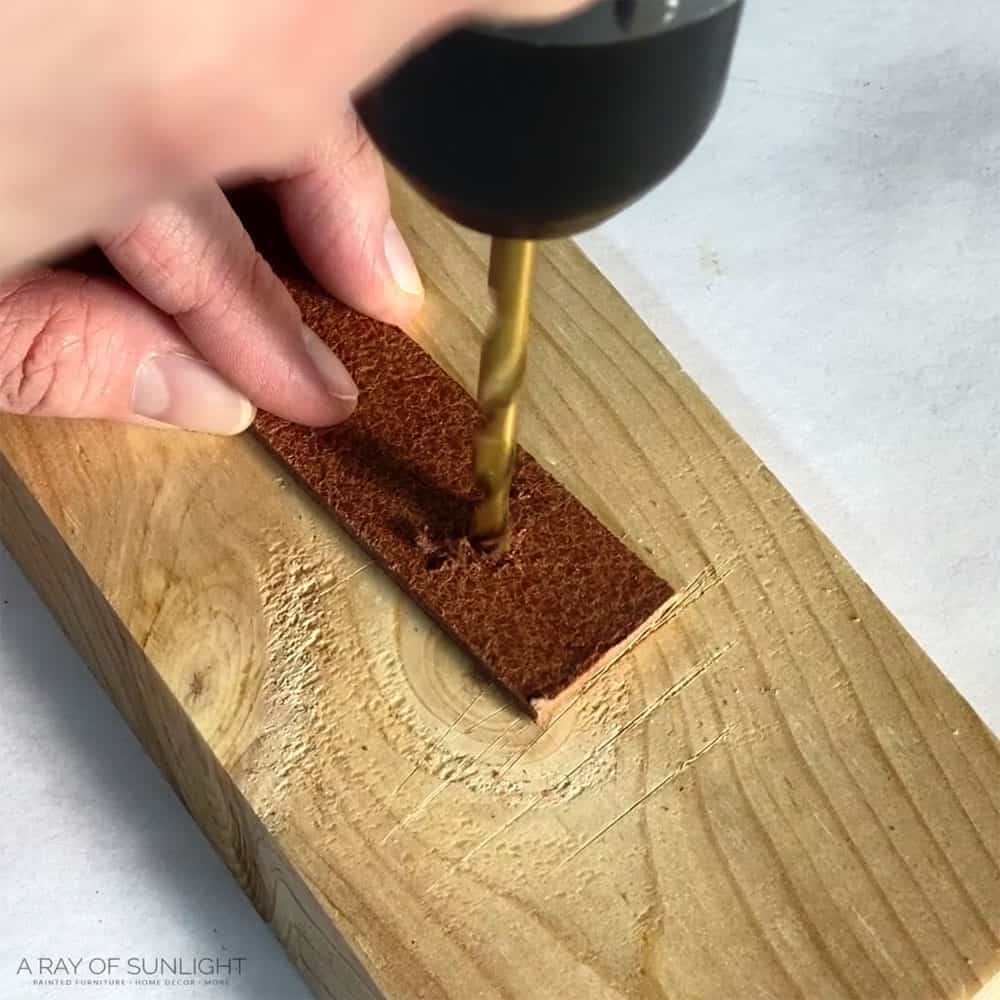
You can get more details on how I make these leather pulls in my DIY leather drawer pulls video that I’ll link here.
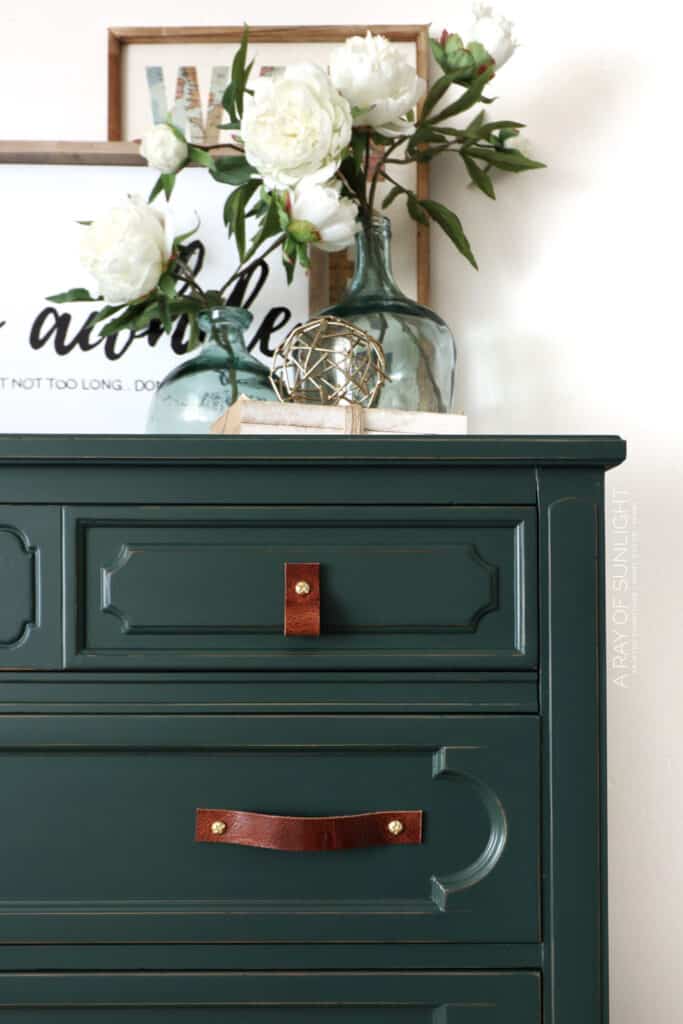
The only difference is that I made them into handles, with two screws instead of just one.
The old hardware holes were 5.5” apart, and I cut the leather at about 7.5” so the leather would bend out enough to be able to grab onto.
Now you’re ready to enjoy your new chalk painted dresser! Check out more green painted dresser ideas here and painted dresser ideas here.
More Before and After Makeovers
See All >
Click any of these “before” photos below to view the “after” of that makeover.


What kind of finish does chalk paint have?
Chalk paint has a unique finish that sets it apart from other types of paint. It is known for its matte, chalky appearance, which gives furniture and decor a rustic, vintage feel.
If you’re into farmhouse or shabby chic style, then chalk paint would be your best bet.
Another great thing about chalk paint is its versatility in finishes. Although it has a matte finish, you can easily change the look by adding a topcoat.
Adding polyurethane, for example, can give it a more satin or glossy finish.


Can I make my own chalk paint?
Yes, you can definitely make your own chalk paint at home!
In fact, there are many chalk paint recipes and methods for making homemade chalk paint using a variety of ingredients such as plaster of Paris and calcium carbonate.
Making your own chalk paint can be a more cost-effective option and it’s also a great way to customize the color.
You might want a specific shade that isn’t available in store-bought chalk paint, or you might have leftover paint from other projects that you want to use.
Whatever the reason, making your own chalk paint can be a fun and creative experience.
You can follow our homemade chalk paint recipe using latex paint, calcium carbonate, and water. This recipe is budget-friendly and produces a smooth and durable finish just like store-bought chalk paint.
We also used this homemade chalk paint in this dresser makeover, so you can see the results for yourself!


Dark Green Chalk Painted Dresser
Here's the step by step process on how to recreate this stunning dark green chalk painted dresser makeover and give your old furniture a modern look.
Materials
Instructions
- Remove dresser hardware and fill hardware holes. Repair any damage as well.
- While waiting for the filler to dry, clean the whole dresser to get rid of any dirt, oil or grime that is on it.
- Now when the filler dries, sand it down smooth and to a better shape. Then scuff sand the rest of the dresser to remove the shine.
- Prime the dresser to prevent bleedthrough stains from coming through paint. Spray 2 coats of shellac all over the dresser, letting it dry for at least an hour in between coats, and then overnight before painting.
- Get your dark green chalk paint, pour it into a separate container and add a little bit of water to it to thin it out a little bit. Apply 2 coats of paint to the dresser. Let the first coat dry before painting the second.
- After the second coat dries, sand everything to help remove any brush marks that were made. This is also a great time to distress your dresser.
- Topcoat with 3 coats of poly all over the dresser, letting it dry for a few hours in between coats. Scuff sand lightly between coats of poly to help the finish feel silky smooth.
- Attach new leather pulls to your dark green painted dresser.
Recommended Products
As an Amazon Associate and member of other affiliate programs, I earn from qualifying purchases.


More Green Dresser Makeovers
- Green Painted Modern Dresser
- Emerald Green Painted Dresser
- Mid Century Modern Farmhouse Dresser in Olive Green
- Painting Furniture with Lilly Moon Paint
- Emerald Green Painted Furniture
Follow us on YouTube to get more tips for painting furniture. Or share your project with us on our Facebook Group and be part of our community. See you there!
My goodness that’s very nice. Love the way you explained the details. I still don’t have the painting with chalk and distress look down so any details on painting in any form is welcomed. Awesome job!!
I notice that you always use a spray can of shellac. Wouldn’t it be more cost effective to buy the gallon and use a sprayer. Or is it too much hassle as you would need a sprayer that’s dedicated for just that probably ? Also I would have highlighted the nicer details on the green dresser with some gold rub on wax. I love the dark green though!!
Yeah, we do use it a lot. We could buy a gallon and use a sprayer, but shellac has a very low flashpoint so we couldn’t use it in our sprayers that we currently use since they’re electric sprayers. You’d have to have a pneumatic sprayer for that I believe. So yeah, it would be too much of a hassle for us to have a sprayer dedicated just for shellac, so we just use the spray can instead. But thank you, I’m glad you like the dark green! That’s also a great idea as well, highlighting the details with some gold rub on wax. Thanks for sharing your thoughts!
I love this beautiful finish and those leather handles. It’s so helpful to read about every step of the process. This will be a feature over at Handmade Monday this coming week 🙂
I’m so glad to hear this! It’s great to know this tutorial was helpful for ya! And thanks so much for the feature!