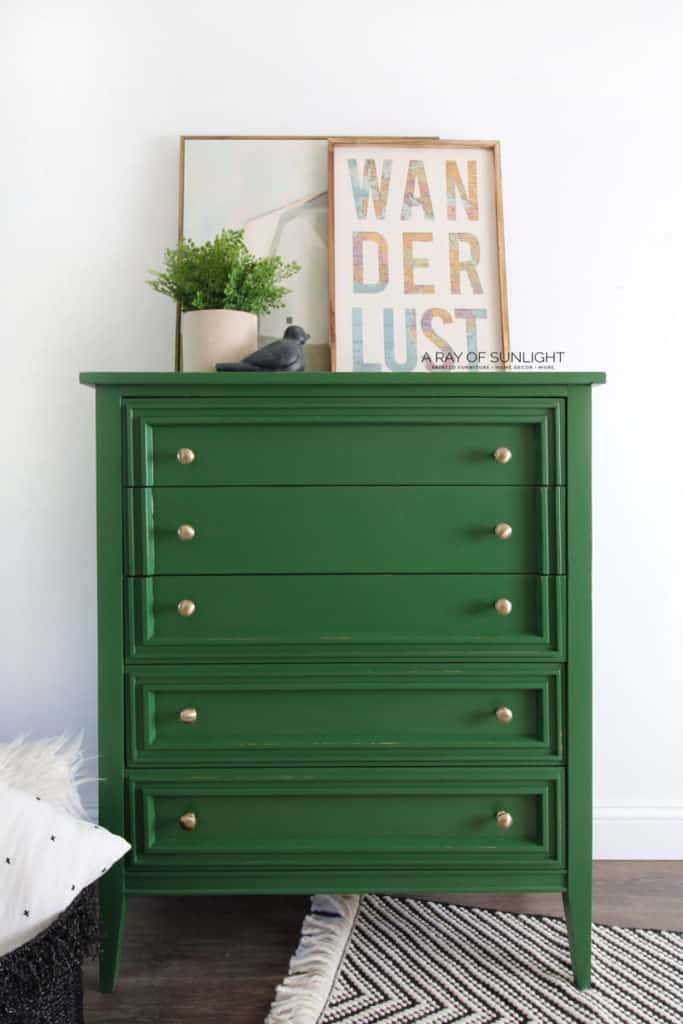
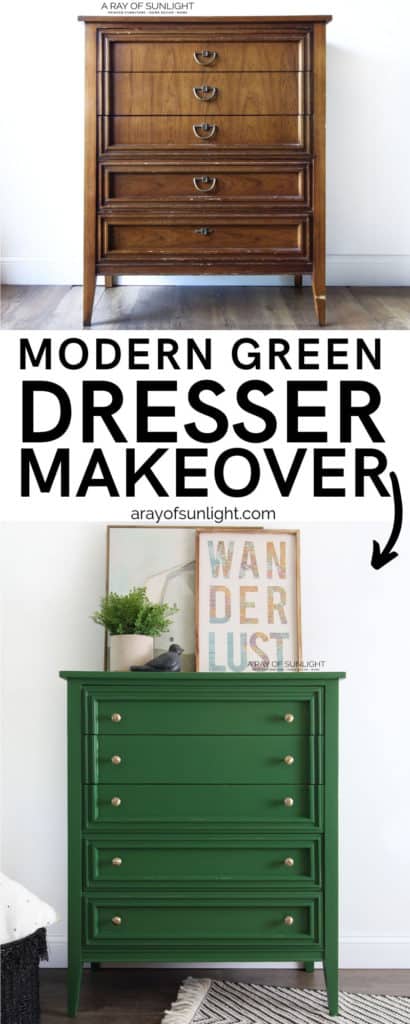
The Green Painted Modern Dresser
A little bit of paint goes a long way in updating and transforming any piece of furniture, and this modern dresser is no exception! Here is how to easily DIY paint your furniture, just like this green painted modern dresser.
If you’re looking for a fun and modern way to incorporate green into your decor, then you’ll definitely want to consider this green painted furniture idea. It’s an awesome way to add a pop of color and style to your home decor.
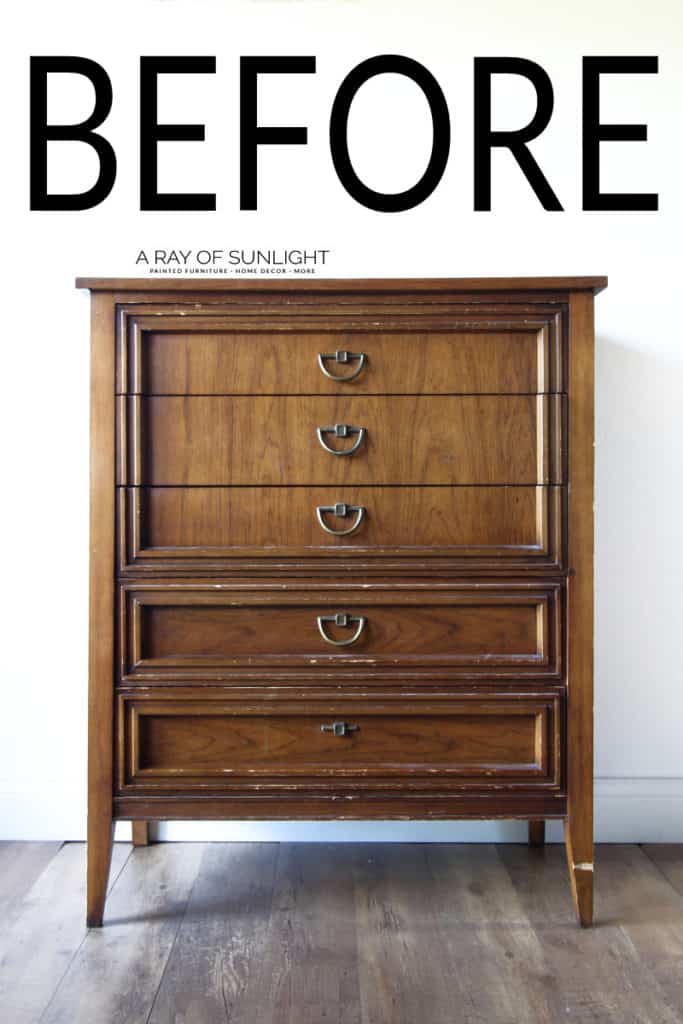
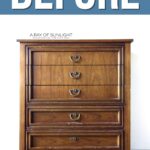
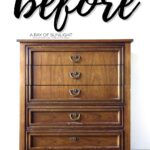
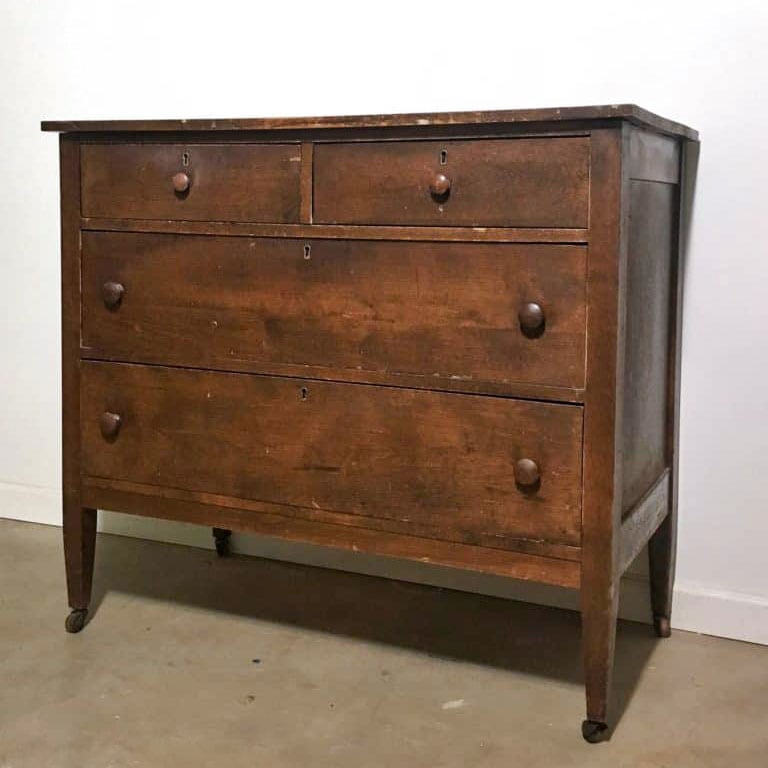
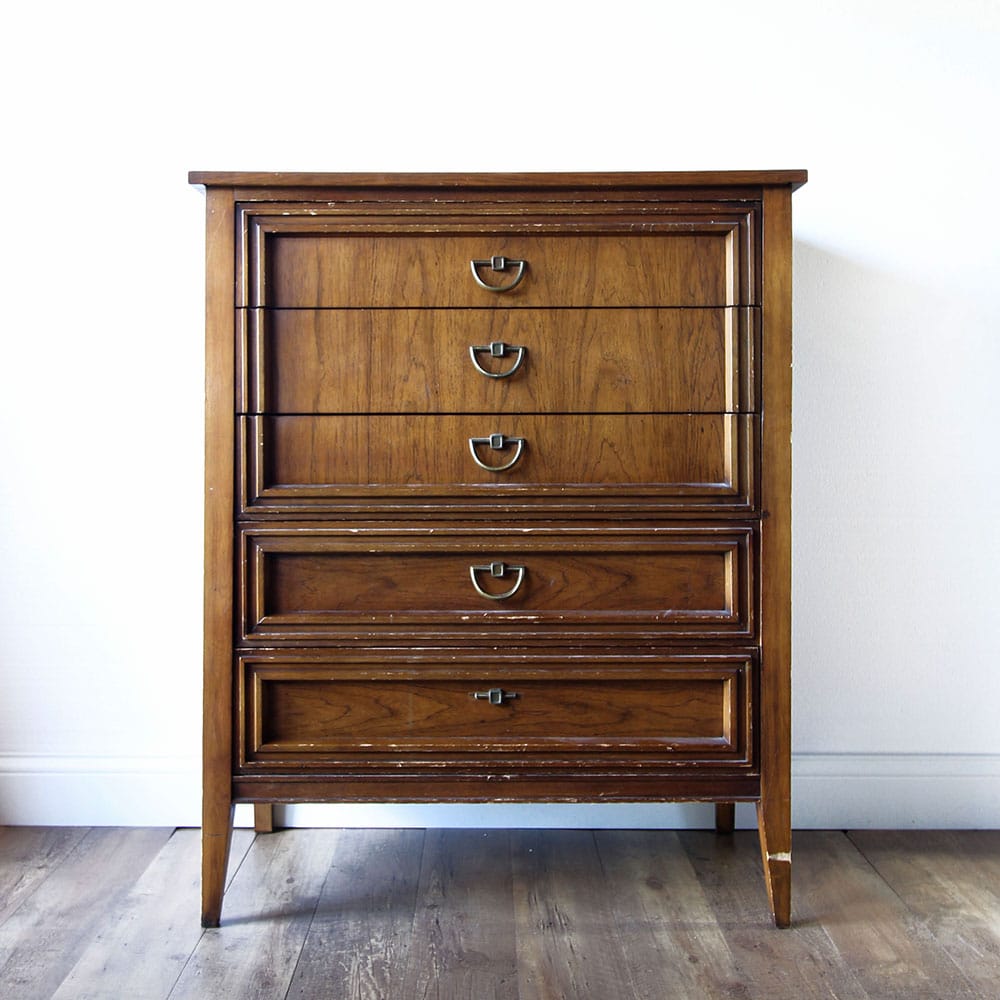
From the moment I laid eyes on this dresser on Facebook Marketplace, I could see it in green with gold knobs. Usually, I figure out what to do with a piece of furniture after it has sat around my shop for a while, but not this one!

It was scratched up with broken hardware but had amazing modern lines. The scratches and hardware were easy to fix.
Choosing a trendy and eye-catching color like green can be intimidating, but don’t let that stop you from trying out this fun project. There are many different shades of green to choose from, so you’re sure to find one that suits your taste and style.

Supplies Used for Green Painted Modern Dresser
As an Amazon Associate, I earn from qualifying purchases. I also may earn from other qualifying purchases with other companies or get free product to review and use. All opinions are my own.
- Old Vintage Dresser
- Krud Kutter – to clean off the dirty dresser
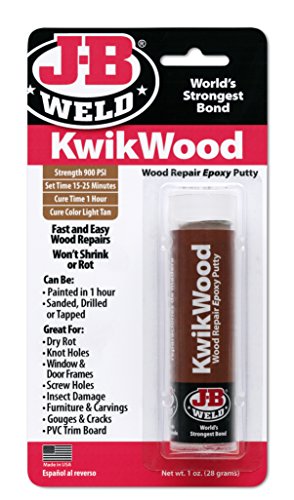
- KwikWood – to fill the hardware holes
- Sandpaper
- Tack Cloth – amazing rags to wipe off dust and lint
- Paint Brush or Paint Sprayer
- Green Chalk Style Paint – I used the limited edition Wild Clover Paint from Country Chic Paint, you can use Fireworks as an alternative
- Water-Based Polyurethane
- New Knobs
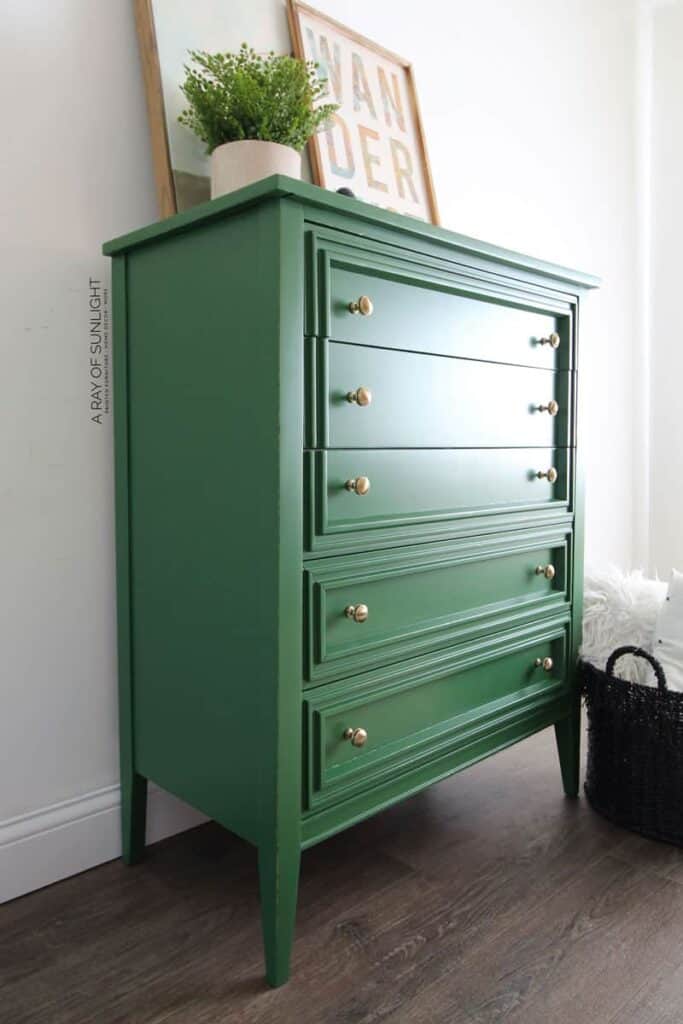
With paint and some new hardware, this dresser will be unrecognizable in the best way possible!
Prepping Dresser for Green Paint
I know this is always the step that most people want to skip. I think that’s why chalk paint became so popular, because it was advertised as no-prep paint.And you can totally go that route, if you want all of your hard work of painting to end in easily scratched furniture.
No matter what kind of paint you use, whether it’s chalk paint, latex paint, ceramic paint, or milk paint, you need to clean off the surface that you’re painting and give the paint something to actually hold onto.
Check out our homemade chalk paint recipe here and the secret to painting furniture with latex paint here.
If there isn’t anything to hold it onto the furniture’s surface, then you’ll run into scratching and peeling paint.
Part of prepping furniture sometimes includes filling in the old hardware holes to make new holes for new hardware. It also includes drilling holes for the new hardware.
Here’s the best way for filling holes when replacing cabinet or furniture hardware and here’s more about how to change hardware on a dresser. Learn all about how to prepare furniture for painting here.
Painting A Dresser Green
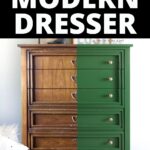
Now here comes the fun part: painting the dresser green!
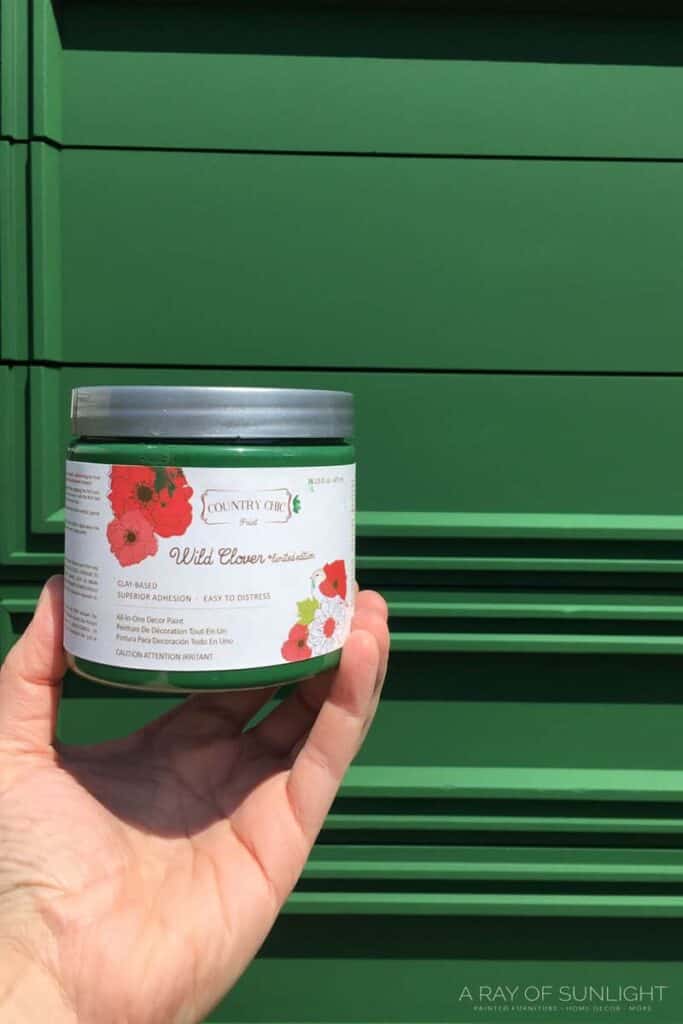
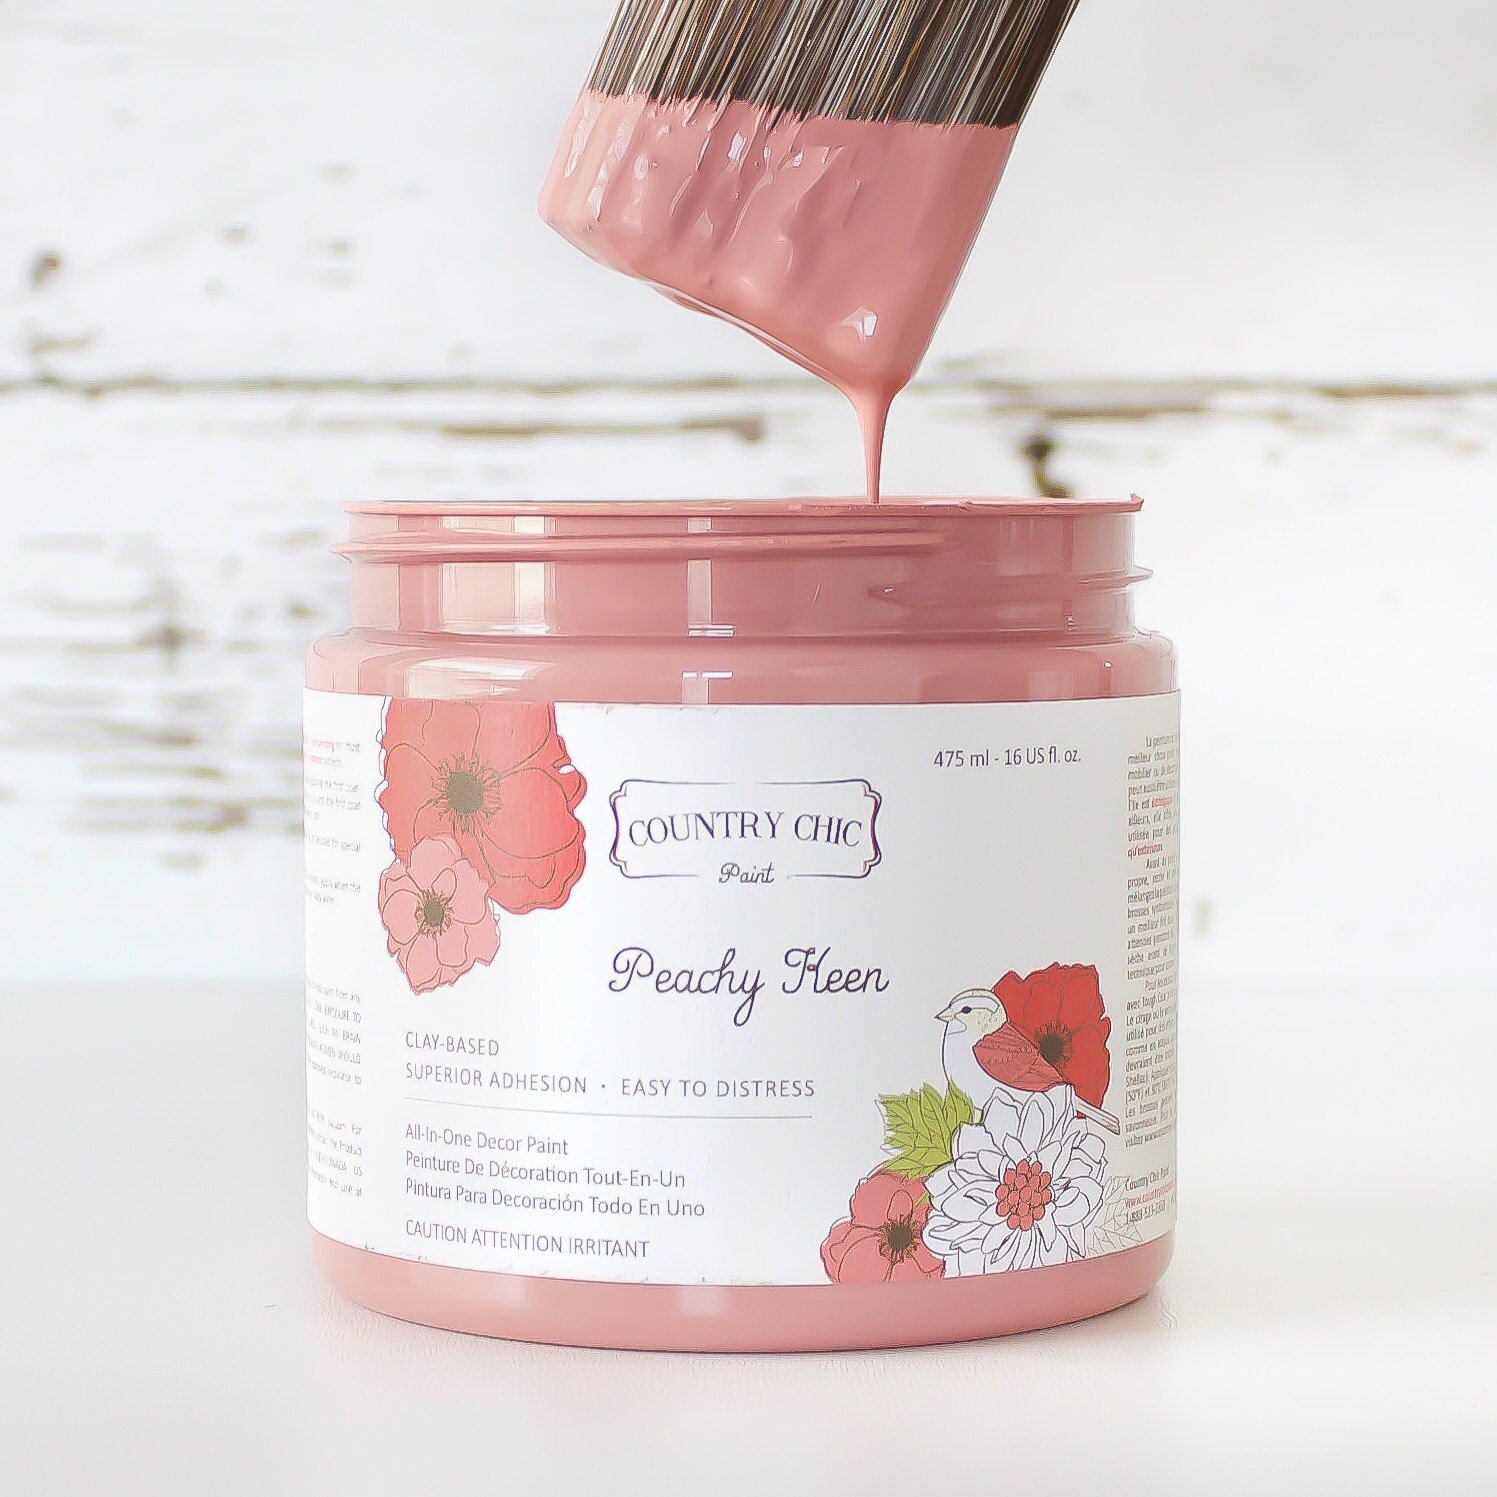
This green paint is an absolutely stunning color called Wild Clover from Country Chic Paint. This shade is a Limited Edition Spring/Summer color, but you can find other beautiful shades from their shop.
Country Chic Paint is a furniture paint company that offers eco-friendly clay-based paints. It acts just like chalk-style paint does too!
This means that the paints have great adhesion. They’re fast-drying and also super easy to distress. It is honestly my go-to store for paints and has been for years!
If you want to add more green furniture pieces to your home, check out our list of emerald green painted furniture ideas here and green painted dresser ideas here. For other colors, we have these painted dresser color ideas.
How to Paint Without Brush Marks
Country Chic Paint also has these painting sponges that make painting furniture details easy!
The sponges also help you get a brush-free finish when you thin the paint out a bit with water, and then brush the paint on in thin coats.
Also, they are really, really amazing for applying water-based polyurethane. If I didn’t have a paint sprayer, these painting sponges would be my go to!
My preferred method is using a paint sprayer for a brush-free finish. This is the best way to paint furniture without brush marks.
If you want a true brush-free finish on your painted furniture, I really recommend this cheaper paint sprayer, the Wagner FLEXiO sprayer.
It sprays so good and gives a professional-looking finish without having to break the bank on a professional paint sprayer!
If using a paint sprayer intimidates you, here are some great guides to learning how to paint furniture with a paint sprayer.
Check out how to thin paint for Wagner FLEXiO sprayer here and how to use the FLEXiO 3000 here.
This dresser used up a pint of paint with a paint sprayer. If you’re brushing it on, you might use a little less than a pint for a dresser of this size.
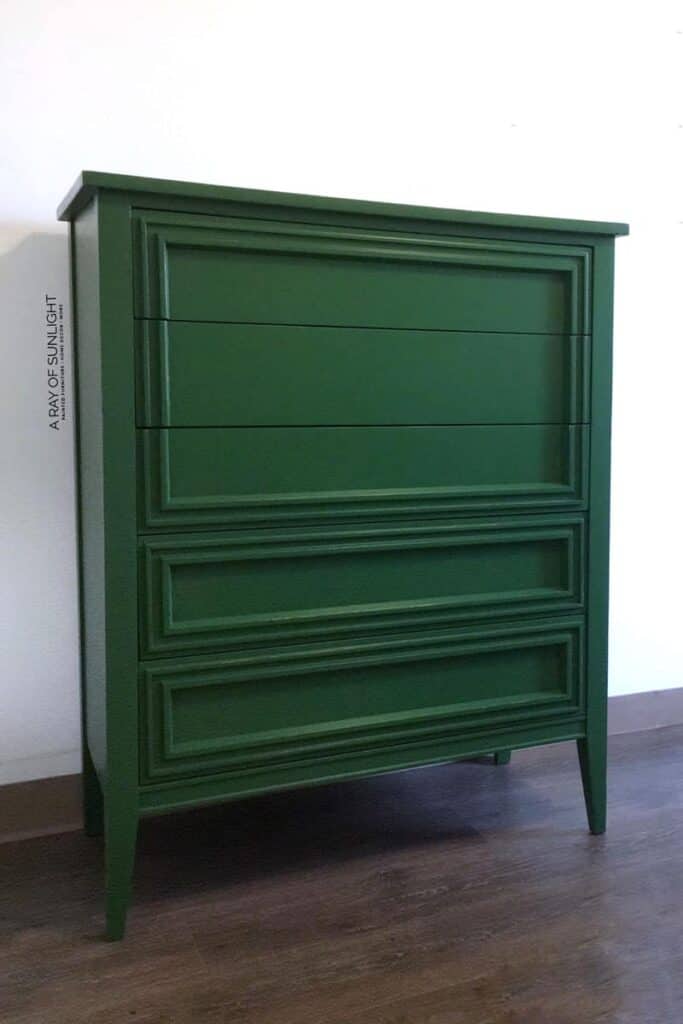
Distressing Dresser Edges
This is optional, as it is obviously totally up to what your style is!
Would you like to save this?
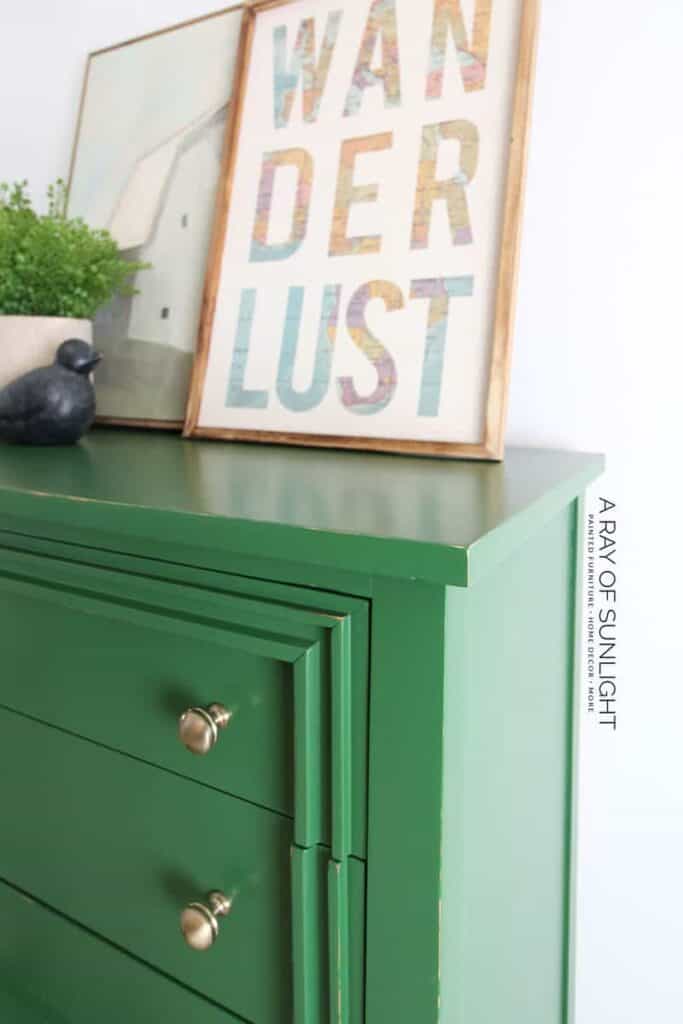
I personally love a good distressing around the edges, so I distressed this dresser just a bit. Learn the best distressing furniture techniques in this post.
Topcoating The Green Painted Dresser
Chalk-style paint needs to be top-coated for extra durability, especially if you want to wipe it down or for it not to collect as much dust. Learn all about topcoats for painting furniture options here!
You could wax chalk paint, but I don’t find wax as easy to use, and the whole process takes a long time.
Instead of waxing chalk paint, I used a water-based polyurethane. Varathane polyurethane is the best stuff out there!
I haven’t had yellowing issues and it is cheaper than name brands. Most of all, it dries to a very durable smooth finish!
The best way to apply poly by hand is to dampen a Country Chic Paint painting sponge, and brush it on moderately.
Make sure to only wipe it once, maybe twice, and then leave it alone to dry, because the more you touch it, the more streaky it gets.
My favorite way to apply poly onto my painted furniture is to spray it through my paint sprayer. Learn ALL of my tips and tricks on how to spray polyurethane here!
Poly has the best durability once you apply three or more coats, so don’t just apply one and be done. Take a few more hours to apply a couple more coats before being done.
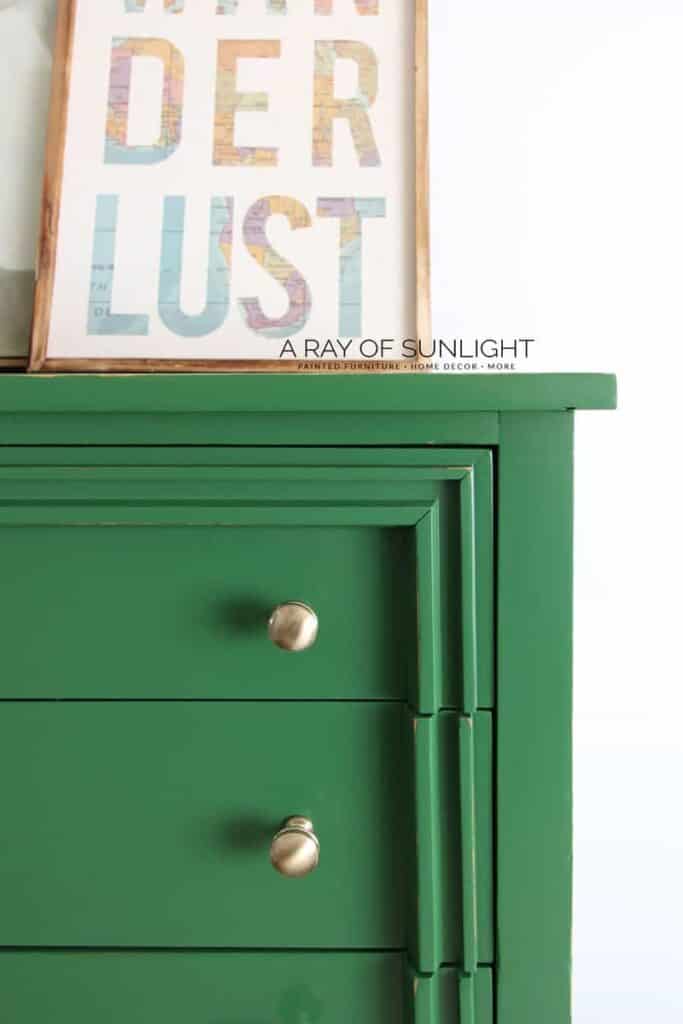
Attaching New Hardware to Green Dresser
Yay!! You are basically done!
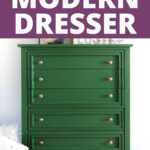
Now just screw or attach the new knobs into the new holes that you drilled! Step back and admire your work, because you did it!!
Here are modern dresser ideas and mid century modern painted furniture ideas if you want more inspiration in adding a modern touch to your space. These bedroom furniture paint color ideas and colorful dresser ideas will also inspire you to try different colors aside from green.
More Before and After Makeovers
See All >
Click any of these “before” photos below to view the “after” of that makeover.


Happy painting, friends!!!
How many coats of green paint should I apply?
It varies depending on the color and quality of your paint, but it is recommended to apply at least two coats for a solid, even color.
You can do more coats for a deeper and richer color. Make sure to let each coat dry completely before applying the next.
If you are painting over a dark or heavily stained surface with a light green paint, you may need more coats to fully cover and hide the previous color. Likewise, if you are painting over a white or very light surface with a dark green paint, you may need more coats as well.
It is also always better to do multiple thin coats than one thick coat, as it will dry faster and have a smoother finish.
Ultimately, the number of coats you apply will depend on your personal preference and the look you are trying to create.
What color hardware looks best with this green paint?
The color of your hardware also depends on the look you’re going for and the style of your furniture piece.
Some popular choices include brass or gold finishes for a touch of elegance, black or oil-rubbed bronze for a more rustic or industrial feel, and silver or chrome for a modern and sleek look.
Consider the overall style and color scheme of your room to help guide your decision on hardware color.


The Green Painted Modern Dresser
A fresh coat of paint and new hardware can easily give your furniture a new look. Here are the steps for this green painted modern dresser.
Materials
Tools
Instructions
- Prep the dresser before painting by cleaning it, removing hardware then filling in the old hardware holes. Drill holes for the new hardware as well.
- Apply the green paint onto your dresser. Use a paint sprayer for a brush-free finish.
- This is optional but you can distress the painted dresser around the edges for a more antique or worn style.
- Topcoat the green dresser with water-based polyurethane for a very durable smooth finish. Apply three or more coats.
- Screw or attach the new hardware into the new holes that you drilled!
Recommended Products
As an Amazon Associate and member of other affiliate programs, I earn from qualifying purchases.


More Green Painted Furniture Makeovers
- DIY Emerald Green Dresser
- Dark Green Chalk Painted Dresser Makeover
- Dark Green Dresser Makeover
- Mid Century Modern Farmhouse Dresser in Olive Green
- DIY Emerald Green Bedside Table
Follow us on YouTube to get more tips for painting furniture. Or share your project with us on our Facebook Group and be part of our community. See you there!
Hi Natalie, does that Kwikwood have any odor? I have 44 holes to fill today and I’m dreading it.
Hey Teri! That’s a lot of holes to fill! I would be dreading it too! Haha Kwikwood has an odor, but it’s definitely not as potent as bondo is. It’s also not flammable like Bondo which makes it a double win in my book. If you’re looking for something with a very very low odor then I would use wood filler. It just won’t be as durable and it will take a lot longer to dry.
Hope that helps!
Natalie
Man .. Beautiful .. Amazing ..
I will bookmark your web site!
Thank you!
Thanks to my father who stated to me reading this blog,
this web site is truly remarkable.
Love the green color on this piece!
Awesome! So glad you love the color!