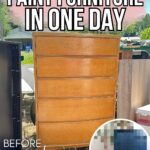
Easy Way To Paint Furniture In One Day: From Trash To $300


Ready for an easy way to paint furniture in one day: from trash to $300? With the right prep, paint, and tools, you can turn a worn, forgotten piece into something beautiful and profitable, too! It’s amazing how quickly a simple makeover can breathe new life into furniture that most people would overlook.
If you’re thinking of transforming your next thrift find, check out more of our favorite DIY dresser makeover ideas here for inspiration. Now let’s get started with this transformation!
Welcome to Furniture Fixer Upper day, where we join 4 of our talented furniture friends and bring you brand new makeovers! I’ll link to my friend’s makeovers after our after photos at the bottom of this post! Don’t forget to check out their masterpieces!! Okay, back to our makeover!
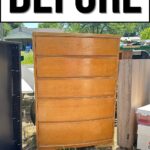
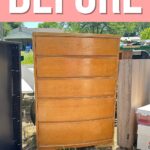
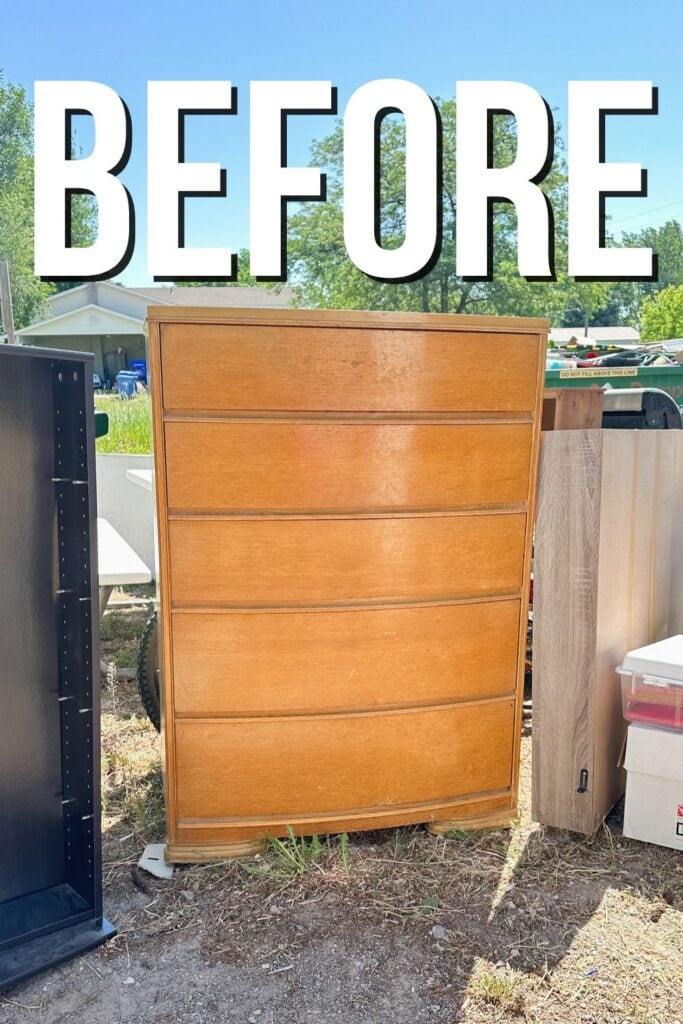
Let’s talk about this one day, true trash to treasure makeover. We got this piece for free from a friend. When you look at it from the outside, it is run down and does not look pretty anymore. And to be honest, the style is not my favorite with the little feet at the bottom.

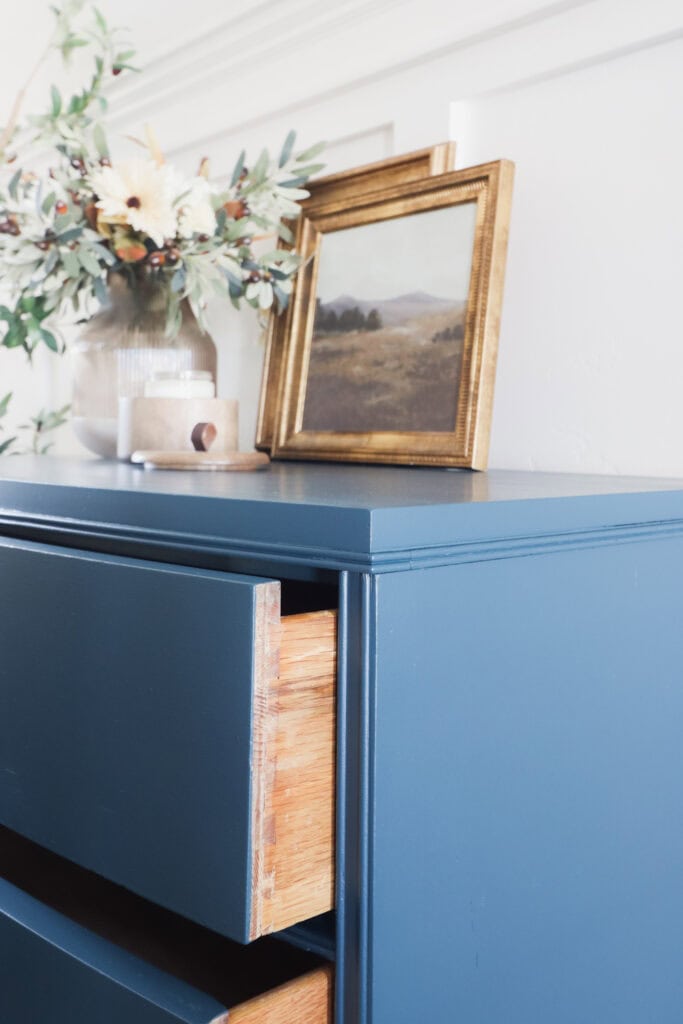
But when you open up the drawers, they’re all solid wood. There’s no particle board, not even on the back, where a lot of furniture has it. Now, you might be wondering if I stained it? Well, to be honest, I think this style looks way better painted than in its wood version. And so, that’s what we did, and we wanted it to be very simple yet very fast.
We picked this up for free, and we’re going to list it for sale on Facebook Marketplace for at least $300, which is pretty incredible when you think about how we worked on this. It took a day, but honestly, not a full day because most of that time was waiting for the paint to dry or working on other things. So, keep reading for all the details of this quick and beginner friendly makeover!

Supplies Used for Easy Way To Paint Furniture In One Day
As an Amazon Associate, I earn from qualifying purchases. I also may earn from other qualifying purchases with other companies or get free product to review and use. All opinions are my own.
- Krud Kutter
- Damp Rag
- Scraper
- Shop Vac
- Carbide Scraper
- Bondo Wood Filler
- DeWalt Orbital Sander
- 180 Grit Diablo SandNet Discs
- Flexible Vacuum Attachment
- Tack Cloth
- Wagner Spray Shelter
- Heirloom Traditions Paint in Mediterranean
- Vonforn Paint Sprayer
- Paint Sprayer Liners
- Paint Filter
- WEN Air Filtration System
- Respirator
- PreTaped Plastic
Prepping the Dresser
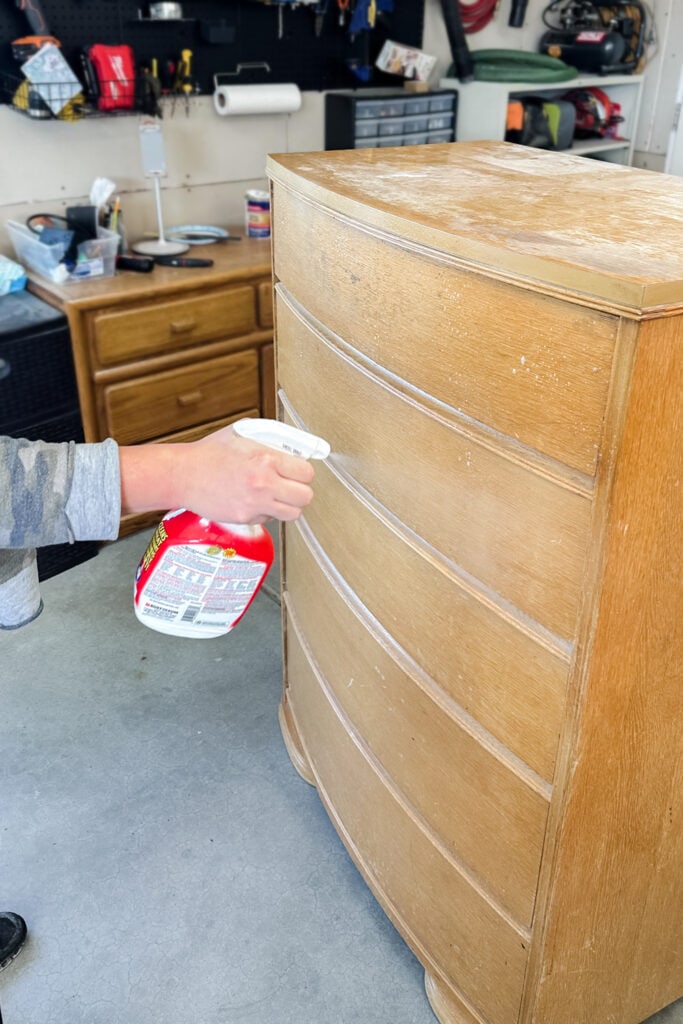
We started by cleaning with our favorite Krud Kutter to get any grease and grime off. We sprayed it on, wiped it back off with a damp rag, and so much gunk came off because this dresser was very dirty.
There were also some places where tape had been left on it, plus the drawers had dried sticky gunk on them. Taylor scraped those off really easily with our handy little scraper.
I also removed the drawers. Inside the drawers and the dresser itself, there was so much dust. We used our RIDGID shop vac with the small auto detailing hose and the little brush attachment to easily vacuum up all the dust.
Fixing Scratches and Damage
And then if you looked really closely, there were scratches all over this piece. But most of them were not very deep. If you have deep ones, here’s my guide on how to repair deep scratches in wood furniture.
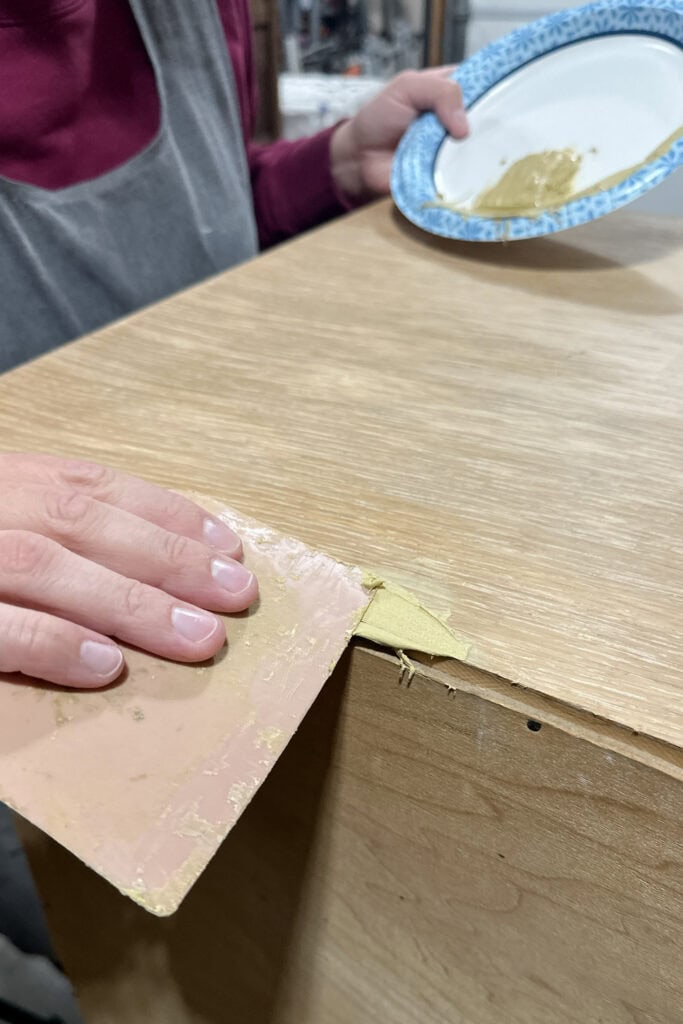
There was also a lot of water damage on the top, where the finish had come all the way off. It also had a big gouge, so we needed to fix that, too.
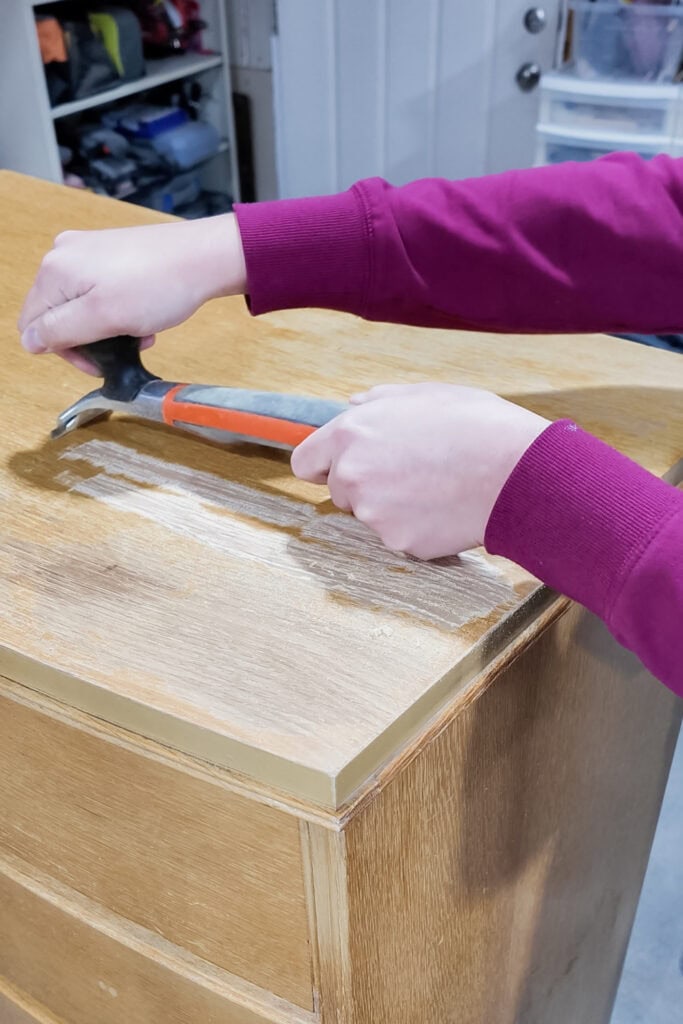
I took our carbide scraper and scraped off the old finish without really much work. It just turned into powder as I did. Now granted, the finish on this was really dry and not slick.
Then I mixed up some Bondo wood filler and filled in the large scratch. The next morning, I sanded it down smooth and flush with the rest of the surface with my DeWalt Orbital Sander and Diablo SandNet discs in 180 grit. This Dewalt sander is the one I started out with, and it is a great beginner sander.
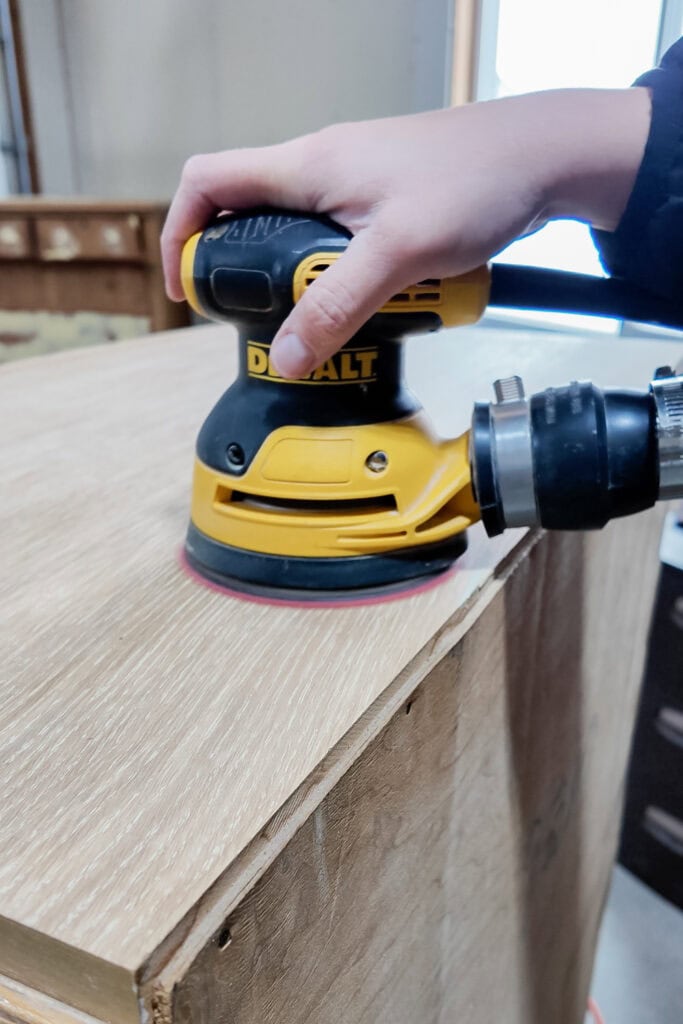
And then I just quickly sanded the rest of the top, making sure all of the old finish was removed and everything smooth. With the DeWalt sander, I also used this flexible attachment that hooks it to my shop vac hose so I can sand inside my garage and house, and the dust doesn’t get in the air. Here’s my guide on how to attach shop vac to sander.
There was a little bit of dust left on the surface, so I vacuumed that right up with my little brush attachment. And then I also wiped the top with a tack cloth to make sure there was no dust left.
Setting Up Spray Shelter
Then we switched gears in our garage. We got our Wagner spray shelter out. You set this thing up in just five minutes with another person. It’s very simple to set up, makes sure that the overspray is just contained inside the booth, and keeps paint from getting everywhere else in my garage and even outside.
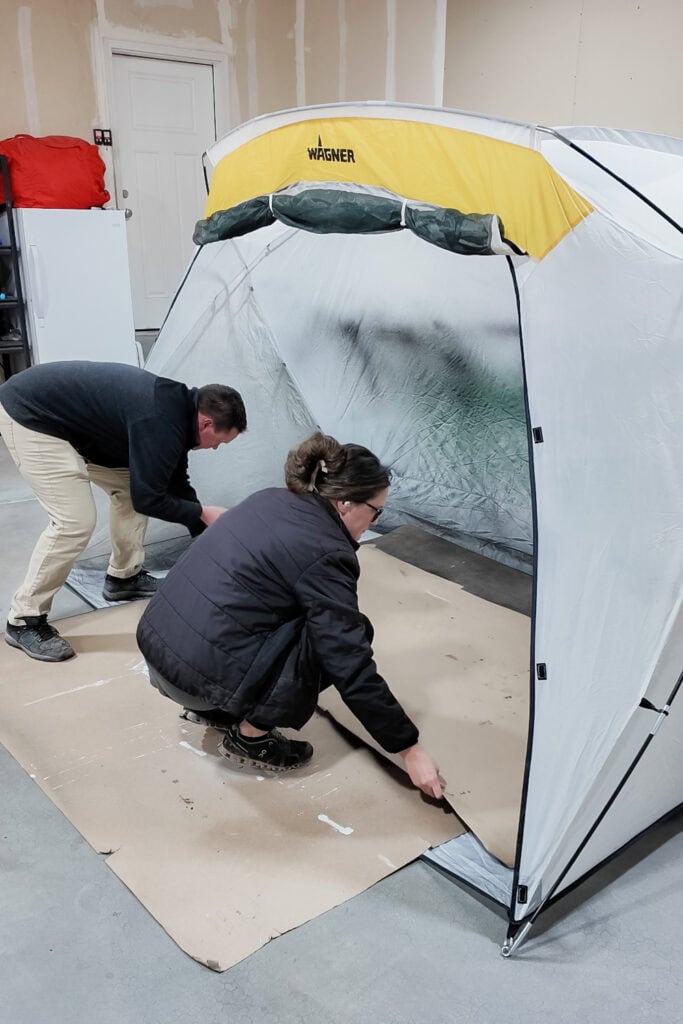
It even fits large projects like this tall dresser. I love that I could stand up inside, and I don’t have to hang up plastic or drop cloth on the walls and all over the floor, though I did lay down cardboard just to make the spray tent’s life longer. Check out more spray paint tools you need when painting furniture here.


Spray Painting Dresser
Honestly, the hardest part was picking a color for this style of dresser. And I think we nailed it on the head with this. This paint that I used doesn’t require a topcoat, a primer, and sanding before you use it. Learn all about it in my Heirloom Traditions All In One Paint review here.
I mixed up the Heirloom Traditions Paint in the color Mediterranean really well, and poured it into the paint sprayer through a spray filter. I thinned the paint with about 10% water as well. I also used some sprayer liners in the container.
Would you like to save this?
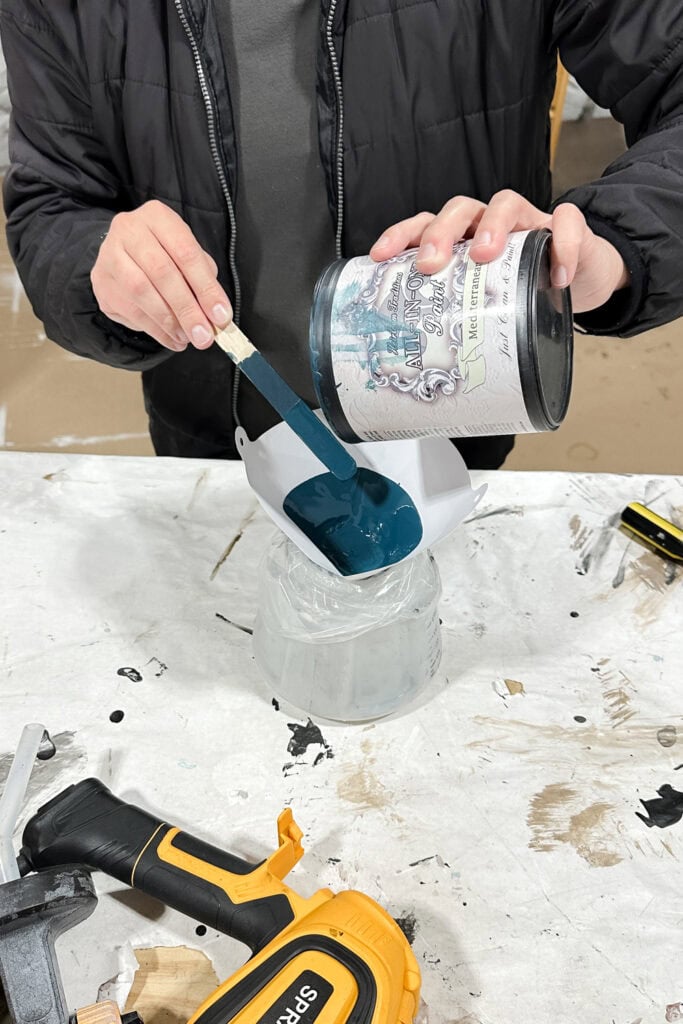
With the liners, I don’t have to clean out the sprayer container when I’m done. I just snip the corner of the bag and pour any leftover paint back into my paint container. I don’t wash paint down the drain anymore, so it cuts cleanup time for the sprayer in half.
I also filtered the paint so there are no chunks of dried paint or debris that could get into my sprayer and clog it while I’m using it.
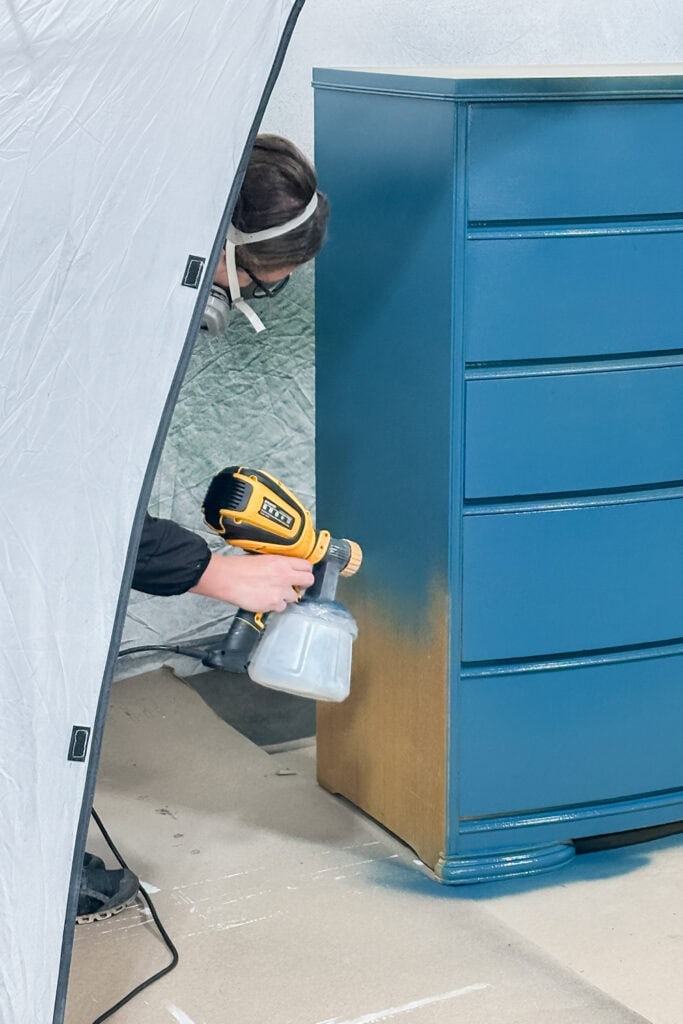
Then I sprayed on a coat with my Vonforn sprayer. It’s a great sprayer for beginners to get into projects where you can spray your furniture and not have brush marks. It’s so easy to use and even powerful enough to spray thick paint. It’s also one of the best cheap paint sprayers you can get.
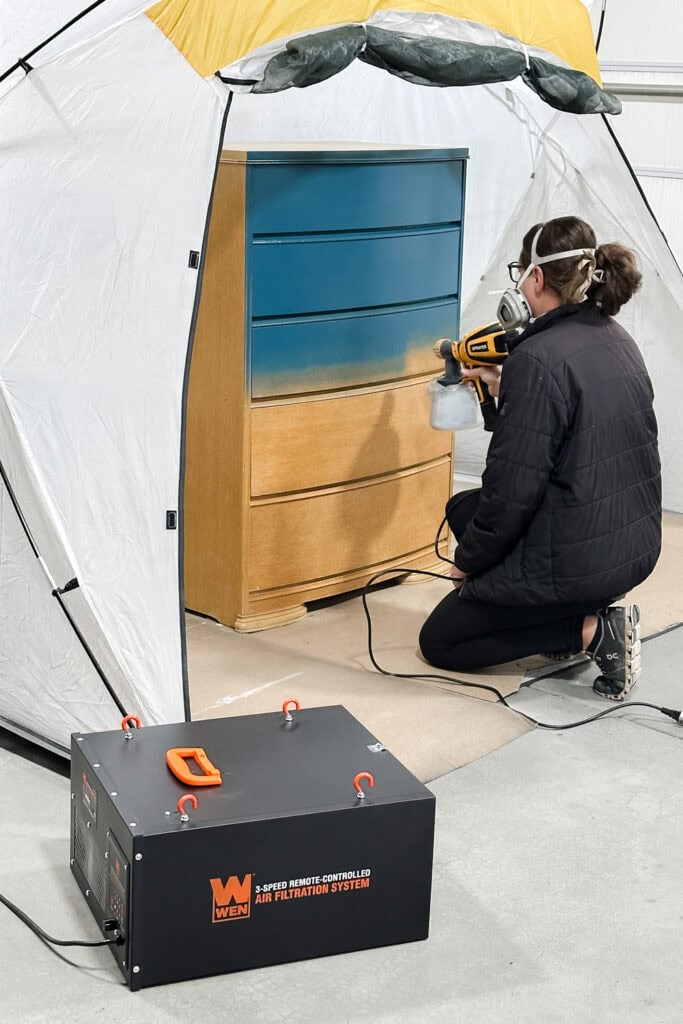
We did recently invest in this WEN air filtration system since we paint so often. This thing worked so well, and it was very, very quiet. We just had it sitting on the floor next to the shelter, and it helped with cleaning up the air and sucking in the overspray. Get more tips on how to prevent overspray when painting furniture here.
I also obviously wore a respirator to avoid breathing in the paint fumes. After the first coat was dry, about 30 minutes to maybe an hour, I was shocked. I expected there to be bleedthrough and stains everywhere that needed to be sealed in with primer.
Even with a dark color like this, you can still see bleedthrough, which just shows up as darker, muddier spots. But again, there were no issues at all, even on the top that I had gotten down to bare wood. If you have this issue, here’s my guide on how to fix paint bleed through.
Sanding Rough Spots
The only thing I had wanted to address before I added another coat was that some areas felt a little bit rough. I love soft, smooth feeling furniture.
I personally prefer using the SurfPrep foam pads (Use code RAY10 to get 10% off your order). They’re so easy to handle, and they easily shape to all of the curves. They also hold up so well and don’t clog like others. Learn more about these foam sanding pads for electric sanders here.
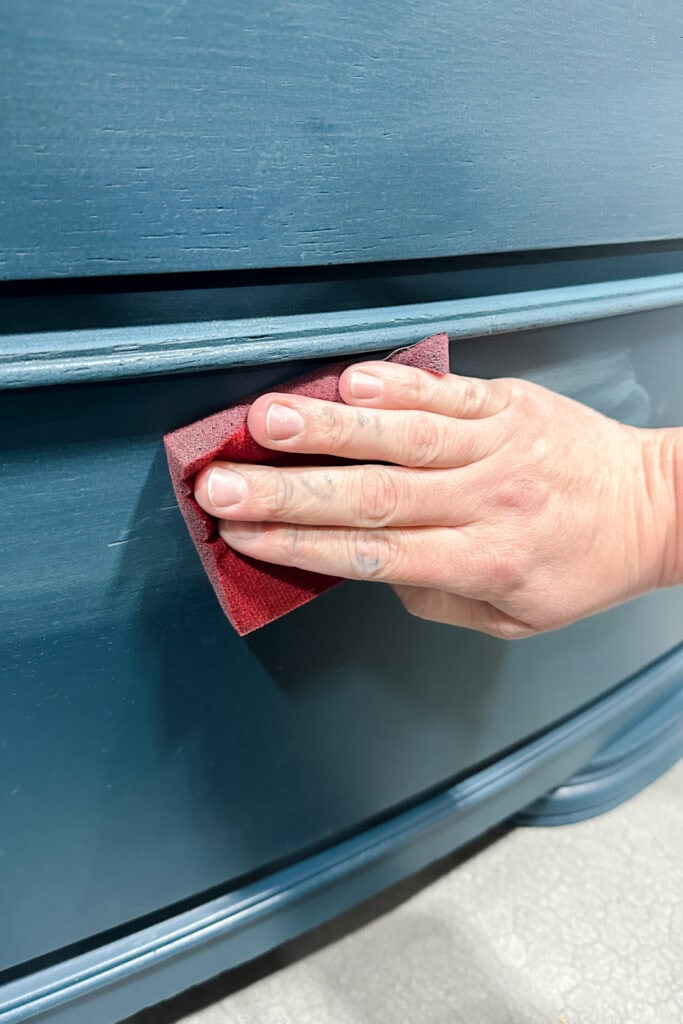
I didn’t want to get dust everywhere inside, so we moved the dresser out of the spray tent first. Then I just lightly sanded the paint smooth with fine grit pad, vacuumed off the dust, and wiped everything down with a tack cloth again. Then we put the dresser back in.
I sprayed on another coat of paint, and man, this just sprayed so well. You couldn’t see a bunch of texture from the sprayer, like what a roller leaves. I did open up the drawers, and I had them all taped off with pretaped plastic so I could spray them.
Two coats of paint, and I was done. It really didn’t take me very long. You will have to wait for the paint to dry in between coats, but not having to prime, topcoat, or sand everything down a ton before painting just makes the job so much easier and faster.
Spraying Doesn’t Have to Be Scary!
If sprayers have ever intimidated you, this class changes everything. Learn how to spray furniture confidently and save hours compared to brushing, without streaks, drips, or stress.


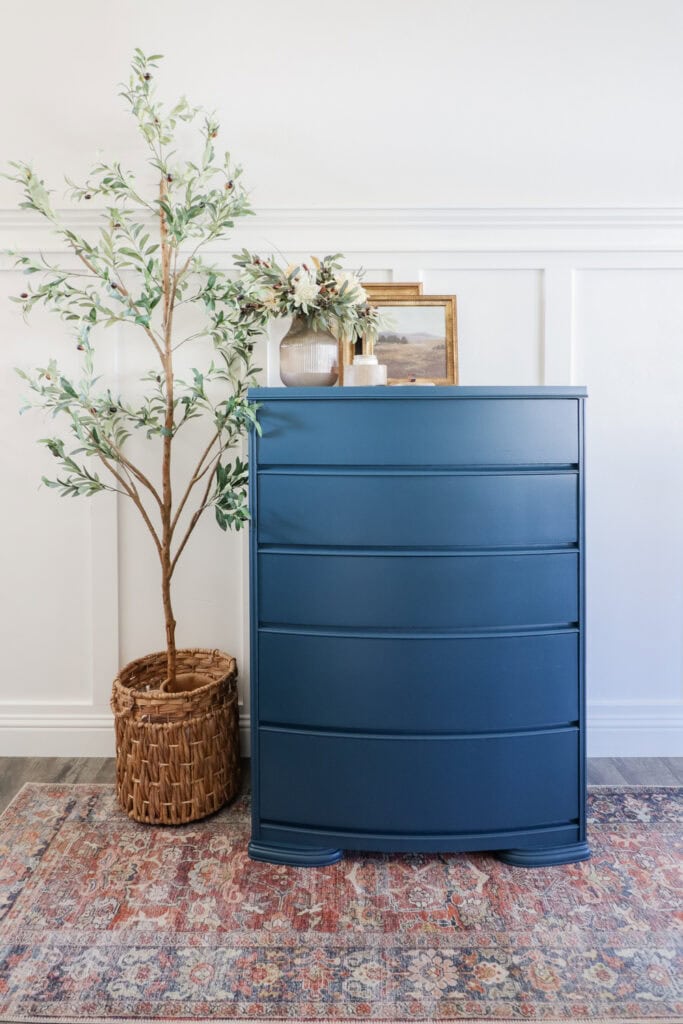
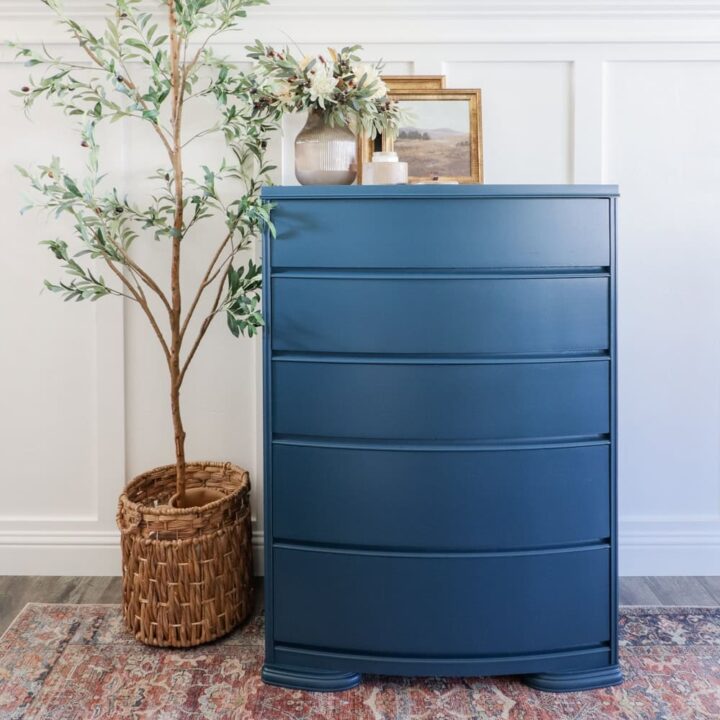
It looks so cute now! I could see it going into a little girl’s room with a boho theme or a little boy’s room. This deep, teal blue color is so good. It’s not so bold and just bright in your face, and it can be elegant, but can also be playful. It’s such a good color for this style of dresser, and it will go in so many different spaces design wise.
Don’t forget to check out these other awesome before and after furniture makeovers from my Furniture friends!! (Click the links below the photos!)
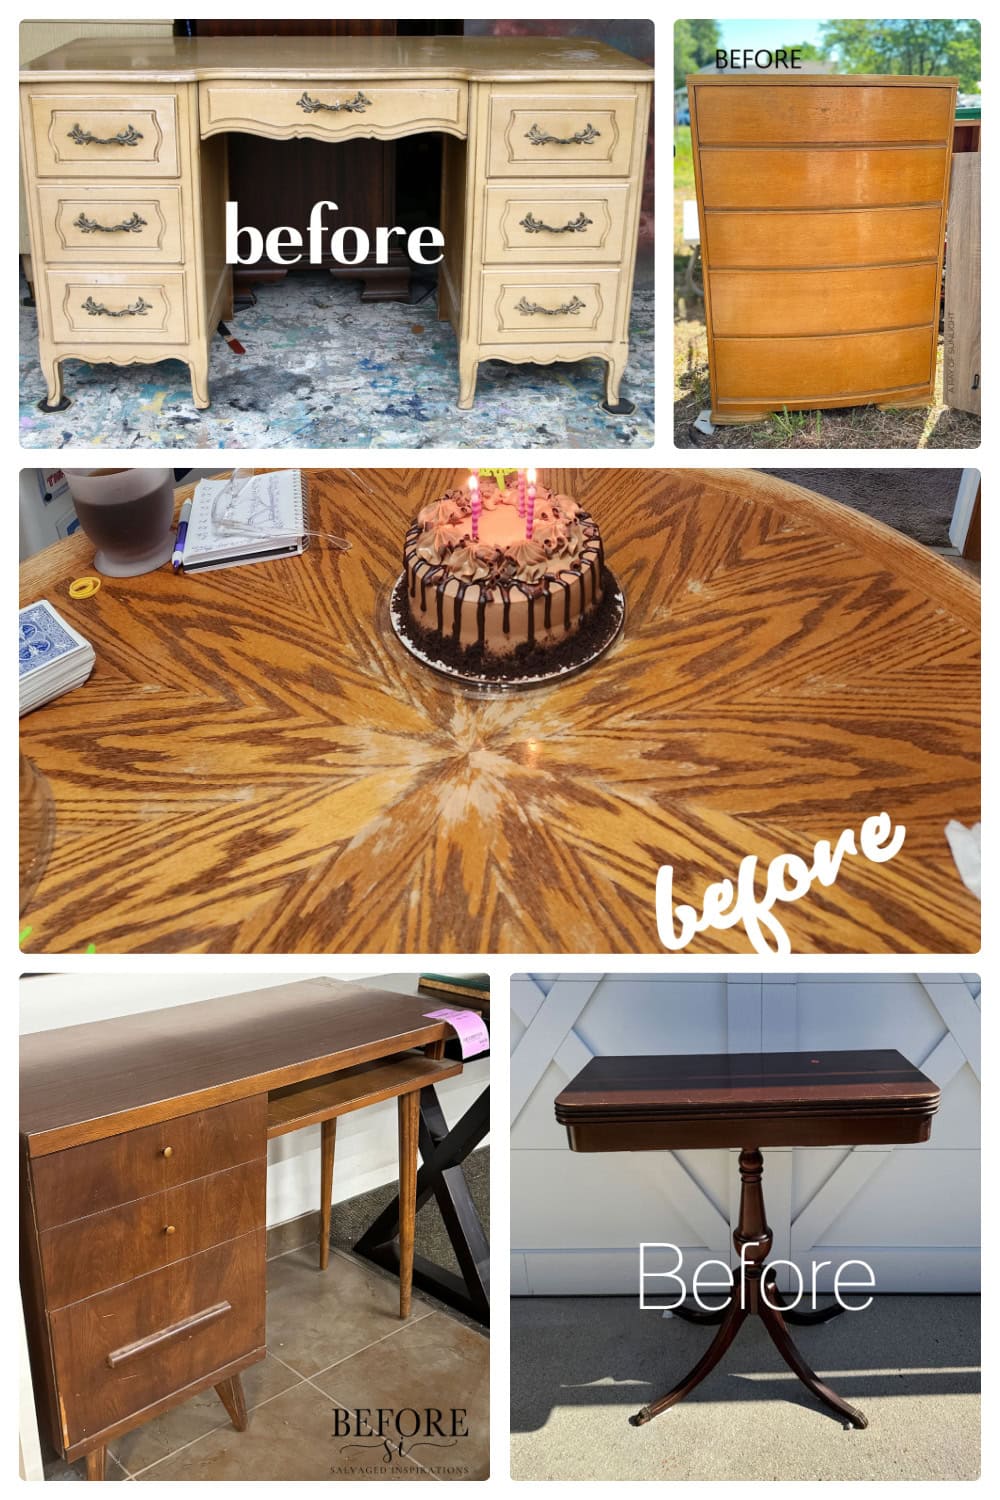
- French Provincial Desk Makeover from Petticoat Junktion
- Vintage Oak Kitchen Table Makeover from My Repurposed Life
- MCM Writing Desk Makeover from Salvaged Inspirations
- Vintage Game Table Makeover Take Two from Confessions of a Serial DIYer
More Before and After Makeovers
See All >
Click any of these “before” photos below to view the “after” of that makeover.


Easy Way To Paint Furniture In One Day: From Trash To $300
Check out this old dresser makeover to learn an easy way to paint furniture in one day: from trash to $300!
Materials
Tools
Instructions
- Clean the furniture with Krud Kutter to get any grease and grime off, then wipe it back off with a damp rag. Scrape away dried gunk or tape left on the surface, and vacuum up all the dust from the dresser and drawers.
- Look closely for scratches, damage, or gouges, and use a carbide scraper to take off the old finish. Fill large scratches or gouges with Bondo wood filler, and sand everything smooth once it dries.
- Vacuum the dust from sanding, then wipe the top and other surfaces with a tack cloth to remove any remaining dust.
- Set up a spray shelter to contain overspray. Lay down cardboard and place the dresser inside the shelter.
- Mix up the Heirloom Traditions Paint well, then pour it through a paint filter into the sprayer container with a sprayer liner.
- Spray on the first coat. Let the coat dry. Feel for spots that seem a little bit rough and lightly sand them with fine grit sandpaper or pad. Vacuum the dust and wipe everything down with a tack cloth.
- Add another coat and let the paint dry completely before moving or using the dresser.
Recommended Products
As an Amazon Associate and member of other affiliate programs, I earn from qualifying purchases.


More Furniture Makeover Ideas
- Painting A Bedroom Set
- DIY TV Stand
- How to Paint a Dresser in One Day (Beginner Friendly DIY)
- Wayfair Side Table Makeover
Follow us on YouTube to get more tips for painting furniture. Or share your project with us on our Facebook Group and be part of our community. See you there!
Just beautiful!!
Thank you!
Very nice!
This is gorgeous Natalie and that color! 😃 Thanks for sharing the spray booth – I’m wondering if it would fit into my paint room and be faster to set up. I have to admit, its time consuming covering the walls. Pinned! XOXO
Thank you so much!! 😄 That color really is a stunner! Ahh, I hope it fits perfectly in your paint room!
It still amazes me what just paint alone can do! Such a beautiful finish! XOXO
Right?? It blows my mind every time! So sweet of you, thank you!
Natalie,
I love Mediterranean by HTP. I’ve used it on two different tables. This is a good trash-to-treasure story and project. You always give the best DIY tips.
Pinned!
gail
Aww thank you so much, Gail! Mediterranean is such a gorgeous color. I love that you’ve used it on a couple pieces. So glad you enjoyed this makeover and found the tips helpful!
Verrry nice ! I love the blue. (I wouldn’t consider this teal – which I’m not crazy about)
Such a pretty piece now. Great job – and tutorial. Thanks.
Aww thank you!
Wha a gorgeous color and such a smooth finish!
Ahh thank you SO much!