How to Paint a Dresser in One Day (Beginner Friendly DIY)
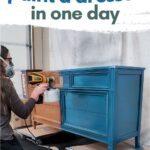
If you have ever wondered how to paint a dresser in one day, this dresser makeover will show you it’s actually possible. Yes, you can take a worn, outdated piece and make it look completely different in less time.
With these painting furniture ideas, you can keep things simple and still get a finish that looks beautiful, smooth, and long lasting. Keep reading to learn about a beginner friendly DIY furniture flip you can finish in one day!
Welcome to Furniture Fixer Upper day, where we join 4 of our talented furniture friends and bring you brand new makeovers! I’ll link to my friend’s makeovers after our after photos at the bottom of this post! Don’t forget to check out their masterpieces!! Okay, back to our makeover!
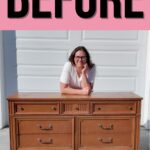
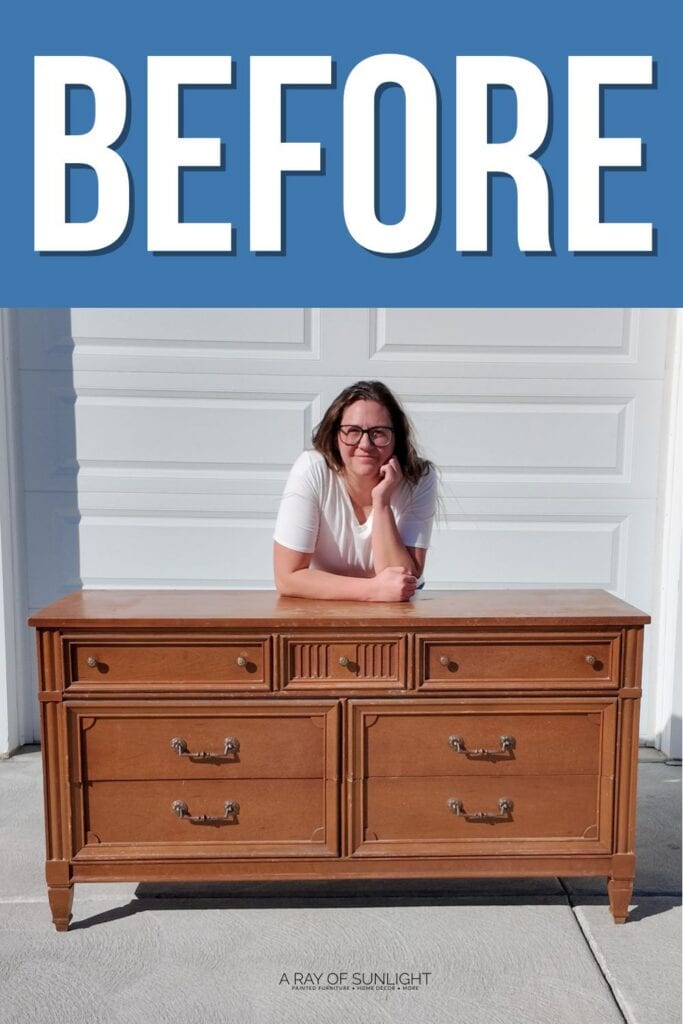
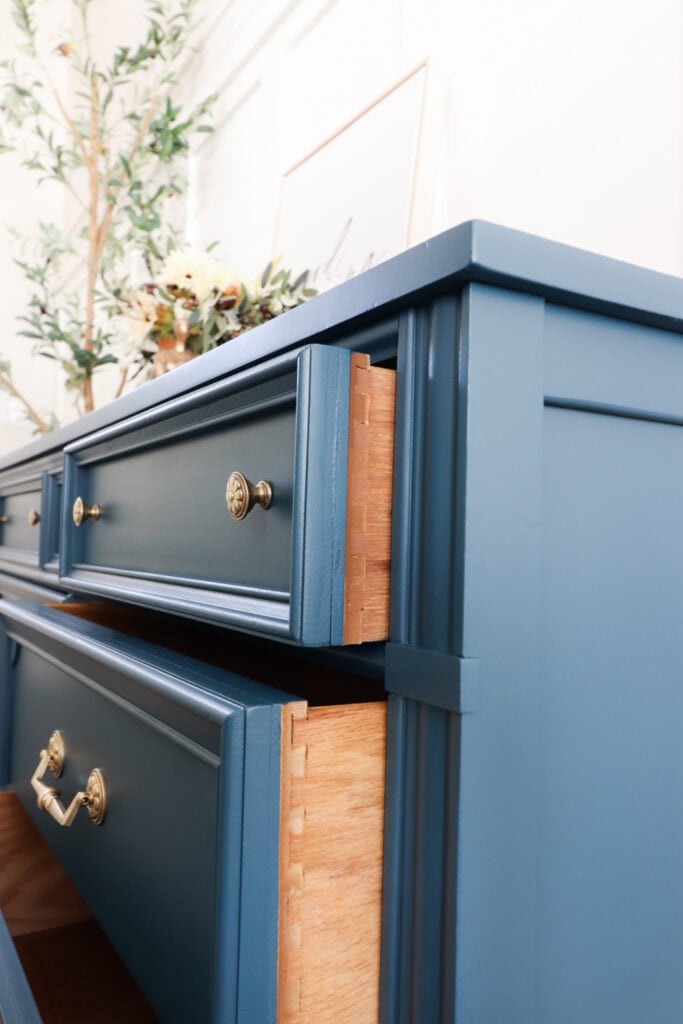
We picked up this medium sized dresser with seven drawers from Facebook Marketplace for $100, and it was such a good find. Overall, it was great quality, and the drawers are actually solid wood, which you really do not see with newer furniture anymore.

But it definitely was not ready to showcase as is. The top had major water damage, and the finish was flaking and chipping off in multiple areas. On top of that, the whole piece was covered in dust and grime that had really built up over time.
If you tried to just paint over something like this, it would not hold up. So before anything else, a few simple fixes and a really good clean made all the difference. The goal is to keep this a beginner friendly one day project while still getting a finish that looks like it came from a factory and not like a DIY.

Supplies Used to Paint a Dresser in One Day
As an Amazon Associate, I earn from qualifying purchases. I also may earn from other qualifying purchases with other companies or get free product to review and use. All opinions are my own.
- Carbide Scraper
- Orbital Sander
- Foam Pad
- 220 Grit Sanding Discs
- Electric Screwdriver
- Krud Kutter
- Drill
- Drill Brush Attachments
- Paint Filter
- Heirloom Traditions Paint in Mediterranean
- Respirator
- Paint Sprayer
- Pre Taped Plastic
- Wood Filler
- 220 Grit Sandpaper
Removing Finish from Top of Dresser
So first, I removed the finish on the top. Now, this took me 10 to 15 minutes. I used our carbide scraper, and this just peeled that finish right off. It just came right off so quickly, and I didn’t have to sit there and sand for hours to sand it down.
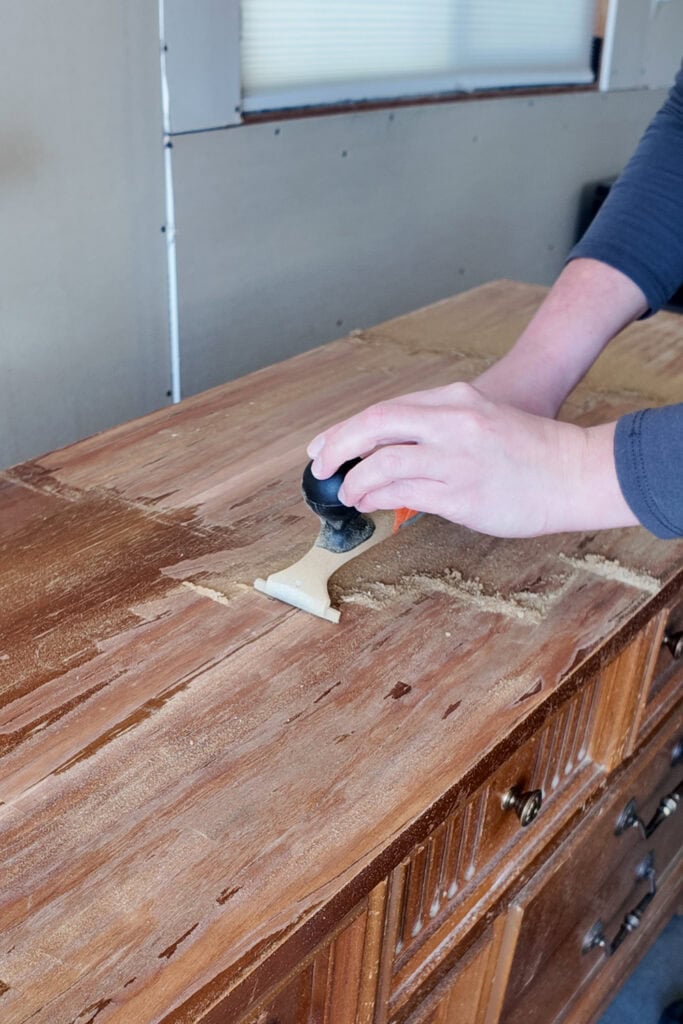
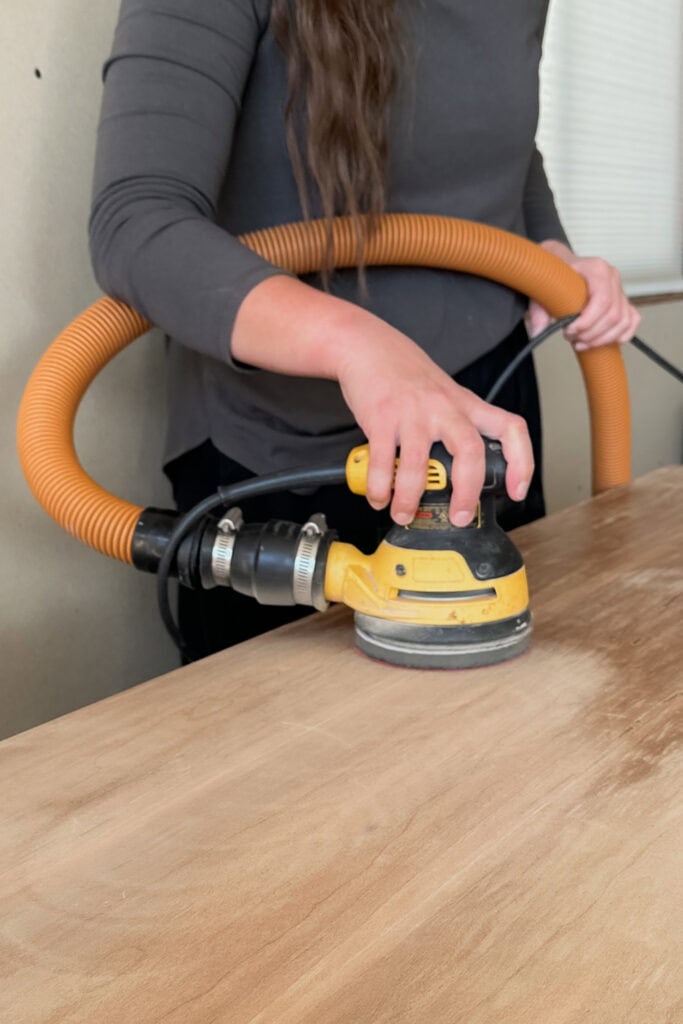
We did get our DeWalt orbital sander out and put the foam pad on it with our 220 grit sandpaper to sand the surface smooth. There were some spots where I didn’t get the finish off all the way, but they got sanded away and since I removed most of it before the sander, this only took about 30 seconds to a minute.
If I hadn’t done the carbide scraper first, I still would’ve been sitting and sanding these spots for a good hour. Learn more about how to scrape paint off wood here.
Prepping the Dresser
With the top smooth, I removed the hardware with our electric screwdriver to make it really quick to undo the screws. And then I set those aside into their own container, so I don’t lose any parts. I planned to just reuse them. I like this hardware, and it would be a lot more difficult to go figure out different ones with the hole spacing. If you want to put new hardware on your dresser, check out my guide on how to change hardware on a dresser here.
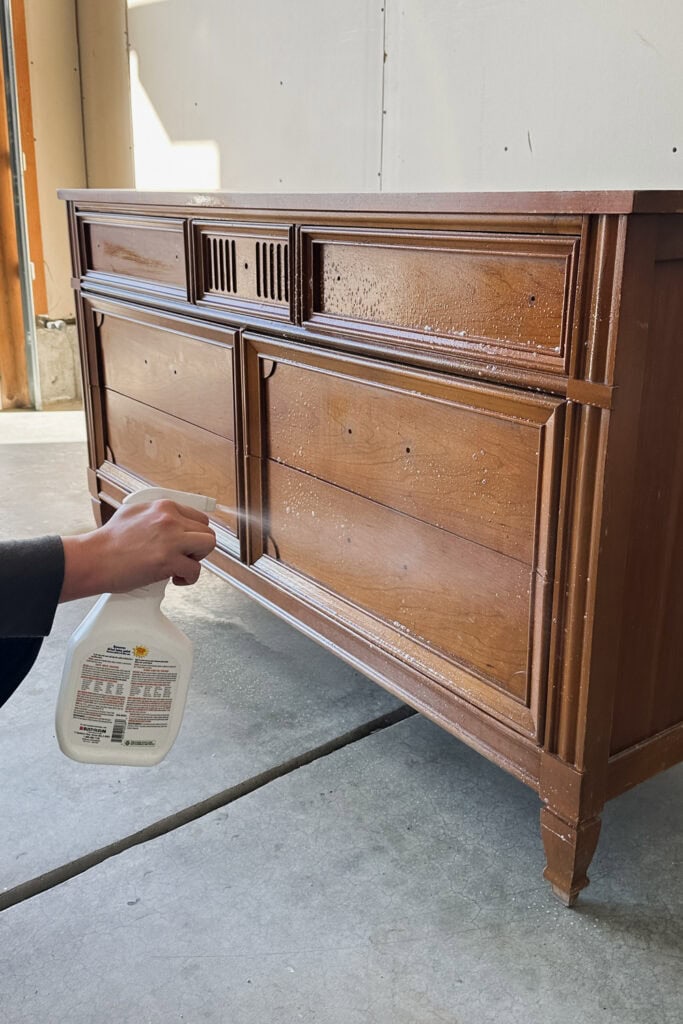
But it still looked so gross. So I sprayed it all over with Krud Kutter and started wiping it with my rag, and wow, this thing was so dirty. But I couldn’t get into these little crevices and corners with just my finger. And it would’ve taken forever to wipe it all down.
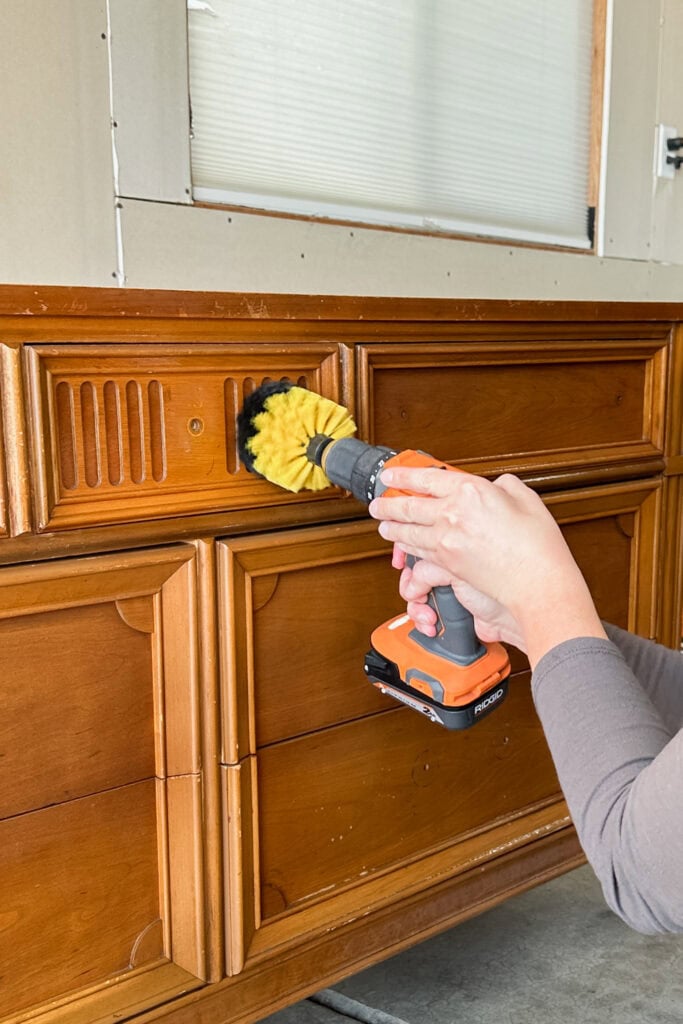
So I grabbed my little drill brush attachments, got them into my power drill, and used it to quickly get into all those details and do that deep clean this dresser really, really needed. And in about 10 minutes, the dresser was completely scrubbed down.
Then I wiped everything down with a damp rag, then another clean, damp rag to rinse off any leftover residue. After I cleaned this thing, it looked so different and fresh. And I knew it was ready for this specific paint that I use.
How to Paint Furniture Fast
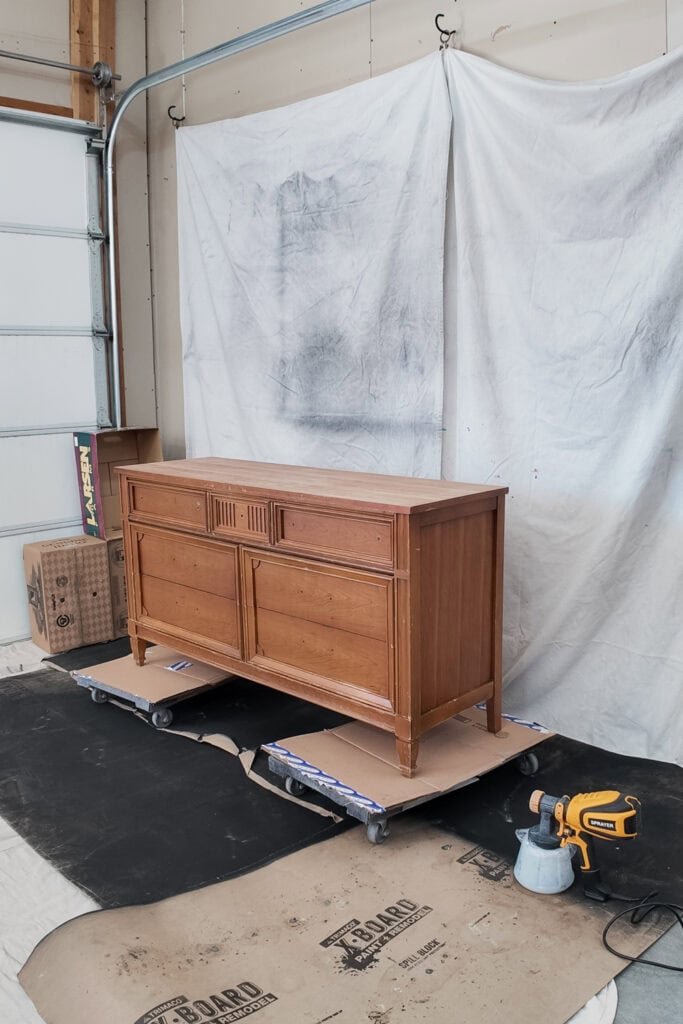
I have some hooks on the walls, so I hung up a drop cloth from the walls and on the floor, and then put some cardboard down on the floor because I don’t like the drop cloth getting so dirty.
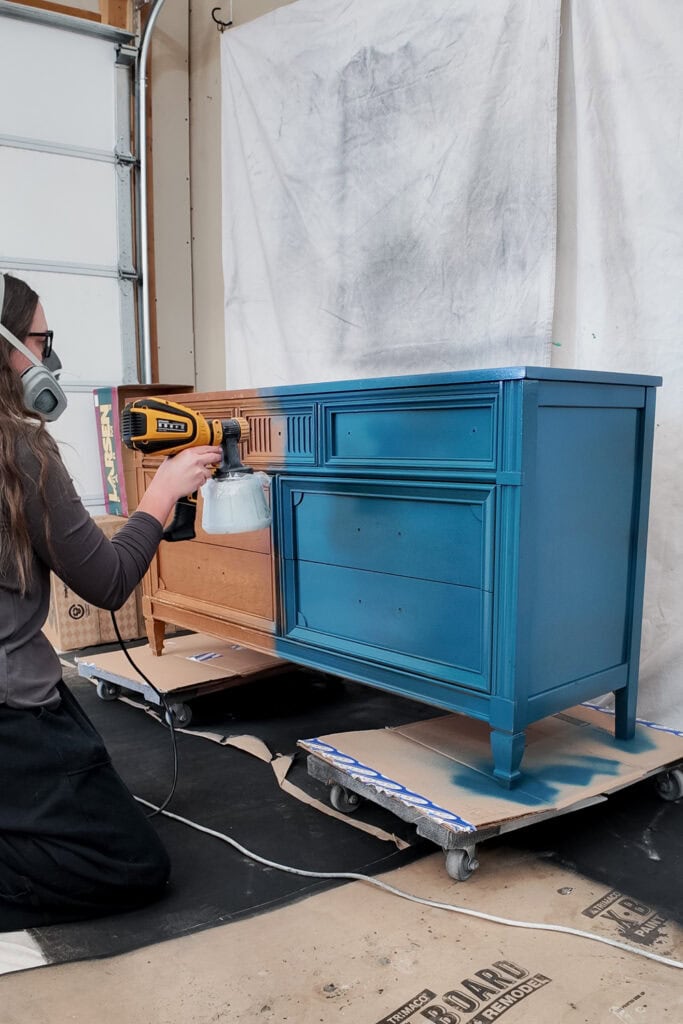
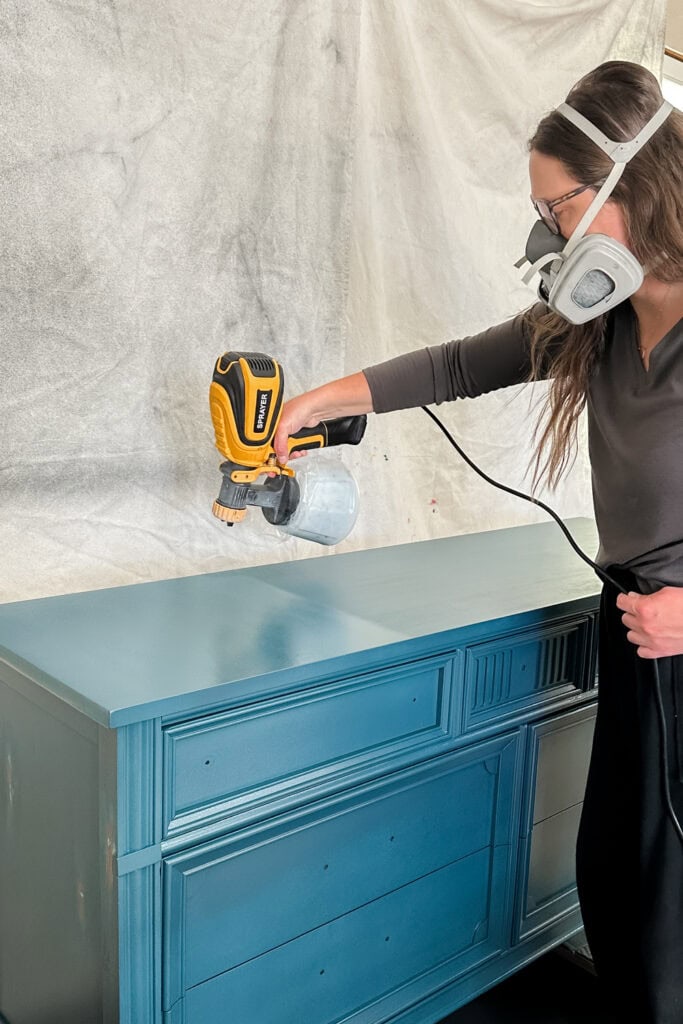
I mixed up Heirloom Traditions Paint in the color Mediterranean, put it through a paint filter, and thinned it, maybe a little bit more than 10%. I put it in our Vonforn sprayer and put on a coat. This is one of the best cheap paint sprayers and one of the best paint sprayers for beginners on our list.


Brushing and Rolling vs Spraying Paint
Now, you don’t have to use a sprayer for a one day furniture makeover. But here’s the beauty: I can spray one coat in less than 10 minutes. Yes, I had to set up and lay out some drop cloths, but you kind of have to do that anyway.
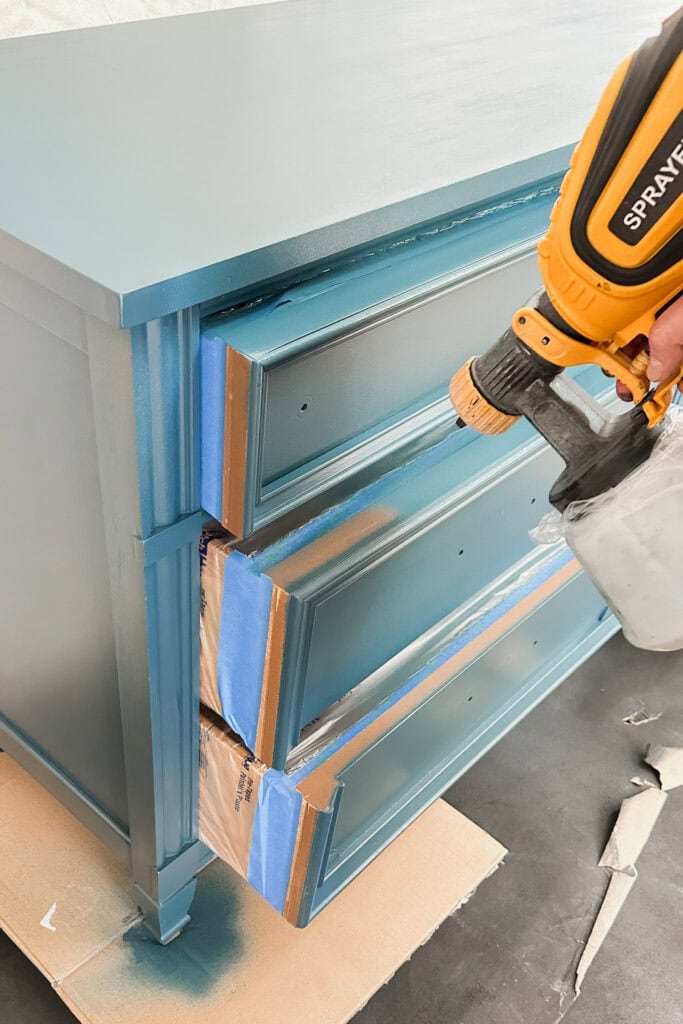
You don’t have to do as much when you’re brushing, but you still have to protect your floor from drips. And yes, I had to put the paint in the sprayer and thin it out, and I also taped off the drawers so I could open them and paint around the edges of the drawer fronts. It took me maybe 10 to 15 minutes to do all that, but I was also able to get a coat on in less than 10 minutes.
Would you like to save this?
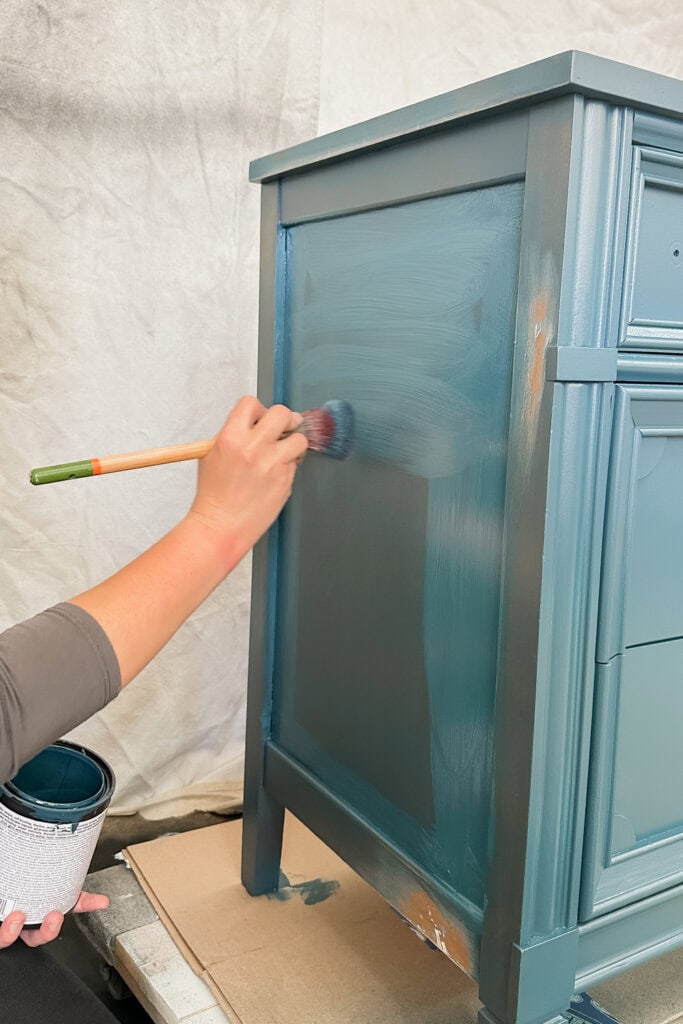
For the fun of it, I tested out brushing and rolling on one side of the dresser. And that took me at least five minutes. When I’m spraying a side, it takes at most 1 minute. And the finish looks so much better and professional, and the coverage and sheen are even… unlike brushing and rolling.
When I brushed then rolled it over, the sheen wasn’t completely even when it dried. The texture wasn’t terrible, but the coverage was a little bit thinner than when I sprayed it on. So the coverage wasn’t as good, and the sheen was uneven.
So overall, can you brush and roll? Yes, for sure. It was super simple on the side because it was a pretty much flat surface all the way around. But when you start doing it on drawers and places with details and crevices, it’s more time consuming and more difficult to get it to look like a sprayed on finish with no drips and problems.
Check out my posts on spray paint vs brush paint furniture and paint sprayer vs roller, where I compare these methods.
Fixing Scratches After First Coat
About 10 to 15 minutes later, the first coat was dry, so I opened up the drawers, painted inside them, and let things dry for a about an hour. But after the first coat, I could really see scratches, nicks, and dings showing through the finish.
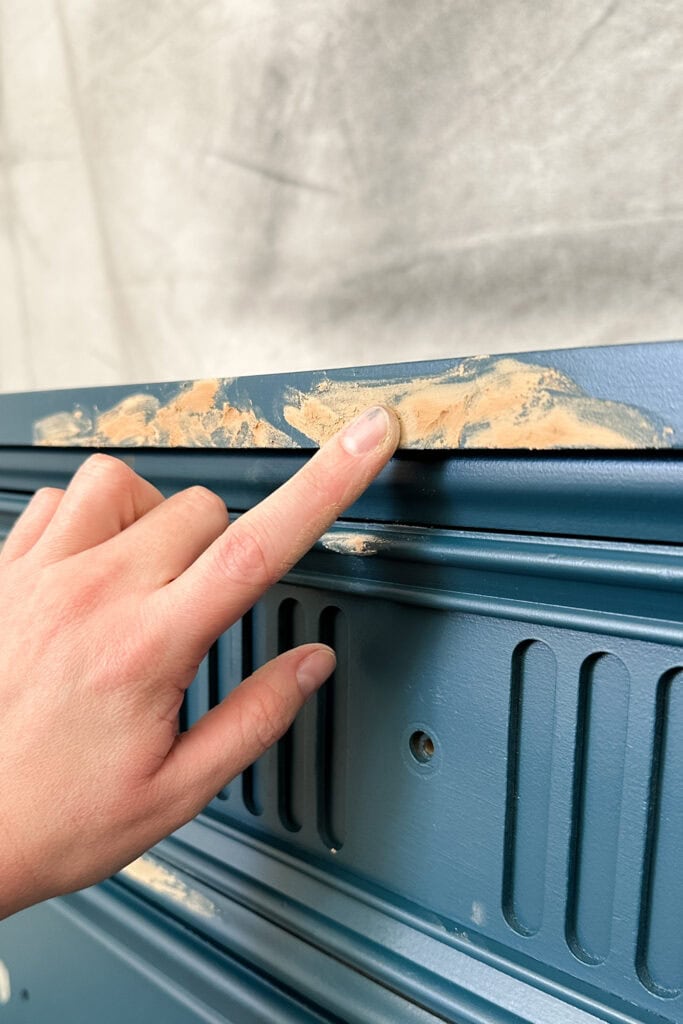
And it was the time to fix those. I applied Elmer’s wood filler on them, let them dry, sanded them smooth with 220 grit sandpaper, and in the process, I also kind of sanded out the scratches a little bit more.
And then I applied another coat. I don’t clean out the sprayer in between coats. I just let it sit there and scraped the tip clean before painting the next coat. I also shake the sprayer a little bit to mix up the paint, test it out, and spray again. Here’s more on it if you’re still wondering, “Can I leave paint in a sprayer between coats?”
Basically, I did two and a half coats. I ended up doing three for the top, just making sure I got even coverage, but that’s not necessary. This color covered so well that two coats were really all I needed.
Then, the amazing thing about this is that it doesn’t need a topcoat. It’s really a lazy paint. It’s beautiful, and I know it will stick. Learn all about it in my Heirloom Traditions All In One Paint review here.
Actually, two days after the makeover, I scratched at it in an inconspicuous spot, and it wouldn’t come off. Most paints don’t do that, unless you’re sanding, priming, and doing all the things. Plus, you have to topcoat because it’s a matte finish that gets all dirty and gross. So this is honestly the best way to paint your furniture in one day or as fast as you can. Here’s the easiest way to paint furniture for another quick makeover using Heirloom Traditions Paint.
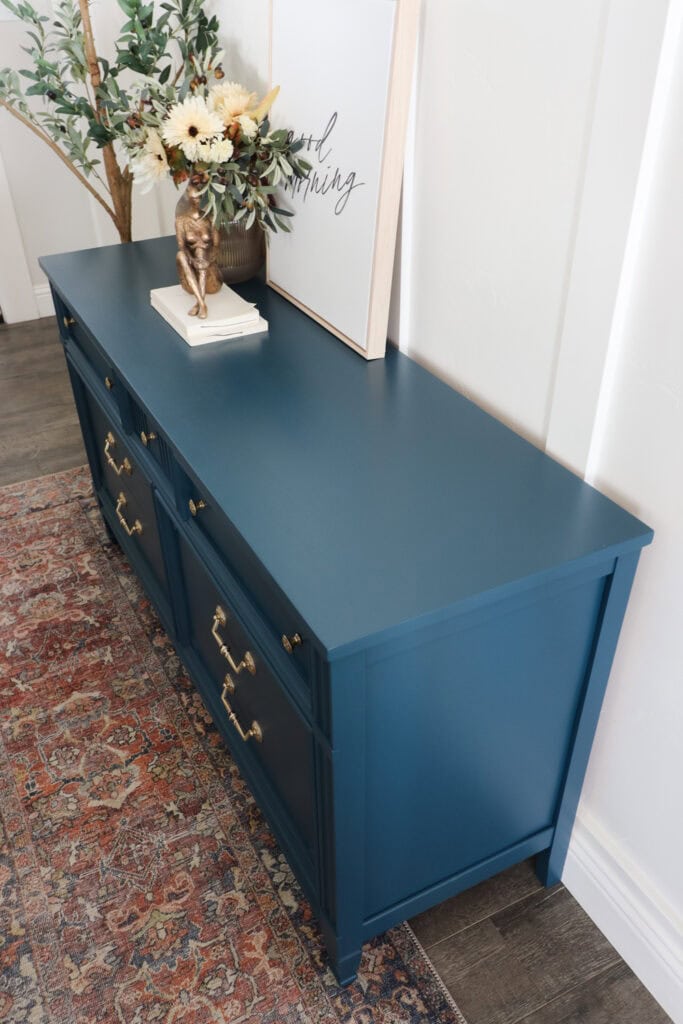
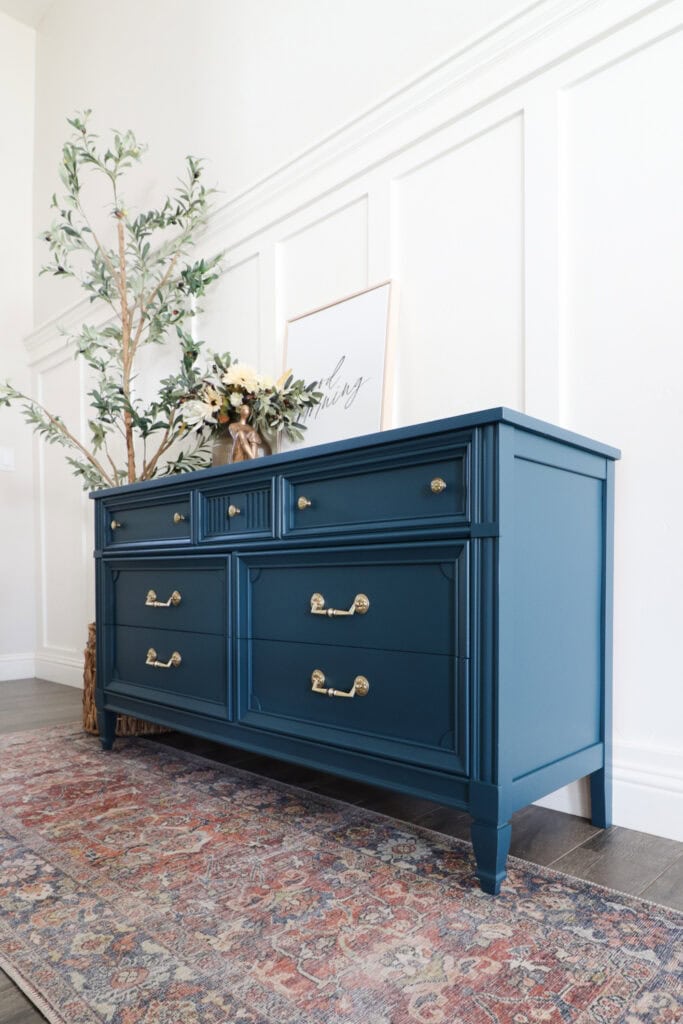
I also cleaned up the hardware. This was brass, and I was able to get all the tarnish off. Now it looks like gold hardware, and the gold complements the blue color so well. Here’s my more detailed guide on how to clean old furniture hardware. I made sure the paint dried for at least overnight, and then put the hardware back on.
And voila! Look at how this dresser looks now!

More Before and After Makeovers
See All >
Click any of these “before” photos below to view the “after” of that makeover.


Don’t forget to check out these other awesome before and after furniture makeovers from my Furniture friends!! (Click the links below the photos!)
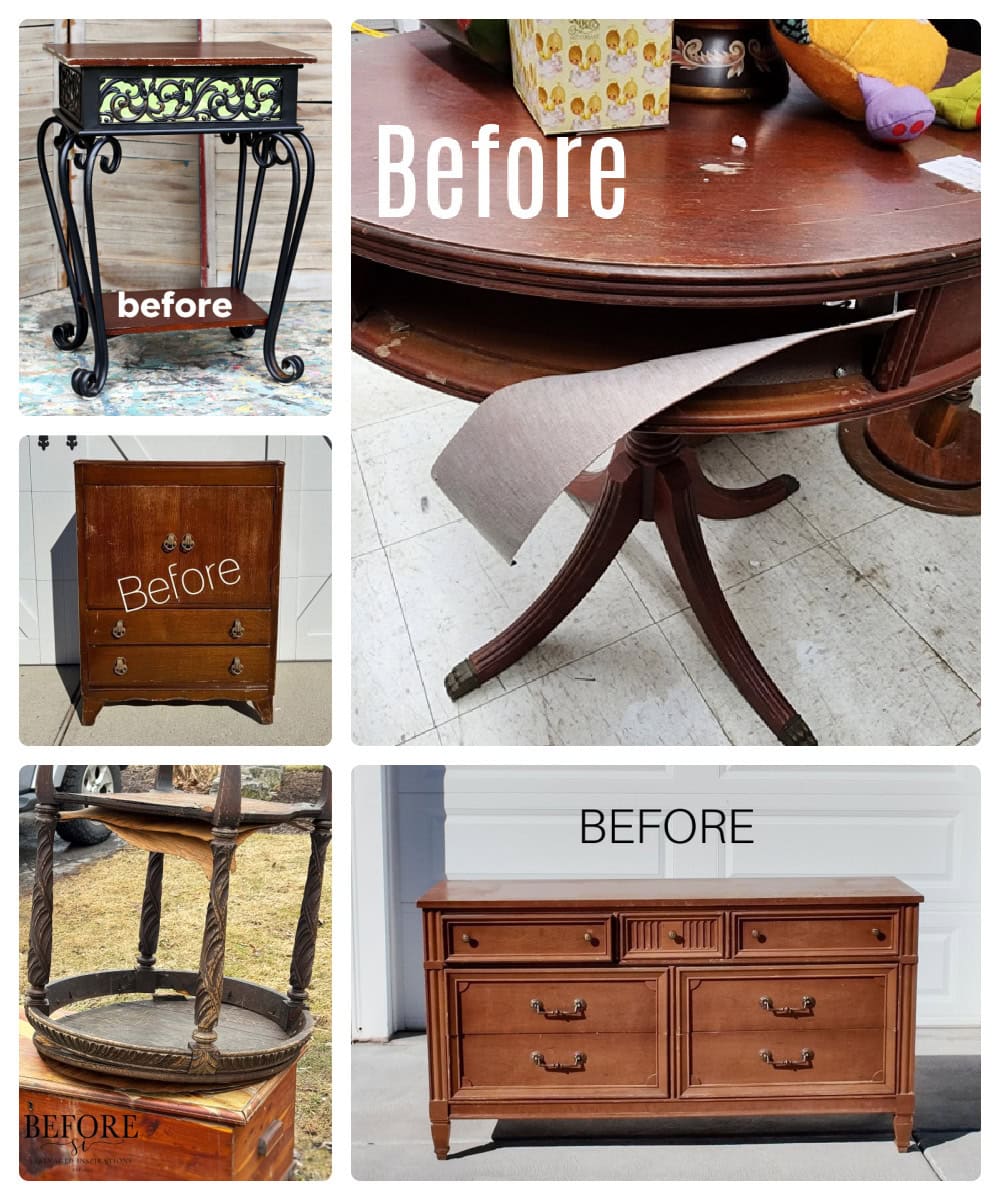
- Dry Brushing an Antique Side Table Makeover from Petticoat Junktion
- Missing Drawer Drum Table Makeover from My Repurposed Life
- How To Paint A Dresser In One Day Makeover (you are here!)
- Fixing a Warped Tabletop Makeover from Salvaged Inspirations
- Gentlemen’s Dresser Makeover from Confessions of a Serial DIYer


How to Paint a Dresser in One Day (Beginner Friendly DIY)
This beginner friendly DIY dresser makeover will show you how to paint a dresser in one day and still get a smooth, long lasting finish.
Materials
Tools
Instructions
- Remove any damaged finish so you are not painting over a surface that is flaking or chipping. Use a carbide scraper to quickly peel it off without spending hours sanding.
- Using an orbital sander with a foam pad and 220 grit sandpaper, sand the area to remove any remaining spots and create a smooth, even surface ready for paint.
- Remove the hardware and keep all screws and knobs in a container to avoid losing them, especially if you will reuse them.
- Clean the entire dresser by spraying Krud Kutter all over and using drill brush attachments to get into crevices, corners, and detailed areas.
- Wipe down the surface to remove any cleaner residue. Use a damp rag, then go over it again with a clean one to make sure the piece is fully clean and ready.
- Set up the painting area to protect floors and surrounding surfaces by hanging drop cloths and placing cardboard on the floor.
- Prepare the paint by pouring it through a filter and slightly thinning the paint, then load it into your paint sprayer.
- Apply the first coat of paint with the sprayer. After it dries, inspect for scratches and imperfections. Apply wood filler where needed, let it dry, and sand smooth with 220 grit sandpaper.
- Apply additional coats of paint to build coverage and create a consistent finish.
- If you plan to reuse the hardware, refresh it by cleaning. Let the dresser dry overnight before reattaching the hardware.
Recommended Products
As an Amazon Associate and member of other affiliate programs, I earn from qualifying purchases.


More Painting Furniture Ideas
- The Fastest Way To Paint Grooves And Details
- Painting Finished Furniture
- How I’m Turning Old Nightstands Into $1,000 for My Bedroom Makeover
- How To Wet Distress Paint
Follow us on YouTube to get more tips for painting furniture. Or share your project with us on our Facebook Group and be part of our community. See you there!
Lovely!
Thanks Josee!!
Absolutely stunning result! I’m old school I guess as I do love the quiet business of hand painting my pieces, but it sure is nice to be able to whip them out quickly! XOXO
I totally get that! Thanks so much Christy. So glad you love the results!
Beautiful Natalie! I love the color and that finish is so professional and smooooooth!!!! Pinned XOXO
Thank you SO much Denise!
Beautiful! Love the colour you chose. Looks fabulous with the original hardware. Thank you for sharing, Natalie and Taylor!
Aww so happy to hear that!
Gorgeous! I like the paint finish and knobs the most. Great work.
Thank you so much! So glad you like it!
You did such a great service to that piece! It looks wonderful now in that beautiful color. Kudos!
Thank you SO much for the kind words Caye!
Such a nice smooth finish 🙂 Very nice color. I enjoyed your tutorial – very thorough.
The hardware now looks amazing. Thanks for sharing.
Ahh so glad to hear that! You’re welcome. Hope it was helpful for you!
Awesome job.
Thank you!
Awesome job
Thanks!
This turned out beautiful. I bought a sample of that color for a dresser I’d like to do in my sewing and crafting room to match the accent walls. Now that I see it for real, it’ll be perfect. I’m thinking of adding some wallpaper to each side that looks like wood strips in blues and grays. And I might change my hardware out as they are just large wooden knobs. Thanks for the inspiration!
Aww that sounds absolutely fantastic! So glad to hear you were inspired by our makeover. Best of luck to you on this project!