Two Toned Dresser Makeover


Among many chalk paint furniture ideas, the two toned dresser makeover is a popular and stylish trend that involves updating it in two contrasting colors to transforming it into a unique and eye catching piece of furniture.
We will guide you through the process of painting and staining a single piece to create a beautiful contrast and added character. Let’s dive into the steps and tips to nail the two tone look!

When refreshing your furniture, you’d probably think of sticking to just one color. That’s fine and good, but adding a second color or finish could be a nice upgrade to the usual solid color look!

The key here is choosing the right color combo that works well together. For this project, we’re painting the base white and staining the top – but feel free to change it up to match your current style or home decor.
If you’ve never done a two toned dresser makeover before, don’t worry! It’s not as complicated as it looks. You can easily create this trendy look and get a one of a kind piece in just a few simple steps. So, let’s get started!

Supplies Used for Two Toned Dresser Makeover
As an Amazon Associate, I earn from qualifying purchases. I also may earn from other qualifying purchases with other companies or get free product to review and use. All opinions are my own.
- Electric Screwdriver
- Krud Kutter
- Citristrip
- 220 Grit Sandpaper
- 220 Grit Sanding Discs
- DEWALT Orbital Sander
- Dark Walnut Oil Based Wood Stain
- Lint Free Rag
- Painter’s Tape
- Pre Taped Plastic
- Clear Shellac
- Shop Vac
- Tack Cloth
- Behr Latex Paint in Pure White
- Calcium Carbonate Powder
- Wagner Paint Sprayer
- Waterbased Polyurethane
- Rustoleum Oil Rubbed Bronze Spray Paint
Prep Before Painting A Two Toned Dresser
We started by removing the hardware using our electric screwdriver. We set the hardware aside for later since I planned to paint them before putting them back on, but more on that in a bit. You can also use new hardware if you like!

Next, we cleaned the piece with Krud Kutter and wiped all surfaces with a damp rag and let everything dry before moving on to the next step. We have a guide on how to clean furniture before painting here for more tips.
Remove Old Finish from Wood Top
Then, I stripped off the top using Citristrip. This product is a safer, more eco friendly option that works well for removing old finishes. We feature it as one of the best wood stain removers in this post.

I applied a thick layer of Citristrip and let it sit for a few hours to cut through the finished wood. After everything dried out, I sanded the surface with our DEWALT orbital sander and 220 grit sanding discs to remove the remaining residue and make it a nice smooth surface for stain.
Staining The Top of A Dresser
At this point in the makeover, you could either start by painting the base of the dresser, or you can decide to stain the top first, but I usually begin with the top. I used a Dark Walnut oil based wood stain, applying it with a lint free rag. Remember to follow the natural wood grain and let the stain sit and dry.


Next, I taped off the top with painter’s tape, making sure to stick it under the lip or edge. Basically not on the stained part itself because pulling it off could mess up the stain – and nobody wants that!
Then, I covered the entire top with pre taped plastic and taped off all the drawers with pre taped plastic and painter’s tape to keep them protected while I worked on painting the base. Learn what is the best painters tape here.
Sand and Prime Before Painting
I continued the prep work – I scuffed the base using 220 grit sandpaper, making sure to smooth out any rough areas. This also helps with adhesion. I cleaned off all the dust afterward with our shop vac and tack cloth to pick up any remaining particles.
Next, I sprayed clear shellac all over this area to prevent any possible bleedthrough and help the new coating stick. You can learn more about using shellac in our guide on how to stop stains from coming through paint.
Would you like to save this?
Paint with Homemade Chalk Paint
Following our homemade chalk paint recipe, we mixed Behr latex in Pure White with calcium carbonate powder and water. If you’re unsure about making your own, check out these top chalk paint brands!

I applied the white chalk paint with our Wagner sprayer, and it took about four to five coats to get complete coverage. If you’re looking to invest in one, here are the best Wagner paint sprayers for furniture. Spraying definitely cuts down on time and gives your project a nice and smooth finish!
Once the base was completely dry, I lightly distressed the edges and details with some more 220 grit sandpaper, focusing on areas where natural wear and tear would usually happen. Then, I cleaned off the dust with a shop vac and a tack cloth again.


Topcoat Two Toned Dresser
By this point, the stained top had dried for 48 to 72 hours. I could now topcoat it and the chalk painted finish at the same time! You want to seal everything with a durable product to protect your beautiful work.
I applied waterbased polyurethane with the same Wagner sprayer and did three coats to get the best durability. But can you use a paint sprayer for polyurethane? – you can get more answers from this post!

You can also check out our comparison post on spray polyurethane vs brush on polyurethane to learn the difference between these two application methods.
Clean and Paint Hardware
Then, back to the hardware, I cleaned them thoroughly with Krud Kutter and then updated them with metallic Rustoleum Oil Rubbed Bronze Spray Paint and let the hardware dry completely for at least 24 hours before attaching them back to the piece.
And this is how our two toned dresser makeover turned out! It’s amazing how different finishes on a single piece can transform the look even more. As we mentioned, you can decide to use other combos on your piece to make it your own!


More Before and After Makeovers
See All >
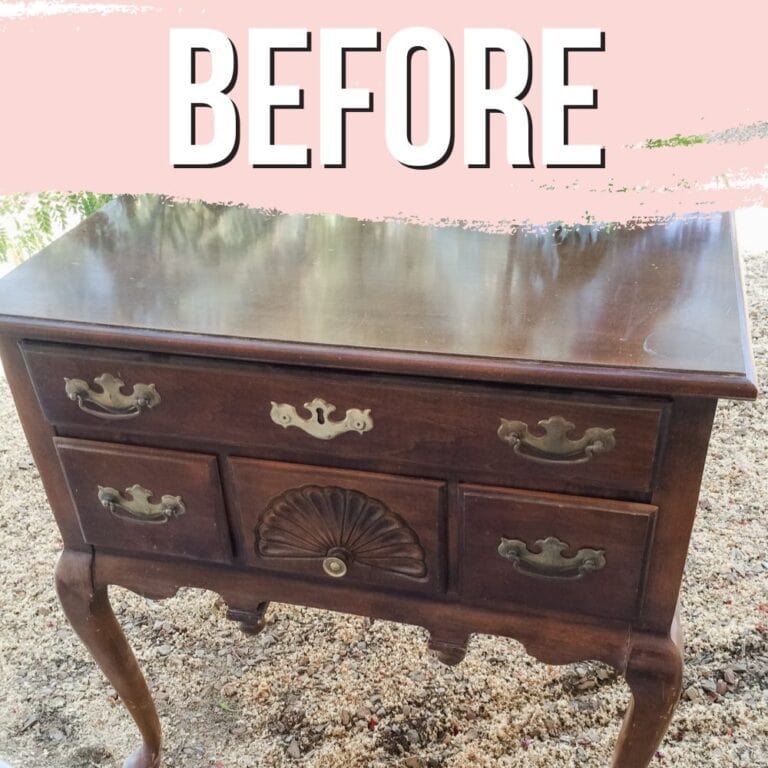
Click any of these “before” photos below to view the “after” of that makeover.


Two Toned Dresser Makeover
In this two toned dresser makeover, we guide you through the process of painting and staining a single dresser to create a beautiful contrast.
Materials
Instructions
- Remove hardware with electric screwdriver and set them aside for painting later. You can also use new hardware if you prefer!
- Clean the dresser with Krud Kutter, wiping all surfaces and letting it dry before moving on to the next step.
- Strip the old finish off the top using Citristrip, a safer and eco-friendly option. Apply a thick layer and let it sit for a few hours before sanding.
- Sand the stripped surface with an orbital sander and 220 grit sanding discs to remove residue and create a smooth surface for staining.
- Stain the top using oil based wood stain, following the natural grain and letting it dry completely.
- Tape off the top on the edge of the stain with painter's tape, but make sure not to tape on the stained surface itself to avoid any damage when removing it. Then, cover the top with pre taped plastic and tape off the drawers, too.
- Prep the base by scuffing it with sandpaper and cleaning off dust after. Next, spray clear shellac to prevent any potential bleed through stains and help with adhesion.
- Mix your own chalk paint using latex paint, calcium carbonate powder, and water. Apply multiple coats using a paint sprayer for a smooth finish. It can take a lot of coats if using white or light paint over dark wood.
- Lightly distress the edges and details with sandpaper for a natural worn look. Clean off dust with a shop vac and tack cloth.
- Seal the entire two toned dresser with waterbased polyurethane using a paint sprayer, doing multiple coats for extra durability. Let the topcoat dry completely.
- Clean the hardware with Krud Kutter and update it with metallic spray paint. Let the hardware dry for at least 24 hours before attaching it back to your two toned dresser.
Recommended Products
As an Amazon Associate and member of other affiliate programs, I earn from qualifying purchases.


More painted furniture Makeovers
- Painting Wood Furniture White
- Quick Painted and Stained Dresser Makeover
- Easy Way To Paint Furniture In One Day: From Trash To $300
- Painting a Wooden Dresser with Two Tone Finish
- White And Modern Wood Dresser Makeover
Follow us on YouTube to get more tips for painting furniture. Or share your project with us on our Facebook Group and be part of our community. See you there!