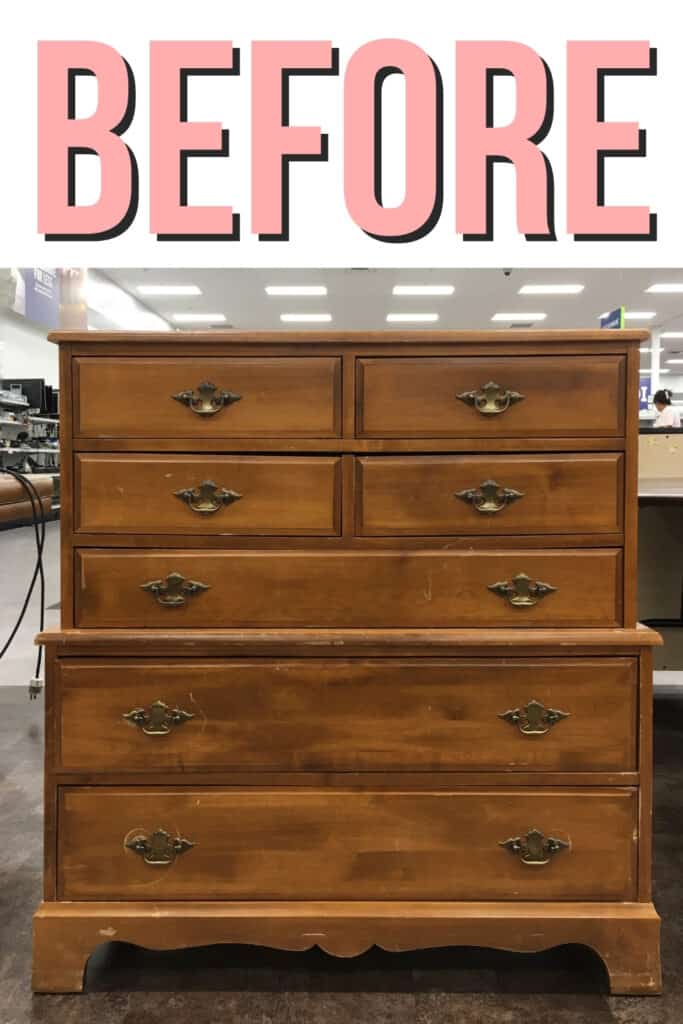
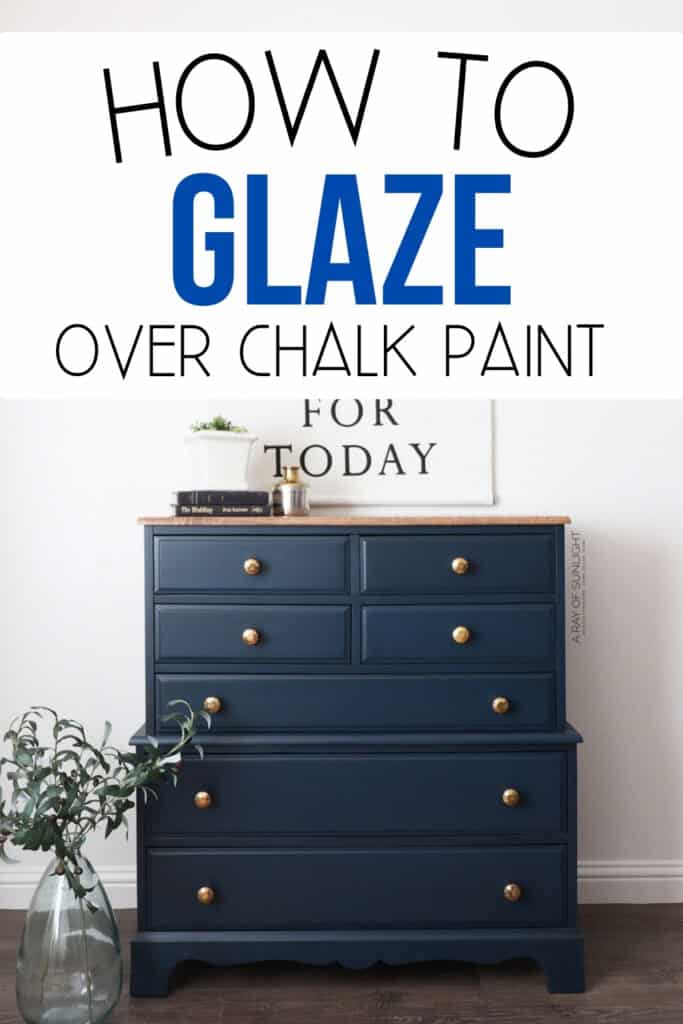
How to Glaze Over Chalk Paint

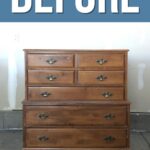
Glazing is one of the many painting techniques for furniture that can take your piece from ordinary to extraordinary. You can make your chalk painted furniture stand out from the rest with an antiqued glazed finish. And here’s the best way how to glaze over chalk paint!
We’ll walk you through the steps and provide some tips and tricks on glazing over chalk paint, so if you want to add some depth and character to your furniture piece, keep on reading!
As an Amazon Associate, I earn from qualifying purchases. I also may earn from other qualifying purchases with other companies or get free product to review and use. All opinions are my own.
Antiquing glaze on top of chalk paint can make any details on your furniture pop out! It also adds a vintage and aged look to your piece, perfect for those who love shabby chic or farmhouse style for their home decor.
But there are a few tricks that you should know about before you start trying to glaze over chalk paint. If you don’t take these steps, you’ll most likely end with a mess on your hands. And that’s just frustrating because painting furniture is time-consuming!

So let’s dig into how to glaze over chalk paint! If you’re new to glazing, don’t worry. It’s a relatively easy technique to master, and the results are well worth it. Let’s dive in!

Supplies Used to Glaze Over Chalk Paint
- Country Chic Paint in Peacoat and in Jitterbug
- Antiquing Glaze
- Cheap Paint Brush for the Glaze: I like the dollar store brushes for glazing
- Disposable Gloves
- Baby Wipes: Any brand should work, but the less lint the better.
- The Best Waterbased Polyurethane
- 400 Grit Sandpaper OR SurfPrep’s Foam Sanding Pads (get 10% off with the code RAY10)
- Tack Cloth
- My Paint Sprayer – Fuji Q4 Paint Sprayer
- Paint Filters for the Paint Sprayer
- Respirator
- Best Paint Brushes: If you don’t want to spray the paint on, I love Zibra paint brushes the best. Particularly the round paint brush.
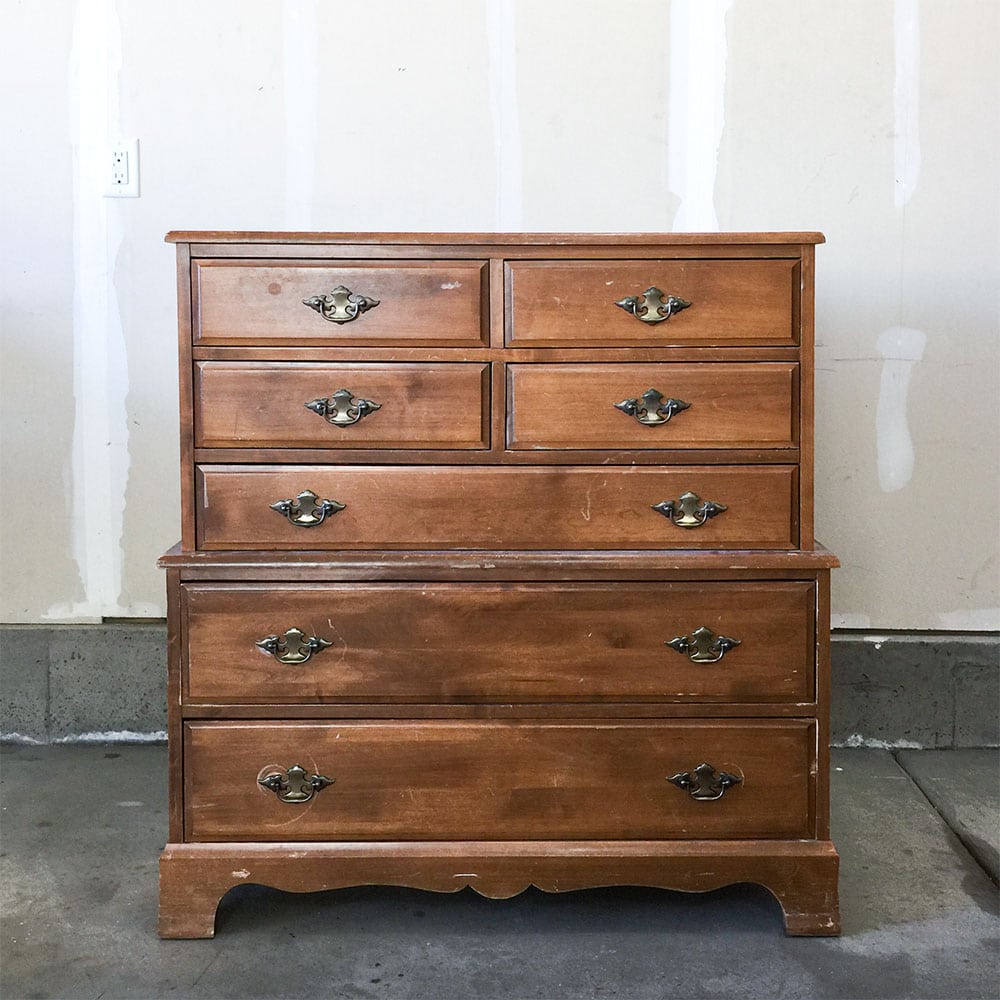
Paint Dresser Blue with Chalk Paint
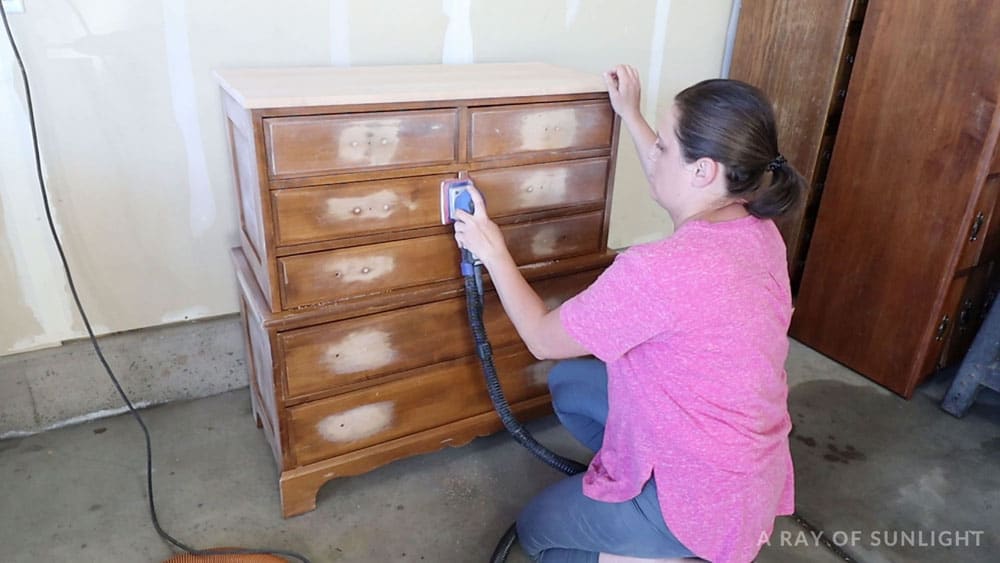
First I prepped it for paint. Check out this post on how to prepare furniture for paint to learn all of our tips to get the best paint finish. I also sanded down the top and restained it.
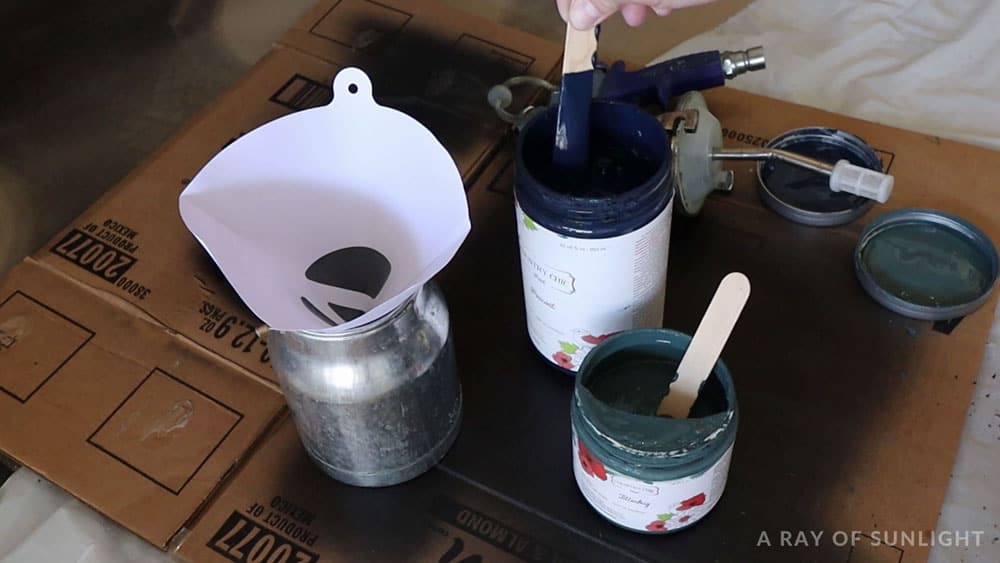
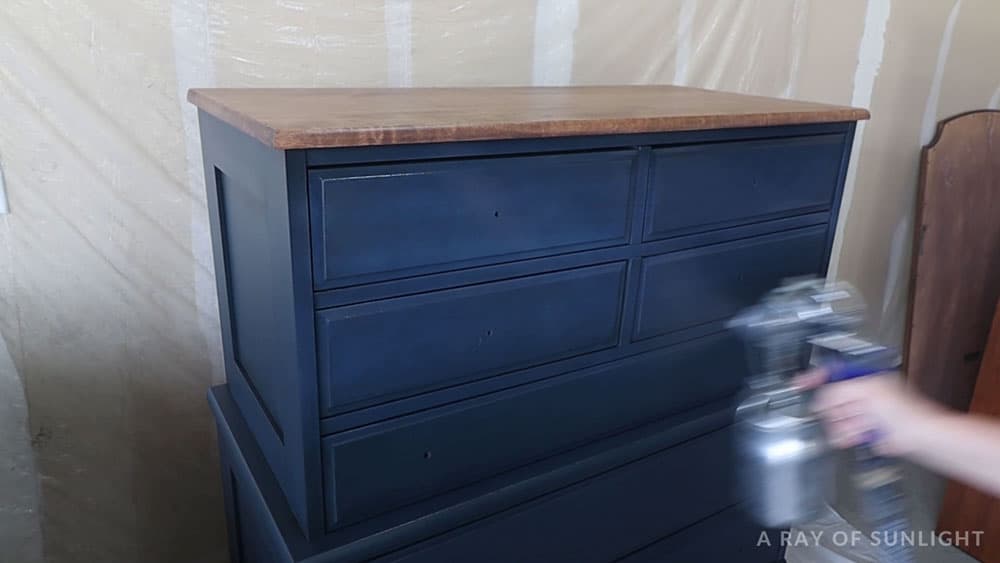
To create this stunning blue, I used a mix of two Country Chic Paint colors, ¼ Peacoat and ¾ Jitterbug mixed together. I sprayed it on with my Fuji Q4 paint sprayer that I love so so so much! This thing sprays like a dream for a completely perfect, fine finish. Learn more about how to use the Fuji Q4 Platinum paint sprayer here!
I add a little bit of water to my chalk paint and always, always run it through a mesh filter to make sure no clumps or anything can clog my sprayer.
You could brush the chalk paint on as well, and this method will work with basically any brand of chalk paint. I just love Country Chic Paint and these colors. Check out my honest and detailed Country Chic Paint Review here.
Here are the best chalk paint brushes if you prefer brushing. But if you don’t like those pesky brush marks, here’s how to paint furniture without brush marks.
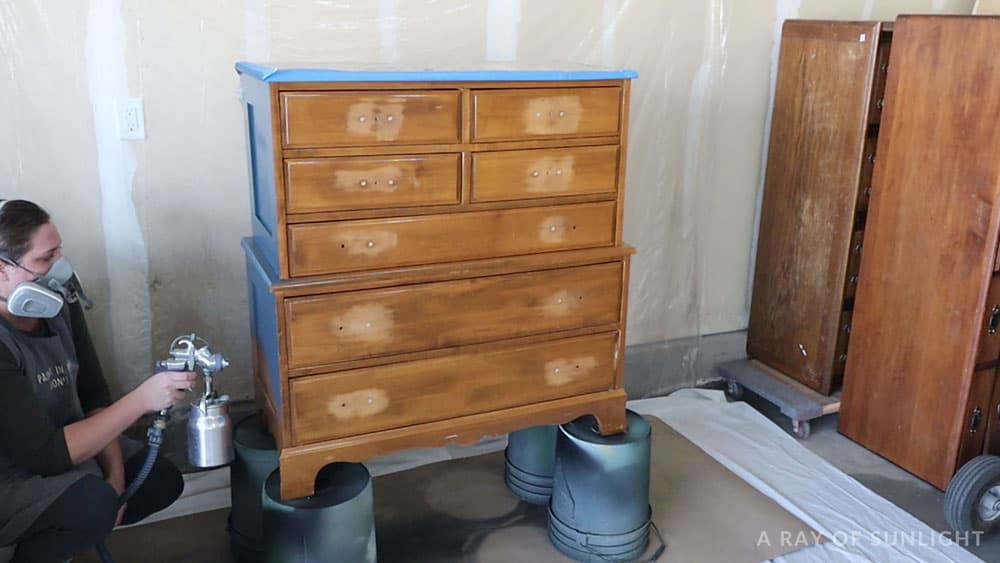
I sprayed on three coats of paint, letting the chalk paint dry completely in between coats. While I waited for the last coat to dry, I cleaned out my paint sprayer and let it dry. Learn the best way to clean a Fuji Q4 paint sprayer in this post!
Topcoat Chalk Paint with Waterbased Polyurethane
When the chalk paint was all dry, I put my absolute favorite topcoat in it. The Varathane polyurethane is water-based and gives the paint a really nice durable finish.
I put the poly through the mesh filter, and then I added just a little bit of water to make the poly take a little bit longer to dry. If it takes a little bit longer to dry, then it will have more time to spread out and lay flat, making the finish even more perfect and much more soft and smooth.
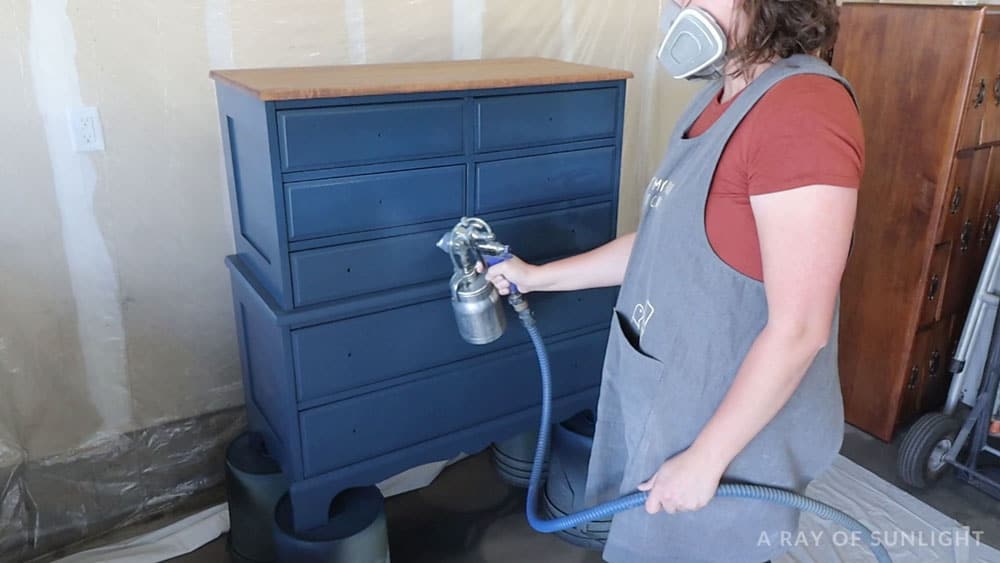
Anyway, I sprayed one good coat of poly all over the chalk paint. Check out this post about how to spray polyurethane for my best tips on spraying it.
Do You Seal Chalk Paint Before Applying Glaze?
YES! This step with the poly is really crucial to having success with glazing over chalk paint. If you don’t put a coat or two of poly over the chalk paint, the glaze will soak right into the really porous chalk paint, making it impossible to work with the glaze.
Learn more about topcoats for painting furniture here, and you can also check out the best topcoat for chalk paint options in this post. Here’s how to seal chalk paint for a more detailed guide and helpful tips on sealing chalk painted furniture.
Sanding In Between Coats of Polyurethane
So I let that coat of poly dry, and then I sanded it smooth with a fine or very fine SurfPrep foam sponge (which is about the equivalent to 400 grit sandpaper).
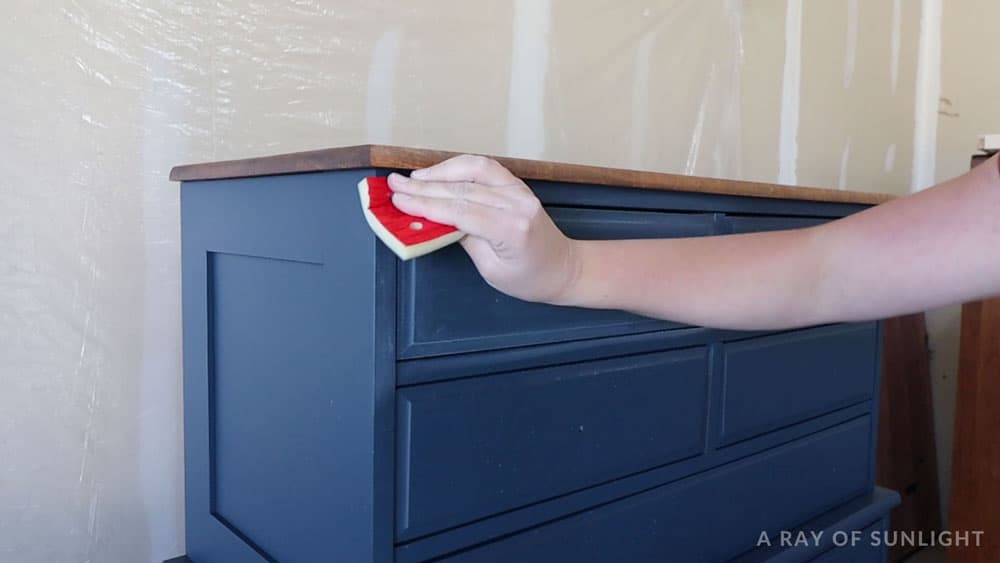
The sanding isn’t required, but man oh man, it really helps make the final finish really soft and smooth. I didn’t push hard when I sanded by hand. I just lightly sanded it to help smooth it out. After it was all soft and smooth, I used my shop vac to suck up all the dust and followed it up with a wipe down with a sticky tack cloth.
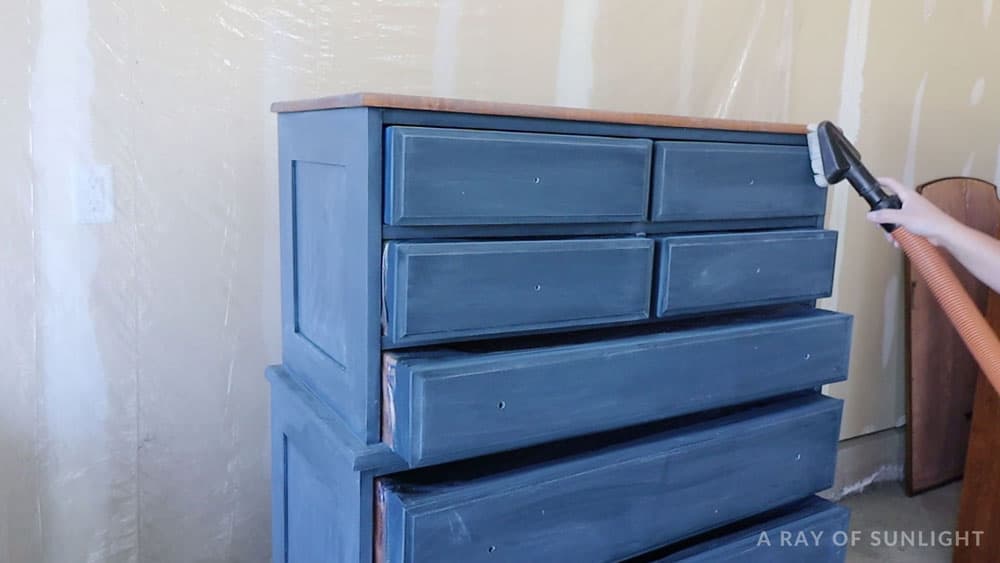
These tack cloths really really really pick up any extra dust that is left over. And they don’t leave any lint behind. They do feel really funny (and sticky) though, so a lot of times I wear a glove when I use a tack cloth.
When all of the dust was completely gone, I sprayed one more coat of poly all over the dresser. Then I let it dry for extra long.
How Long to Wait Before Glazing Over Chalk Paint
After 24 hours, it’s safe to start glazing! I like to let the poly on the chalk paint dry at least overnight, but really it’s best if it sits for 24 hours before moving on to the next step.
If you start glazing before the poly has a chance to really dry hard and start to cure, then all of the moisture from the glaze will go right through the still soft poly and right to your paint. Then when you start wiping and working with the glaze, the paint can easily rub off.

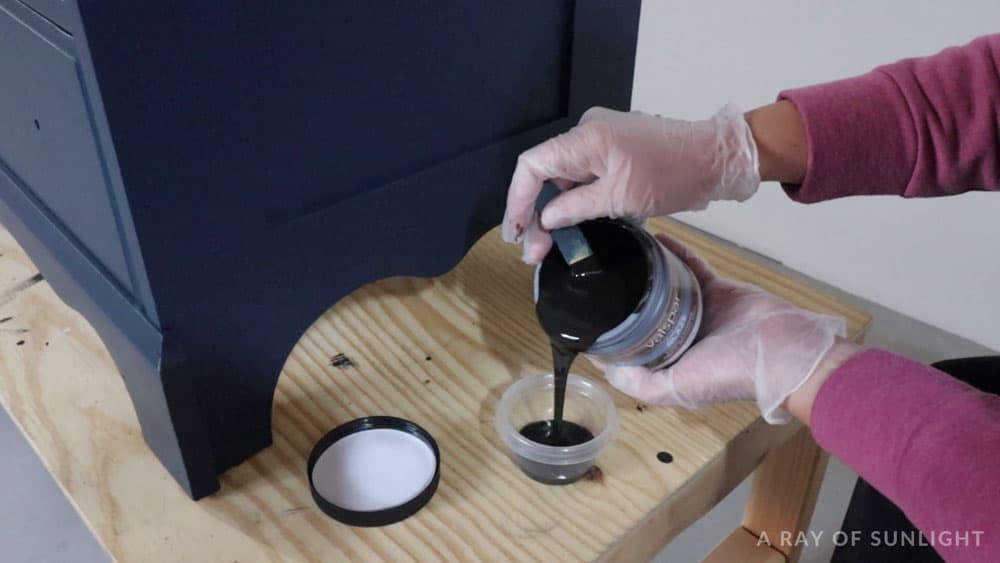
Glaze Over Chalk Paint with Valspar Antiquing Glaze
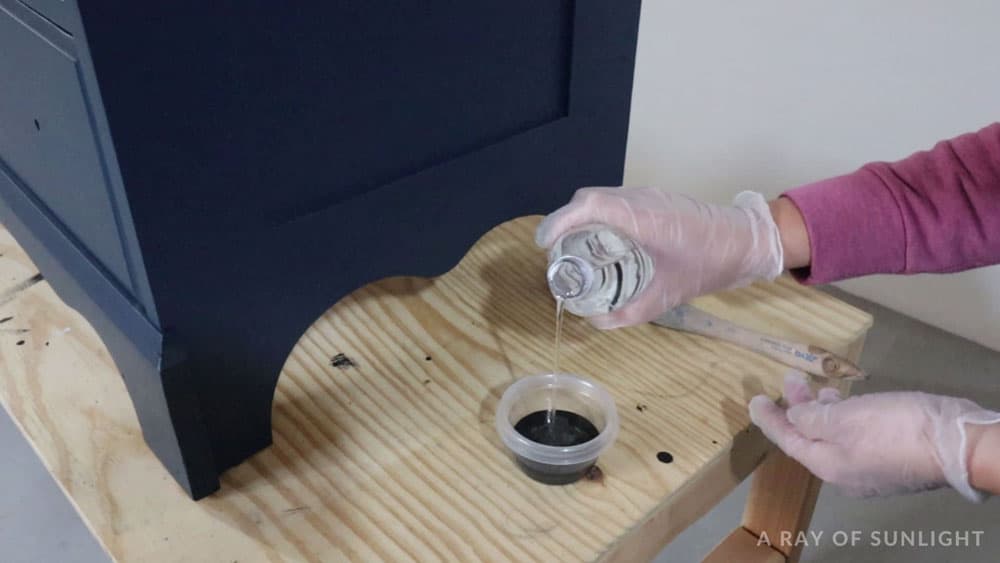
I poured some glaze into a plastic bowl so I could add a bit of water to it. I like to add water to my glaze so then it takes a bit longer to dry, giving me more time to work with it.
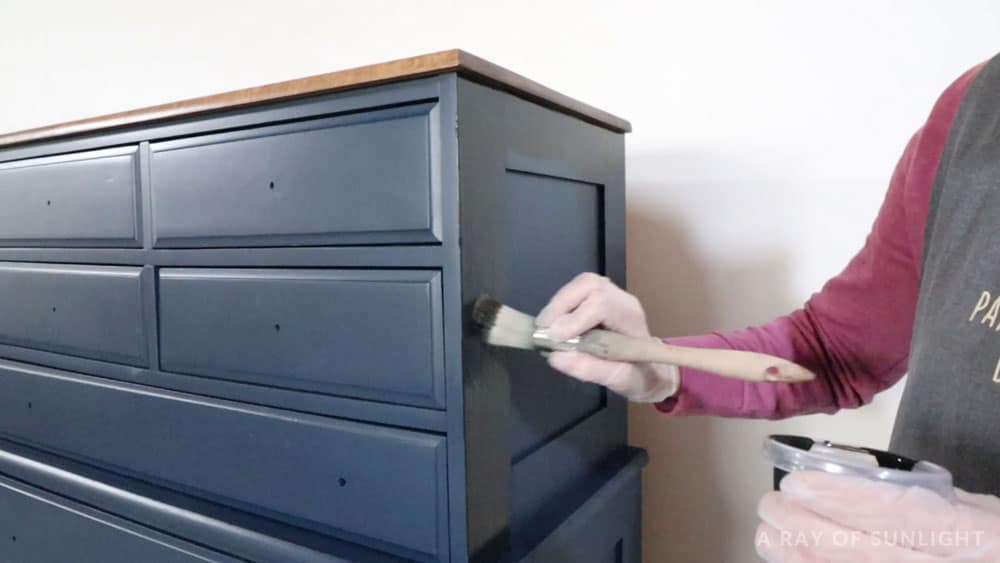
Now it’s time to actually start glazing!! I typically use a super cheap paint brush from the dollar store for glazing, but I didn’t have any on hand. So I grabbed my favorite brush for everything else, the Zibra round brush.
How to Use Valspar Antiquing Glaze
I brushed the glaze on in one small section, making sure to get the glaze in any corner or detail.
I like to let the glaze sit for probably 20-40 seconds. But I don’t want the glaze to dry before I can get back to it. Then, wearing gloves, I used a baby wipe to wipe off most of the glaze.
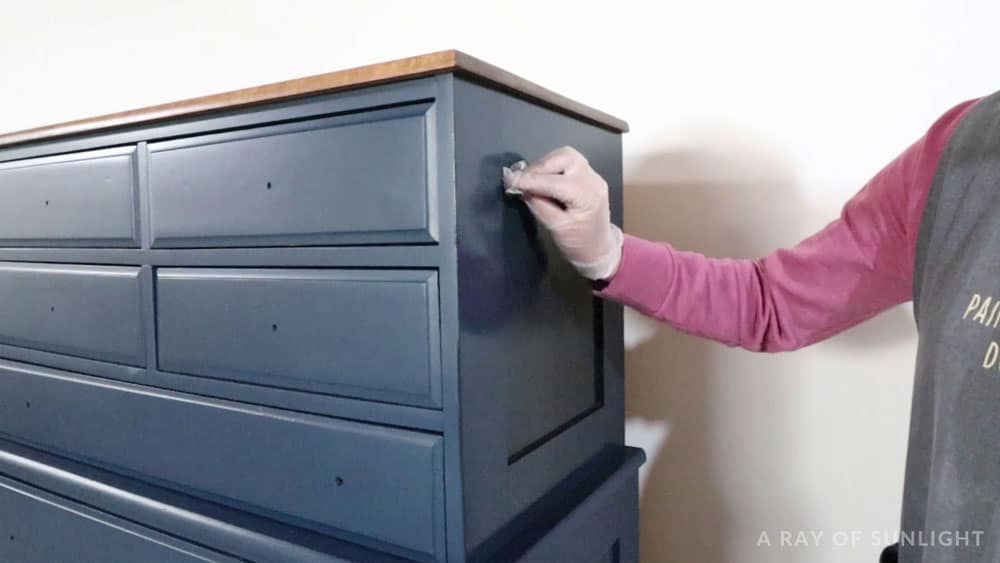
This first coat of glaze is really just a light coat that puts the glaze all over. We’ll go back with another coat to add more glaze in certain spots.
Would you like to save this?
Whenever I wipe off the glaze, I try to wipe in the same direction that the wood grain would be going. And I try to use long strokes instead of short strokes.
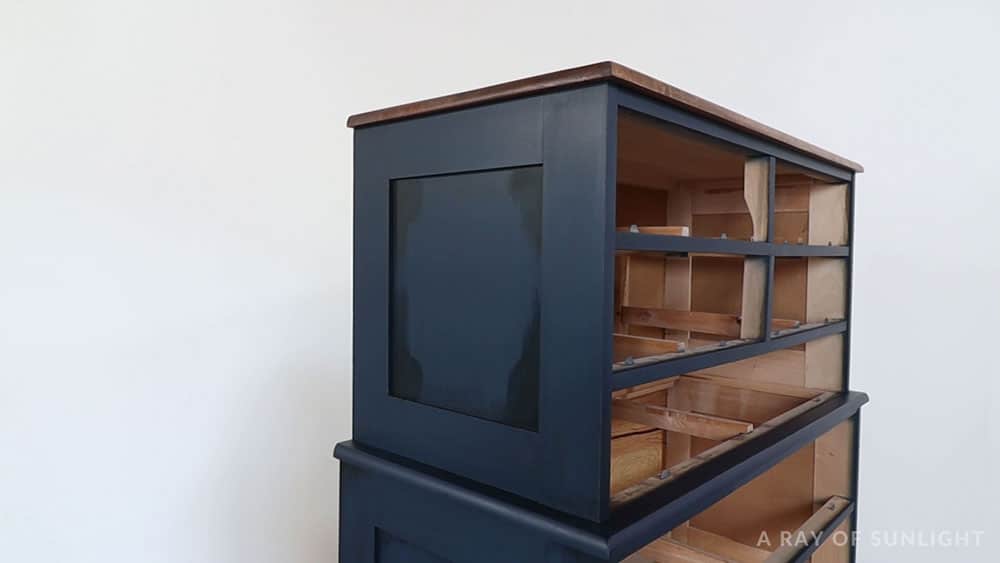
In these panels, I kind of pushed the glaze into the top and bottom, but I also tried to pick up most of the glaze and not leave it all in the edges. I slowly made my way around the whole dresser, working in small sections, or on one drawer at a time.


It’s kind of hard to see the glaze once I wiped most of it off, especially because of the dark paint, and the shadows. But I promise there was just a little bit of glaze left over the entire dresser. Just one thin and even coat all over.
How Long Should Glaze Dry Between Coats
Then I let the glaze dry for a day. If you put wet glaze over glaze that hasn’t had a long time to dry, then the 2nd coat of glaze will just pull up the 1st coat of glaze.
So you have to really let the 1st coat of glaze dry completely before moving on. I know, there is a lot of wait time in this project. But it’s totally worth it in my opinion!
Applying More Glaze
Once the first coat was dry, I came back with the same brush (that I had kept wrapped up in plastic to keep it wet) and put just a bit of glaze in the areas where I wanted some shading. Mostly in the corners and edges of the piece.
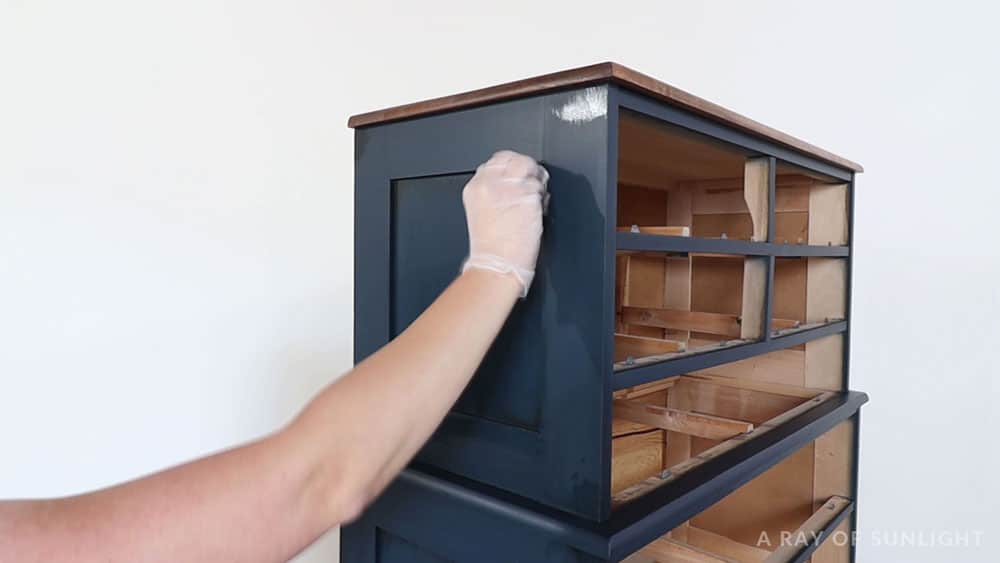
Then I wiped some of it back off, trying to keep some of the glaze still there but also trying to blend it into the light, thin first coat of glaze.
I’m not going to lie, this part is probably the hardest part for me. Just the wetness of wiping with a baby wipe will make the finish look different until it dries again. So it’s hard to tell exactly what it’s going to look like.
So I just try to get it to look the best that I can tell, and honestly hope for the best. Haha At this point it’s not so much science, but it’s a lot of artistry and playing around until it looks good.
Once I was happy with one section, I moved around the rest of the dresser until there was shadowing in all of the details.
One little tip – if you hate how the glaze looks, you can always paint over it and start again. OR you can tint some clear glaze with the paint color of the dresser. Then, put the blue glaze over the dry brown glaze on the dresser to blend in the colors and kind of hide the brown glaze.
After I was overall happy with the glaze, I let the glaze dry overnight. Learn more about how applying glaze can elevate a project with this old sideboard makeover. Here’s how to paint and glaze furniture for more tips!
Seal Glazed Furniture
The next day I put more poly into my paint sprayer, and sprayed 3 more coats of poly onto the dresser, letting each coat dry completely.
I also sanded the poly smooth in between coats to make it extra soft and smooth.
Do you have to seal glazed furniture?
So you just finished glazing that beautiful piece of chalk painted furniture and now you’re wondering, do you really have to seal it? The answer is yes!
Sealing glazed furniture is key to keeping your project durable and long lasting. Glaze is a thin layer that can easily be damaged or discolored without proper protection. Sealing adds a protective barrier against daily wear and tear. This could be anything from spills to scratches to fingerprints – all things that can easily ruin the finish on your piece.
If you don’t want to spend hours on a project only to have it ruined in a matter of weeks or months, then sealing your glazed furniture is a must. It will not only protect the finish, but also make it easier to clean and maintain.
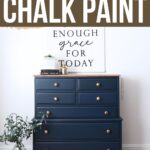
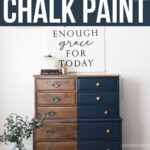
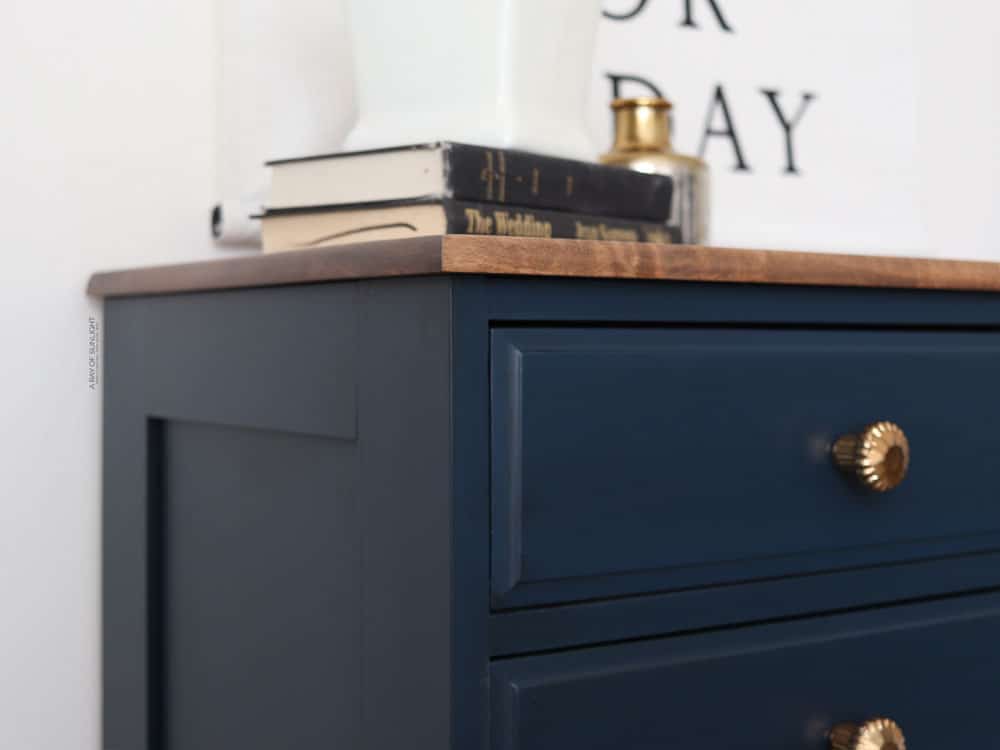
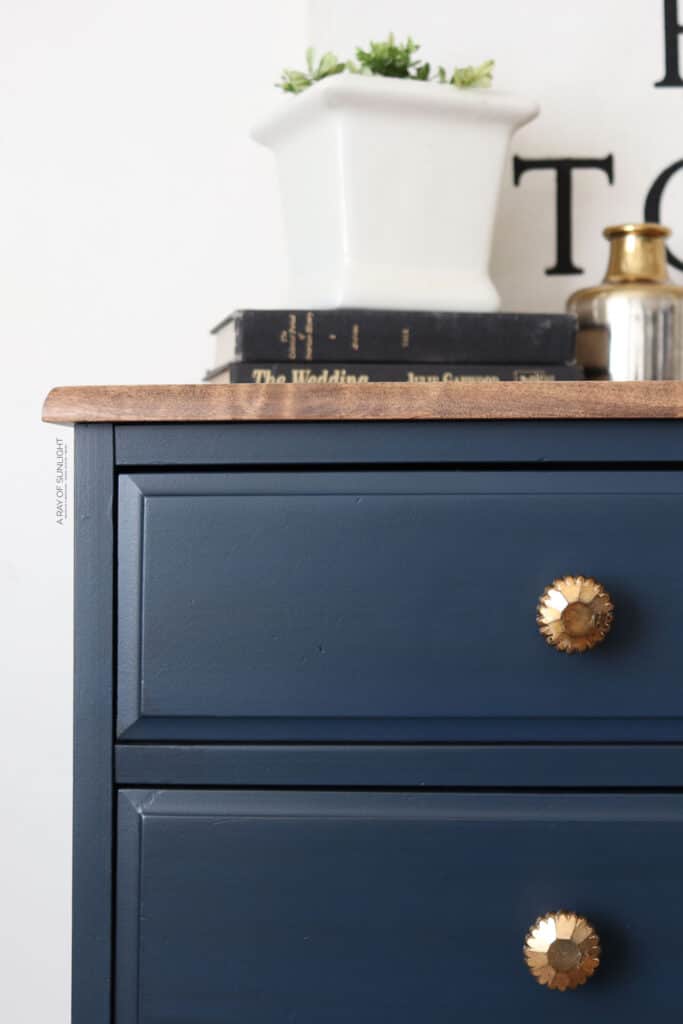
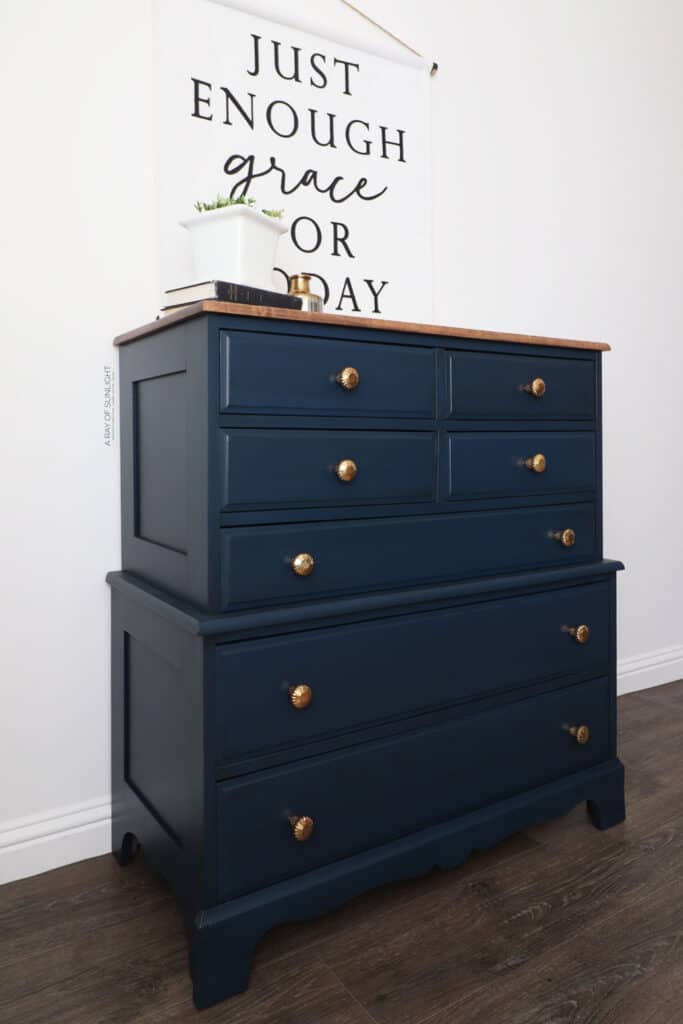
Here’s what this dresser looks like now!
More Before and After Makeovers
See All >
Click any of these “before” photos below to view the “after” of that makeover.


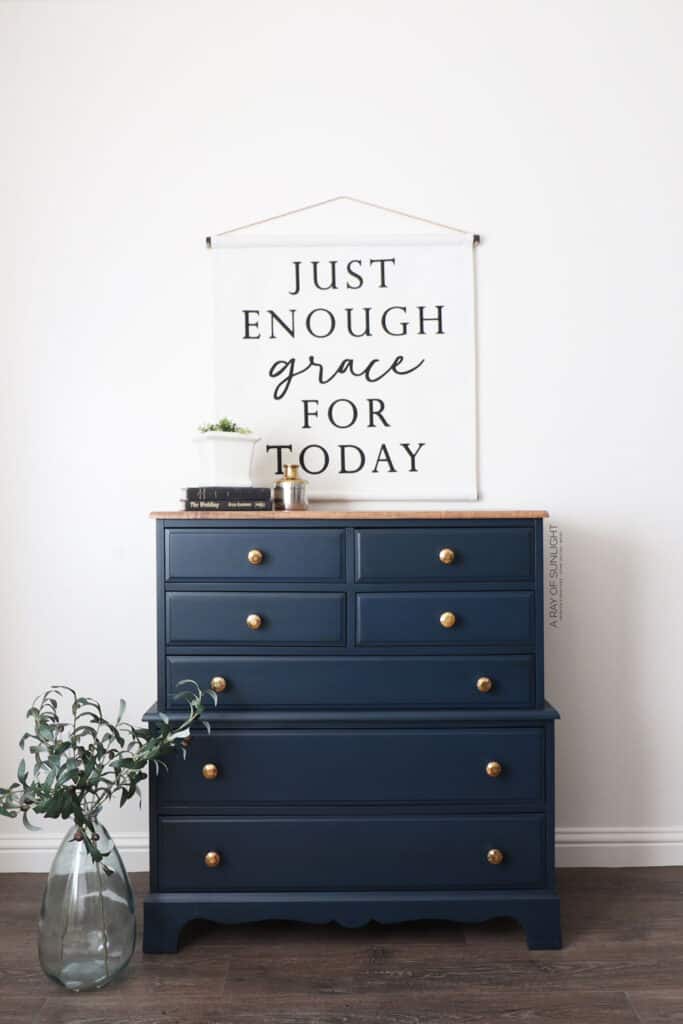
Glazing isn’t for the faint of heart, or for a really fast project, but man, isn’t that antiqued look worth it?!
What Does Glaze Do for Paint?
It accentuates any details that you have on your furniture because it stays in the grooves of any details. It also makes the paint color richer and deeper.
Do You Have to Put a Clear Coat Over Chalk Paint?
Yes! Chalk paint is super porous and anything that you put on it will soak into the paint. So the glaze will soak right into the chalk paint, and you won’t have any chance to remove the glaze, or move it around. The polyurethane clear coat makes it possible to work with the glaze.
Should I Use Wax or Polyurethane Over Chalk Paint?
I prefer the durability of polyurethane over chalk paint. Plus, if you mess up and want to paint over it, you don’t have to remove the wax (paint doesn’t stick to wax!) before painting again.
When you’re glazing though, you can’t use wax on the chalk paint. Glaze won’t stick to wax!
If you want to wax, you’ll want to use a mixture of clear wax and antiquing wax to create the antiqued glazed look. Check out my detailed comparison between glaze vs wax over chalk paint here to help you decide between the two.
How Many Coats of Polyurethane Over Chalk Paint?
Apply one coat of polyurethane before glazing the chalk paint. Apply three coats of polyurethane after the glaze.
And that’s it for our tutorial on how to glaze chalk painted furniture! By following this guide, you can create a beautiful antiqued look on your furniture – just remember to take your time and let each coat of glaze and polyurethane dry completely for best results. And don’t forget to seal your glazed furniture for long lasting durability!


How to Glaze Over Chalk Paint
Make your painted furniture stand out from the rest with an antiqued glazed finish. Here’s the best way to Glaze Over Chalk Paint!
Materials
Tools
- Cheap Paint Brush for the Glaze
- Disposable Gloves
- Fuji Q4 Paint Sprayer
- Respirator
- Zibra Round Paint Brush
Instructions
- Prepare the dresser for paint and sand down the top.
- For the blue paint, mix two Country Chic Paint colors, ¼ peacoat and ¾ jitterbug. Add a little bit of water to the chalk paint and run it through a mesh filter to make sure no clumps or anything can clog your sprayer.
- Spray 3 coats of blue paint onto the dresser, and let the paint dry completely in between coats. While waiting for the last coat to dry, you can use this time to clean out your paint sprayer as well and let it dry.
- Topcoat chalk painted dresser with waterbased polyurethane for a nice durable finish. Make sure to seal the paint before applying glaze! Sand the painted dresser lightly between coats of poly. After the last coat of poly, let it dry for at least 24 hours before glazing.
- Pour glaze into a plastic bowl and add a bit of water to it. Brush the glaze onto the dresser and let the glaze sit for around 20-40 seconds. Then, while wearing gloves, use a baby wipe to wipe off most of the glaze.
- Let the first coat of glaze dry for a day then brush more glaze in the areas where you want some more shading. Let this coat of glaze dry overnight.
- The next day, put more poly into your paint sprayer, and spray 3 more coats of poly onto the dresser, letting each coat dry completely. Sand the poly smooth in between coats as well to make it extra soft and smooth.
- Attach hardware.
Recommended Products
As an Amazon Associate and member of other affiliate programs, I earn from qualifying purchases.


More Glazed Furniture Makeovers
- French Provincial Nightstands Makeover
- DIY Emerald Green Dresser
- Turning a Dresser into a TV Stand
- French Blue Dressers
- Antique Blue Sideboard Buffet
Learn the Art of Updating Furniture!
If painting furniture feels overwhelming or your past attempts didn’t go as planned, this course will guide you step by step.

Follow us on YouTube to get more tips for painting furniture. Or share your project with us on our Facebook Group and be part of our community. See you there!
I love this blue dresser! I have a question about applications though. This is my first project and I don’t have a sprayer. What poly do you advise to use that’s in a spray can? I’m afraid of spatter. I thought I saw a video of you comparing products but can’t find it now.
Thank you for your guidance. I’m getting more confident in attempting to redo a dresser and chest on chest that was my husband’s grandmother’s. Lots of repairs to be made first though.
Mary Poelker
Hey Mary!
I recommend the minwax polycrylic in a spray can if you don’t have a sprayer.
Best of luck on your project!
I just stumbled upon this and it was perfect timing except I’ve already applied the glaze to the top of table. I didn’t know about the top coat being so important prior to glazing. I want to layer another color on top of the glaze I have. I assume it’s to later for the top coat or just go ahead and apply the glaze? Also,can I sand between coats of glaze? I love all the work you do. You explain everything so clearly. Thank you again!
Hey Sue!
Oh no, did you have a hard time with the glaze since there wasn’t a topcoat under it?
You can still put a top coat on before putting on more glaze if you want to control how much goes on. Or you could skip the topcoat again and just do the glaze.
Either way, if it gets messed up, you can go over it with your paint and start over.
Or you could try adding some of your original paint to your glaze and try to tone down the different colors of glaze.
And yep, you can sand between coats of glaze if you would like.
Thank you so much for the love and support! It means the world to me!
Yes, I would use the spray can version. I like the minwax waterbased polyacrylic in the spray can.
Where is the hardware from? Do you have a link? It’s gorgeous!
I think it was from Hobby Lobby.
I’m new to your site and am so impressed with your work. Everything is gorgeous including this blue dresser!
Thank you so much for the love Giselle!
What did you use to stain the top of the dresser?
I believe I used special walnut stain on this wood top.
your work is so beautiful, I had that dresser many years ago in Maple it was my first bedroom outfit I bought, the bed was called a rope end. wish i still had it!! keep posting all your beautiful work.
This turned out absolutely gorgeous! The color is so lovely, and the glaze is impressive. We just remodeled our kitchen 4 years ago and had them do a glaze finish, and I love it! Visiting from Senior Salon Pit Stop.
Aww thanks so much!
Natalie, I loved watching your process and your tips.
Thank you for sharing your post on how you glaze over chalk paint at Create, Bake, Grow & Gather this week. I’m delighted to be featuring it at today’s party and pinning too.
Hugs ~ Kerryanne
I’m so glad to know you loved watching my process and tips! I also appreciate the feature, thanks Kerryanne!