How To Paint End Tables


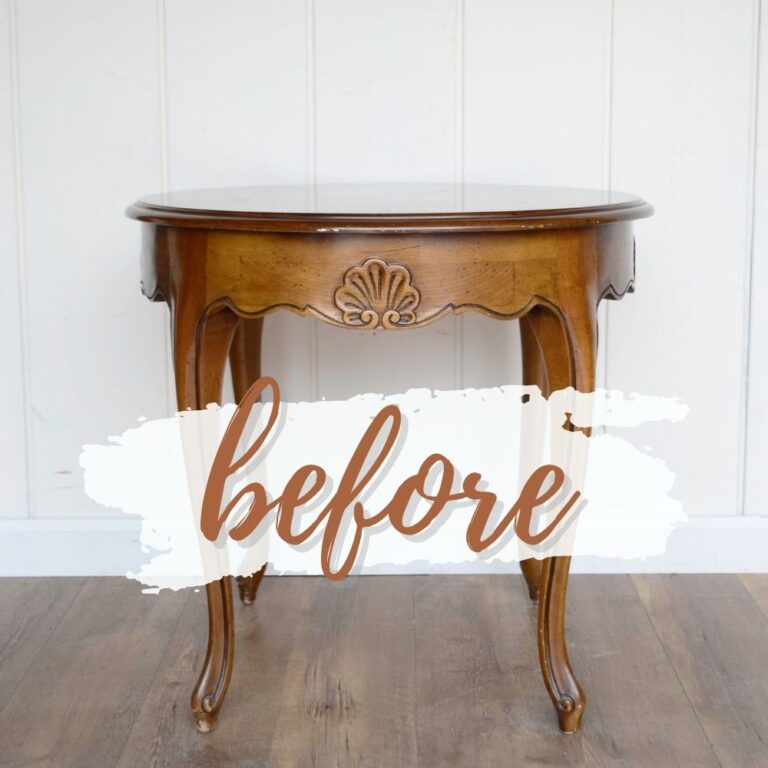
This mismatched set was so fun. I’m gonna show you how to paint end tables with this makeover. Here, we have two completely different looking pieces. One is very vintage, and one looks more like an antique.
We’re going to paint these the same way and make them look like they go together in an eclectic way. For anyone looking for creative painting furniture ideas, this is an easy way to create a stylish, cohesive look – even if the pieces look nothing alike!

Welcome to Furniture Fixer Upper day, where we join 4 of our talented furniture friends and bring you brand new makeovers! I’ll link to my friend’s makeovers after our after photos at the bottom of this post! Don’t forget to check out their masterpieces!! Okay, back to our makeover!
Mixing and matching furniture is a great way to add character and personality to your space. Plus, it’s a great way to make the most of what you already have. Now, you can choose to make them more unique by using different colors and styles.

But like we did with these end tables, you don’t have to make your mismatched pieces look even more different. You can go with similar tones, finishes, or even matching hardware to make them feel like they belong together.
So, we’re giving both these pieces a fresh white finish. White is a super versatile color – it’s clean, classic, and goes with pretty much any decor style. So, whatever design you have, this color will work beautifully!

Supplies Used to Paint End Tables
As an Amazon Associate, I earn from qualifying purchases. I also may earn from other qualifying purchases with other companies or get free product to review and use. All opinions are my own.
- Electric Screwdriver
- Krud Kutter
- 220 Grit Sandpaper
- Wood Filler
- Shop Vac
- Tack Cloth
- Clear Shellac
- Behr Heavy Cream
- Calcium Carbonate Powder
- Wagner Sprayer
- Waterbased Topcoat
- New Hardware
Removing Hardware and Cleaning Tables
First things first, I removed the hardware off one end table. In this picture, it’s already gone, but I removed it using my electric screwdriver. This just creates a nice, fresh slate. It also makes it easy to change out the hardware in the future. Right now, it’s best to just remove them, and it’s super simple.
Then, we cleaned everything with Krud Kutter and a damp rag. The Krud Kutter cuts through grease, grime, and oils that can make it hard for the paint to stick. It also helps remove things like stickers that can mess up the finish. I cleaned everything really well with it. Get more tips on how to clean furniture before painting here.

Sanding and Filling Scratches
I’m a big believer in prepping your piece beforehand to make your paint last longer. If you do the right steps beforehand, your finish will look better and last much longer.
We scuff sanded these two with 220 grit sandpaper by hand. Just take a sheet of paper, about 3 to 4 inches on both sides, fold it in half, and rub it all over everything. This helps the new finish stick better and smooths out scratches or little dings you might have.
You can also fill those scratches and dings with wood filler. Then, scuff sand the filler smooth, blending it in with the wood around it. After you scuff sand everything, you don’t have to go crazy. You just need to dull the finish.


If you have a shiny finish, just make it look dull by lightly scratching the surface. Use 220 grit so it doesn’t leave noticeable scratches. Then, clean up the dust with a shop vac and a hose with a brush attachment. Then, I like to wipe it down with a tack cloth to pick up any little pieces of dust.
Priming the Wood
Now, we’re ready to prime. Priming helps with adhesion and prevents bleedthrough issues. We used clear shellac in a spray can – it’s so easy to spray on! You just apply a couple of coats, let it dry overnight, and it locks in the wood tannins that can cause issues. Here’s more on how to stop stains from coming through paint by priming.

Painting End Tables
I mixed our homemade chalk paint recipe using Heavy Cream latex from Behr, calcium carbonate powder, and water. I applied it with a Wagner sprayer – this one I used is discontinued, but the Wagner FLEXiO 590 is a great alternative.

Would you like to save this?
Spraying makes the process so much easier and faster, especially when using a lighter color that needs multiple coats for full coverage.
If you’d like to brush instead, I love Zibra paintbrushes. You can get them on Amazon, at Home Depot, or at Lowe’s. They’re great quality at a very budget friendly price point, and they last forever. Just clean them after use – they’ll last you a long time, and they don’t shed. Check out our guide on how to clean paint brushes here.
Learn the Art of Updating Furniture!
If painting furniture feels overwhelming or your past attempts didn’t go as planned, this course will guide you step by step.

After you’ve applied all your coats of paint, I like to distress the piece. If you like the distressed look, you can rub 220 grit sandpaper over the edges and details to show some of the wood through the new finish. You don’t have to do this, but even if you’re not distressing, lightly sanding after using chalk paint will give you a smoother finish. Learn more about how to distress chalk paint in this post.

After distressing (if you choose to), vacuum up the dust again with a shop vac. Wipe everything down with a tack cloth to remove all remaining dust.
Sealing Chalk Paint
When you’re using this type of paint, you need to topcoat it. If you have an HVLP paint sprayer, a waterbased topcoat is so easy to apply. You just put it into your sprayer, add about 5 to 10% water to thin it out, and apply three coats. Then, let it dry for a day.

The alternative is wax. It’s not as durable, has to be applied by hand, and takes much longer to dry and lose its tackiness. Here’s our more detailed comparison of wax vs polyurethane, and here’s how to seal chalk paint for more tips.
Either way, chalk paint needs to be topcoated. But if you really don’t want to apply a topcoat, check out our list of the best all-in-one paints for furniture here that you can use without a topcoat!


Adding New Hardware
After the topcoat dries for 24 hours, it’s time to put your hardware back on or add new ones. For this project, I used new hardware. Luckily, it fit perfectly into the existing holes, so I didn’t have to redo them. If you want to replace yours, too, here’s how to change hardware on a dresser to guide you.
From mismatched, ugly tables before to these two that go together so well and look so cute! They look nice and fresh now, with no more orange wood. Here’s how to chalk paint nightstands for a similar makeover but on matching pieces.


More Before and After Makeovers
See All >
Click any of these “before” photos below to view the “after” of that makeover.


Don’t forget to check out these other awesome before and after furniture makeovers from my Furniture friends!! (Click the links below the photos!)

- DIY Piano Bench from My Repurposed Life
- Wooden Chair Makeover from Salvaged Inspirations
- Painted Kids Table & Chair Set from Confessions of a Serial DIYer
- Writing Desk Makeover from Petticoat Junktion


How to Paint Mismatched End Tables Step-by-Step
I'm going to show you how to paint end tables with this makeover, creating a stylish, cohesive look for these mismatched pieces.
Materials
Instructions
- Remove the hardware using an electric screwdriver to create a clean slate. This makes it easy to change the hardware later if needed.
- Clean the tables thoroughly with Krud Kutter and a damp rag. This removes grease, grime, and stickers that can mess up the finish.
- Scuff sand everything with 220 grit sandpaper to dull the finish and help the paint stick. Fill scratches and dings with wood filler and sand smooth to blend it in with the wood around it.
- Vacuum off dust using a shop vac and a brush attachment. Wipe everything down with a tack cloth to pick up all the little pieces of dust.
- Spray a couple of coats of clear shellac to prime the wood and stop bleedthrough. This locks in the wood tannins and helps the paint adhere better.
- Mix homemade chalk paint using Behr Heavy Cream, calcium carbonate powder, and water, and apply multiple coats with a Wagner sprayer until full coverages.
- Lightly sand the edges and details with 220 grit sandpaper for a distressed look. If distressing isn’t your thing, just skip this step and keep the finish clean.
- Vacuum the dust again with a shop vac and wipe down with a tack cloth. This makes sure everything is smooth and clean before sealing.
- Spray three coats of a waterbased topcoat, thinning it slightly with 5-10% water. Then, let it dry for a day.
- Add new hardware or reattach the original pieces for the finishing touch.
Recommended Products
As an Amazon Associate and member of other affiliate programs, I earn from qualifying purchases.


More Painted Furniture Makeovers
- Redoing End Tables
- Painting Wood End Tables
- MCM Step End Table Makeover
- DIY White Dresser Makeover
- DIY Farmhouse Dresser Makeover
Follow us on YouTube to get more tips for painting furniture. Or share your project with us on our Facebook Group and be part of our community. See you there!
They do look so good together now! Such cute pieces that no doubt will sell quickly! XOXO
So glad you agree! Thanks so much Christy!
Super cute ‘set’ Natalie! And I love the DIY Chalk Paint finish! Pinned XOXO
Ahh thanks so much Denise!
Girlllllll, You know I love me some white distressed paint. I especially love that round table with all the curves and details. Kathy
Haha thanks so much Kathy! So glad to hear that!