How To Chalk Paint Nightstands


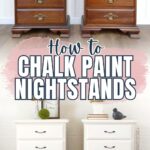
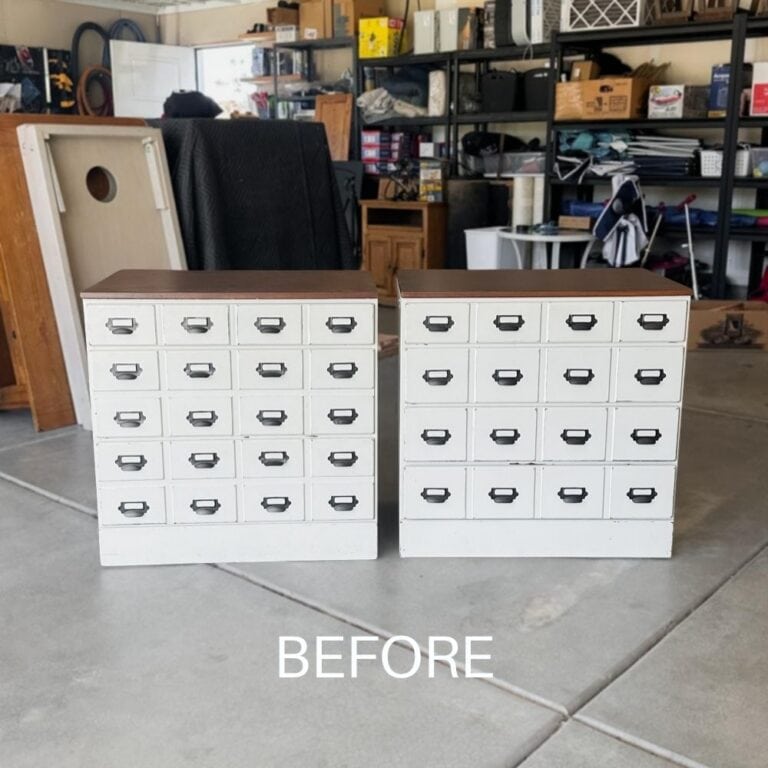
These vintage nightstands we got from an estate sale are so cute! And today, we’re showing you how to chalk paint nightstands like this and turn them into stunning, personalized pieces for your home.
If you have a similar pair that is in need of a makeover, follow along as we share our tried and true ways for creating these beautiful chalk paint furniture ideas. We’ll also show you how to make it durable and long lasting so that you can enjoy your newly updated pieces for years to come.

Estate sales are typically a little bit pricier for finding furniture, but a lot of times, they are also in much better shape. I like to go, if possible, on their sale days or their last day, when items are 25% to 50% off, so you get a much, much better deal. Check out more best places to get good furniture for cheap here!

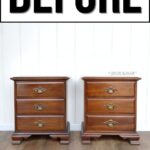
Anyways, these vintage nightstands have three drawers. The hardware is not so pretty, and I don’t like it. Every time I get furniture with hardware like this, I throw out the hardware, and I like to replace it with something new. This is a simple change that can make a big difference in the overall look of the piece.
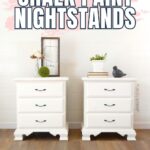
And of course, I’m giving these pieces a fresh update with white paint. It’ll totally brighten up the room and give them a modern, clean look. Plus, white furniture always looks great and works with pretty much any decor.

Supplies Used for Chalk Painting Nightstands
As an Amazon Associate, I earn from qualifying purchases. I also may earn from other qualifying purchases with other companies or get free product to review and use. All opinions are my own.
- Screwdriver
- Krud Kutter
- 220 Grit Sandpaper
- Clear Shellac
- Behr Latex Paint in Heavy Cream
- Calcium Carbonate Powder
- Paint Sprayer
- Tack Cloth
- Waterbased Polyurethane
- New Hardware
Prepping the Nightstands
First, I removed the hardware from the inside of the drawers using a screwdriver. Since I hate the hardware, I just threw it away. I always remove the hardware before I paint any piece. This way, I can change it out, and it is so much easier to prep and paint a piece without the hardware in the way.

Then I did the rest of the prep work. I cleaned the pieces with Krud Kutter to remove grease and grime, and I lightly scuff sanded the surface to help the paint stick. Contrary to what a lot of chalk paint companies tell you, most chalk paint will not really stick to vintage furniture without some help.
Do You Need to Prep Before Using Chalk Paint?
Yes, there are times that it will stick without prepping, and you can just slap it on. But the second that you use your furniture, it is easily going to scratch off. If you set something on it, it will stick to the heavy thing that you put onto the surface.
Or you accidentally bump your fingernail against the paint on the drawer as you’re opening it up, and now you’ve got a little paint chip. And so, sure, you can just slap the chalk paint on, but it’s not going to look as good, and it’s not going to adhere very well.
Plus, if you just slap it on over raw wood surfaces, and this goes for any water based paint, you will have stains from the wood come through, and you will not be able to get rid of them unless you prime with a specific type of primer.
Now, if you don’t really care and you just want it to look good for a little bit, and it doesn’t bother you when you get scratches on your piece, go ahead and skip these prep steps. Just know that it’s not going to look very good very soon after you start using your furniture.

After cleaning off the dust from the scuff sanding, I sprayed the nightstands with clear shellac. Now, this sounds weird because it’s technically a topcoat, but it helps the paint stick. It’s a fantastic primer that blocks those stains I talked about. Learn more about how to stop stains from coming through paint in this post.
You can also distress your chalk paint and see the wood underneath instead of some other primer color, because it’s clear. It’s super easy to spray it on, too! Check out our post on the best spray paint primer for wood here to learn more about clear shellac.
Chalk Painting Nightstands
We mixed our homemade chalk paint recipe with Behr latex paint in the color Heavy Cream, calcium carbonate powder, and water. You can check out the post for a more detailed guide on making it.

Brush it, roll it, spray it – whichever option is the best option for you and what you’re most comfortable with. We just used a beginner sprayer, the Wagner Double Duty. It has been discontinued, so you’ll want to check out this beginner friendly sprayer instead.
We laid out plastic and some 5-gallon buckets to set the furniture on in our backyard. It works great this way, but you don’t have to have this or any specific setup. Spraying outside is a great option, though, if you don’t have access to a garage or spray booth. Spray 2 to 5 coats of chalk paint. The number of coats depends on the color that you use and the color of the piece you’re starting with.

Would you like to save this?
These nightstands were going from a pretty dark brown to a creamy white – creamy whites, yellows, and pinks all take more coats, so those are going to take 5 coats. But if you’re going from dark brown to black, then that’s only going to take 2 coats.
After we got full coverage, we let it dry, and chalk paint dries super fast – typically, 30 minutes, and you’re ready for a new coat. If you’re in a cold or humid area, it will take a little longer to dry. Recoat it after 30 minutes to an hour.
Distressing Chalk Paint
After the last coat was dry, I distressed the pieces. I just took 220 grit sandpaper and lightly sanded the edges, revealing the wood underneath just a little bit to give it a distressed, worn out look. This is intentional; it’s very farmhouse style. Get more tips on how to distress chalk paint here!

You don’t have to do this, but while I’m distressing, I also like to lightly sand everything so the chalk painted finish feels smoother. If you skip this step, it might feel rough and textured. If you distressed with sandpaper, clean off the dust with a tack cloth to remove it.
Adding a Topcoat
Then, you have to topcoat your chalk paint. A lot of people like to use wax, but I don’t like it. To me, it takes longer to not be sticky and tacky, and it doesn’t provide as good of a barrier as a polyurethane topcoat does.
But you have to be careful with polyurethane topcoats. Don’t use oil based ones because oil will make your finish look yellow. I use Varathane polyurethane waterbased poly – it’s clear, dries clear, and doesn’t change the color of your paint.

I like to spray it on, but you can also brush it with these best paint brushes for polyurethane or use a sponge. Learn how to apply polycrylic to painted furniture with a sponge here. And here’s how to spray polyurethane to guide you if you want to use a sprayer, too.
I apply a couple of coats and let them dry in between for a couple of hours. This will protect and prevent it from scratching or chipping as easily, and help your finish last longer.


Adding New Hardware
The last thing I did on this makeover was put new hardware on. I chose something new, still a little fancy but simpler. It was rubbed bronze and simpler than the original. I chose this because the size matched the spacing of the holes from the original ones, so I didn’t have to change them. I have more tips on how to change hardware on furniture here.
And that’s how to chalk paint nightstands! A little prep work and a few fresh coats can totally transform a piece into something you’ll love. It could be a thrift find or something you’ve had forever – chalk paint is such an easy way to give it a fresh, stylish look.


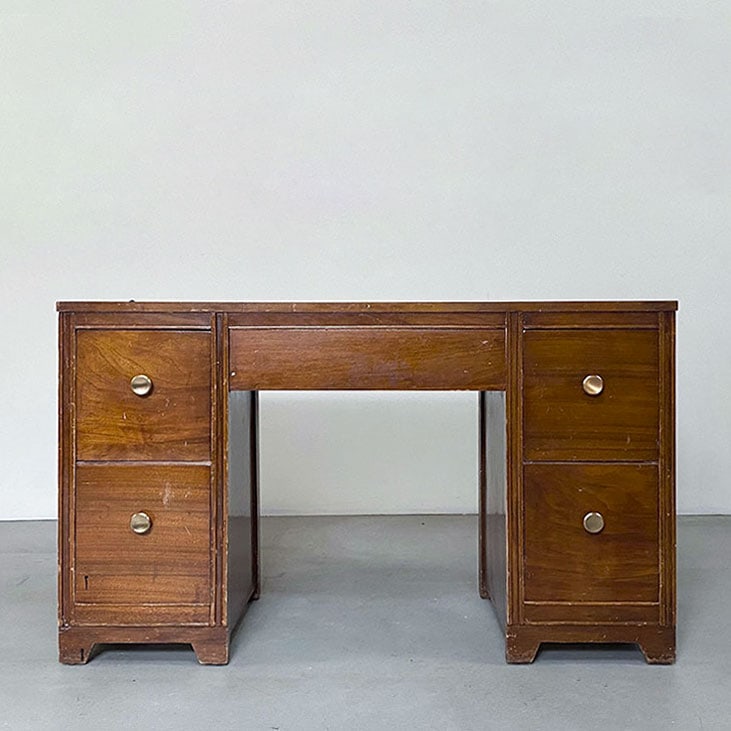
More Before and After Makeovers
See All >
Click any of these “before” photos below to view the “after” of that makeover.


How to Chalk Paint Nightstands
We're showing you how to chalk paint nightstands and turn them into stunning, personalized, and long lasting pieces.
Materials
Tools
Instructions
- Start by removing the old hardware from your nightstands using a screwdriver. If you’re not a fan of the current hardware, toss it and plan to replace it with something more your style.
- Clean the pieces thoroughly using Krud Kutter to get rid of grease and grime, and scuff sand the surface with 220 grit sandpaper. These steps will clean the surface and help the paint adhere better.
- Spray the pieces with clear shellac, which acts as a primer and blocks stains from coming through the painted finish. It also makes distressing easier by allowing the wood to show through naturally.
- Prep your chalk paint by mixing Behr latex paint in Heavy Cream with calcium carbonate powder and water.
- Apply your chalk paint using a brush, roller, or sprayer, depending on what you’re comfortable with. Allow each coat to dry for at least 30 minutes before applying the next. It may take anywhere from 2-3 coats to 5 coats, especially for light colored paint.
- Once the final coat is dry, distress the nightstands using 220 grit sandpaper. Focus on the edges and any spots you want to reveal wood beneath for a farmhouse style, worn look. Clean off dust from distressing with a tack cloth to make sure the surface is free of debris.
- Seal the paint with a waterbased polyurethane topcoat like Varathane for a durable finish. Apply a couple of coats, letting each one dry thoroughly, to protect your furniture from scratches and chips.
- Finally, add new, stylish hardware to complete the makeover!
Recommended Products
As an Amazon Associate and member of other affiliate programs, I earn from qualifying purchases.


More Furniture Makeovers
- The Farmhouse Cabinet Makeover
- Painting a Dresser Gray
- Painted Cedar Chest Makeover
- Antique Chest Of Drawers Easy Makeover
- Rustic Farmhouse End Table Makeover
Follow us on YouTube to get more tips for painting furniture. Or share your project with us on our Facebook Group and be part of our community. See you there!