DIY Grey Farmhouse Dresser Makeover
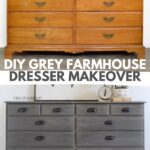
This DIY grey farmhouse dresser makeover is a great example of how older furniture can still work in your home with just a few updates. A fresh grey finish gives the piece a clean rustic look with a modern touch.
If you want more ideas before choosing a color or style, check out more DIY dresser makeover ideas here. These real projects make it easier to picture what you like. Now keep reading to get inspired with this project!

Older dressers can have great potential even when the style feels a little dated. The quality is usually there, but the finish or details sometimes need an update to match a more current look. A simple coat of paint is often all it takes!

And grey is such a popular color for farmhouse makeovers because it works with so many styles and spaces. It brings a clean, updated look without taking away from the charm of older furniture.
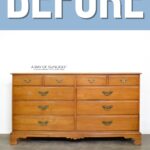
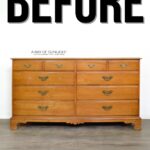
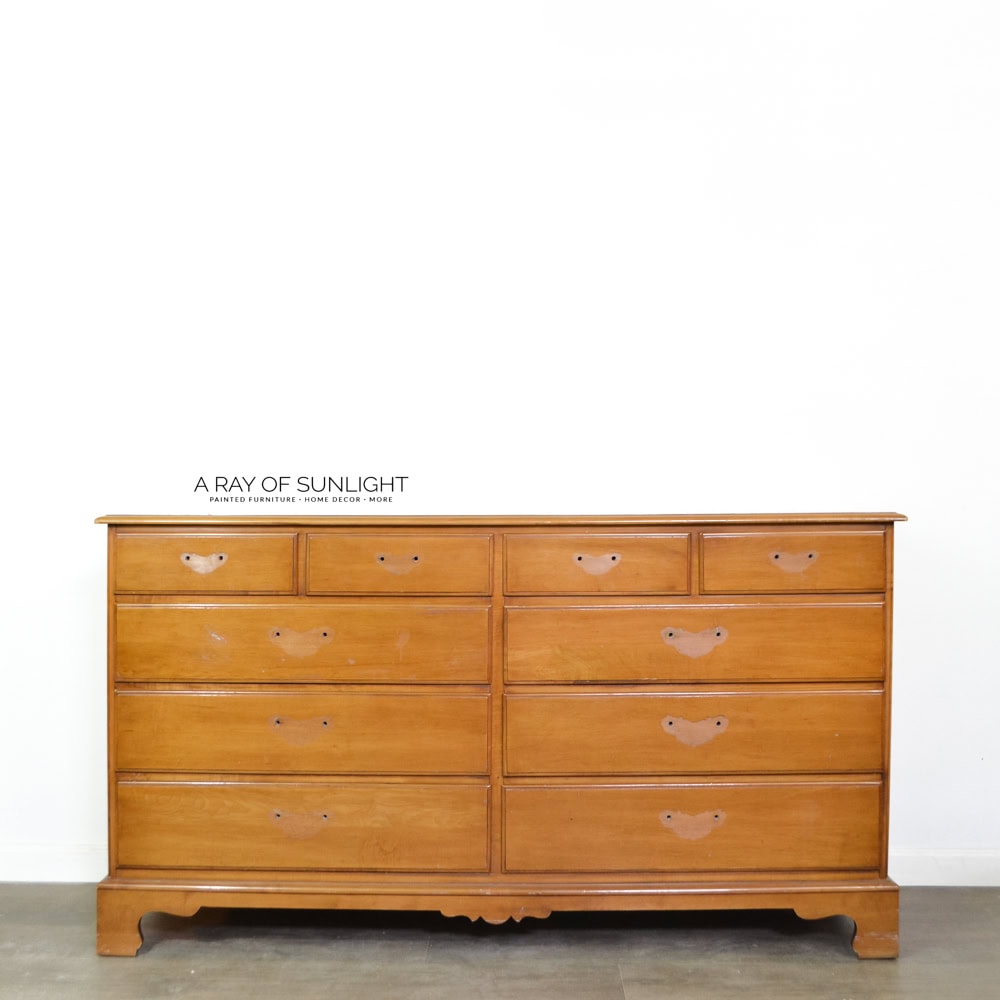
This dresser was that typical vintage style with the base that has all the curly Qs. It was just not my favorite, so we got rid of that and updated this to be true farmhouse grey. Let’s get started with this transformation!

Supplies Used for DIY Grey Farmhouse Dresser Makeover
As an Amazon Associate, I earn from qualifying purchases. I also may earn from other qualifying purchases with other companies or get free product to review and use. All opinions are my own.
- Krud Kutter
- Damp Rag
- Turned Legs
- Heavy Duty Leg Plates
- General Finishes Milk Paint in Driftwood
- Paint Sprayer
- Jolie Finishing Wax
- General Finishes Milk Paint In Linen
- Jolie Wax Brush
- Lint Free Rag
- Annie Sloan Dark Wax
- Farmhouse Rustic Handles
Prepping the Dresser
So first things first, we removed the old, ugly hardware. I hate this vintage hardware. It’s not my jam, and it had to go. Then we cleaned the dresser with Krud Kutter and an old, damp rag to remove the grease and grime. I have more tips on how to clean furniture before painting here.
This old furniture was gross when we picked it up. It had been used for years and had not been cleaned most of the time. But the good news is that this old furniture is solid and so well built. It’s worth taking some time to update it and make it into something pretty again, instead of throwing it in the landfill like so many people do.
Removing the Base
Then I had to do something about that base. Thankfully for us, it was very easy to remove. If you look really closely at it, you can see that there’s some trim, and the base kind of goes in line with it.
So we can see that this is not the same piece of wood as, like, the side of the dresser. This is so nice because that means when you flip it over and look underneath, you can see places and blocks that are attached and usually just screwed on to hold the base in place.
So finding all those screws and unscrewing the base takes just a few minutes, and voila! We got a dresser without any trim and a clean, fresh start for the dresser.
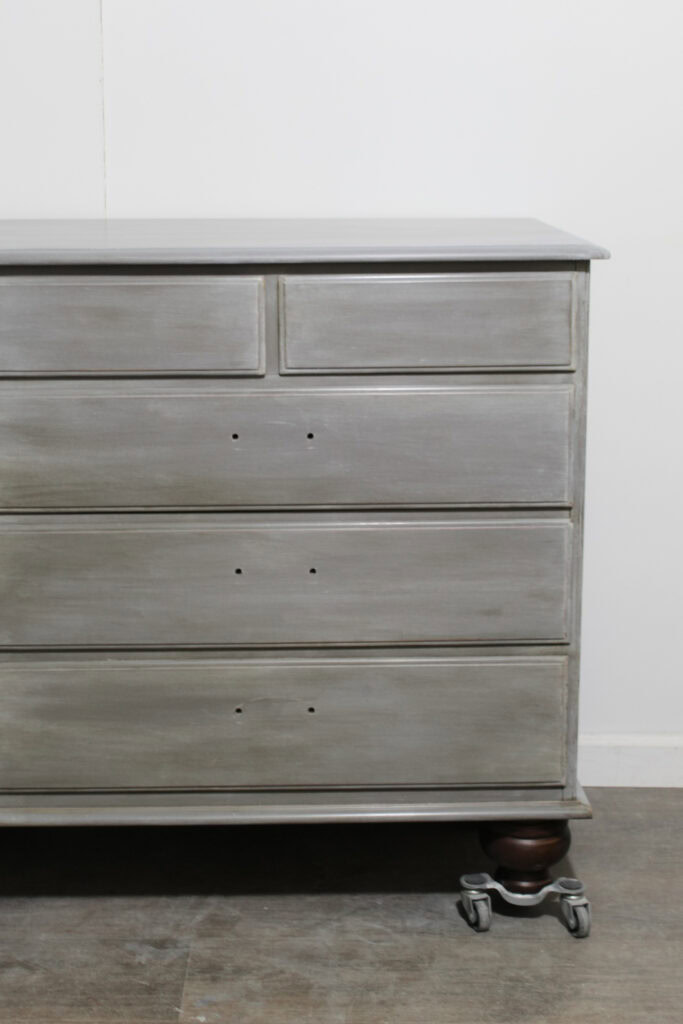
I ended up adding some new turned legs, and these ones were already stained like this when I got them, so I didn’t have to do anything with them.
In hindsight, looking back, I honestly think this dresser would have looked so much better if I had painted the legs the same color as the dresser, but I was trying something new. If I were to do this again today, I would paint those little turned legs the same color as the dresser.
To add the new legs, you just get a couple of these heavy duty leg plates, or if the new feet come with little plates, you can use those to attach them to the wood base. You can go over to our blog post on how to add feet to a dresser here for more details.
Would you like to save this?


Painting Dresser Grey
For this grey farmhouse dresser makeover, we used General Finishes Milk Paint in Driftwood. If you’ve never tried it before, here’s my General Finishes Milk Paint review to see its features and performance.
We sprayed it with our beginner friendly sprayer. I recommend this Vonforn paint sprayer. It comes with everything you need, from the filters to the brushes to clean. It’s very powerful and can spray thick paint. Learn more about it in my Vonforn paint sprayer review here.
Making Restoration Hardware Finish
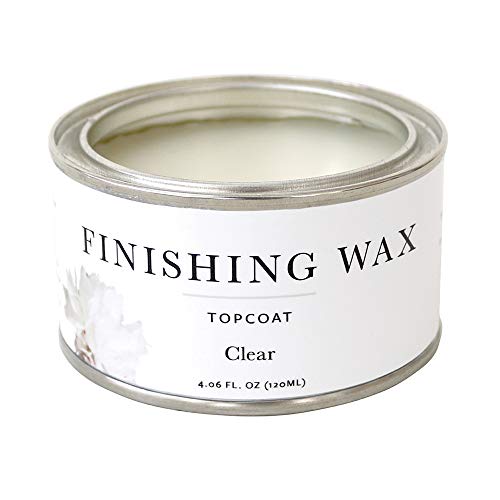
Once the paint was dry, we tried this kind of restoration hardware finish just to make it look worn out. We used a little bit of Jolie Finishing Wax, but honestly, any clear wax works. We mixed it with some General Finishes Milk Paint in the color Linen to make a kind of creamy white wax.
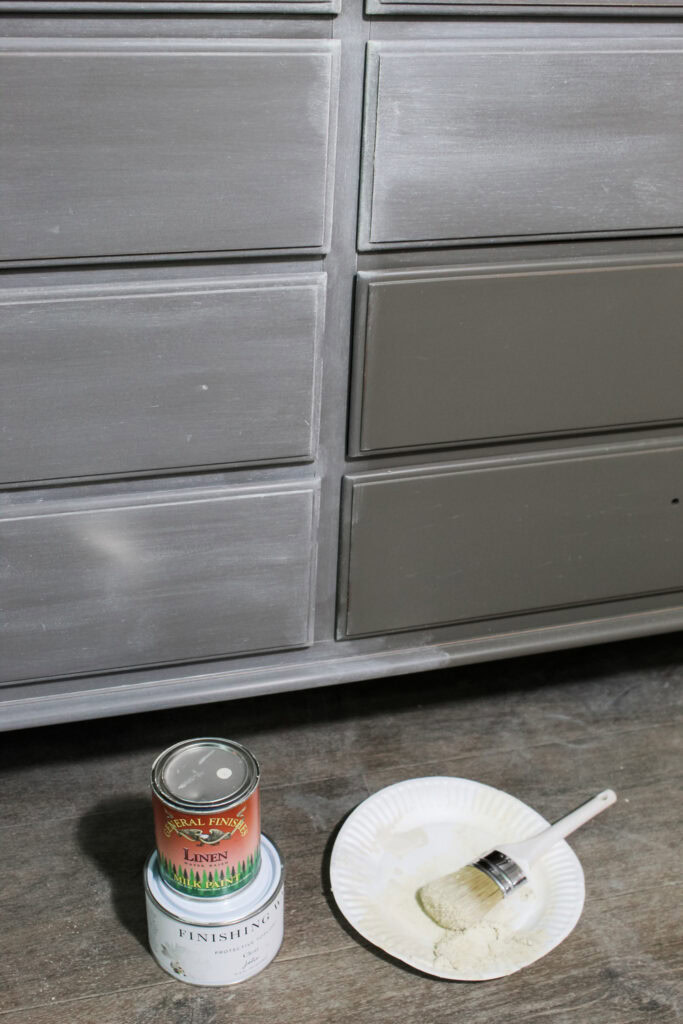
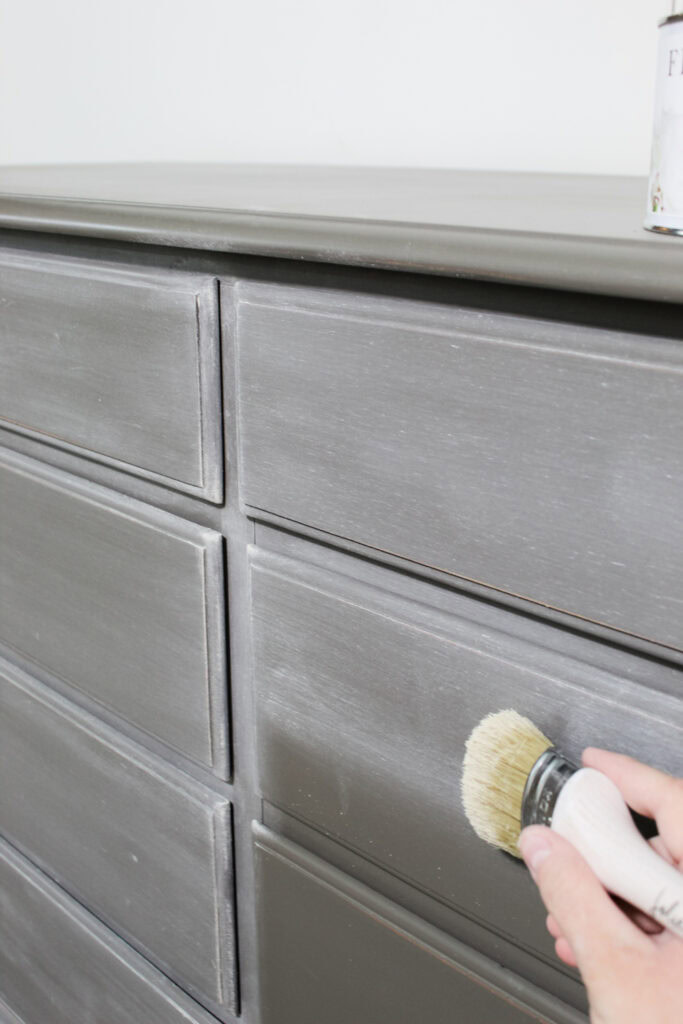
And then we used our Jolie wax brush to apply the wax, and kept going in the same direction from left to right. We brushed it on and got it into all of the cracks and crevices. Then, when I buffed it with a lint free rag, I still made sure to go from left to right, so it kind of looked like wood grain. But it turned out to be a little bit too white for me, so I went and added some Annie Sloan Dark Wax on top just to deepen it a little bit, and buffed that out.
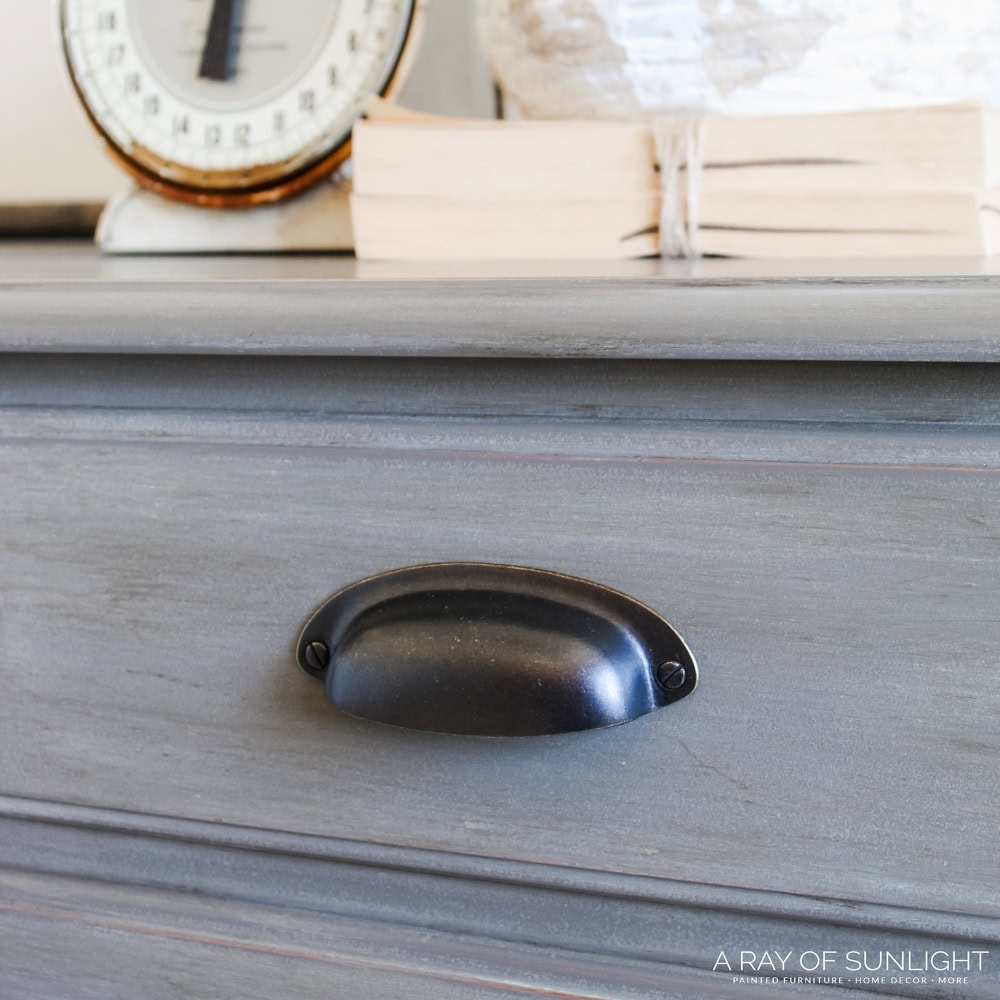
Then I changed the old hardware with some new farmhouse rustic handles. I just put those over the old hardware holes. If you want to change out to a different type of hardware, check out my guide on filling holes when replacing cabinet or furniture hardware here.
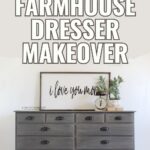
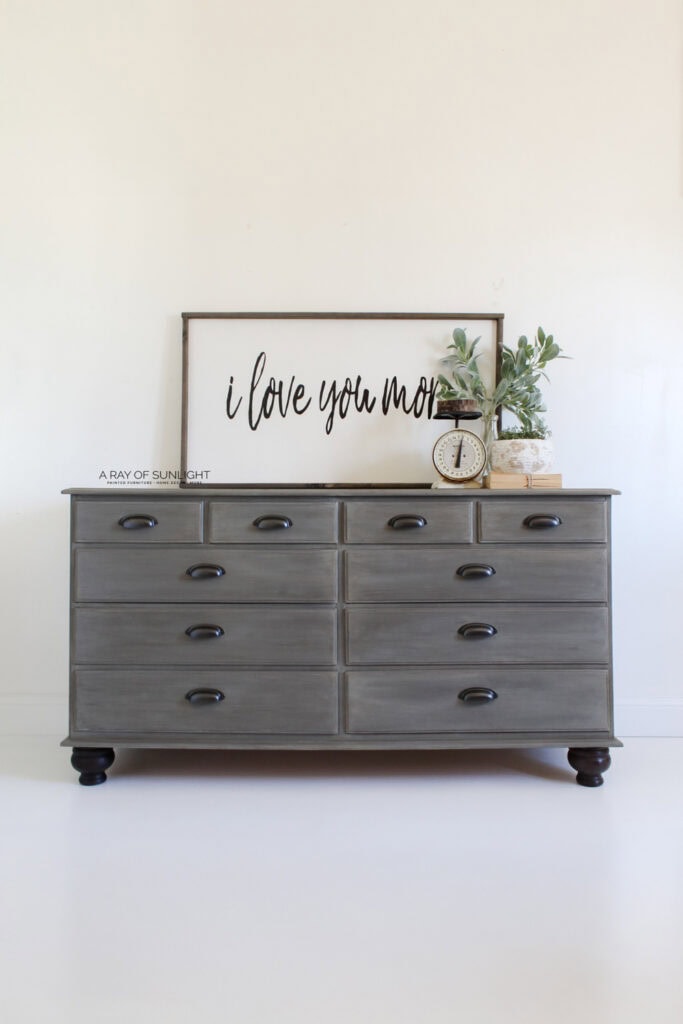
And here’s what this dresser looks like now! It’s totally farmhouse, that rustic restoration hardware type look.

Once again, if I were to go back, I would paint the feet to match the rest of the dresser, but I do love this warm, weathered finish with the driftwood color and then the layering of the waxes to give it a farmhouse feel.
More Before and After Makeovers
See All >
Click any of these “before” photos below to view the “after” of that makeover.


DIY Grey Farmhouse Dresser Makeover
- Remove the old hardware to get the dresser ready for the makeover. This gives you a clean start and makes it easier to work on the piece.
- Clean the dresser with Krud Kutter and a damp rag to remove the grease and grime. Old furniture is often gross from years of use and usually has not been cleaned.
- Take off the base if it is not your style. Most bases have trim and blocks underneath that are screwed on, so find and take them off if you’d like.
- You can add new turned legs using heavy duty leg plates or the plates that come with the feet. These attach to the wood base and give the dresser a fresh, new look and more height.
- Paint the dresser with General Finishes Milk Paint in Driftwood for a grey farmhouse finish. Spray it on for smooth coats and a professional finish.
- Create a restoration hardware style finish by mixing clear wax with a little General Finishes Milk Paint in Linen. Brush the wax on with a Jolie wax brush, going left to right.
- Buff the wax with a lint free rag while still going from left to right so it looks more like wood grain. If the finish looks too white, add some dark wax on top to deepen it.
- Replace the old hardware with new farmhouse rustic handles. These go right over the old hardware holes for a quick update.
Materials
- Krud Kutter
- Damp Rag
- Turned Legs
- Heavy Duty Leg Plates
- General Finishes Milk Paint in Driftwood
- Jolie Finishing Wax
- General Finishes Milk Paint In Linen
- Lint Free Rag
- Annie Sloan Dark Wax
- Farmhouse Rustic Handles
Tools
Recommended Products
As an Amazon Associate and member of other affiliate programs, I earn from qualifying purchases.


More Furniture Makeover Ideas
- Flawless Black Painted Chairs: My Secret Method (No Streaks!)
- How To Milk Paint A Buffet Cabinet
- Trashed $10 Thrift Store Table Makeover
Follow us on YouTube to get more tips for painting furniture. Or share your project with us on our Facebook Group and be part of our community. See you there!