Flawless Black Painted Chairs: My Secret Method (No Streaks!)
These might just look like a regular set of thrifted dining chairs, but for me, they were a chance at redemption. Here’s my flawless black painted chairs, a makeover featuring my secret method with no streaks!
If you’re looking to upgrade your dining space, learn how to make sleek and durable painted chairs, all on a budget, here. You can also check out more of my favorite black painted furniture ideas here for lots of tips and inspiration. Let’s get started!
About 10 years ago, I painted my first set of dining chairs. At the time, I thought I was doing a great job. I picked a pretty paint color, grabbed a brush, and went for it. But within weeks, the paint started to chip. Every bump or scratch took another chunk off. And it only got worse with time.

I lived with these chairs for years. And every time I sat down at the table, I was reminded of the mistake I made. The prep wasn’t right. The products weren’t right. And the finish just didn’t hold up. And it was so embarrassing when people came over and saw all the scratches and chips, especially because I paint furniture. And honestly, it drove me nuts.
So, when I found this new set of dining chairs, I knew I had to do it differently this time. I wanted chairs that looked high end, like something out of a furniture store, but without the big price tag.
And I wanted them to hold up for years through family dinners, kids climbing on them, and all of the daily use. This time, I was determined to do everything I could to make sure they wouldn’t chip, scratch, or look DIY. I wanted a flawless, professional finish.

Supplies Used for Flawless Black Painted Chairs
As an Amazon Associate, I earn from qualifying purchases. I also may earn from other qualifying purchases with other companies or get free product to review and use. All opinions are my own.
- Furniture Cleaner/Degreaser
- Orbital Sander
- Foam Pad
- Shop Vacuum
- Tack Cloth
- Clear Shellac
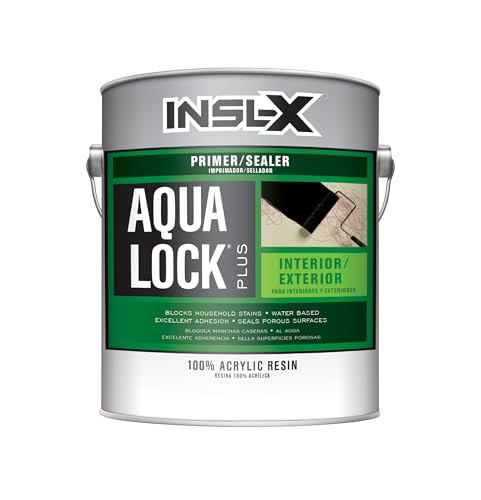
- Black AquaLock Primer
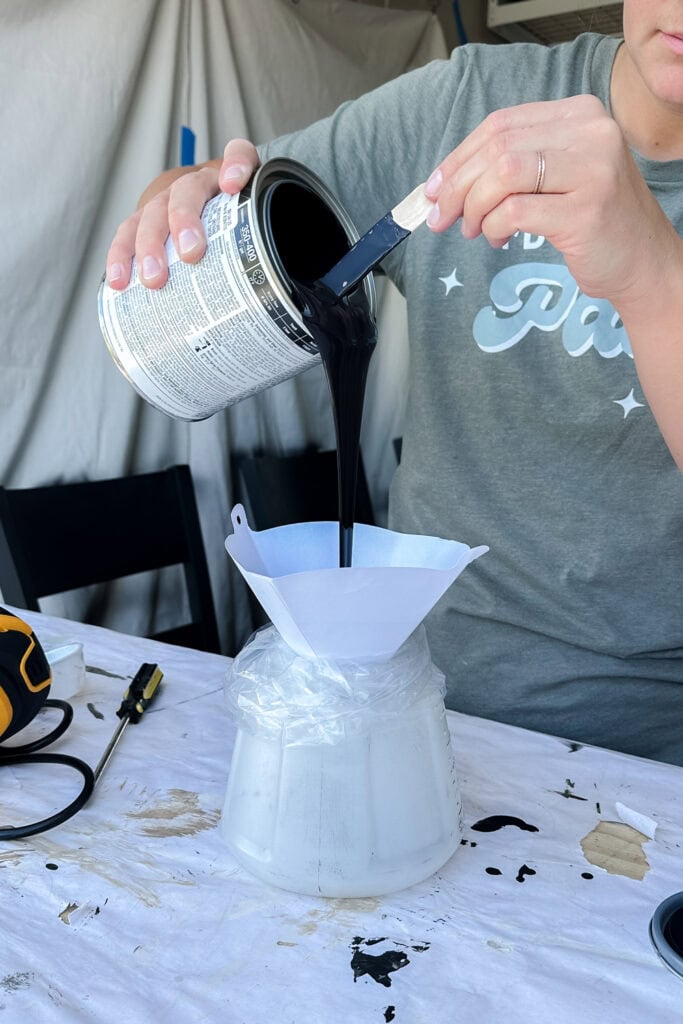
- Paint Filters
- Paint Sprayer
- Respirator
- SurfPrep Foam Pad (Use code RAY10 to get 10% off your order)
- Sherwin Williams Emerald Urethane Paint in Caviar
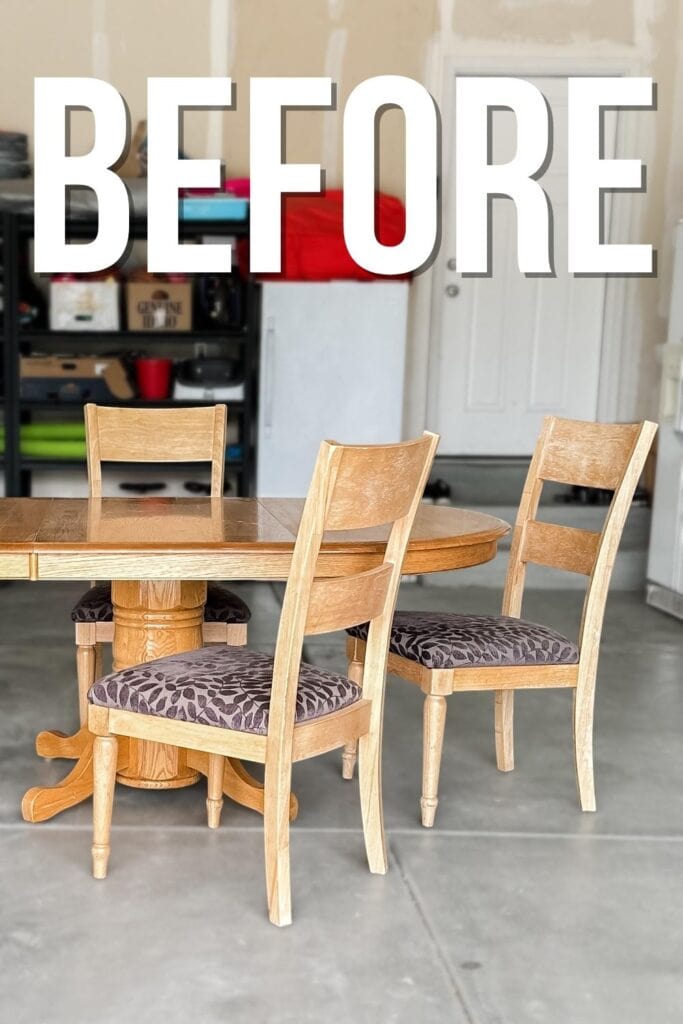
Cleaning Thrifted Furniture
The first step was tackling the grime. These were thrifted chairs. And let’s be real, you never know where they have been. Food, grease, sticky messes from years of use. It all has to go before you can even think about painting.
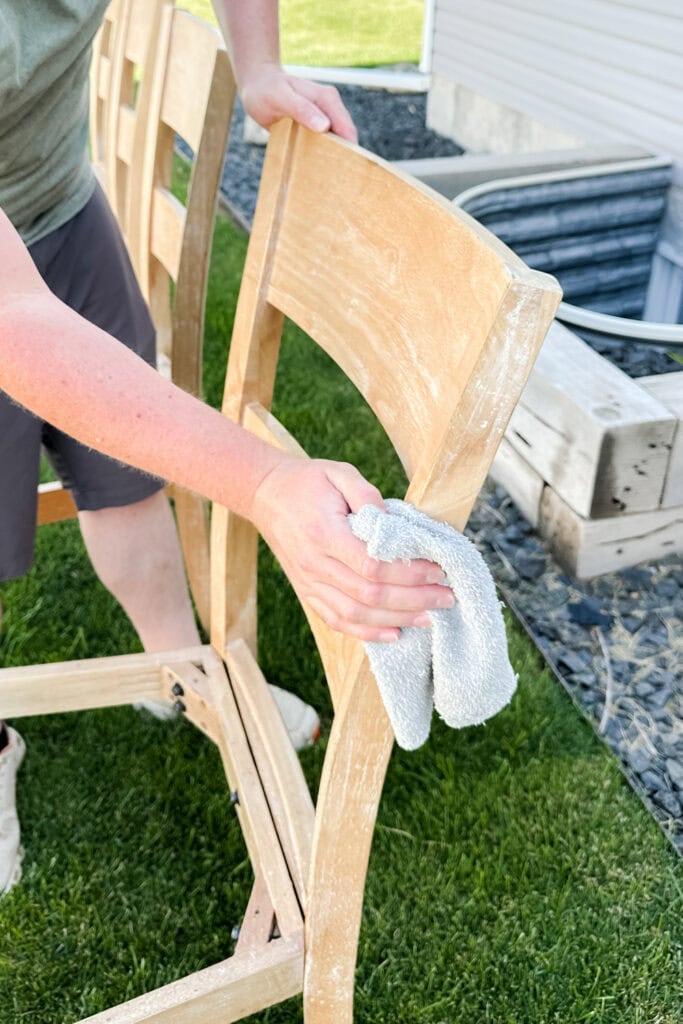
My husband, Taylor, cleaned them thoroughly with a degreasing cleaner, scrubbing into the nooks and crannies. I have learned that just skipping this step means your paint is clinging to dirt instead of wood and it never lasts. Check out my guide on how to clean furniture before painting here.
How to Sand a Chair
Then we sanded it. Taylor used our beginner friendly DeWalt orbital sander. But here’s the trick that makes sanding chairs and curves so much easier. We added a foam pad between the sandpaper and the sander.
Chairs are full of curves, spindles, and details, and a regular sanding pad just doesn’t get into those spots. So you have to sand them by hand. This foam pad flexes and bends with the surface, so you can sand curves evenly.
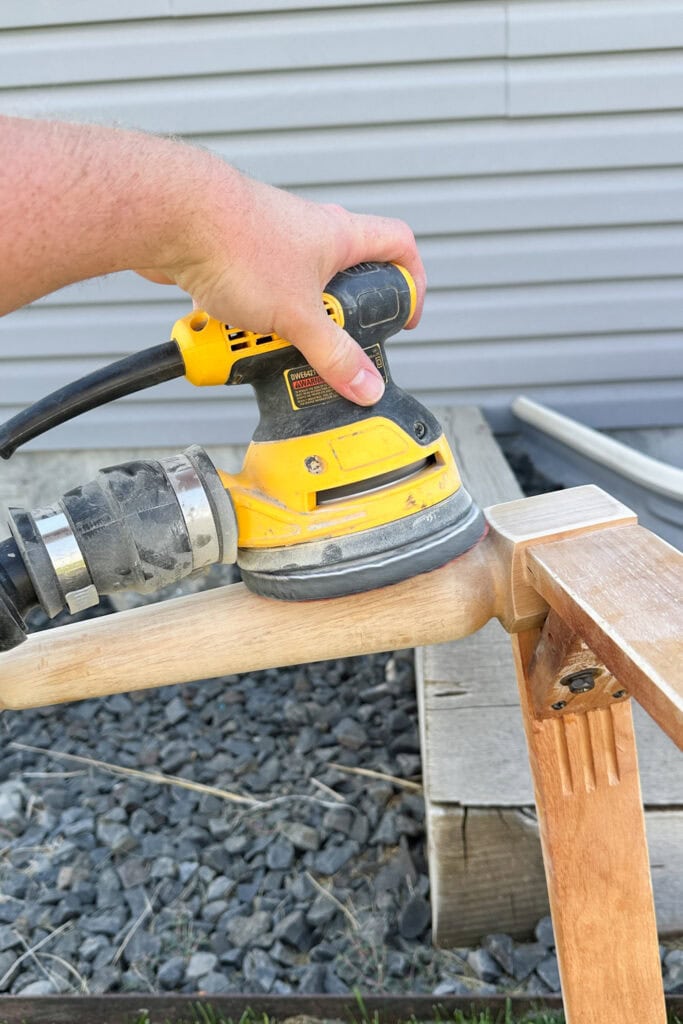
Without it, we would be hand sanding forever. So, this foam pad is a game changer. Learn more about how to sand curved surfaces with these pads here.
After sanding, we vacuumed up the dust and wiped everything down with a tack cloth. The chairs felt different already! Smooth, clean, and ready for the power of primer.
Priming Chairs Before Painting
Now, this is where I refused to repeat one of my mistakes. Back on those first chairs, I skipped primer completely. Big mistake. Primer is what makes paint actually stick, especially on furniture that’s going to be used every single day.
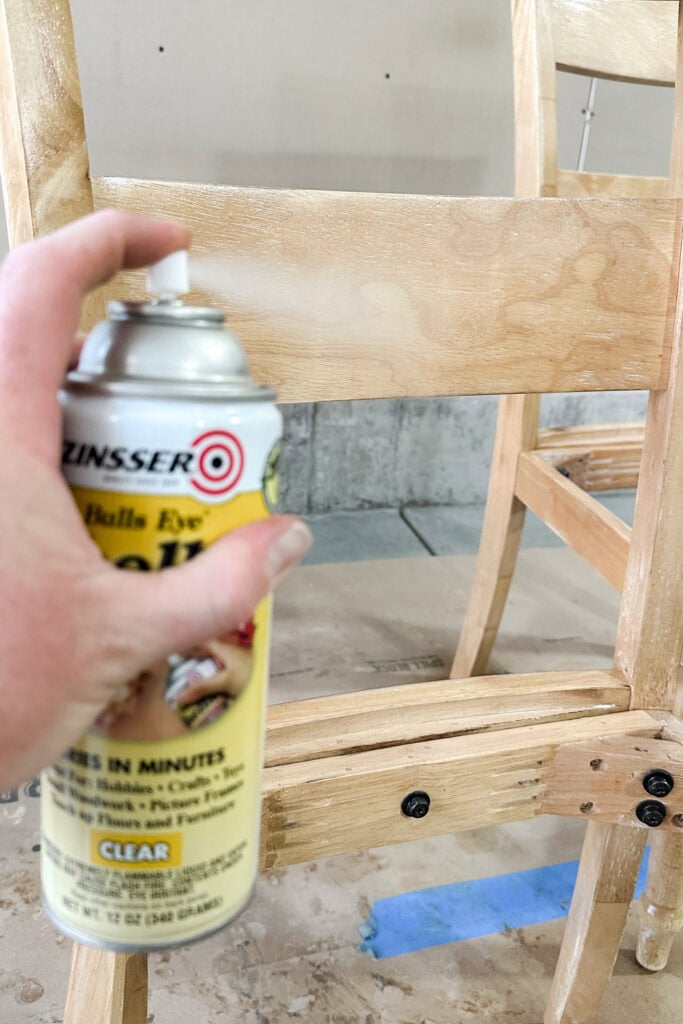
So, this time I went with the clear shellac first. We sprayed it on and let it dry overnight to seal in any stains that might come through. Shellac not only helps the paint stick, but it also blocks stains and tannins that can bleed through the paint, making the paint job look dirty.
I didn’t want any surprises to show up under the black paint later. Learn more about how to stop stains from coming through paint in this post.
Once that dried, I layered on another primer and this one in black. I sprayed it on as well for a flawless, smooth finish. This Black AquaLock Primer provides an excellent base coat for uniform coverage, maximum durability, and yeah, it’s black.
So, if and when paint chips in the future, I won’t have to look at a stark white primer under the chip or the scratch.
And I can’t help myself. I need a smooth finish on my furniture. So, we gave it a quick sanding with foam pads to smooth it down, but not sand through the primer. And this is when I started getting really excited because I could tell how much better this was going to turn out than my old chairs.
Now, if you’ve ever struggled with paint chipping or peeling, the biggest change for me came when I nailed down my prep process.
Not all furniture is made the same, and if you prep everything the same, you will end up with big problems you have to fix. This post, how to prepare furniture for painting takes you through the exact prep steps I use before painting each type of furniture, so you can stop second guessing and start painting with confidence.
How to Paint Furniture Without Streaks
Now, let’s talk about paint. Black paint can be brutal if you are not careful. Every brush stroke shows. Every streak stands out. I did not want these to look like a quick DIY project. I wanted them to look like factory finished chairs.
Would you like to save this?
That’s why I chose this paint from Sherwin Williams in the color Caviar. It’s made for cabinets, trim, and furniture, so it’s durable. It self levels beautifully, and it doesn’t even need a topcoat. That’s huge because not needing an extra step while still getting durability is a big win. If it’s your first time hearing about it, check out my Sherwin Williams Emerald Urethane Trim Enamel review here to learn about it.
Now, if I had brushed this paint on, the results would have been completely different. Brushed black paint always shows brush strokes or puddles on the edges, especially on something with lots of slats and spindles, such as dining chairs. Here are the most common paint brush mistakes and how you can avoid them.
But spraying it makes it smooth, streak free, and professional looking. On the other hand, if you’re totally against spraying, this paint is one of the very best out there for a smooth, brushed on finish since it levels out while it dries.
You’ll still see some brush marks and probably have some small puddles on the edges even if you’re really careful, but it’s better than most other paints out there. Here’s our spray paint vs brush paint furniture comparison to help you decide between the two methods.


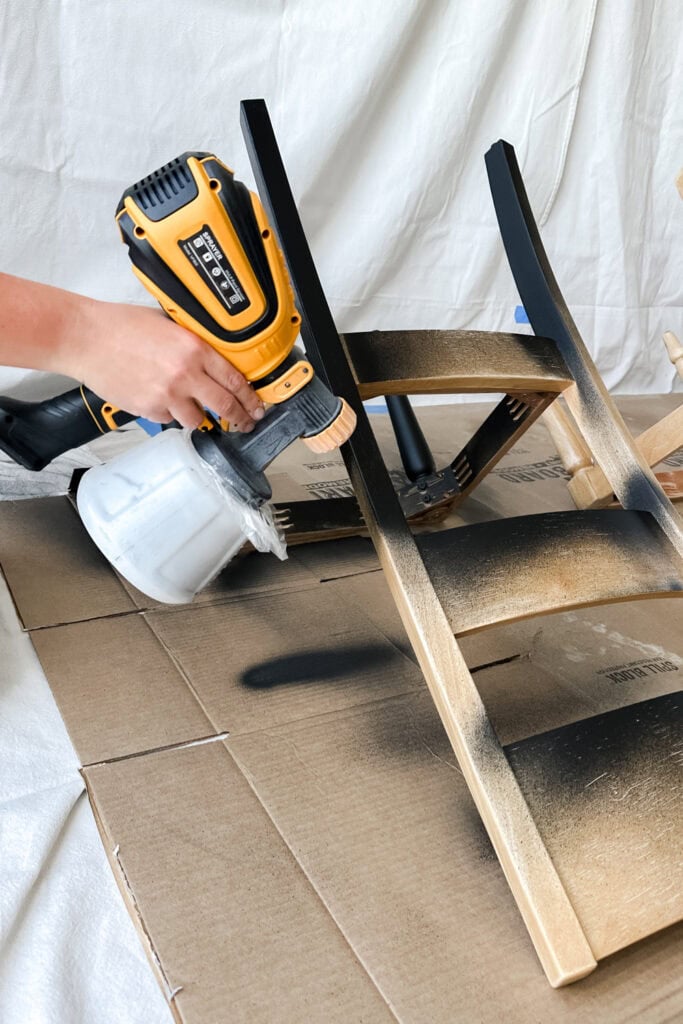
Spray Painting Dining Room Chairs Black
I used my cheap beginner sprayer, which is one of my favorite sprayers because it’s affordable. The Vonforn sprayer comes with everything you need to get started and sprays beautifully without a lot of fuss. I listed it as one of the best paint sprayers for beginners here!
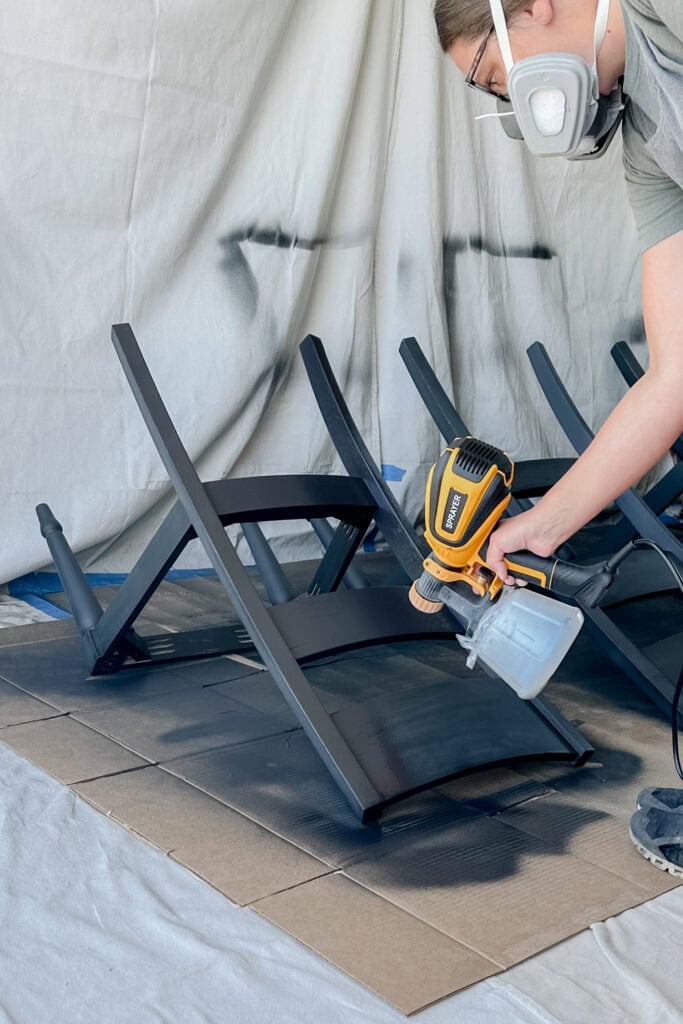
It will even spray thick paint without the need to thin it out. Then I sprayed the paint on in thin, even coats. Thin coats are key. They dry faster, don’t drip, and build up beautifully. Two coats were all it took, and these chairs were perfect.
And here’s the part that blows my mind every time. Spraying is so much faster than brushing. If I had tried brushing these chairs, it would have taken me five times as long, and the finish would not have been flawless.
With the sprayer, the paint reached into every curve and spindle quickly and efficiently. What used to be the hardest kind of project is actually simple and fun. Here’s more on the fastest way to paint grooves and details so you can finish your DIY projects in no time!
And if you’re ready to really level up, my furniture painting course goes way beyond a single project. I show you my entire system for painting furniture from start to finish and getting a flawless result every time.
If you’ve ever been frustrated with brush marks, peeling paint, or just not knowing what to do next, this spray painting course is going to change the way you paint furniture.
Spraying Doesn’t Have to Be Scary!
If sprayers have ever intimidated you, this class changes everything. Learn how to spray furniture confidently and save hours compared to brushing, without streaks, drips, or stress.

Reupholstering Chair Seats
While the paint cured, I turned my attention to the seats. We tore off the old purple floral fabric, which was not my style and didn’t match our home, and then upholstered them with faux leather that ties perfectly with our space.
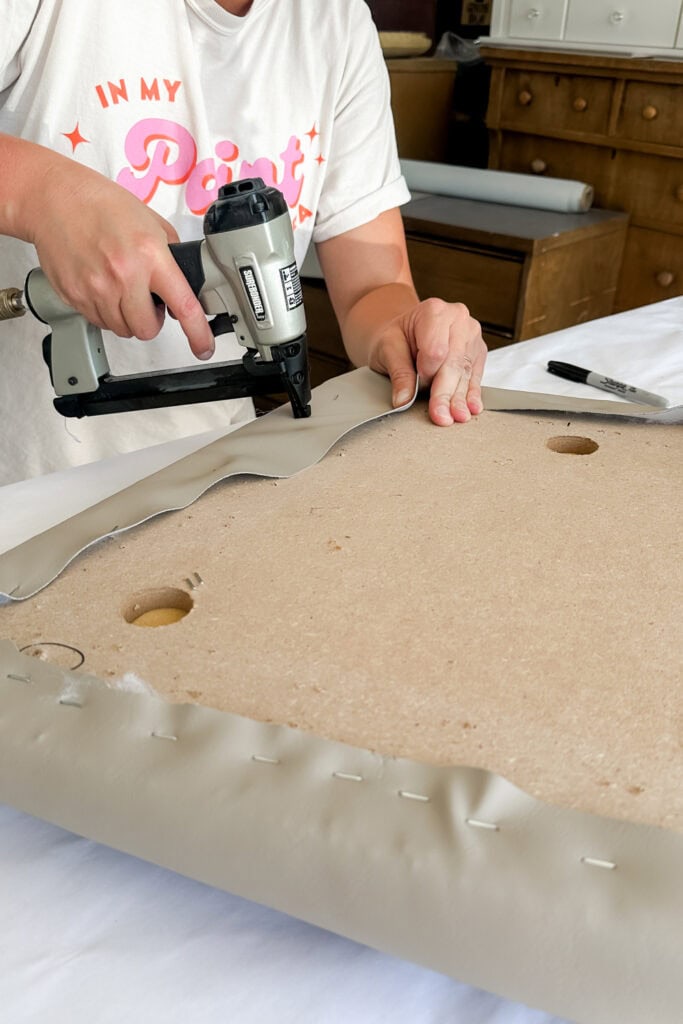
This small change made the whole set feel fresh and modern. Learn how to paint fabric with chalk paint here if you want to do this instead.
Watch the full makeover on our YouTube video below:
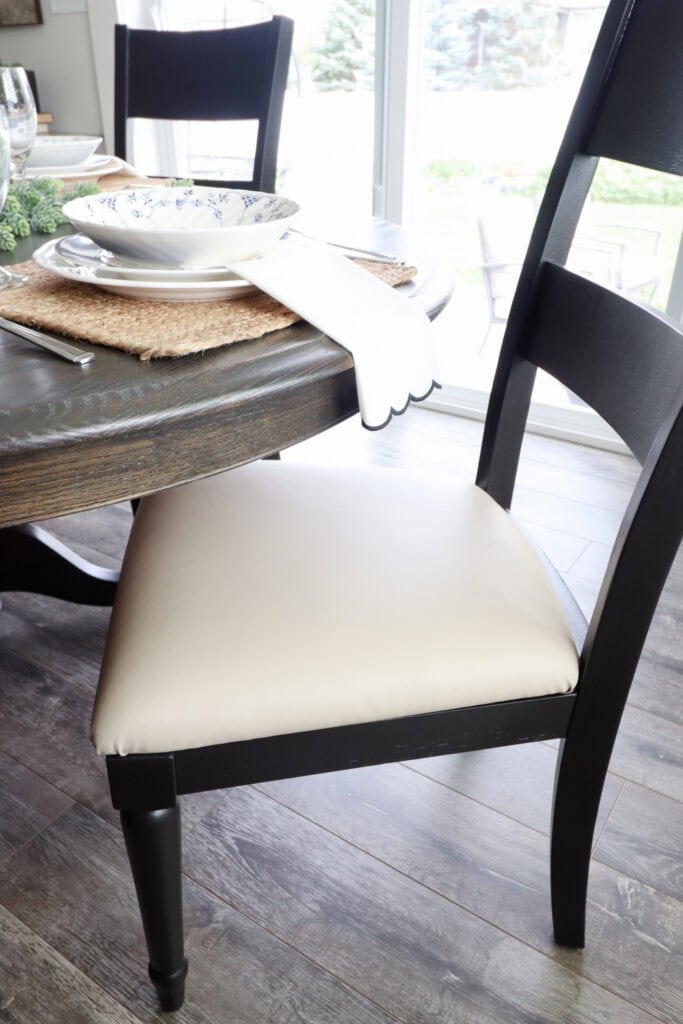
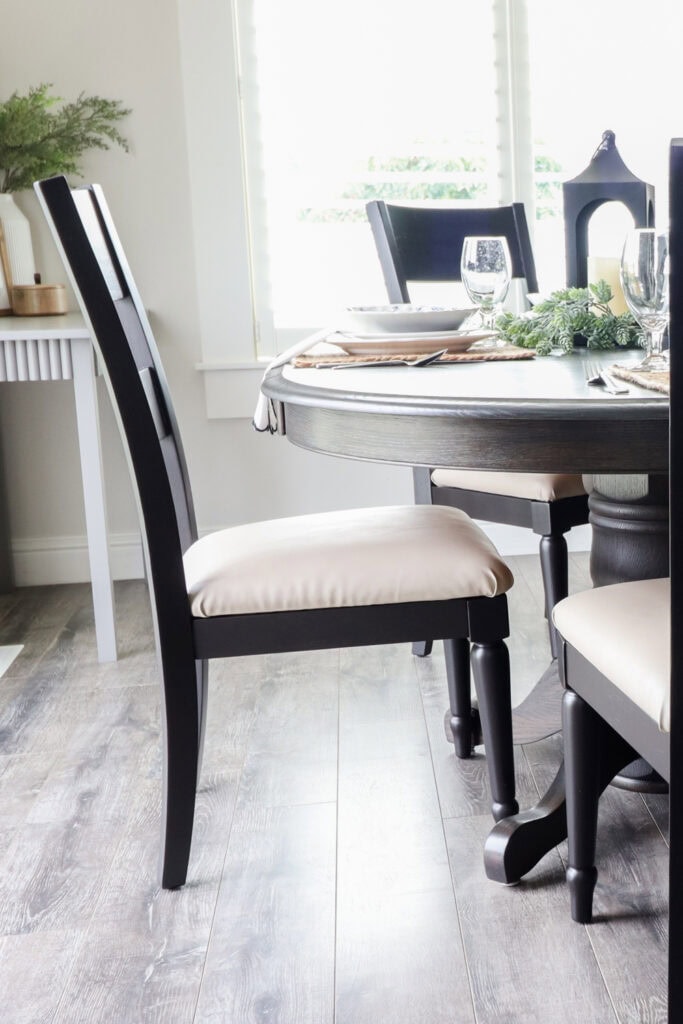
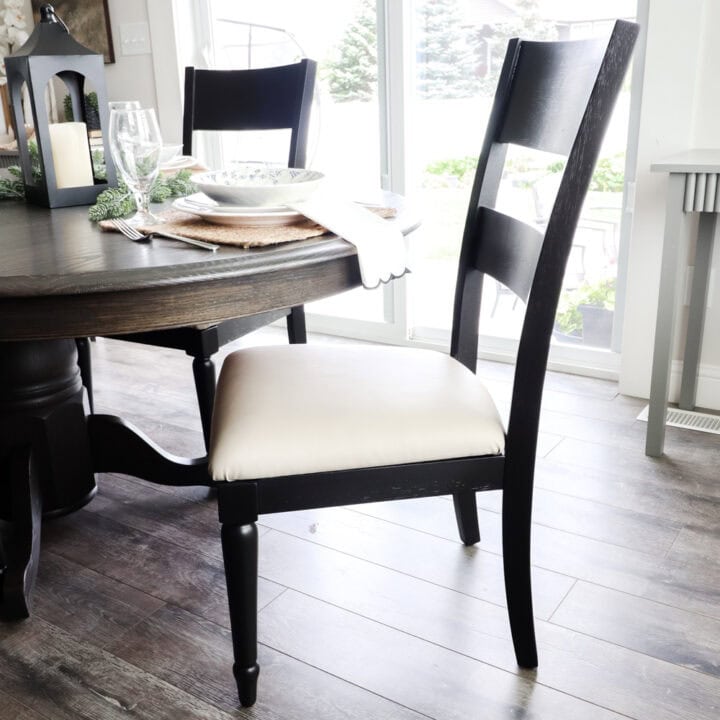
When I finally put everything back together, I could not stop staring. Oh, wow. This looks so good. It matches the cabinets. The tan matches the couch. Oh, this looks so much better.
I have been waiting for like 2 years to fix this up and actually make it match. And this looks so good now. And I saved hundreds of dollars, if not thousands. From thrifted, budget friendly, and outdated chairs to sleek black, high end looking pieces that match my dining table perfectly.
And it is such a contrast to those old chairs I painted years ago. The hundreds of chips and scratches were a constant reminder of what happens when you cut corners. These new chairs are a reminder of what happens when you prep properly and use the right products.
More Before and After Makeovers
See All >
Click any of these “before” photos below to view the “after” of that makeover.


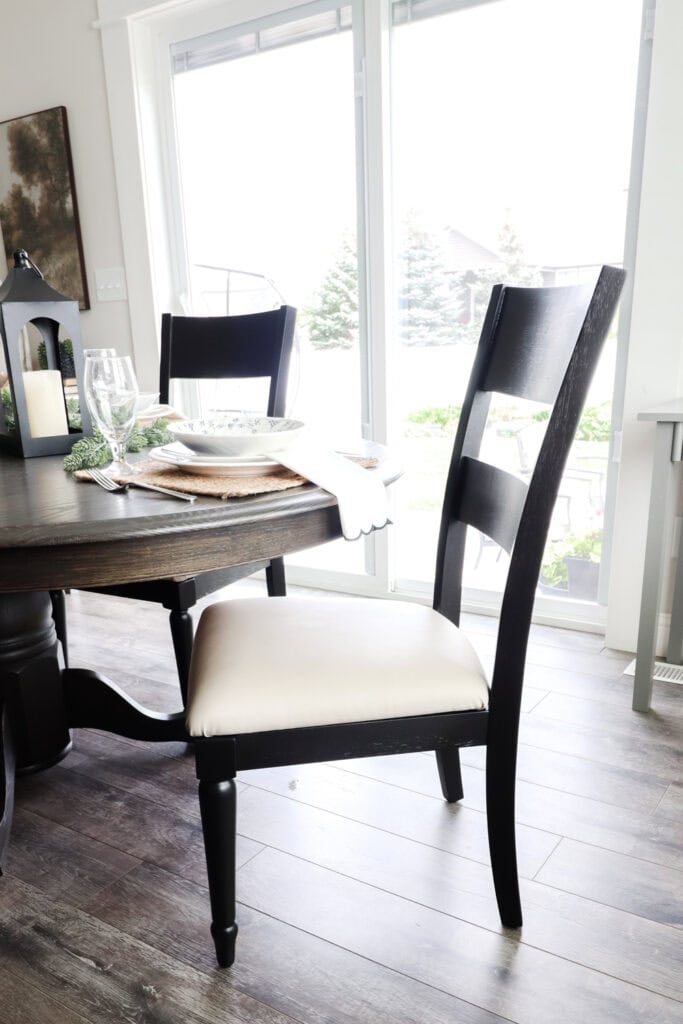
They look amazing. They feel durable, and I know they will hold up for years. We’ve already put them to the test with our family using them for a few weeks, and they have held up even through some rough accidental banging around. I’m finally not embarrassed to have guests over for dinner!
If you want your chairs or painted furniture to look like this, start with prep. Use the right products and don’t be afraid to spray instead of brushing.

Flawless Black Painted Chairs
If you're looking to upgrade your dining space, here's my flawless black painted chairs makeover featuring my secret method with no streaks!
Materials
Instructions
- Start by tackling the grime. With a degreasing cleaner, scrub those chairs really well and get into every nook and cranny.
- Sand everything smooth with a foam pad between the sandpaper and sander. This foam pad bends with all those chair curves and spindles.
- Spray on clear shellac primer and let it dry overnight. This helps your paint actually stick and seals in any stains, so you don’t get bleedthrough showing up later.
- When that dries, spray on black primer for a flawless, smooth base. This keeps things looking uniform and super durable.
- Spray thin, even coats of the Sherwin Williams black paint onto the chairs. Spraying gets you that smooth, streak free, and pro looking finish.
- You can reupholster the old seats with new fabric or maybe faux leather to match the rest of your dining set and space.
Recommended Products
As an Amazon Associate and member of other affiliate programs, I earn from qualifying purchases.


More Black Painted Furniture Makeovers
- Painting Mahogany Furniture Black – Black Buffet
- Black Milk Painted Dresser
- How To Paint A Wood Chair
- The Fastest Way to Make Old Furniture Look Expensive
Follow us on YouTube to get more tips for painting furniture. Or share your project with us on our Facebook Group and be part of our community. See you there!