DIY Pink Dresser
Hey friends! I’m back with a makeover that’s out of my comfort zone, but I’m so glad I did it! Here’s our DIY pink dresser, using BB Frosch paint powder and latex paint. I’m so excited to share this project with you – it was fun, easy, and turned out super cute!
So, if you’re looking for DIY dresser makeover ideas that will add a pop of color and personality to your space, this might just be the project for you. Keep reading for all the details!
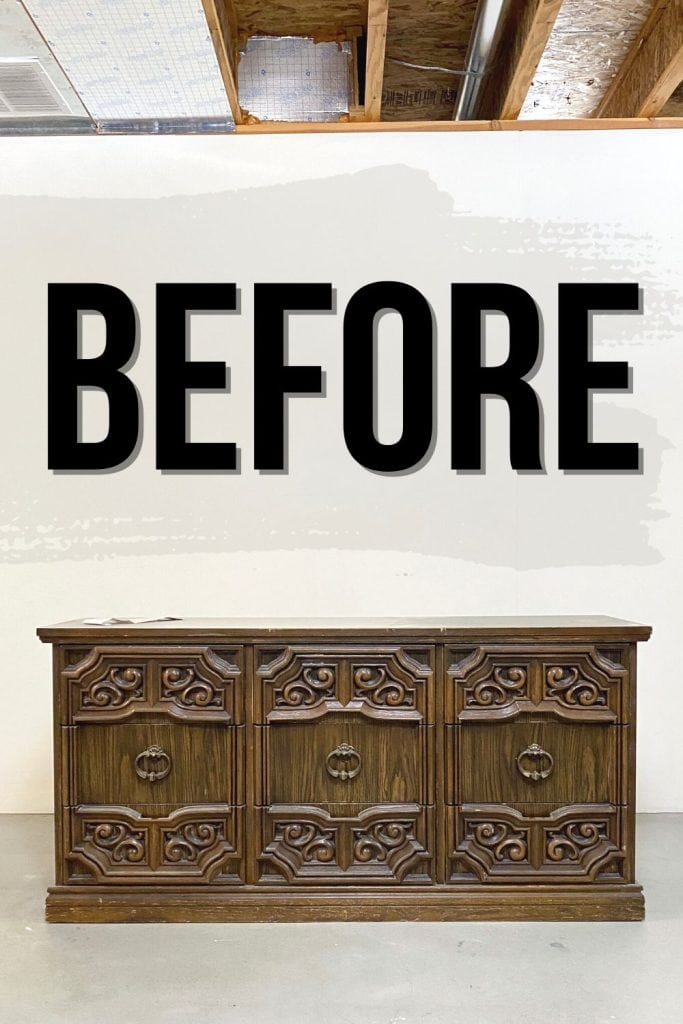
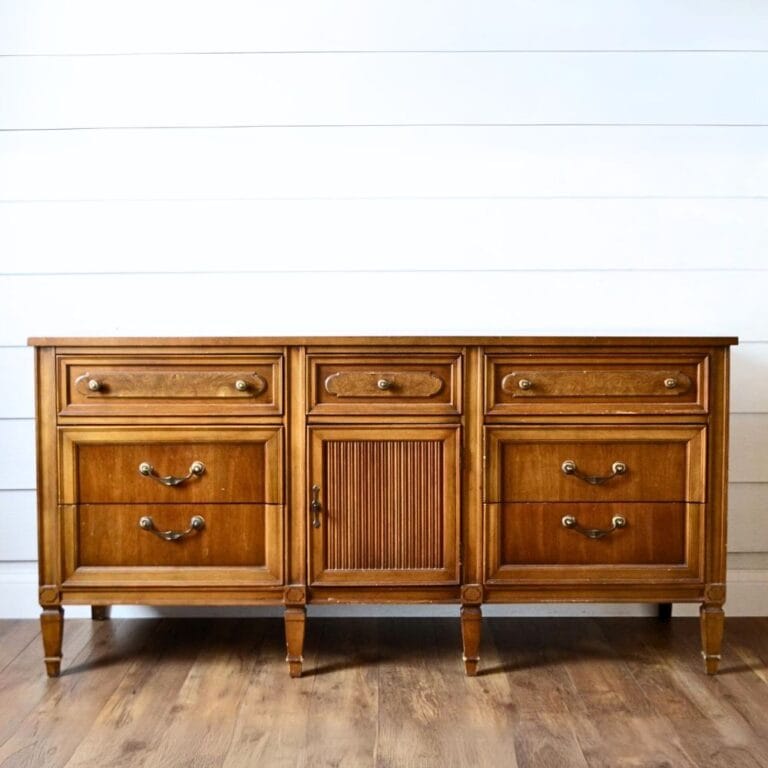
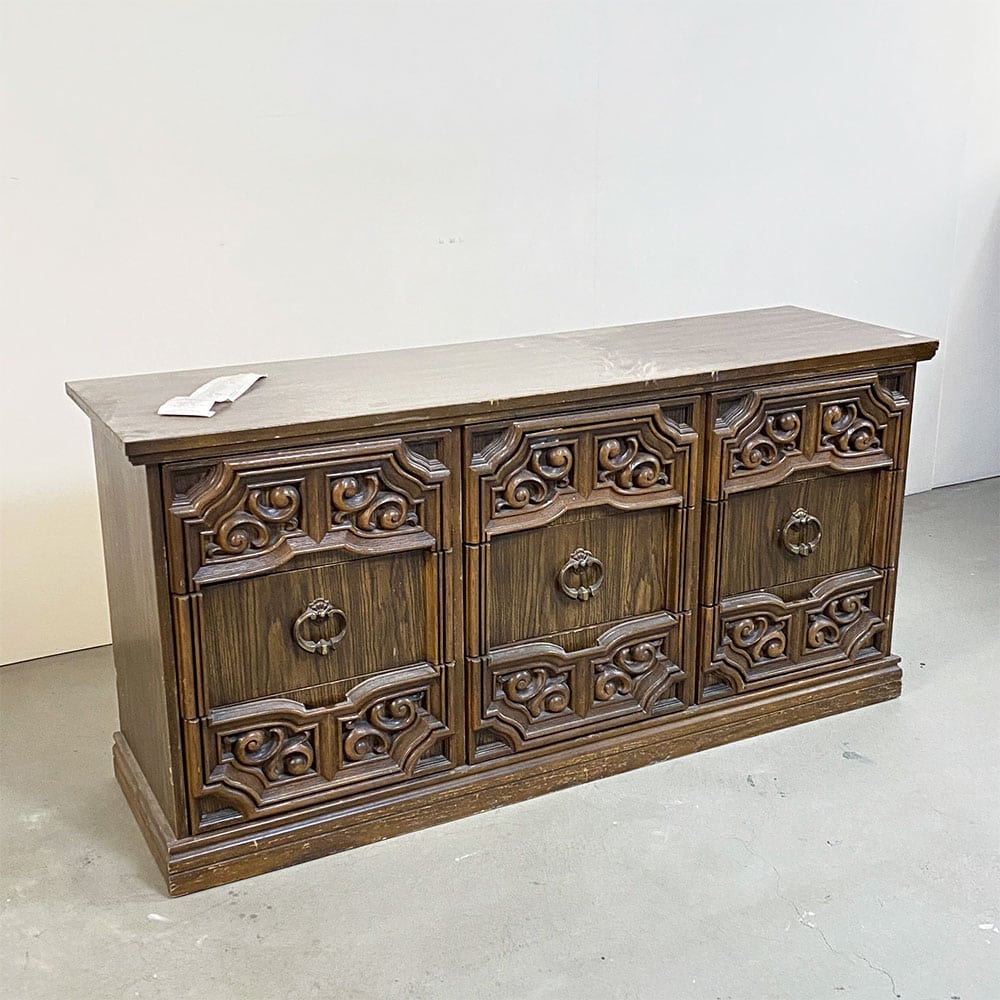
I love these pieces with all of the ornate detail. They aren’t usually the best quality, though. This one is made of mostly laminate, some MDF, and a little bit of real wood. Let’s just say that I spent way too much on it, but I couldn’t pass it up because of the detail on those drawers!

Pink might not be super common, but it’s such a fun, unexpected choice! It’s perfect for adding a bit of whimsy to any space, and it’s great for a nursery, a child’s room, or even a guest room. But really, you can use it anywhere you want to add a pop of color and fun!
So, if you’d like to see how I transformed this piece and get a first look at what a DIY pink dresser looks like before recreating it, let’s get started!

Supplies Used for DIY Pink Dresser
As an Amazon Associate, I earn from qualifying purchases. I also may earn from other qualifying purchases with other companies or get free product to review and use. All opinions are my own.
- Krud Kutter
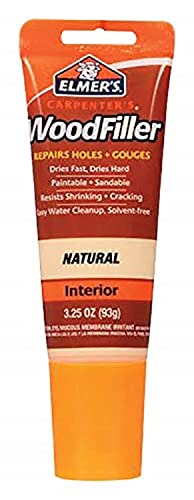
- Wood Filler
- Foam Sanding Pads (Use code RAY10 to get 10% off your order)
- Clear Shellac
- Behr Latex Paint in the Color Cranberry Cocktail from Benjamin Moore
- BB Frosch Paint Transformer Powder
- Waterbased Polyurethane
- Gold Spray Paint
- Multi Tool (fixing the drawer track)
- SurfPrep Sander (Use code RAY10 to get 10% off your order)
- Respirator
- Fuji Q4 Paint Sprayer
- Staalmeester Paint Brush
Fixing A Broken Drawer Track
One drawer was a little wobbly. The front of that drawer track was worn out, so we tried to just flip it around and screw it back in. The track sat up too high, though, so the drawer couldn’t go in all of the way.
So, I cut a notch out of what was now the bottom front of the track so it would sit down like the other end had before.
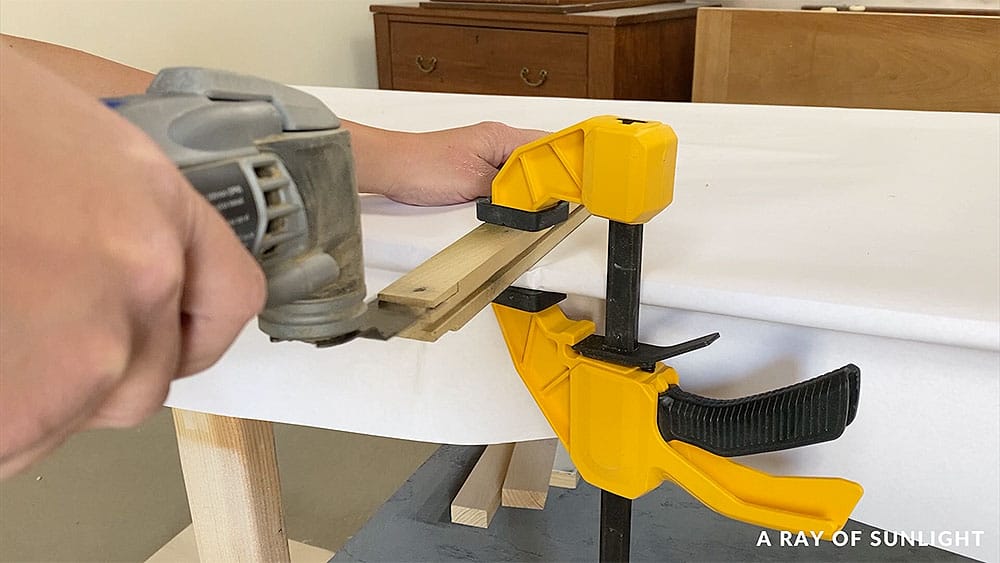
That was the ticket! Now it works great again! Check out this post to learn how to fix old dresser drawers if your drawers are not in good shape.
Then, my husband unscrewed the hardware and cleaned the piece off with Krud Kutter and a damp rag. Learn more about how to prepare furniture for painting here! And he filled in a couple of spots with wood filler. Learn more about the best wood fillers for furniture here.
Remove Dresser Base
I really wanted to put a new base on this piece, so we flipped it over and unscrewed the old one. Check out this custom wood bases video to see the kind of base I wanted. And then I stared at it for a while and we tried to figure out how we were going to do it.
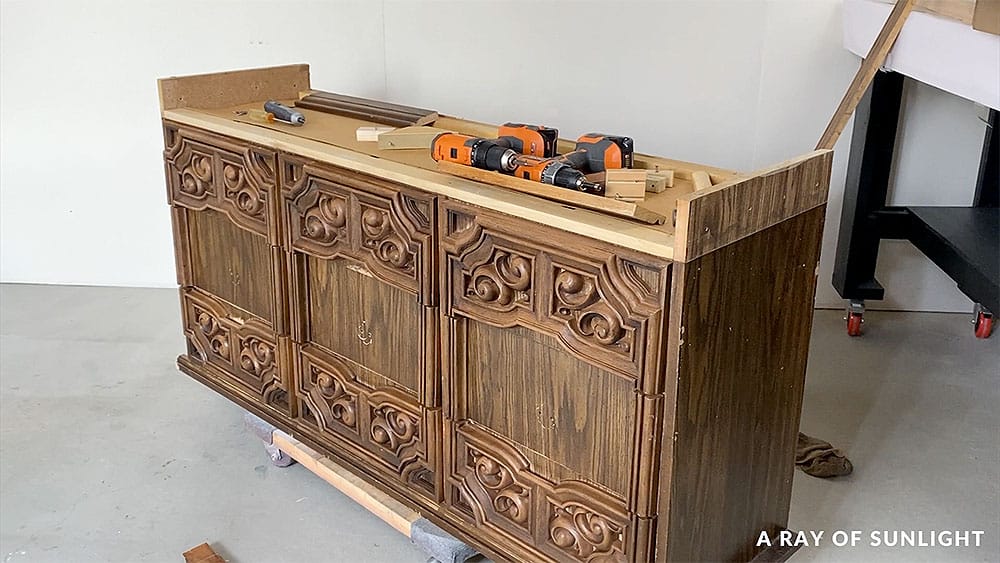
We could cut the sides off, but they are made of MDF, so we didn’t feel good about attaching a new base to those. We thought of a few different plans, but when it came down to it, I wasn’t up for the challenge this time. So, we put the base back together.
Then my husband sanded the wood filler… and the base… and some hard spots on the top. And then cleaned everything off again.
How to Sand Ornate Furniture
Sanding can be tricky when working with detailed pieces like this. That’s where these foam sanding pads come in handy. These pads are flexible and come in different grits, so you can get into all those nooks and crannies without damaging the intricate details.
You can use them by hand or with an electric sander. These pads also work on flat surfaces, making them versatile tools for your DIY kit. You can learn more about foam sanding pads for electric sanders in this post.
You could also go with a sanding contour grip. It’s basically a handle that holds your sandpaper in place. Just grab the sandpaper you’ve got, wrap it around the grip, and you’ll have way better control and precision.
Here’s our more detailed guide on how to sand curved surfaces easily!
Prime Dresser For Paint
Then my husband moved it into the spray room and applied 2 coats of clear shellac on it, waiting at least an hour for it to dry between coats.
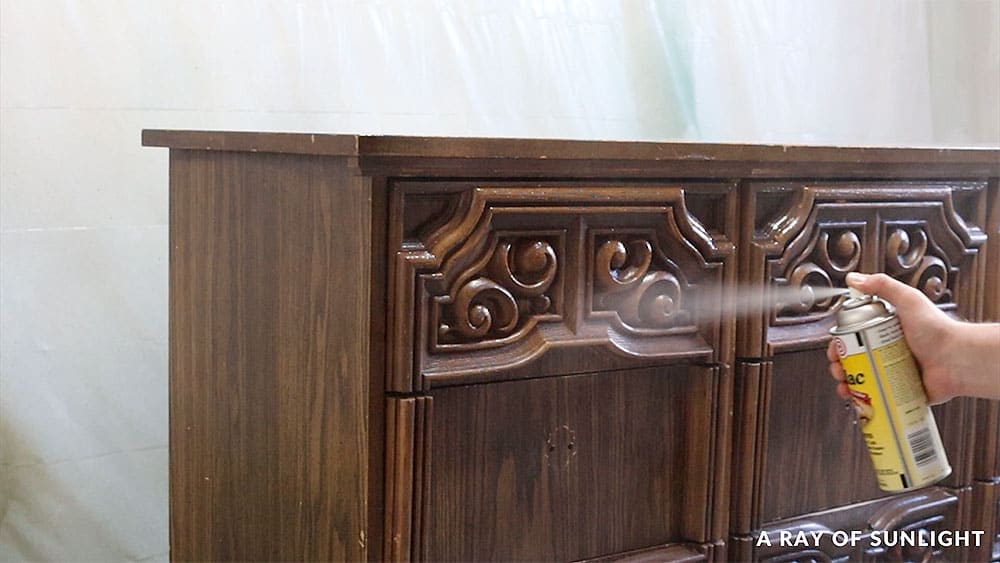
Since this piece is mostly laminate, we didn’t need to worry about bleedthrough. If you’re worried about this, here’s how to stop stains from coming through paint for tips!
But we did need to worry about adhesion. This shellac somehow does a really good job of making the new paint stick to slick surfaces. And we didn’t want to have to scuff sand all those details. Not gonna lie. See this guide on how to paint laminate furniture where we used clear shellac! And get more tips on how to paint a laminate dresser here.
How to Make Chalk Paint with BB Frosch Powder
This time, I used regular Behr latex paint in the color Cranberry Cocktail by Benjamin Moore. You might want to check out my Benjamin Moore Advance Paint review here if you’re interested in this brand.
And I mixed it with some BB Frosch paint powder. This stuff basically turns latex paint into chalk paint. I’ve used it once before, and I really liked it. Check out my honest BB Frosch paint transformer review to learn more about the features and pros and cons of this product.
You can also use calcium carbonate powder instead, like we did on these rustic blue nightstands in this post on painting furniture with latex paint! Check out this post if you’re wondering what is the difference between chalk paint and regular paint.
So they say to mix the powder with water until it’s the consistency of donut glaze. They have exact measurements on the back of the container as well.
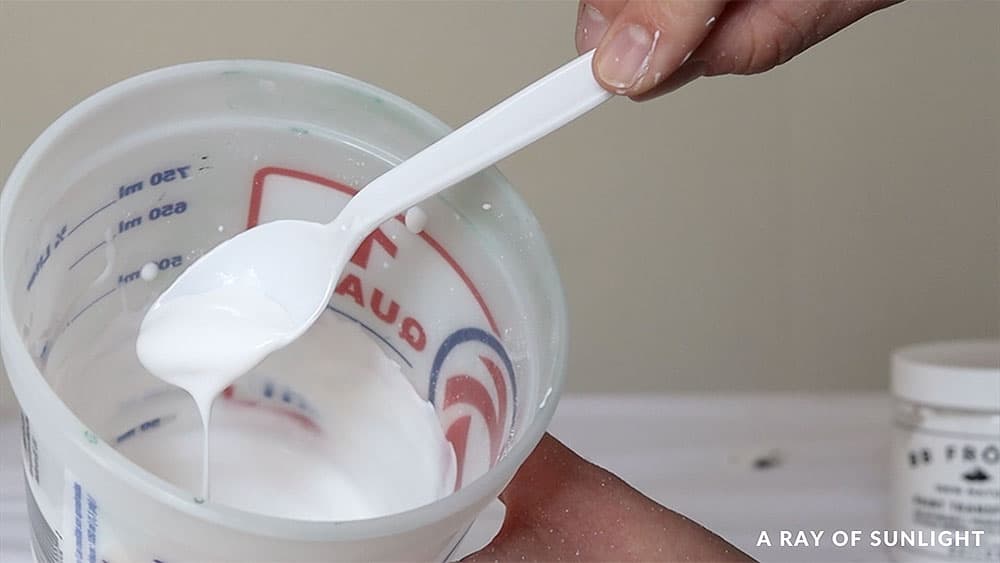
Then you mix it with the paint. I added some more water to thin out the mixture so I could spray it.
Would you like to save this?
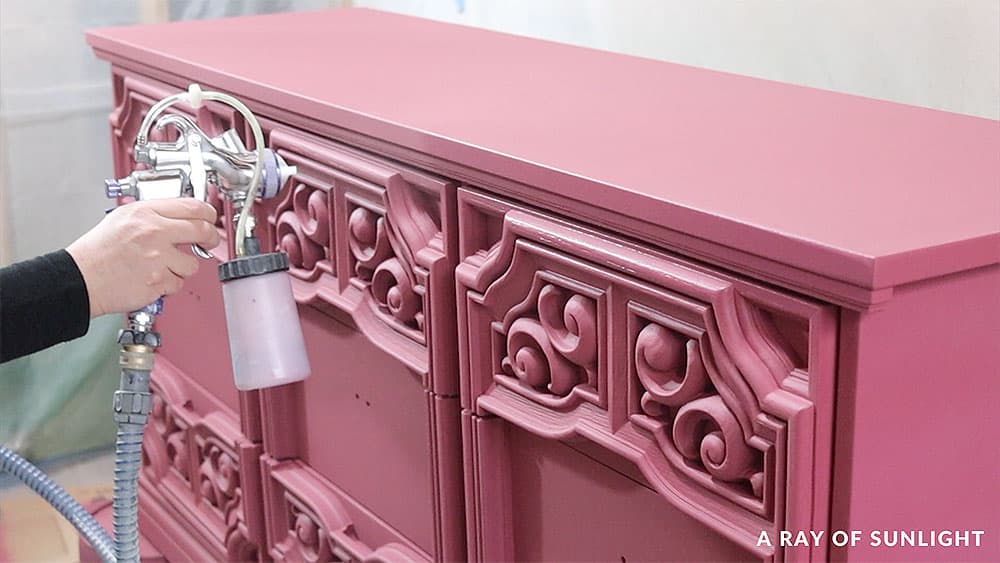
Spraying Chalk Paint
Then, I applied the new color. I think I may have thinned it a little too much, but it was still workable. And honestly, my sprayer was giving me fits. That doesn’t happen very often with this one, and usually, it just means that I need to replace some things and give it a really good clean.
So I did that between coats. Here’s how to clean the Fuji Q4 paint sprayer, and you can read more about how to use the Fuji Q4 Platinum paint sprayer here!
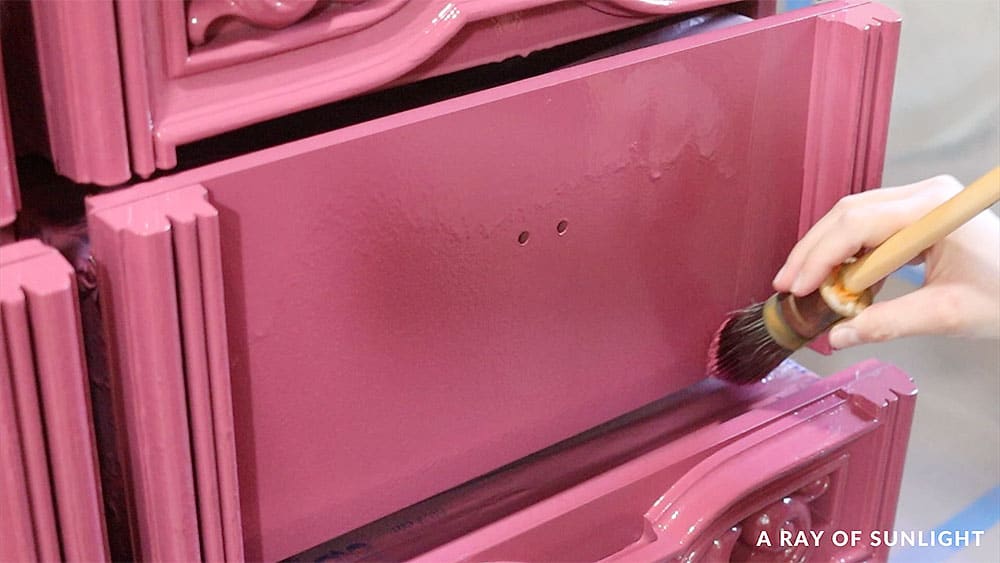
Then I applied the second coat…the spray was a lot better…but I applied too much. Look at those drips! So, I stopped halfway through and brushed out the drips before they could dry. We have more tips on how to fix spray paint drips in this post.
Then I let those coats dry, and I added another, a much lighter one, all over. After that was dry, I sanded it a little. Between brushing the paint drips out and the extra gritty texture (I think from the BB Frosch), it needed a good sanding.
By this time, I was running out of paint, but I needed to add more to everything that I sanded. I put the small container on the sprayer so then I could apply a smaller amount without it running out when it couldn’t reach what was left in the bottom of the bigger container.
And then I applied 2 really light coats. Get more details on how to spray paint a dresser with chalk paint here! Thankfully, this paint dries pretty quickly!
Topcoat DIY Pink Dresser
The next day, I put some polyurethane and a little bit of the paint in the sprayer. And I applied a coat of polyurethane all over. Learn more about the best polyurethane for furniture here.
Then, I sanded it ever so lightly to smooth it out. And then I added 2 more coats of polyurethane all over. Check out all of my tips and tricks on how to spray polyurethane here!
Add Hardware to dIY Pink Dresser
While the topcoat was drying, I worked on the hardware.
First, I cleaned it so I could see if I could get them gold first. I got it close, but I decided to apply a new gold color on them to make them look really polished. Read this post to learn how to clean old furniture hardware properly.
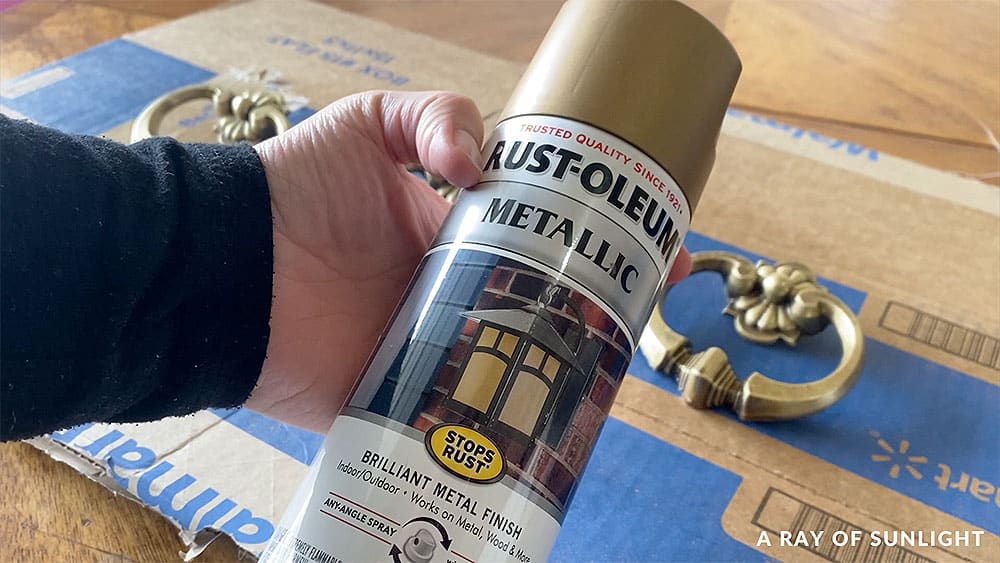
So I primed them and then painted them very lightly with this really pretty gold spray paint. Read this blog post for more information on how to paint drawer pulls. You can also use it for spray painting furniture gold, like this dining table makeover. And check out these gold painted furniture ideas here for more!
A couple of days later, I put the hardware back on and moved it upstairs to take photos. Watch the full makeover in our YouTube video here:
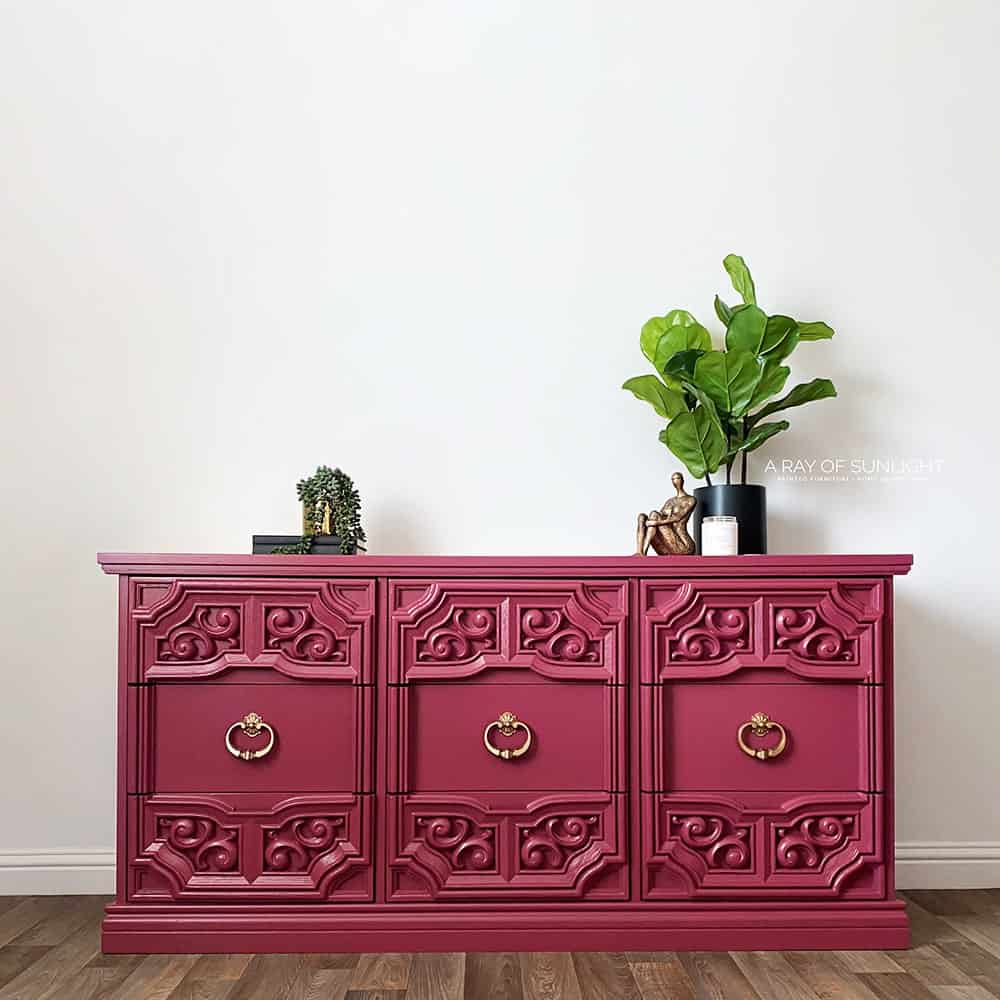
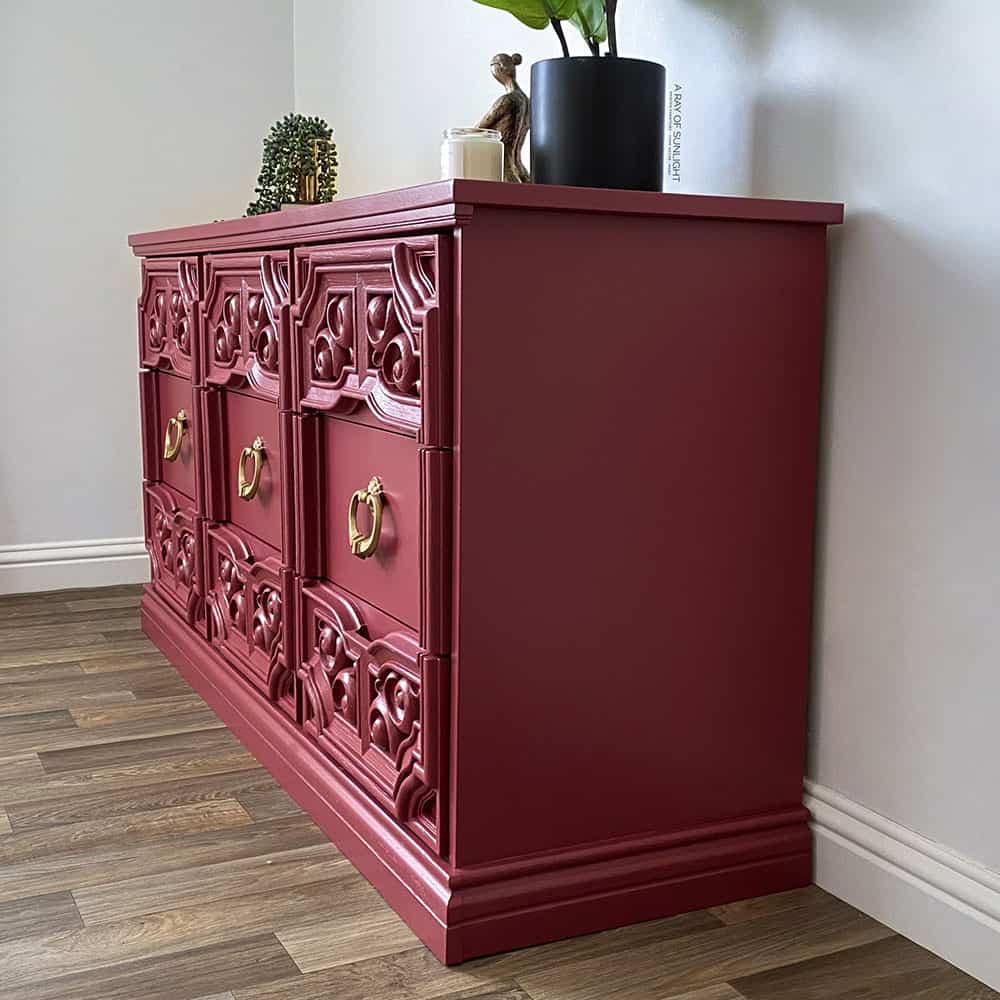
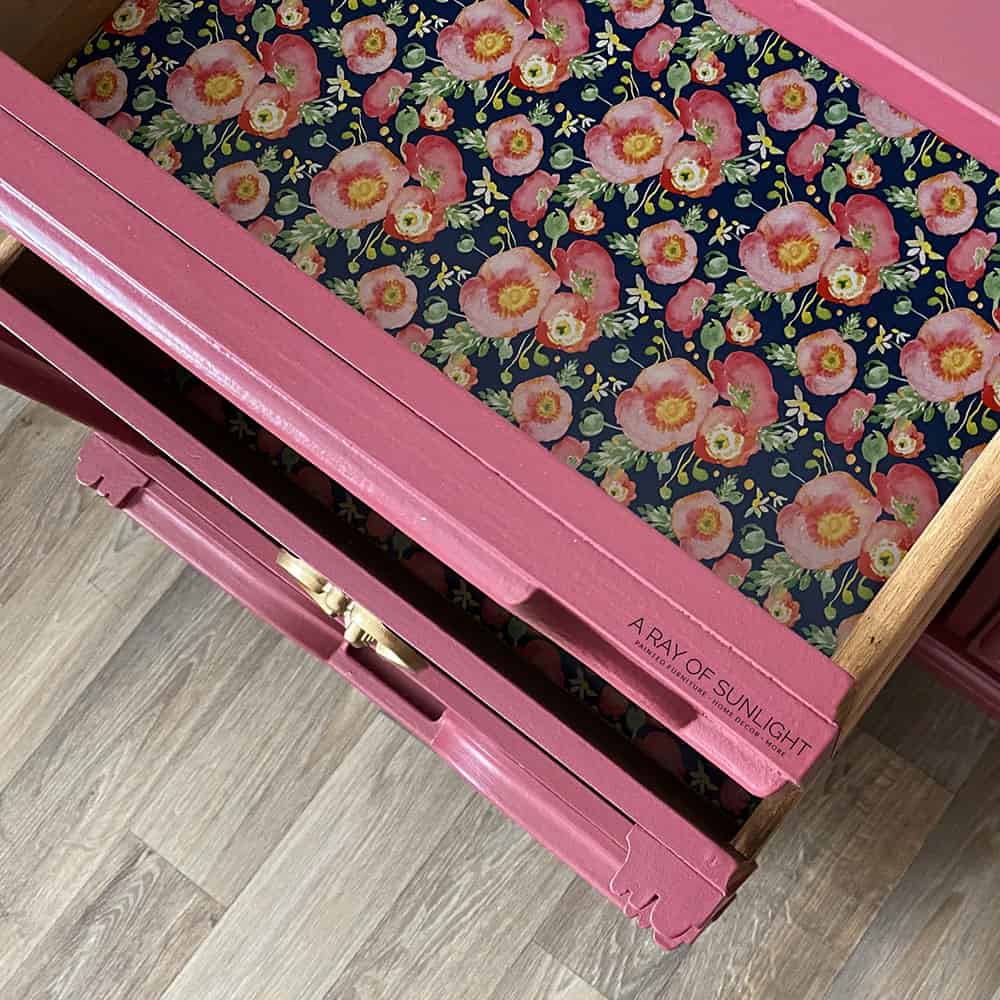
And here’s what it looks like now! This would totally work for your bedroom or your little girl’s room! For another stunning makeover, check out our pink vintage dresser with gold hardware. If you want to add height to your piece, learn how to add legs to a dresser here.
Here are more little girl dresser ideas you’ll want to do. Or, if you want a unique and colorful piece, check out these rainbow dresser ideas and colorful dresser ideas. For more bedroom furniture makeovers with chalk paint, check out these chalk painted bedroom furniture.
More Before and After Makeovers
See All >
Click any of these “before” photos below to view the “after” of that makeover.


This bold color kind of terrifies me. I usually stick to blues, greens, and neutrals. Every once in a while, I go outside of that (like in this post on painting a china cabinet purple). But I love it on this piece! For more colorful makeovers, check out ombre chalk painted furniture.
Check out more pink painted furniture ideas and pink dresser ideas here. These pink chalk painted furniture ideas are worth trying, too! And for another bold option, here are purple painted furniture and purple dresser ideas. You can also check out these chalk paint dresser ideas for more inspiration.
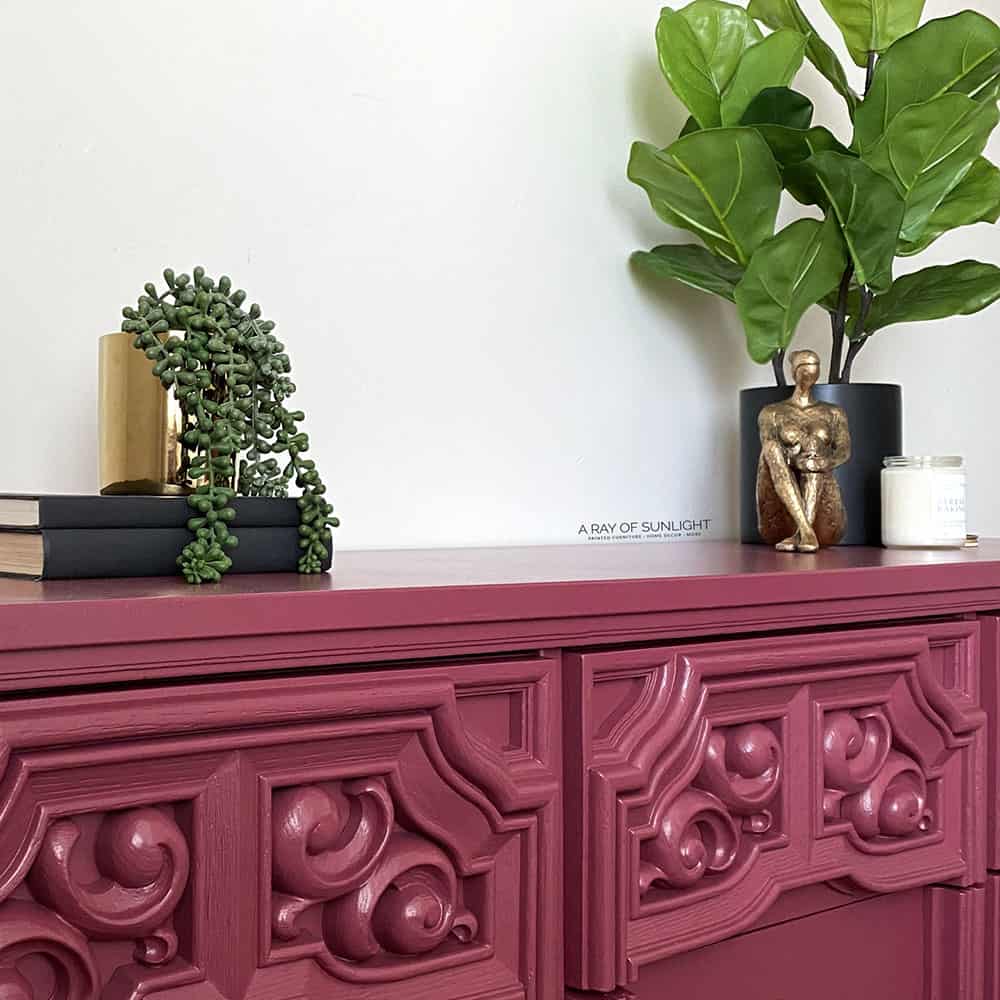
I typically change out the old hardware, but with these really ornate pieces, I like to leave the big chunky hardware. What would you have done?

As far as the BBfrosch powder, I don’t remember it being like this last time I used it, but I didn’t like that this mixture was so gritty. More gritty than chalk paint usually is. Maybe it was something else and not the BB Frosch? I don’t know. I’ll have to test it again. But it did adhere very well!
That’s it for me today, I’ll see you next time!


DIY Pink Dresser
Give your old furniture a pop of color with this DIY pink dresser. Here's how to chalk paint laminate furniture.
Materials
Tools
Instructions
- See if there are any damages on the dresser and repair them. Unscrew dresser hardware and clean the dresser off with Krud Kutter and a damp rag. Fill in any holes with wood filler.
- Spray 2 coats of clear shellac primer onto the dresser, and wait at least an hour for the primer to dry between coats.
- Mix paint transformer powder with water until it’s the consistency of donut glaze. Now, add in your pink latex paint. You can also add some more water to thin out the paint.
- Spray pink chalk paint onto the dresser. If you sprayed too much, stop and brush out the drips before they could dry. Let the paint dry, then spray another, much lighter coat all over. After the 2nd coat dries, sand the paint smooth a little then paint 2 really light coats over everything you sanded.
- Seal the pink painted dresser with waterbased polyurethane. Sand it ever so lightly to smooth it out and then spray 2 more coats of polyurethane.
- Clean the hardware, prime them and spray with gold spray paint. Attach the hardware to the dresser.
Recommended Products
As an Amazon Associate and member of other affiliate programs, I earn from qualifying purchases.


More Dresser Makeovers
- Pink Vintage Dresser
- DIY Mustard Yellow Card Catalog Dresser
- Grey Chalk Paint Dresser
- Chalk Painted Black Dresser
- Painted Light Blue Dresser
Learn the Art of Updating Furniture!
If painting furniture feels overwhelming or your past attempts didn’t go as planned, this course will guide you step by step.

Follow us on YouTube to get more tips for painting furniture. Or share your project with us on our Facebook Group and be part of our community. See you there!
I absolutely love these ornate dressers. Can you do a video on how to properly do the dresser liners?
I might have been reading cross-eyed, but did you say there was a way to turn latex wall paint into stain so the grain was visible ? to be sealed for durability ?
Yeah! I just thin it out with water until it is the consistency of stain. Then when you put it on raw wood, it stains the wood. I topcoat like I would topcoat paint. Hope that helps!
I like to thank you for sharing this on social media because I have not seen that dresser in a long time and it brings back a piece of history and some memories..😀🌹
Aww you’re so welcome!
Yeah plus they have two nightstands that go with it a headboard to a bed that goes with it and I think there was a coffee table that went with that set too.. my stepmother had all the pieces of it. I paid for it and then when I moved out of my apartment I had to get rid of one piece because it was too much for the move. And the long dresser is what I had to get rid of..😥
Used to have that long dresser.. I have the matching tall dresser but I don’t have the matching long dresser anymore… They were made back in 1973 weren’t they??