Spray Painting Furniture Gold: Dining Table Makeover

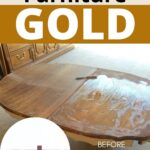
Today, we have a fun dining table makeover for you. Thanks to a client, we’re spray painting furniture gold! I’m always amazed at the ideas my clients have, and this one just rocked my socks! Gold can look stunning and elegant when used in home decor.
So, with trusty and handy spray paint for furniture, we set out to give this old dining table a glamorous new look. We’ll be walking you through the entire process so you can easily recreate this project at home.
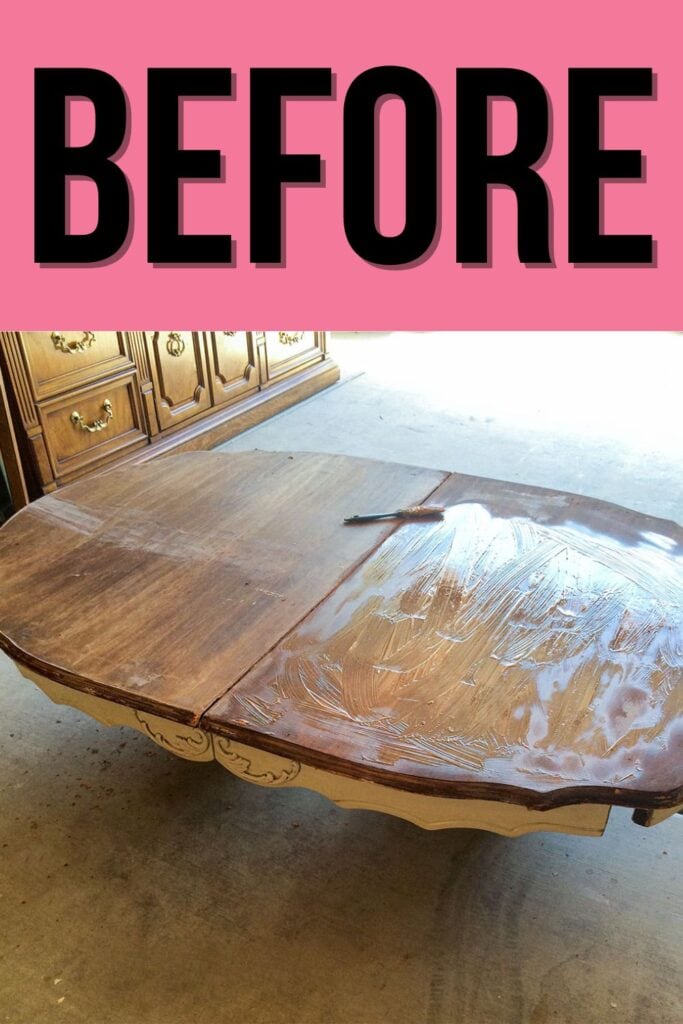
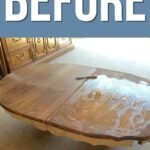
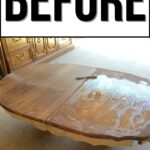
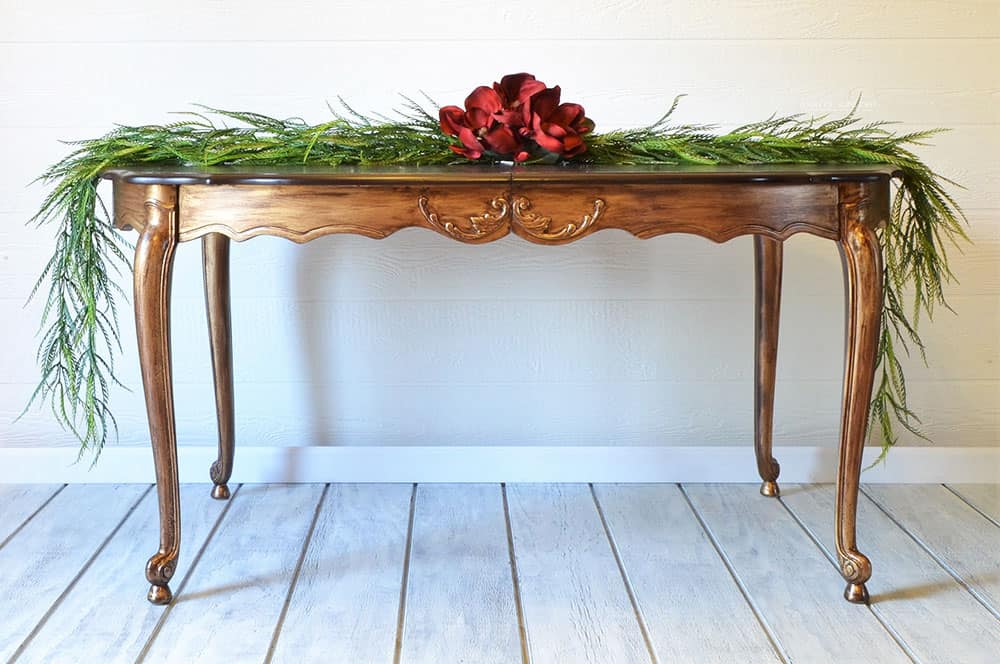
Her inspiration came from an antique gold candle in her home. Then we recreated the look for her on this old French dining table. It started out as a white farmhouse-style table with a white bottom and stained wood top. I didn’t grab a before photo, but you can see a little bit of what it used to be in the photo below.

Gold furniture and decor are definitely having a moment right now, and we can see why. It brings a bit of luxury and style to any space, plus gold painted furniture really stands out and can instantly become the centerpiece of any room.
And with spray paint, you get to quickly transform your furniture straight from the can! You won’t need any special tools or equipment, so you can get started and done with this project in no time. So, if you’re ready, join us on this spray painting furniture gold journey!

Supplies Used For Spray Painting Furniture Gold
As an Amazon Associate, I earn from qualifying purchases. I also may earn from other qualifying purchases with other companies or get free product to review and use. All opinions are my own.
- Citristrip Chemical Stripper
- Mineral Spirits
- 0000 Steel Wool
- Orbital Sander
- 220 Grit Orbital Sander Discs (these are the best brand!)
- 220 Grit Sandpaper for sanding by hand
- Tack Cloth (so much better at cleaning off dust than a rag!)
- Painters Tape
- Rustoleum Bright Metallic Gold Spray Paint
- Java Gel Stain
- Minwax Wipe On Poly
Check out our list of 10 best painting furniture supplies here so you’re always ready for your next DIY project!
Remove Stain from Wood
To start out, the top of the kitchen table needed to be stripped of the stain so we could give it a fresh coat of stain. You basically have two options:
- Strip the stain off with a chemical stripper.
- Sand the stain off with a power sander. Check out the best sanders to remove paint here.
This tabletop was made with a veneer, so I really didn’t want to sand the whole thing down with my power sander and risk ruining the table. If you sand too far on a thin wood veneer on a piece of furniture and then you try to stain it, the stain doesn’t take evenly to the wood under the veneer.
So, I went with the chemical stripper. Check out the best tools for removing paint or stain from wood here, including using a stripper.
What to Do When You Sanded Veneer Too Deep
You can try using different colors of gel stain to paint on a stained finish over the sanded area. But, more than likely, you will just have to paint over all of it with paint instead of stain. So, if you really want a stained look, it’s probably not worth it to use a power sander and risk blowing through the veneer.
Update: Another idea is to use this technique in my wood stain repair post to blend in the area that you sanded too far with the stain of your choice.
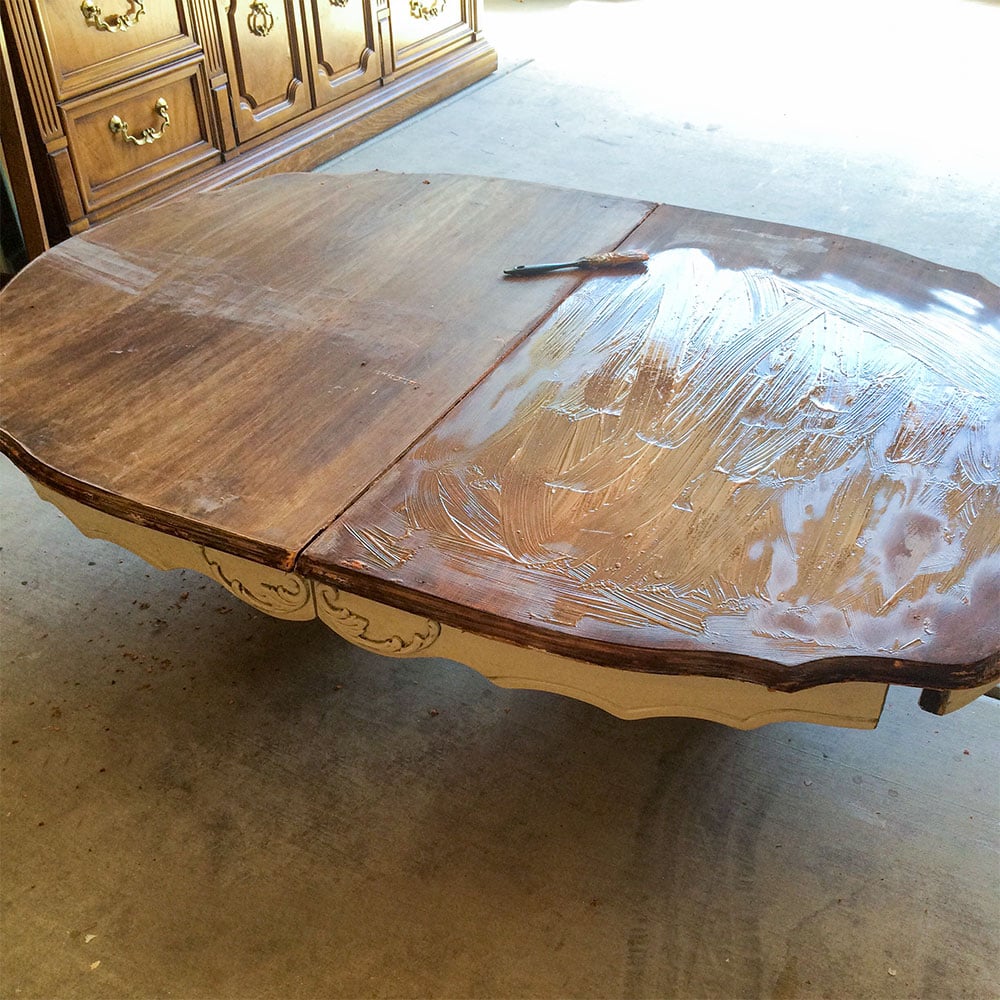
How to Strip a Table Top
The best stripper, in my opinion, is Citristrip.
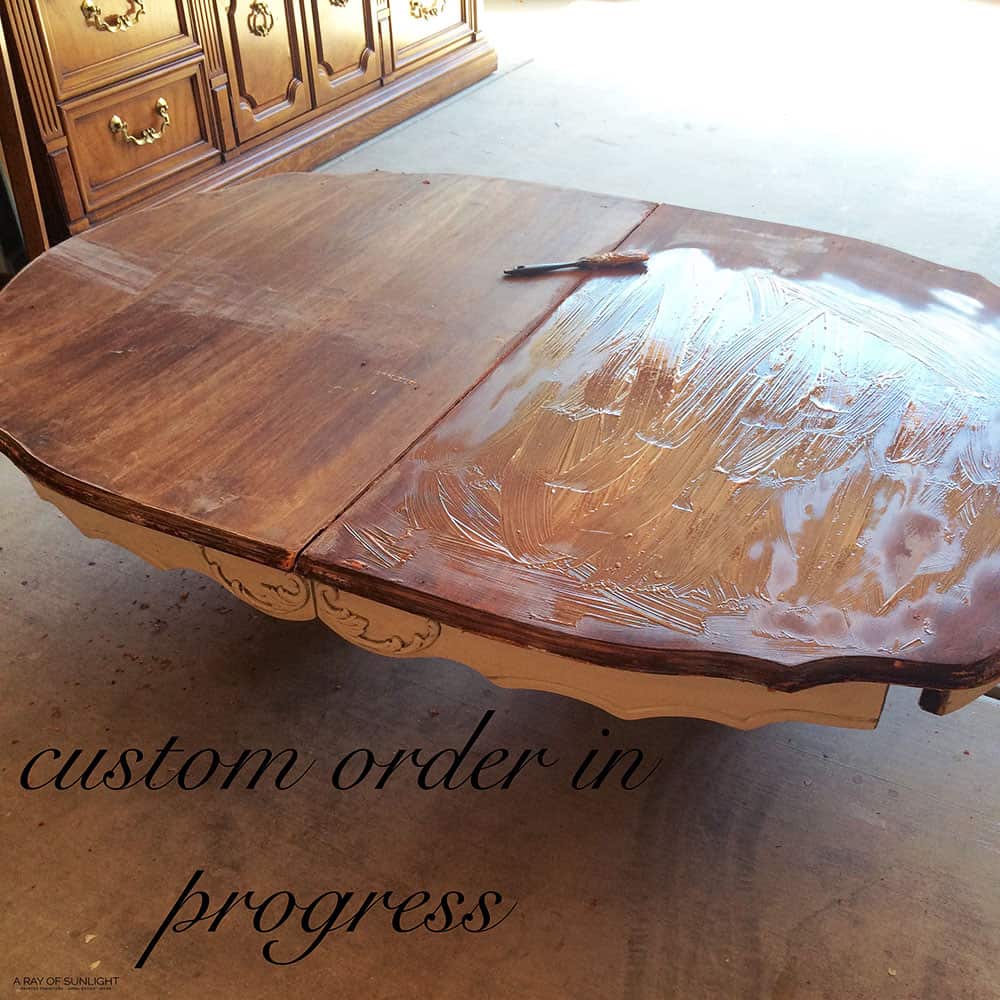
Just brush on the stripper, and let it sit until it looks all gooey and bubbly. (Yes – those are official terms on the bottle…okay maybe not, but it will make sense when you see it.) Then scrape it all off, wipe it down with mineral spirits and 0000 steel wool and let it dry out.
I have a full tutorial on how to remove wood stain here, and another tutorial on how to strip a kitchen table here. Both use the same technique! These are jam-packed tutorials that can help you with how to strip a tabletop!
Sand Veneer Table Top
Once the wood was all dry, I grabbed the orbital sander with 220 grit sander discs and lightly sanded away. Yeah, I know that I just said that I didn’t want to use my power sander on this veneer tabletop. But hear me out.
Once the stain was mostly gone, I needed to just remove the little bit of stain left and smooth out the wood grain. I used 220 grit instead of coarse sandpaper to keep the power sander from taking off too much.
Then I made sure not to press down on the sander, and I made sure to move slowly, but keep moving, so I didn’t sand down one spot too much. Just be gentle or sand it by hand. Check out the best sanders for furniture here, and here’s a guide on how to sand wood by hand!
But if you want to skip the hassle of sanding, you can use one of these best spray paint for furniture without sanding options instead.
How to Paint Wood Furniture Gold
Once all of the old stain was off of the tabletop, I turned my focus to the apron (the white painted part of the table top) and legs of the table. I lightly sanded the old white finish with 220 grit sandpaper (by hand) and wiped it down with a tack cloth. Check out the best sandpaper for furniture here!
Then I taped off the edge of the table top, all the way around, with painters tape. And then, I laid a few broken-down cardboard boxes on the top of the table to keep the paint from getting on the freshly stripped top.
Learn how to protect all surfaces and areas where you’re spraying in our post on how to prevent overspray when painting furniture. And if you happen to have overspray, here’s how to get spray paint off wood to help you fix it.
(You could also just paint the base before you strip the top, but then you may run into the stripper dripping onto your fresh coat of paint.)


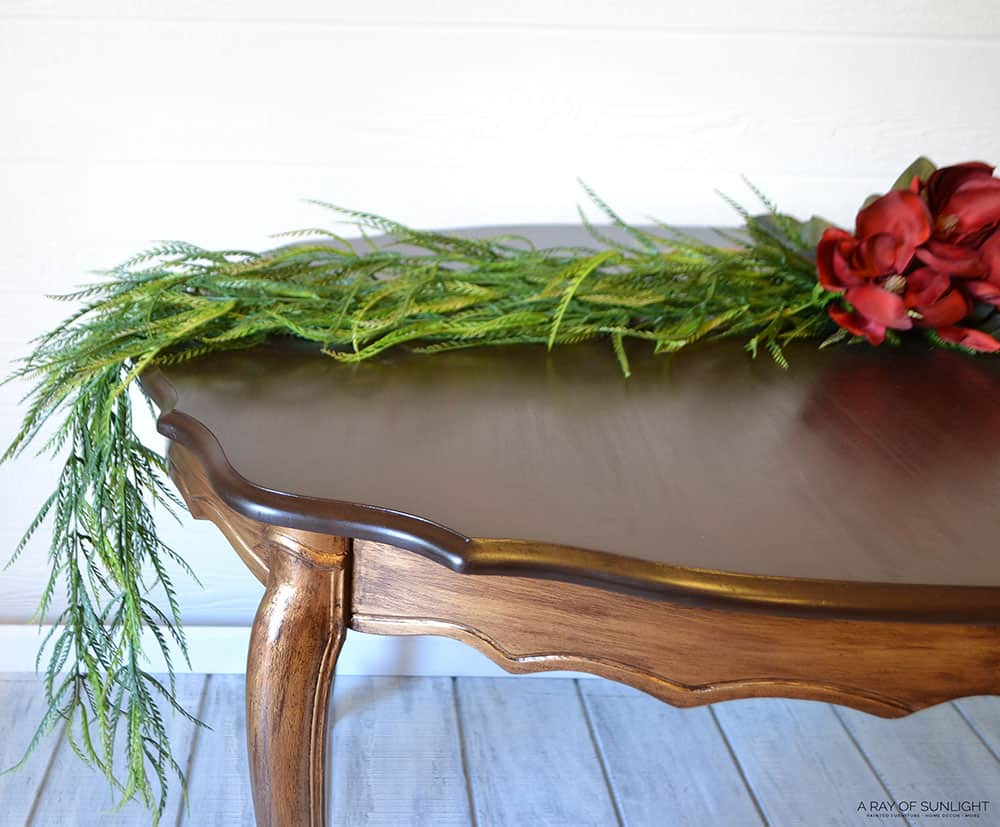
I painted the apron and legs of the table in Rustoleum’s Bright Coat Metallic Gold. This paint has stuck so well to all of the pieces I have ever used it on. It is amazing! Check out the best spray paint for wood furniture here, plus this comparison of Krylon vs Rustoleum spray paints here.
If you’re working with raw wood, though, I would recommend a primer under the gold paint to help the gold spray paint or any gold paint have better coverage. Choose from the best primers for painting furniture here, and see how we primed and spray painted a dresser in our spray painting furniture post.
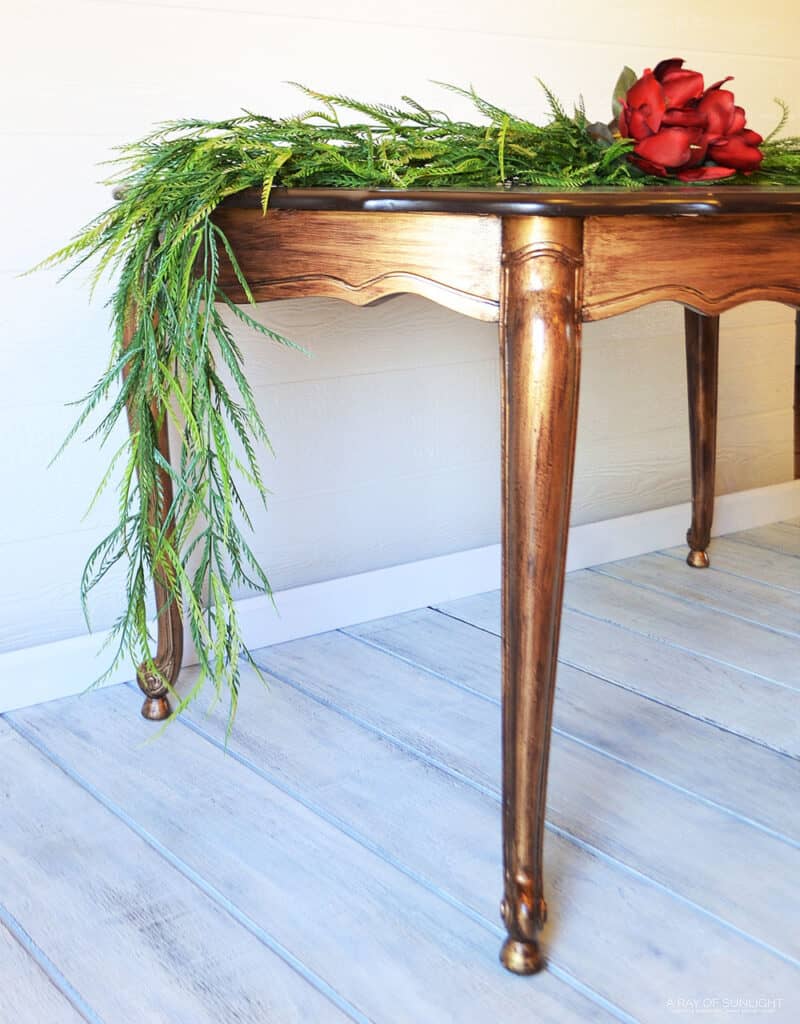
The apron and legs took two full coats and then one extra touch up coat in a few places. It dried super fast in between coats, but I let it dry for at least 4 hours before I started the antiquing glaze. Here’s how to use spray paint for a more detailed guide!
Check out more gold painted furniture ideas and metallic painted furniture ideas here if you’d like to try gold paint again!
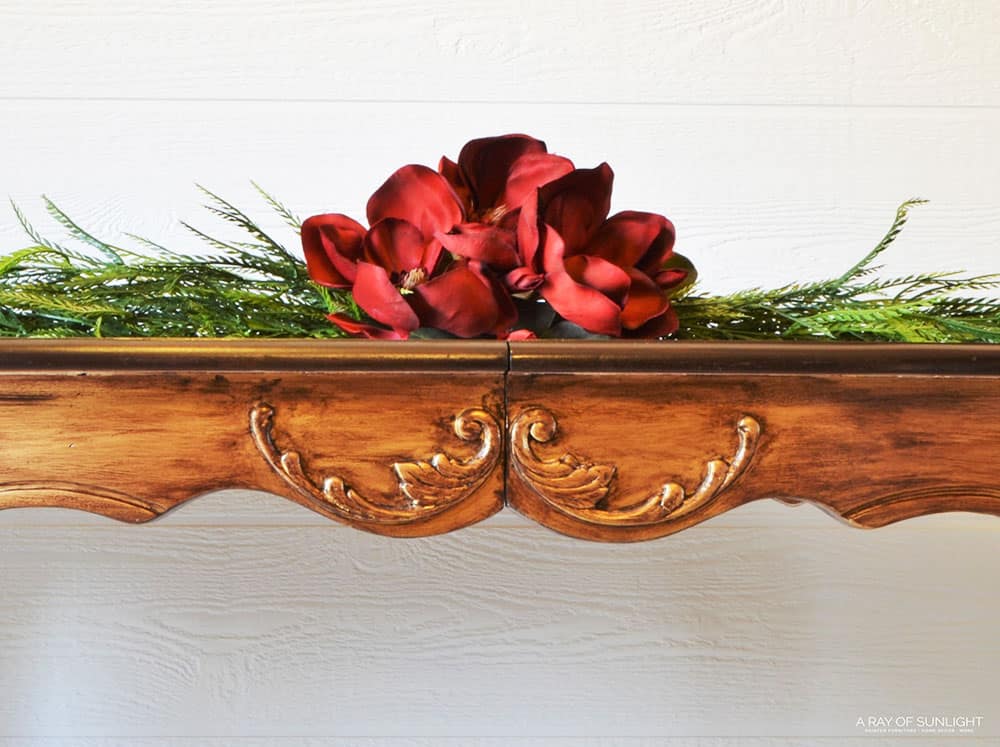
Apply Gel Stain After Spray Painting Furniture Gold
Then, I antiqued the gold paint with more of the Java gel stain. Yep, you can put gel stain over paint!
Would you like to save this?
Since this metallic gold spray paint is glossy, it didn’t soak in very much. Instead of just kind of sat on the surface. I wiped it on like a glaze, though.
Update: Looking back, I kind of cringe at the gel stain glaze on this table. I’ve gotten better at glazing over the years, so I shared a tutorial on how to glaze over chalk paint here. It definitely takes some practice, but glazing furniture is so pretty.
With latex gloves and old t-shirt scraps as my rags, I wiped the gel stain on, let it start to dry for a few seconds, then wiped it off with a clean rag. We wanted to get it dark, but still show the beautiful gold underneath. When wiping on and off, I tried to keep the gel stain in uniform long strokes.
I also left more stain in the cracks of the details than on the raised and flat places. I let the gel stain dry for a few days so the top coat wouldn’t ruin all of my hard work.
Gel Stain Table Top
While the stain dried, I stained the tabletop with two coats of the same stuff, Java gel stain. With at least 8 hours of dry time between each coat. This stain is thicker than normal stain, but I used the same technique as I would with regular wood stain.
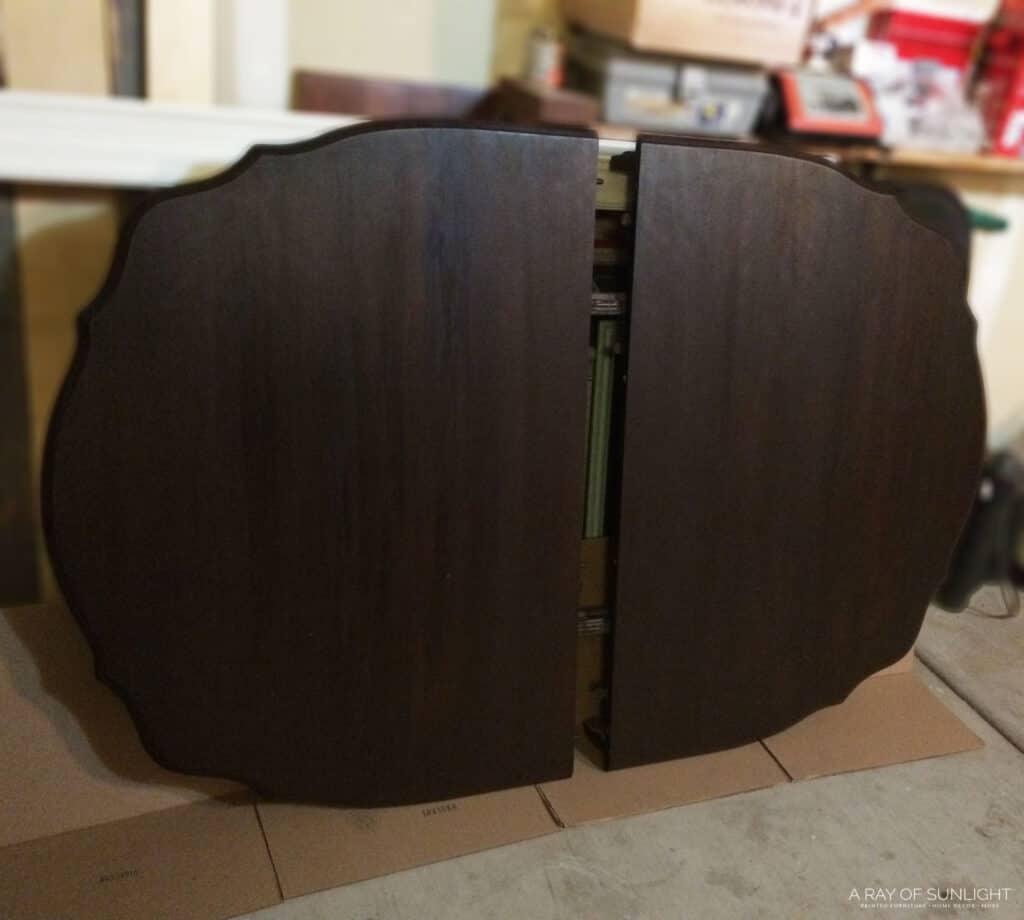
I wiped the stain on with the grain, let it sit for a few minutes, and then wiped the stain off (with a clean rag) going with the grain. I love the richness of Java gel stain! Check out how to restain wood furniture to learn how to restain furniture without stripping or sanding off the old finish.
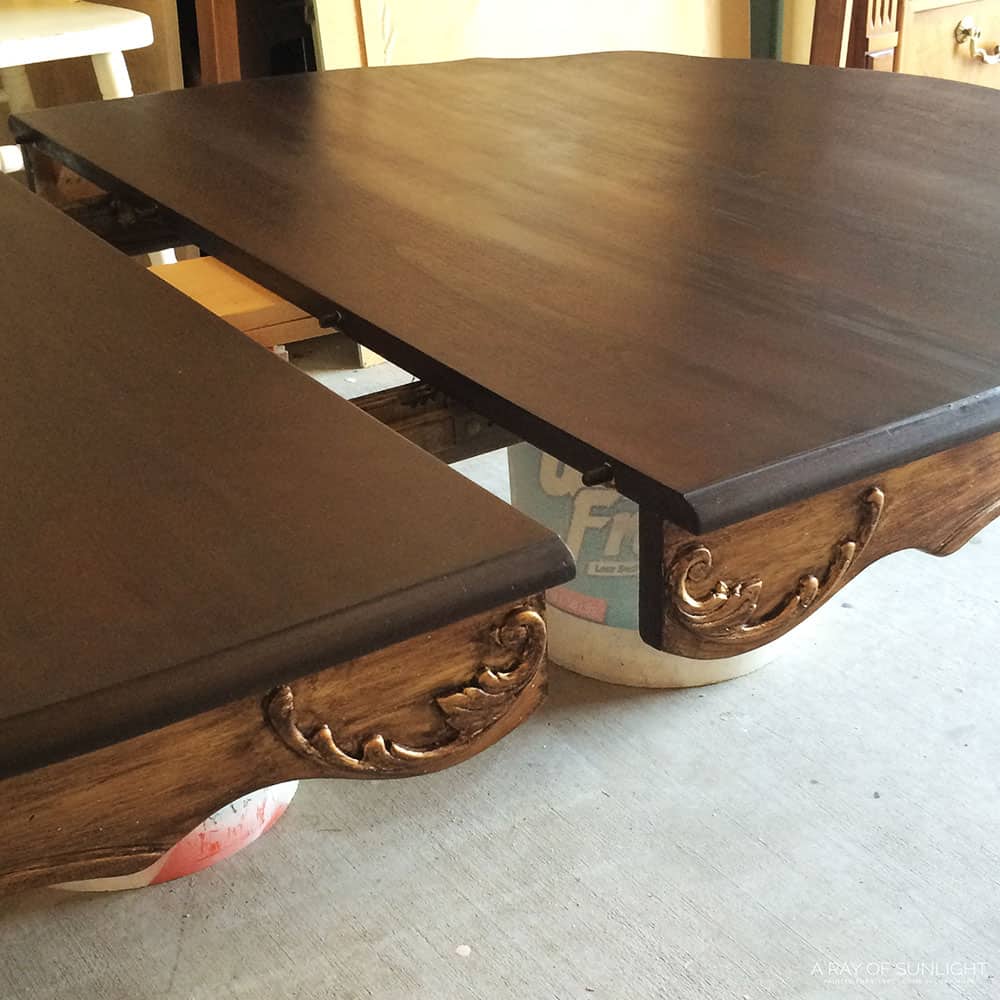
Topcoat Gel Stain
After both coats of gel stain were completely dry, I finished off the stained table top with 3 coats of Minwax’s Wipe On Polyurethane in satin finish. It comes in a spray can that is so much easier to apply. But they both work great. The Minwax Wipe On Polyurethane adds an extra richness to stained wood.
But since it is oil based, never use it on white or light paint since it will add a yellow tone to the paint. (Waterbased doesn’t turn yellow like oil based does.)
Since we were working with gold paint, it was fine to use the oil based polyurethane. Learn more about the best polyurethane for furniture here.
More Before and After Makeovers
See All >
Click any of these “before” photos below to view the “after” of that makeover.


This spray painting furniture gold makeover was such a fun project! I love how creative my client is. I would have never thought of this finish, but now that I have done it, I sure can’t get enough of it! If you want to know how to price flipped furniture, head on over to my post to learn more.
Check out another look we’ve made in this painting a dining table black makeover and these French painted furniture ideas for more inspiration. If you’re thinking of using chalk paint, here’s our list of chalk paint dining table ideas. But if you’re wondering, “is chalk paint durable for kitchen table?” – get answers here!
Dining Table Painting Ideas
Aside from spray painting furniture gold, there are many other ways to bring a fresh look and style to your dining table. Here are some painting ideas for your dining table that you can try to update the look of your space:
- Go bold with bright colors: If you want to make a statement with your dining table, consider painting it in a bold and vibrant color. This is a great option for those who want to add a pop of color to their space or have a more eclectic style. Here are some bold furniture paint colors you can use!
- Go for a two-tone look: You can paint the base of the table in a different color than the top. This adds dimension and interest to your space and allows you to incorporate multiple colors into your decor. But is two-toned furniture in style? – check out our post to find out!
- Embrace the distressed look: For a more rustic and shabby chic vibe, consider distressing your dining table after painting it. You can do these distressing furniture techniques to add character and charm to your piece.
- Keep it classic: You can never go wrong with a crisp white dining table. This timeless and versatile color will brighten up your space and give it a fresh, clean look. Plus, it’s a great option if you like to change up your decor often, as white goes with any color scheme.
Where do you find your inspiration? I would love to hear from you! Have a wonderful week!


Spray Painting Furniture Gold: Dining Table Makeover
This dining table makeover is the perfect conversation starter for your home. We’re spray painting furniture gold!
Materials
Tools
Instructions
- Remove the stain from the wood top. Just brush on the stripper, let it sit until it looks all gooey and bubbly. Then scrape it all off, wipe it down with mineral spirits and 0000 steel wool and let it dry out.
- Once the wood was all dry, lightly sand it away with the orbital sander and 220 grit sander discs. Just be gentle or sand it by hand. Lightly sand the rest of the table with 220 grit sandpaper (by hand) and wipe it down with a tack cloth.
- Spray paint the table gold, letting it dry for at least 4 hours.
- Antique the gold paint with Java gel stain. Wipe the gel stain on, let it start to dry for a few seconds, then wipe it off with a clean rag. Let the gel stain dry for a few days. For gel staining the top, stain it with 2 coats with at least 8 hours of dry time between each coat.
- After the gel stain is completely dry, finish off by applying 3 coats of wipe on polyurethane.
Recommended Products
As an Amazon Associate and member of other affiliate programs, I earn from qualifying purchases.


More Spray Painting Furniture Resources
- How to Use Spray Chalk Paint
- Chalk Spray Paint Review: Rust-Oleum vs Magnolia vs Krylon vs Behr
- Spray Painted Furniture
- Best Spray Paint For Metal
- Best Spray Paint for Outdoor Metal Furniture
Follow us on YouTube to get more tips for painting furniture. Or share your project with us on our Facebook Group and be part of our community. See you there!
This table is GORGEOUS, I love it !
Where do I get my inspiration? From you!!