How to Strip a Kitchen Table
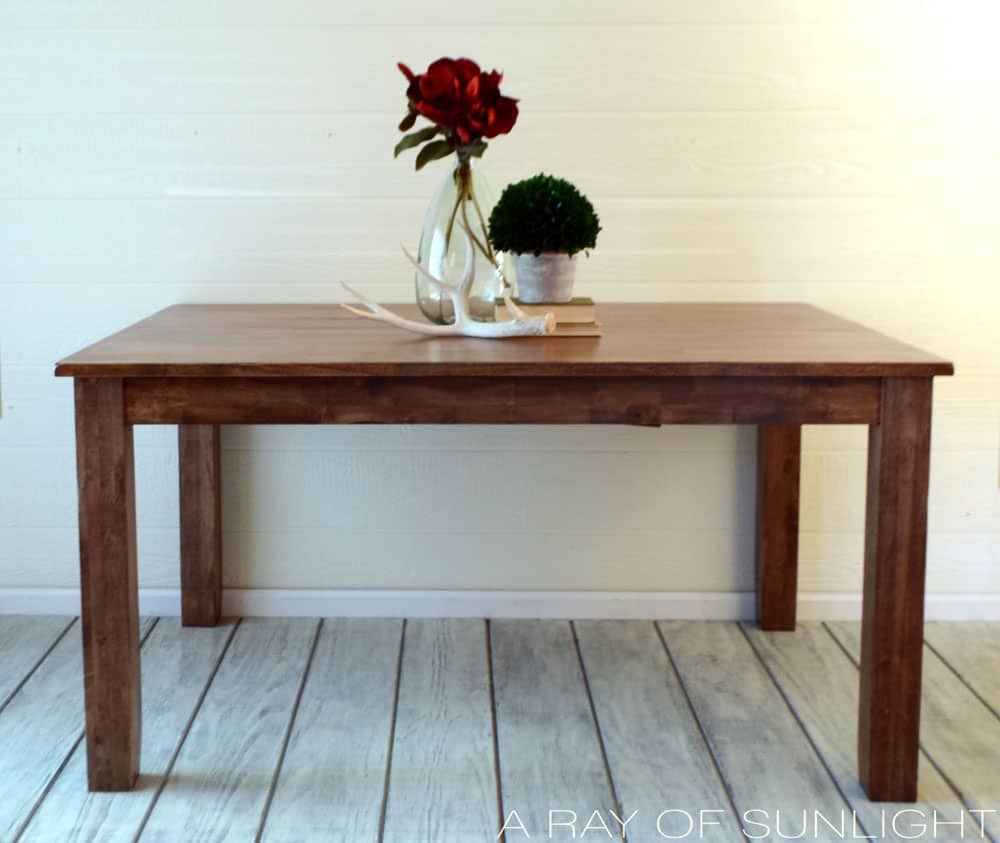
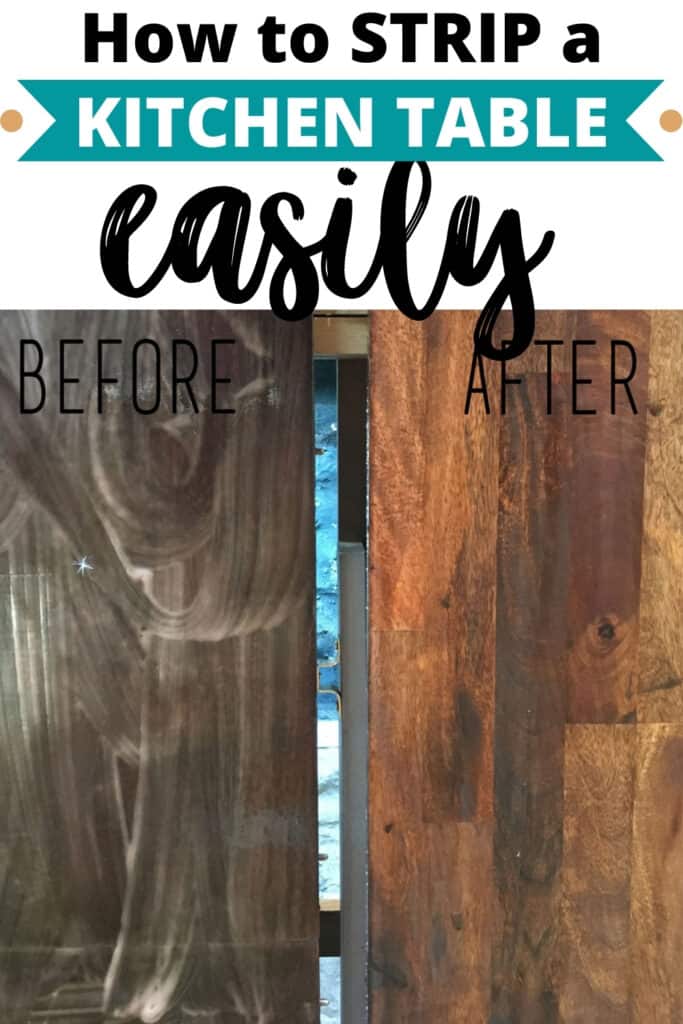
With a little bit of patience and elbow grease, you can turn your old worn out dining table into a stunning farmhouse piece. Give it a whole new update by removing the old stain. Here’s how to strip a kitchen table!
This is one of the awesome furniture makeover ideas if you want a more natural look. When done correctly, this process can give it a rustic and weathered appearance that’s perfect for any farmhouse or country style home.

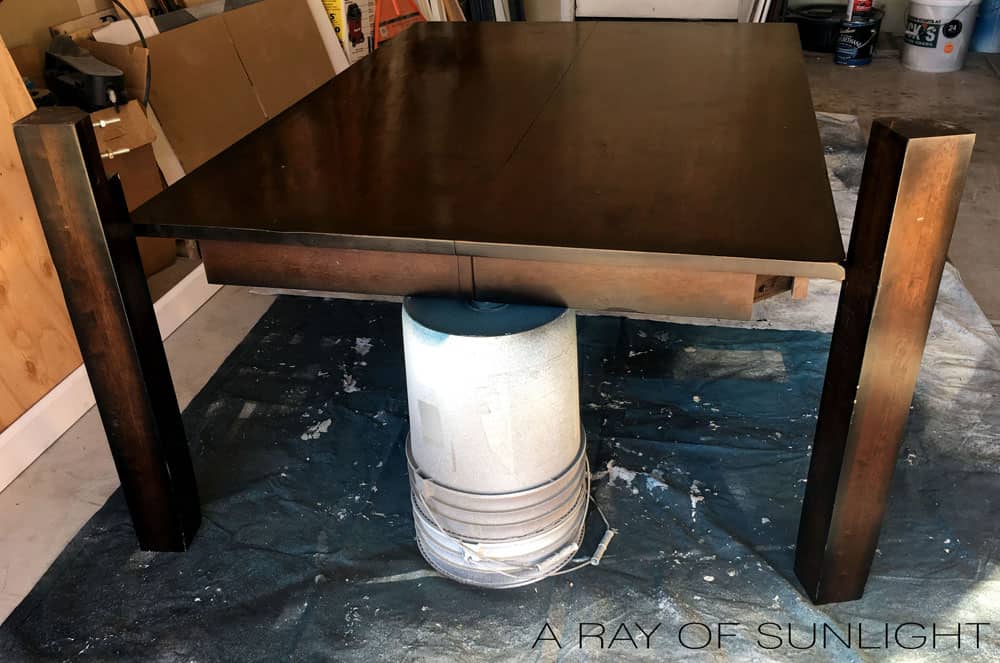
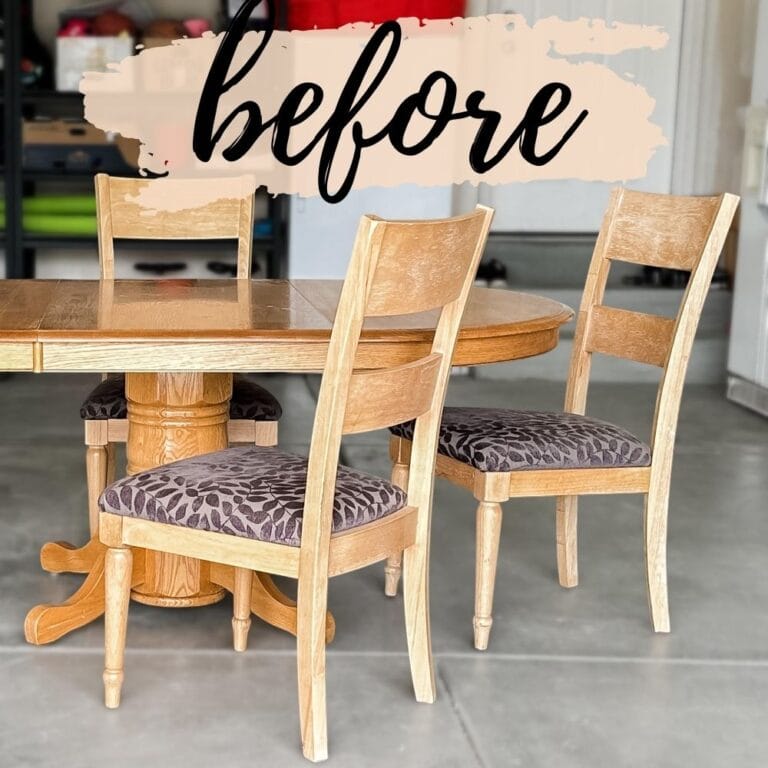
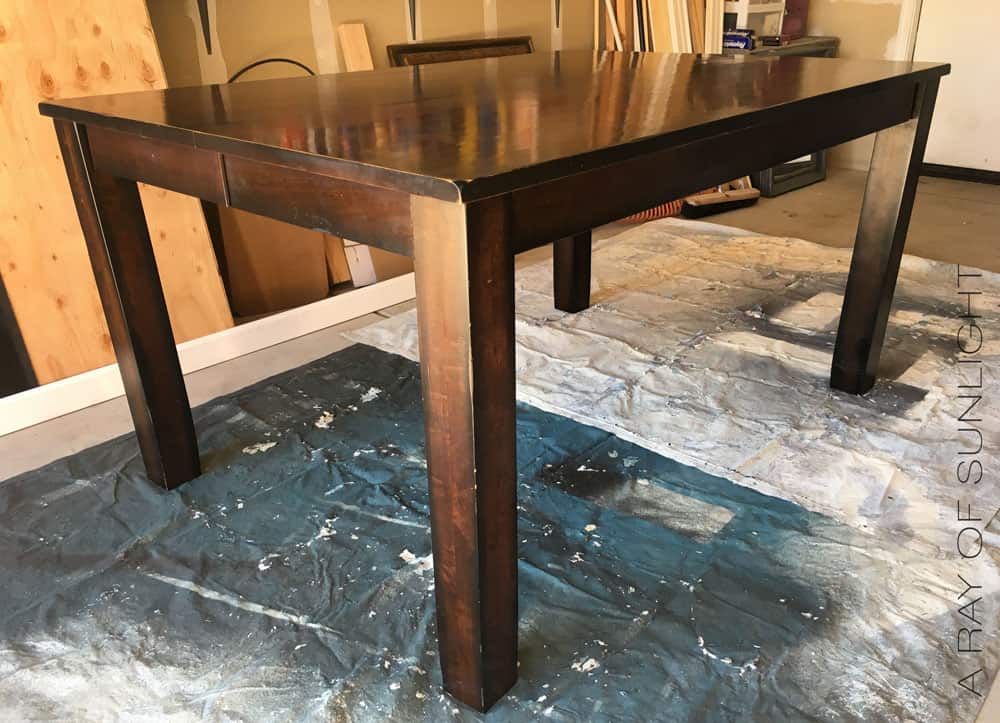
I found this old kitchen table for only $50 on Facebook! It’s solid wood, the leaf is stored under it, it seats 8, and it has big chunky farmhouse style legs.

You can see above what it looked like before I stripped it. It was the perfect find to replace our old one that was falling apart. The finish needed a bit of updating, and I couldn’t wait to see what was under the old finish! You’ll never believe how simple it was.
I recently tried a new chemical stripper that I love even more than this method. Check out my Stripwell QCS review to see why I like it! Here are more best wood stain removers you can use.

Supplies Used To Strip A Kitchen Table
As an Amazon Associate, I earn from qualifying purchases. I also may earn from other qualifying purchases with other companies or get free product to review and use. All opinions are my own.
- Plastic to protect the floor – Dollar Store Shower Curtains are perfect!
- Buckets or taller surface to place table top on
- Chemical Resistant Gloves
- Citristrip Paint & Varnish Stripping Gel
- Old Cheap Bristle Brush – Dollar Store wins again!
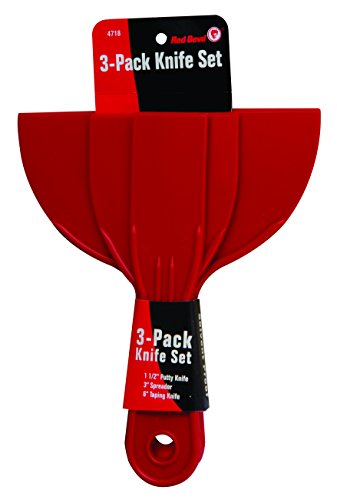
- Plastic Putty Knife
- Small Disposable Bowl with Lid
- Mineral Spirits
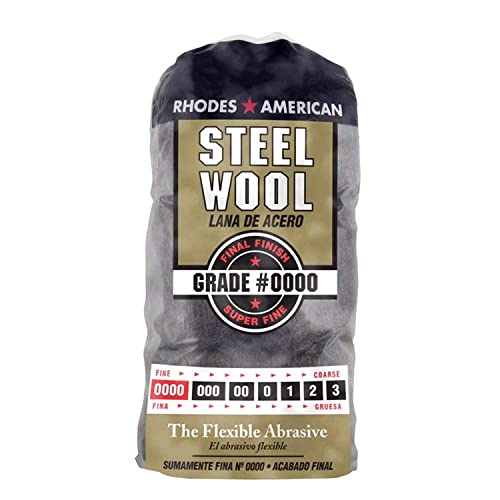
- 0000 Steel Wool
- Paper Towels
- 220 Grit Sandpaper
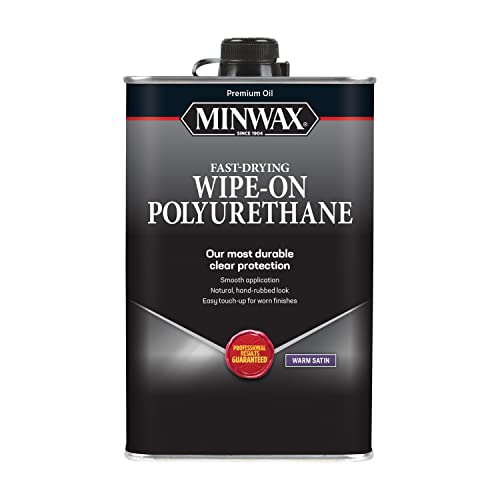
- Minwax Wipe On Poly in Satin
- Cut Up T-Shirts or Lint Free Rags
Lay Down Plastic and Remove Legs
We started by placing plastic shower curtains from the dollar store down to protect the floor. I’ve also used cardboard boxes to protect the floor. Read this post to learn more about how to prevent overspray when painting furniture.
Then we placed the table top on a couple of 5 gallon buckets to lift it off the ground, and I stood the legs upright on their own. If there’s any damage, here’s how to fix a broken table leg. I also opened up the table so I could get to the leaf.
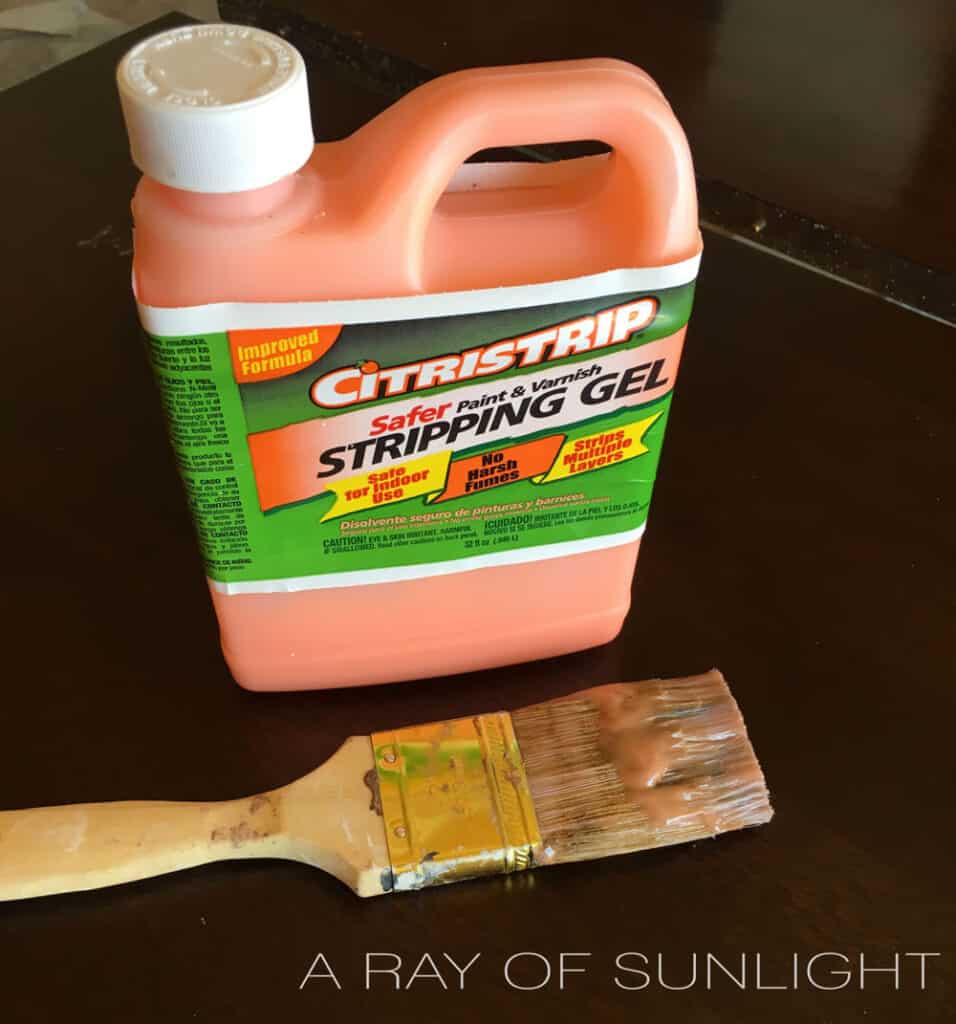
I used Citristrip to remove wood stain on this piece. Stripping furniture with Citristrip is the easiest way (and the least stinky way) that I have found to remove old finishes.
How to Use Citristrip
So I grabbed my all time favorite wood stripper and started pouring the orange goo all over the table and legs.
Brush Stripper All Over The Table
I used an old bristle brush (dollar store paintbrushes for the win!) to brush the Citristrip all over the place. I like to lay it on thick, especially on the sides.
I’ve heard of placing plastic wrap over it to keep it moist for longer. Next time, I’m going to try that!
((Update: I have since tried the plastic wrap trick on a few pieces, including this weathered wood dresser makeover in this refinishing an old dresser post and holy moly it helps a lot!))
How Long to Let Stripper Sit on Furniture?
Then I left it for a few hours to do its thing. After a while, I tested a small area to see how easily the old finish came off (if it is hard to get off completely, it needs more time. If it comes off easily, it’s time to start scraping!)
Scrape Off the Stripper
After putting on my gloves, I used a putty knife (plastic is best to avoid scratching the wood) to remove all of the stripper and finish off into a small bowl. Learn more about how to remove wood stain with this product.
How to Remove Citristrip Residue
Once the majority of the stripper was removed, I grabbed some steel wool and mineral spirits. The mineral spirits combined with the steel wool scrub off any excess or harder to remove finish, and this is seriously the best way to remove Citristrip!
I went through about 5 or 6 rolls of steel wool in this project.
**A little tip is to pull the rolls apart into 3 pieces. Then, every time the steel wool seems gummed up, I turn it over until all of it is completely covered in goo. Then it’s time for a new one.
I used paper towels dipped in mineral spirits to wipe off any excess stripper as well.
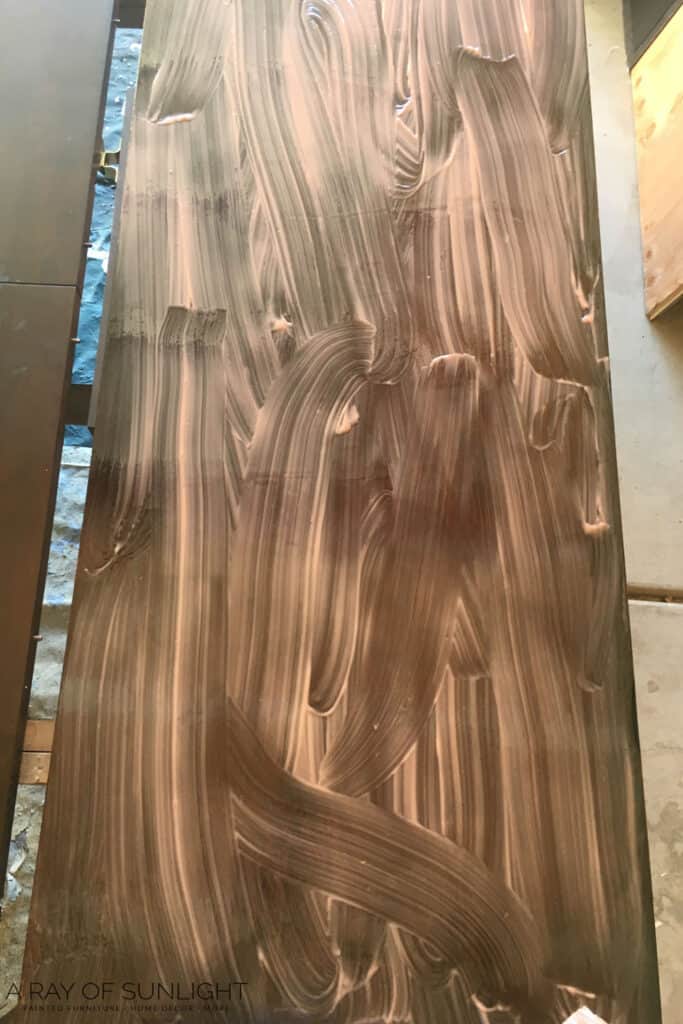
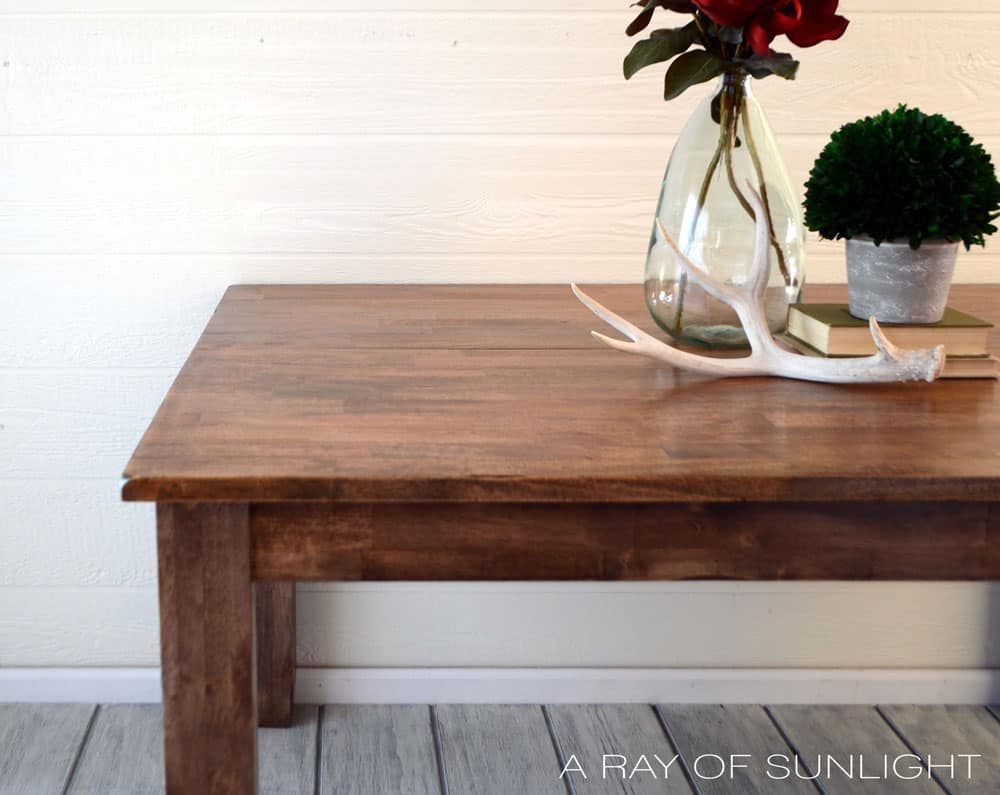
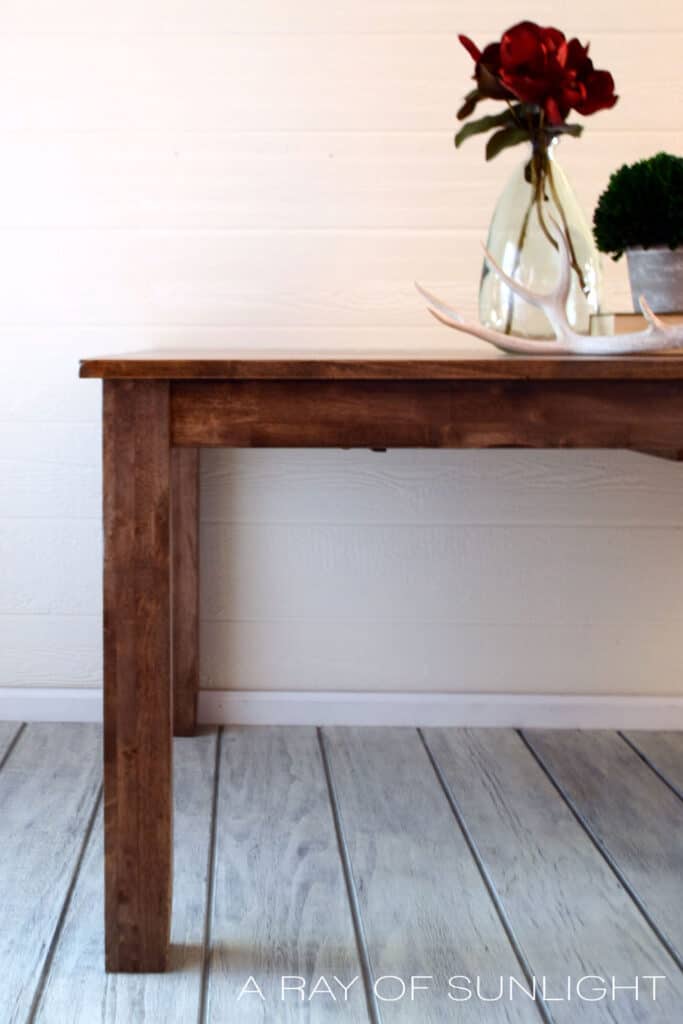
At this point, the kitchen table resembled a weathered wood finish. There was a bit of old finish left in a few knicks and dings, but that just adds to the weathered look. This was exactly how I had envisioned it! You can also try this best stain for weathered wood look.
Let Stripped Table Dry and Lightly Sand
I let it dry a couple of days before I gave it a light sanding to make the wood completely smooth. Learn all about the best sandpaper for furniture here! Then, I wiped everything down with a tack cloth to remove any extra dust that was left from the sanding.
Would you like to save this?
Your finish might come up a bit orange, so check out how to take orange out of a wood dining table and how to tone down orange wood furniture to guide you.
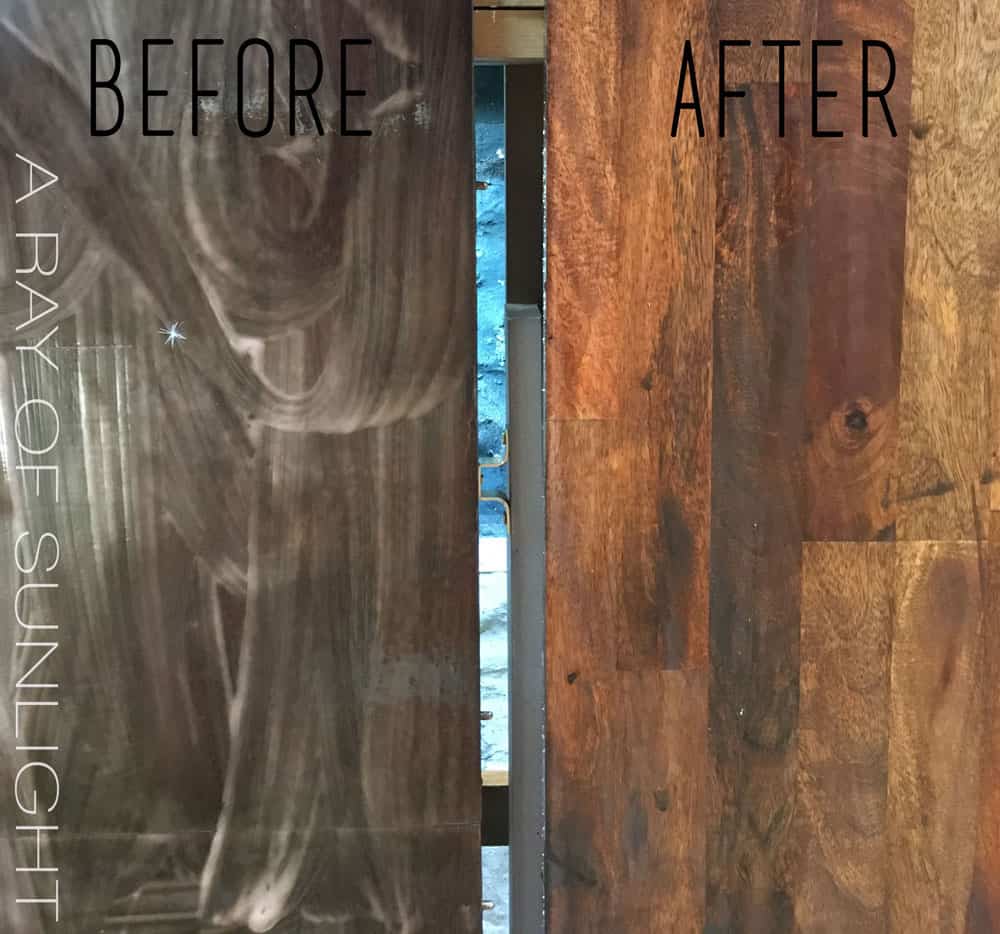
Seal the Raw Wood
Once everything was wiped down completely, I used a cut up white t-shirt to apply the Minwax Wipe On Poly. I made sure to apply it with the grain in long even strokes, letting it dry completely before applying the next coat.
Since it is a kitchen table that I expect to have heavy wear and tear, I applied 6 thin coats on the top and 3 thin coats on the legs. I love the Minwax Wipe On Poly to seal wood because it protects it super well.
If you’re wondering, “Can you use a paint sprayer for polyurethane?” Yes, you can also spray it on if you have a sprayer and the right kind of poly. Here are all my tips and tricks on how to spray polyurethane!
That was all there was to it! Super easy! But it does take some patience.
More Before and After Makeovers
See All >
Click any of these “before” photos below to view the “after” of that makeover.


If the wood wasn’t the right shade after I stripped it, I would have easily grabbed a can of the color of the stain I wanted, applied a thin coat, wiped it off, and let it dry. Check out the best wood stains for refinishing furniture in this post.
Once the color was what I wanted, I then would proceed with the Minwax Wipe on Poly to protect the finish. Make sure to let the polyurethane dry for 48 hours, and then be super, super careful with it for a month while it cures completely.
How Long to Leave Citristrip on
Since it isn’t a harsh product, you can leave Citristrip on wood for up to 36 hours. I’ve even left it on veneer for that long without it causing any problems with it. I typically like to leave it on overnight with some plastic wrap over it to make sure it doesn’t dry out.
What to do if Citristrip Dries?
If it dries, it will stop removing the stain or paint that you are trying to remove. As long as it’s wet, it will continue to eat through the old finish. But once it’s dry, it will stop eating through the finish.
You can put more Citristrip over the dry layer to reactivate it. Or you can scrape it off and put another coat on if it didn’t remove anything.
What Happens if You Leave Citristrip on Too Long?
The worst thing that I have had happen is that the Citristrip will dry out. I left it on for a couple of days by accident, and it was just dry. So I put more on and started again.
How to Paint a Kitchen Table
Or, if you want a new colored look, you can transform it into a colorful piece! Here are the best painted furniture colors to choose from for your project.
Then, prep your piece by cleaning it with a degreaser and sanding it to rough up the surface and make the new color stick better. Use one of these best primers for painting furniture to help with adhesion and prevent bleedthrough issues. Learn all about how to prepare furniture for painting in this post.
Paint with your chosen color – here’s painting a dining table black and painting a dining table white if you like these classic colors. Check out these painted kitchen table ideas and dining table makeover ideas for more inspiration.
If you don’t know what to use, learn what is the best paint for dining room table in this post! And if you want to try these chalk paint dining table ideas but wonder, “Is chalk paint durable for kitchen table?” – get answers here.
Don’t forget to protect your transformed piece with these topcoats for painting furniture. Learn about sealing painted furniture and how to choose the right sealant here.


How to Strip a Kitchen Table
Give your kitchen table a whole new look by removing the old stain. Here's how to strip a kitchen table.
Materials
- Plastic to protect the floor
- Buckets or taller surface to place table top on
- Chemical Resistant Gloves
- Citristrip
- Old Cheap Bristle Brush
- Plastic Putty Knife
- Small Disposable Bowl
- Mineral Spirits
- 0000 Steel Wool
- Paper Towels
- 220 Grit Sandpaper
- Minwax Wipe-on Poly in Satin
- Cut up T-Shirts (or Lint Free Rags)
Instructions
- Remove the legs from the table, lay plastic to protect the floor then place the table top on a couple of buckets.
- Brush Citristrip all over the stained table and let the stripper sit for a few hours.
- Put on some gloves and scrape off the stripper with a plastic putty knife.
- Grab some steel wool and mineral spirits to scrub off any excess and harder-to-remove finish.
- Let the stripped wood dry for a couple of days then sand the wood lightly. Wipe down the table and legs to remove any extra dust left from sanding.
- Seal the raw wood with some poly. Make sure to apply it with the grain in long even strokes, letting it dry completely before applying the next coat. You can apply 6 thin coats on the table top and 3 thin coats on the legs.
Recommended Products
As an Amazon Associate and member of other affiliate programs, I earn from qualifying purchases.


More Removing Paint from Furniture Resources
- How to Remove Paint From Wood Furniture
- How to Remove Stain from Wood
- How to Strip Paint from Wood Furniture
- Best Tools for Removing Paint from Wood
- How to Refinish Wood Furniture Legs
Follow us on YouTube to get more tips for painting furniture. Or share your project with us on our Facebook Group and be part of our community. See you there!

Your tutorial helps me to be less fearful of stripping a piece of furniture! Thanks! I’m delighted to be featuring your post at this week’s Tuesday Turn About!
Ahh I’m so glad this tutorial could help you be less fearful about stripping furniture! That’s so awesome to know! Thank you as well for the feature!