Painting a Dining Table Black
Welcome to today’s blog post on painting a dining table black! If you’ve got an old dining set just begging for an update, or you’ve found a great secondhand bargain in need of a little love, then this detailed guide is for you.
We’ll take you through each step, from preparation to the final result, and show you how you can transform your kitchen table and chairs with a sleek, modern, and durable finish. It’s one of the black painted furniture ideas you can try for your home!
Our dining tables are the heart of our homes, a place where we gather to share meals, laughter, and stories. But what happens when that beloved piece starts to show a little too much wear and tear or simply doesn’t match your evolving taste?

You paint it, of course! And not just any color, but a chic, sophisticated black. This guide will take you through a step by step journey of how to breathe new life into your old set, transforming it into a beautiful masterpiece.
But why black? Besides being trendy and modern, it’s a classic color that can easily blend and will never go out of style. If you like this look, follow along, and by the end of this post, you’ll be ready to tackle your own table makeover with confidence.

Supplies for Painting a Dining Table Black
As an Amazon Associate, I earn from qualifying purchases. I also may earn from other qualifying purchases with other companies or get free product to review and use. All opinions are my own.
- Krud Kutter Cleaner
- Damp Rag
- Drill with Brush Attachments
- SurfPrep 3×4 Sander (Use code RAY10 to get 10% off your order)
- 150 Grit Sandpaper
- Fine and Medium Grit Pro Foam Pads (Use code RAY10 to get 10% off your order)
- Vacuum
- Tack Cloth
- AquaLock Black Primer
- Paint Sprayer
- Respirator
- Plastic Wood Filler
- 220 Grit SandNet Sandpaper
- Sherwin Williams Emerald Urethane Trim Enamel in Tricorn Black
Black Painted Dining Table
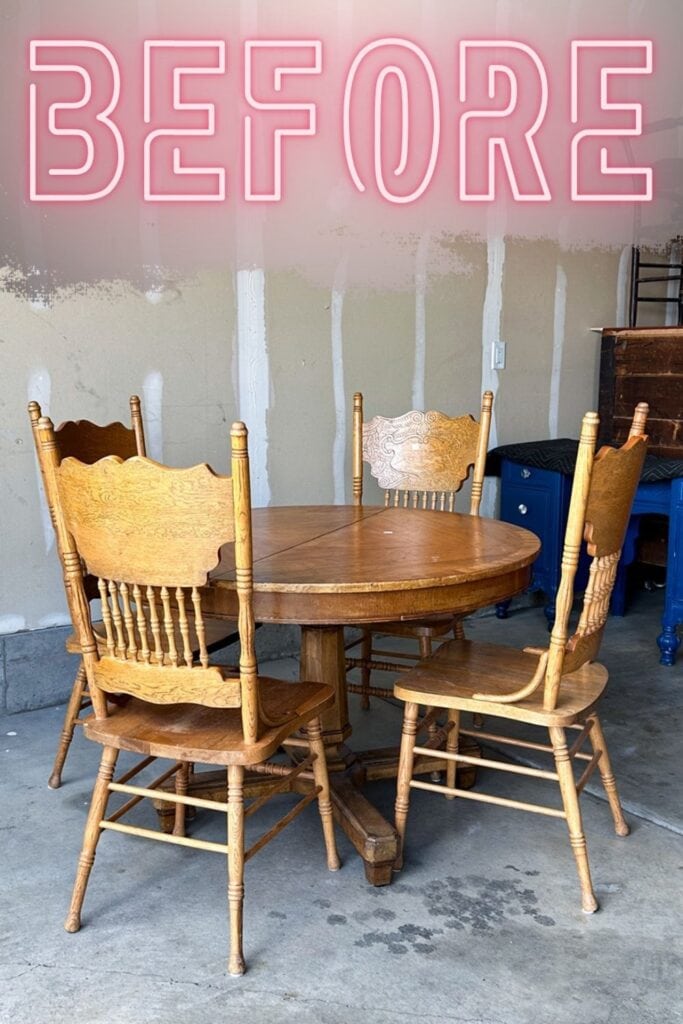
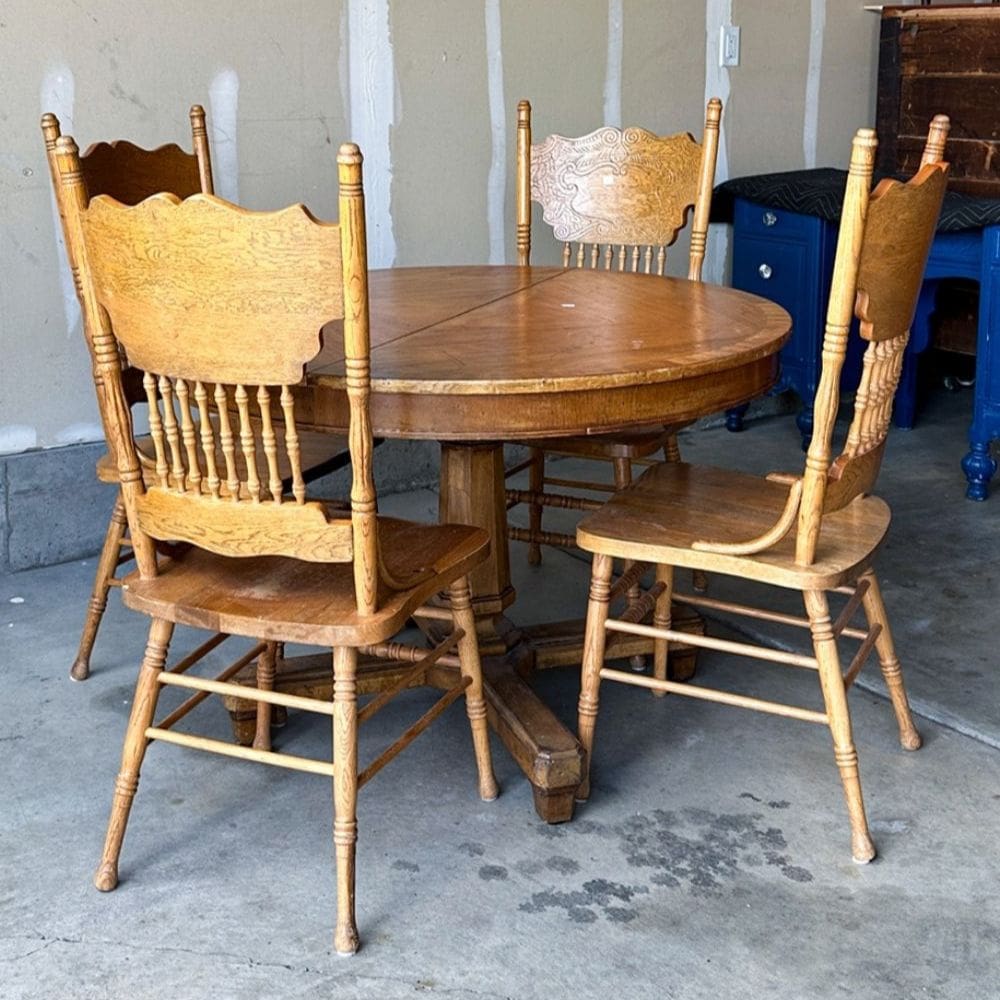
So here’s the story: we found this table and four chairs at a thrift store. Not a matching set, but we made it work. I initially wanted to keep the top of the table wood ’cause, let’s be real, a wood stain can take a beating better than paint.
But the piece was pretty beat up, looked like someone had already tried to sand it down but didn’t do the best job. So I thought, “Why not just paint everything black?”
Prepping Table for Makeover
Now, prepping your piece first is important. It’s gotta be done right if you want your new color to stick around. Imagine having kids or pets messing up your work because you skipped the prep. No thanks! You can follow our guide on how to prepare furniture for painting if you’re not sure where to start.
Cleaning and Sanding Table
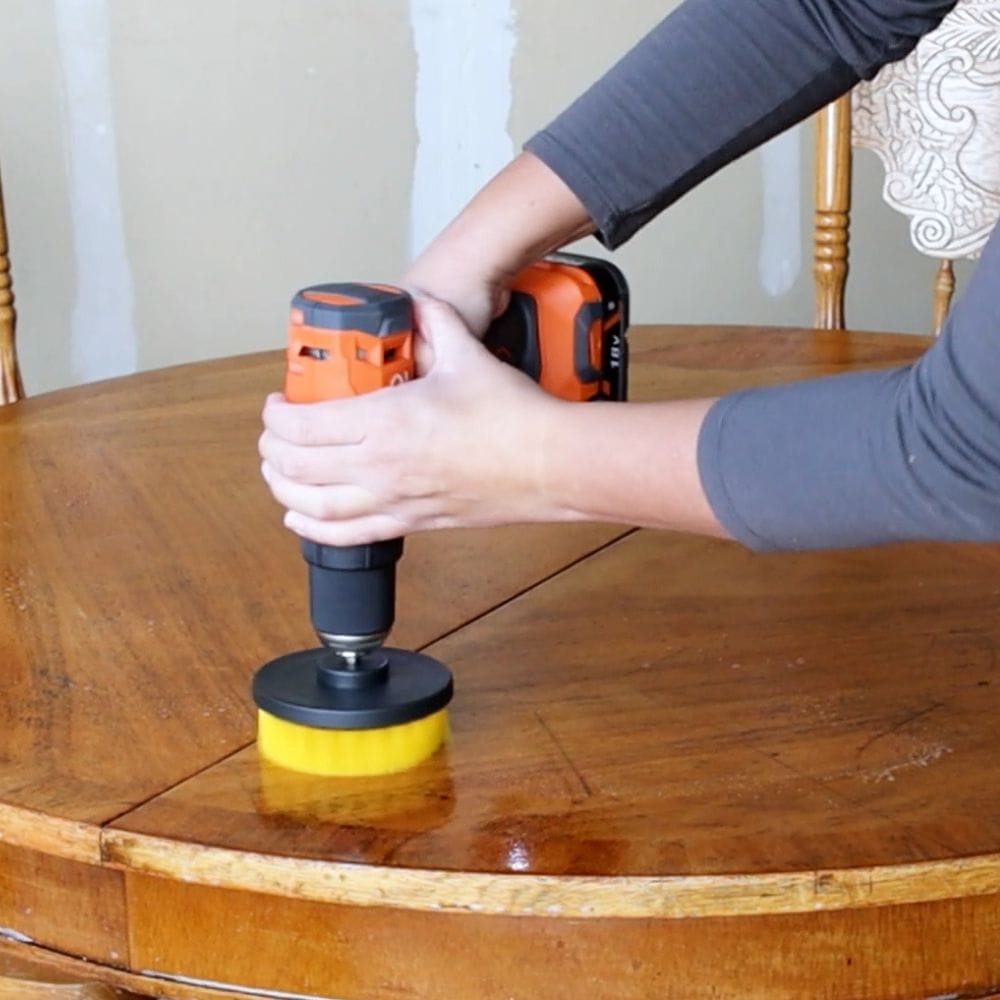
First things first, clean everything with a good degreasing cleaner. We used Krud Kutter and a damp rag. We even added brush attachments on our drill to help us scrub off the food stains, grease, and grime. Once that’s done, give it a good rinse with clean water and let it dry.
For more on how to clean furniture before painting, check out our post with all the tips and tricks you need to make sure your piece is ready for a new coat.
Next, grab some 150 grit sandpaper and medium grit pro foam pads (for the curves) and scuff everything up. You don’t need to remove the old finish, just roughen it up a bit, and remove the shine, so the paint and primer have something to grip onto.
If you skip this step, your new finish might not last long. Trust me, a knife or fork hitting it can chip it off if you haven’t sanded it properly.
Sanding is key! So take your time with it and do it right. Once you’re done, vacuum up the dust and wipe everything down with a tack cloth. Learn more about why sanding before painting furniture is important in this post.
We have a guide on how to take orange out of a wood dining table here if you don’t like the existing finish on your piece before refinishing.
Priming with Black Primer
Now, priming is super important. It helps the new coating stick better and can even block stains from showing through. And if you’re painting black like us, this specific product I used gives it better coverage.
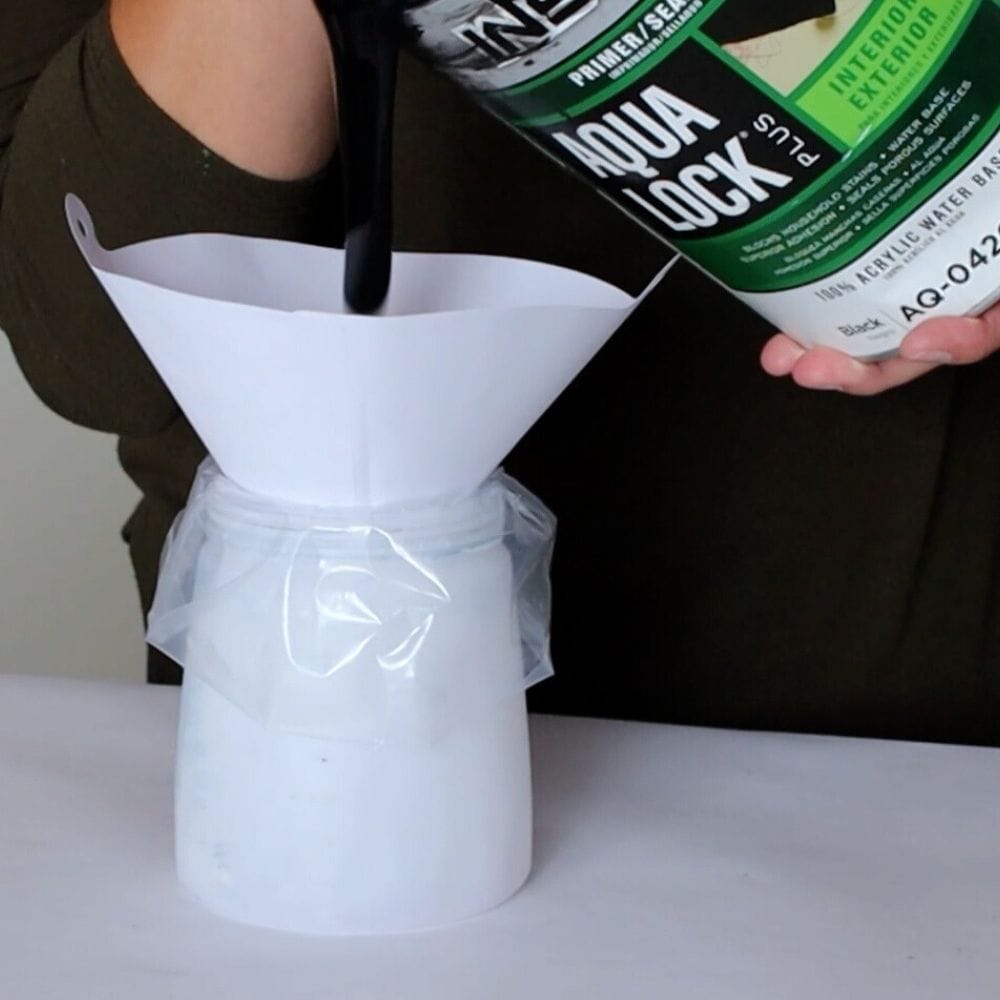
We used AquaLock. This primer is great because it’s a sealer, and it sticks really well. Plus, it’s already black so you save on the expensive paint.
If you’re looking for the best primers for painting furniture, here’s our list of top options for wood, laminate, and more!
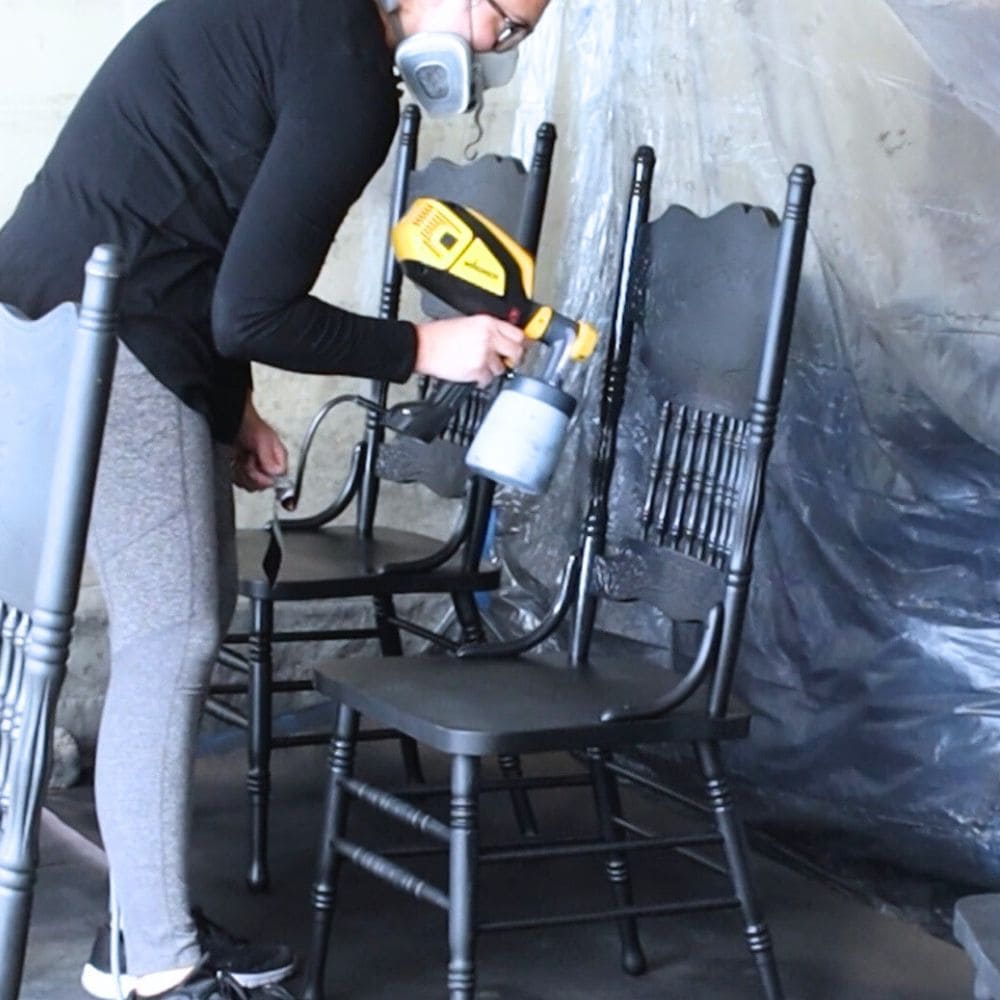
We mixed AquaLock into our paint sprayer, thinned it out with 20% water (I know it says not to, but it works for us), and applied it onto all the surfaces.
Painting chairs can be tricky, but using a sprayer is way faster than using a brush or roller. Check out your options for the best HVLP paint sprayers for furniture here!
A little trick we found was to lay the chairs on their backs first, spray what we could, flip them over, spray again, then stand them up and coat the rest. Works like a charm to get everything sprayed in every direction!
Filling Scratches with Wood Filler
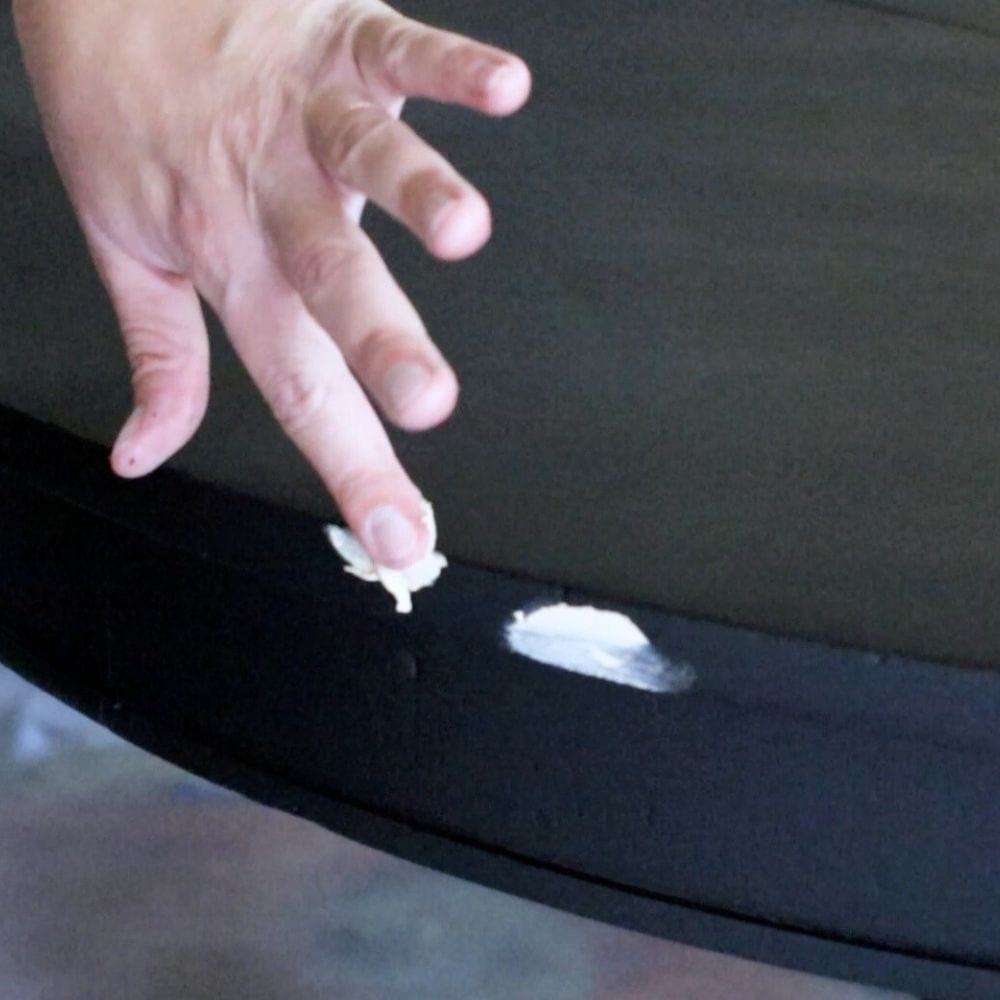
Alright, so after the primer dried, they didn’t look half bad. But if you got real close and personal, you could spot a bunch of scratches and dings I hadn’t bothered with yet. I was just curious to see how it’d all turn out once the primer was on.
So, I took this chance to fill in those scratches with some plastic wood filler. Here’s our list of the best wood fillers for furniture, with a breakdown of the different types and their different uses.
Would you like to save this?
I wouldn’t use it for big ol’ gouges, but for teeny tiny holes and scratches, works like a charm. I filled them up and let the wood filler dry for a few hours before I smoothed everything down with 220 grit sandpaper.
Then I sucked up the dust and gave everything a light sanding just to make it feel super smooth. I didn’t want any roughness!
The next step was to clean up the dust from the table and apply another coat on it. Let that baby dry for another hour, and voila! Depending on how good your spray coverage is, you might need one or two coats of primer to make sure it’s all covered properly.
Sanding Everything Smooth
Then I grabbed my sander, put it on the slowest speed, and used some fine grit pro foam pads to smooth everything out. The goal wasn’t to sand off the primer, just wanted the finish to feel nice and smooth. Then I vacuumed everything again and wiped everything down with a tack cloth to get rid of any leftover dust.


Check out the best sanders for furniture here – it does depend on what type of material you’re working with and the desired finish, so get one that best suits your needs and budget as well.
Best Paint for Kitchen Table
You gotta pick the best paint for this job, right? Something that can stand up to all the spills, scratches, and daily use, especially if it’s your go-to spot for meals. The best to use is an Alkyd or enamel type coating.
These are way stronger and more durable than chalk and mineral paints. And a satin or semi gloss sheen is way better than a matte one. Especially for a dining table, because these finishes are way easier to clean and keep looking fresh.
If you’re still wondering is chalk paint durable for kitchen table, check out this post to learn more. Check out our list for more best paint for dining room table options.
How to Paint a Dining Table Black
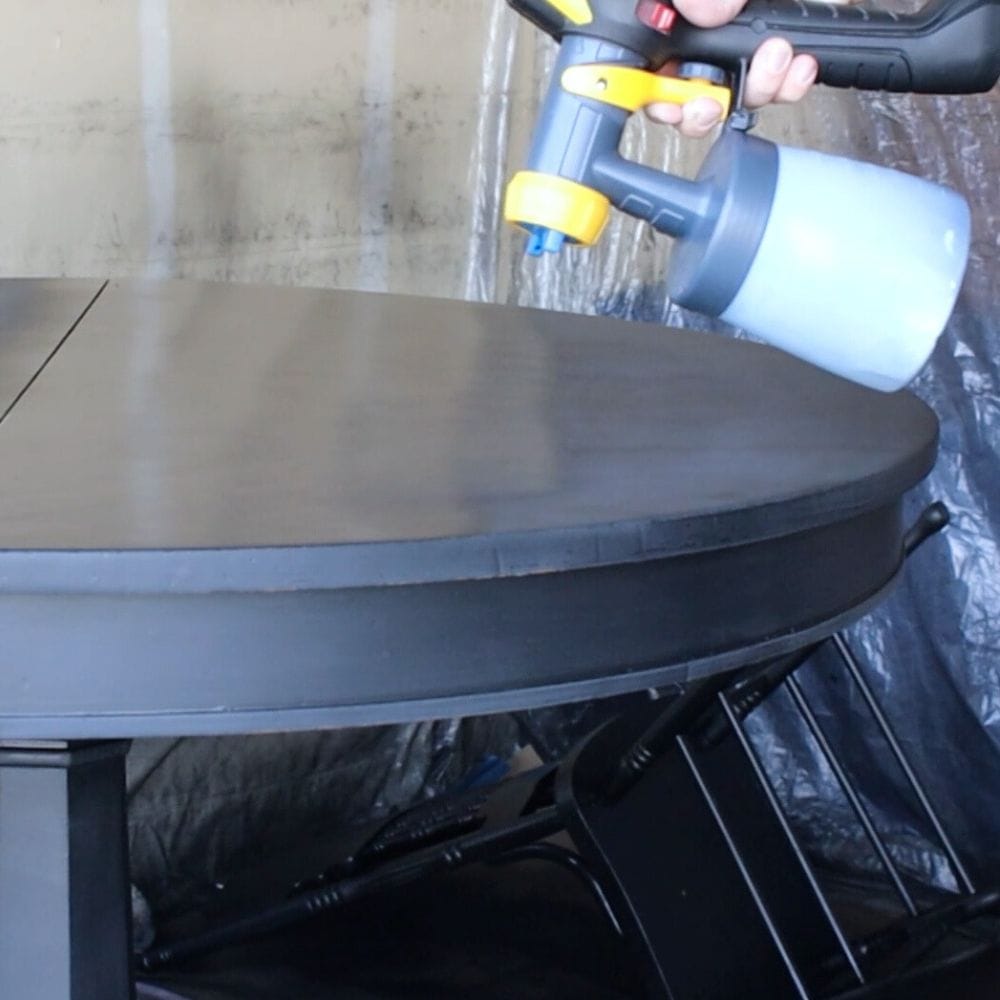
So, I used this Sherwin Williams Emerald Urethane Trim Enamel in Tricorn Black and in a satin sheen. I mixed it with 20% water and managed to coat everything with less than a quart. Not going to lie; I was kinda worried I wouldn’t have enough, but it worked out!
Read our post on painting furniture with enamel paint to know more about what to expect during the process. Here’s the best enamel paint for furniture that we recommend if you’re interested in trying it out.
Sherwin Williams Enamel is self leveling, so it’s great for brushing or rolling, and you won’t get much texture or brush marks left in the finish. Here are our lists of the best paint brushes for painting furniture and the best rollers for painting furniture as your guide.
You do need to let it dry for four hours between coats, though. I managed to get one full coat and most coverage, then sprayed a touch up coat on the tabletop and the chairs where I needed a bit more color.
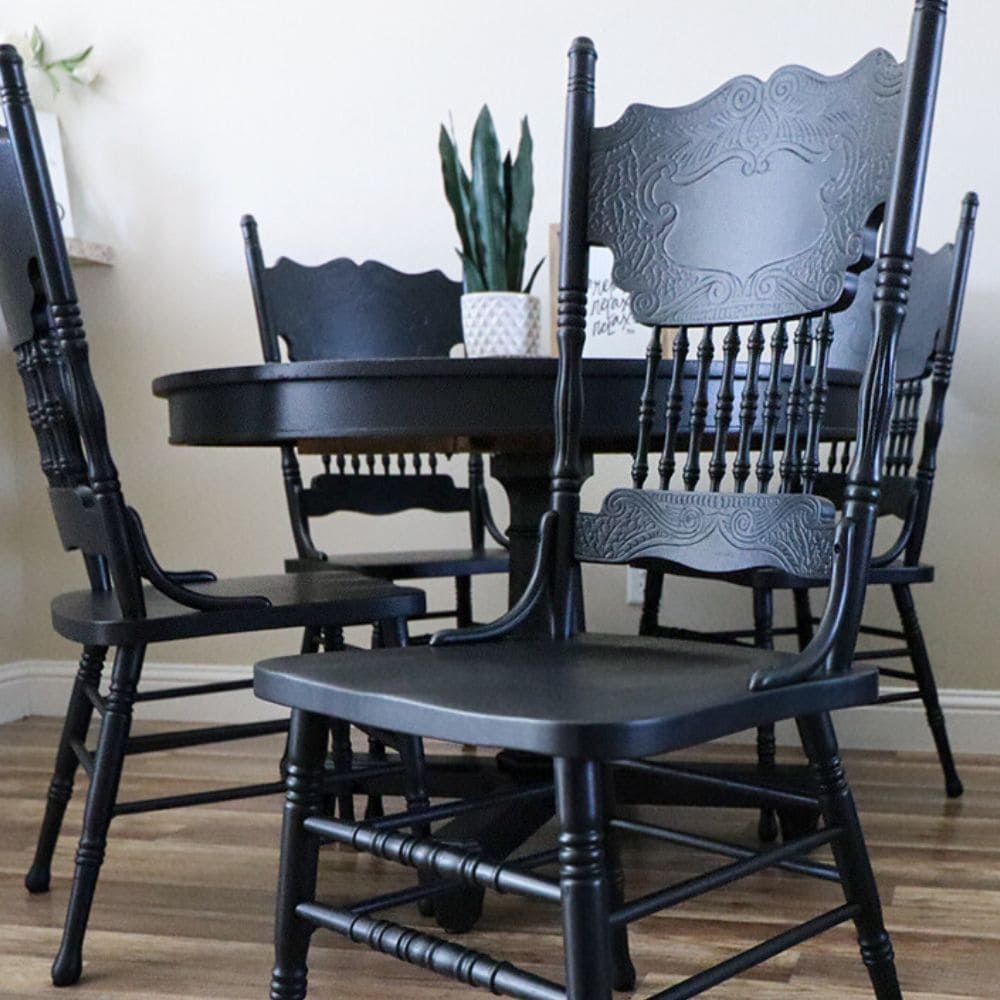
After everything dried, it looked awesome! Oh, and this Sherwin Williams Enamel doesn’t need a topcoat. Actually, you shouldn’t use a topcoat on this. Let it dry for at least 24 hours before being very careful when you use it. Be extra careful with it for about 30 days until the finish is completely cured.
For other coatings that need a topcoat, you can check out our blog post about polyurethane vs polycrylic for dining table to learn about these options.
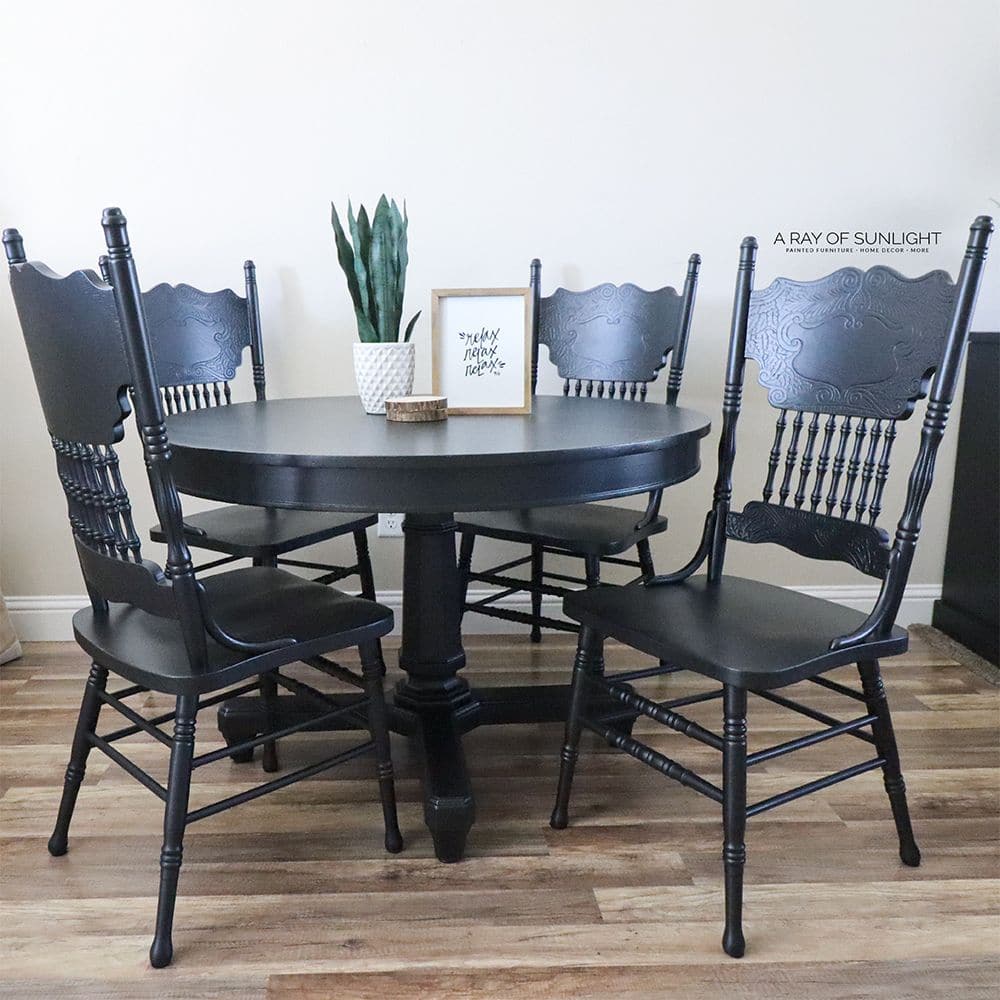
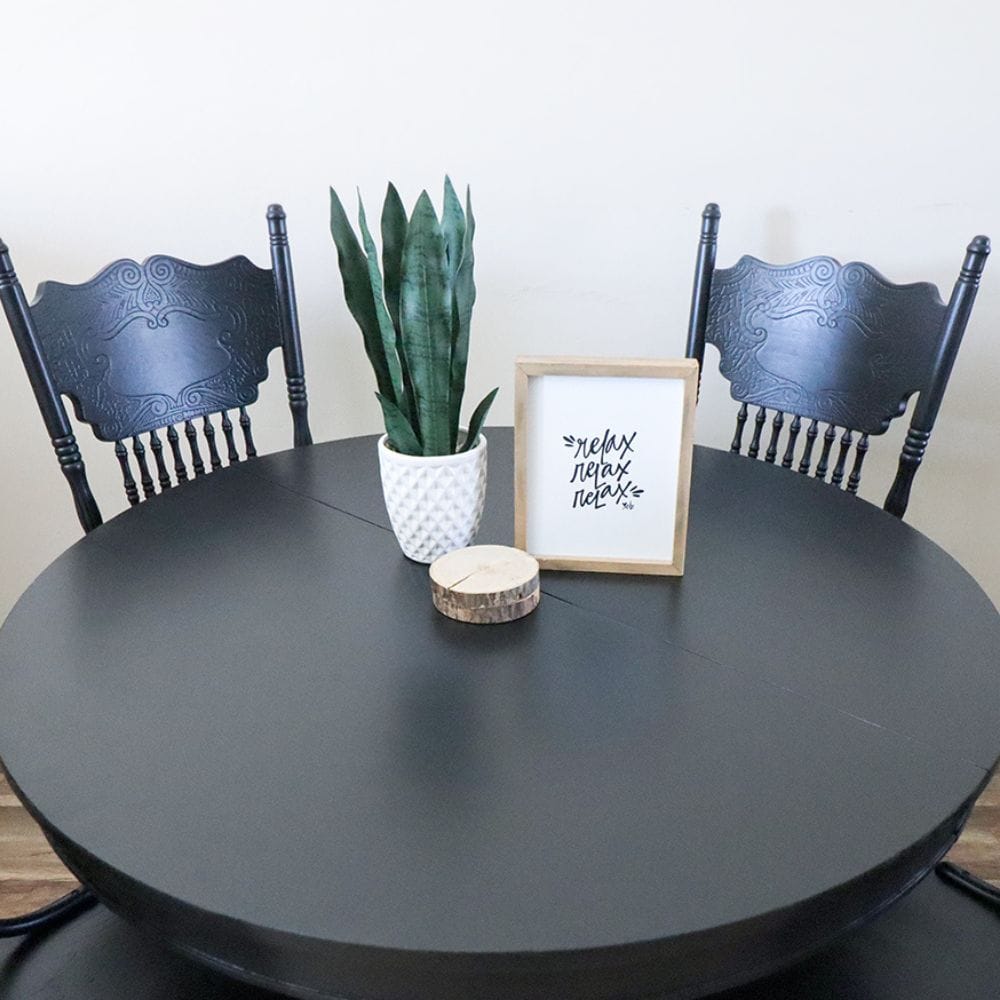
This mismatch set turned out super cute, don’t ya think? It looks modern and sleek, all black. Ready for its new home now!
More Before and After Makeovers
See All >
Click any of these “before” photos below to view the “after” of that makeover.


Check out this gold dining table makeover for a similar project. Here are more painted kitchen table ideas and painted dining chairs ideas for inspiration. You can also try these painted chair ideas and chalk painted chair ideas, too!


Painting a Dining Table Black
Discover our step-by-step guide on painting a dining table black, transforming your old furniture into a sleek and modern centerpiece with our durable and easy-to-clean paint choices.
Materials
Tools
Instructions
- Clean the furniture with a degreasing cleaner.
- Scuff sand the furniture with 150 grit sandpaper and medium grit foam pads. Vacuum up the dust and wipe down with tack cloth.
- Apply 1-2 coats of primer (we used Aqualock in black). Let dry between coats, and make sure you have full coverage.
- Fill in scratches with wood filler, let dry completely, and then sand smooth with 220 grit sandpaper.
- Apply another coat of primer after dusting off the table.
- Smooth the primer with fine grit foam pads, then vacuum, and wipe down with tack cloth.
- Paint the furniture with an Alkyd or enamel type paint (we used Sherwin Williams Emerald Urethane Trim Enamel in Tricorn Black). Allow the paint to dry for at least 24 hours before carefully using it, and 30 days for it to completely cure.
Recommended Products
As an Amazon Associate and member of other affiliate programs, I earn from qualifying purchases.


More Black Painted Furniture Makeovers
- Painting a Dresser Black
- DIY Farmhouse Dresser in Black
- Painting a Bed Frame Black
- How to Paint Cheap Furniture
- Painting a Kitchen Table with Chalk Paint
Learn the Art of Updating Furniture!
If painting furniture feels overwhelming or your past attempts didn’t go as planned, this course will guide you step by step.

Follow us on YouTube to get more tips for painting furniture. Or share your project with us on our Facebook Group and be part of our community. See you there!
To be very honest, we sold it, so we have no idea how this piece is fairing. Sorry!
I live this!! I copied everything you did on a table and chairs that I’m doing. However, I missed the step on sanding between coats of primer and then lightly sanding the primer if you do two coats. And then I put on the paint and it has dried, but it’s not like it should be. I’m just wondering if I should sand the paint with 400 grit and do another coat of paint. Or if that will ruin it. I don’t think I have much choice right now. But any advice you can give me would be greatly appreciated thank you!
Ahh thanks so much! I’m sorry to hear about your finish on your table not turning out the way that you had hoped. Does it have a much rougher texture than you were hoping for? That could be due to skipping the sanding between the coats of primer. Did you use Sherwin Williams Emerald Urethane Trim Enamel paint? If that is the case, then yes I think you could do some light sanding with 400 grit and see if it smoothes it out a little bit. Then I would clean all that sanding dust up and give it another fresh coat of paint. Sure hope that helps it turn out for you! Good luck!