How to Paint Cheap Furniture
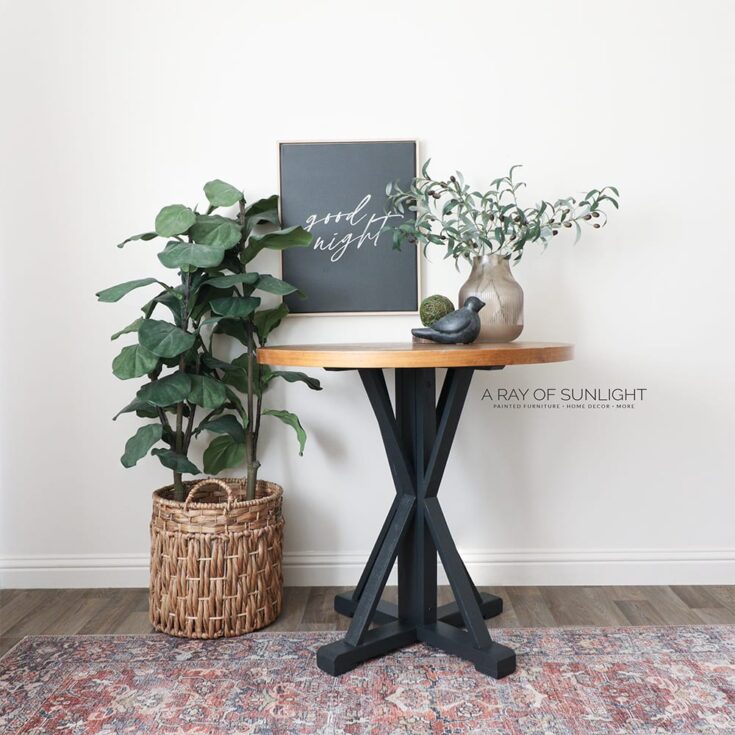
Furniture from discount stores or online marketplaces might not be of the best quality and condition, but that doesn’t mean you can’t make it look beautiful. You can totally transform your inexpensive furniture into something modern and stylish. Get ready to learn how to paint cheap furniture and create your own chic black painted furniture!
Follow along the simple steps in this post and you’ll have a stunning piece of furniture that looks like it came from a high-end store.
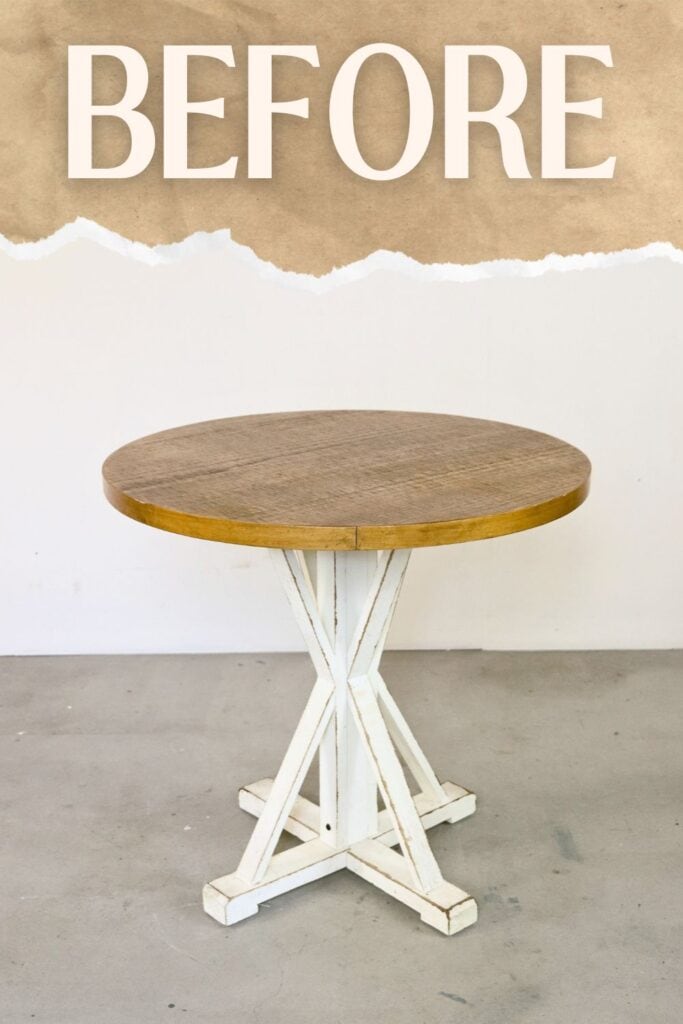
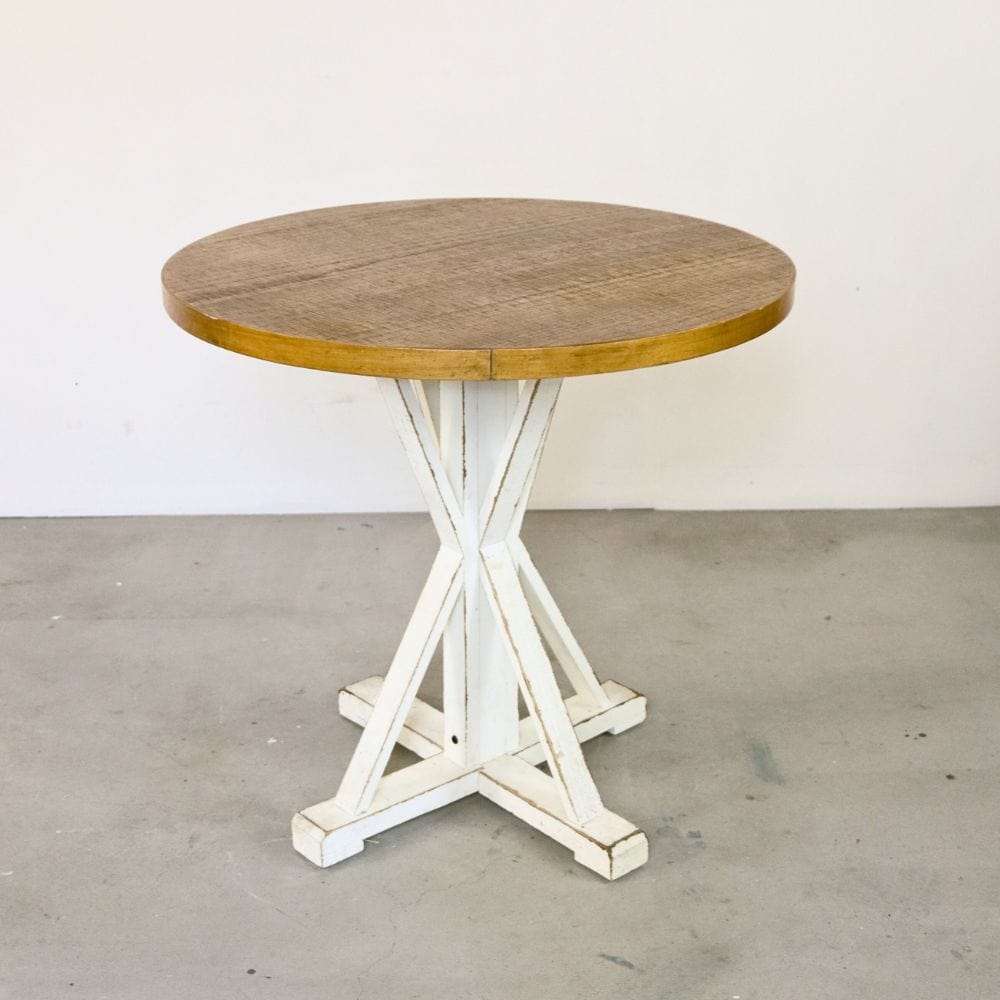
For this project, we worked on this table we got from Facebook Marketplace for free. It was originally this white and brown farmhouse acccent table from Hobby Lobby, which is actually still being sold there for $119!
It’s made of light and cheap wood, and it has this chippy white farmhouse finish with a stained wood top. The top looks to be made of real wood, maybe just a thin veneer. And there are bolts all over this thing for assembly purposes.
Even though the top was still in great shape, along with its white base, the table looked kind of dingy and dirty. We tried cleaning it, but it didn’t help much. So we decided to give it a makeover and turn it into something more modern!
Here’s how we took this table from drab to fab.
Supplies Used for Painting Cheap Furniture
As an Amazon Associate, I earn from qualifying purchases. I also may earn from other qualifying purchases with other companies or get free product to review and use. All opinions are my own.
- Krud Kutter
- Damp Rag
- Hex Key
- 220 Grit Sandpaper
- Vacuum
- Tack Cloth
- Clear Shellac
- Painter’s Tape and Pre-Taped Plastic
- Melange ONE Paint in Basilisk Black
- Homeright Finish Max Paint Sprayer
- Respirator
Preparation for Painting the Table
We always start by cleaning furniture before painting. You can’t prep furniture for painting without doing this step. We used Krud Kutter and a damp rag to get rid of any dirt, grime, or residue. These can really show, especially if your furniture is light-colored, so make sure to do a thorough job.
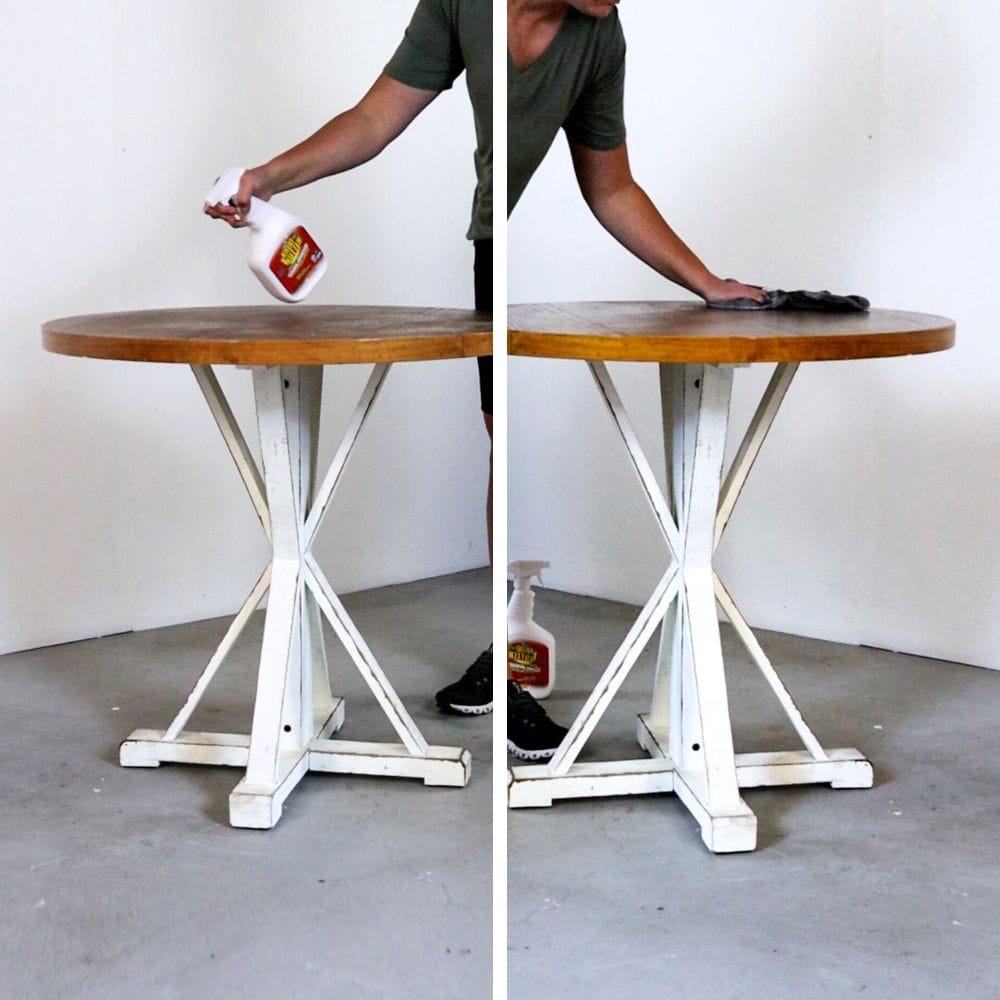
Next, we checked for any loose bolts and screws and tightened them up with a hex key. We made sure the legs were firmly secured in place. Gotta have a sturdy table before we dive into the painting process!
Once that was done, we sanded the base of the table with 220 grit sandpaper.
The original finish had a chippy rough texture, so we wanted to smooth that out a bit. This also helps the paint adhere better to the surface and gives a smoother overall finish. Trust us, sanding before painting furniture is another must-do!
We vacuumed up the dust from sanding and wiped everything down with a tack cloth to get rid of any remaining particles. Then we took the table outside and sprayed it with two coats of clear shellac.
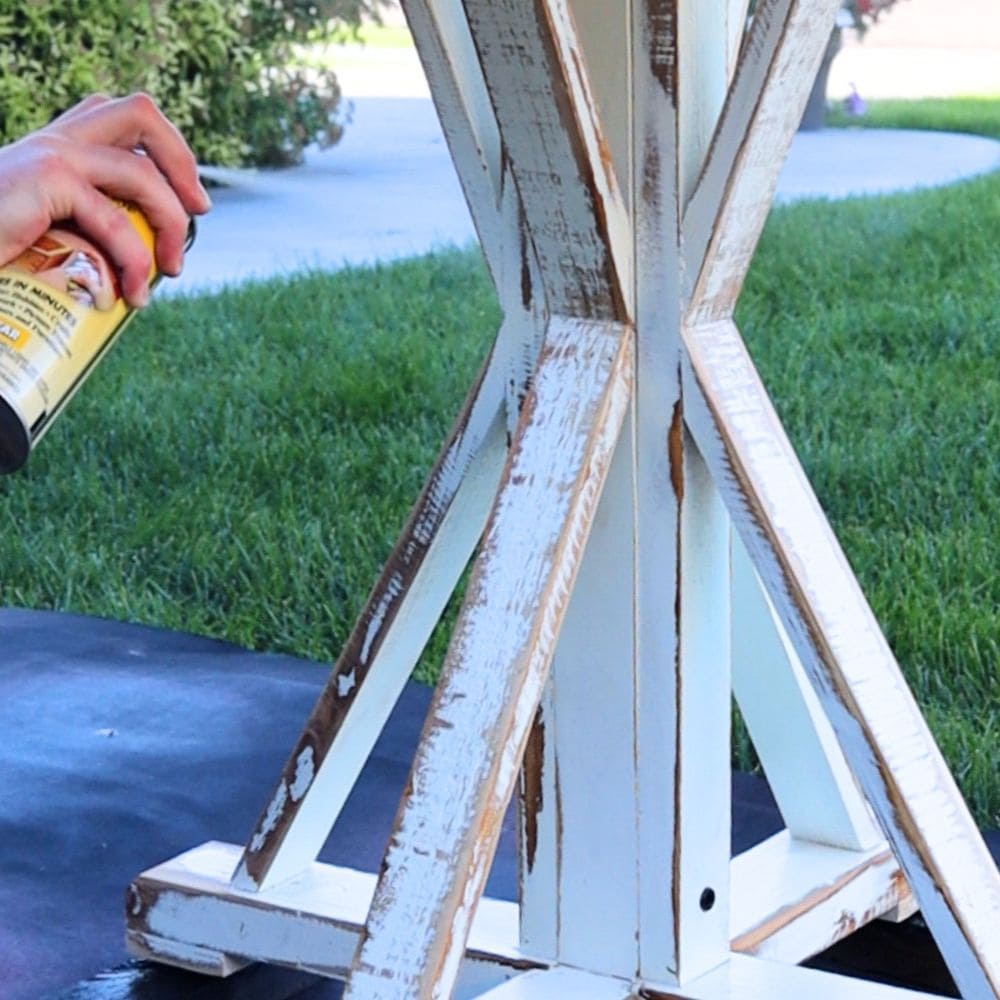
There are a lot of primers available – you can check out our list of best primers for painting furniture for some recommendations. Applying primer like clear shellac helps the paint stick better and gives it better coverage, especially since we were painting over a mix of painted and sanded areas.
I will say though, clear shellac doesn’t help the best with coverage. A tinted primer would do much better. We let the primed table dry overnight.
Painting the Table Black
Next, we taped off the top of the table with painter’s tape and pre-taped plastic. We wanted to make sure we didn’t mess up the beautiful stained wood top and wanted to prevent overspray when painting furniture.
We highly recommend doing this step – it will save you a lot of time and effort instead of cleaning up later.
As mentioned above, this table will turn into a chic black piece and to make that happen, we used Melange ONE paint in Basilisk Black. If you haven’t heard about this type of paint for furniture before, be sure to take a look at our Melange ONE paint review.
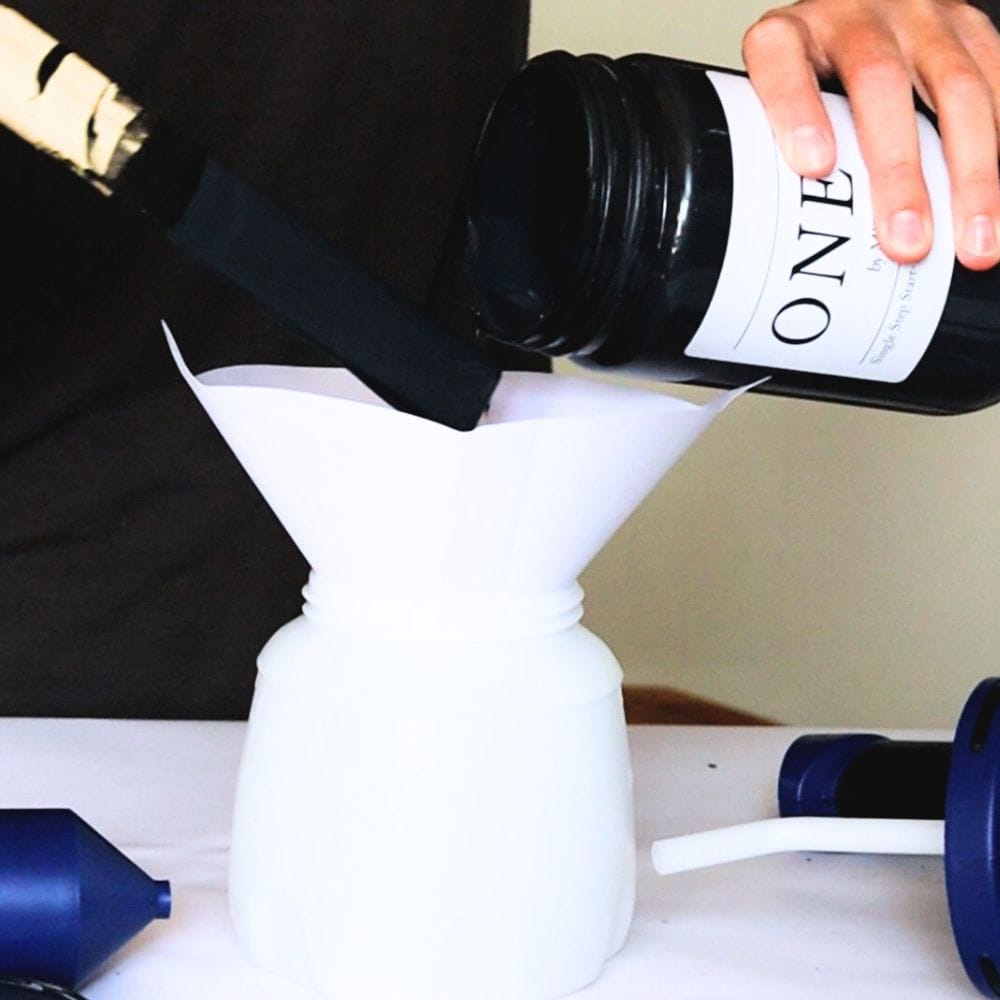
It’s an awesome all-in-one paint for furniture that already includes a primer, paint, and topcoat! If you want to see more of it in action, we also used this paint on this DIY slatted wood dresser and this DIY dresser makeover.
We sprayed 2 coats of Basilisk Black to the bottom of the table with the Homeright Finish Max Paint sprayer. Our Homeright Finish Max paint sprayer review has all the details about this handy tool if you’ve never used one before.
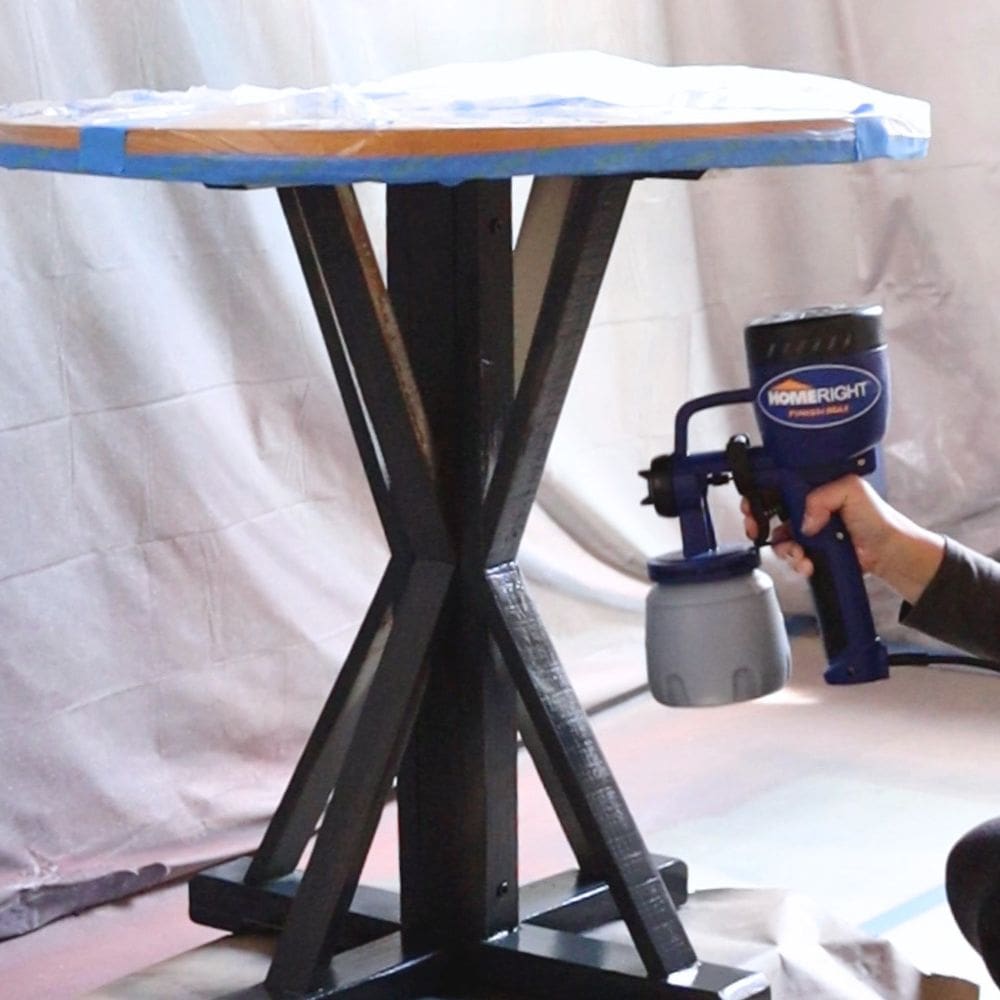
For this paint and sprayer combo, we thinned the paint until the viscosity cup run out time was about 35 seconds. We also flipped the table over to cover all angles.
Since Melange ONE already has a topcoat, we didn’t need to add one – how convenient!
This saved us a good amount of time. Once the paint was dry, we carefully removed the painter’s tape and plastic. For the tabletop, we wanted to keep the original wood stain so we left it as is after cleaning.
Watch the video of the makeover here, or keep reading to see the final result!
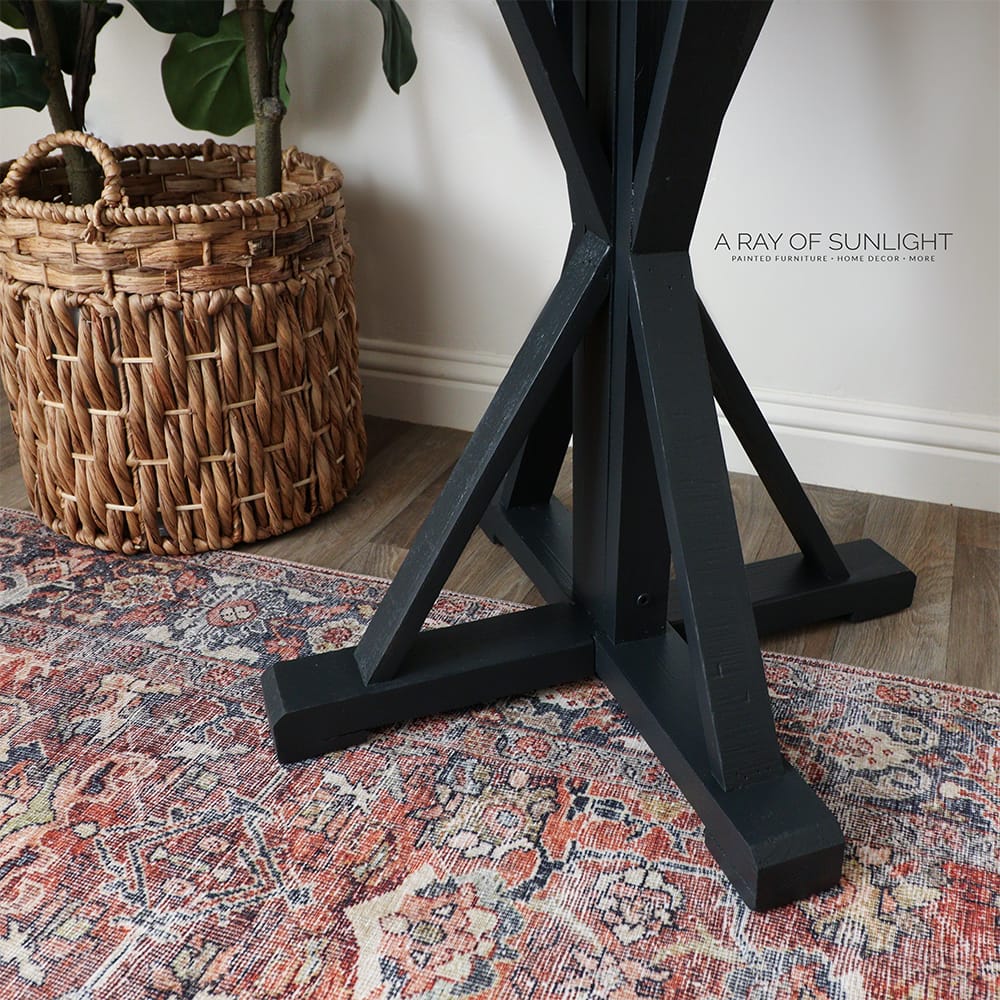
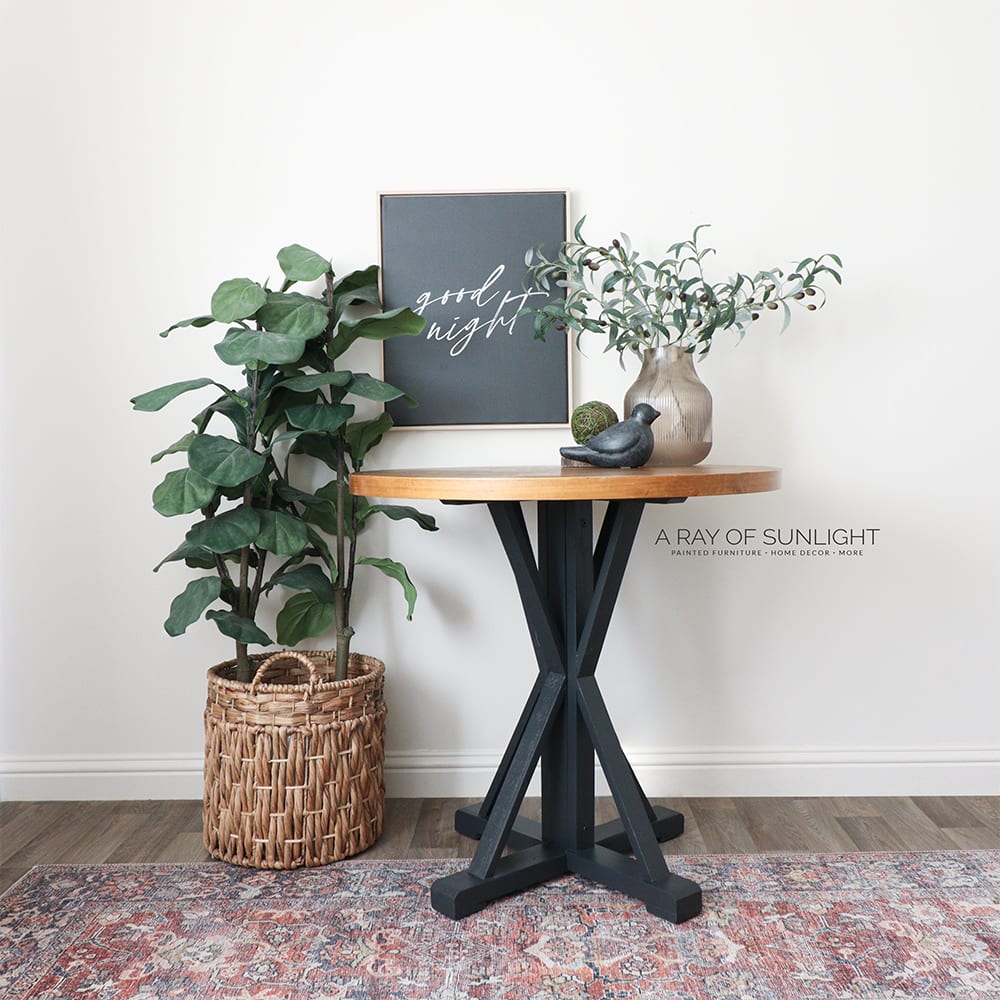
And here’s how the table turned out after painting it black!
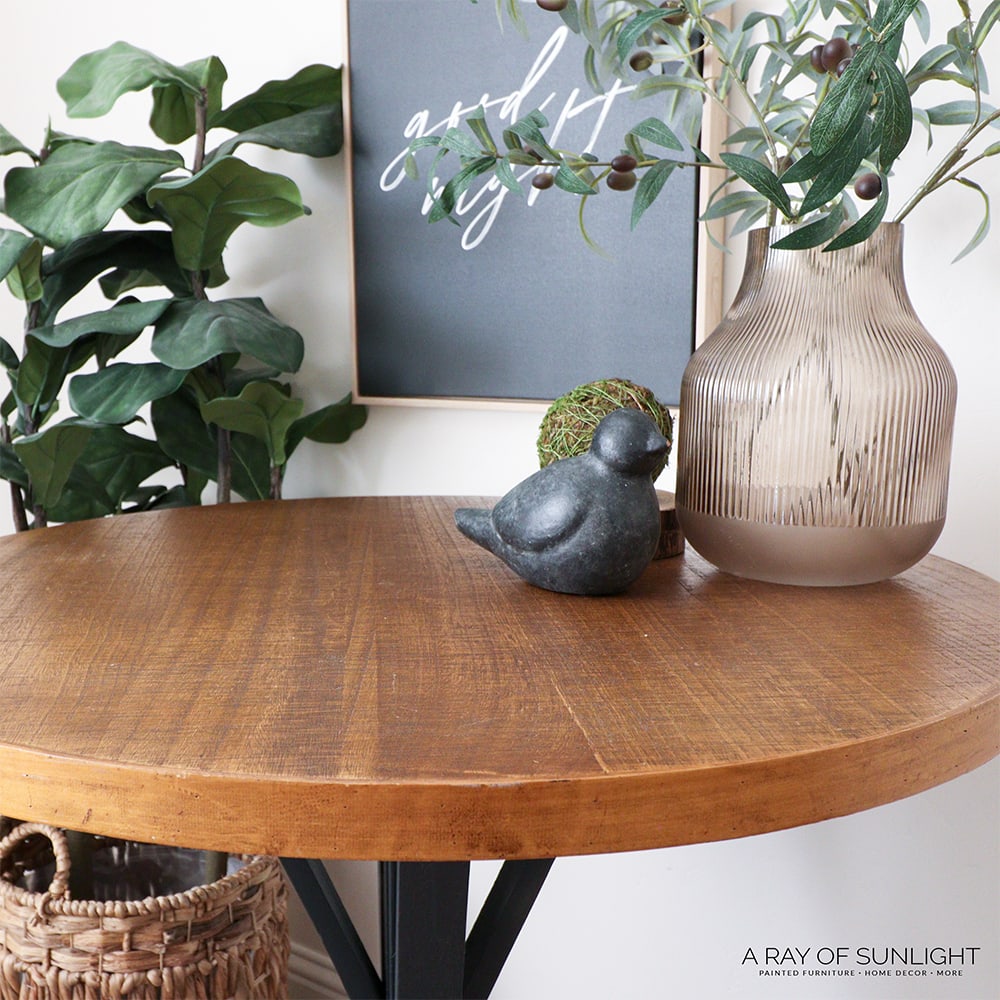
Doesn’t it look so much better now? The deep base color really makes the stained wood top stand out.
And the black gives it a more modern and stylish vibe compared to its previous farmhouse style. This is a great example of how a little paint and effort can update your cheap furniture and make it look like a brand new piece!
Now if you’re worried about painting furniture black, like black being too dark or overpowering, remember that it’s all about balance. Pair your black furniture with lighter colors, like whites and pastels, to provide a nice balance.
You can also add pops of color through accessories like pillows, rugs, or wall art to keep the space from looking dark and heavy.
And if you’re eager to give this project a go and want to know where to find furniture to paint, here are the best places to get good furniture for cheap! You should look at these first to score some good furniture finds at a bargain.
There you have it, a step-by-step guide on how to paint cheap furniture! As you can see, it’s not as difficult or expensive as you may think. So if you get your hands on some inexpensive furniture, why not give it a fresh new look by painting?
More Before And After Makeovers
Click any of these “before” photos below to view the “after” of that makeover.
More Black Painted Furniture Makeover
Follow us on YouTube to get more tips for painting furniture.
Or share your project with us on our Facebook Group and be part of our community. See you there!


