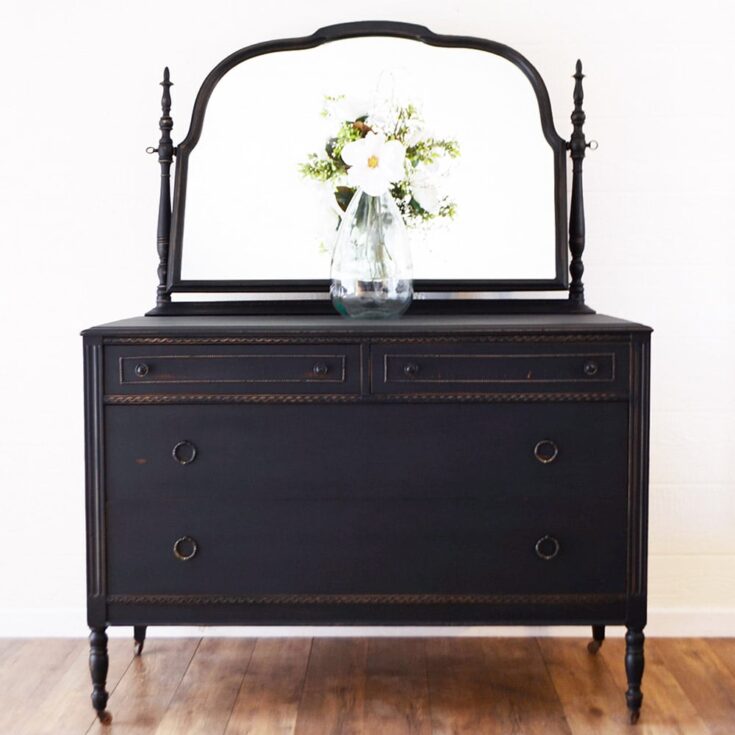
Chalk Painted Black Dresser
Do you want to create black painted furniture but don’t know where to start? Painting furniture can be intimidating if you’ve never done it before. But with the right supplies and steps, creating a chalk painted black dresser is actually pretty easy!
In this post we’ll walk through all the steps of how to paint a dresser black—from prepping the surface for painting, making homemade chalk paint, applying multiple coats of paint and topcoat—so that you can get professional results without breaking the bank.
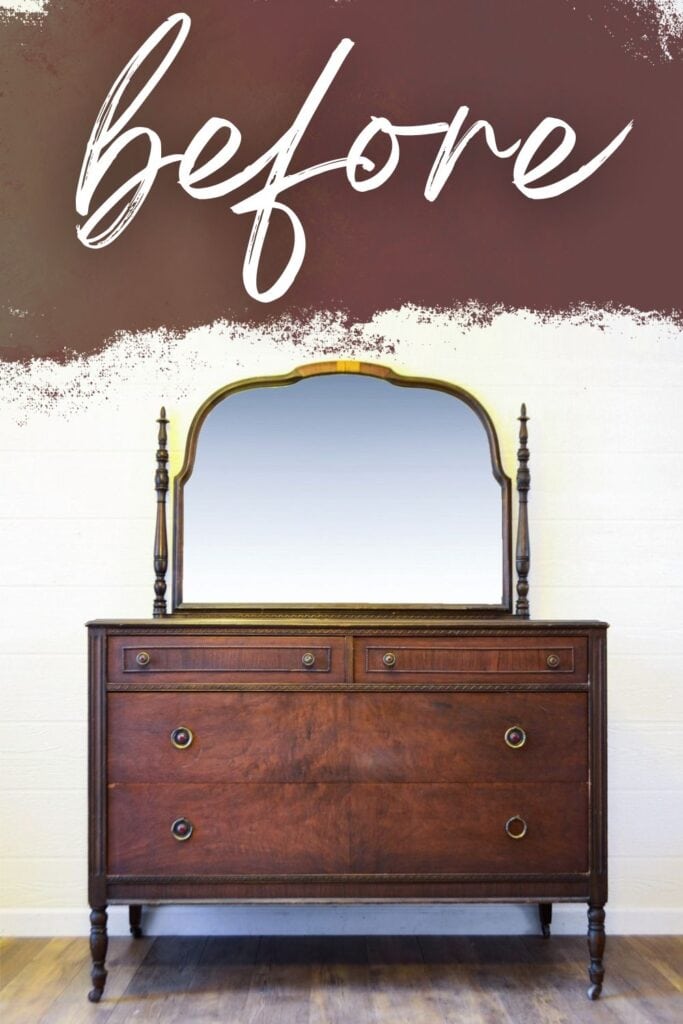
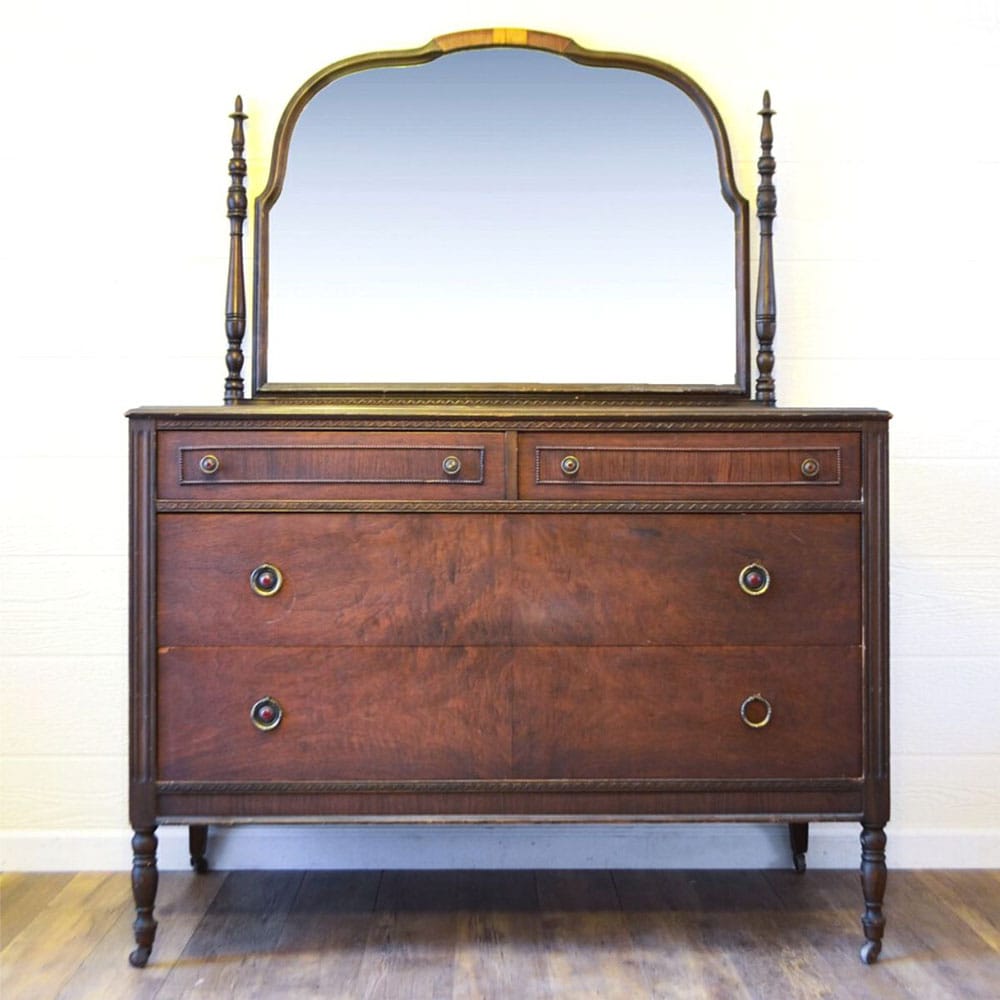
Painting furniture can be a great way to give your home a fresh look without spending a lot of money. Painting is an easy and affordable way to transform the look of any piece.
Black chalk paint can be used to create a sleek, modern look for your dresser or other furniture pieces.
If you’re intimidated by it, don’t worry! With this guide, we’ll walk you through all the steps needed for creating a chalk painted black dresser. Let’s get started!
Supplies for Painting a Dresser Black
As an Amazon Associate, I earn from qualifying purchases. I also may earn from other qualifying purchases with other companies or get free product to review and use. All opinions are my own.
- Electric Screwdriver
- Krud Kutter
- 220 Grit Sandpaper
- Shop Vacuum
- Tack Cloth
- Clear Shellac
- Behr Latex Paint
- Calcium Carbonate Powder
- Wagner Double Duty Paint Sprayer
- Varathane Polyurethane Topcoat
Get our list of the 10 best supplies for painting furniture so you don’t have to guess what the best supplies are!
Preparing a Dresser for Paint
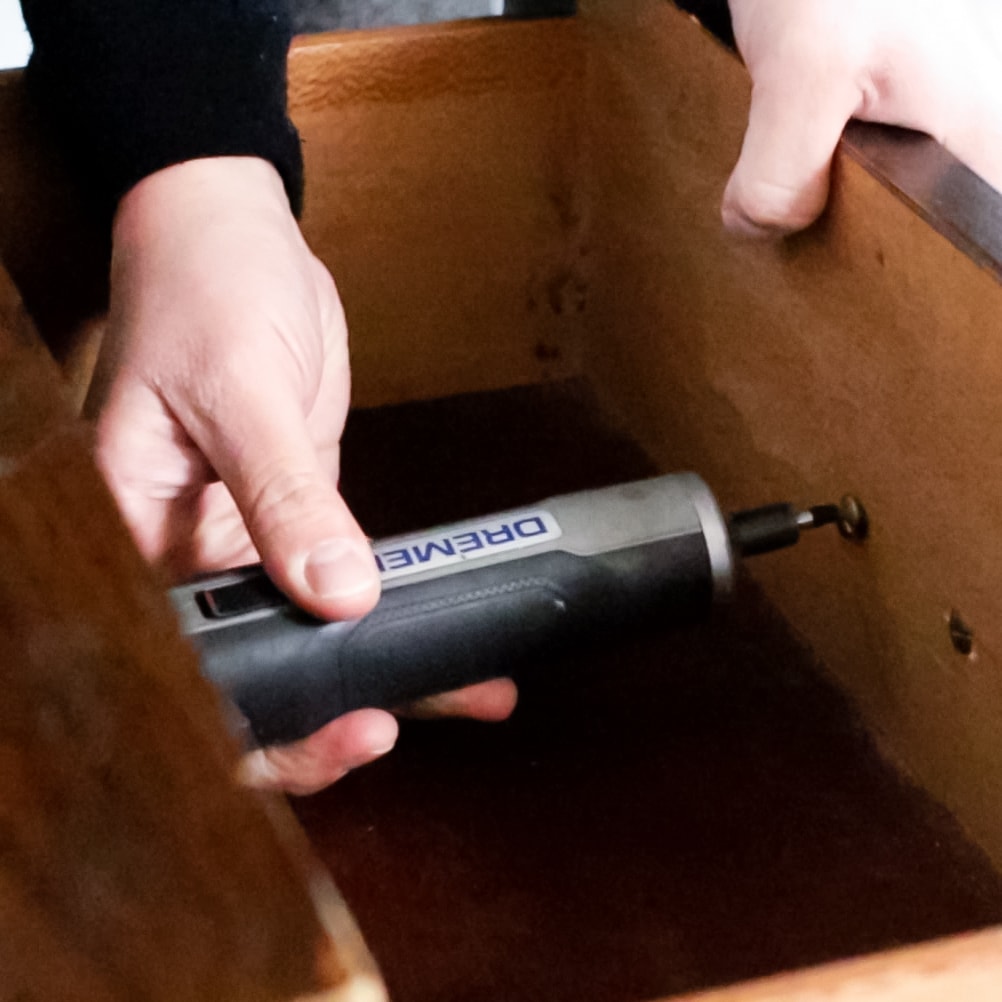
First, take off all the knobs and handles from your dresser. This will make your paint look better and it’ll be easier to put everything back together. I love this electric screwdriver for removing the hardware easier and faster!
Next, clean your dresser really well with a strong cleaner like Krud Kutter. This gets rid of any dirt or grease that might stop the paint from sticking properly. If you’re not sure how to clean your dresser, check out our cleaning before painting furniture post to learn more!
Check out how to disinfect wood dresser here if you’re worried about bacteria, germs, or musty odors lurking inside.
If you have any damage on your furniture, now is the time to fill the damage in. Here is our list of tutorials for repairing old furniture to help you with this step. If you just want to know what type of wood filler to use, here is our list of the best wood filler for furniture.
After it’s clean and repaired, use a piece of 220 grit sandpaper to gently scratch the surface of the entire dresser. This helps the paint stick a lot better. Learn more about this step in our post about the importance of sanding before painting furniture.
Sanding will also help smooth out any rough spots on your furniture to make your paint job look better.
Learn more about how to sand wood by hand here.
Once the surface is smooth, clean up all the dust. I like to use my vacuum to get most of it, and then a tack cloth to pick up any dust left behind.
Then, put on a coat of clear shellac. This is like a primer that helps the paint stick better, and it stops stains from coming through paint and ruining your pretty paint job. Yep, even on dark colors like black you can sometimes see the stains coming through the paint.
I would rather prevent them than have to fix them when I think I am almost done with my project.
Clear shellac isn’t the only primer you can use. Here is our list of the best stain blocking primers to help you pick the right one.
Making Homemade Chalk Paint
If you want a simple and cheap way to paint your dresser black, you can make your own with our homemade chalk paint recipe at home by following my special recipe.
To make this paint, you’ll need two main things: Behr latex paint and something called calcium carbonate powder.
Here are other chalk paint recipes you can follow for future projects.
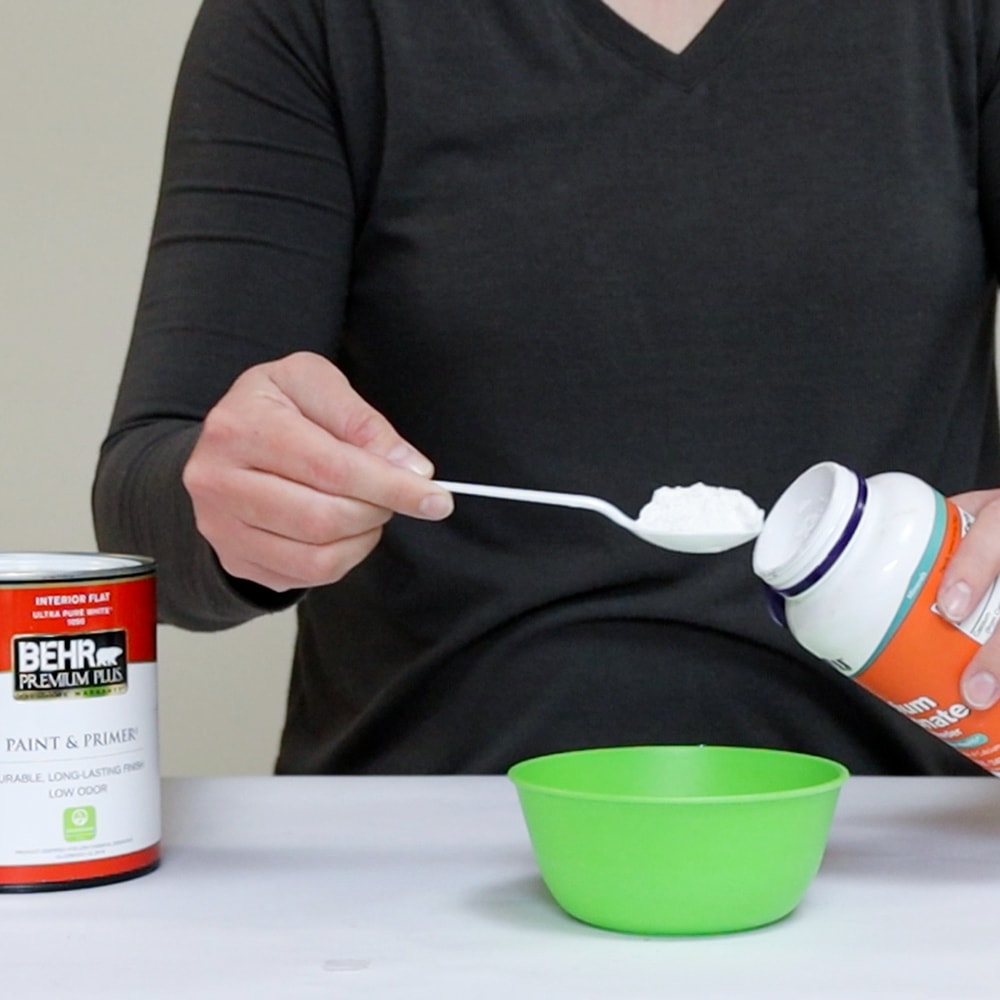
You have to mix some water into the powder and then mix it into the paint until it’s nice and smooth. The calcium carbonate powder makes the paint chalky, and this helps the paint stick better to your dresser.
It’s not a good idea to use just the latex paint by itself on furniture because even with primer, latex paint doesn’t stick well.
If you want to use fancier chalk paint, here are some of the top chalk paint brands. Or, if you don’t want to put a topcoat on the chalk paint, here are the best all in one paints that already have everything in one can.
Painting a Dresser
When it’s time to put the paint on, you have a few choices. You can use a brush, a roller, or a paint sprayer to put on 2-4 layers of paint, depending on how much coverage you want on the dresser.
Here are the best paint brushes and the best rollers for painting furniture. And here are the best paint sprayers for furniture. Take your pick!
I like using the sprayer because it’s easy, quick, and makes the dresser look really professional. But if you’ve never used a sprayer before and you’re only painting one dresser, you might want to use a brush or roller instead.
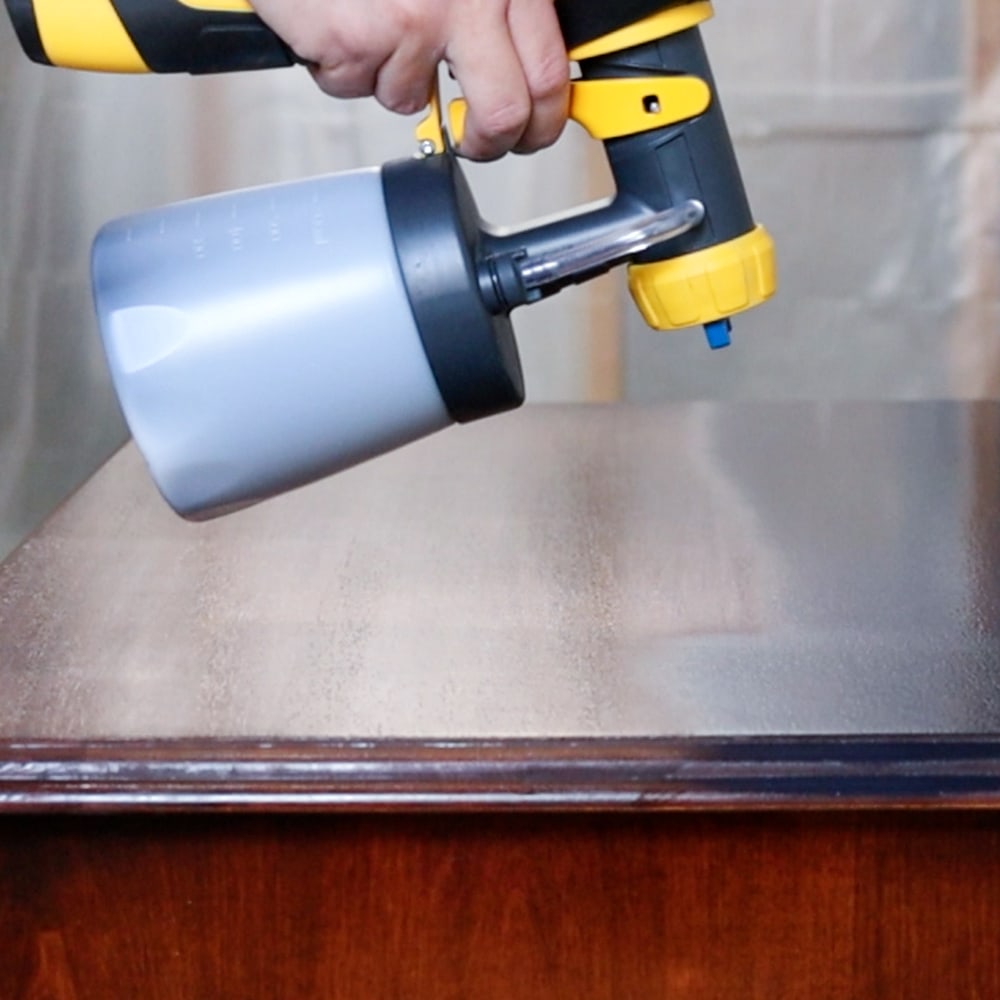
You can learn how to paint furniture with a sprayer here.
One awesome thing about making your own chalk paint is that it dries super fast. This makes it easier to put on lots of coats in less time. After you’ve put the last coat of paint on, wait at least 2 hours before adding a topcoat.
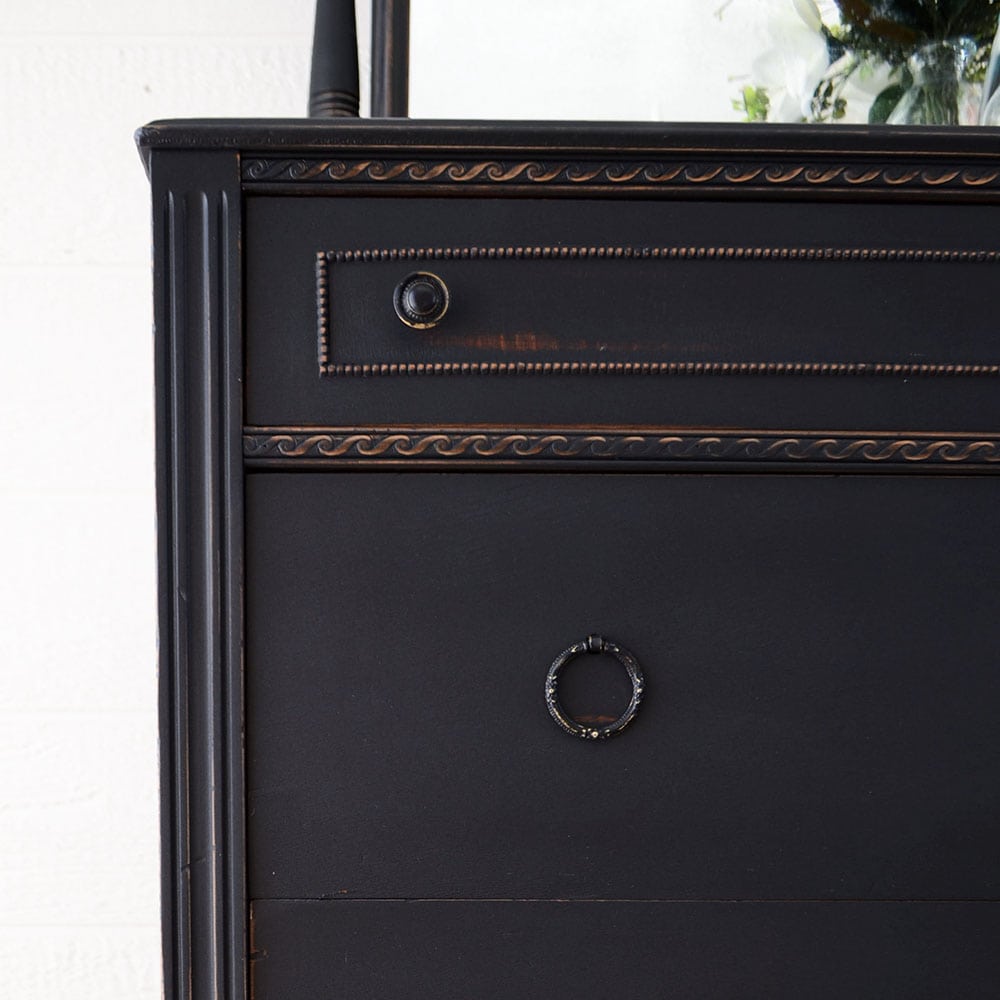
Once my last layer of chalk paint was dry, I used some 220 grit sandpaper to rub all over the paint, especially on the edges and details. This shows the wood highlights on the details and the edges, creating the worn and distressed look.
Head on over to this post for a step-by-step guide on how to paint a dresser.
If you want your dresser to look old too, here are our tips on distressing furniture. You can also look at these distressed painted furniture ideas for painted furniture that looks old to get some cool ideas!
Topcoating Chalk Paint
One big problem with chalk paint is that it needs a topcoat. This is because it’s very porous (like a sponge) and not strong enough without a topcoat. Check out our post on the best topcoats for painting furniture to find the perfect one for your project.
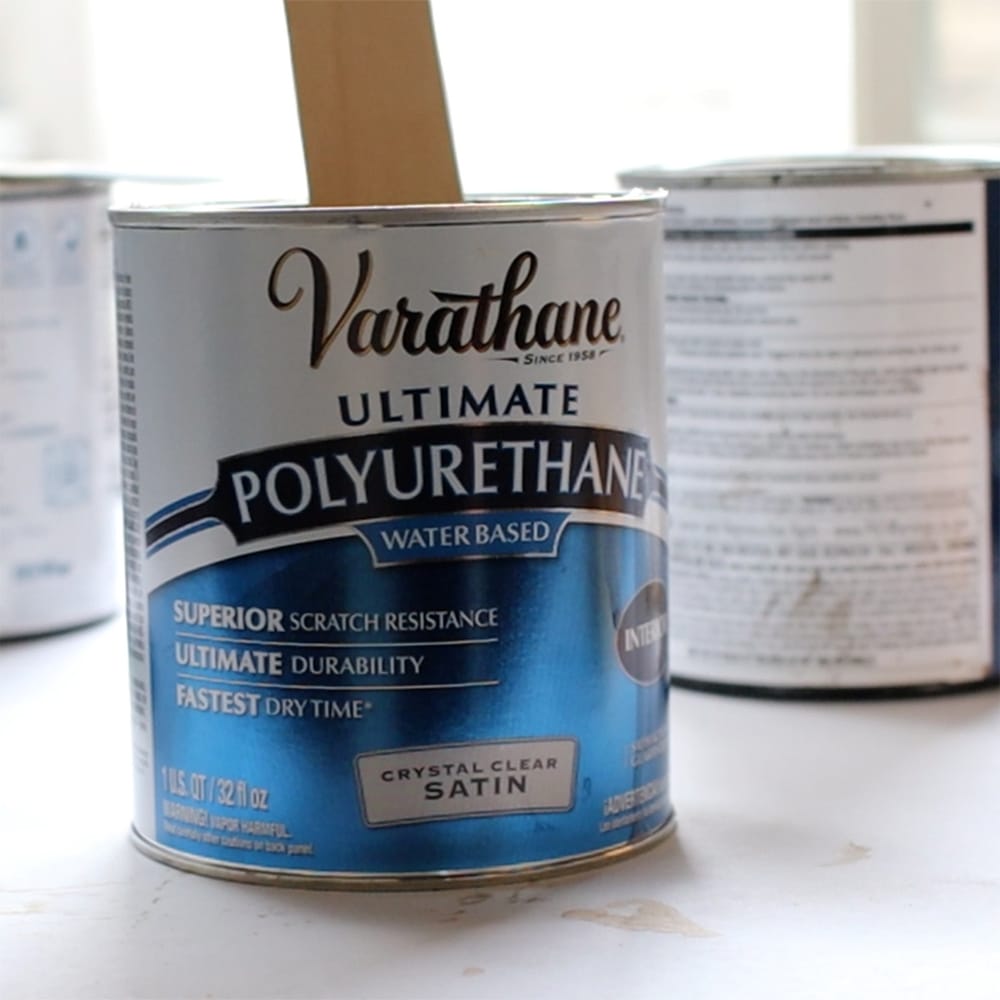
I really like using a water based polyurethane as a topcoat because it protects against scratches and makes the chalk paint easy to clean.
Apply three layers of a water-based Varathane polyurethane topcoat using a brush or a paint sprayer for a smoother look. Here’s how to apply polycrylic (another name for water-based polyurethane) by hand, and here’s how to spray polyurethane with a paint sprayer.
Then, let your dresser dry for at least 24 hours before you start using it lightly or put it back together. The paint and topcoat will take about 30 days to fully harden (to get as strong as it will ever be).
Also, check out our guide on finishing touches of painting furniture for a no-fail makeover project.
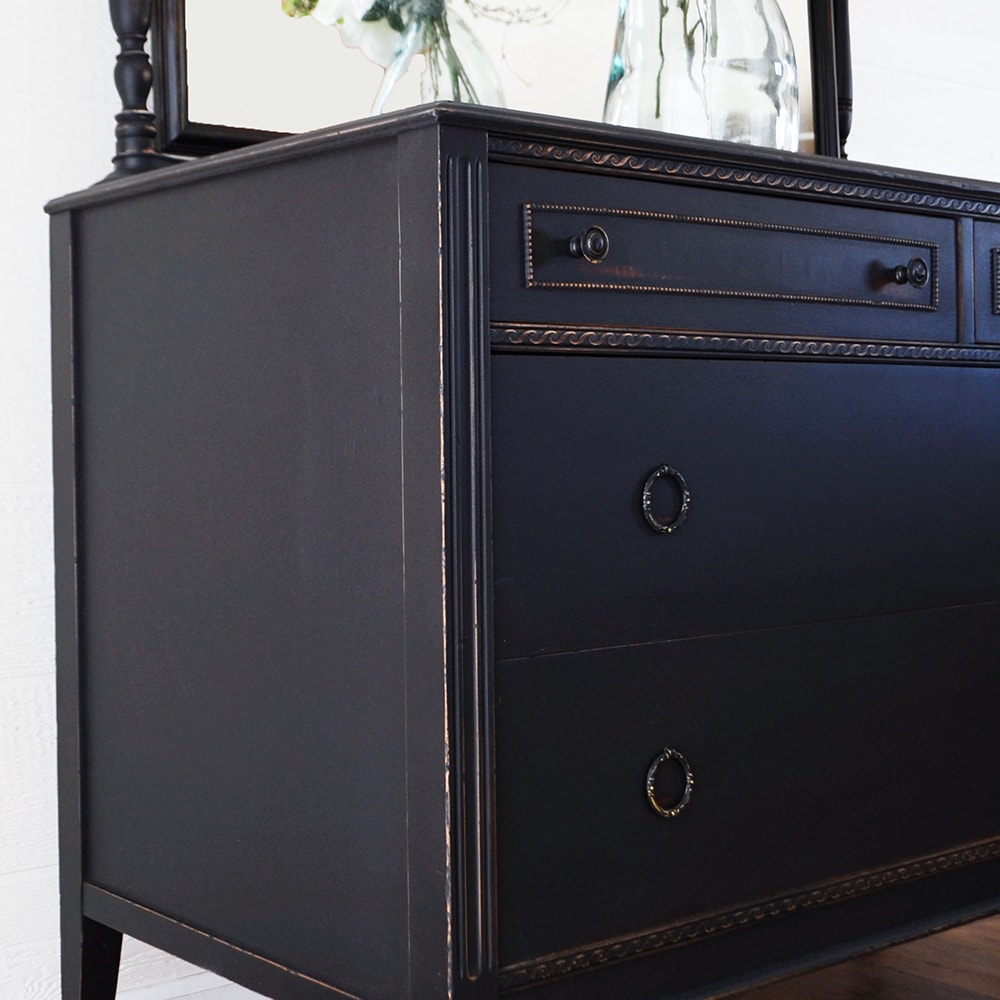
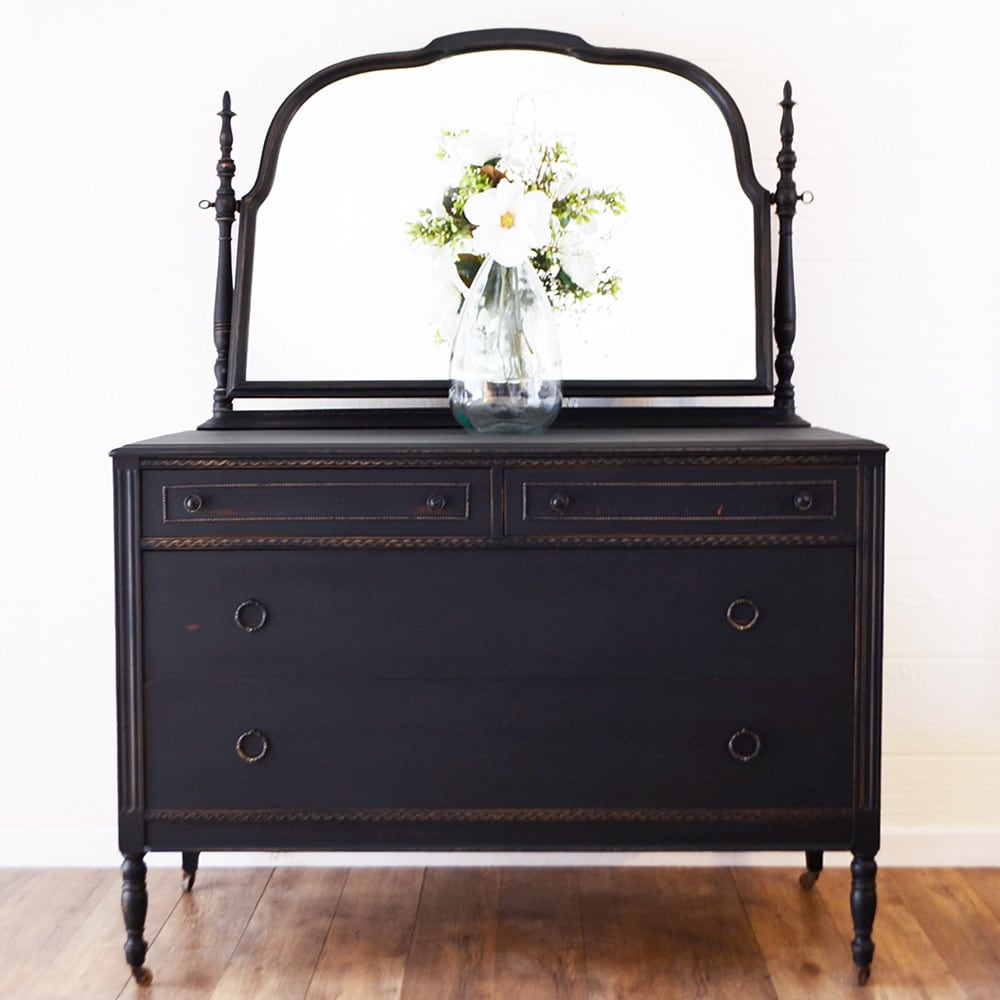
Here’s what our black painted dresser looked like after we were done!
Check out our list of the best black paint for furniture if you need more options.
More Before And After Makeovers
Click any of these “before” photos below to view the “after” of that makeover.
more Black painted furniture ideas
- Painting Oak Furniture Black
- Painting a Bed Frame Black
- Black Painted Antique Buffet
- Painting a Coffee Table
- Antique Pie Crust Table Makeover
Follow us on YouTube to get more tips for painting furniture.
Or share your project with us on our Facebook Group and be part of our community. See you there!


