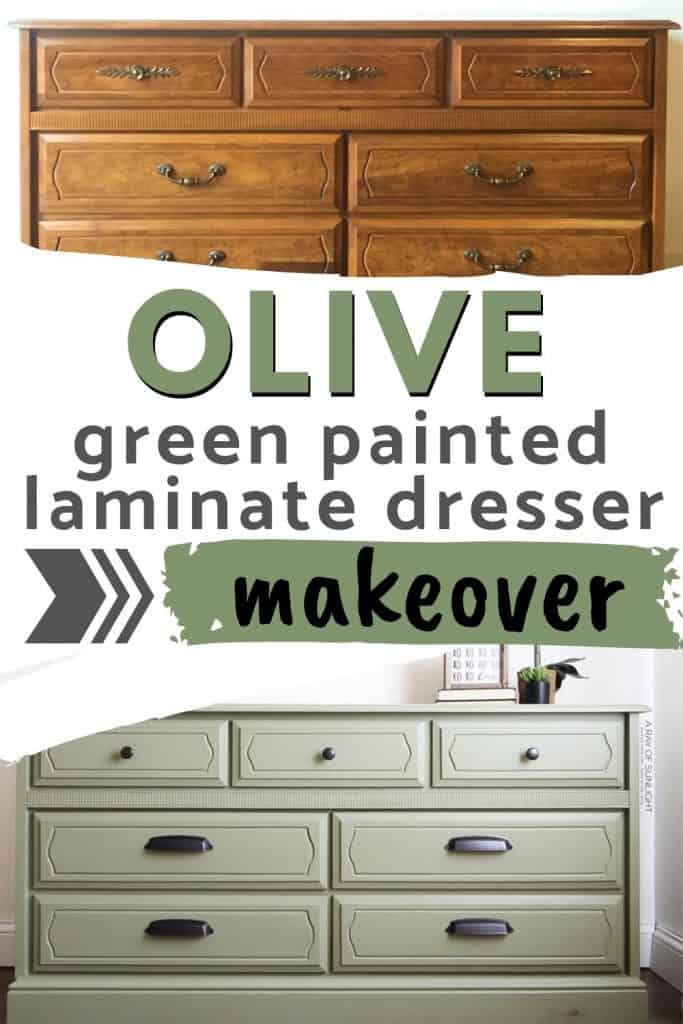
How to Paint Laminate Furniture (with Olive Green Paint)


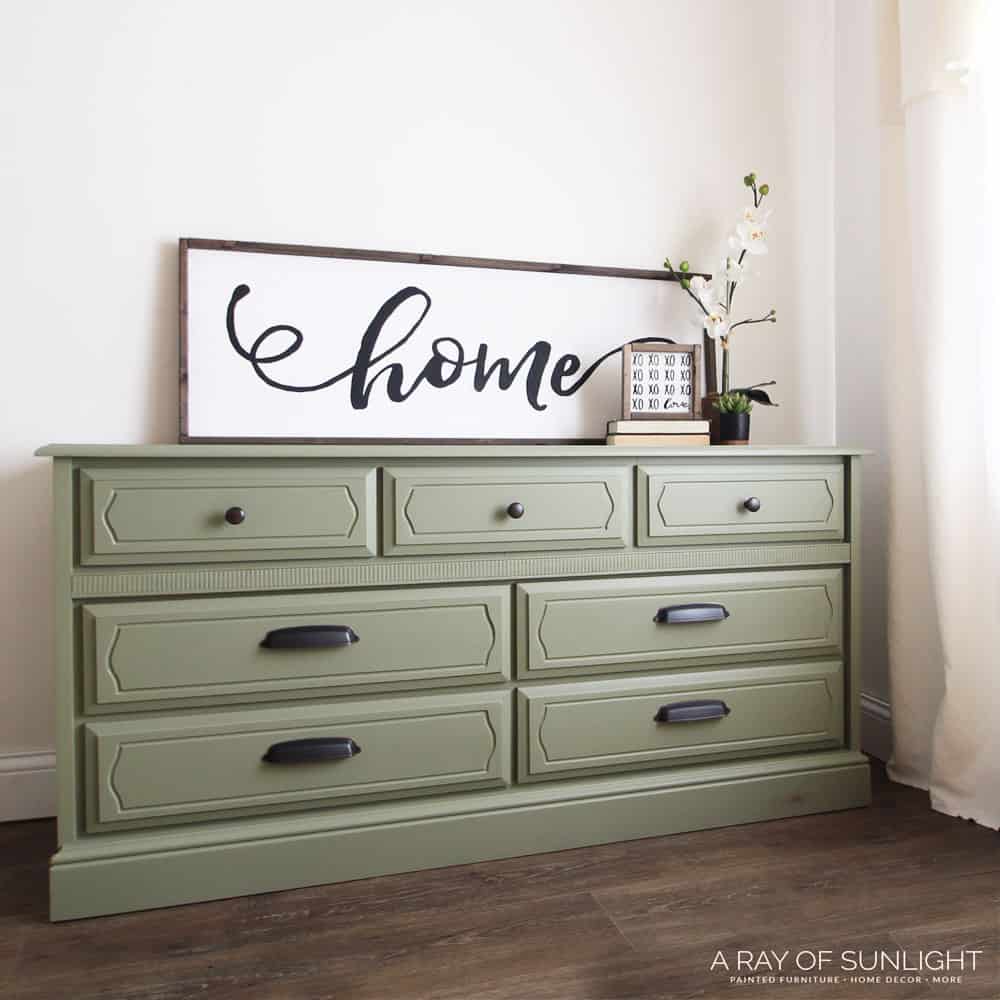
Do you have laminate furniture you want to update with a pretty green color? Here’s how to paint laminate furniture with olive green paint in just a few easy steps. This trendy color is sure to give your piece a fresh and modern look!
This is one of the best green painted furniture ideas you can easily add to your home decor. Keep reading for a guide on painting laminate furniture green, including the best tips for a professional looking, brush free finish!
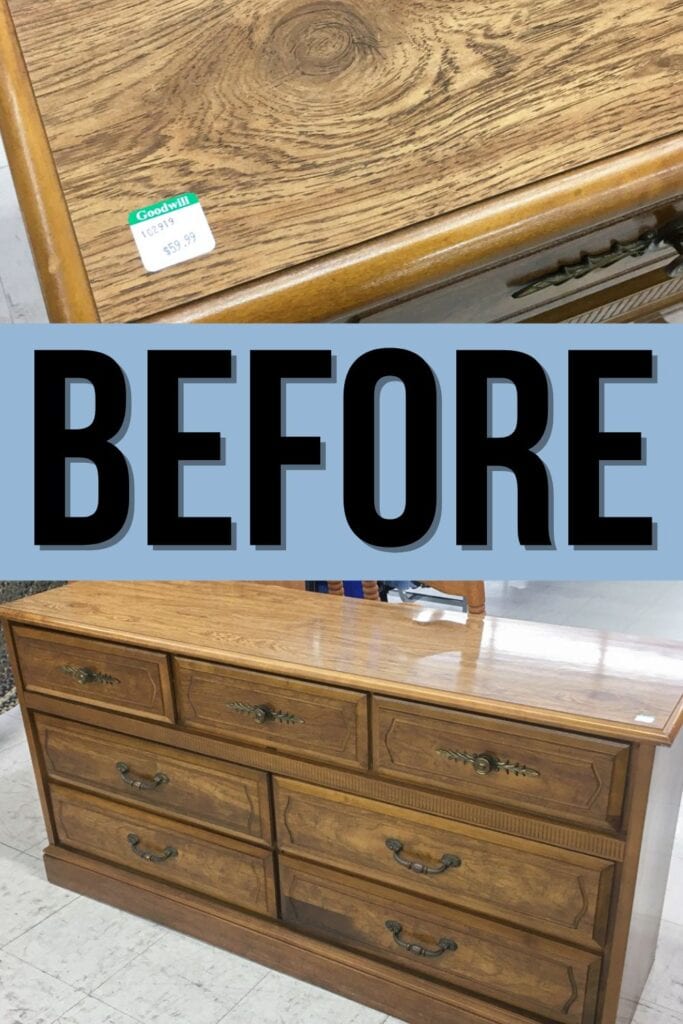
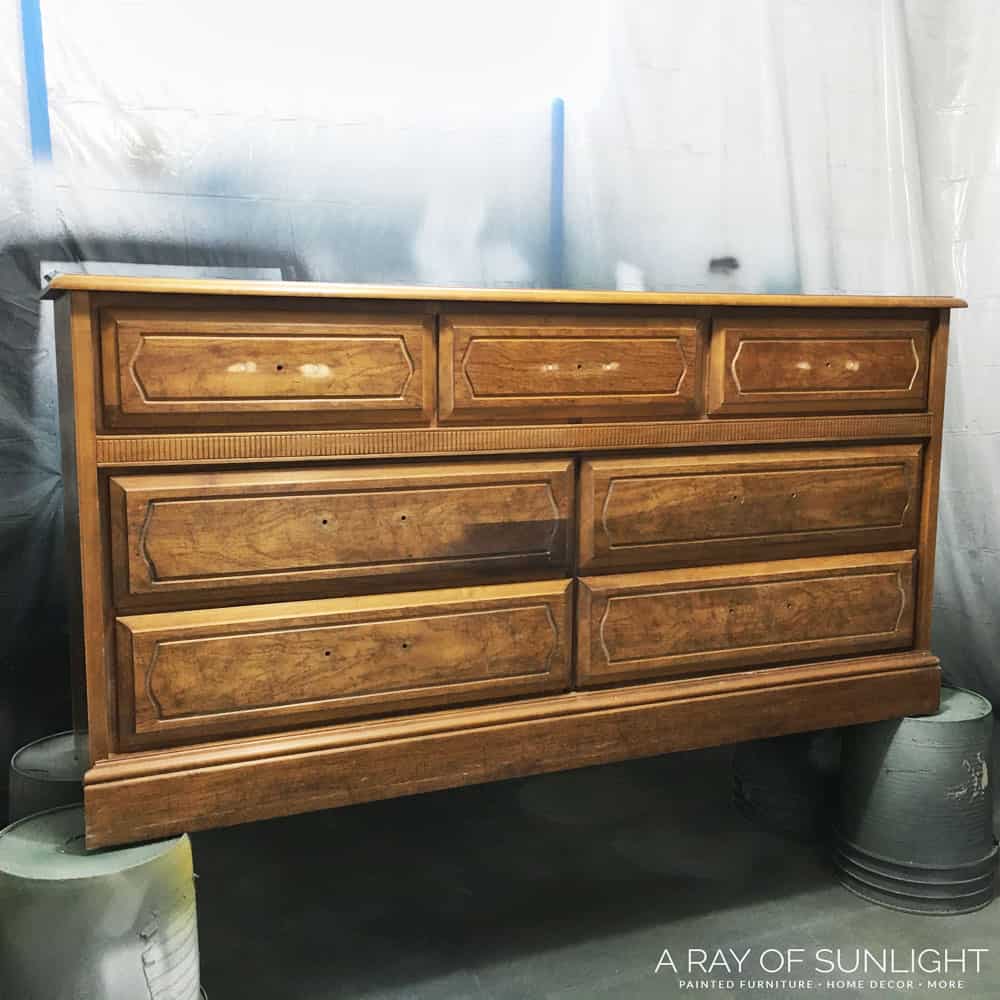
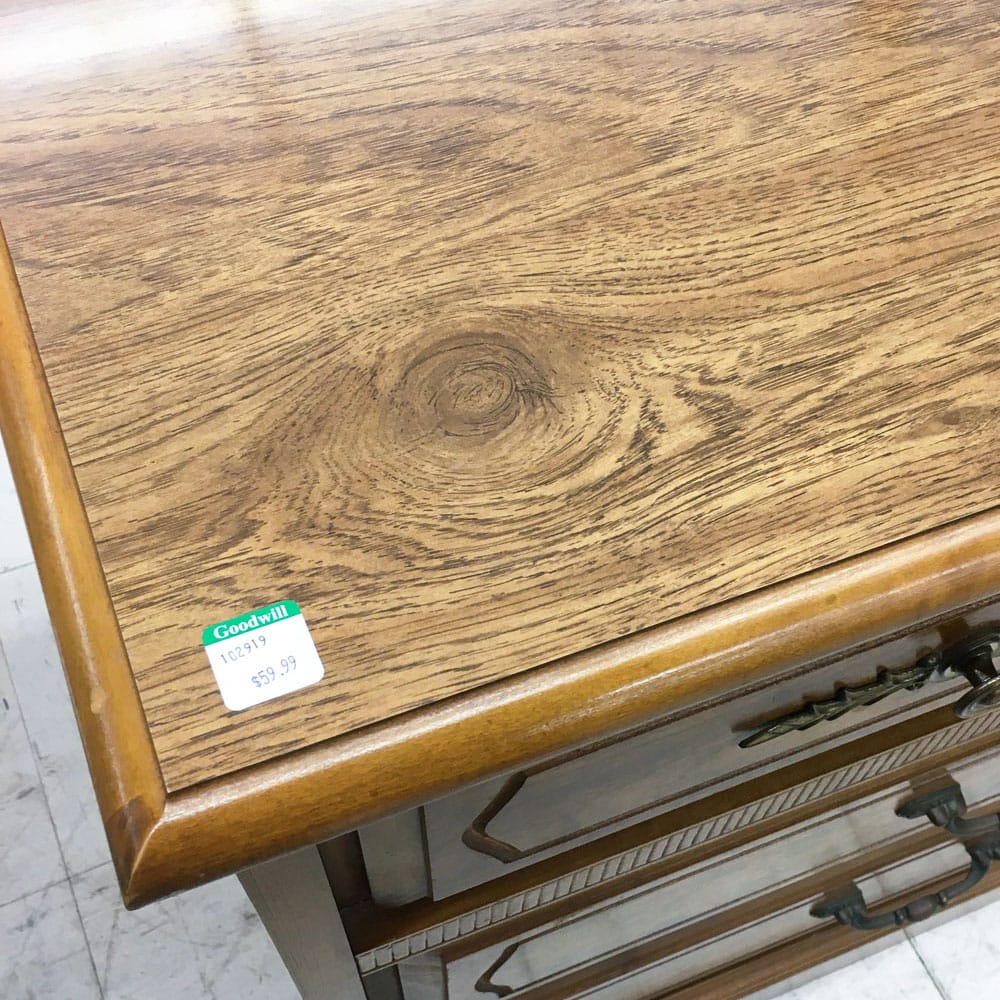
We picked this cute vintage dresser up at our local thrift store. But the top was made of a thick shiny laminate! I could tell that it was laminate because of the high gloss sheen the top had and because it felt completely different from wood. It felt almost like hard plastic.

Because it has a super shiny and slick surface, it had to be painted a little differently than wood furniture. Laminate is not as porous as wood, so it doesn’t hold paint as well and tends to chip or peel easily if not prepared properly.
It’s easy to paint laminate furniture, though. There are just some steps you should take beforehand to make sure the paint adheres properly and lasts a long time. Let me show you!

Supplies Used For Green Painted Dresser Makeover
As an Amazon Associate, I earn from qualifying purchases. I also may earn from other qualifying purchases with other companies or get free product to review and use. All opinions are my own.
- Old Vintage Dresser
- Krud Kutter and Old Rag
- 220 Grit Sandpaper
- Tack Cloth / Vacuum with Hose
- Bonding Primer (more on the best primer below!)
- Paint Brush or Paint Sprayer
- Paint Couture Paint in Vintage Moss (the olive green furniture paint)
- My Favorite Varathane Waterbased Polyurethane
- New Hardware
Grab our list of 10 must have supplies for painting furniture, too, so you’ll always be ready for your next project!
Prep Before Painting Laminate Furniture
Paint needs something to hold onto, or else it can easily scratch off. So before you bust out the paint and paint brush, it’s best to spend just a little bit of time prepping your furniture.
(This goes for chalk paint too!) But it’s especially important on laminate furniture. Laminate is super slick, making it hard for any old paint to hold on.
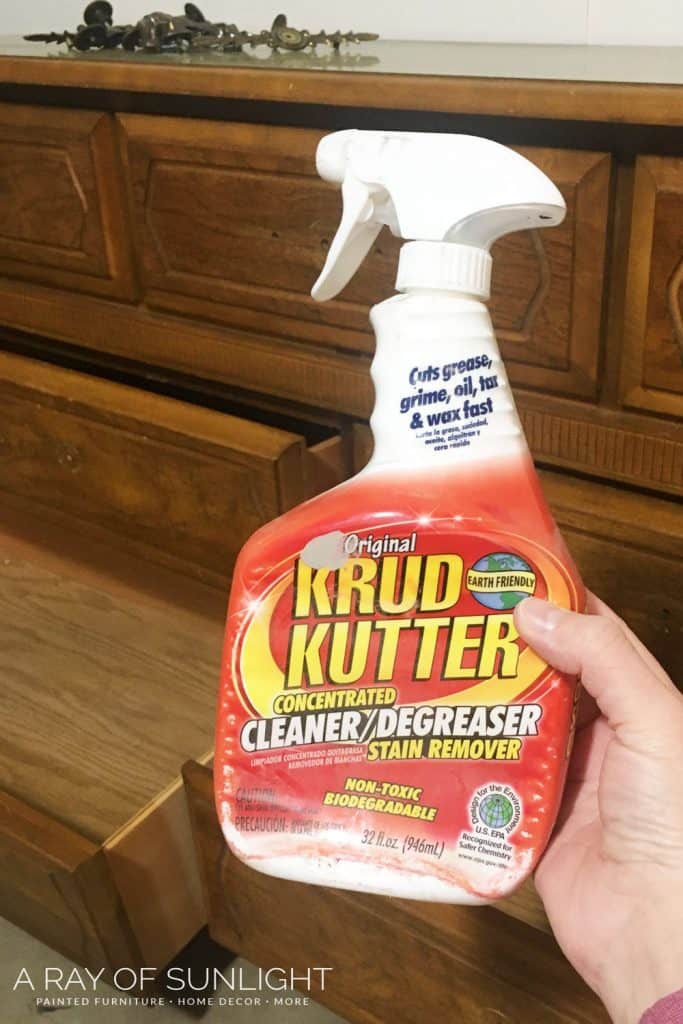
First, clean your furniture with a grease / oil cutting cleaner. I like to use Krud Kutter. Check out our guide on how to clean furniture before painting to learn more! If your laminate piece has a smoky smell, here’s how to get rid of smoke smell in furniture to freshen it up.
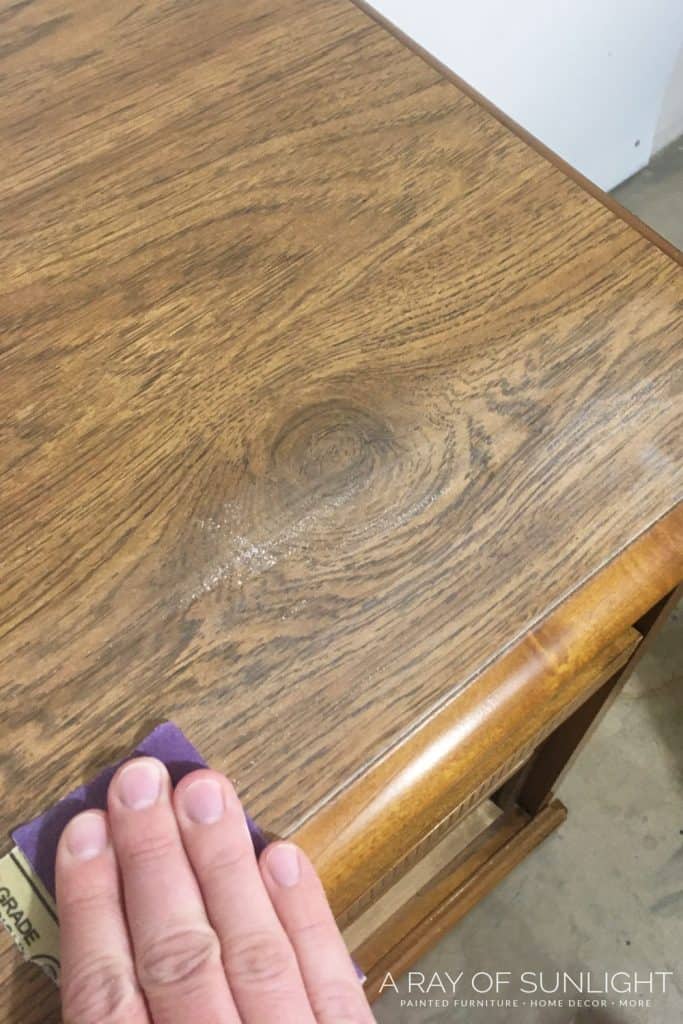
Then scuff sand with 220 grit sandpaper. Rub it all over the dresser, making sure that it removes all of the shine. Learn more about how important sanding before painting furniture is here, and check out the best sandpaper for furniture painting here.
Then, remove the dust with a vacuum hose attachment and / or a damp lint free rag. For the best dust removal, I like to use these tack cloths! They pick up all the dust and don’t leave any lint behind! We have more tips on how to clean wood after sanding in this post.
Learn all about how to prepare furniture for painting here.
Priming Before Painting Laminate
Paint two coats of your choice of bonding primer. The exact bonding primer you choose will depend on what your situation is and what you want your furniture to look like. Here is our list of the best bonding primer for laminate furniture options.
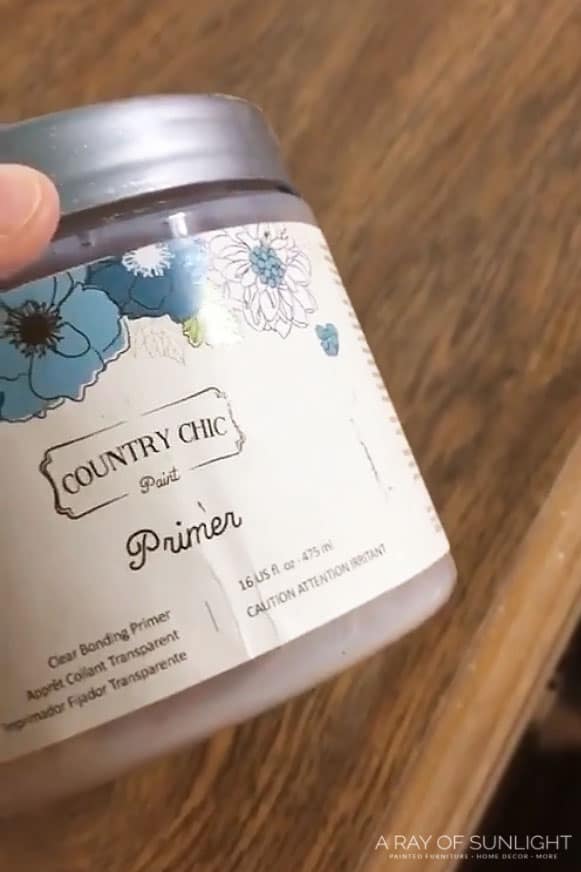
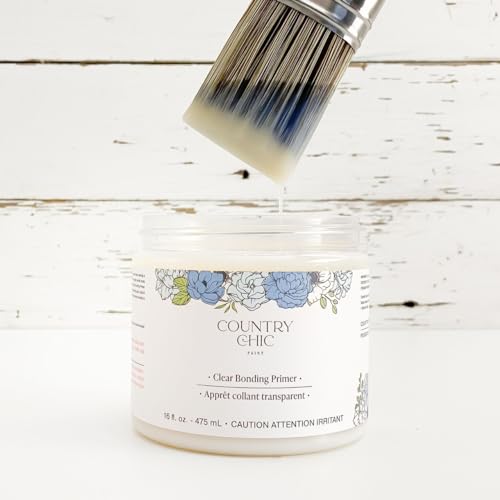
For this green dresser, I chose the clear bonding primer from Country Chic Paint. Mostly because I wanted a clear primer that I could distress. But also, because I wanted to work inside, so I wanted to use a primer that didn’t have a strong odor!
I only put the primer on the laminate top since the rest of the dresser was wood. I painted one coat of primer on it, and then I let it dry for a few hours. Then, I painted the second coat on and let it dry overnight.
Painting Laminate Furniture with Olive Green Paint
Then, I set it up in my paint spraying room so I could paint it with my paint sprayer. You can paint with your paintbrush, but I like the brush-free finish I get with my paint sprayer. The Double Duty sprayer has been discontinued, but if you have it, here’s how to use a Wagner Double Duty Paint Sprayer for more tips on using it.
Would you like to save this?
I painted 2-3 coats of Paint Couture Paint’s Vintage Moss, making sure to let the paint dry for a couple of hours between coats.
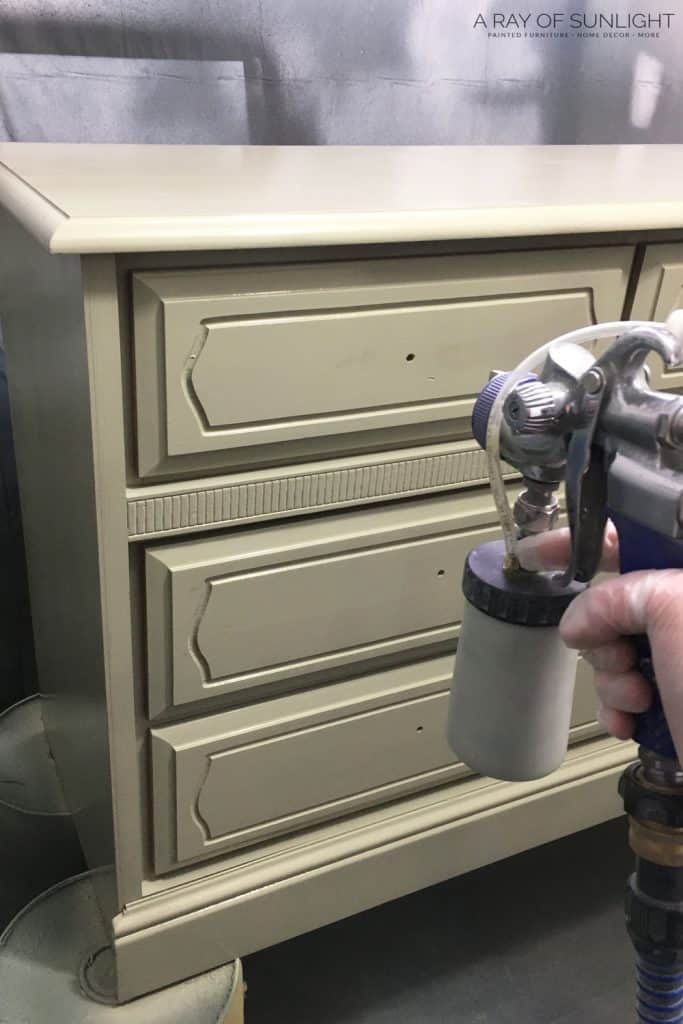
Paint Couture is an acrylic paint that has excellent adhesion properties and is really really good at leveling, which means that even if you use a brush to paint it on, you might just get a brush-free finish! Check out the rest of the best paint for laminate furniture options, and these top tips on how to paint furniture without brush marks here.
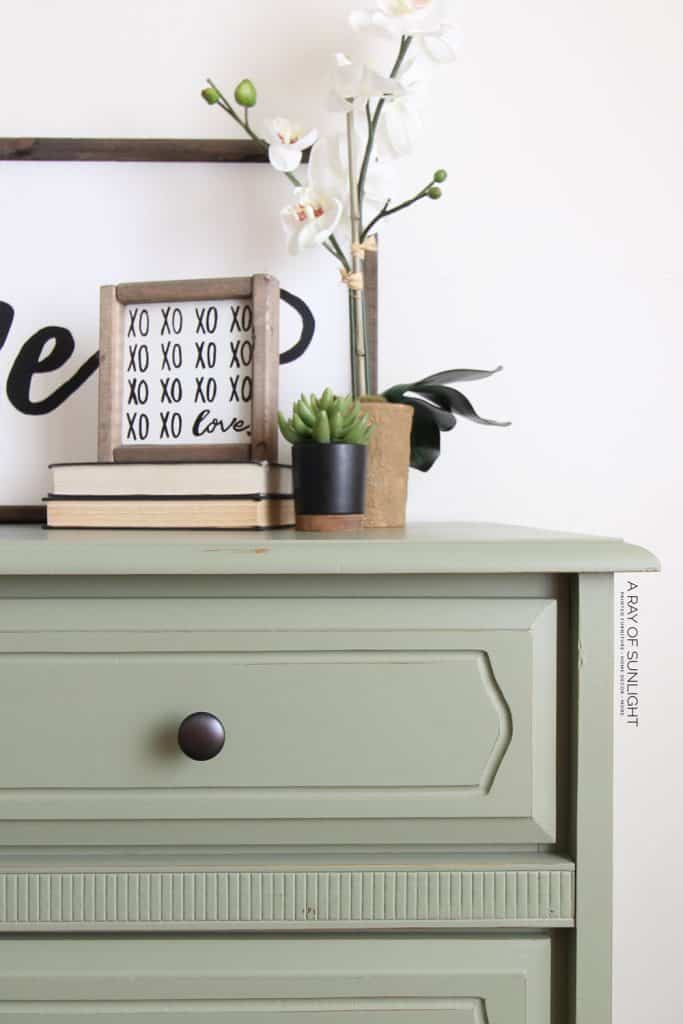
And then it dries to a beautiful matte sheen (but it’s not chalky like chalk paint) Then, I lightly distressed the dresser for a farmhouse-style look. Make sure to remove the dust with a vacuum and a tack cloth again! Check out this post for 6 great distressing furniture techniques.
If I had used one of the other bonding primers on the market, I wouldn’t have been able to distress the laminate.
Protect Olive Green Painted Laminate Furniture
Then, I sprayed 3 coats of the very best water-based polyurethane for the best durability and protection, making sure to let it dry completely between coats. Learn ALL of my tips and tricks on how to spray polyurethane here! If you don’t have a paint sprayer, here’s how to apply polycrylic to painted furniture by hand.
(I also like to sand with 400 grit sandpaper before the last coat of poly for the most smooth feeling finish.) Then I finished it off with new farmhouse-style drawer pulls. Learn more about how to change hardware on a dresser in this post.
Pair this up with the perfect DIY farmhouse drop cloth curtains to complete the look. Learn more about the step by step process of how to paint a laminate dresser here, and check out our other guide on how to paint laminate furniture here for more tips and tricks.
More Before and After Makeovers
See All >
Click any of these “before” photos below to view the “after” of that makeover.


We also have olive green painted furniture ideas in this post if you need more inspiration in using olive furniture paint! If you want to explore other green shades, here’s our list of the best green furniture paint, and check out these green painted dresser ideas.
Can I paint over laminate without sanding?
Do you want to give your laminate furniture a new look but don’t want to deal with the hassle of sanding? We get it – sanding can be a dusty and time consuming process, and it’s understandable that you want to save some time and effort.
The good news is that you can paint laminate furniture without sanding! But you’ll need to take some important steps to make up for skipping the sanding process. The key is to use one of these best bonding primer for laminate furniture options!
Clear shellac or BIN shellac based primer are great choices that will help your new paint adhere to the laminate surface. It’s also still important to thoroughly clean the furniture before applying the primer, as any residue or grease can affect the adhesion.
However, if you want the best possible results and a longer lasting finish, we really recommend taking the time to sand your laminate furniture before priming and painting. You can learn about what happens if you don’t sand before painting here!
Painting laminate furniture without sanding is possible, so if you don’t have the time or desire to sand, go ahead and give it a try! For our own experience and more tips, see our post on how to paint laminate furniture without sanding here.

We hope this guide on how to paint laminate furniture with olive green paint inspires you to take on your own furniture makeover project! In no time, you can have your own gorgeous olive green furniture that looks amazing and stands out in your home decor.
Keep in mind that painting laminate can be a bit tricky, so take the time to prep it right from cleaning, sanding (if you choose to) to priming. And don’t forget to add a protective topcoat for durability!


How to Paint Laminate Furniture with Olive Green Paint
Paint your laminate furniture with olive green paint and give it a farmhouse-style look. Here's how to paint laminate furniture.
Materials
Tools
- Old Vintage Dresser
- Vacuum with hose
- Paint Brush
- Paint Sprayer
- New Hardware
Instructions
- Start by cleaning the laminate surface thoroughly. Use Krud Kutter and an old rag to remove all dirt, grime, and grease. Make sure to get into every nook and cranny for a completely clean surface.
- Lightly sand the laminate with 220 grit sandpaper to remove the glossy finish and create a texture that the primer and paint can stick to. After sanding, remove all the dust with a vacuum to suck up the majority of the dust, then follow up with a tack cloth to wipe away any remaining particles.
- Apply two coats of bonding primer, and let the first coat dry completely before adding the second. The primer helps the paint adhere and creates a durable base.
- Once the primer is dry, apply 2-3 coats of your chosen paint color with a paint sprayer. Using a sprayer will help create a smooth and even finish. Make sure to let each coat dry completely before adding the next.
- When the paint is completely dry, lightly distress the edges or raised details using sandpaper to create a weathered, vintage look. Be gentle and strategic to avoid over distressing.
- Seal the painted surface by spraying 3 coats of waterbased polyurethane for added durability and protection. Let each coat dry before applying the next, and you can sand with 400 grit sandpaper before the last coat of poly for the most smooth feeling finish.
- Finally, finish off the piece by adding new hardware. Switching out drawer pulls can completely change the look of your furniture and add to its overall style.
Recommended Products
As an Amazon Associate and member of other affiliate programs, I earn from qualifying purchases.


More Laminate Furniture Makeovers
- Laminate Desk Makeover
- Painting a Dresser with a Laminate Top
- How to Chalk Paint Laminate Furniture
- DIY Pink Dresser
- Heirloom Traditions All In One Paint Review
Follow us on YouTube to get more tips for painting furniture. Or share your project with us on our Facebook Group and be part of our community. See you there!
I see you painted the dresser with the drawers on it. What about the inside of the drawers? Do they get painted? Or the inside lip of the drawer? An example would be when you open the drawer do you see an outline of the old paint?
Hey Diana!
I either tape off the drawers with plastic so I can pull the drawers out a little bit and spray the areas I can’t get to when the drawers are closed (without getting paint inside or outside the drawer boxes). You can see how I tape off the drawers here.
Or after I spray with the drawers in, I take out the drawers and touch up (the top and sides of the drawer fronts and the dresser if needed) with a paint brush.
What do you use to fill cracks and chunks out of the wood?
Hey Sue,
Scroll through my repairing furniture page to find a tutorial that best suits the repairs that you’re looking to fix.
Could you have used a dark wax over this laminate piece? This dresser looks awesome and enjoy all your videos ??
Hey Janeen!
A dark wax at what point exactly? Over the paint? Over the plain laminate? Sorry I don’t think I am understanding exactly what you’re asking. Thank you for the love though!!
Do you like PAINT COUTURE OVER FUSION PAINT PRODUCTS?
Honestly, I prefer Paint Couture because it levels better. But they are both great paints though! I love that fusion is so durable as is. But I always feel the need to topcoat it because of it’s matte sheen anyway. I always topcoat paint couture as well.
Where do you normally buy your new drawer pulls and knobs from?
Dlawless hardware, home depot, lowes, hobby lobby and amazon are my go to places.
I don’t see the clapping hands to say Wow! This is absolutely gorgeous!
Aww thanks so much! I’m so glad you you like it!