Minwax Polyurethane Spray
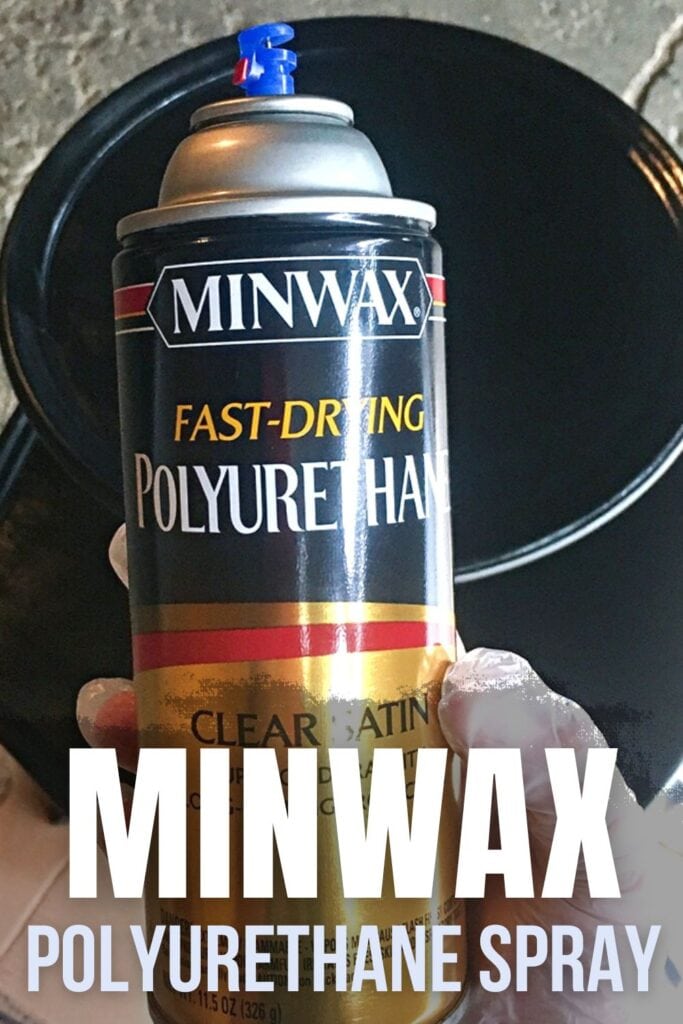
When it comes to giving your wood furniture that final touch for a durable, professional finish, Minwax Polyurethane Spray is a great choice. This magic in a can not only provides a stunning sheen when you’re refinishing furniture but also an impressive level of durability.
But, like any product, it does have its quirks. So read on as we lay down the ins and outs of this product , from pros and cons to how-to’s and product comparisons. It’s all about making your project a breeze!

Minwax Polyurethane Spray is an oil-based protective finish, made for giving your wood projects a longer life and a stunning finish. Whether you’re a pro woodworker or just love DIY, this topcoat has got you covered with a durable coating.
It not only shields your wood from damage but also highlights its natural textures and grains. You can choose from satin, semi-gloss, and gloss finishes to suit your style.
Plus, this spray is super easy to use, giving you a smooth and even coating every time with its fine mist. Let’s dive into all of the advantages of using Minwax polyurethane spray on your next project.
As an Amazon Associate, I earn from qualifying purchases. I also may earn from other qualifying purchases with other companies or get free product to review and use. All opinions are my own.
The Pros of Using Minwax Polyurethane Spray
Minwax Polyurethane Spray makes it a breeze to give your wooden furniture and projects a professional and durable finish. There are several reasons why this product has become a go-to for many:
One of the most significant benefits of Minwax Polyurethane Spray is that it’s incredibly user-friendly. The spray is easy to apply evenly across your project, making it perfect for both professionals and hobbyists.
The spray creates a reliable, long-lasting finish that’s designed to withstand daily wear and tear, even on projects that will live outdoors. This durability makes sure that your wooden pieces will keep looking beautiful for years to come.

Minwax Polyurethane Spray is also available in satin, semi-gloss, and gloss finishes, offering you a variety of options to match your project’s aesthetic.
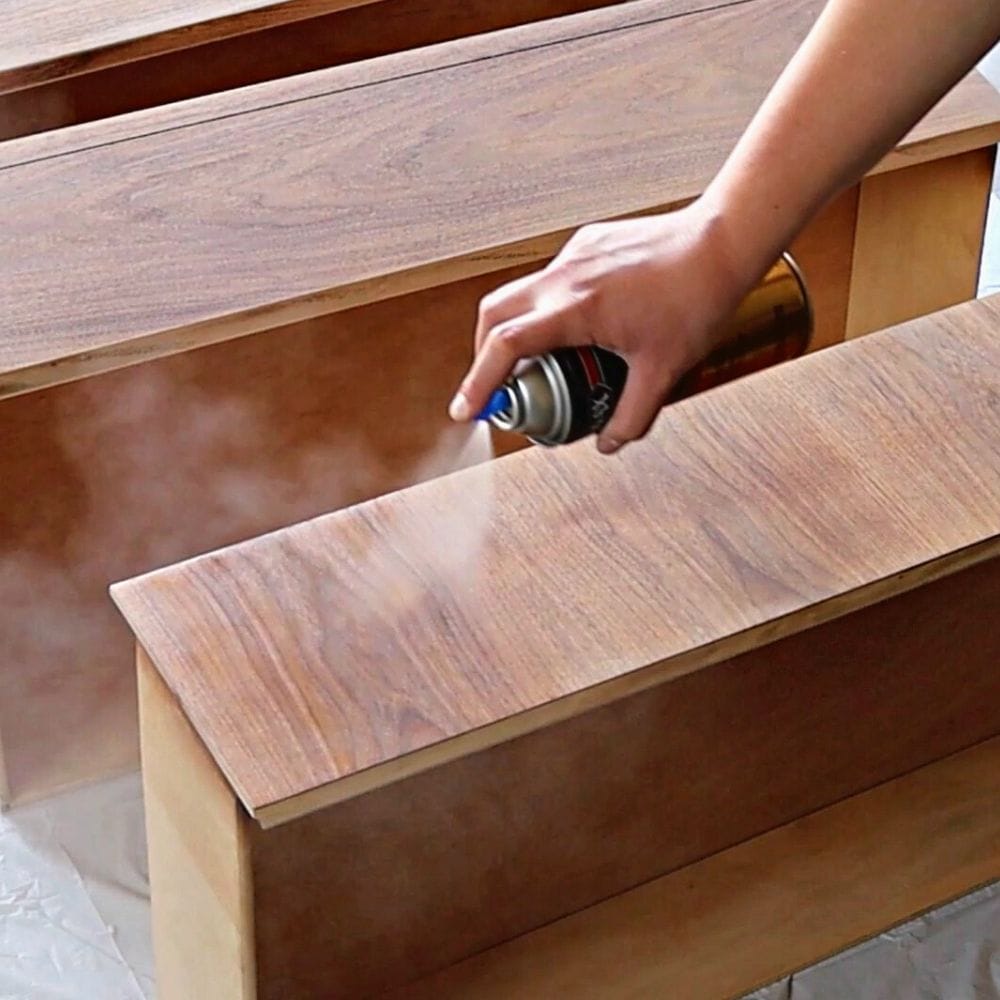
And when it comes to application, the spray produces a fine mist, creating a smooth and even coating without the mess of splattering.
Pros
- Easiest way to topcoat stained wood
- Creates a very durable finish
- Comes in satin, semi-gloss, or gloss finishes
- Easy to spray
- Sprays in a fine mist without splattering
Remember, all good things come with their own set of downsides. In the next section, we’ll discuss some of the cons of using Minwax Polyurethane Spray.
The Cons of Using Minwax Polyurethane Spray
While Minwax Polyurethane Spray has many advantages, there are also some downsides to consider. An important factor to note is the drying time. This product takes a full 24 hours to dry, which might not be ideal if you’re working on a project with a tight deadline.
The spray also has a yellow or amber color. Although it can enhance the richness and depth of many wood types, it might not be your best bet if you’re looking for a clear or neutral finish.
Here’s our post for the best clear polyurethane spray for wood.
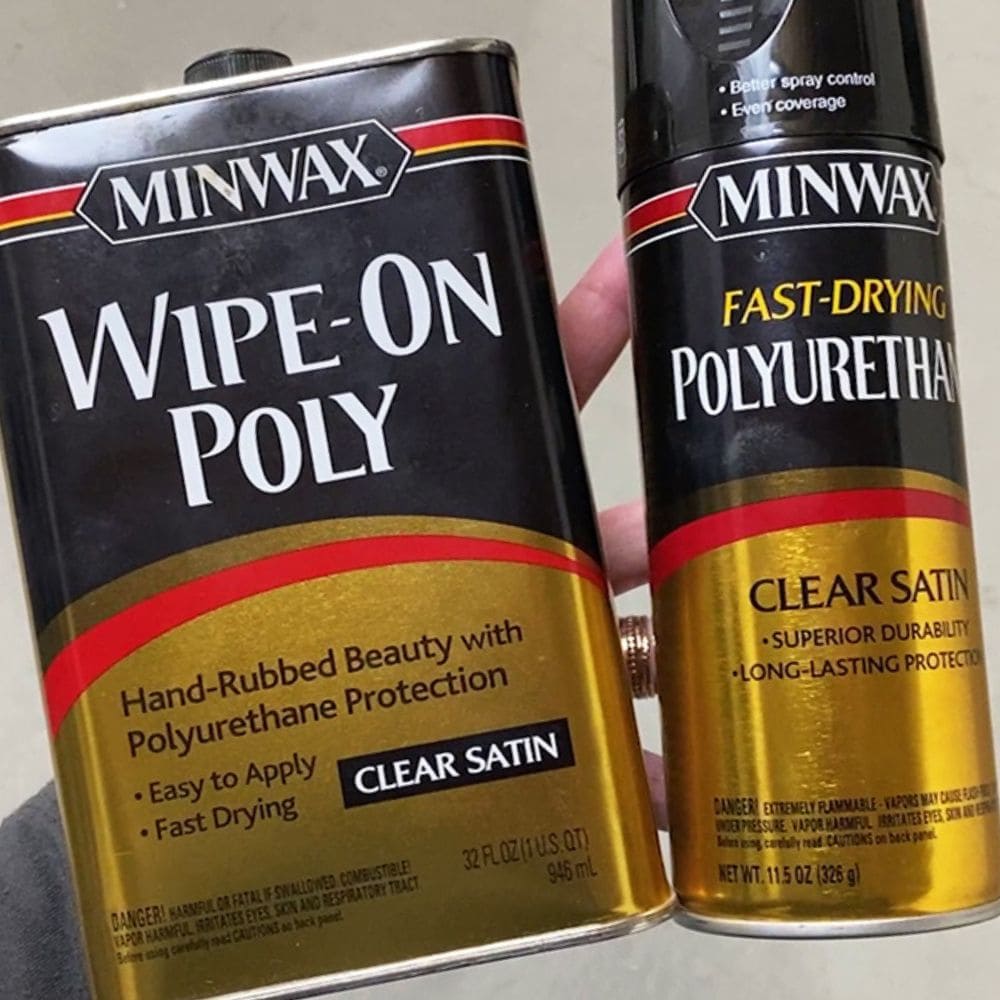
Also, compared to its brush-on version, Minwax Polyurethane Spray can be a tad more expensive. If you’re working on a large project and need to stay on a tight budget, this cost difference might be a point of consideration.
Check out how I used the brush-on version in my post about how to strip a kitchen table.

Another aspect to consider is that you need to protect surfaces around your project. The spray, while easy to apply, can get all over if you’re not careful. And this oil based version is not as easy to cleanup.
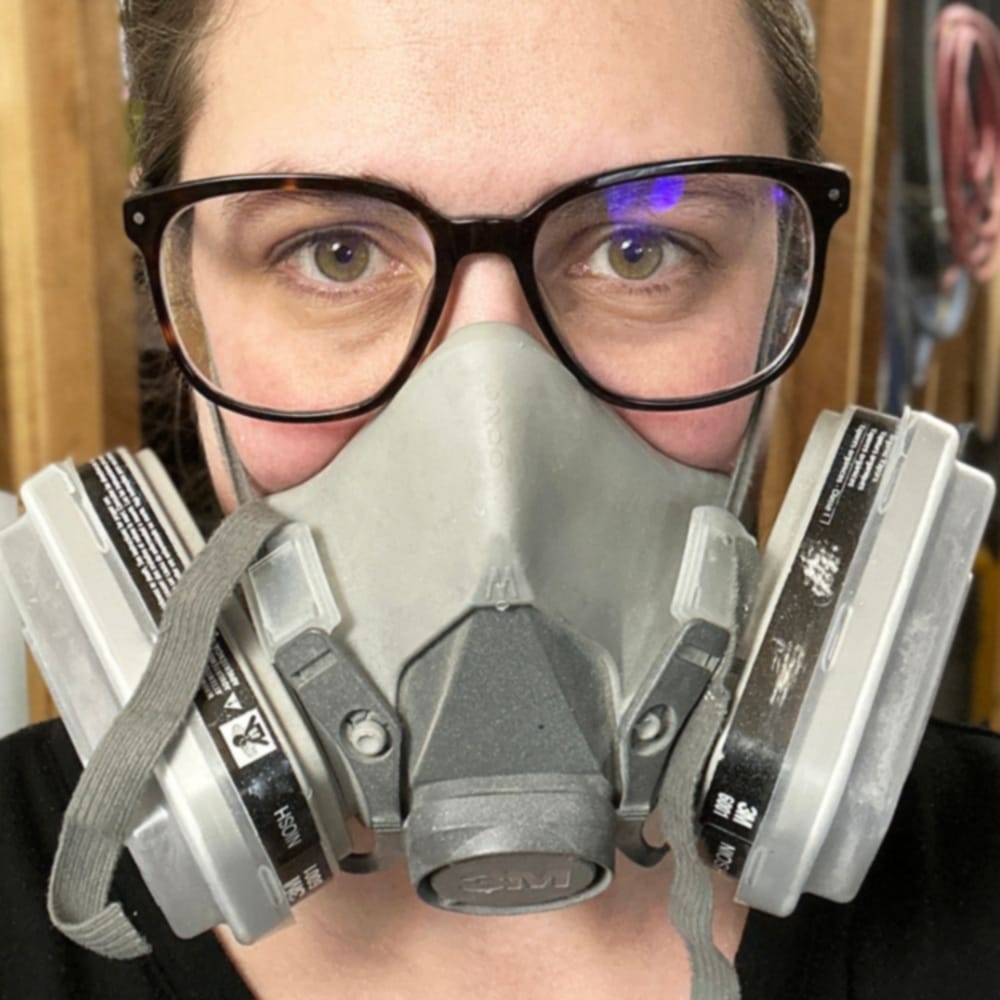
Lastly, but most importantly, make sure to use it in a well-ventilated area. The fumes from the spray can build up, potentially leading to health hazards if not properly managed.
Cons
- Dries in 24 hours
- Has a yellow/amber color
- More expensive than the brush-on version
- Protect surfaces around where you’re spraying to avoid overspray
- Use in a well-ventilated area to avoid fume buildup
Where to buy minwax polyurethane spray
Want to check out Minwax polyurethane spray prices? Here are some of the top places where you can buy it!
- Amazon: Ship to your home!
- Lowes: Pickup in store or ship to your home!
- Walmart: Pickup in-store or ship to your home!
Spraying Minwax Polyurethane
Spraying Minwax Polyurethane is like an art that brings life and beauty to your wooden furniture and projects. It’s all about following a few important steps to create a smooth, even finish. So, let’s take a closer look at how to spray Minwax Polyurethane like a pro!
First things first, let’s get prepared. Start by cleaning off any dust or debris from your project. This creates a smooth finish and a perfect bond between the polyurethane and the wood, with no pesky dust particles getting in the way.
Now, let’s talk about protecting the surrounding area. Grab some drop cloths, painter’s tape, or even old newspapers to prevent any overspray. Trust me, it’s much easier to prevent a mess than to clean it up later!
Check out our blog post about how to prevent overspray when painting furniture to learn more about how to protect the inside and outside surfaces when spraying.
Safety is always a priority. Make sure to wear a respirator and eye protection when spraying polyurethane. This keeps you safe from any harmful fumes or potential splatters.
If you plan on using a paint sprayer to apply polyurethane, check out our blog post about how to spray polyurethane here. We’ve also listed the best sprayers for polyurethane here.

Now, for the application part. Shake that can for a good 2 minutes to make sure the polyurethane is thoroughly mixed. This is crucial for getting a smooth and consistent finish.
When you’re ready to spray, start with thin coats and sweep across the surface you’re working on. This technique helps prevent any runs or drips, giving you that flawless finish you’re aiming for.
Give your project some time to dry. Wait at least 30 minutes before applying another coat of polyurethane. For the best results, try to get all your coats done within a 2-hour window.
To create a highly durable finish, make sure to apply at least 3 coats of polyurethane. And remember, patience is key! Let it cure for at least 24 hours after the final coat before putting your project back to regular use.
Now you’re all set to spray Minwax Polyurethane like a pro! Enjoy the process and admire the beautiful results.
Learn more about the best spray polyurethane for furniture here.
Can you use minwax polyurethane over paint?
Yes, and no. You can topcoat chalk paint, mineral paint, acrylic paint, and oil based paint with Minwax polyurethane spray! But, it has a yellow tone, so it’s best to use it only over darker colors of paint.
If you use waterbased paint, make sure the paint dries at least 48 hours before applying this oil based topcoat.
Check out this Antique Pie Crust table makeover project that we used milk paint and Minwax polyurethane spray as a topcoat.
Minwax Polycrylic vs. Polyurethane
When comparing Minwax’s Polycrylic and Polyurethane, there are several key differences to keep in mind. The Polycrylic is a water-based topcoat that dries clear, making it perfect for light-colored woods and paint.
It dries faster than its counterpart, the Polyurethane, allowing you to sand in between coats and add multiple coats in less time. Learn more about the pros and cons of Minwax polycrylic in our Minwax polycrylic spray post.
On the other hand, Polyurethane, being oil-based, offers more durability, making it ideal for high-traffic areas and outdoor furniture. Here’s our polycrylic vs polyurethane comparison to help you learn more about the difference between polycrylic and polyurethane.
However, it does have a yellow tint and takes longer to dry. Both products are easy to spray, but your project’s specific needs and the look you’re going for will determine the best choice between the two.
more furniture topcoat tips
- Wax VS Polyurethane
- Spray Polyurethane VS Brush On Polyurethane
- Best Polyurethane for Furniture
- Topcoats for Painting Furniture
Follow us on YouTube to get more tips for painting furniture.
Or share your project with us on our Facebook Group and be part of our community. See you there!
