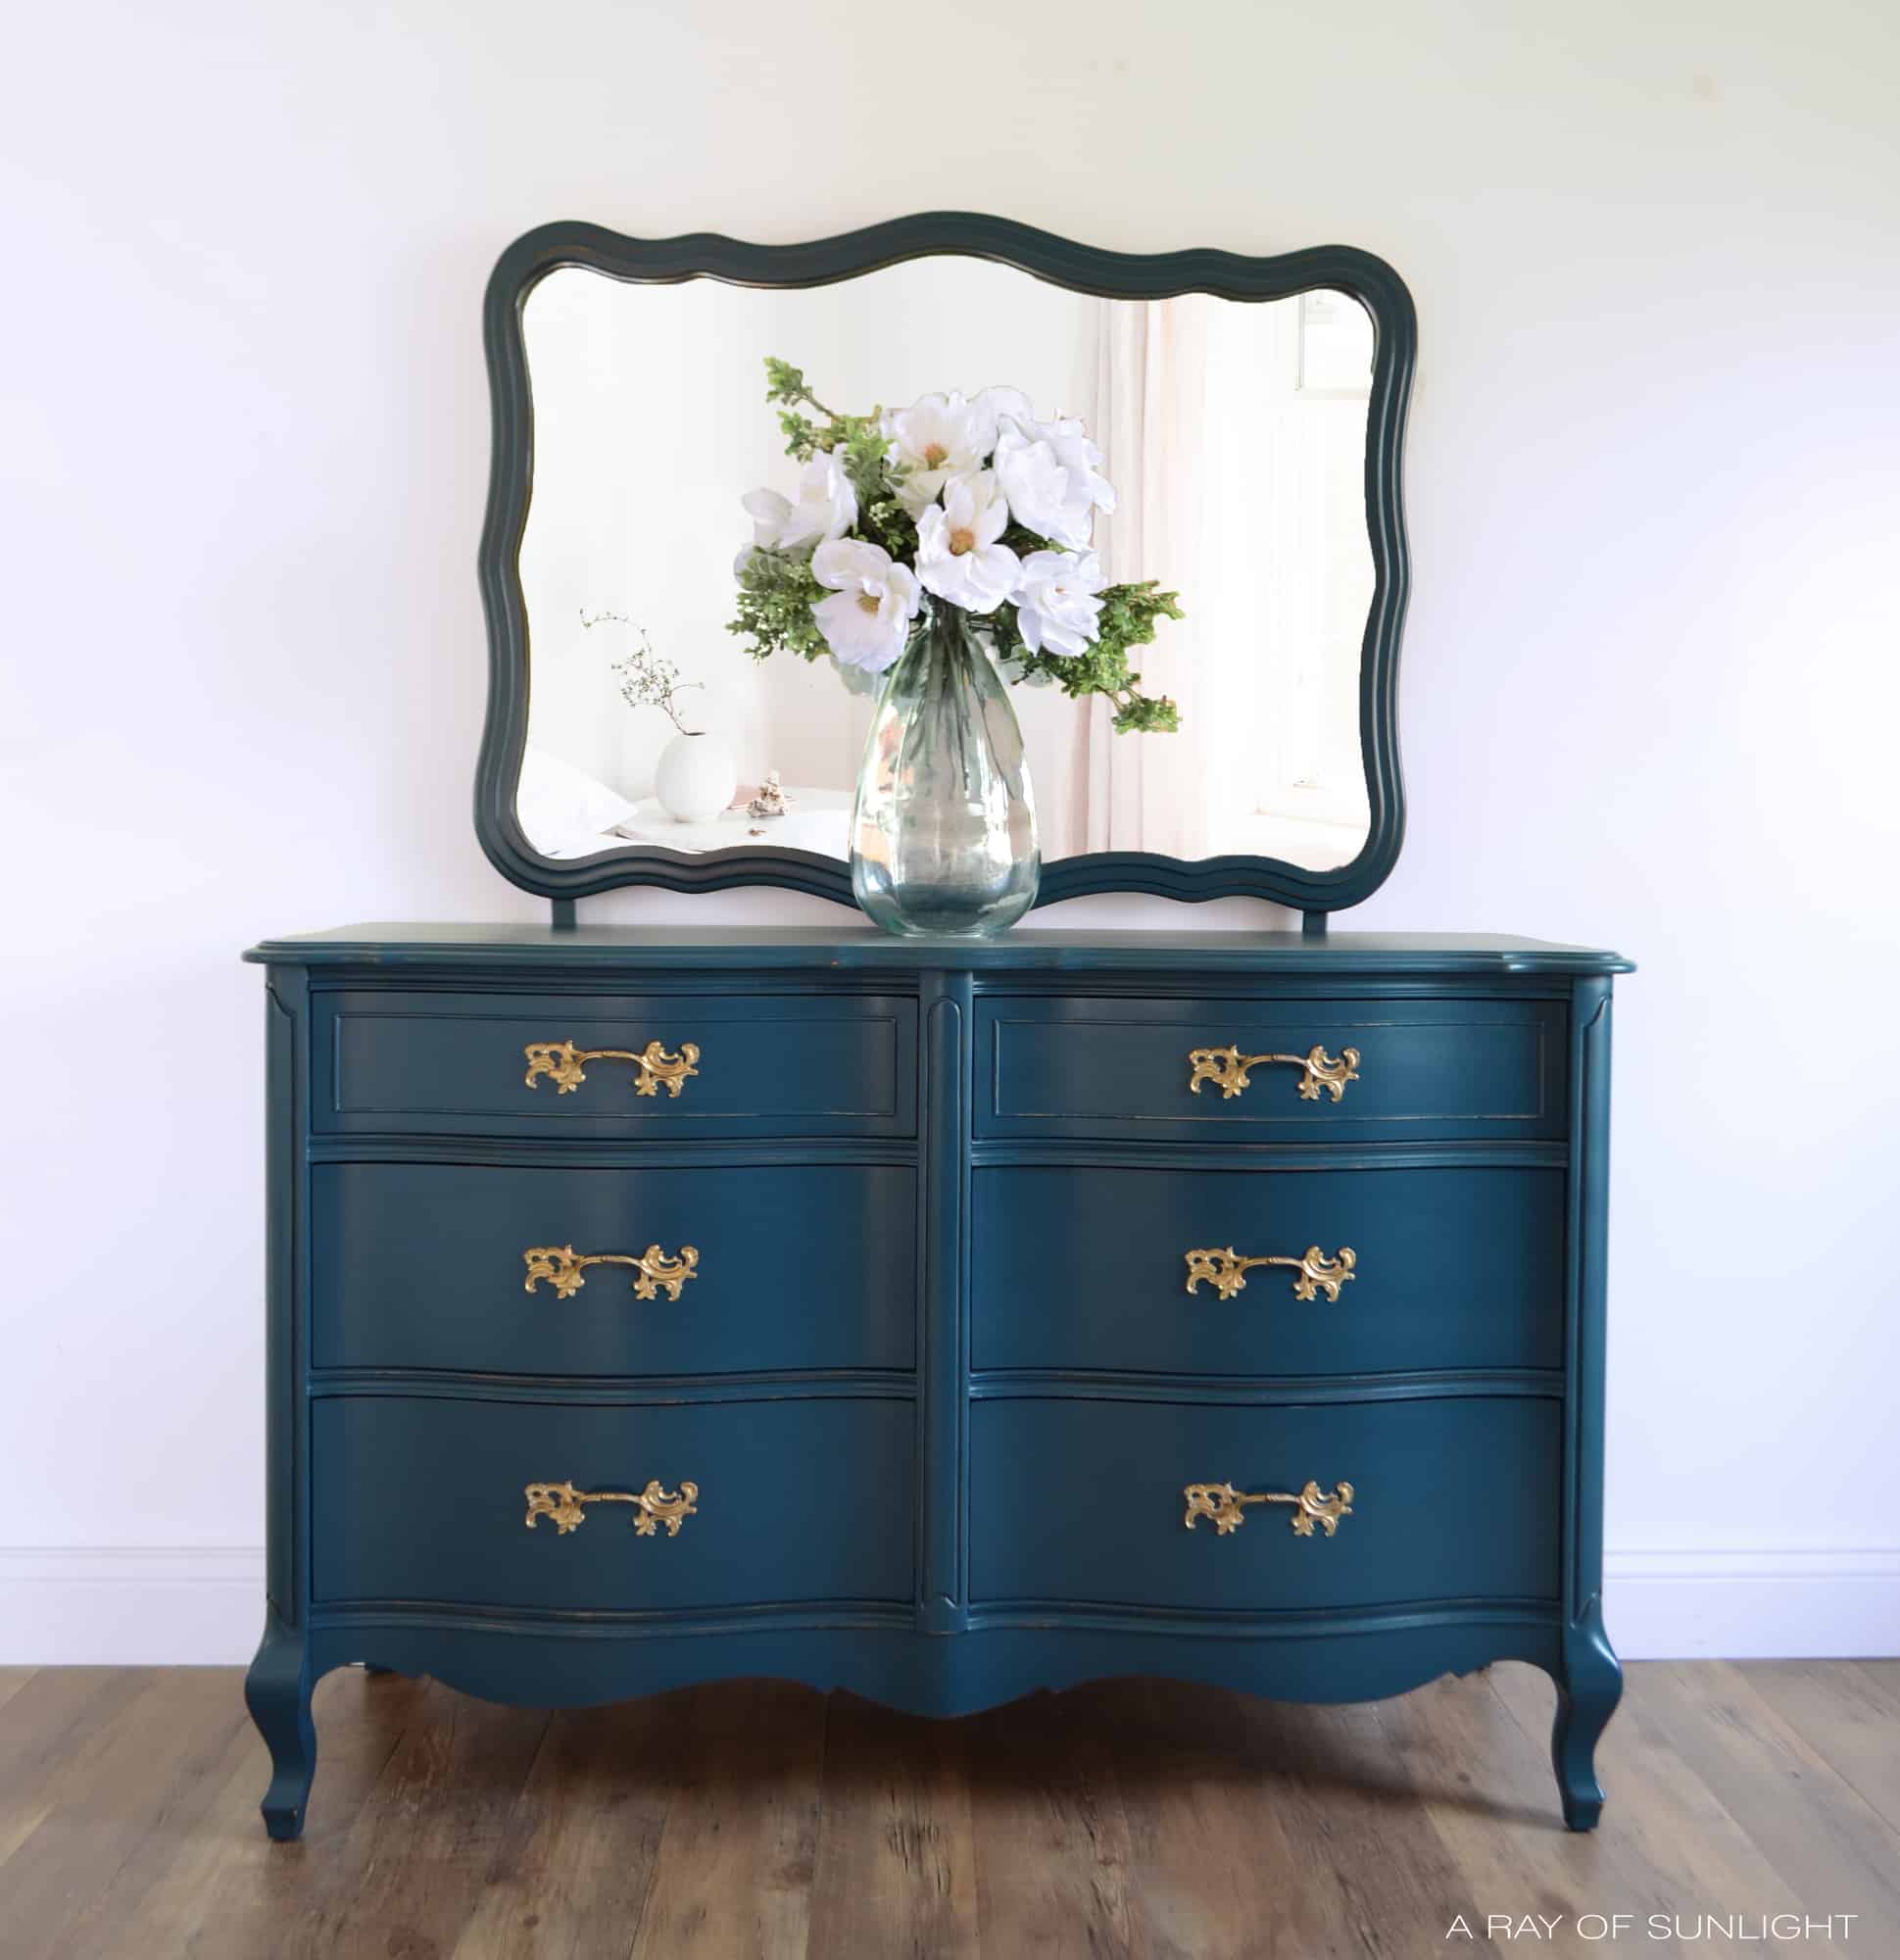
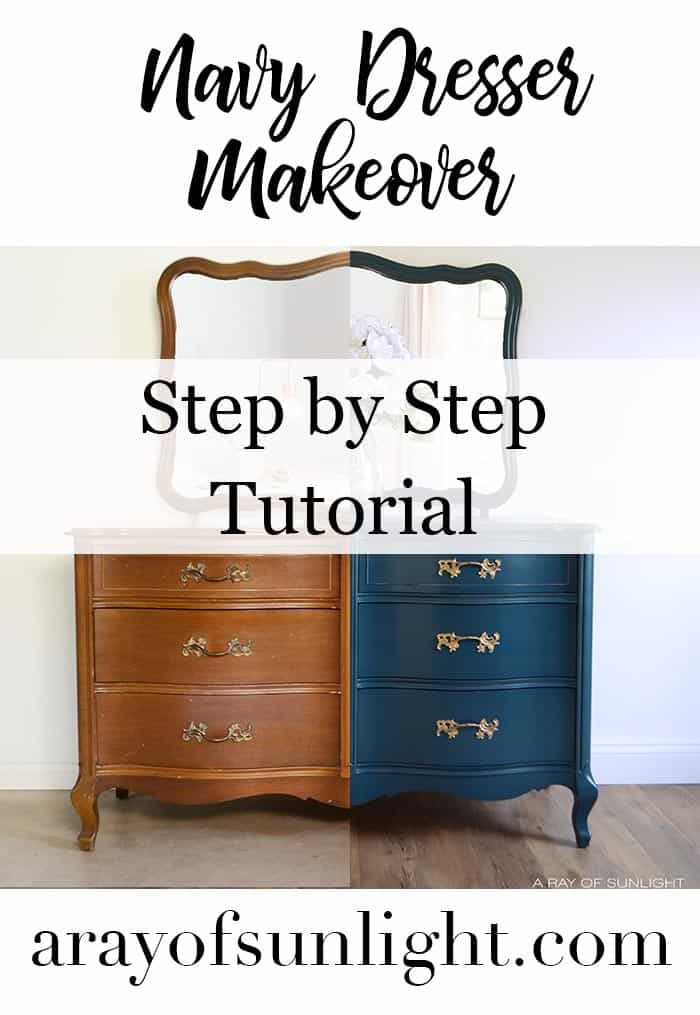
Blue Painted French Provincial Dresser
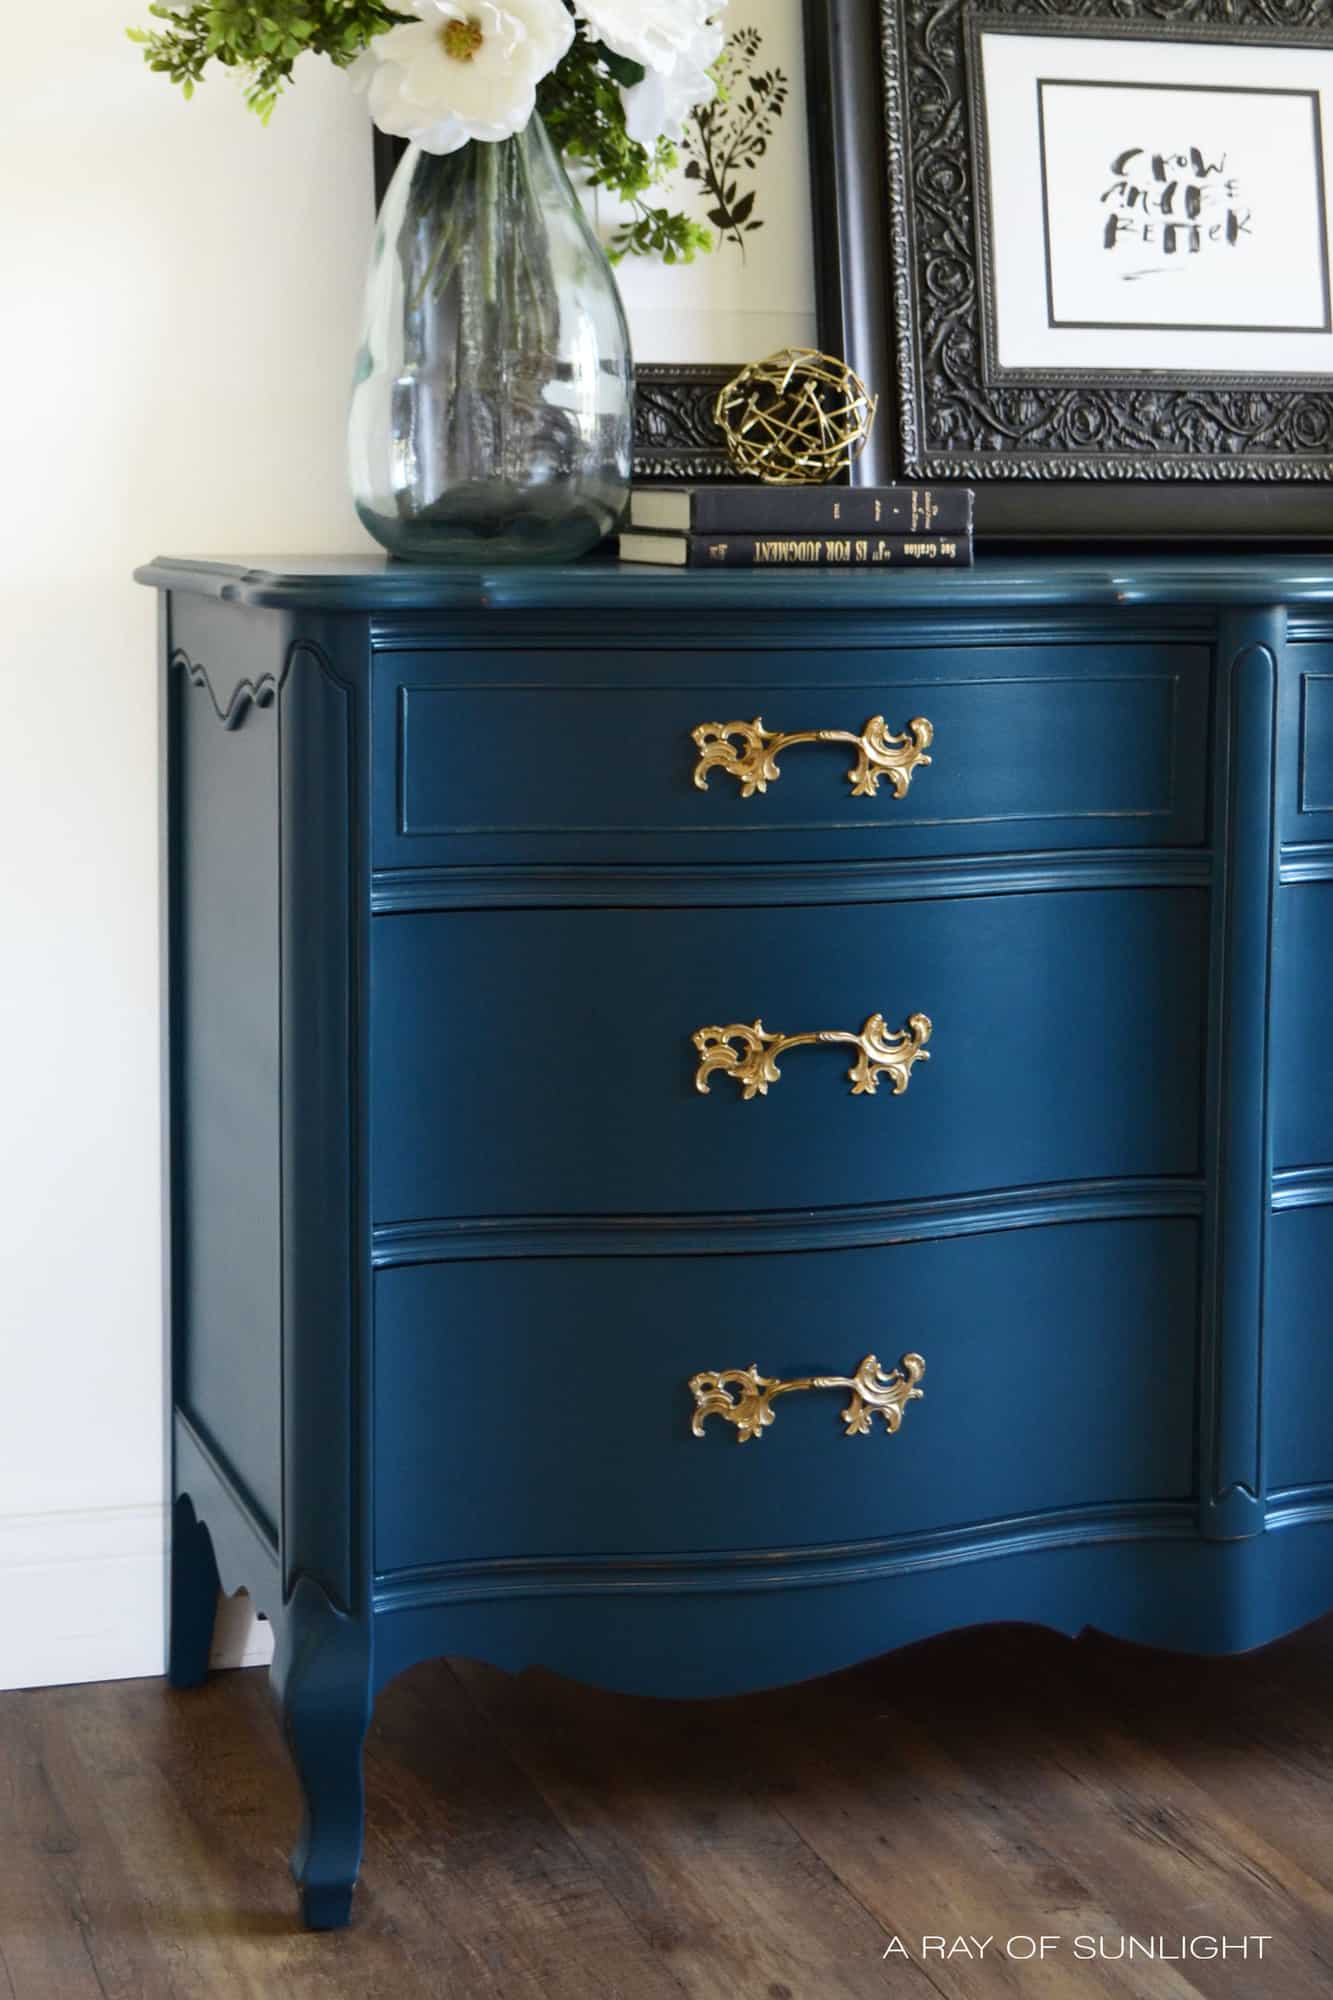
Have a French dresser you want to paint? Check out this blue painted French provincial dresser with gold hardware for some inspiration and how to tips. This stunning piece features a unique blend of elegance and country charm – you can’t go wrong with this decor combination!
Our love for blue painted furniture has led us to create this one of a kind dresser that will surely be the highlight of your bedroom or living space.
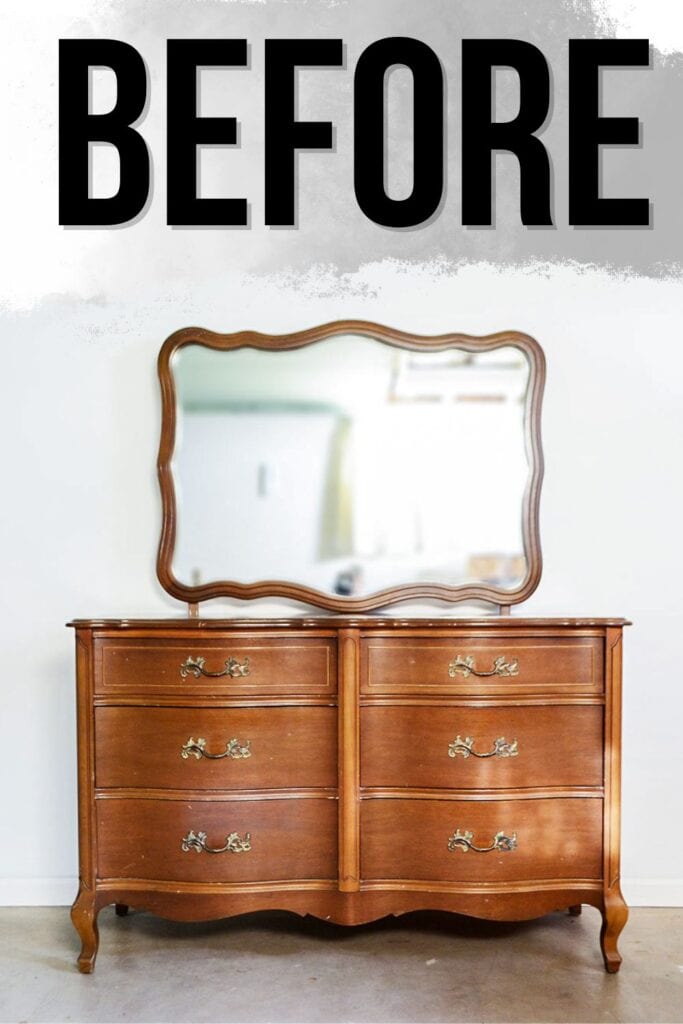
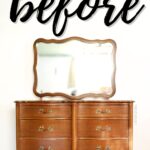
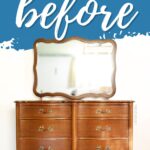
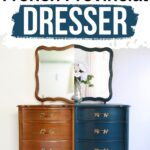
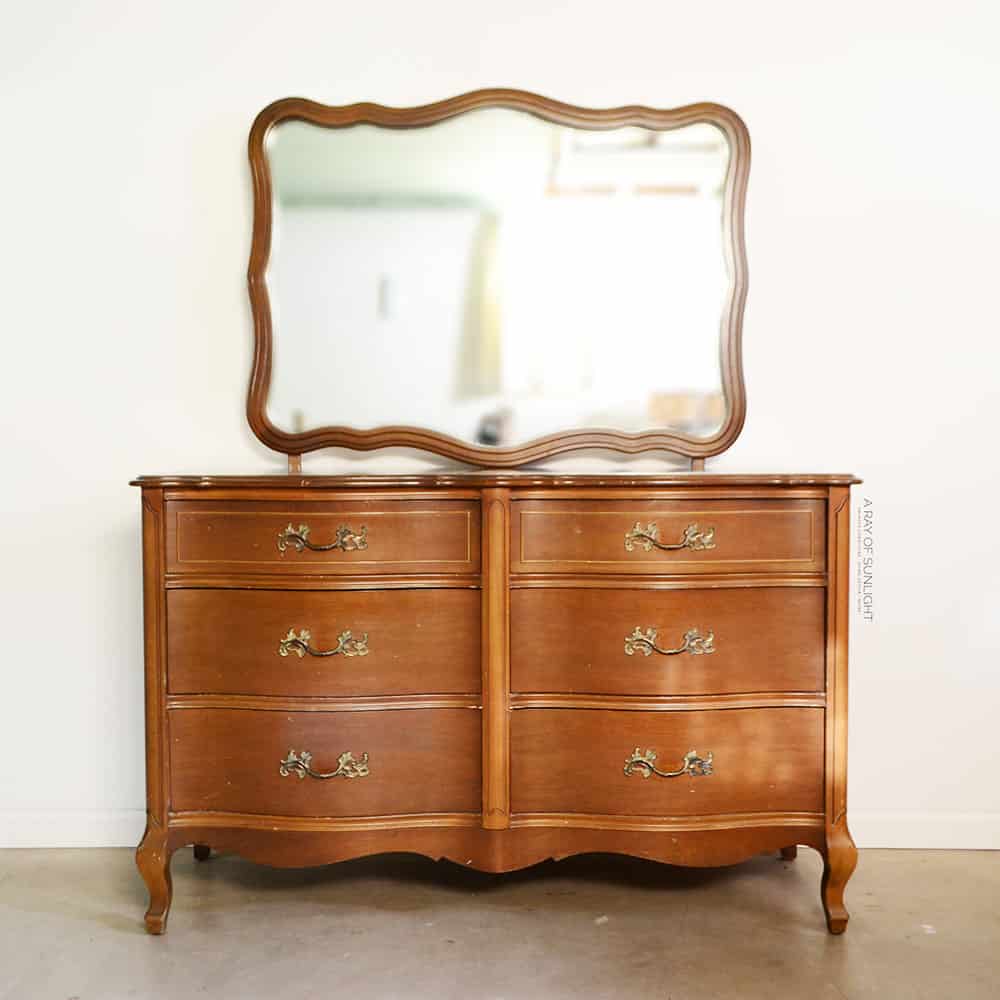
You can see above what this dresser looked like before. It was a typical vintage dresser, but needed a face lift to get rid of scratches, dings, and dents in the finish.

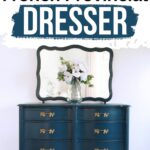
We decided to brighten it up with a fresh coat of blue paint. We went for this color to give the dresser a more modern and airy feel. The blue also complements the French provincial style of the dresser, adding a touch of sophistication.
Let’s get started with the transformation!

Supplies Used For This Blue Painted French Provincial Dresser
As an Amazon Associate, I earn from qualifying purchases. I also may earn from other qualifying purchases with other companies or get free product to review and use. All opinions are my own.
- Krud Kutter
- Clear Shellac
- 220 Grit Sandpaper
- Paint Sprayer
- Jitterbug Country Chic Paint
- Peacoat Country Chic Paint
- My favorite Polyurethane in Satin
- Rub N Buff
- Country Chic Paint Painting Sponge
Grab our list of 10 must have painting furniture supplies too!
Prep and Prime French Provincial Dresser
We started out by prepping the piece as we always do and cleaning the dresser with Krud Kutter and a damp rag.
Here’s how to clean furniture before painting and learn how to prepare furniture for paint here!
I was 99% sure this dresser would give me problems with bleed through too, especially since I sanded down past the finish in quite a few places.
So I made sure to take the dresser outside and spray a couple of coats of shellac on it before I started to paint anything.
I like to use shellac for this because shellac dries clear, so I can distress to my heart’s content without having some other color show up between my finish and the wood.
Check out the best primers for painting furniture here.
Paint Dresser Blue
Once I was ready to paint, I mixed 2 parts of Jitterbug to 1 part of Peacoat. This paint is from Country Chic’s Paint line and I just love it! Check out the best blue chalk paint for furniture here.
Check out my honest and detailed Country Chic Paint review here.
It is a clay based paint (just like chalk paint) that is super environmentally friendly. These are two of my favorite colors from them, and they mixed together perfectly.
Check out this other navy blue dresser that was painted in Peacoat Blue. You can see more navy painted furniture ideas here, and we have these dresser paint color ideas for other colors.
Since I love to spray my paint on, I mixed up the paint and thinned the paint into my spray gun. I seriously love my paint sprayer so much!
You can learn about using a paint sprayer to paint a dresser here!
If you’re tired of brush strokes on your furniture, or if you’re tired of taking so much time to paint one piece of furniture, you really need to look into purchasing a sprayer. Here’s my list of the best HVLP paint sprayers.
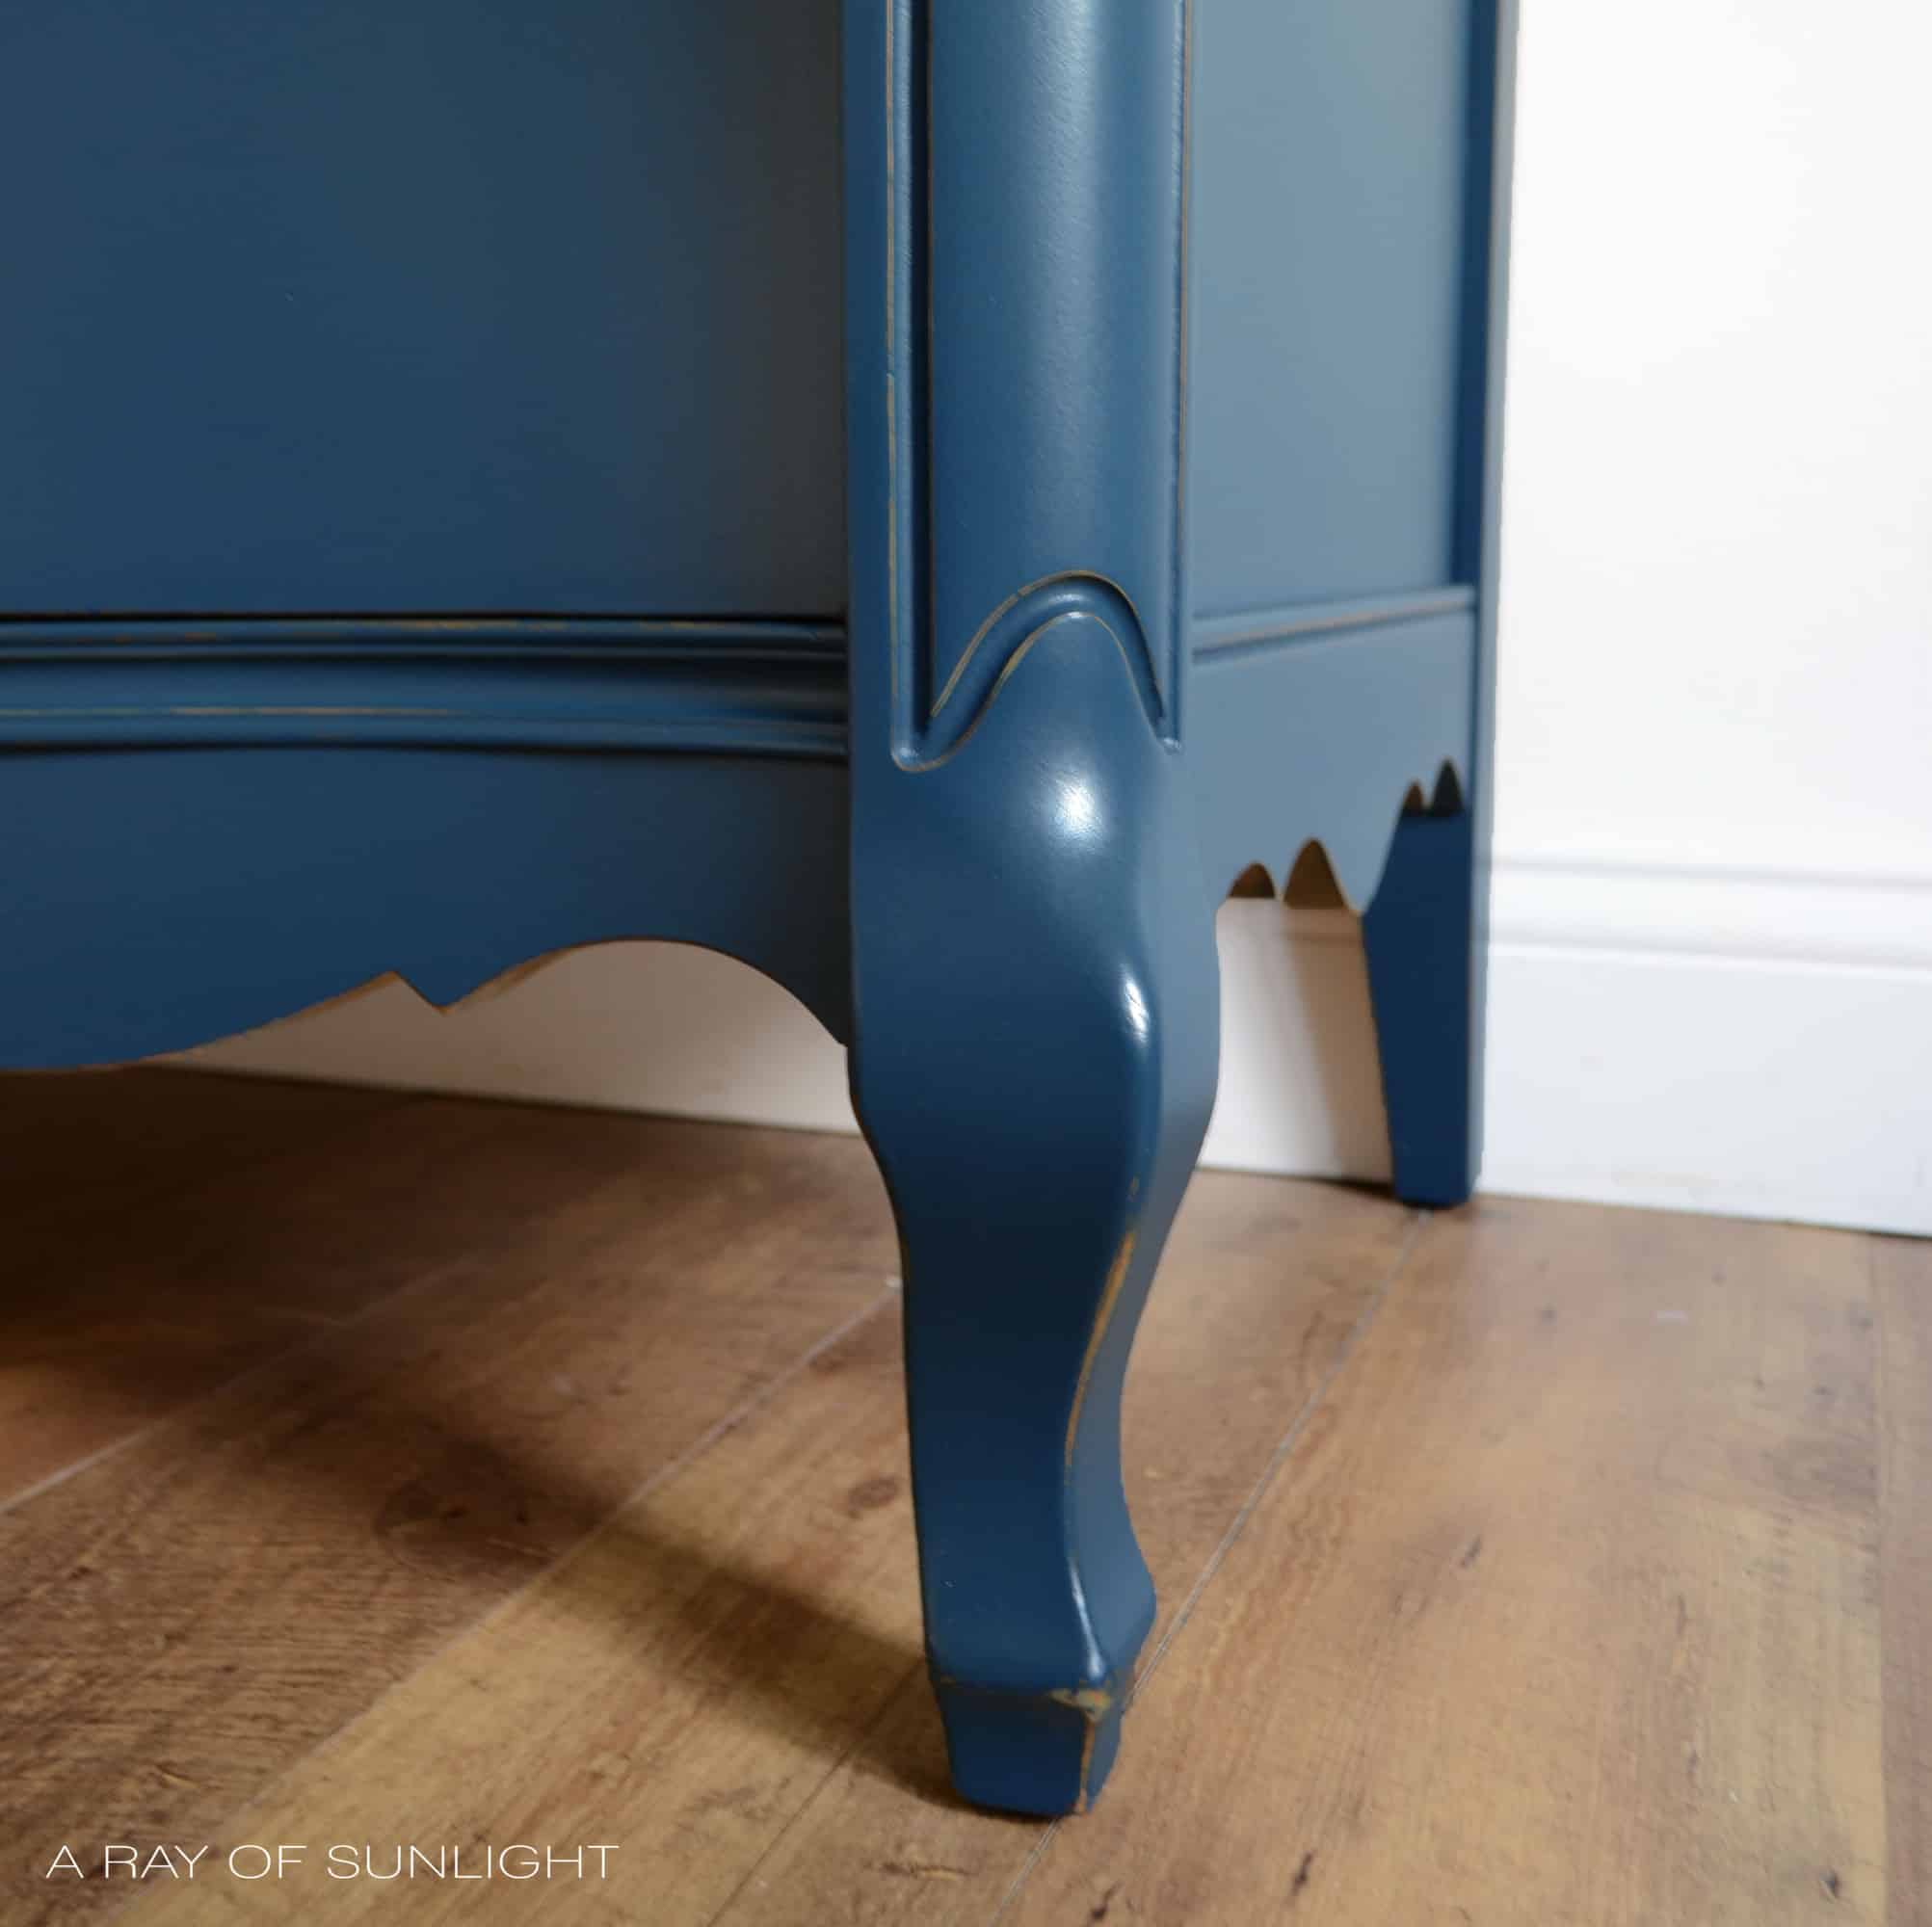
Once it was sprayed (I believe it took 2-3 coats), I lightly distressed the edges. Learn more about the 6 best distressing furniture techniques here!
Topcoat Blue Painted Dresser
And then I finished it up with multiple coats of my favorite poly to give the finish extra durability. Learn ALL of my tips and tricks on how to spray polyurethane here!
And learn all about the different topcoats for painting furniture here!
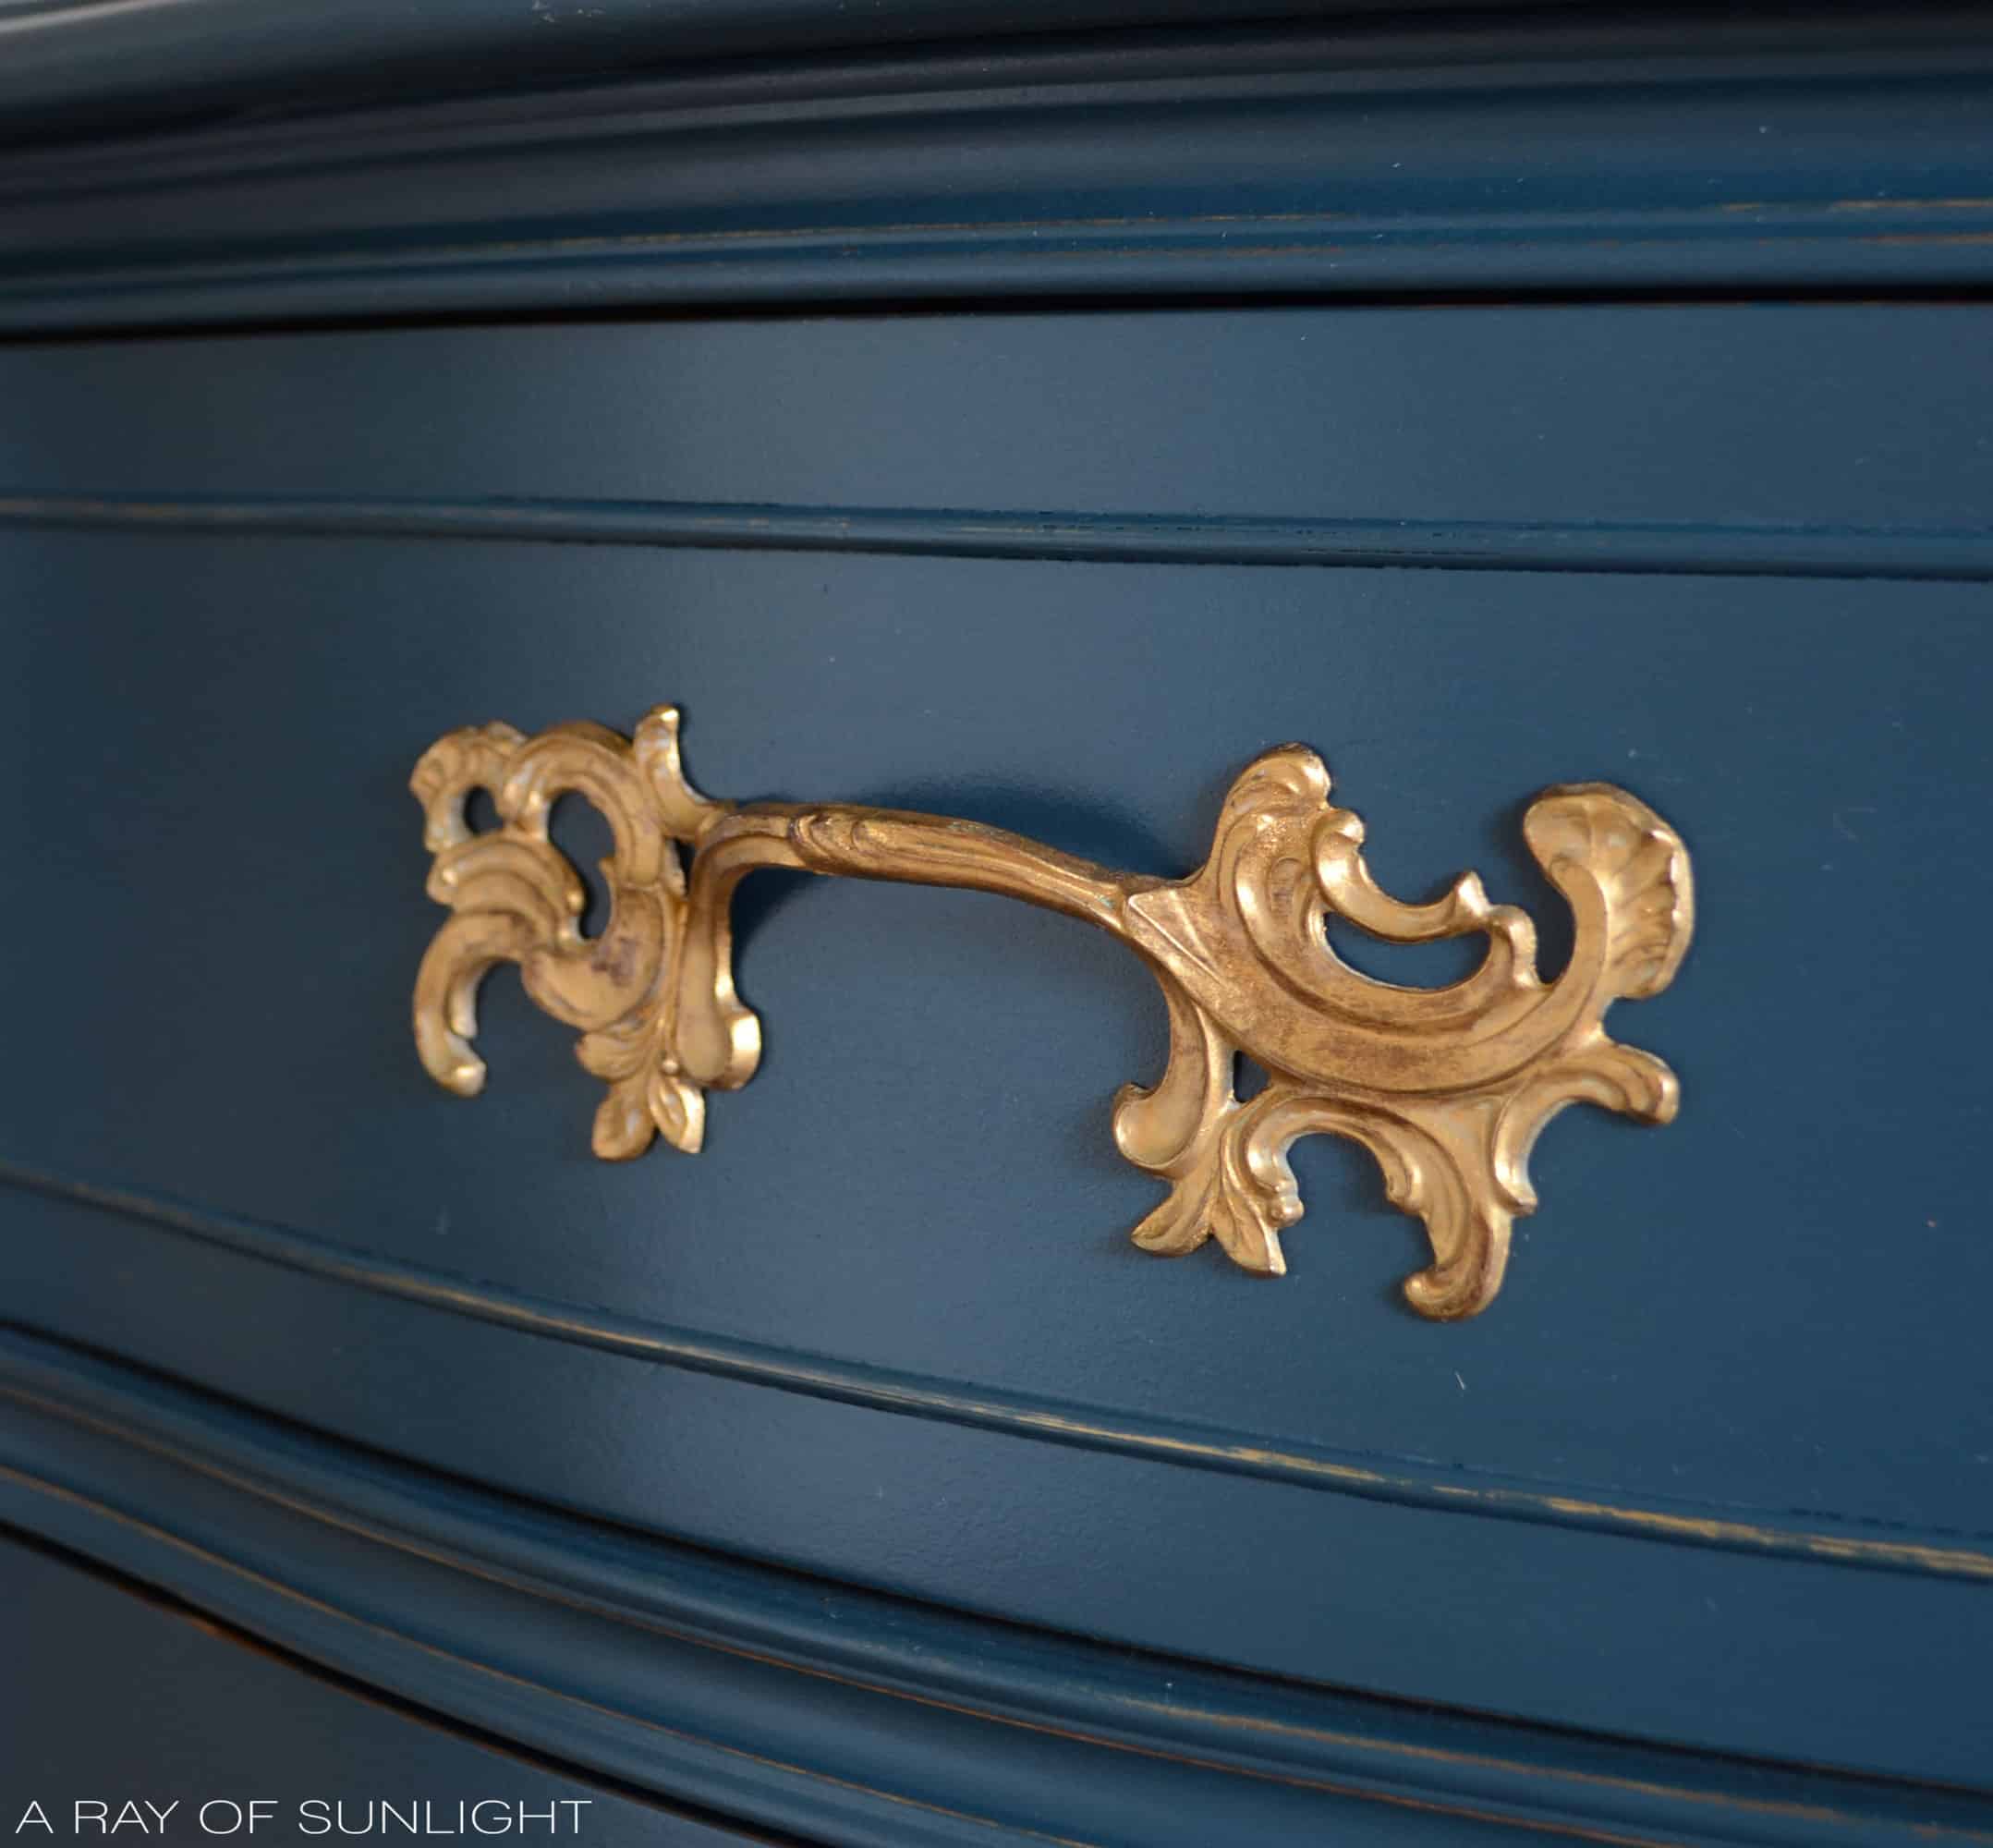
Paint Dresser Hardware
The hardware got a quick makeover with Rub N Buff wax. This stuff is soo amazingly easy to use and it creates a really nice finish. And it’s not just for hardware.
Would you like to save this?
I’ve used it for accents on furniture details, and I know others have used it for so many different things. And it comes in so many different colors.
As for the mirror, I used the painters sponge to hand paint the frame, (without the brush marks) then I distressed it and sealed it with poly as well.
And that’s the makeover! Check out more French painted furniture ideas here.
More Before and After Makeovers
See All >
Click any of these “before” photos below to view the “after” of that makeover.


Are there any other ways to use Rub N Buff wax?
Yes, there are many other ways to use Rub N Buff wax! Aside from painting hardware, you can use it on stencils to create intricate designs on furniture.
Simply apply the wax to your stencil and use a brush or sponge to transfer the design onto your desired surface.
You can also use it to transform plain household items into beautiful and unique decor pieces.
For example, you can rub it onto picture frames, vases, candle holders, or even light fixtures to give them a metallic finish.
Does Rub N Buff wax come in different colors?
Rub N Buff wax is available in nine shades, making it easy to find the perfect color for your project.
From metallic silver and gold tones to darker shades like ebony and pewter, there are plenty of options to choose from.
Plus, with convenient 15ml tubes, you can easily try out different colors without committing to a larger size.
And because a little goes a long way, just one tube can cover up to 20 square feet of surface area, whether wood, metal, ceramic or glass.
Its luster is also adjustable, so you can control the level of shine by buffing the wax more or less. This allows for a customizable finish, whether you want a subtle effect or a high-shine look.


Can I mix different shades of blue paint for furniture?
Yes, you can mix different shades of blue paint for furniture! In fact, mixing different shades of paint is a great way to create a unique and custom color for your furniture.
By combining different shades of blue, you can get the perfect tone that complements your style and home decor.
One simple way to mix different shades of blue is to start with a base color and gradually add small amounts of the other shade until you reach your desired color.
You can also mix in white paint to get a lighter shade of blue or black paint to darken it.
It’s also important to keep track of the ratio of each color added so you can reproduce the same shade if needed.


Blue Painted French Provincial Dresser
Here's what you need to recreate your own blue painted French provincial dresser using some chalk paint. Just follow these simple steps!
Materials
Instructions
- Prep French provincial dresser for paint and clean it with Krud Kutter and a damp rag.
- Prime dresser with a couple of coats of shellac before painting.
- Mix up the blue chalk paint and apply 2-3 coats onto the dresser. Lightly distress the edges with sandpaper.
- Seal blue painted dresser with a few coats of waterbased polyurethane to give the finish extra durability.
- Paint the old hardware gold with the Rub N Buff wax and attach them to the blue dresser.
Recommended Products
As an Amazon Associate and member of other affiliate programs, I earn from qualifying purchases.


More Chalk Painted Dresser Makeovers
- Grey Chalk Paint Dresser
- Homemade Chalk Paint Dresser Makeover
- Behr Chalk Painted Dresser Makeover
- Teal Chalk Painted Dresser
- DIY Black French Provincial Dresser
And don’t forget to follow Country Chic Paint on Facebook or Instagram for more inspiration!
Follow us on YouTube to get more tips for painting furniture. Or share your project with us on our Facebook Group and be part of our community. See you there!
Just…wow! Beautiful color!!
I think I prefer the pulls the other way, like the before pictures. Fits your hand better.
😊