Beyond Paint Review
Is Beyond Paint good? Does it really stick without sanding or priming?
Here’s our Beyond Paint review, including a thrifted sewing table makeover to walk you through the process of using Beyond Paint for painting furniture.
In this blog post, we’ll provide an in-depth review of our experience with Beyond Paint and share what you can expect.

What if you could paint furniture without sanding, priming or topcoating the paint? That’s what Beyond Paint claims to do. But we’re gonna test it and see if it’s true with this makeover.
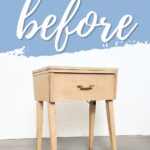
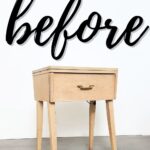
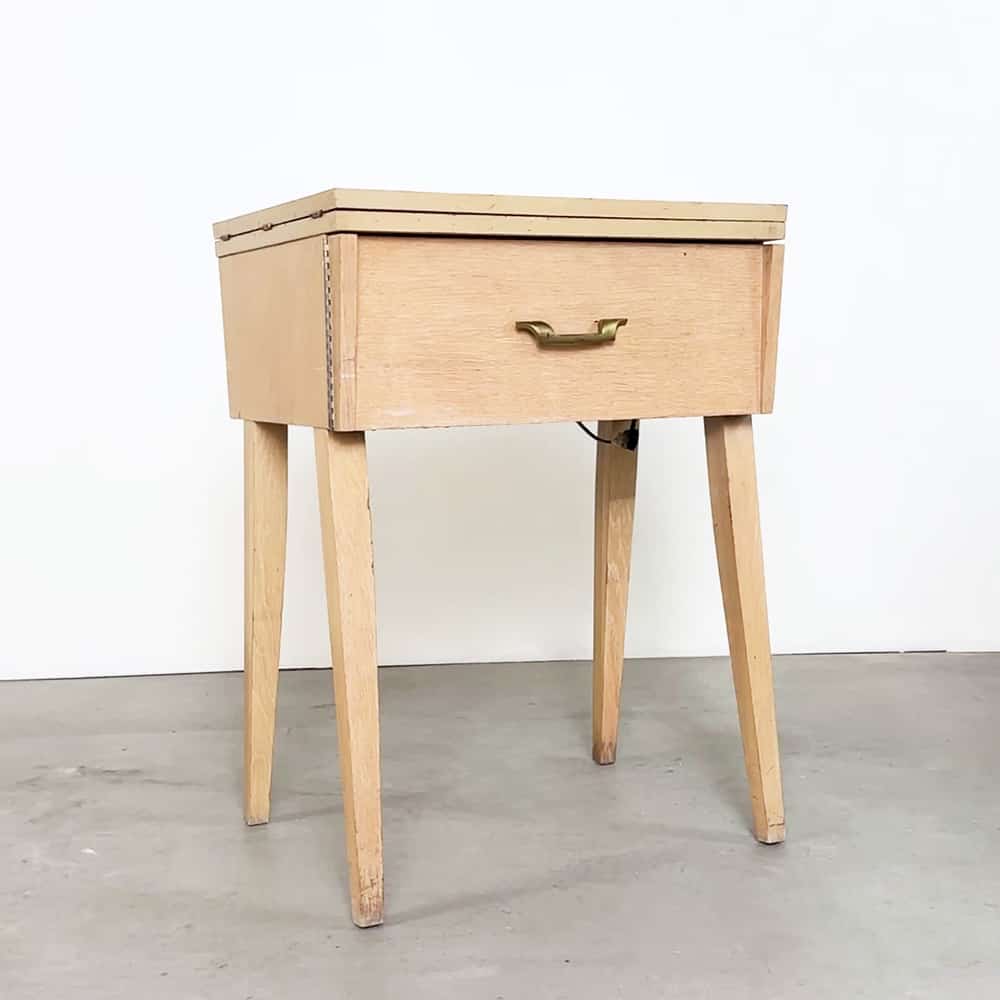
We bought this old sewing desk from the thrift store for $25. I won’t lie. I wasn’t thrilled with this style, but I love the thought of an easy flip.

Supplies Used for Beyond Paint Makeover
As an Amazon Associate, I earn from qualifying purchases. I also may earn from other qualifying purchases with other companies or get free product to review and use. All opinions are my own.
- Electric Screwdriver
- Krud Kutter and an Old Rag
- Paint Tray
- 3/8″ Roller
- Beyond Paint
- 220 Grit Sandpaper
- SurfPrep Sander (Use code RAY10 to get 10% off your order)
- Fusion Mineral Paint – Algonquin
- Paint Brush
- Lint Free Rag
- Dark Romance Floral Transfer – Out of stock, but here are other options
Let’s dive into how to paint furniture with Beyond Paint. Then I’ll share my review and up close photos of what you can expect.
Real quick, this sewing table had a sewing machine in it, so I tested it out and sure enough, it worked… but I have no use for it, so I got rid of it.
Check out another painted sewing machine table where I chose to keep the sewing machine.
Preparing Sewing Table for Paint
I unscrewed the door pull and got rid of the thread storage inside the door. Then I gave it a good cleaning with some Krud Kutter and an old damp rag.
Whoever had this table must have used it a lot over the years. It was gross inside.
No matter what paint you use, it’s always important to clean your furniture with a good degreasing cleaner to remove oils, grease, and grime from the surface. Here’s how to clean furniture before painting.
Painting Sewing Table With Beyond Paint
And then I moved onto the paint. Yep, no sanding or priming before painting. And I didn’t fill any scratches with wood filler either.
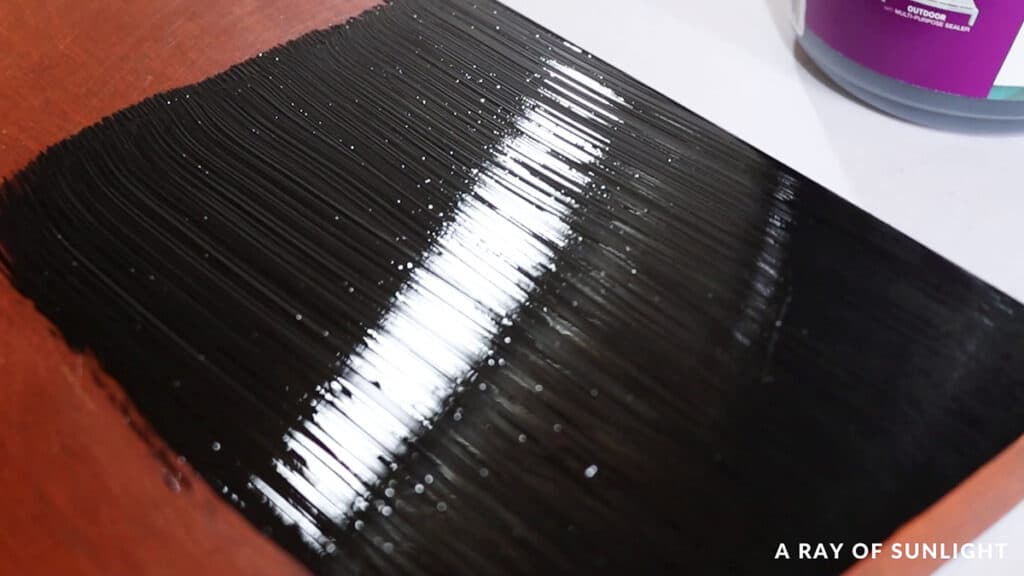
I mixed up the paint.. holy cow it’s THICK!
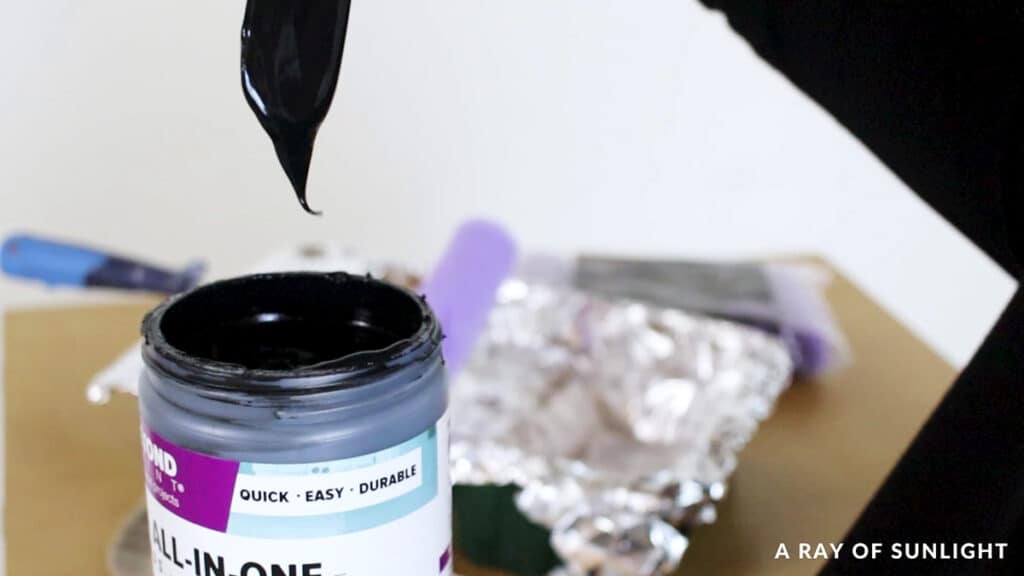
Then I poured it into a paint tray and used a 3/8” roller to roll it onto the furniture. That’s what Beyond Paint recommends.
Find out the best rollers for painting furniture and the best paint brushes for painting furniture here.
If you need to get into tight spaces, they say to stipple the paint brush so it doesn’t leave brush marks in the paint. Here’s more on how to paint furniture without brush marks.
So, this paint claims that you don’t need to sand or prime before you paint, on a variety of surfaces.. including slick laminate or even tile.
So it’s supposed to have excellent bonding properties… It also claims that you don’t need to topcoat it. But they do come right out and say there will be slight texture left behind. I like their honesty.
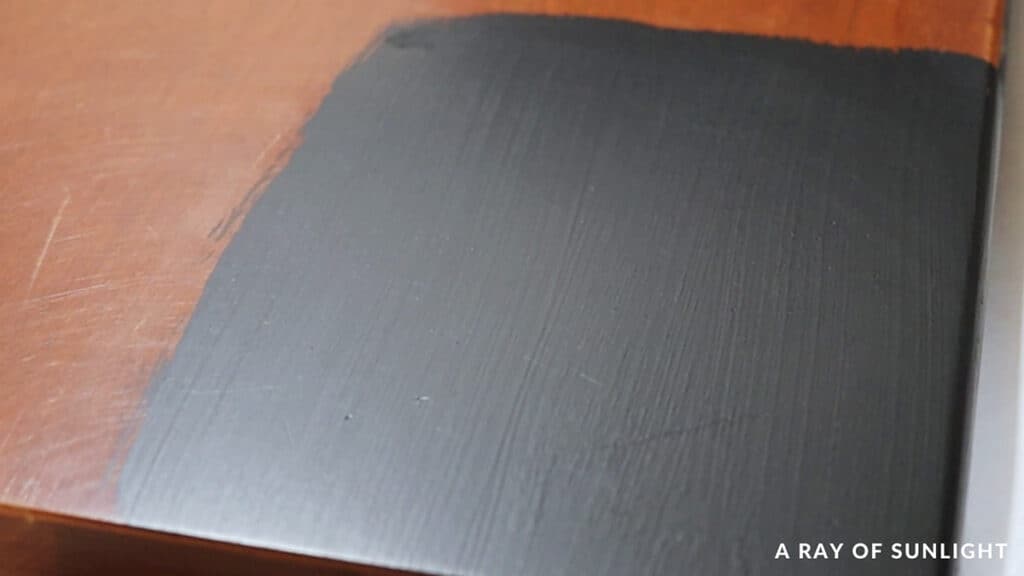
Here’s what the paint looked like after I rolled it on, while it was still wet… and what it looked like after it was dry.

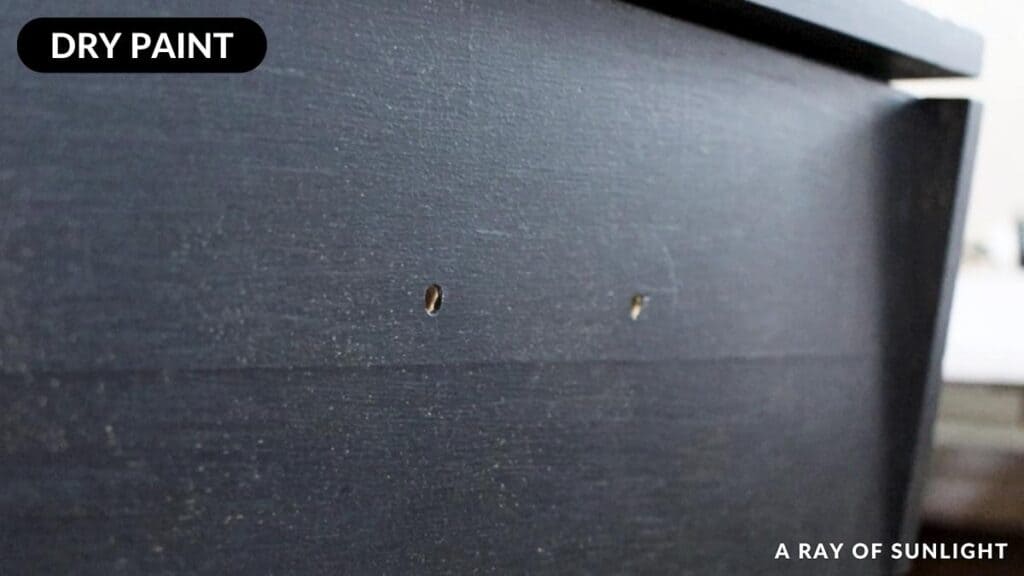
Yep, there is definitely texture. But nothing worse than most paints when they are rolled on.
About 3 hours after I painted the first coat, I scratched at the paint, and I couldn’t really get any paint to scratch off. Maybe a teeny tiny speck here or there. That’s pretty great!
I let it dry the recommended 2 hours between coats.
And I ended up sanding with 220-grit sandpaper between coats because I had some paint globs and uneven textured spots on the edges. Learn more about sandpaper for furniture painting here.
Then I painted the 2nd coat. This paint definitely needed 2 coats to get full coverage, even with the black color.
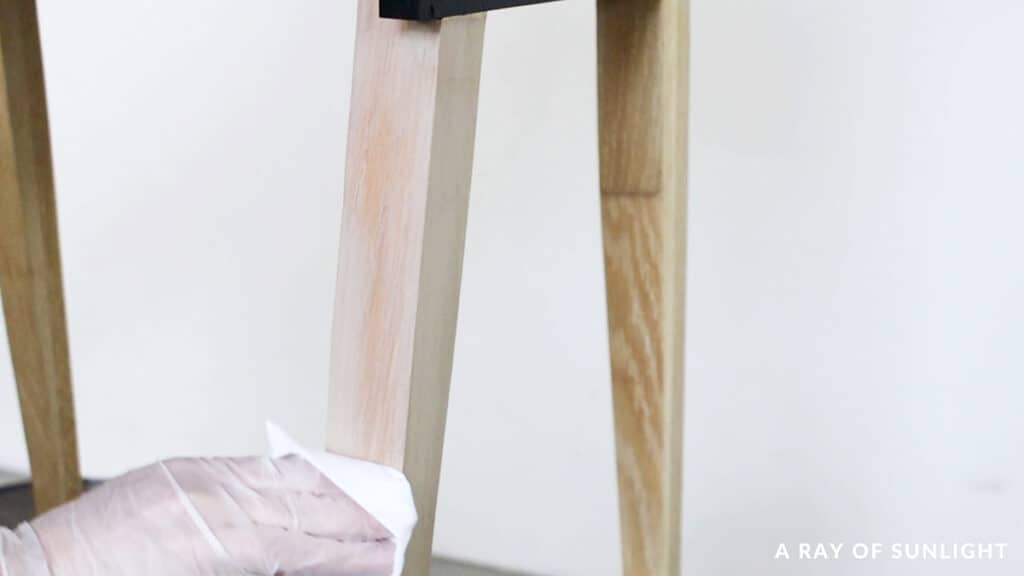
Whitewashing Sewing Table Legs
I planned to paint the entire table, but after I painted the top, I thought it might look cool with some light wood legs. So I sanded off the old finish on the legs.
And then I mixed up some whitewash.. probably 1 part Fusion Mineral Paint’s Algonquin with 2 parts water. I brushed it on, and then wiped off the excess with a lint free rag.
Learn more about how to whitewash wood here. And check out more whitewashed furniture ideas here.
Applying Floral Transfer
And then for some added fun, I put this Dark Romance floral transfer onto the inside of the door.
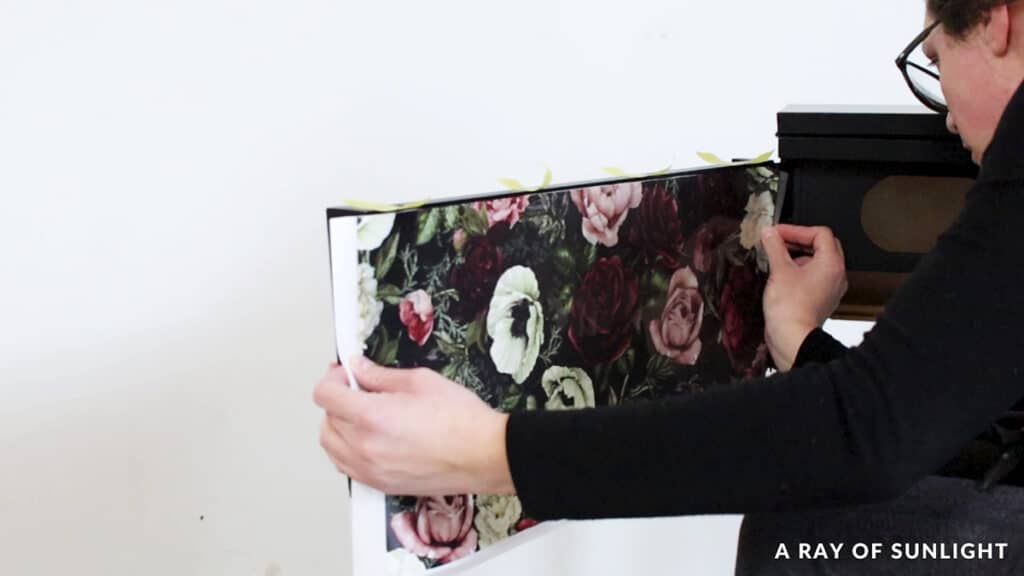
Learn how to apply furniture transfers here. Check out these floral painted furniture ideas.
You can also use wallpaper to line your furniture or add some unique design – here are wallpaper dresser ideas for inspiration.
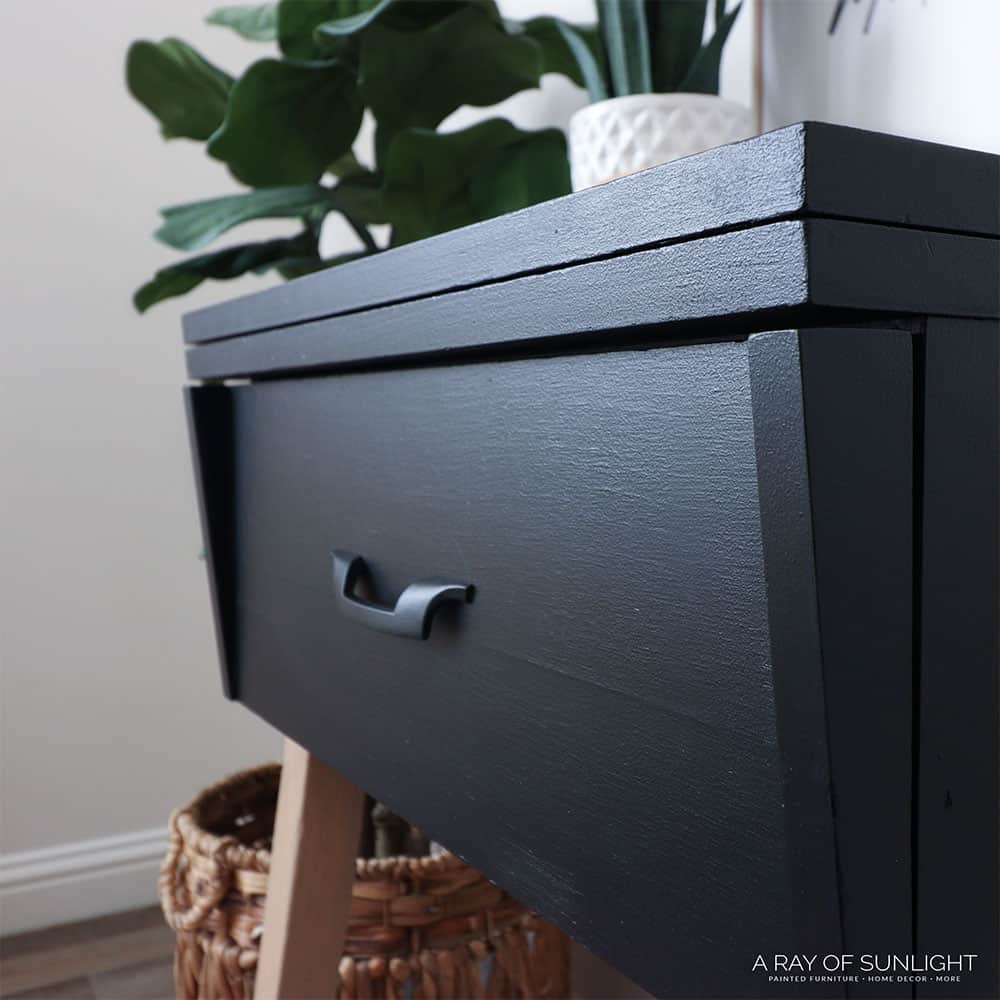
Painting Hardware With Beyond Paint
Oh, and for the hardware, I cleaned the hardware and then painted it with Beyond Paint, so we could test it out on some metal. Learn how to clean old furniture hardware here.
Would you like to save this?
Watch the video of this review/makeover here:
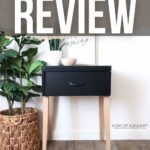
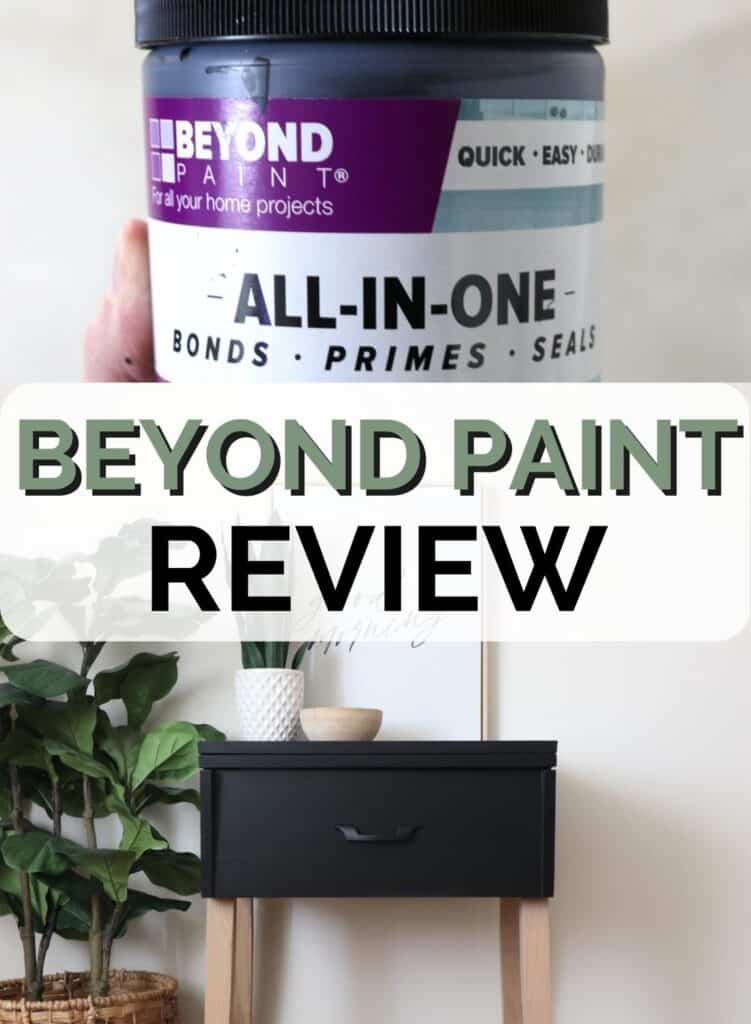
And here’s what it looks like now!
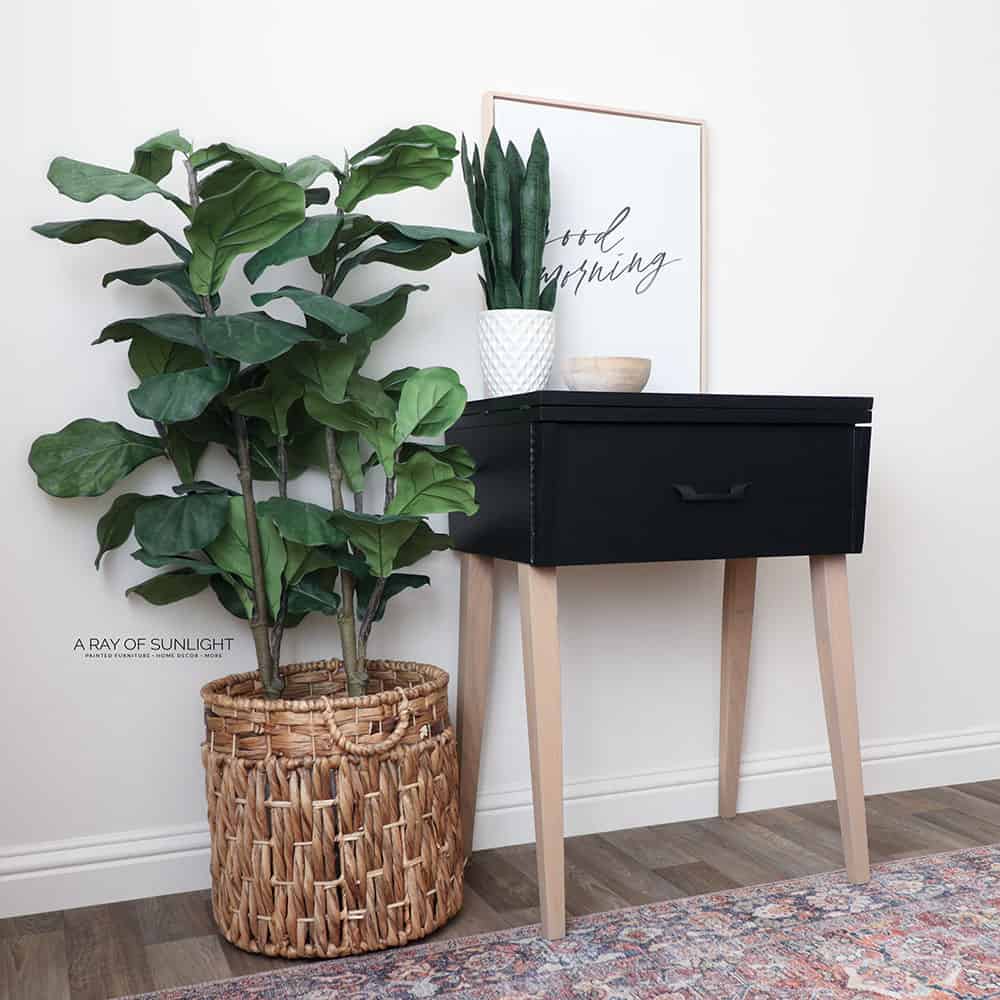
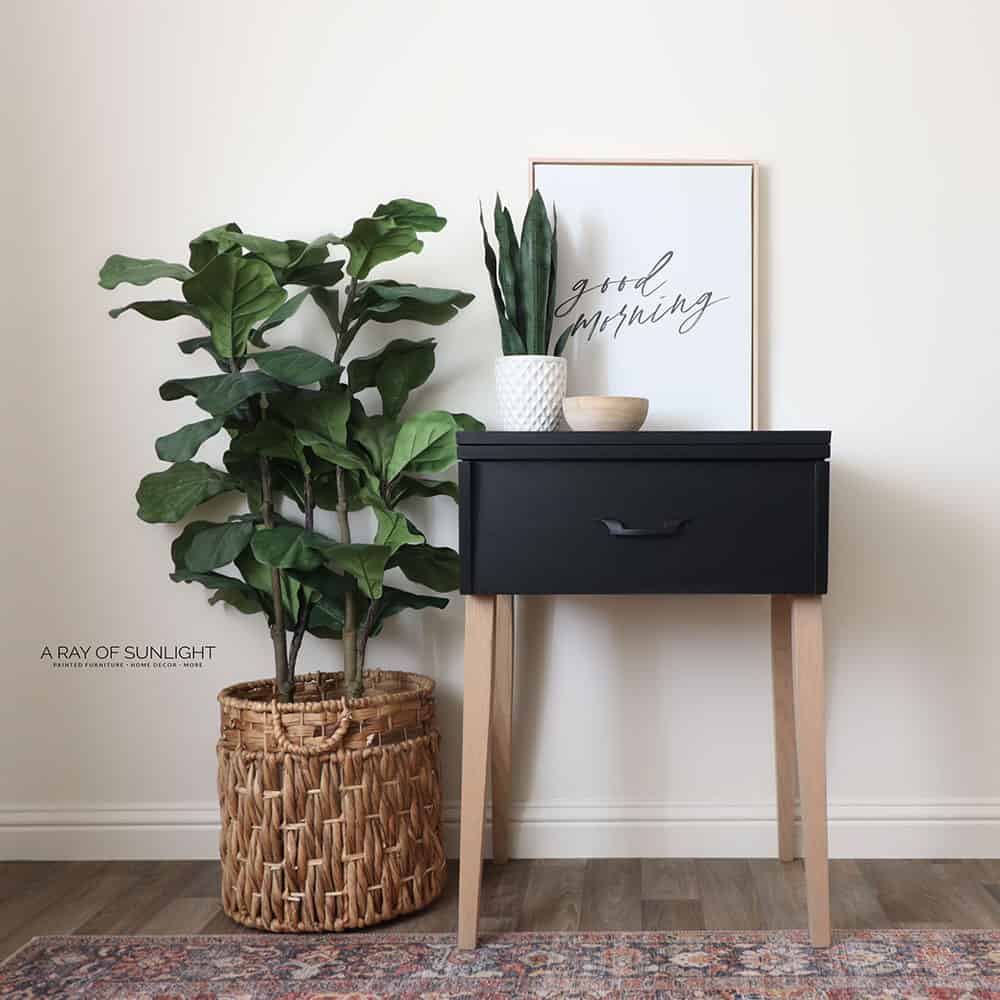
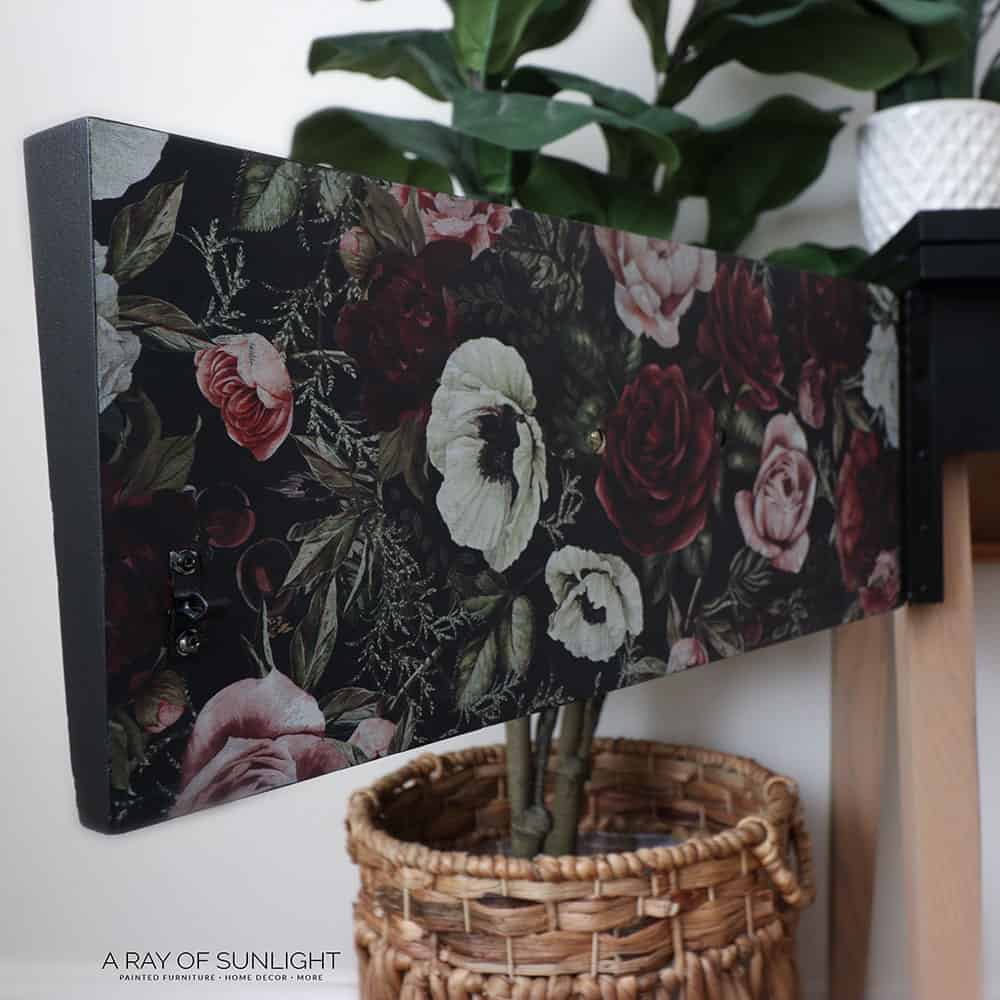
Ahh I love it now!! Where can I put it in my house?? It’s nothing like I envisioned it would be before I started! Check out our list of painted roll top desk ideas for similar makeovers.
What do you think of the new look? Would you have gotten rid of the sewing machine? Let me know in the comments!
Beyond Paint Review
After using Beyond Paint, here’s my review of Beyond Paint.
Durability
On finished wood, it sticks well, even when scratching at it within a day or 2. It didn’t scratch off the metal door pull either!
The Finish
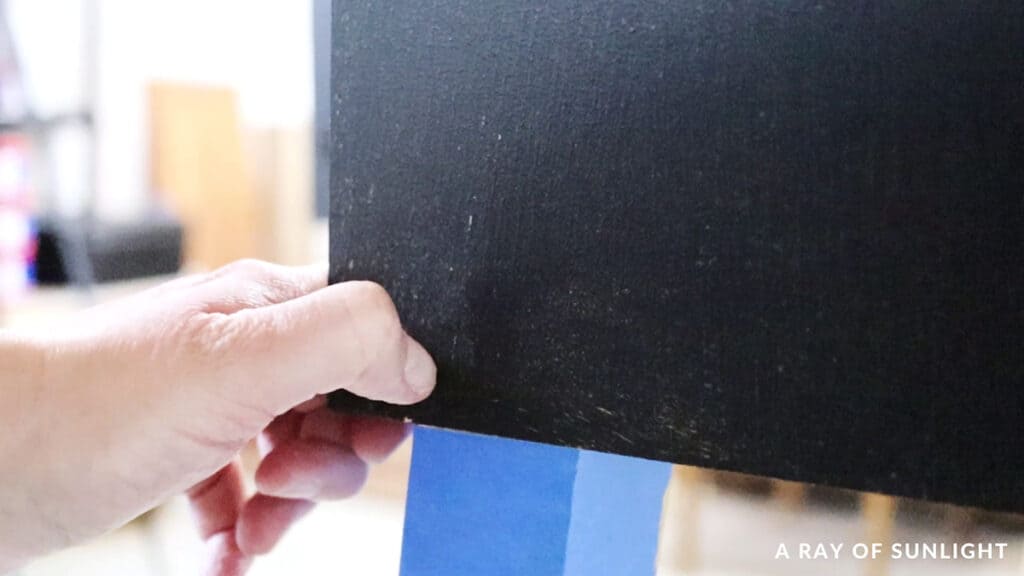
I’m not a fan of the textured finish. But it’s not terrible either.
I have seen way worse with a similar paint seen here in this post on how to paint wood furniture without sanding or priming.
I brushed it onto some other wood, and the brush marks left behind were about the same as I would expect with chalk paint.
The finish is a matte/eggshell sheen and I can tell because it collects dust like no one’s business.
So, even though you don’t have to topcoat it… if you want it to look clean, you might want to topcoat it. I think I will topcoat it or else the dustiness will drive me crazy.
Learn about the best topcoats for painting furniture and how to topcoat painted furniture.
Ease of Use
I love how easy it was to use!! No sanding, priming, or sealing needed. I would still prime before using a light color of Beyond Paint though to make sure to stop stains from coming through paint.
But if you don’t have to sand, you’re less likely to have those stains.
Cost
The price is very comparable to other all-in-one paints at regular prices.
Color Selection
The color selection with Beyond Paint is very limited. There are 16 basic colors to choose from, and as far as I know, you can’t get it tinted to a specific color. Here’s our list of the best Beyond All in One paint colors to find out the top colors of this brand.
You could mix colors together to create a custom color though.

Final Thoughts
Will I use Beyond Paint again? Yep! Next time though, I am going to try spraying it with my Wagner paint sprayer, hoping to get a durable, but texture free finish.
I wish they offered more colors too. I don’t like the small selection, but I wouldn’t be against mixing colors to make my own.
Check out my comparison between Beyond Paint vs Heirloom Traditions Paint to find out which is better for painting furniture.
Do you have any other questions about Beyond Paint? Leave them in the comments!


Beyond Paint Review - Thrifted Sewing Table Makeover
Check out our Beyond Paint review with steps on how to paint a thrifted sewing table.
Materials
Instructions
- Prepare your sewing table for paint and clean it with some Krud Kutter and an old damp rag.
- Pour Beyond Paint into a paint tray and apply 2 coats of the paint to the table with a roller. Let it dry the recommended 2 hours between coats. Sand between coats as well to smooth out any paint globs and uneven textured spots.
- For whitewashing the table legs, mix up some whitewash, probably 1 part Fusion Mineral Paint’s Algonquin with 2 parts water.
- Brush the whitewash onto the table legs and wipe off the excess with a lint free rag.
- For some added fun, apply a floral transfer onto the inside of the door.
- Clean the old hardware, paint and attach it to the sewing table.
Recommended Products
As an Amazon Associate and member of other affiliate programs, I earn from qualifying purchases.


More Furniture Paint Resources
- Best All-in-One Paints for Furniture
- Heirloom Traditions Paint
- Rethunk Junk Paint Review
- Fusion Mineral Paint Review
- Best Paint For Spraying Furniture

Follow us on YouTube to get more tips for painting furniture. Or share your project with us on our Facebook Group and be part of our community. See you there!
Love it, turned out very nice!!!!!
Ahh thanks so much for the love!