DIY Dark Green Nightstands Makeover

Looking for a way to refresh your bedroom decor without breaking the bank? DIY nightstands may be just the project for you. In this blog post, we’ll walk you through how to create beautiful and non-toxic painted DIY dark green nightstands using milk paint. Get more ideas from our list of our best green painted furniture ideas.
Milk paint is an eco-friendly and non-toxic option that has been used for centuries and offers a unique finish that can’t be replicated with other types of paints. With our step-by-step guide, you’ll be able to create a stunning set of nightstands that add a touch of color and character to your bedroom.
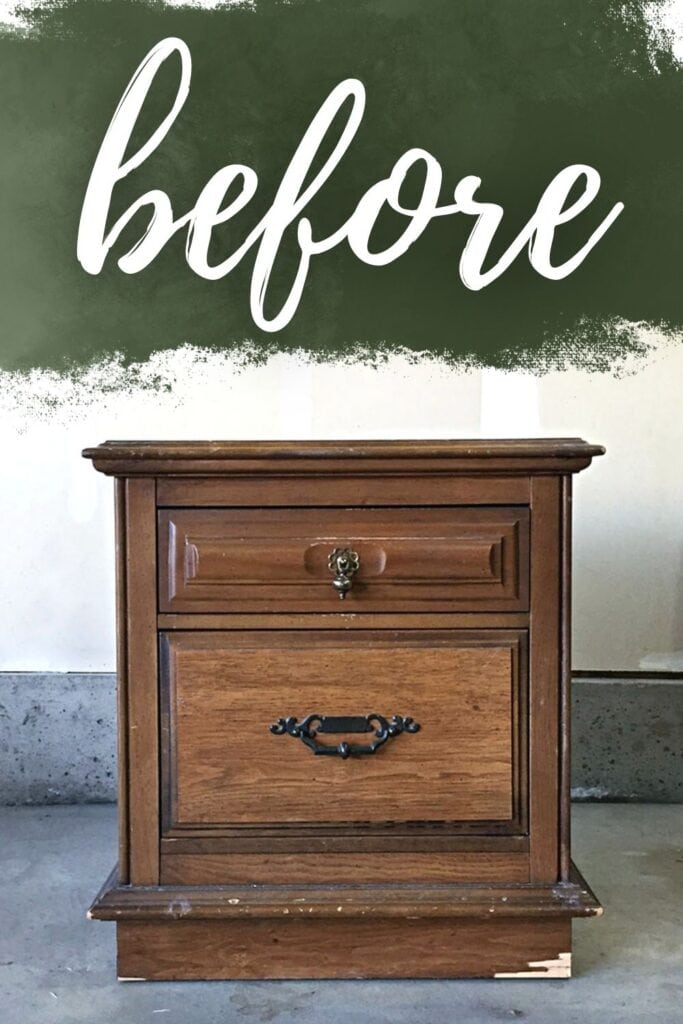
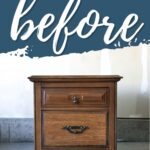
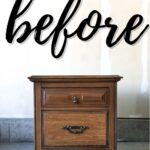
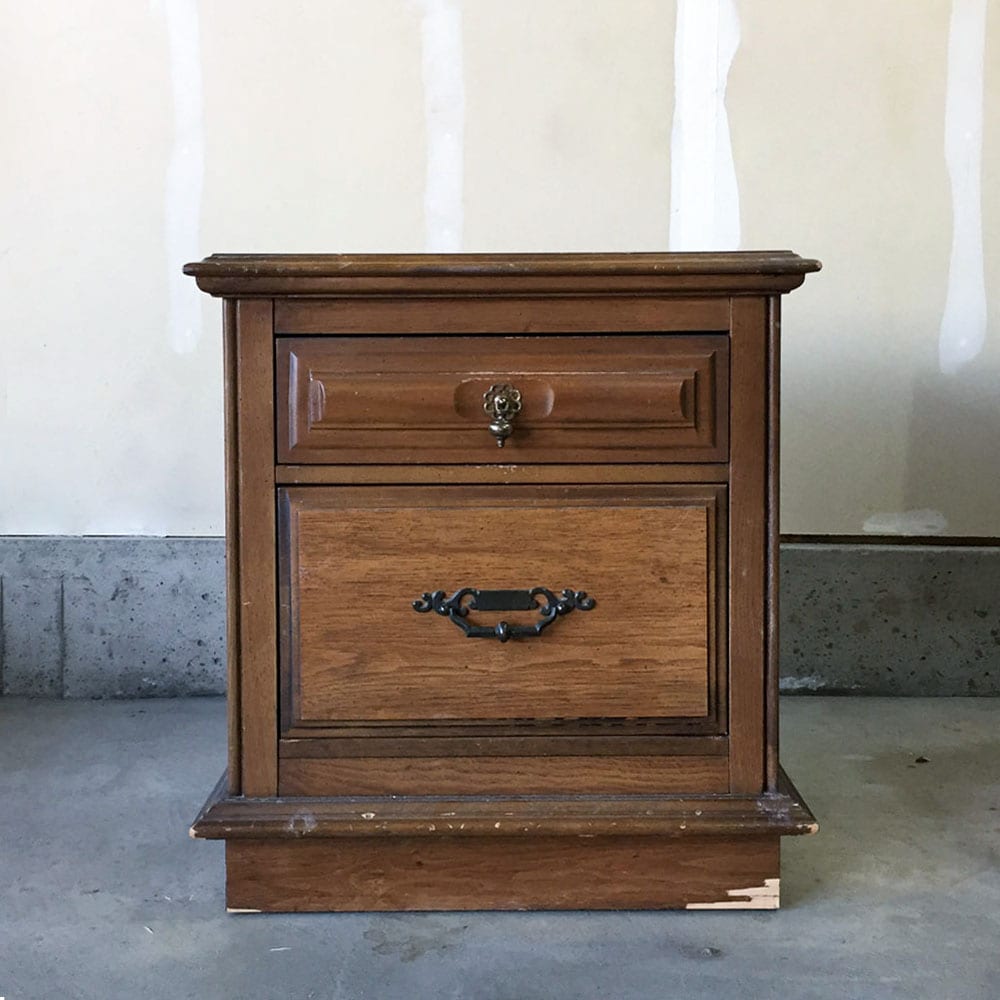
Here’s what the nightstands looked like before we painted them. We bought them from the thrift store for cheap! But there was a little bit of damage on them.

Most likely, your old furniture has some damage on it as well from daily wear and tear. That’s okay! Furniture is meant to be used!
So let’s walk you through how to easily fix your furniture and then paint it with non-toxic paint!

DIY Dark Green Painted Nightstands Supplies
As an Amazon Associate, I earn from qualifying purchases. I also may earn from other qualifying purchases with other companies or get free product to review and use. All opinions are my own.
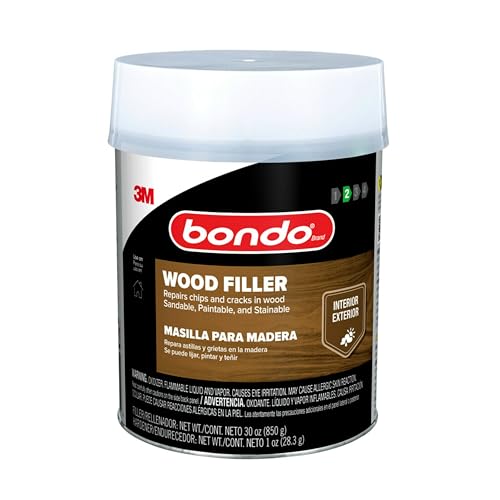
- Bondo
- KwikWood
- Krud Kutter
- Shackteau Interiors Milk Paint in Black Beach
- Shackteau Interiors Milk Paint Norton’s Point Green
- Plastic Bowl with Lid
- 3×4 Electric Ray SurfPrep Sander / Sandpaper (Use code RAY10 to get 10% off)
- 220 Grit Sandpaper
- SurfPrep Pro Foam Sanding Pads (Use code RAY10 to get 10% off your order)
- Shop Vacuum
- Tack Cloth
- Water Based Polyurethane
- Wood Filler
- Round Paint Brush
- Real Milk Paint Wax
- Wax Brush
- Lint-Free Rag
Grab our list of the 10 must have products when painting furniture so you’ll be ready to paint like a pro!
Preparing Furniture for Paint
These nightstands were honestly in pretty decent shape, but the bottoms had some chipping on the veneer. So, I filled in the chipped veneer before moving on with anything else.
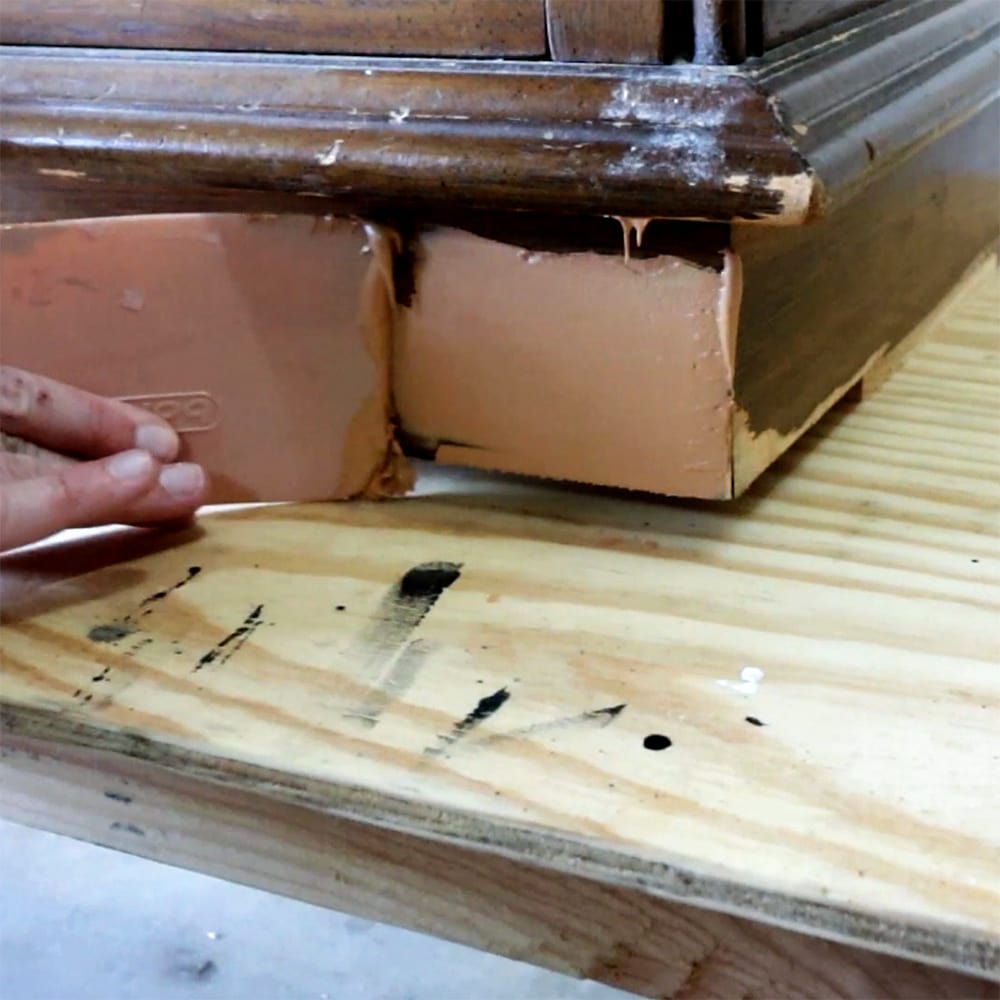
I used Bondo wood filler because it’s easy to spread over the damaged veneer and it dries very quickly, making it easy and fast to move on with the project. Learn more about how we fixed these nightstands in our post about repairing veneer with wood filler.
Check out this post for everything you need to know about Bondo wood repair.
Get Our Secrets!
Grab this super convenient How to Repair Furniture Ebook with all of our secrets on how to repair furniture for only $14.
You can print it out and have instant access whenever you come across damaged furniture, and know exactly how to fix it!
Click on the picture of the book to purchase!

Check out my Bondo wood filler review to learn more.
Here’s our list of the best wood fillers for furniture to help you know which one is right for your project.
Once the veneer was fixed, I prepped the rest of the nightstands for paint. If you’re also painting veneer furniture, check out this post for everything you need to know about the process.
First, I removed the hardware and filled in the bottom drawer holes with KwikWood because I didn’t want to put the old hardware back on. Here’s how to use KwikWood.
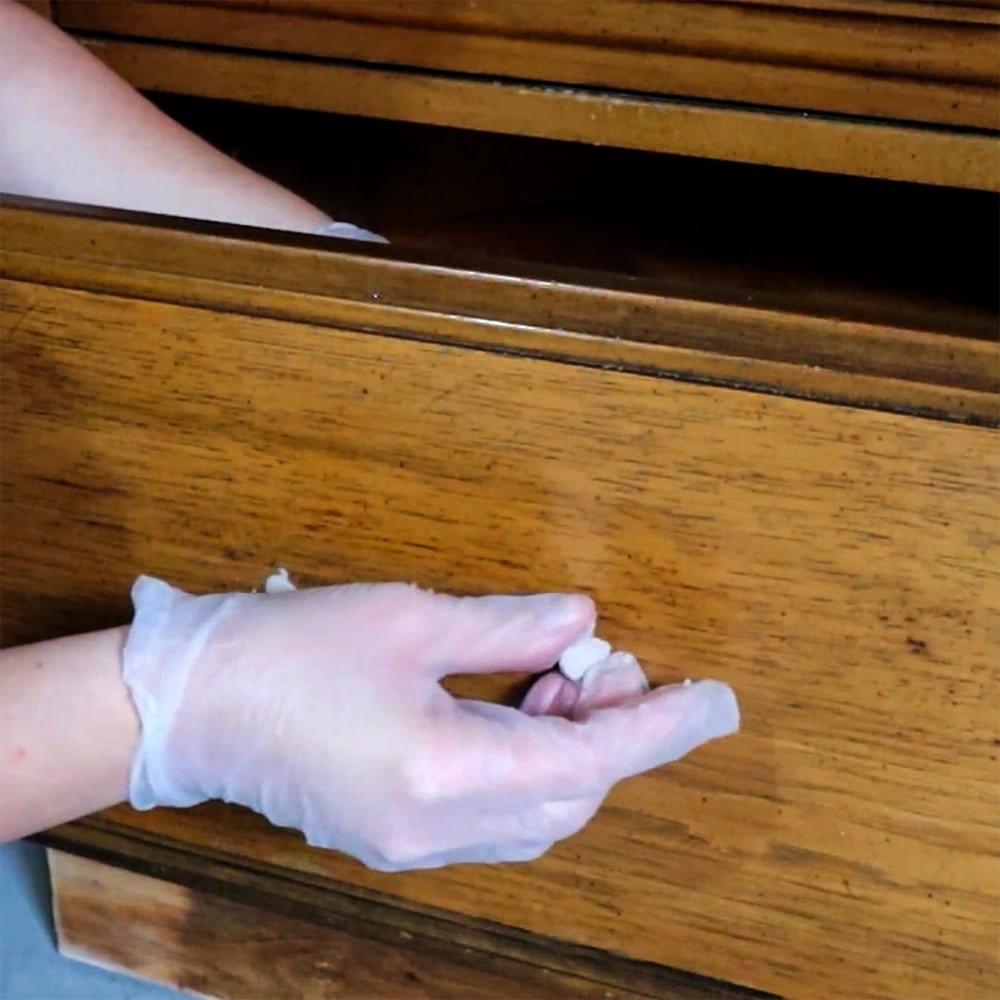
Learn exactly how to fill old hardware holes in our post about filling holes when replacing cabinet or furniture hardware. Seriously, this is the best way.
Then, I sanded the KwikWood smooth when it was dry, and I cleaned the nightstands really well with Krud Kutter to get all the gunk off. It’s really important to clean your furniture before painting because paint can’t stick to all of the gunk. These nightstands were no exception.
Actually, they were worse than most pieces of furniture. So, I made sure to clean them really, really well. Here’s exactly how to clean furniture before painting.
After I scrubbed all the gunk off, I went back and cleaned them again with a nice, clean rag just to make sure that everything was off.
Mixing Powdered Milk Paint
For this project, we’re using powdered milk paint, and my all-time favorite brand of milk paint is Shackteau Interiors Milk Paint.
Just mix one part milk paint powder with one part water. However, don’t mix up your whole bag of milk paint powder because once it’s mixed up, its shelf life is only a day or two. I only mix up half a cup – a cup of paint at a time.
Learn everything you need to know about milk paint in our painting furniture with milk paint post.
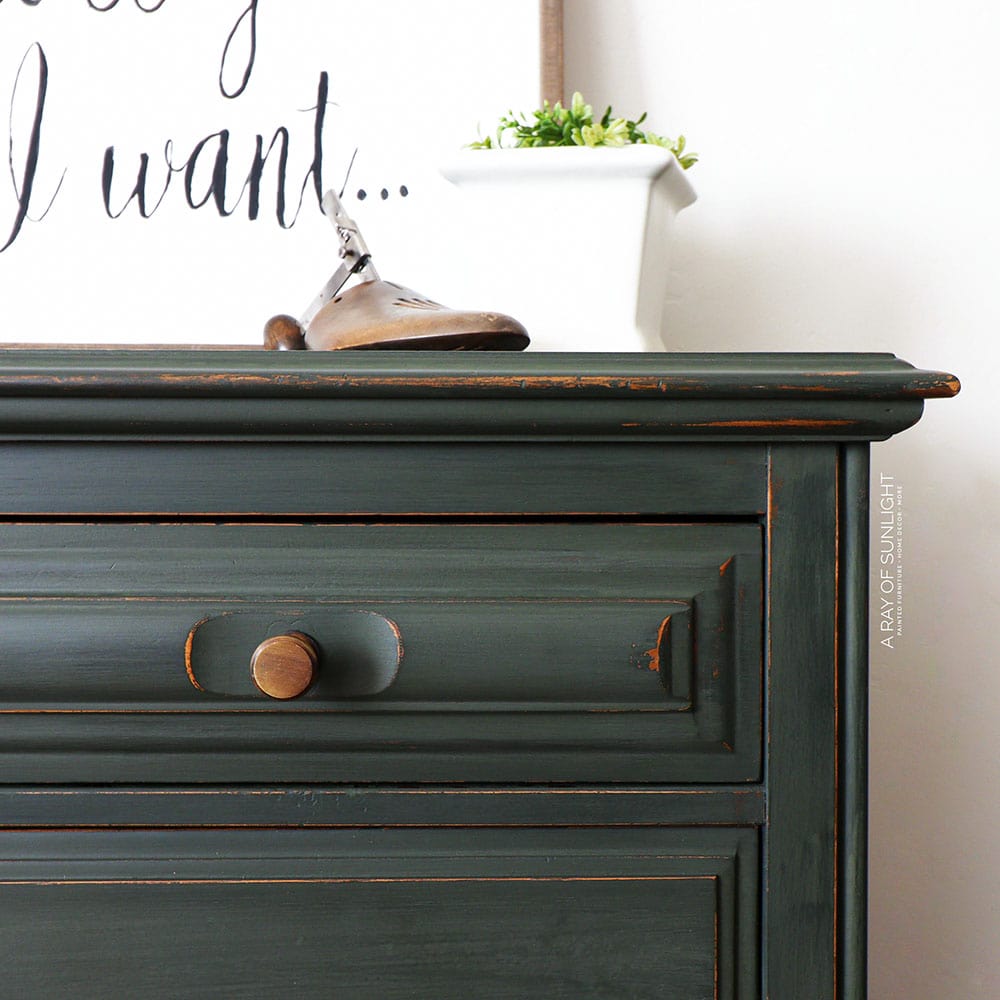
I used the colors Norton’s Point Green and Black Beach to create a deep, moody olive green for these nightstands. I mixed the two colors together in powder form using a ratio of three parts Norton’s Point Green to one part Black Beach.
After they were mixed together well, I added the same amount of water to the powder. I think I ended up using about 3/4 cup of powder, so I mixed in about 3/4 cup of water.
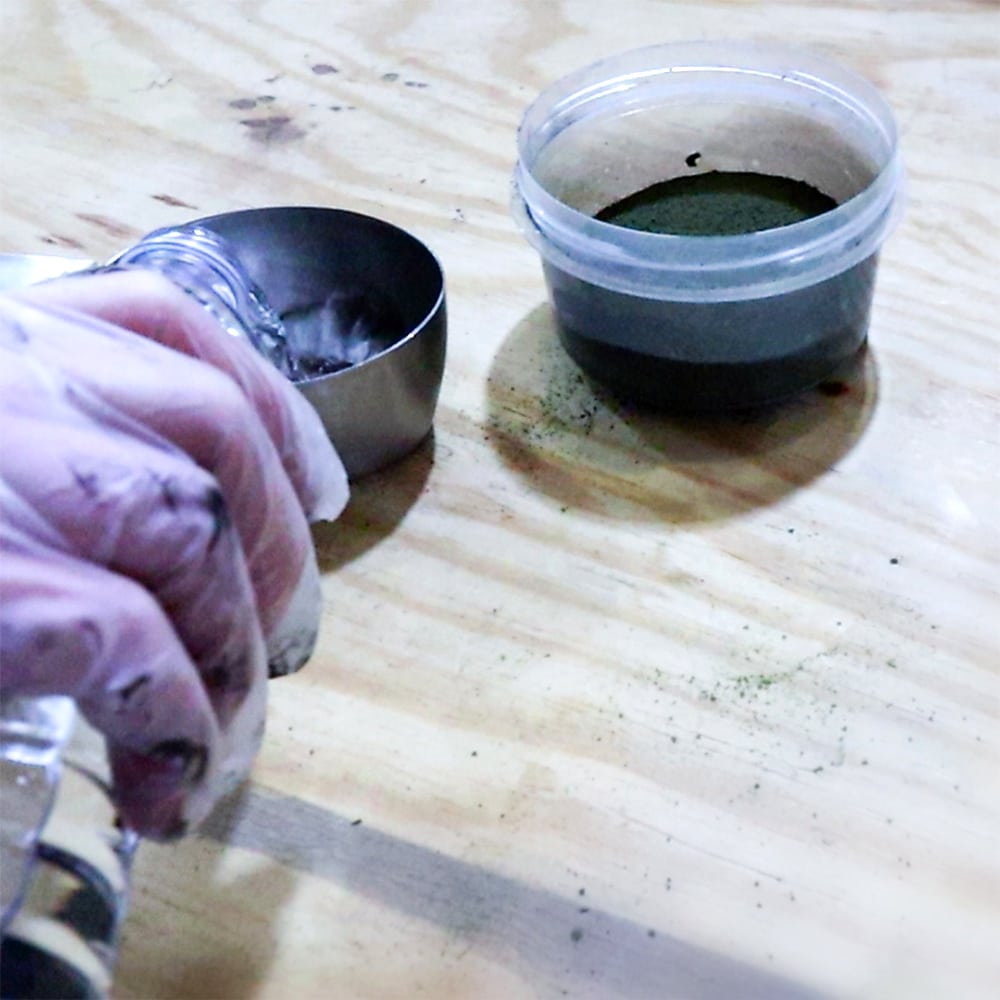
Then, I put the lid on the container and shook it up really, really good for a minute or two. After that, I let the mixture sit for about 10 to 15 minutes before actually using it.
If you let it sit for that amount of time, it will start to thicken up a little bit, but it will also dissolve that powder into the water more, making it a really nice paint consistency.
Just a side note, though: General Finishes Milk Paint and Rust-Oleum Milk Paint are not the same as this powdered milk paint.
Check out my General Finishes Milk Paint Review here to learn more. Here’s everything you need to know about painting furniture with acrylic paint.
It can be really confusing when you’re starting out, but any milk paint that is already in a liquid form isn’t the same way as this powdered milk paint.
Sanding Before Painting Furniture
While I waited for the milk paint to be ready, I gave the nightstands a quick sanding using my favorite little sander, the SurfPrep Sander (Use code RAY10 to get 10% off). Check out this SurfPrep Sander honest review here.
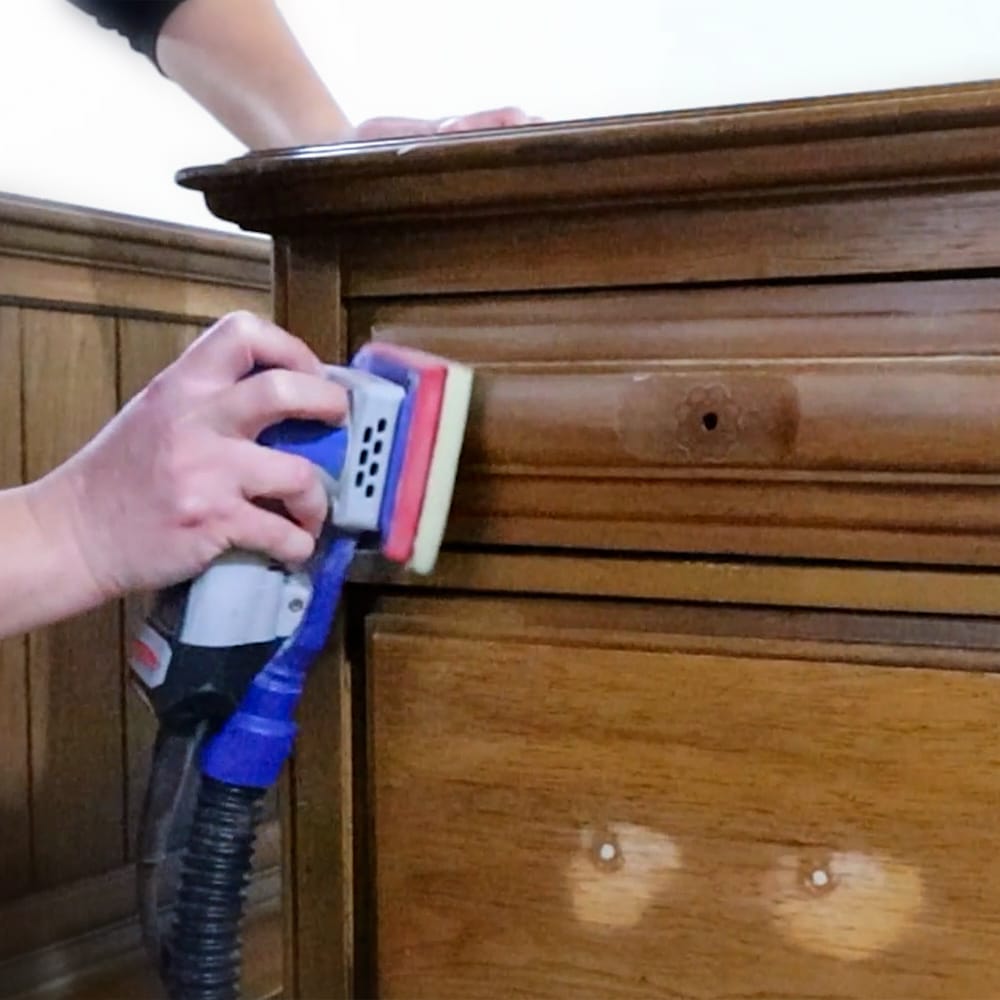
This little guy is perfect for scuff sanding before painting because you can attach these foam pads to it, that makes it possible to get into most of the details without blowing through the detail like regular sanders would do.
Before I had this handy sander, though, I always scuff-sanded by hand. So, if you’re just painting one or two pieces for yourself, I would recommend lightly sanding everything down by hand with a 220 grit sandpaper. Here’s the best sandpaper for furniture painting.
Check out my guide on how to sand wood by hand here.
Sanding is super important when using milk paint, especially if you don’t want the milk paint to chip very much. Learn exactly how to scuff sand in our post about sanding before painting furniture.
If you don’t scuff sand before painting with milk paint, you’ll likely get a lot of chipping, which might be exactly what you’re going for, or it might not be what you want at all.
Scuff sanding is basically just sanding the finish down just a little bit to make the old finish dull instead of shiny. You don’t want to sand through the finish – you just want to scuff it up a bit so the paint has something to hold onto.
If the old finish is too shiny or slick, then the paint won’t have anything to hold onto, and it will just chip all off.
After everything was scuff sanded really well, I used my shop vacuum to suck up the leftover dust, and then I used a tack cloth to pick up the little bit of dust that was left over. These tack cloths are so good at picking up any little specks of remaining dust!
Would you like to save this?
Priming Before Painting
If you didn’t make repairs, this step is optional with milk paint.
I brushed on a coat of water based polyurethane over the areas that I had repaired. Typically, with other paint, I don’t use water-based poly for this.
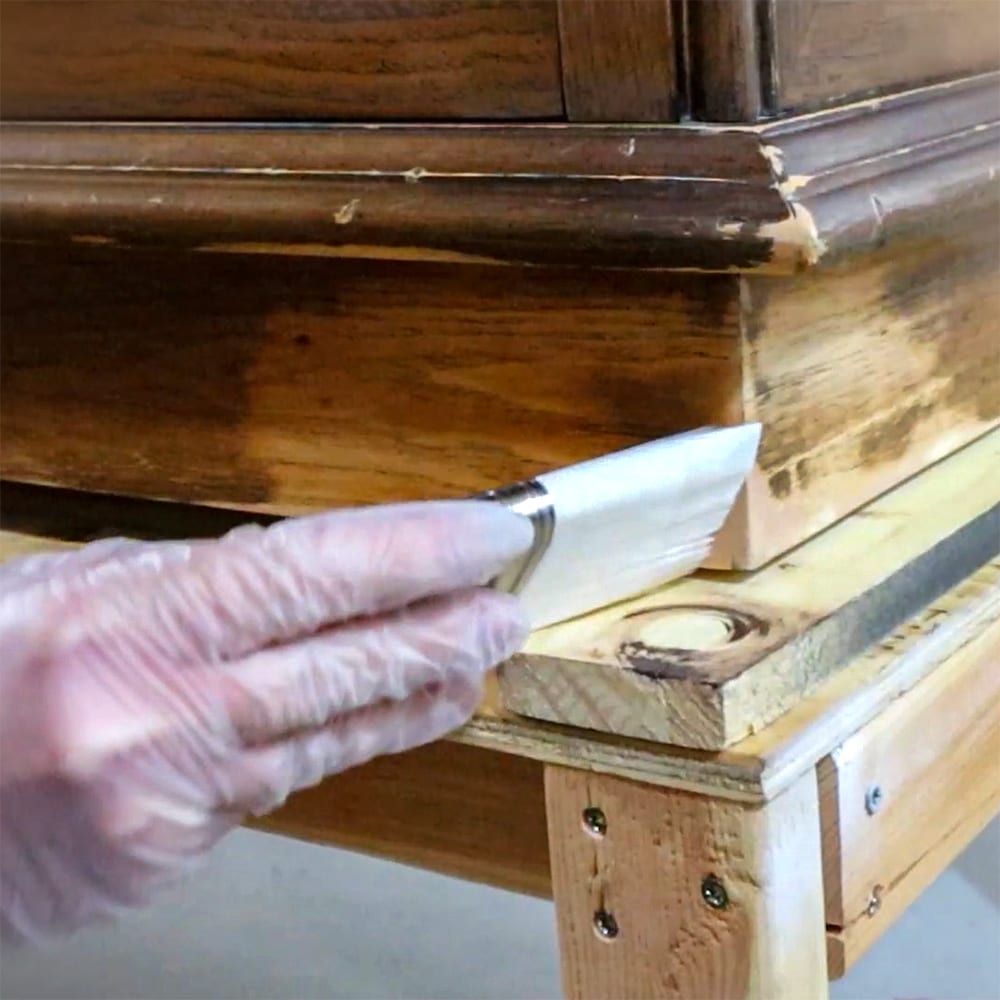
But I’ve learned that water-based polyurethane is the perfect thing to seal in the wood filler or Bondo, or whatever you use so the paint doesn’t chip over the repaired areas.
Seriously, for some reason, milk paint loves to chip over any of these repaired areas. So, if you have any wood filler of any kind on your furniture, be sure to seal it with water-based polyurethane before painting with milk paint.
Other products like clear shellac that I usually use at this point in a project will make the milk paint crackle, which will show the wood filler below – and since the wood filler is usually a different color than the wood, we don’t want the milk paint to crackle over the repairs.
I let the polyurethane dry to the touch before I painted over it.
Painting with Shackteau Interiors Milk Paint
I used my absolute favorite paint brush – this round brush from Zibra. It’s seriously the best at getting into the curves and details that most furniture has, and it’s really affordable.
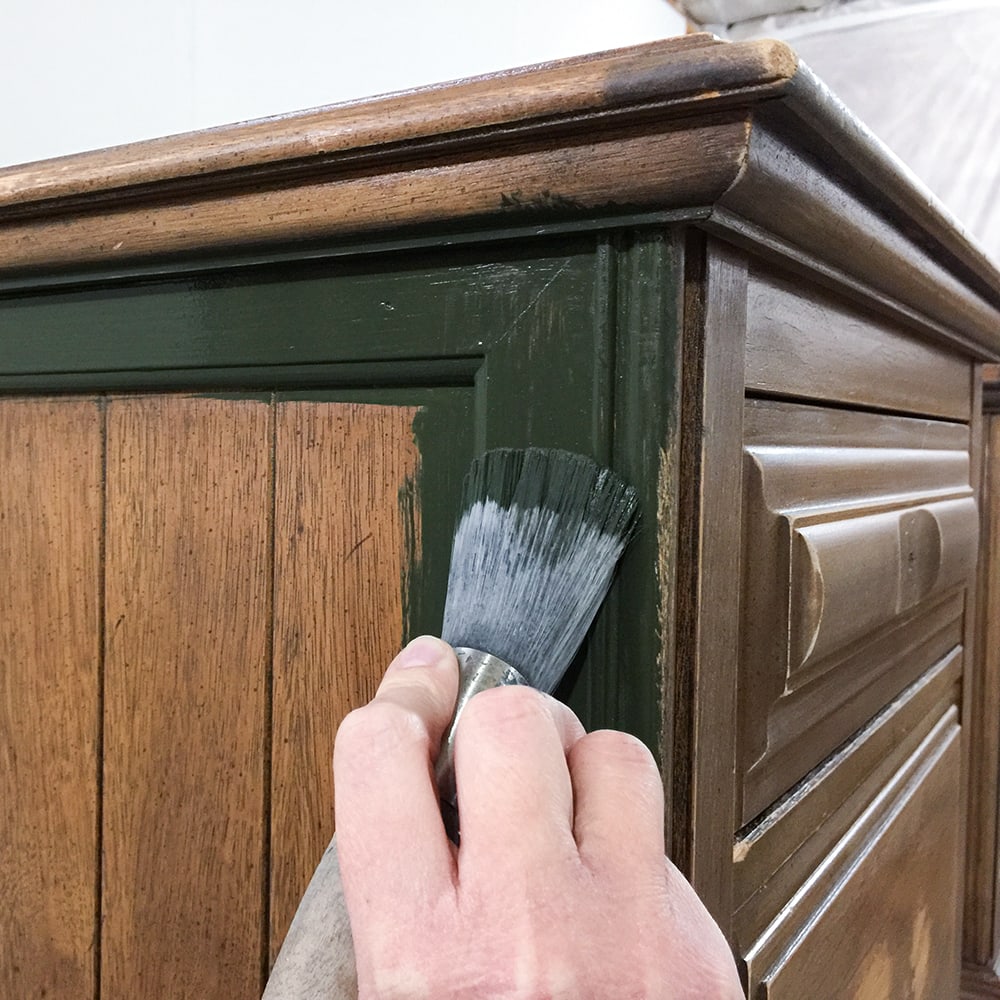
If you’ve only painted with a flat paintbrush, try using this round brush, and you’ll be amazed at how well it paints any surface that isn’t flat. Here’s a list of the best paint brushes for painting furniture.
When I brush on milk paint, I make sure to go back over the just-painted areas with really long brush strokes to even out any variations in color.
You don’t notice them as much when the paint is wet, but once the paint dries, it can typically have a decent amount of variations in color, which is one reason I love this paint. But it’s also something to keep an eye on.
I also keep an eye out for any paint drips that might happen if I put too much paint on in one area. If I see a drip starting, I use the paint brush to quickly brush it out and spread the paint out just a little bit better.
After the nightstands were painted on all four sides, I let the milk paint dry for a couple of hours until it was completely dry. After the nightstands were dry, I painted a second coat on them. Learn more about how to use milk paint on furniture here.
I did have to mix up a little bit more paint, so I made sure to mix it up before starting the second coat, so I wouldn’t have too much variation in the color between the first batch and the second batch – especially because I mixed two colors together.
But also because milk paint has so much variation to it.
Distressing Milk Paint
After applying the second coat, I let it dry for a couple of hours until it was completely dry. Once the paint was dry, I used my SurfPrep sander to distress and smooth the paint. Check out this blog post about distressing furniture techniques here.
I used a medium+ 1/2″ foam sanding pad to help me sand with the power sander without sanding too much off on the details. If I were sanding by hand, I would have used a 220 grit piece of sandpaper.
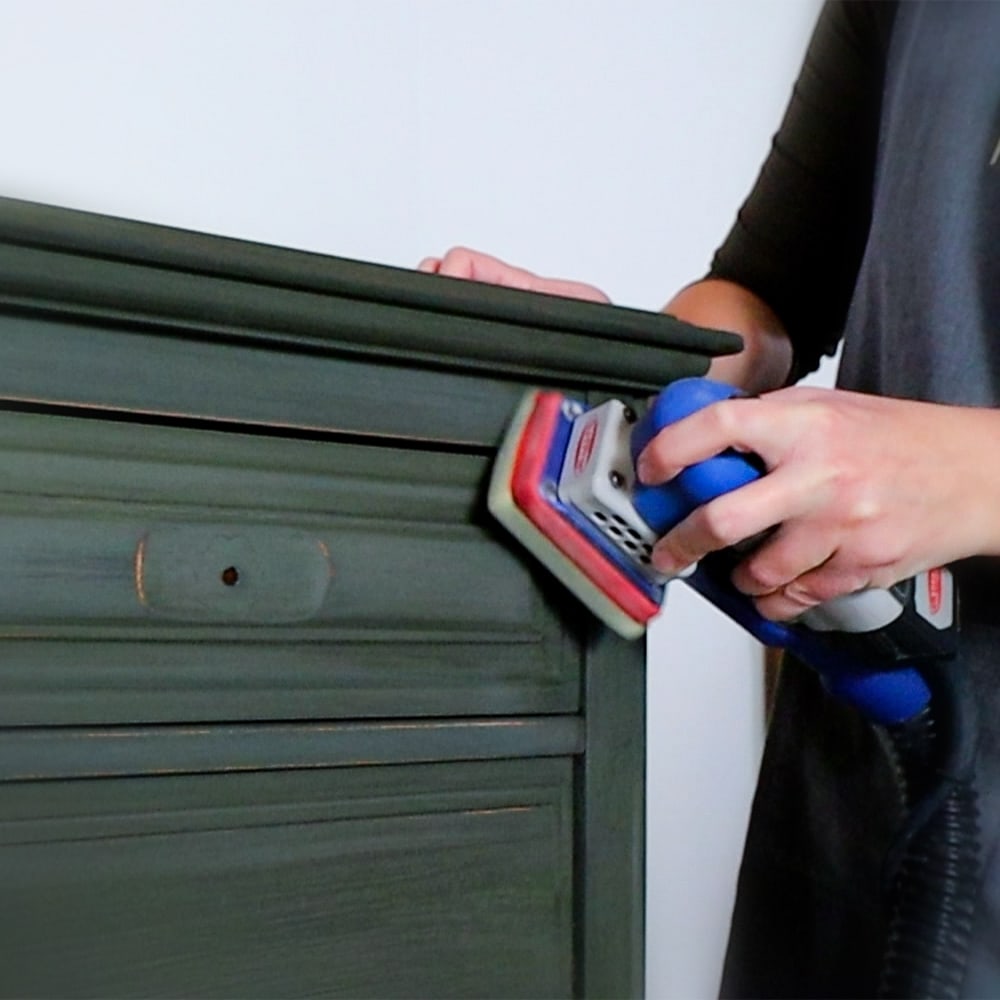
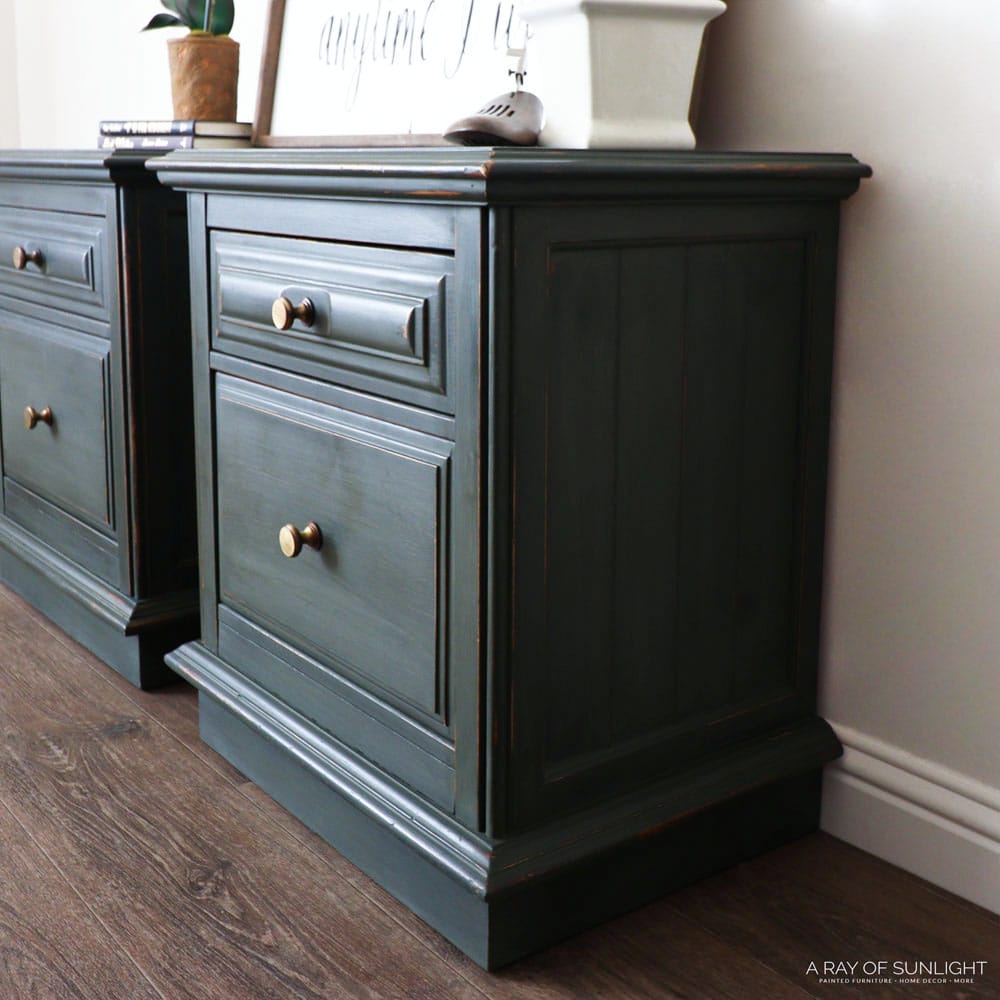
I sanded everywhere, knocking off the gritty texture of the paint to make it smooth. I also sanded the edges to remove some paint and reveal the wood underneath.
A couple of areas chipped a little bit, but since we sanded before painting, the milk paint stuck really well. We only distressed it on the edges when we sanded it. Learn more about getting a chippy paint finish with milk paint here.
Then, I used my shop vac to clean up the dust and a tack cloth to pick up any remaining dust.
Sealing Milk Paint
Then, I sealed my milk paint with Real Milk Paint Wax. Typically, I stick to water-based poly to seal all of my furniture, but I used this Real Milk Paint Wax on another piece painted with milk paint and loved how easy it was to use.
Learn more about sealing painted furniture here and what sealant to use for different types of paint.
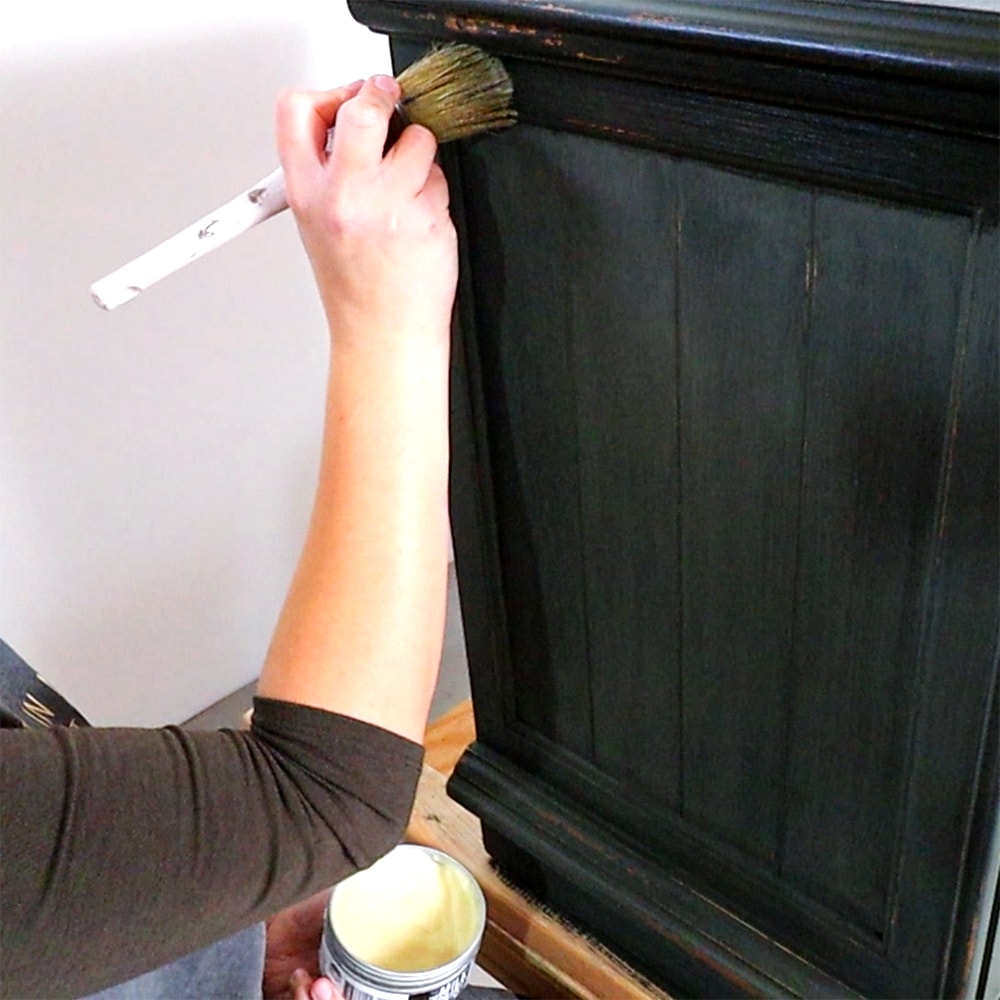
Learn about the difference between these topcoats in our post on Wax VS Polyurethane. I just used a wax brush to apply the wax all over.
Check out the best topcoats for painting furniture here.

With wax, I like to go back over the fresh wax and brush in long strokes that go in the same direction to avoid leaving streaks going in different directions. After waxing both nightstands, I went back with a lint-free rag and rubbed off the excess wax.
At first, it felt sticky, but the more I buffed the wax, the smoother it got and the less matte it looked. Learn about all of the ways to seal milk paint here.
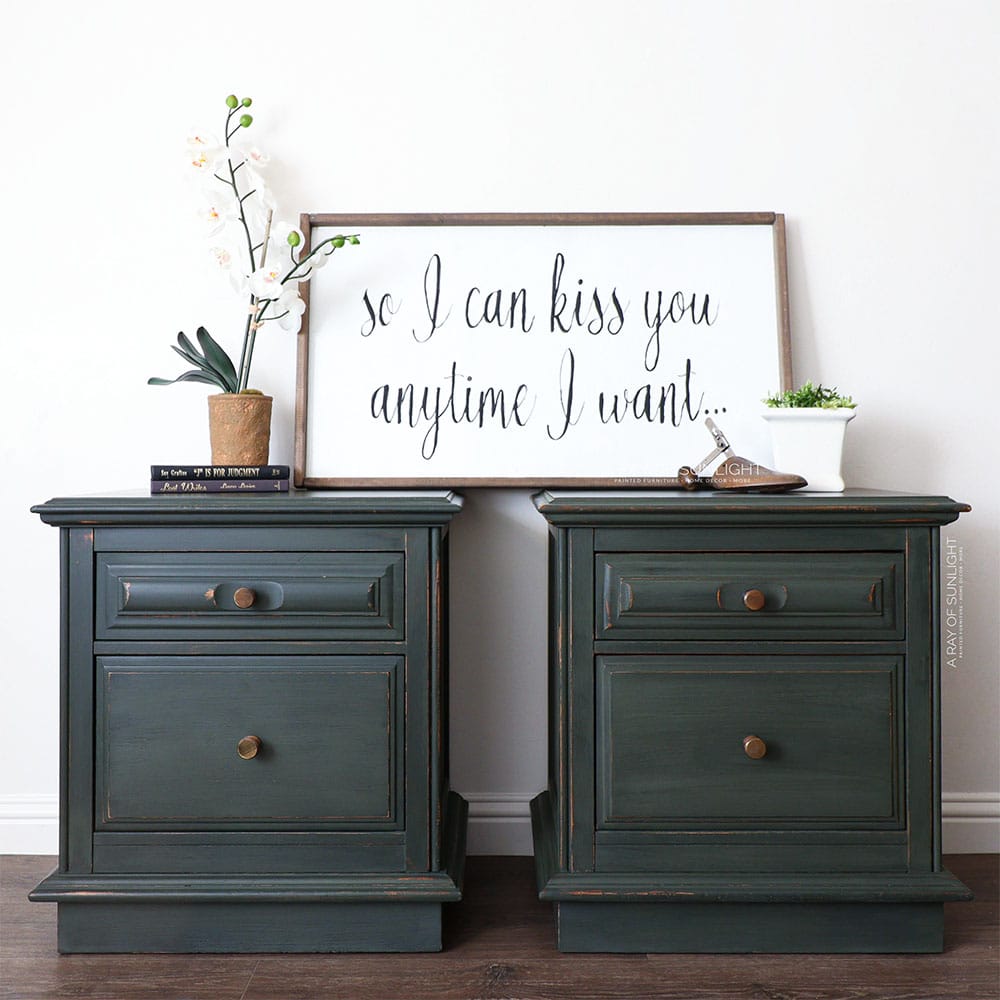
Finally, I finished these nightstands off with new knobs from Hobby Lobby.
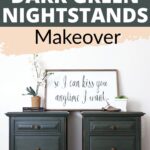
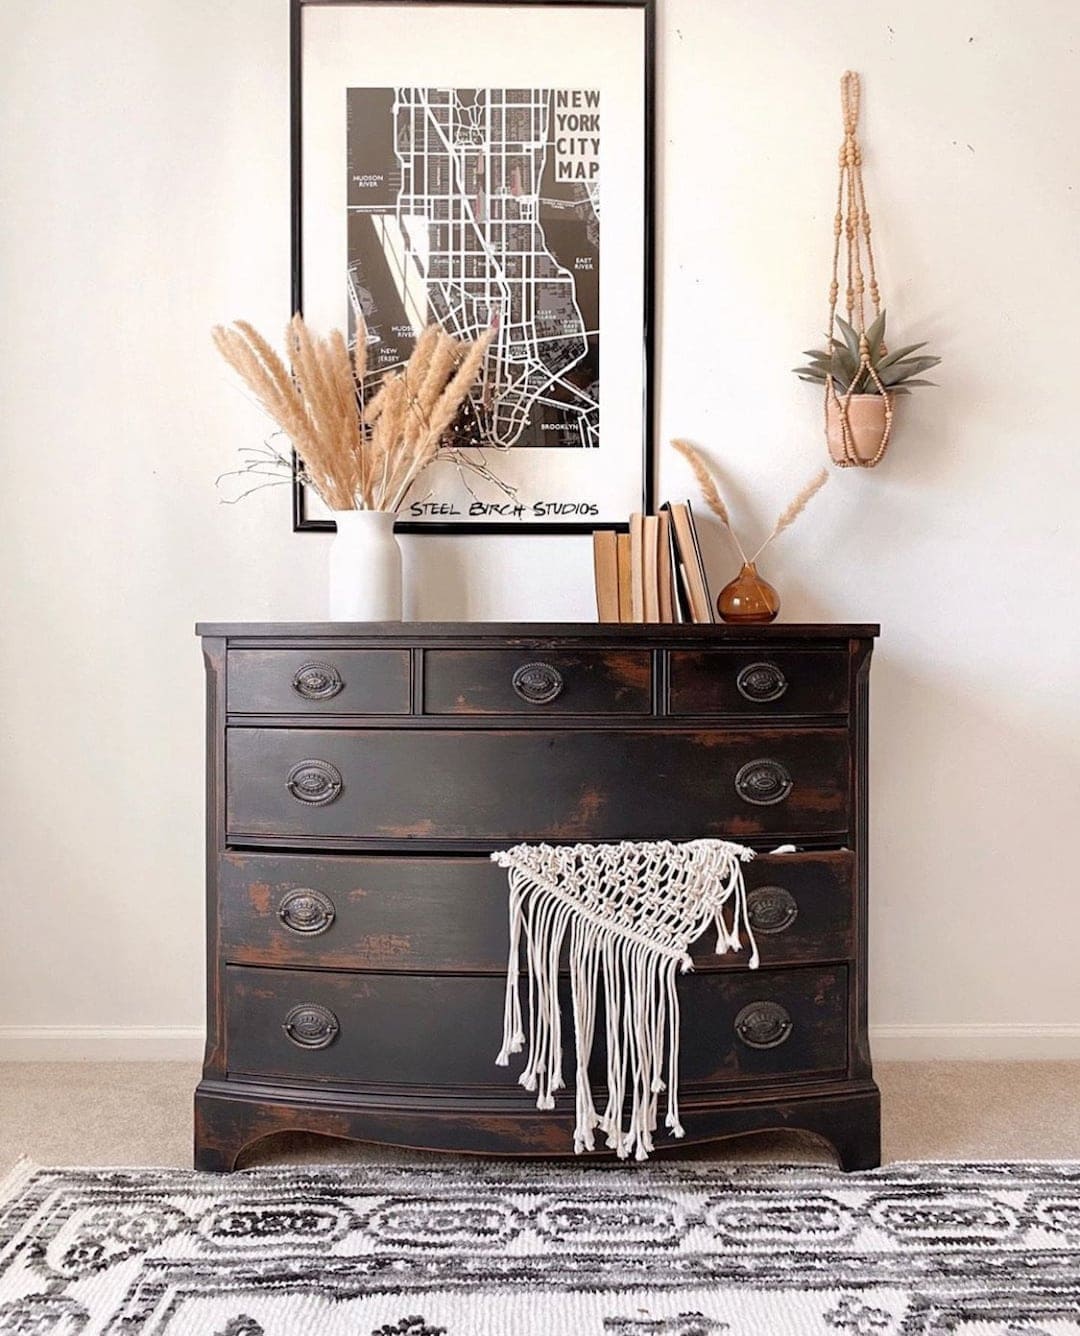
And here’s what these nightstands look like now! I love the deep olive green with a little bit of chipping and distressing, just enough to make them perfect for a farmhouse style room. Pair these up with the perfect DIY farmhouse drop cloth curtains to complete the look.
More Before and After Makeovers
See All >
Click any of these “before” photos below to view the “after” of that makeover.


Get more ideas for your next DIY project with these DIY nightstand ideas. If you still need more nightstand makeovers, here’s our list of small nightstand ideas and modern nightstand ideas. For uncommon designs, check out these unique nightstand ideas! If you’re interested in giving old nightstands a new purpose, check out these upcycled nightstand ideas.


DIY Dark Green Nightstands Makeover
Are you looking for an affordable way to upgrade the appearance of your bedroom? Check out this DIY dark green nightstands makeover.
Materials
- Bondo
- KwikWood
- Krud Kutter
- Shackteau Interiors Milk Paint in Black Beach
- Shackteau Interiors Milk Paint Norton's Point Green
- Plastic Bowl with Lid
- 220 Grit Sandpaper
- SurfPrep ProFoam Sanding Pads (Use code RAY10 to get 10% off your order)
- Tack Cloth
- Waterbased Polyurethane
- Wood Filler
- Real Milk Paint Wax
- Lint Free Rag
Tools
Instructions
- Fix any damage you have with Bondo wood filler. Remove the
old hardware and fill in the old hardware holes if you would like to replace the old hardware with new hardware. - Clean with Krud Kutter.
- In a plastic container, mix 3 parts Norton’s Point Green to 1
part Black Beach, then mix with water. I used ¾ cup paint and 3/4 cup water. Put on the lid and shake it until completely mixed. Let sit for 15 minutes. - Scuff sand the nightstands with 220 grit sandpaper. Sand the
wood fillers smooth. Cleanup the dust with a vacuum and tack cloth. - Brush a coat of waterbased polyurethane over any wood filler
used to prevent the milk paint from chipping over the wood filler. Let dry before painting. - Brush on 2 coats of milk paint, letting it dry between
coats. If you need more paint for the second coat, mix it up before you start painting the 2nd coat to prevent inconsistencies in the color. - When the paint is dry, sand it to smooth it out and distress
it. Clean off the dust. - Seal the milk paint with wax. Rub it on, and then wipe off
the excess with a lint free rag.
Recommended Products
As an Amazon Associate and member of other affiliate programs, I earn from qualifying purchases.

More Dark Green Furniture Makeovers
- Dark Green Dresser Makeover
- Dark Green Buffet Makeover
- Dark Green Chalk Painted Dresser Makeover
- Old Trunk Makeover – Bar Station
- Vanity Turned into Nightstands
Follow us on YouTube to get more tips for painting furniture. Or share your project with us on our Facebook Group and be part of our community. See you there!
Thank you for sharing your Nightstand Makeover at the Senior Salon Pit Stop party this week. I’m excited to be featuring it at the party tomorrow. Pinned.
Hugs,
Maria @ kraftyplanner.com
What a gorgeous transformation. Featuring when my link party opens!
I really enjoy reading about your furniture makeovers each week. You do some amazing work. This post will be a feature this week. #HomeMattersParty
Your discovery of painting over bonds and filler with polyurethane sounds like a good idea for any patchwork before priming or painting. Agree?
Yeah it’s a good thing to do before painting, but if you use a primer, the primer does a great job at sealing the filler.