How to Paint Over Oil Based Paint
Paint is a great way to update old furniture, but what do you do if the piece you want to paint is already coated in oil-based paint? Here’s how to paint over oil based paint.
Get more painting furniture tips and ideas here!
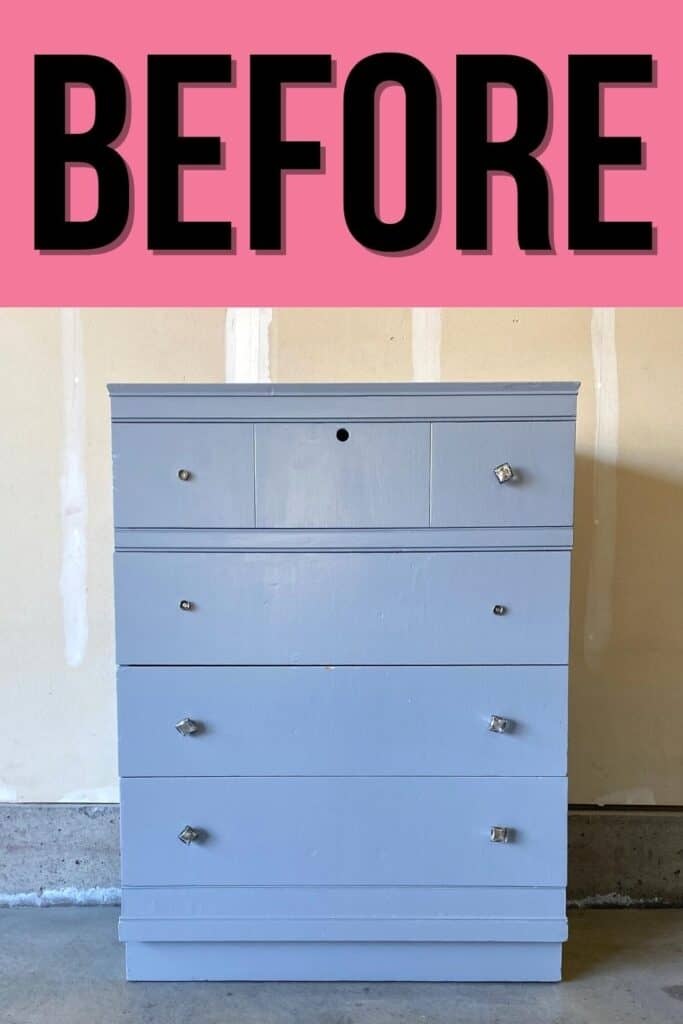
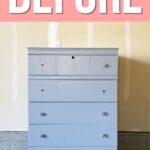
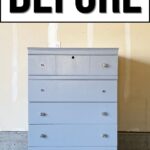
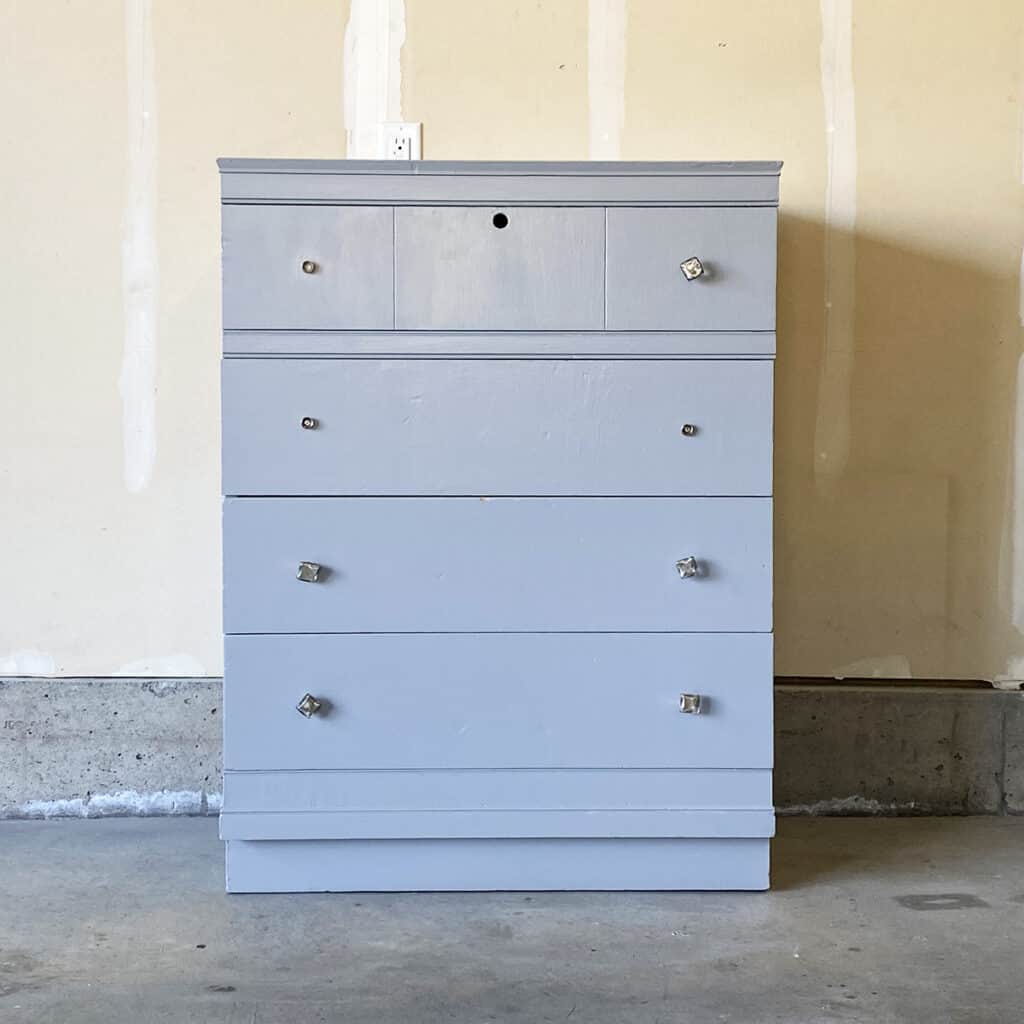
Our neighbor gave us this old dresser that she said is from WW2, complete with a secret tin container that was screwed into the top of the dresser to hide things.

Of course, I snatched it up, even though I don’t love the style of it. Haha

Supplies Used for Painting Over Oil Based Paint
As an Amazon Associate, I earn from qualifying purchases. I also may earn from other qualifying purchases with other companies or get free product to review and use. All opinions are my own.
- Krud Kutter
- Vacuum (Use code RAY10 to get 10% off your order)
- Plastic Wood Filler
- 100, 150, and 220 Grit Sandpaper (Use code RAY10 to get 10% off your order)
- SurfPrep Sander (Use code RAY10 to get 10% off your order)
- Wood Filler
- Tack Cloth
- BIN Shellac Based Primer
- SW Mohair Roller
- Painters Tape
- Pre-Taped Plastic
- Dremel Multi-Tool
- Wood Glue
- Sanding Block
- Paint Filters
- Respirator
- Melange ONE Paint in Santeria Red
- Wagner FLEXiO 3000
- Drawer Lock
- Knobs
- Peel and Stick Wallpaper
Prep Dresser for Paint
Every furniture makeover starts with prepping furniture for paint. And that’s exactly what we did for this dresser makeover.
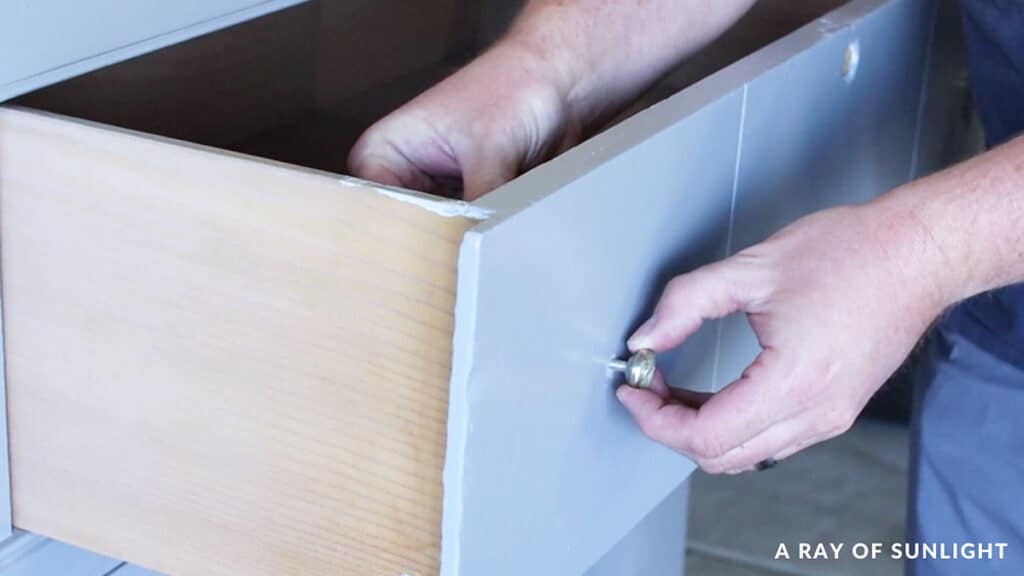
My husband removed the old knobs. Most of them were easy to remove, but a couple of them took some extra elbow grease and tools before he could get them off.
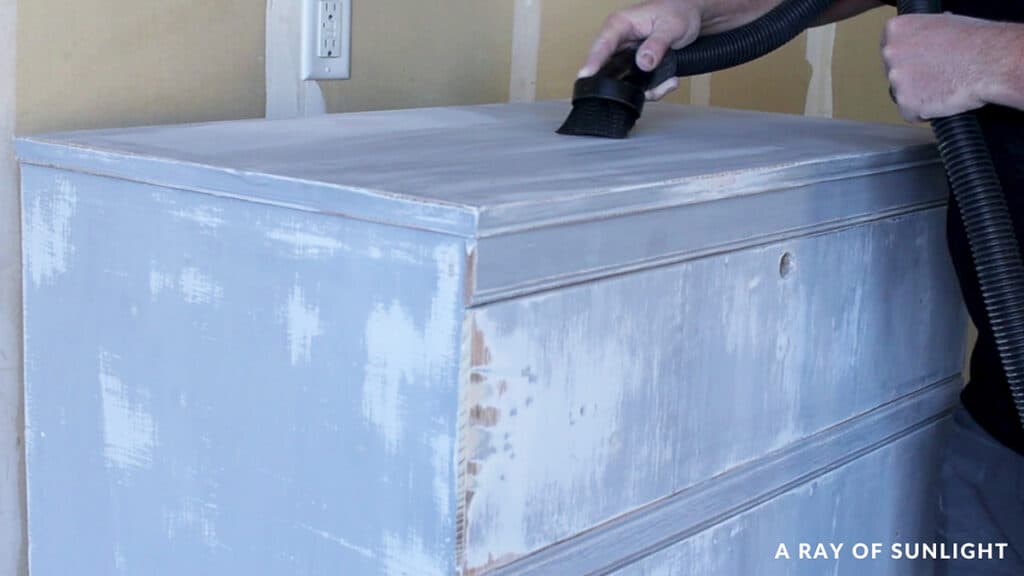
Then he cleaned it with some Krud Kutter and a damp rag to get rid of the dust, and any grime on the surface and he even vacuumed inside of the dresser.

Learn more about how to clean furniture before painting in this post.
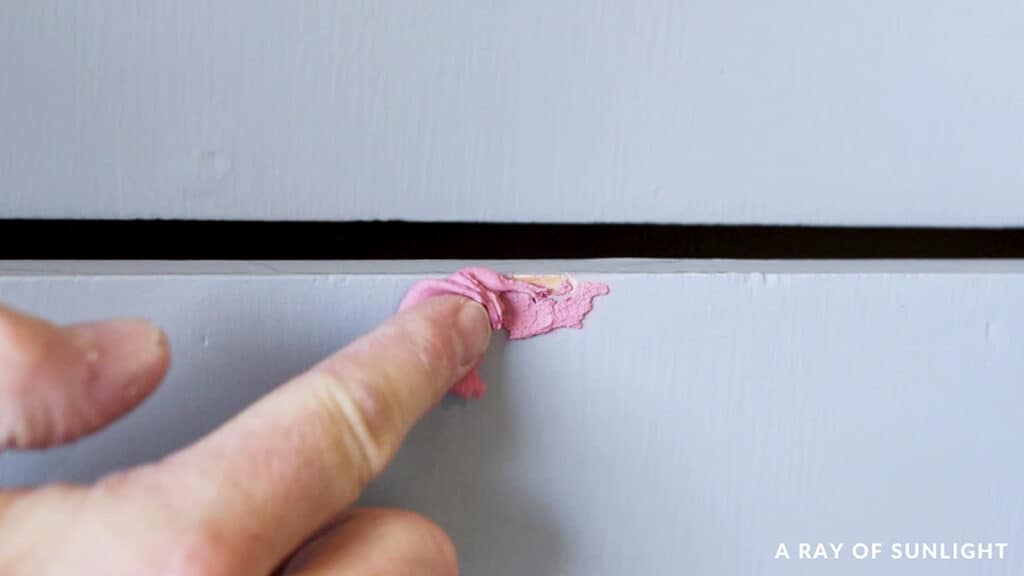
There were a few chips in the paint, so he filled those in with plastic wood filler and let that dry.
Get all the tips and tricks for repairing old furniture here.
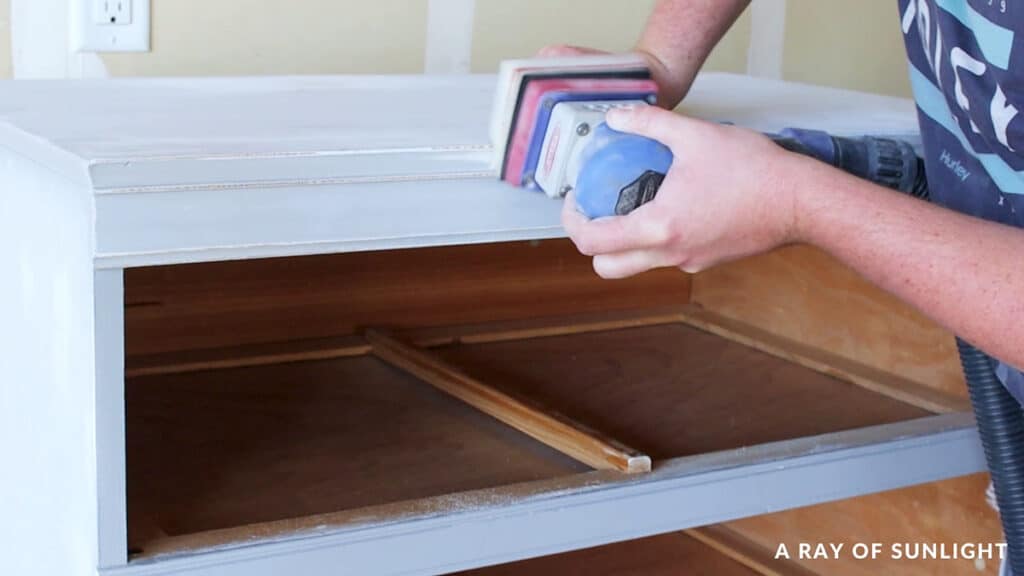
The paint had A LOT of brush marks in it, so sanded all of the brush marks out…. And it took him a few hours to get it all sanded smooth.
He used 100 grit sandpaper to do the bulk of the sanding, and then he went over everything with 150 and then 220 grit sandpaper to smooth it all out. Learn more about the best sandpaper for furniture painting here.
It felt sooooooo smooth after all of that sanding and if you ask me, it was totally worth it. He might tell you a different story though! haha
Learn more about the importance of sanding before painting furniture here.
After sanding everything down, he was able to see a lot more scratches and dings that needed to be filled in. So he did another round of wood filler and let it dry overnight.
Learn more about the best wood fillers for furniture here.
The next morning, bright and early, he sanded the wood filler down by hand so he wouldn’t wake up everyone. And then he vacuumed up the dust and wiped everything down with a tack cloth.
Priming Before Painting Over Oil Based Paint
One of the most important steps for painting over oil based paint is to prime it with the right primer before you paint.
A good primer will
- Create a really good base for the water based paint to stick to the old oil based paint.
- Since it was tinted a brownish grey, it helped create a solid deep base for our paint to go over. Which made it so we didn’t have to use as much paint to get full coverage. Because the color of the paint we used didn’t have very good coverage.
Read through this post for more information on the best bonding primers.
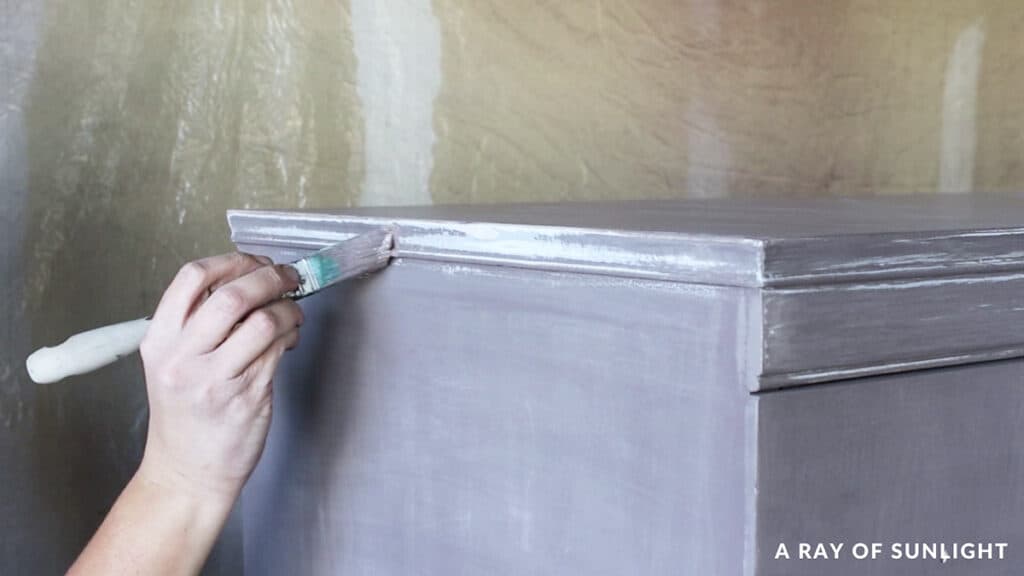
So, I mixed up the primer and put it into a paint tray. I rolled the grey tinted BIN shellac-based primer onto the dresser with my favorite Mohair roller and a Zibra paint brush.

Check out the best rollers for painting furniture and the best paint brushes for painting furniture here.
We let the primer dry for about an hour, and then I could see some spots on the bottom drawer that needed filled in more, so I filled those in with regular wood filler.
And then, I taped off the drawers with some plastic so I could spray the dresser and not get paint inside the drawers. Learn our best tips for preventing overspray when painting furniture here.
Fixing a Broken Drawer Track
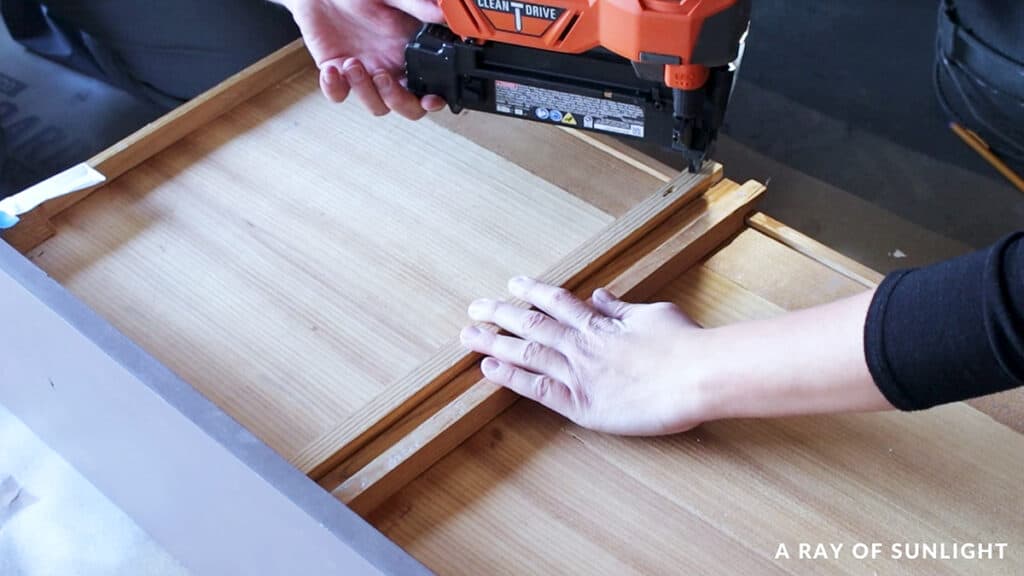
And this is when I noticed that a drawer track was broken.
So Taylor found a scrap piece of wood that we could use, we cut a notch into it with our Dremel multi-tool, and glued and nailed it in place to replace the part that had broken off.
And then I sanded the dresser with 220 grit sandpaper and a sanding sponge. I didn’t use the electric sander here because I didn’t want to sand through the primer as much as possible.
But, there were some areas that I went through the primer when I sanded, so I spot primed those sections while I waited for the wood filler to completely dry.
About an hour after that, I was able to sand the wood filler and primer down smooth again, and clean all of the dust off.
Painting Dresser with Water-Based Paint
Once there is a layer of primer, you can paint! BIN shellac-based primer works well with any paint, so you can use water-based or oil-based paint.
If you use a different primer, read the back of the can for instructions and to see what paint it works with.
We went bold again on this dresser, another color I’ve never used or really even had a desire to use until recently!
Would you like to save this?
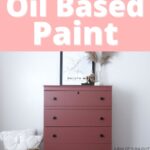
We used this Melange ONE paint in a rusty orange-reddish color called Santeria Red. Check out my honest Melange One Paint review and learn more about the pros and cons of this paint.
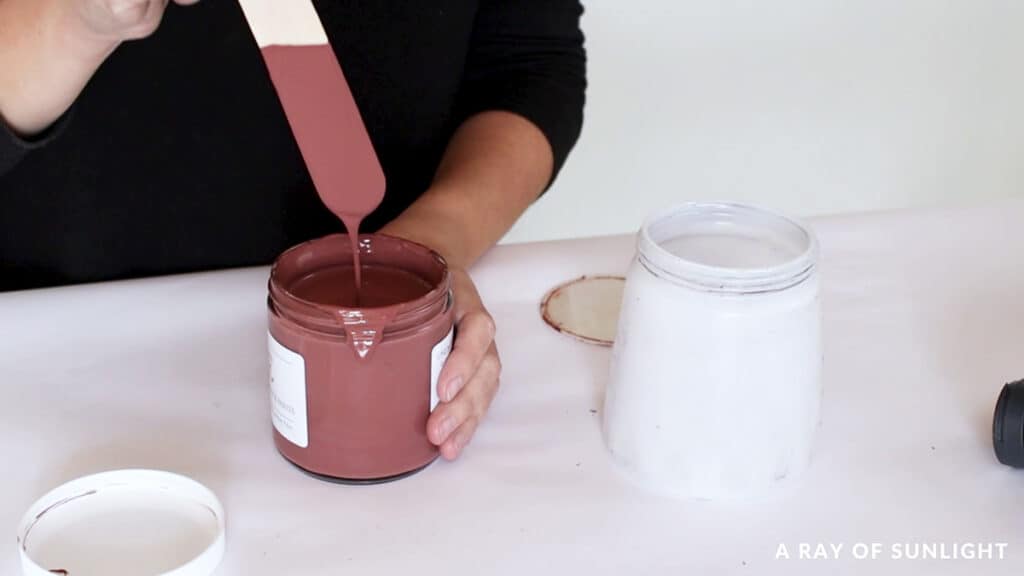
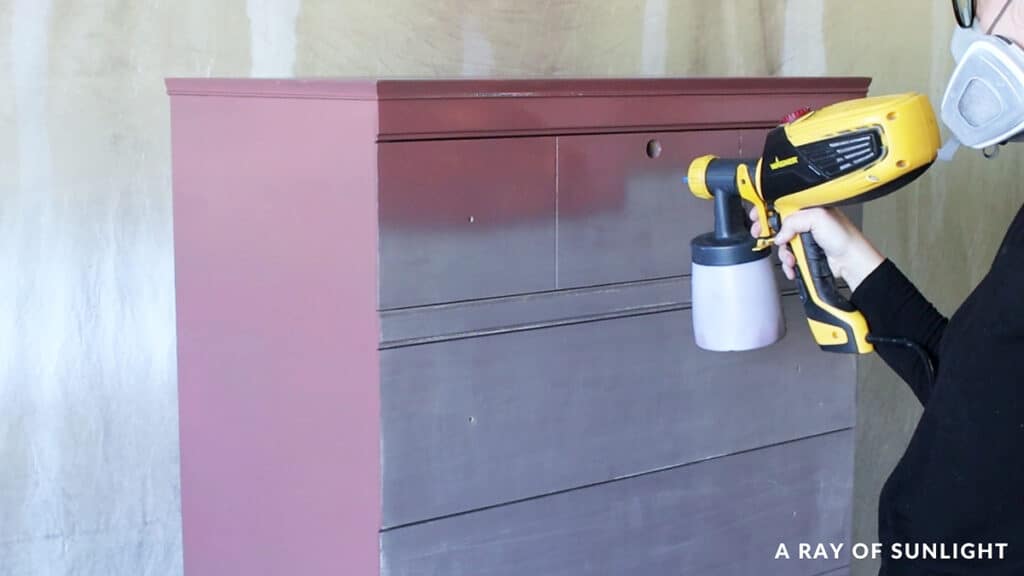
I poured it into my Wagner paint sprayer and added some water… maybe 15% to thin out the paint so it would spray smoother.
Here’s how to thin paint for Wagner FLEXiO sprayer and how to use the FLEXiO 3000 paint sprayer. And check out the best HVLP paint sprayers for furniture in this post.
I tested out the spray on some cardboard. I set my power setting to 4 and dialed back the fluid setting so less paint would come out. And then I sprayed it all over the dresser.
This color has terrible coverage. But I wasn’t too surprised by that because warm colors typically need more coats of paint…
But it sure made me nervous because I only had a pint of paint for this whole dresser. I’m so glad I used the tinted primer first!
This paint has a 2-4 hour recoat time, so I was able to get all of the painting done in a day, no topcoat required, and it has a little more sheen than a matte finish, so I didn’t feel the need to topcoat it.
It ended up taking 2 and a half coats of paint… and I had a few ounces of paint leftover when it was all done. Then we left it to dry the rest of the weekend.
Check out this DIY dresser makeover, this DIY slatted wood dresser makeover, and this post about how to fix damaged wood furniture before painting to see more makeovers with Melange ONE paint.
Learn more about the best all-in-one paints for furniture here.
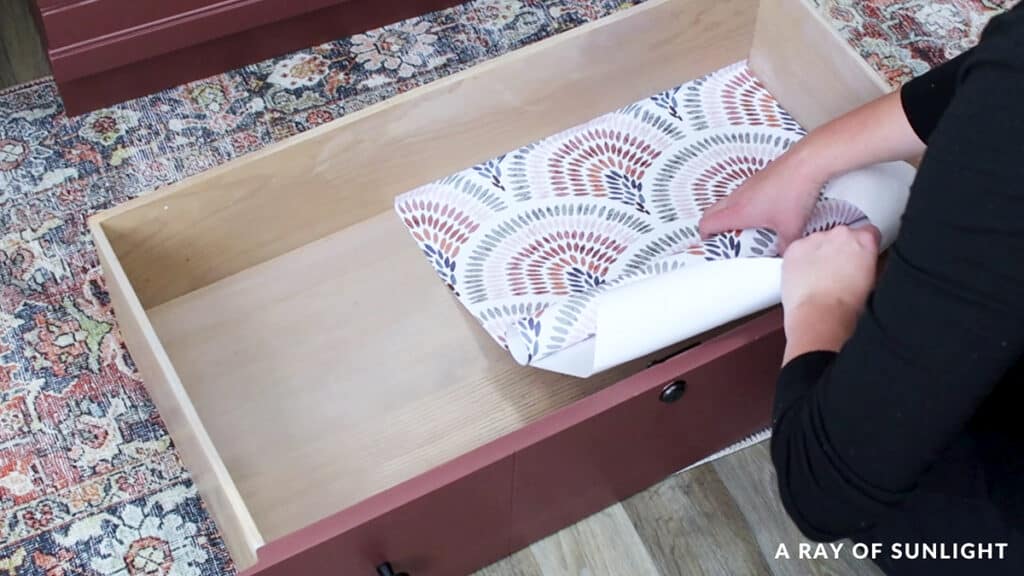
After the paint was dry, I added a lock to the top drawer. It was actually pretty easy to install. Then I added new hardware and some full peel and stick wallpaper inside of the drawer.
Lining the inside is a great way to protect it and make it look prettier. Here are the best material to line dresser drawers, and here’s our list of dresser drawer liner ideas for more inspiration on adding a personal style to your dresser with drawer liners.
Check out this guide on how to remove contact paper from wood if you need to replace them. Here are wallpaper dresser ideas to get inspiration for a unique and stylish makeover.
Check out this comparison post on the best ways of filling holes when replacing furniture hardware.
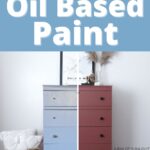
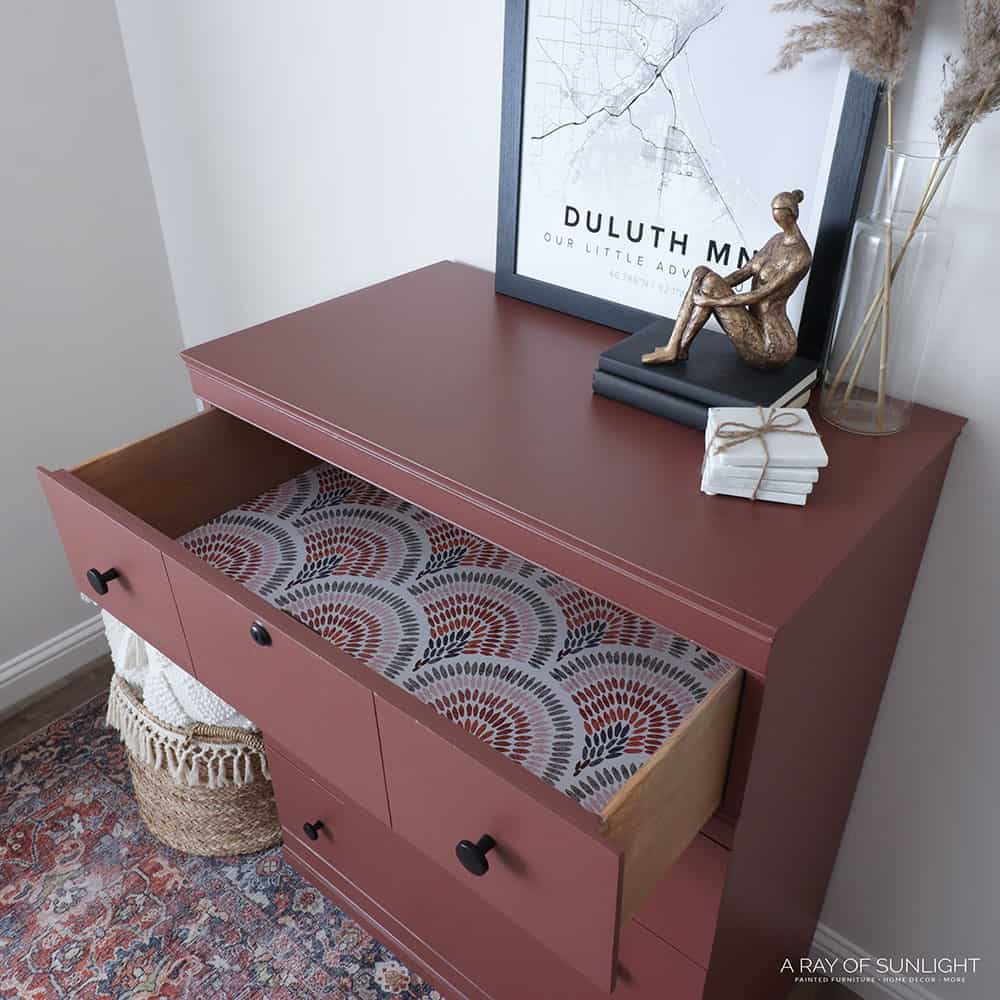
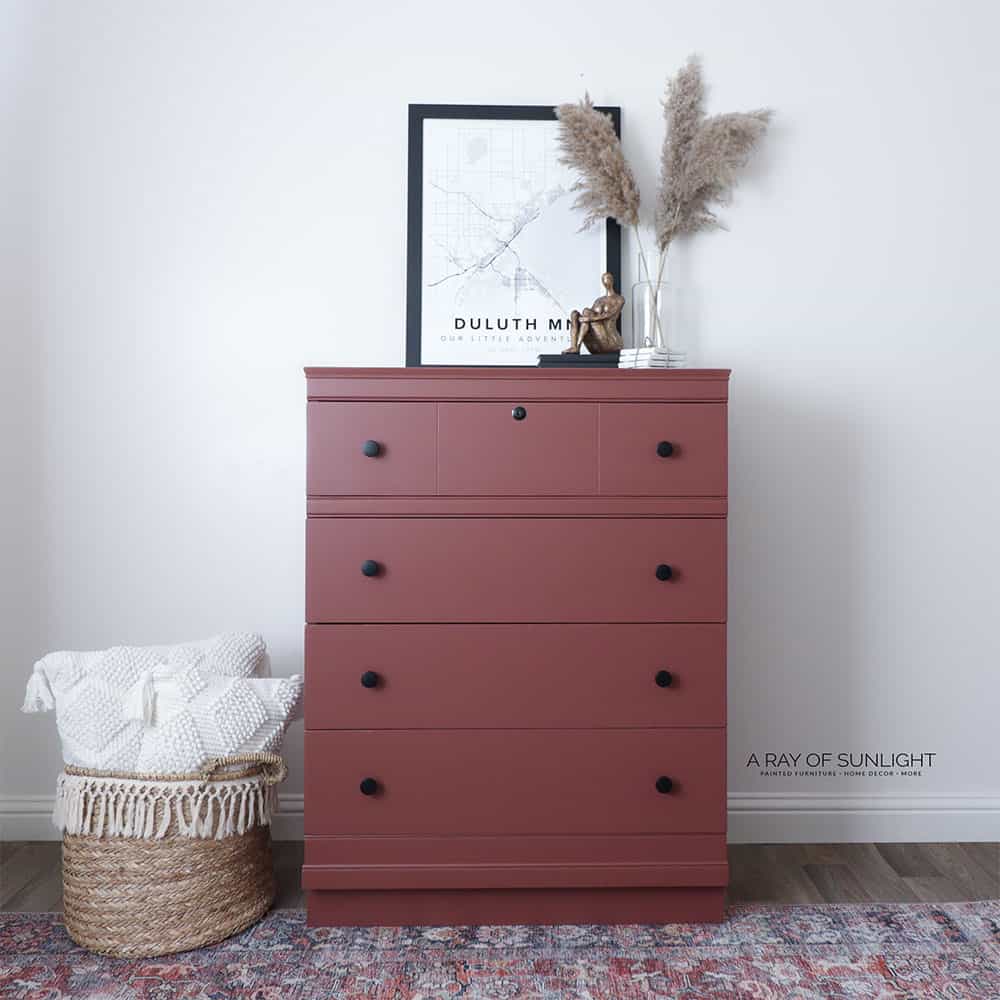
And here’s what it looks like now!
More Before and After Makeovers
See All >
Click any of these “before” photos below to view the “after” of that makeover.


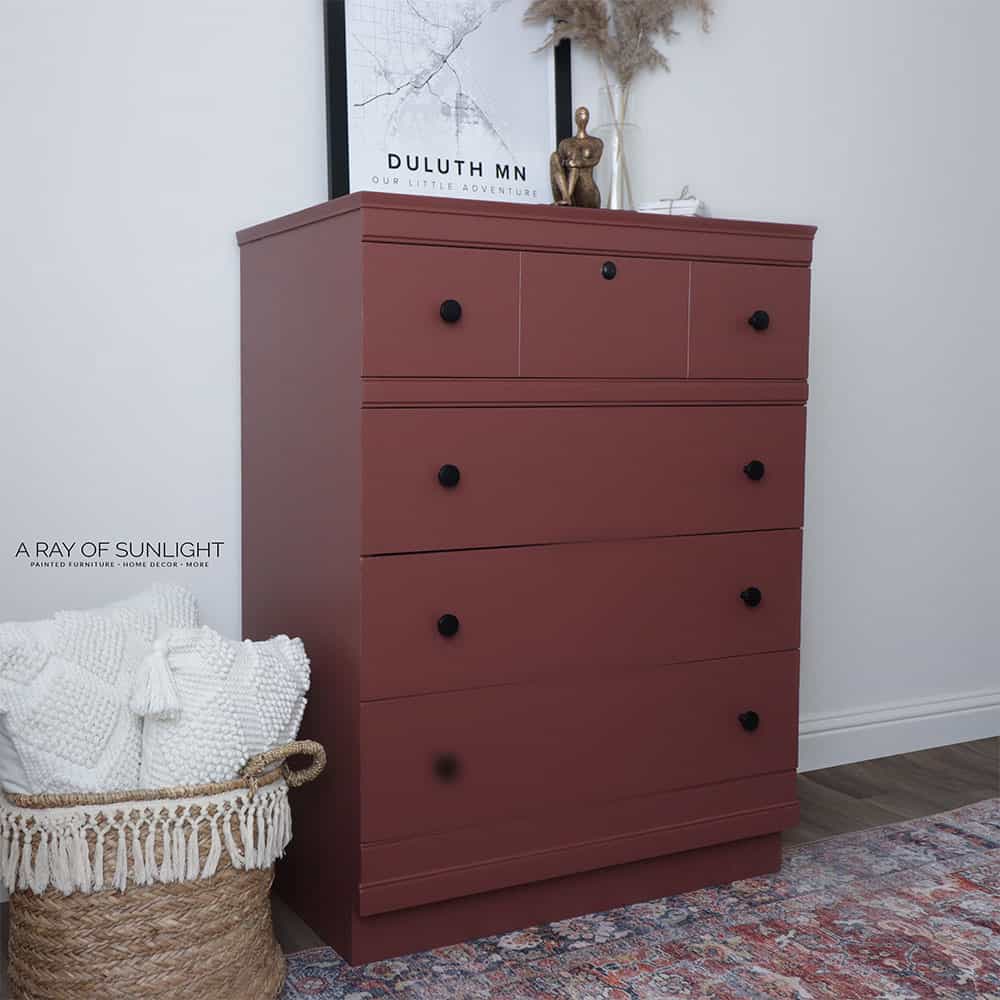
Man oh MAN, I love this piece now. Seriously, before I painted it, I hated its style of it. But the rusty red goes so well with this style, and I LOVE the drawer liners.
I really didn’t think I was going to like it very much haha so I’m glad it turned out better than I thought it would. Haha
What do you think of the new look? Would you paint your furniture rusty red!? Let me know in the comments!! You can also check out more red painted furniture ideas here, and for other colors, these bedroom furniture paint color ideas will inspire you. If you want other bold colored furniture like yellow check out these yellow chalk painted furniture.
Can you paint over oil-based paint without sanding?
Yes, but you’ll get better results if you at least scuff sand before painting your oil based furniture.
How to paint over oil based paint without sanding?
If you use a really good BONDING primer, like we used, you can probably get away with not sanding.
But if you’re spending all of the time and money to paint your furniture, why not do it right so it will last a long time?
What kind of primer should I use over oil-based paint?
A shellac based or oil based primer is the best to use over oil-based paint. These primers have the best adhesion, especially to glossy and slick surfaces like oil based paint.
BIN shellac based primer is my favorite option because it dries quickly, and I can sand it smooth an hour after application.
Oil based primer takes longer to dry and gums up the sandpaper if you try to sand it too soon.
Both primers have strong fumes. Here are the best primers for painting furniture.
Can you paint directly over oil-based paint?
You can, but you won’t get great results. Most likely, your paint will easily peel or scratch if you paint directly over oil-based paint without sanding or priming beforehand.
Instead, take a little extra time to prep the old oil based paint properly so that your new paint will stick properly.
Check out my guide for repainting furniture here to learn all about it, and here are repainting dresser ideas to inspire you to get started!


What paint can I use over oil-based paint?
You can use any type of paint over oil based paint, as long as you use the right primer in between the oil-based paint and your new paint.
With a shellac primer like BIN shellac based primer, that works with any paint, your possibilities are endless. Here is our list of the best paint for furniture.
But if you want something that looks a bit more like stained wood, then gel stain over white paint is a great option which can create a faux stained wood effect without removing the old paint.
How to tell if paint is oil-based?
Put some rubbing alcohol on a Q-tip or an old rag. Rub the paint. If paint comes off, onto the Q-tip or rag, then it’s waterbased paint. If no paint comes off, then it’s oil-based paint.


How To Paint Over Oil Based Paint
Paint is a great way to update old furniture, but what do you do if the piece you want to paint is already coated in oil-based paint? Here’s how to paint over oil based paint.
Materials
Instructions
- Prepare dresser by removing old knobs and hardware. Then clean it with some Krud Kutter and a damp rag to get rid of the dust, and any grime on the surface. Vacuum the inside of the dresser as well.
- Fill in any chips in the paint with plastic wood filler and let dry.
- Sand all of the brush marks out of the old painted dresser. After sanding everything down and you see a lot more scratches and dings that need to be filled in, fill them in with wood filler and let it dry overnight. Vacuum all the dust and wipe everything with tack cloth.
- Apply primer on dresser. This is one of the important steps for painting over oil based paint. Let the primer dry for about an hour.
- Tape off the drawers with some plastic so you can spray the dresser and not get paint inside the drawers.
- To fix a broken drawer track, use a scrap piece of wood and cut a notch into it with the Dremel Multi-tool, then glue and nail it in place to replace the part that had broken off.
- Pour Melange ONE paint into paint sprayer and add 15% water to thin out the paint so it would spray smoother. Spray the paint all over the dresser then left it to dry.
- After the paint dries, add hardware and some full peel and stick wallpaper inside of the drawer.
Recommended Products
As an Amazon Associate and member of other affiliate programs, I earn from qualifying purchases.


more Bold Color Dresser Makeovers
- DIY Emerald Green Dresser
- Painting a China Cabinet Purple
- DIY Pink Dresser
- Chalk Painting Furniture Pink
- Purple Painted Furniture Ideas
Follow us on YouTube to get more tips for painting furniture. Or share your project with us on our Facebook Group and be part of our community. See you there!
I am not a fan of warm colors, BUT even though I am not sold on the rust personally, it does fit the style of the dresser. It looks like a brand new piece. You both did beautiful work on that dresser!