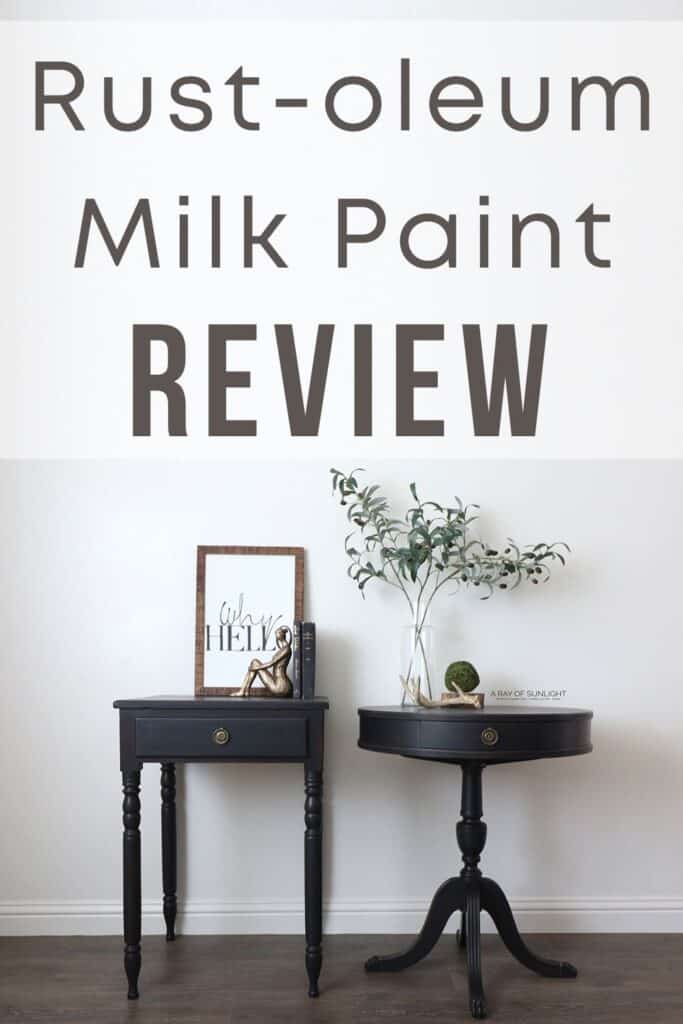
Rust-oleum Milk Paint Review
This week, I tried Rust-oleum’s milk paint. And I was completely surprised by it! So here’s my Rust-oleum Milk Paint review! Among these different types of paint for furniture, milk paint is definitely one of the more unique options.
It’s known for its matte, chippy finish and its ability to give furniture a vintage, shabby chic look. And this is one of the popular brands available today. So, I was excited to see how it would perform on my latest DIY project!
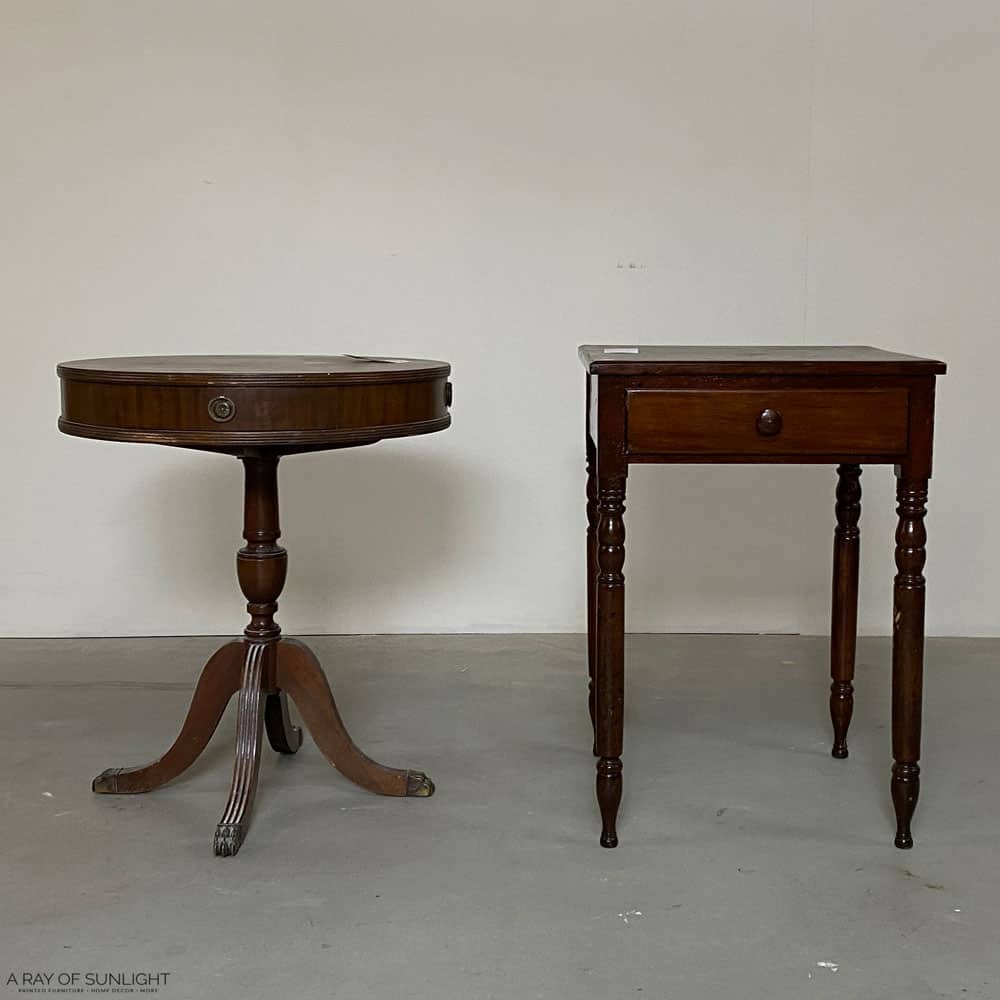
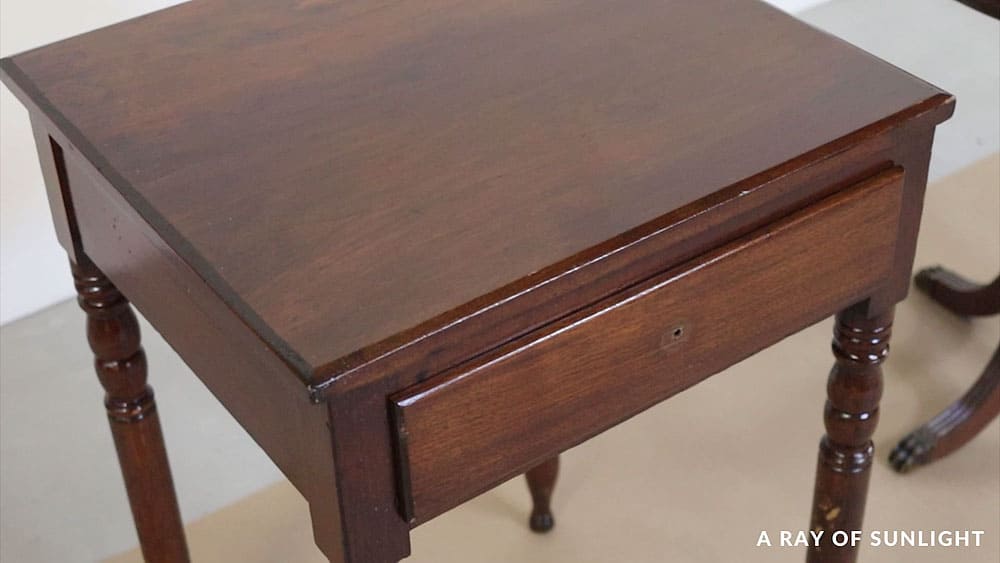
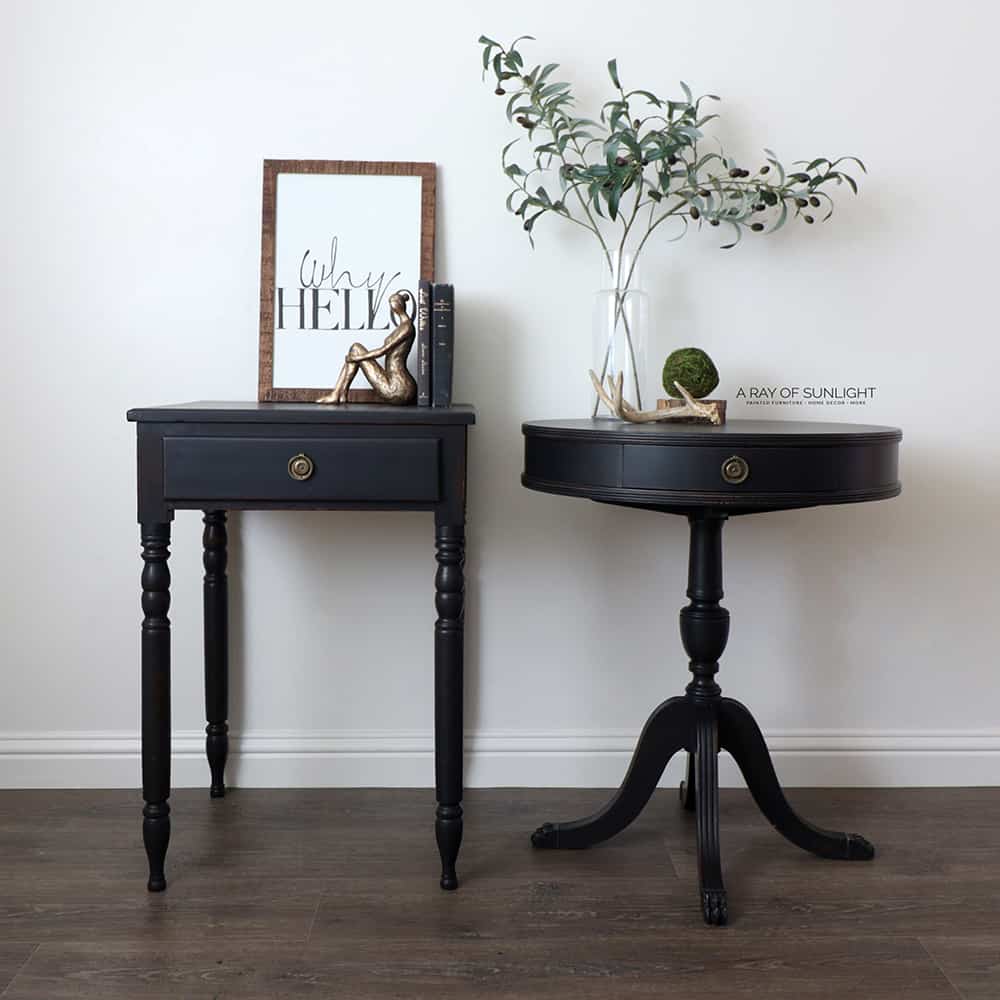
I picked these nightstands up from our local thrift store. One was $15 and the other was $25. But they were around the same height and size… so you know what that means? Yep, I decided then and there that I would make them into a mismatched set.

Single nightstands are hard to sell, and I can see why! I don’t have a use for a single nightstand or end table, so when I can make a pair from two different tables, I jump for the opportunity. They’ll also make for unique and eye catching additions to any space.
And again, this will be a Rust-oleum Milk Paint review – I’ll cover its durability and ease of use, and share some tips and tricks to help you get the best results. So, if you’re ready, let’s dive into this brand and this makeover!

Supplies Used for This Rust-Oleum Milk Paint Review
As an Amazon Associate, I earn from qualifying purchases. I also may earn from other qualifying purchases with other companies or get free product to review and use. All opinions are my own.
- Screwdriver
- KwikWood to fill in the hardware holes
- Krud Kutter and an Old Rag
- 220 Grit Sandpaper
- Painters Tape
- Clear Shellac in a Spray Can
- Rustoleum Milk Paint in Eclipse
- Zibra Round Paint Brush
- Fine Grit Sanding Sponge
- My Favorite Topcoat
- Tile Grout Sponge
Prepping the Nightstands
First, I got the tables ready… the way that I did for almost every piece. Learn more about how to prepare furniture for paint here.
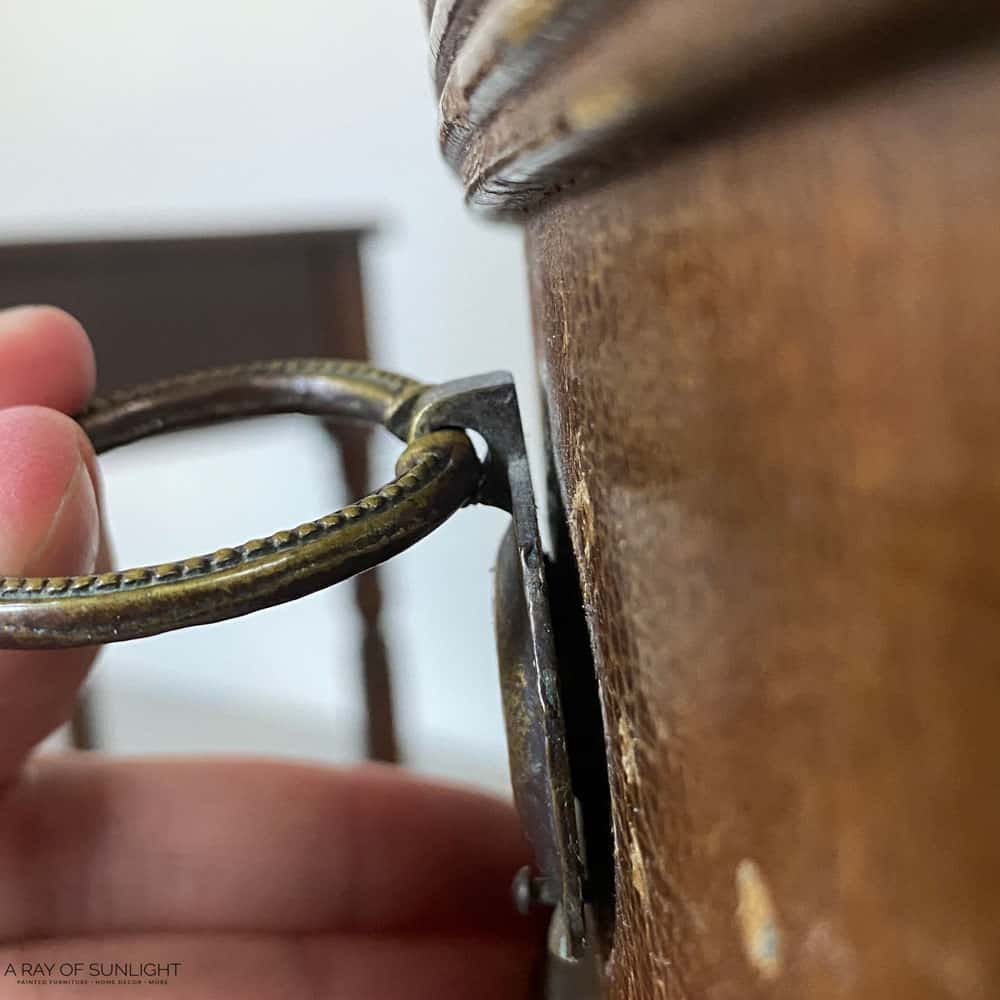
We removed the hardware. The hardware on the drum table was nailed in as well as screwed in, so I had to pry them off.
And then, I filled in the 3 fake drawer hardware holes with Kwikwood. Learn why I love to use Kwikwood to fill old hardware holes in this post about how to change hardware on furniture. Learn more about how to use KwikWood here, and check out more best wood fillers here.
Then, my husband cleaned the tables with Krud Kutter to remove any grease, oils, or grime that was possibly left on the surface. Here’s a more detailed guide on how to clean furniture before painting.
After the hardware hole filler was dry, I sanded it down smooth and level with the wood around it. I also took a couple of minutes to tape off the drawers so I wouldn’t get any coating on the sides or inside of each drawer. Get more tips on how to prevent overspray when painting furniture here!
And then, I sprayed them with 2 coats of clear shellac to help with adhesion. This stuff is kind of like primer, but it’s clear, so you don’t see it under the paint. And yeah, it blows my mind that this stuff makes the new coating stick as well as it does. Here’s what they looked like after 2 coats.
Check out the best primers for painting furniture (and how to choose the right one) here.
Paint Nightstands with Rust-oleum Milk Paint
For these tables, I tried the Rust-oluem milk paint in the color Eclipse. I brushed the color everywhere, straight out of the container, using my Zibra round brush.
This is my favorite brush because the shape of it makes it so easy to coat flat as well as curved surfaces and all of the detail that is on your piece. Check out more best paint brushes for painting furniture here.
I tried to apply it in long strokes that went with the wood grain so it would minimize the brush marks left behind. If you really don’t like these marks in your finish, then learn how to paint furniture without brush marks in this post.
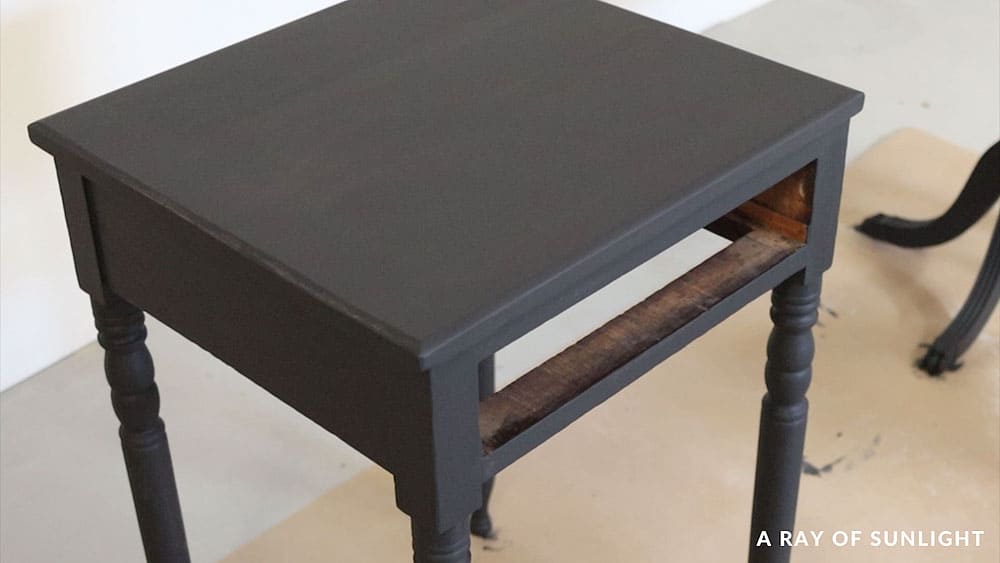
I was surprised by the first coat. It didn’t have as good of coverage as I was expecting for black. I guess I shouldn’t have been too surprised because it says on the container how you can build it up to an opaque finish. Honestly, I think it might be a great paint to do a wash with.
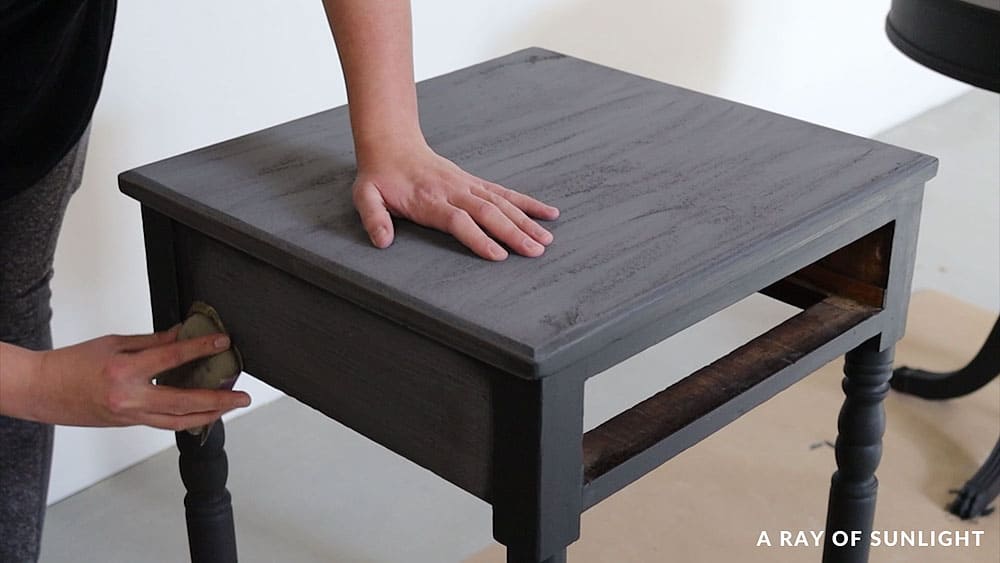
Here’s what it looked like when it was dry. But when I felt it… I was completely shocked. It felt super gritty and chalky.. not smooth at all!

It felt more like powdered milk paint can feel. Actually, I think it’s even more gritty. I was expecting it to be more like General Finishes milk paint than the real thing that comes in powder. Learn how to use milk paint powder here.
Sanding Between Coats
So, before I added the next coat, I sanded it all smooth with fine sandpaper. Learn more about the best sandpaper for furniture painting here.
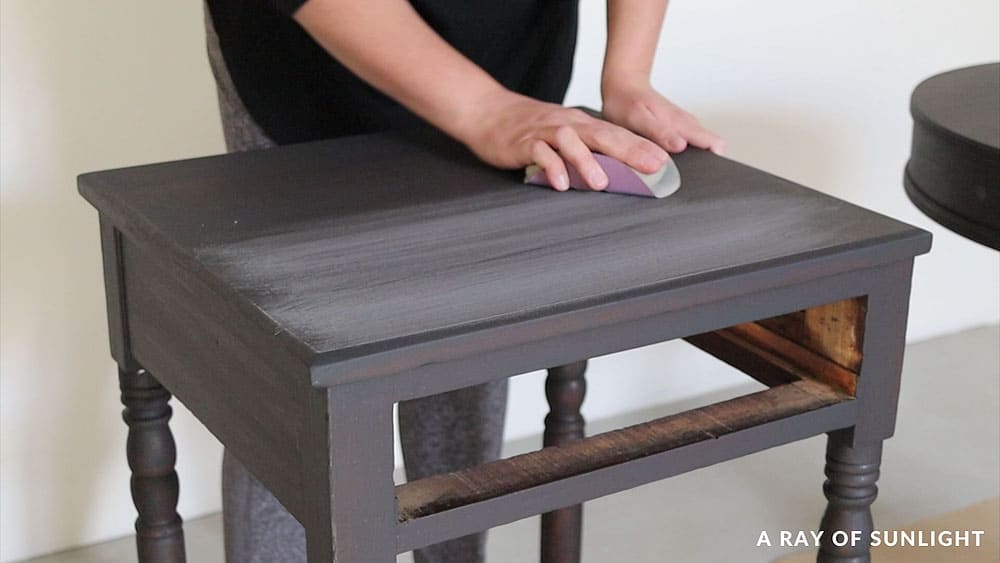
And I mixed the black coating more just to make sure the grittiness wasn’t just a user error. And then I applied a second coat all over.
Here’s what it looked like after the second coat was dry. The second coat was still very gritty, so I had to sand it smooth again.
At this point, I gave up my hope to have these pieces not distressed. I could have switched to a different paint if I really wanted them to not be distressed. But if you really want this rustic look, check out the 6 best distressing furniture techniques here!
But I wanted this to be a true Rust-oleum Milk Paint review and makeover. And with how gritty it is when it dries, I wouldn’t want to not sand it smooth.
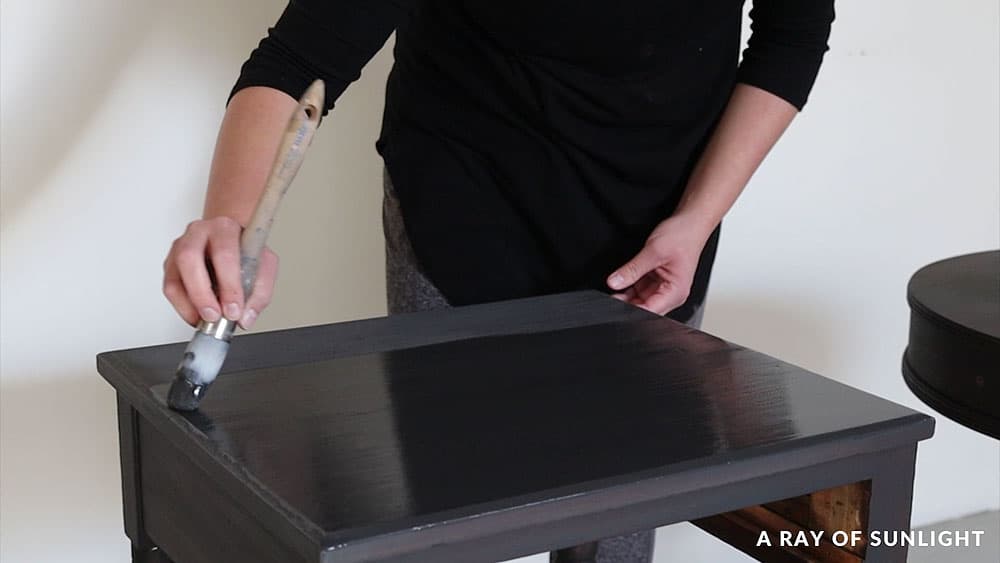
Topcoat Rust-oleum Milk Paint
So, after everything was smooth and the dust cleaned off, I got ready to topcoat. Check out this post to learn all about the options for topcoats for painting furniture.
First, I stirred my favorite waterbased polyurethane really good. (Yep, stirring is super important!) And then, I poured it into a separate container, and I mixed a little bit of the black color into it to tint it.
I’ve found that tinting the waterbased poly helps the poly finish look much better. And it helps hide streaks and the fogginess that you can see especially in dark colors.
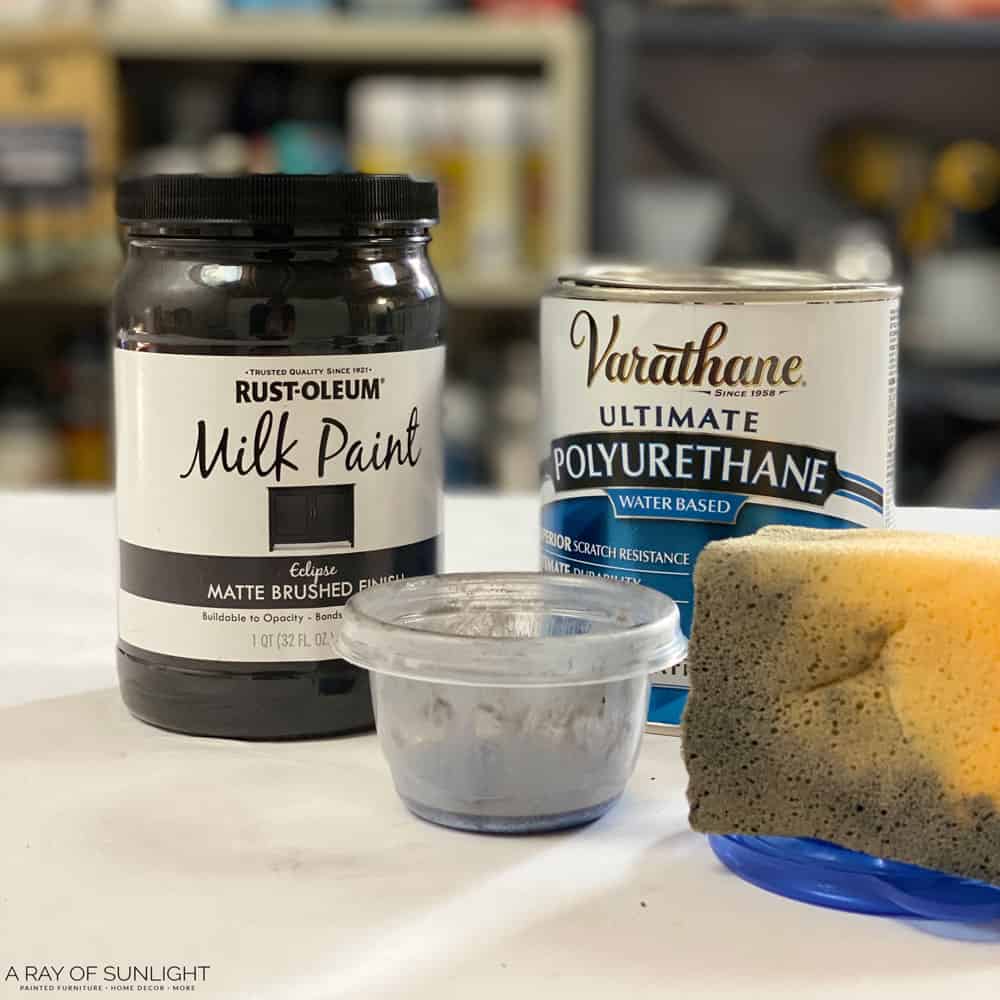
I used a mesh filter to try to filter out any of the grittiness from the milk coating. And then, I used a tile grout sponge to wipe the poly onto the nightstands.
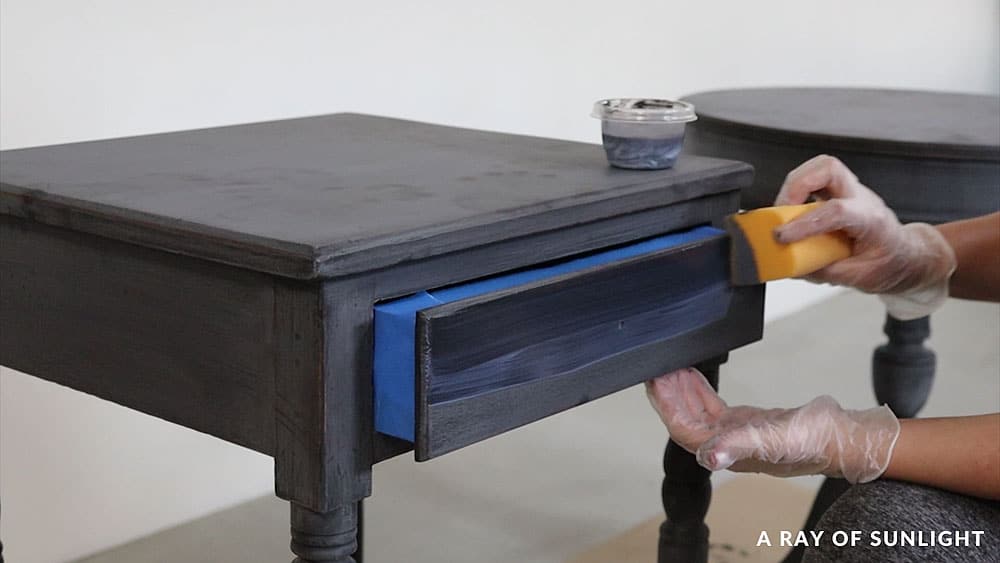
I’m definitely not very experienced with applying poly by hand… but I tried to work quickly without going over the same areas more than once or twice. Here’s how to apply polycrylic to painted furniture by hand.
I personally prefer to spray it on with either a spray can or my sprayer, but I know it’s not always possible to… so I’m trying to figure out the best way to apply it by hand and avoid getting streaks and fogginess. Learn how to spray polyurethane in this post.
Maybe a foam roller would be better? If you have perfected the science of applying poly by hand, especially over dark colors, please share in the comments!
Would you like to save this?
Anyway, after the first coat was dry, here is what the tops looked like in the light.
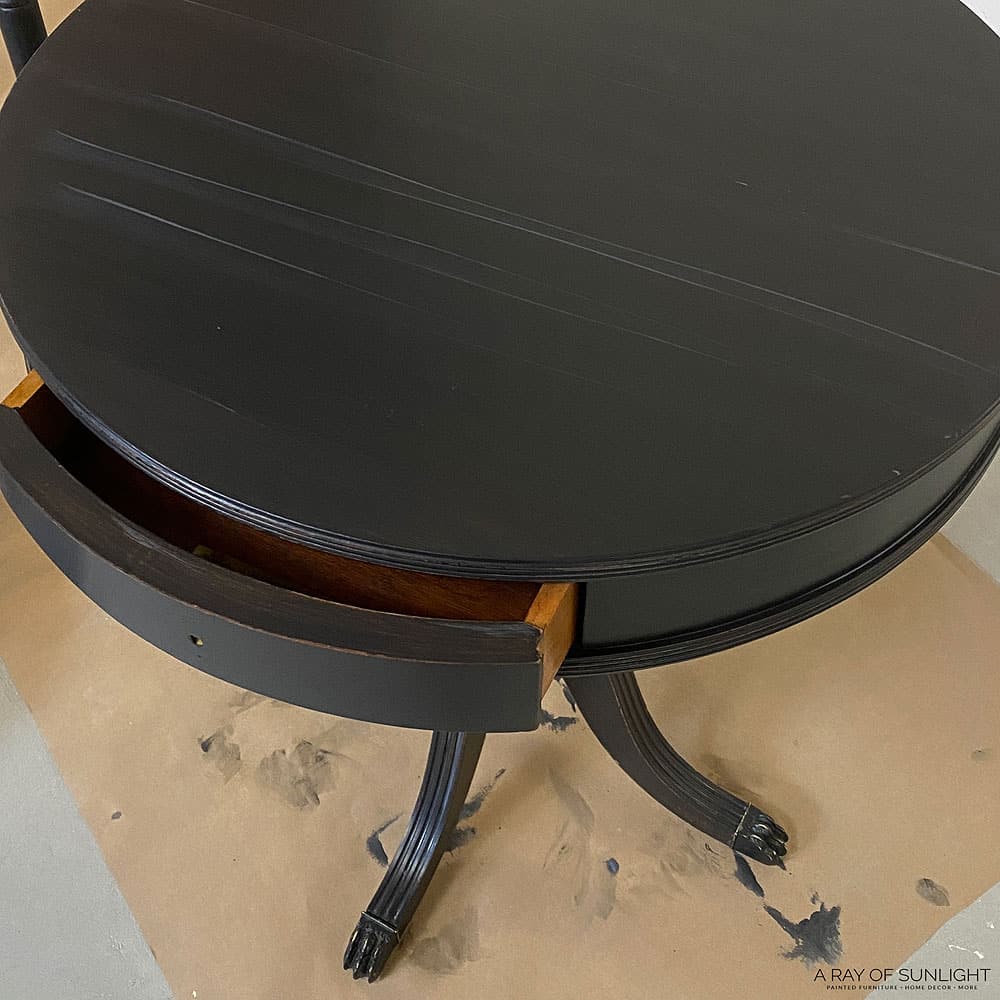
The way I wiped it on left some ridges behind, so I sanded the tops down to remove those ridges. And then, I applied two more coats of poly.
Watch the full makeover and review in our YouTube video below, or keep scrolling to see what they look like now!
More Before and After Makeovers
See All >
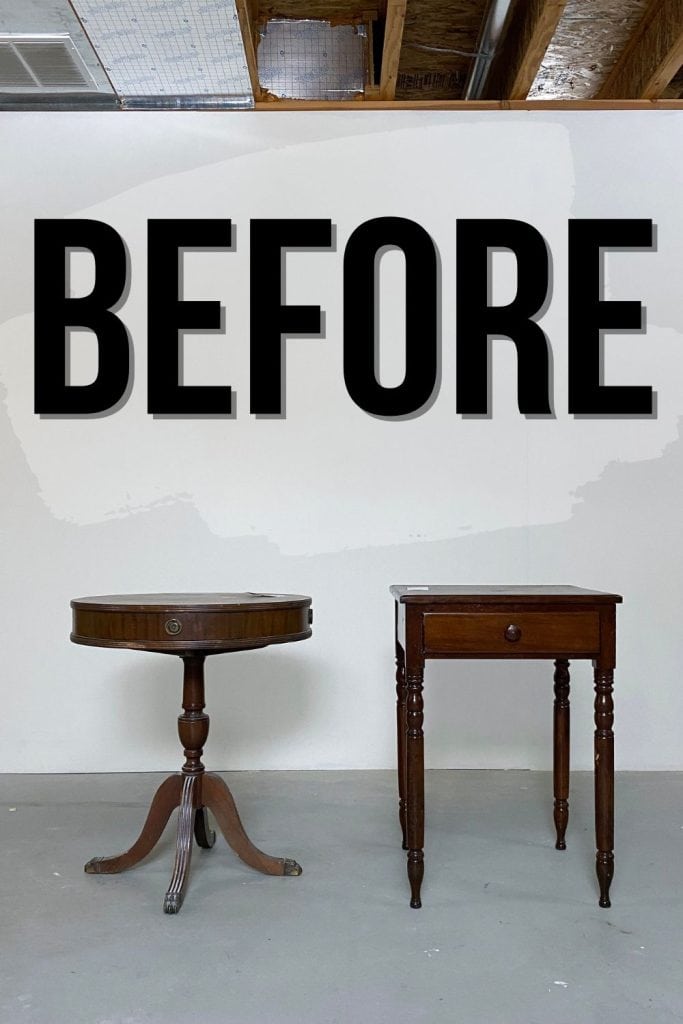
Click any of these “before” photos below to view the “after” of that makeover.


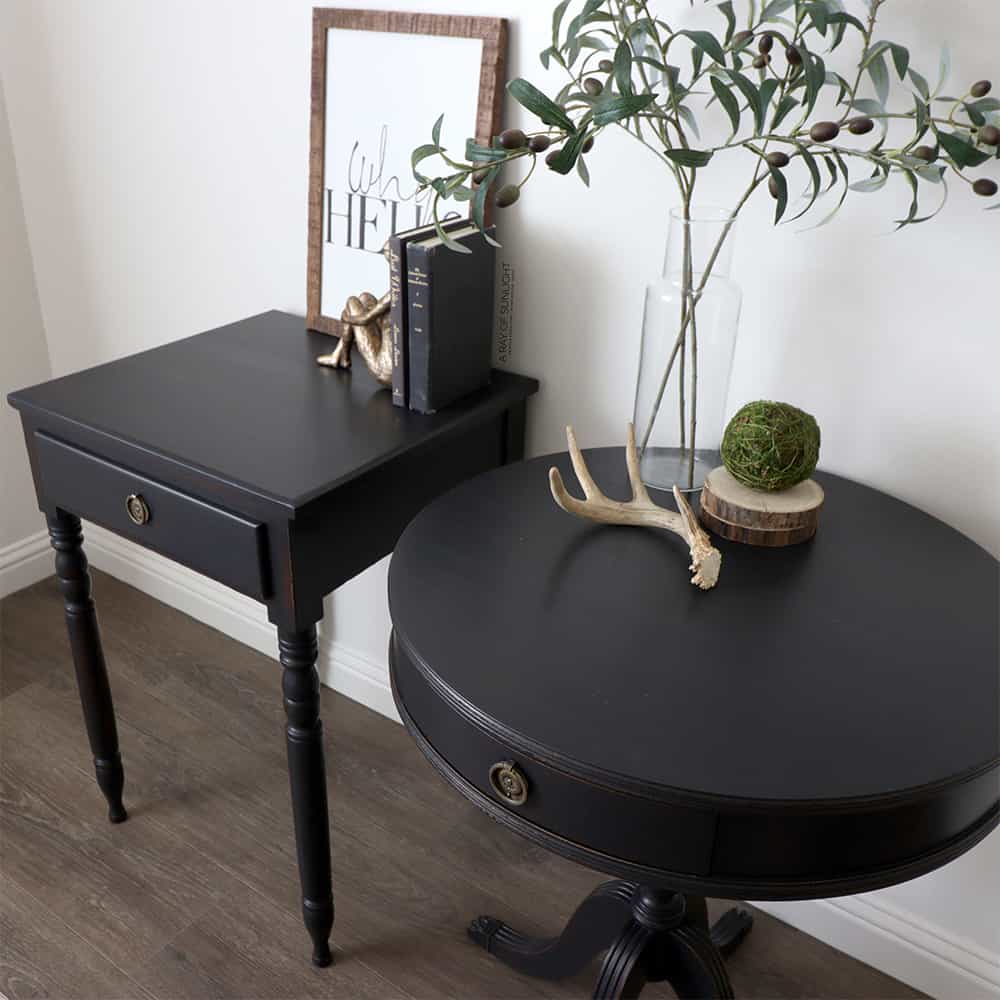
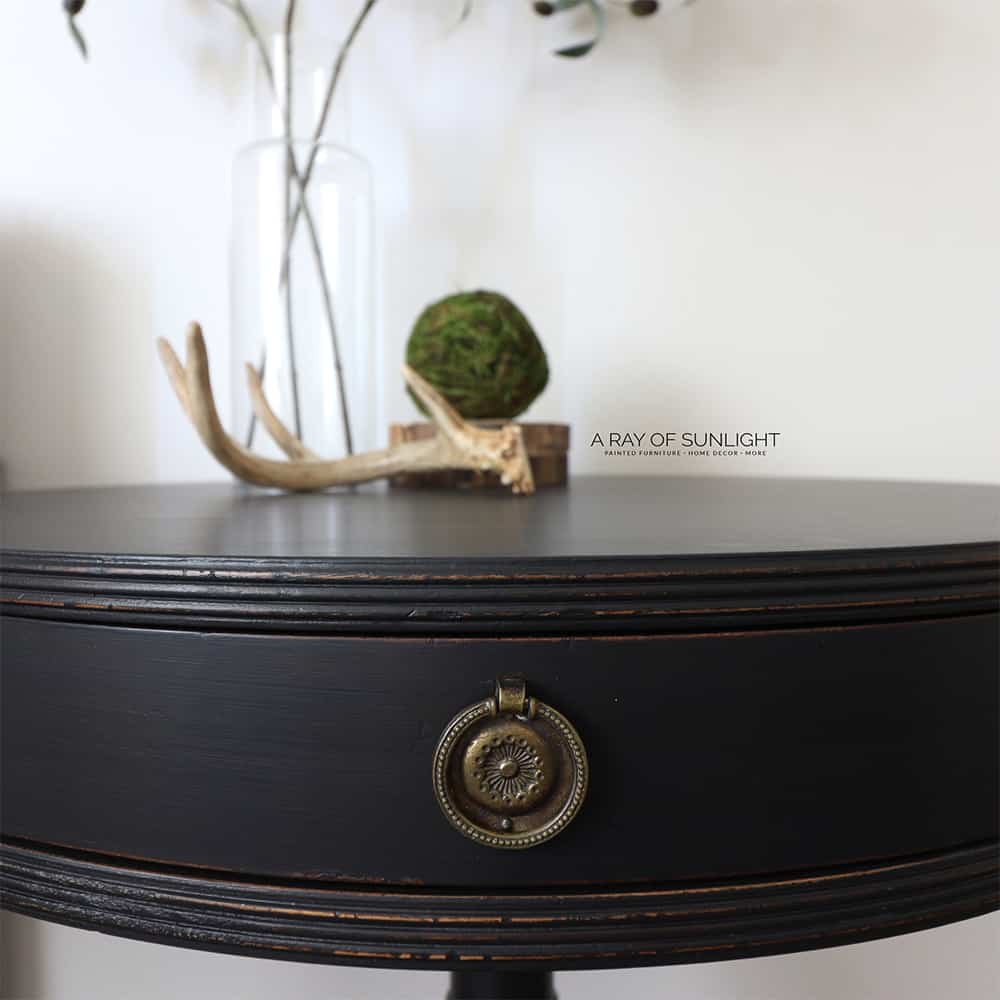
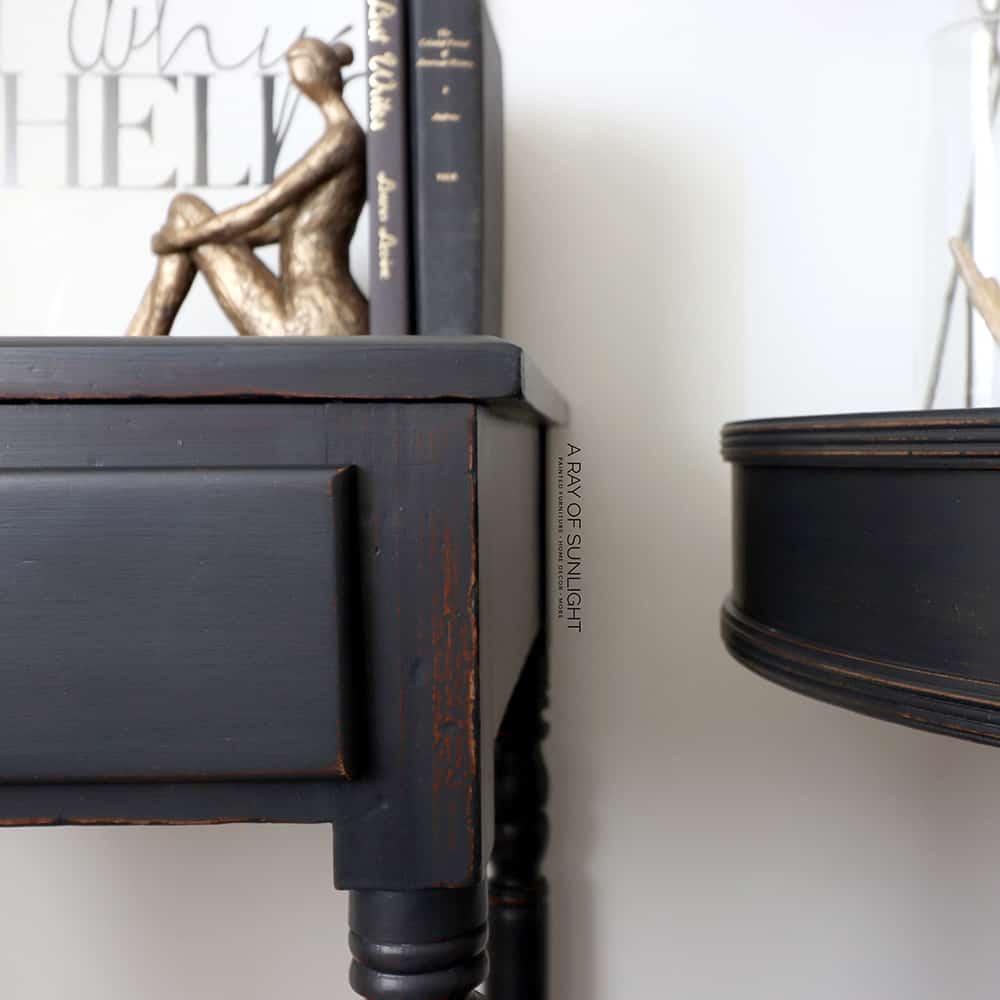
I put the hardware from the drum table on both pieces, and I love the traditional look that they give these antique pieces. For more similar makeovers, check out our list of mismatched nightstands ideas.
Rust-oleum Milk Paint Review
Overall, I’m really happy with how they turned out. The distressed look is definitely not what I imagined when I started this makeover…But that’s the look you get with this brand. It did even chip a little bit on the top like the powdered one does.
It is so interesting. It’s kind of a mix between the real powdered casein and chalk paint. Check out my comparison between milk paint vs chalk paint here.
What do you think of this makeover?
How Durable is Rust-oleum Milk Paint?
Just for fun, I scratched at it after the 2nd black coat to make sure it was sticking well. It didn’t scratch off at all! It did leave some marks behind, but that’s typical for matte finishes.
I even applied it on another piece of wood from a different DIY project, without prepping it at all… and scratched at that one to see what it would do without the cleaning and shellac. Yep, that one scratched right off. But I tested it again after a week or so, and it isn’t scratching off anymore!
Does Rust-oleum Milk Paint Need a Top Coat?
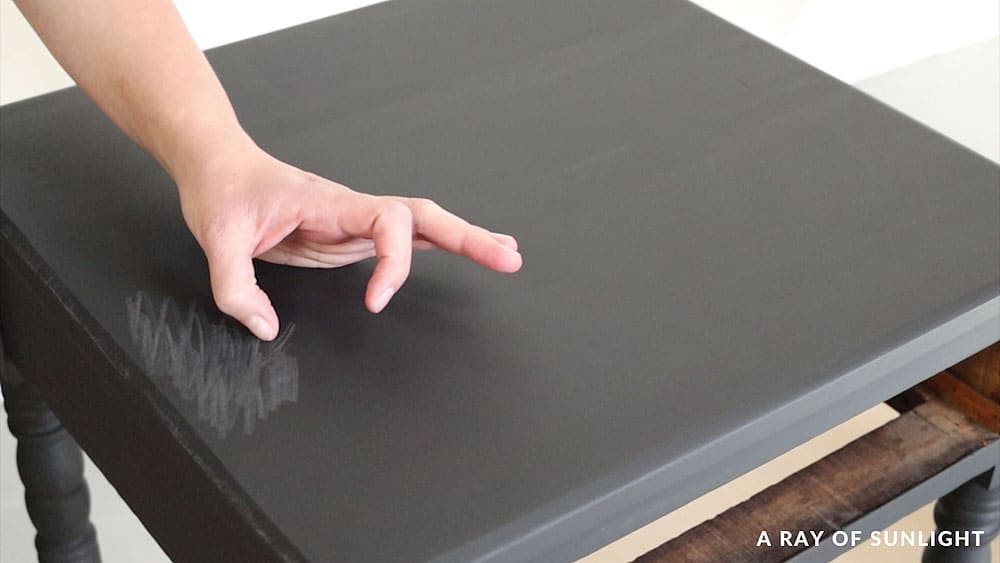
Yes! Without a topcoat, it is very porous. Even lightly touching it will leave white marks. So, as you may imagine, setting anything on it and daily use will leave marks all over it,and will most likely scratch it up.
A topcoat of either waterbased polyurethane or wax will make it more durable, but it will also make it wipeable and less dusty looking.
I personally prefer Varathane’s waterbased polyurethane because it’s extra durable and dries and cures quickly. Check out the best polyurethane for furniture options here. But wax is a great alternative if you don’t mind less durability and a longer waiting time for it to fully dry.
Is Rust-oleum Milk Paint Real Milk Paint?
No. It is not a real casein like powdered milk paint is. But it does seem to act similar to the real thing (it doesn’t chip like it, though!)
It feels gritty like real milk coating does, and it distresses beautifully as well. It’s also really good for creating a washed look. It’s already mixed up so you don’t have to mix powder and water together as you do with real kind.
Do I Have to Sand Before Using Milk Paint?
No.. and Yes. Rustoleum will stick to wood pieces that haven’t even been lightly sanded. But will it stick well enough??
What Happened When We Tested NOT Sanding
I actually brushed it on a finished piece of wood that came from another furniture makeover. I had cleaned it, but I didn’t prep it any other way.
For the first couple of days, it scratched off very easily with just my fingernail. Then I tested it again after a week had gone by, and it was barely scratching off. I’m going to guess (and I’ll try to update this later) that once it dries for a month it will not scratch anymore.
Priming Instead of Sanding
On the other hand, I prepped these nightstands by cleaning and then priming them with clear shellac. I didn’t scuff sand beforehand. The finish did not scratch off at all even a few hours after I added the second coat on. The clear shellac is the biggest difference here!
Best Practice for Best Durability
If you want the most durable finish, you’ll need to take some time to lightly sand the wood surface with 220 grit sandpaper to make sure Rust-oleum has the best adhesion. Learn more about the importance of sanding before painting furniture here.
Rust-oleum Milk Paint vs Chalk Paint
This brand also offers a chalk paint line, which is a great budget friendly option. It’s not as chalky and a lot smoother than the usual brands. It also offers very good coverage and adhesion. If you like the rustic look, it’s also easy to distress!
It does only come in 11 colors, so that can be pretty limiting. However, Rustoleum does offer a tint base option that can be used to create an additional 26 colors. Also, keep in mind this is only for indoor use. Read more about it in our Rustoleum chalk paint review here.
Both of these coatings give your piece that shabby chic style, but since they’re both porous, you’ll need a topcoat to keep it protected. Plus, a little prep work like sanding or priming will go a long way for both! If you’re using a chalk paint, then be sure to read up on the best topcoats for chalk paint as well.
So, which one is better? Milk offers a more authentic distressed look and a wider range of color options, while chalk has smoother finish and better coverage. It really depends now on your personal preference and project needs.


Rust-oleum Milk Paint Review
This paint is quite surprising! Here's how to paint furniture with Rust-oleum milk paint.
Materials
Instructions
- Get your furniture ready for paint by removing the old hardware and filling in the hardware holes. After the hardware hole filler dries, sand it down smooth and level with the wood around it.
- Clean the furniture with a degreaser to remove any grease, oils or grime.
- Prime with 2 coats of shellac to help make the paint stick.
- Apply 2 coats of of Rust-oleum milk paint onto the furniture, drying and sanding them smooth between coats.
- After everything is smooth, and the dust is cleaned off, seal your milk painted furniture with 3 coats of waterbased polyurethane using a sponge.
- Attach new furniture hardware.
Recommended Products
As an Amazon Associate and member of other affiliate programs, I earn from qualifying purchases.


More Milk Paint Resources
- DIY Emerald Green Mismatched Nightstands
- DIY Cedar Chest Makeover
- Milk Painted Furniture
- Chippy Paint Finish with Milk Paint
- Painting Furniture with Milk Paint
Follow us on YouTube to get more tips for painting furniture. Or share your project with us on our Facebook Group and be part of our community. See you there!