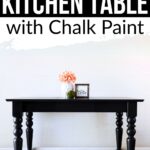
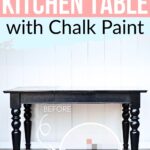
Painting a Kitchen Table with Chalk Paint

So you’re thinking about painting furniture using chalk paint? Well, I thought the same not too long ago! Here’s what went down when painting a kitchen table with chalk paint! It’s not my first time working with it, and we’re also making our own chalk paint. I’m excited to share with you the process and the end result!
Painting your kitchen table can be a fun and affordable way to give your old tired piece a new life. You’ll be able to change the look and feel of your entire kitchen without having to spend a fortune on a brand new table. So let’s dive into this makeover and these painting furniture ideas!
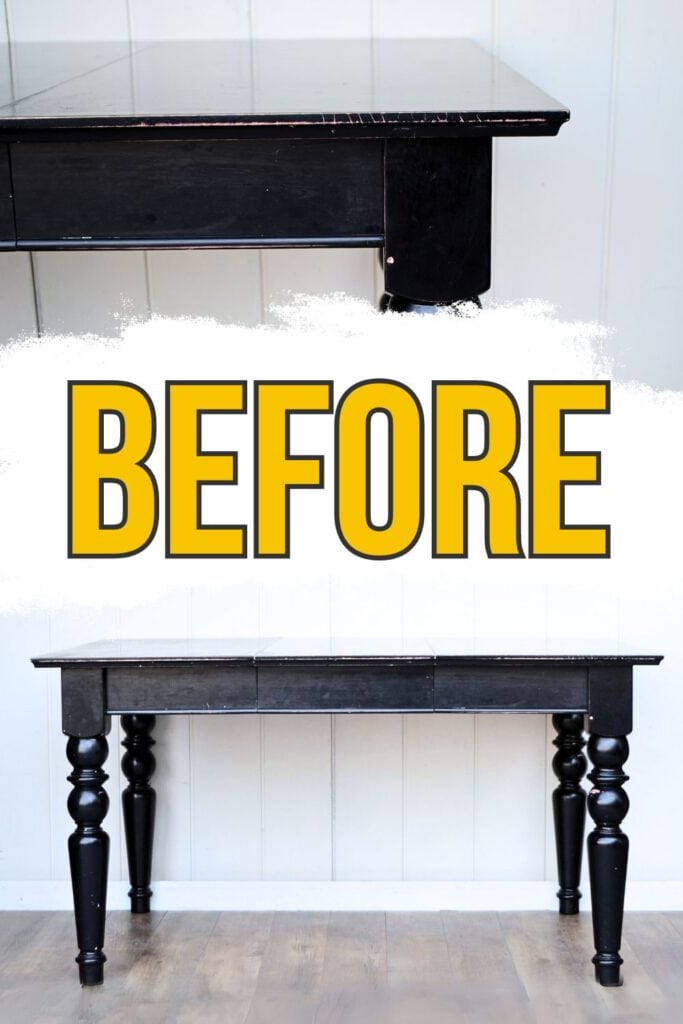
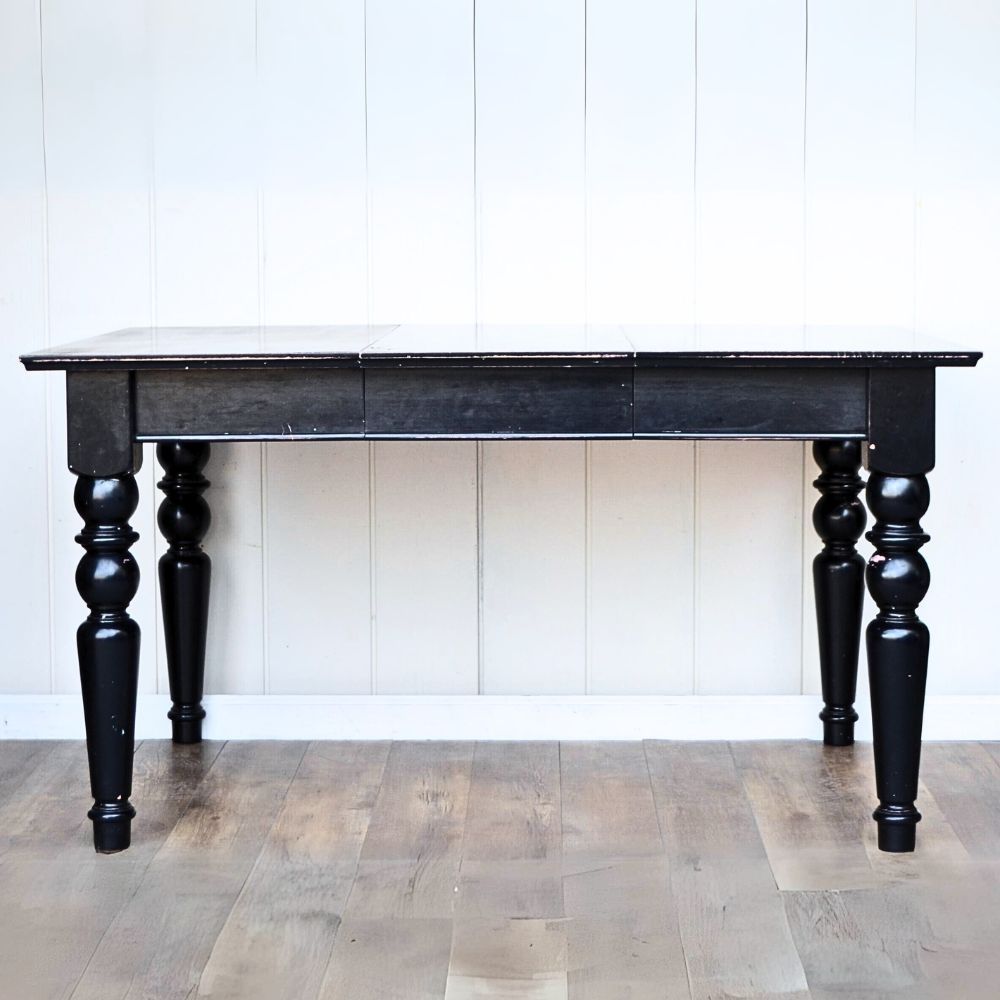
Our client came to us with a specific request for their kitchen table makeover – they wanted a new and refreshed finish, while still having the classic black color. Black sure has that classic and timeless touch, so we were excited to get started!

As mentioned above, we used chalk paint for this project, even though it may not be the best option for a kitchen table. But with proper topcoating, we knew we could make it work and create the desired look for our client. Sealing the chalk paint with multiple coats of topcoat is important in making it last and withstand everyday use.
So how did the whole makeover go? Keep reading and learn tips and tricks on painting your kitchen table with chalk paint along the way! If you also want to make money this way, check out flipping furniture for beginners to help you get started.

Supplies Used for Painting a Kitchen Table with Chalk Paint
As an Amazon Associate, I earn from qualifying purchases. I also may earn from other qualifying purchases with other companies or get free product to review and use. All opinions are my own.
- Krud Kutter
- Damp Cloth
- 220 Grit Sandpaper
- Dewalt Orbital Sander
- Diablo 5″ 220 Grit Sanding Screens
- SurfPrep 5″ Medium Grit Pro Foam Pads (Use code RAY10 to get 10% off your order)
- Vacuum
- Tack Cloth
- Clear Shellac Primer (Spray Can)
- Black Behr Latex Paint
- Calcium Carbonate Powder
- Wagner FLEXiO 595 Sprayer
- Waterbased Polyurethane in Satin
Cleaning Kitchen Table
We started by clearing off all the items on the kitchen table and giving it a good wipe down with a damp cloth to remove any visible dirt or debris that had accumulated. Next, it was time to clean and get rid of any stubborn grime and food stains on the surface of the table with Krud Kutter. We made sure to get into all the nooks and crannies of the table, as food tends to get stuck in those areas.
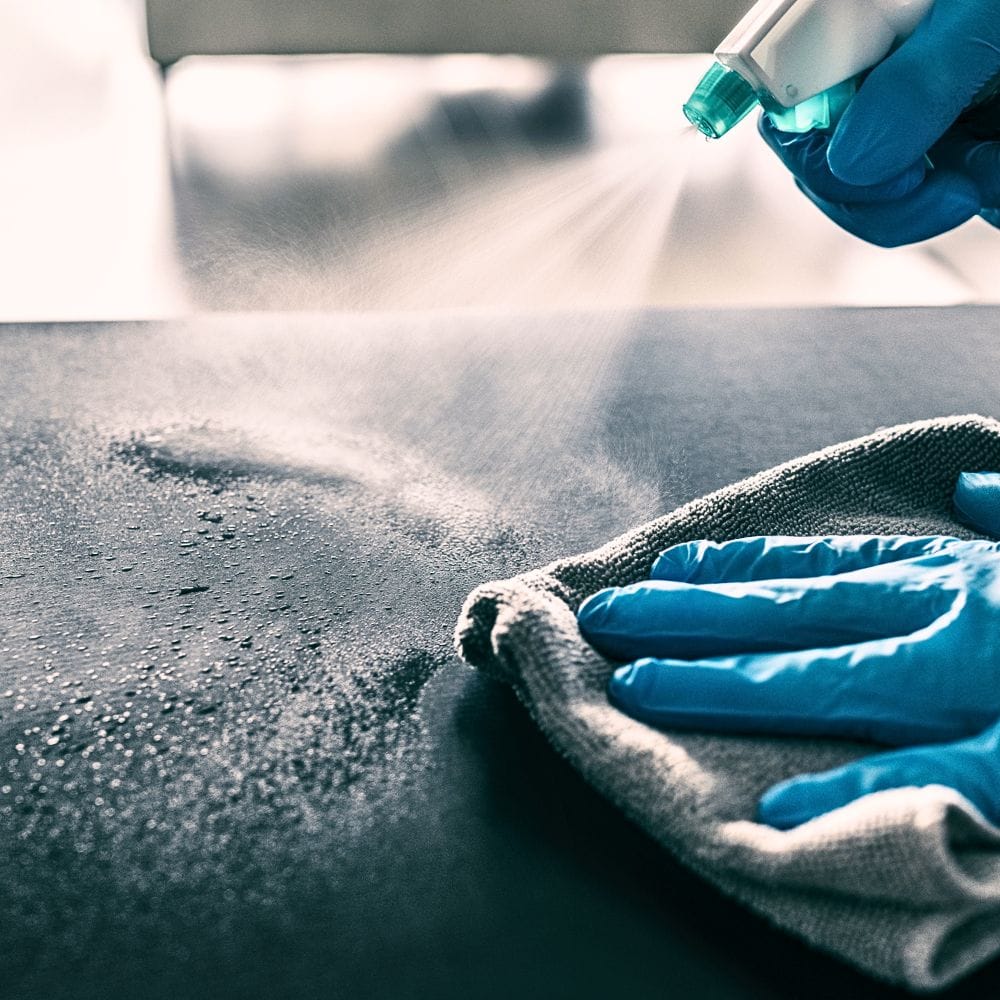
After wiping down with Krud Kutter, we gave the table another good wipe with a clean damp cloth to remove any remaining residue. Then, we let the table air dry completely before moving on to the next step.
You want a clean and dry surface before painting so that the paint can adhere properly. So take your time with cleaning furniture before painting if you want a beautiful and long lasting finish on your kitchen table.
Sanding Kitchen Table
We proceeded to lightly sand the kitchen table with 220 grit sandpaper. If sanding by hand doesn’t sound fun to you, then you can also use a power sander. We used this power sander and foam pads combo – the Dewalt orbital sander with regular Diablo 5″ 220 grit sanding screens for flat surfaces, and the Dewalt sander with SurfPrep 5″ medium grit pro foam pads for curved surfaces.
After sanding, we vacuumed all the dust from the sanding and used a tack cloth to wipe off any remaining dust particles.
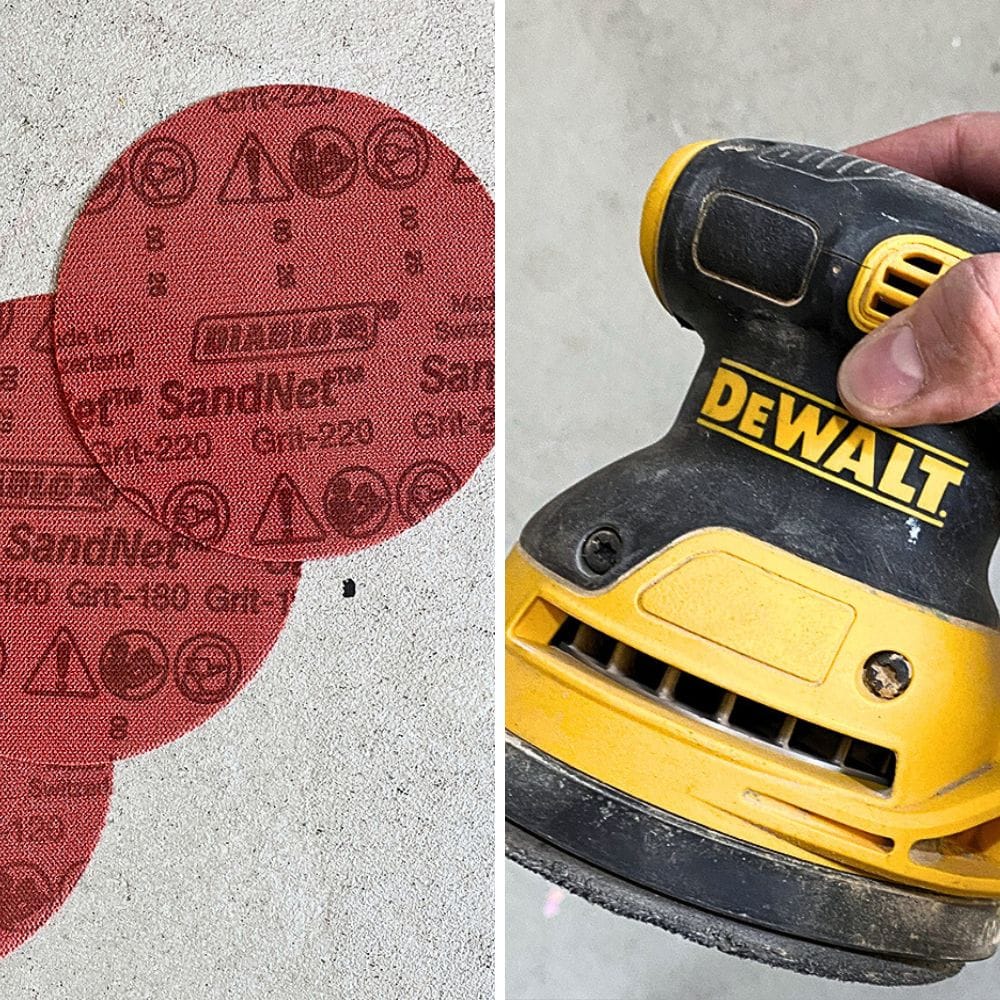
Sanding before painting furniture is especially important if you’re working with a surface that has a sheen or glossy finish. Sanding helps to create a rough surface for the paint to stick to, for better adhesion and durability of your painted finish. Plus, sanding also helps to smooth out any imperfections or scratches on the surface, resulting in a smoother and more professional look.


Priming Kitchen Table before Painting
Another must-do so your paint adheres and lasts on your kitchen table is priming. Priming wood for painting serves to block any stains or discoloration that may bleed through your painted finish, as well as creating a strong foundation for the paint to stick to.
I used a clear shellac primer in a spray can for this project. It’s one of the best primers to stop tannin bleed, which you definitely need to prevent any stains from seeping through. And it’s one of the best primer for chalk paint options!
If you skip priming with a stain blocking primer and wonder why is yellow coming through paint, then I gotta tell you, it’s because of bleedthrough. So make sure you prime with a good stain blocking primer! If you haven’t prevented the bleedthrough, here’s our guide on how to fix paint bleed through to help you with this issue.
To really tackle those stains, I applied 2 coats of clear shellac primer and let it dry overnight so that the knots and stains were completely sealed and dried. Now it’s painting time!
Chalk Painting Kitchen Table Black
To make our own chalk paint, we followed our homemade chalk paint recipe here. We mixed black Behr latex paint with calcium carbonate powder. Make sure you mix the paint thoroughly to get a smooth and consistent texture.
Would you like to save this?
I sprayed it on the kitchen table using a Wagner FLEXiO 595 sprayer. It’s a budget friendly and efficient option, especially if you do many DIY projects. We have a Wagner FLEXiO 595 review here if you’re curious about it. For other options, here’s the best paint sprayer for chalk paint.
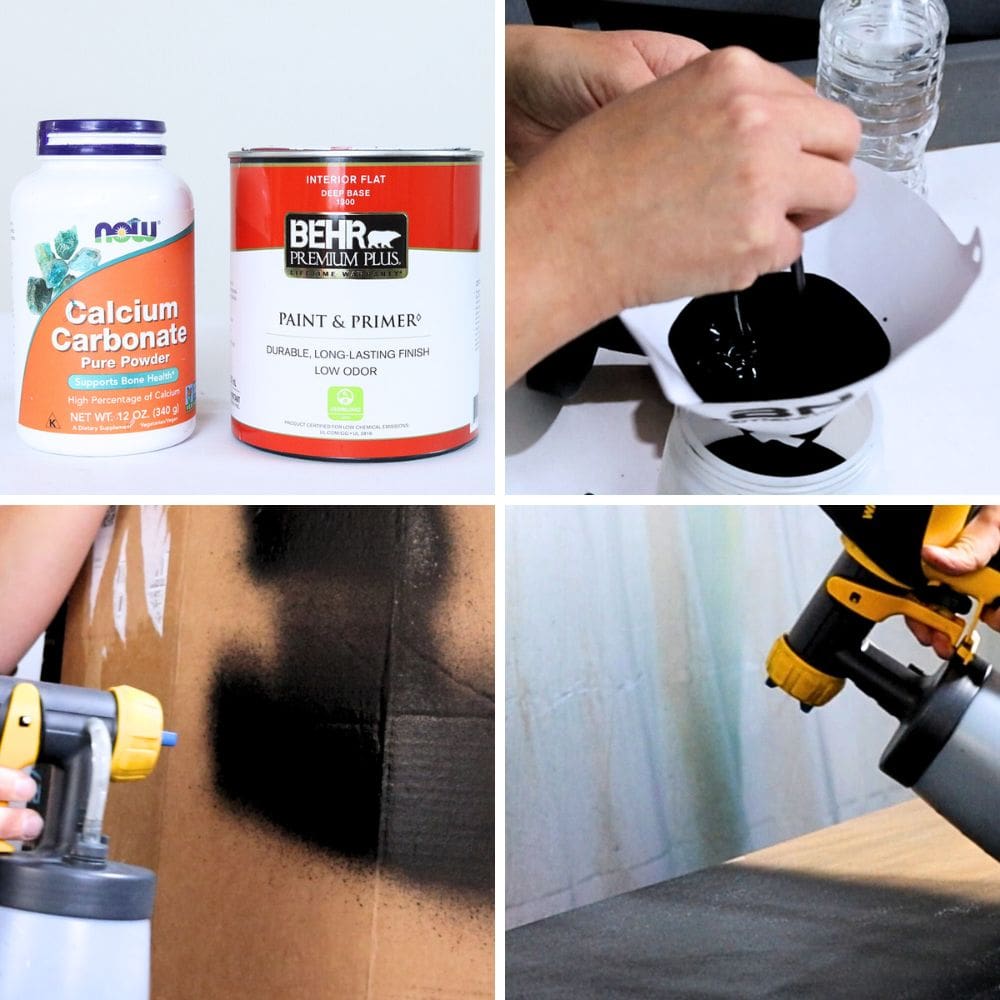
If you want full coverage like we did, you’ll need to apply 2-3 coats of chalk paint, with drying time in between coats. You can learn more tips on how to spray paint a dresser with chalk paint here, especially if it’s your first time. And look out for these common chalk painting mistakes to avoid!
Once you’re done, let the paint dry completely before sealing it. Here’s chalk painting furniture black if you just want to use one of these ready made top chalk paint brands.
Topcoating Chalk Painted Kitchen Table
Now we have a beautiful black chalk painted kitchen table, but it’s not quite finished yet. To protect and preserve the new finish, we need to seal painted furniture with a topcoat. This will also make the table easier to clean and maintain in the long run.
Here’s what to use to seal wood before painting for more details about the sealers we recommend for your wood furniture.
We topcoated the painted kitchen table with a waterbased polyurethane in satin finish. I still sprayed it with my Wagner sprayer because I prefer to spray polyurethane onto furniture. But you can also brush on the topcoat or use a spray can version like the Minwax polycrylic.
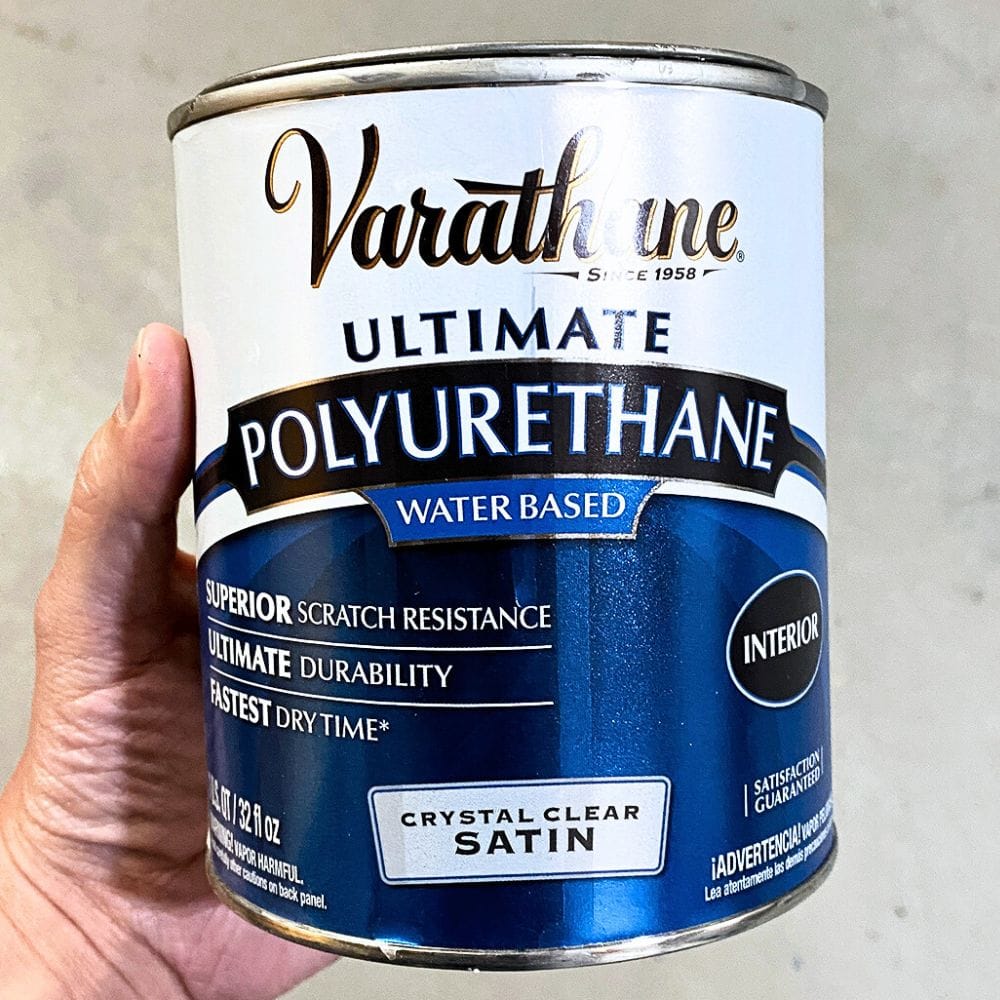
But when choosing a topcoat for painting furniture to use over a dark color, oil based polyurethane may be a better option. Compared to waterbased polyurethane, the oil based one is more durable and resistant to scratches and stains.
Check out our blog post about polyurethane vs polycrylic for dining table to find out more about these two topcoat popular options for a dining or kitchen table.
However, it does have a yellow tint that may alter the color of your finish. So you can only use it on dark colors or if you don’t really mind the amber tint. You also need to wait 48 hours after the last coat before applying oil based polyurethane, so keep that time frame in mind.
Whichever topcoat you go for, make sure to apply 3-4 coats. Let each coat dry completely before applying the next one. And after everything is done, allow the piece to cure for at least a week before using it. You’ll also want to be extra careful with the finish for about a month, as it takes that long to completely cure.
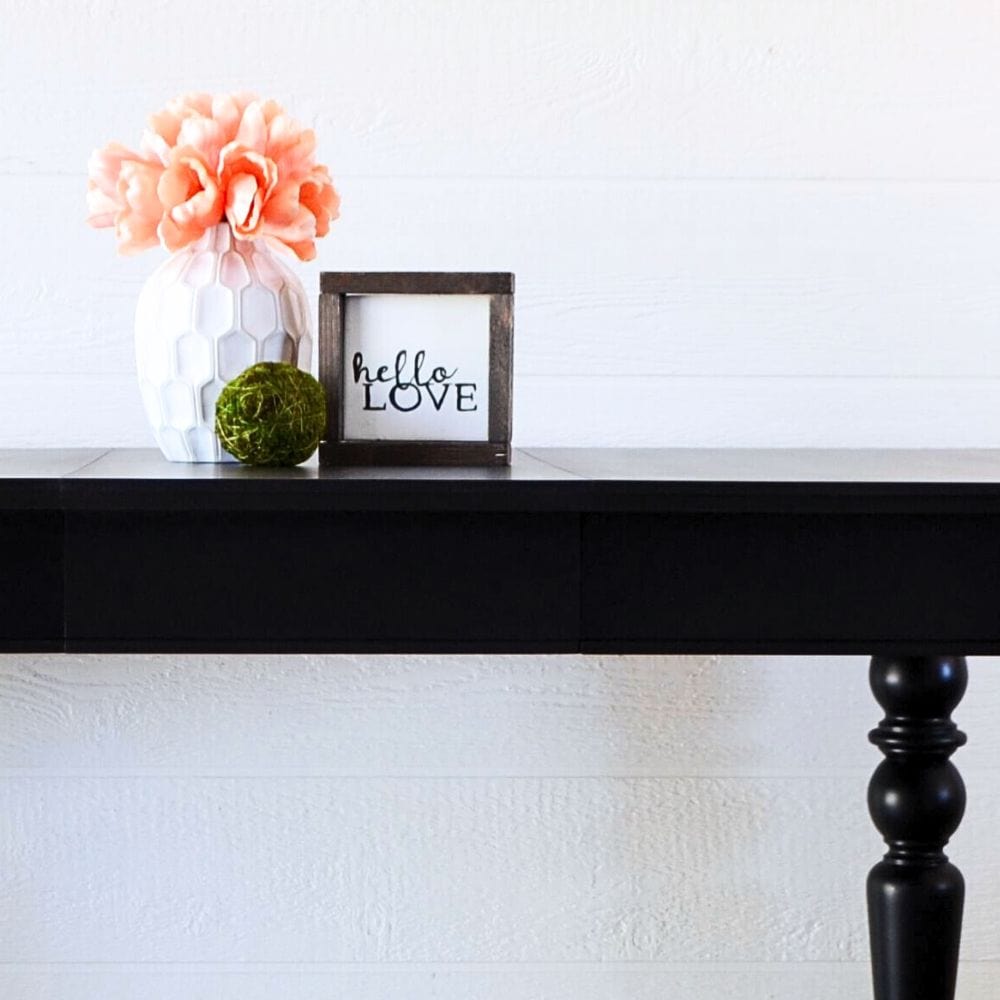
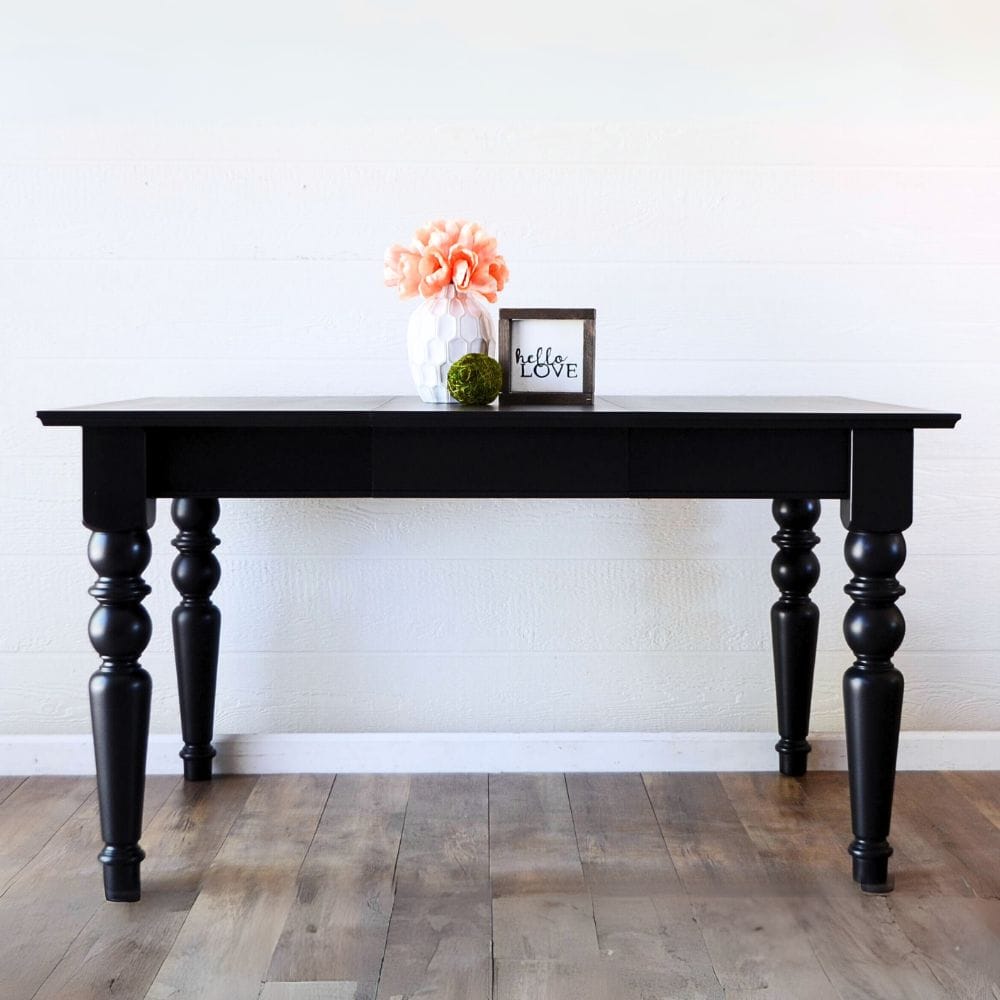
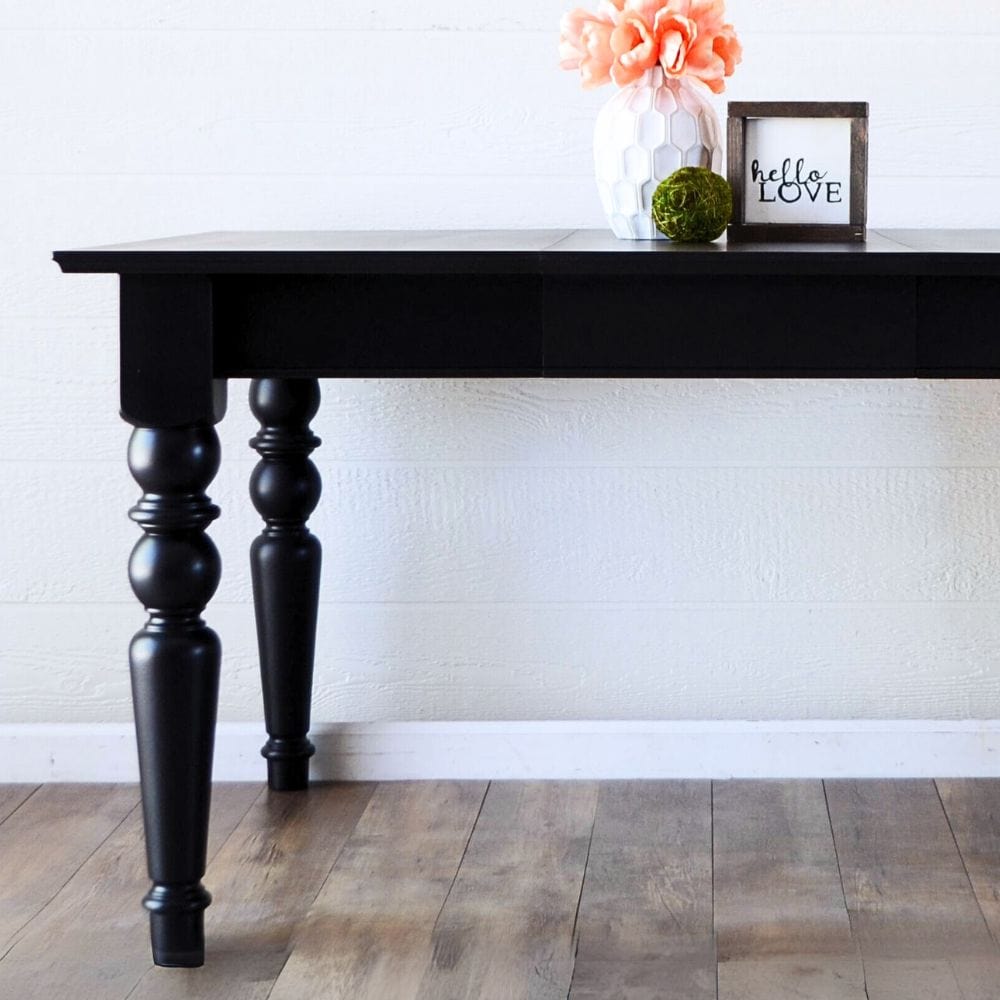
And that’s a wrap on how we painted a kitchen table with homemade chalk paint! You can see how, sealed with a topcoat, it can result in such a sleek and durable finish.
More Before and After Makeovers
See All >
Click any of these “before” photos below to view the “after” of that makeover.


If you have a similar piece that could use a makeover, hopefully, this post has given you some ideas and tips on how to get it done. Here’s spray painting furniture gold for a more luxurious look!
For more inspiration, check out these painted kitchen table ideas and chalk paint dining table ideas! You can also pair them with these painted dining chairs ideas.


Painting a Kitchen Table with Chalk Paint
Here's painting a kitchen table with chalk paint to change the look and feel of your entire kitchen, without having to spend on a brand new table.
Materials
Instructions
- Prep your kitchen table by clearing off the items on it and wiping it down with a damp cloth to remove any visible dirt or debris that had accumulated. Next, clean and get rid of any stubborn grime and food stains on the surface of the table with Krud Kutter.
- Sand the surface of your kitchen table to create a rough texture for better adhesion and a smooth finish. You can scuff sand by hand with 220 grit sandpaper, or use this power sander and foam pads combo - the Dewalt orbital sander with regular Diablo 5" 220 grit sanding screens for flat surfaces, and the Dewalt sander with SurfPrep 5" medium grit foam pads for curved surfaces.
- Prime your kitchen table with a clear shellac primer to prevent any stains or discoloration from bleeding through the paint and to create a strong foundation for the paint to adhere to. Apply 2 coats and let it dry overnight for best results.
- Make your own chalk paint by mixing black Behr latex paint with calcium carbonate powder, thoroughly mixing until you get a smooth and consistent texture. Spray 2-3 coats of the homemade black chalk paint onto your table using a Wagner FLEXiO 595 sprayer for efficient and thorough coverage.
- Seal and protect your painted kitchen table by applying 3-4 coats of the topcoat of your choice, whether it be waterbased polyurethane, or oil based polyurethane for extra durability (but with a yellow tint that may alter the color).
- Allow everything to dry and cure for at least a week before using your newly painted kitchen table. Be extra careful with it for about a month until the paint is fully cured, and then you can enjoy your beautifully transformed furniture!
Recommended Products
As an Amazon Associate and member of other affiliate programs, I earn from qualifying purchases.


More Chalk Paint Furniture Makeovers
- Chalk Painted End Tables
- Chalk Painted Nightstand Makeover
- How to Chalk Paint a Desk
- DIY Light Blue Dining Room Buffet
- Painting a Bedside Table
Follow us on YouTube to get more tips for painting furniture. Or share your project with us on our Facebook Group and be part of our community. See you there!
Such a gorgeous new look, y’all! Love the black color, too! I’m happy to be featuring your post at Tuesday Turn About this week! Pinned!
Thank you so much for the love Julie!!