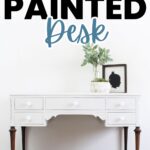
Chalk Painted Desk
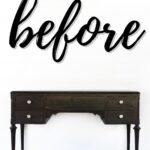
Are you stuck on a project and need an idea for an upcycled desk fast? Look no further than this chalk painted desk! Chalk paint is a simple, affordable, and incredibly versatile material that can be used to revive any piece of furniture, like these chalk paint furniture ideas.
In this blog post, we’ll go over the basics of how to transform an old table into something modern and chic. We’ll cover everything from prepping the piece to creating stained wood legs for extra flair.
The idea of buying a new desk is tempting, but why break the bank when you can make what you already have better? Upcycling isn’t just good for your wallet; it’s a win for the planet and a chance to make something totally unique.

With a bit of work, it can go from an overlooked and outdated piece to something more stylish and practical. And you’re not just creating something beautiful; you’re making it work for your space and current style.
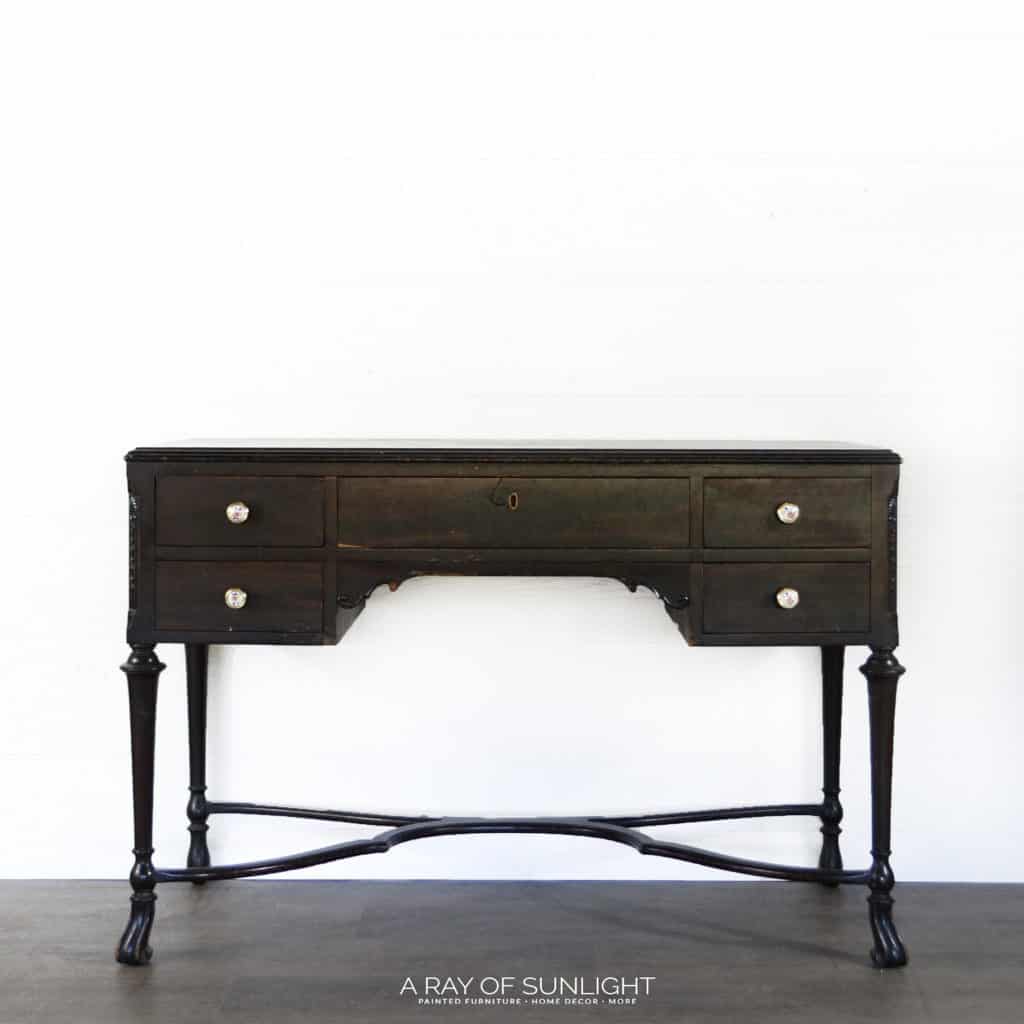
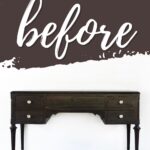
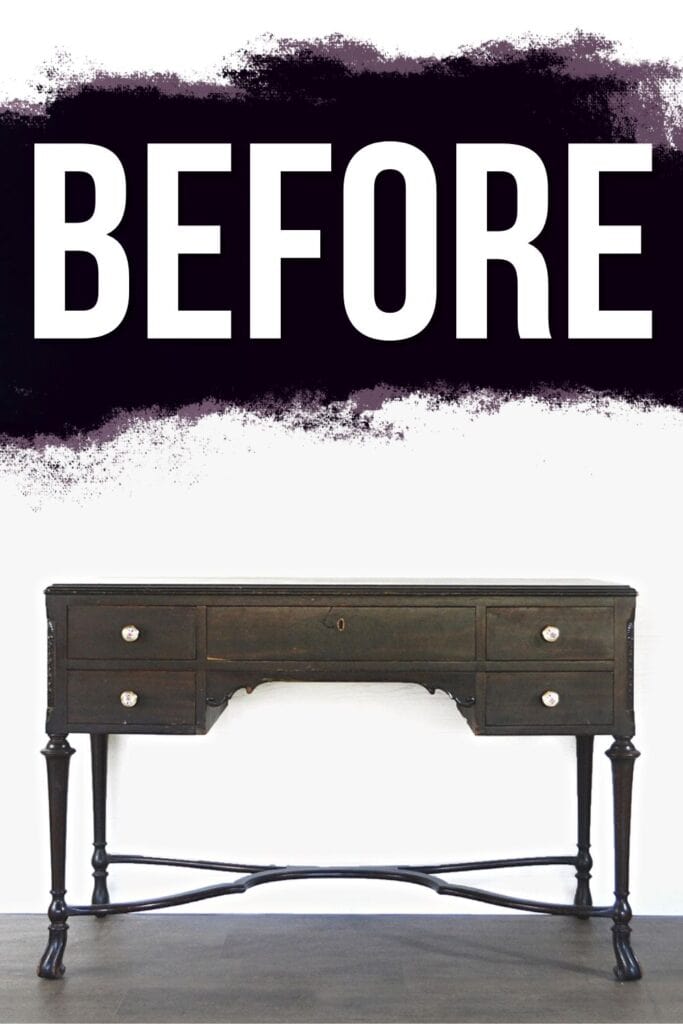
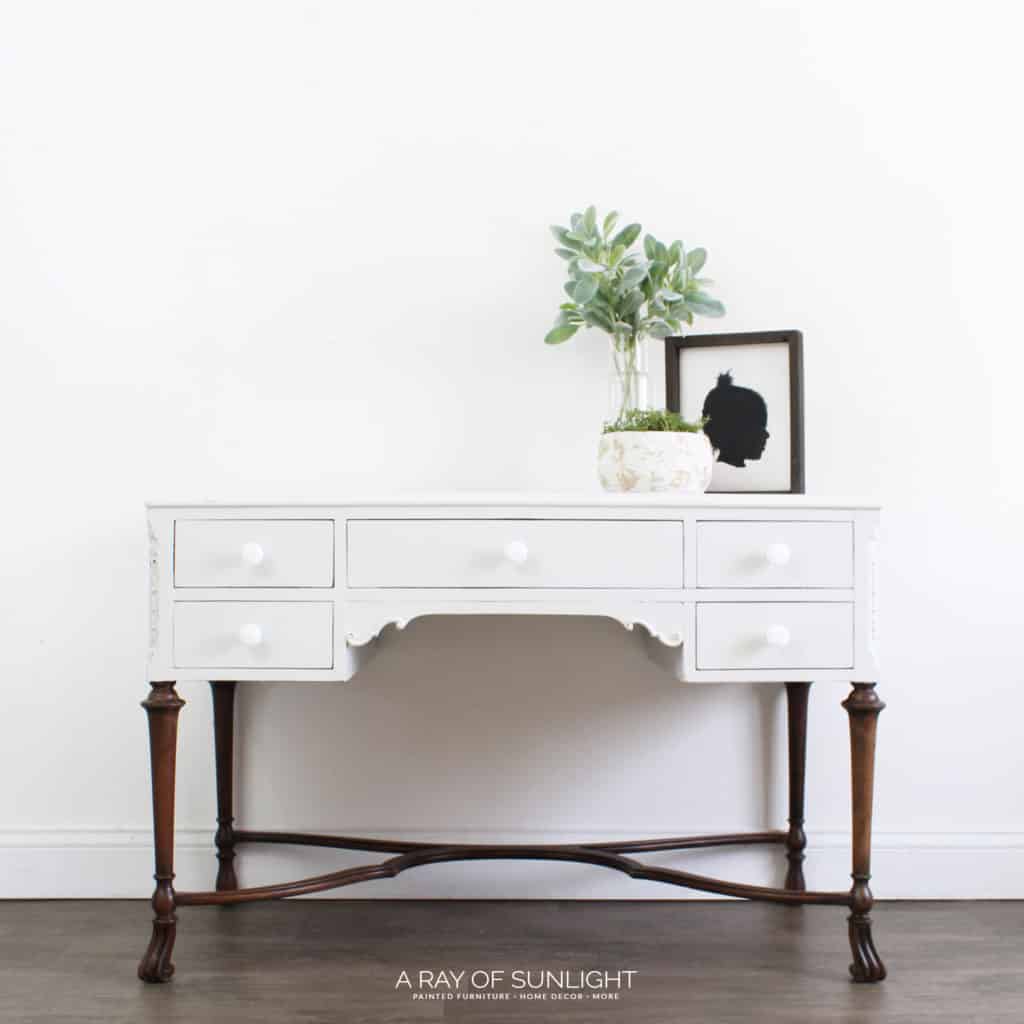
I love this table makeover. I honestly wasn’t sure about this style before I gave it a makeover, and now I can’t get enough of it. Let’s dive into how we went from the before photo to the beautiful gray chalk painted desk it is now!

Supplies Used for Chalk Painted Desk
As an Amazon Associate, I earn from qualifying purchases. I also may earn from other qualifying purchases with other companies or get free product to review and use. All opinions are my own.
- Krud Kutter
- 220 Grit Sandpaper
- Wood Filler
- Tack Cloth for prepping
- Kwikwood
- Chemical Stripper
- Dixie Belle BOSS Stain Blocking Primer – Clear
- Tape
- Pre Taped Plastic
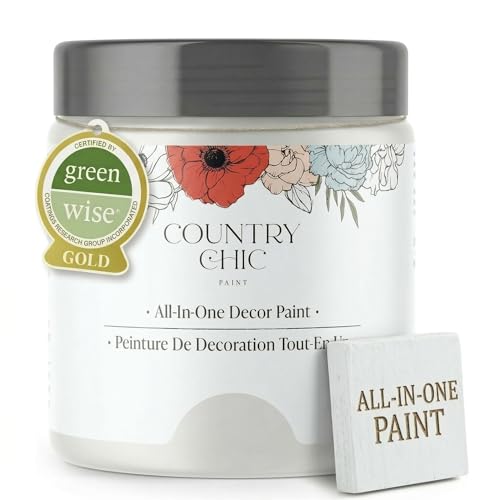
- Country Chic Paint in Simplicity, Dark Roast, Lazy Linen and Sunday Tea
- Varathane Waterbased Polyurethane
Grab our list of the top 10 best painting furniture supplies here!
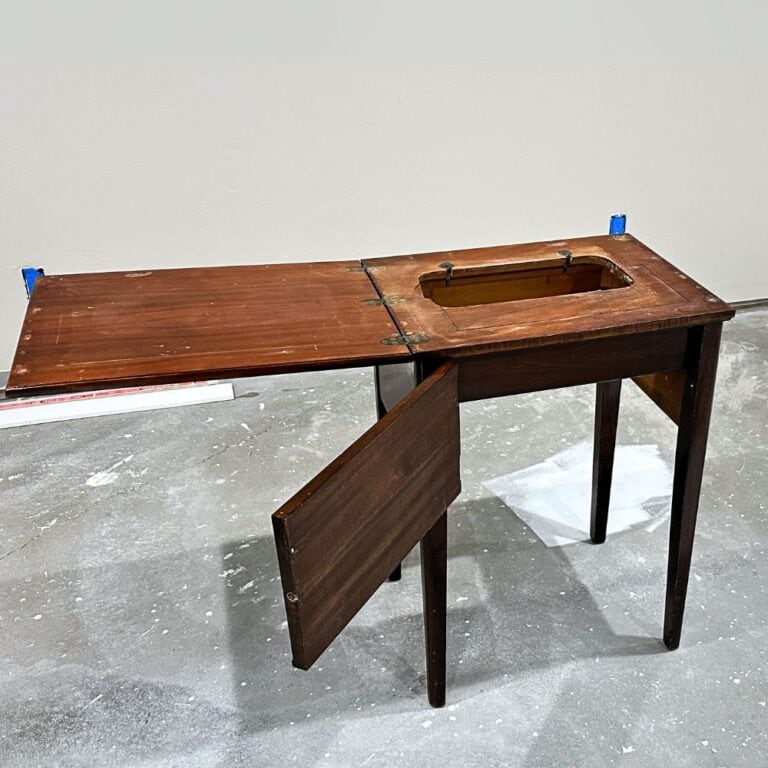
Preparing the Desk
We prepped the top of the table the way we prep every one of our pieces, including cleaning, wood filling, scuff sanding, vacuuming, wiping down, priming for bleed through, and taping off areas of the table. Learn about the detailed process of how to prepare furniture for painting here.
How to Strip Table Legs
Then, I removed the finish on the legs. There are a few ways to do this, but we decided to use a chemical stripper. Here is how to refinish wood furniture legs to guide you.
While I waited for the chemical stripper to do its thing, I kept prepping the table for the rest of the makeover.
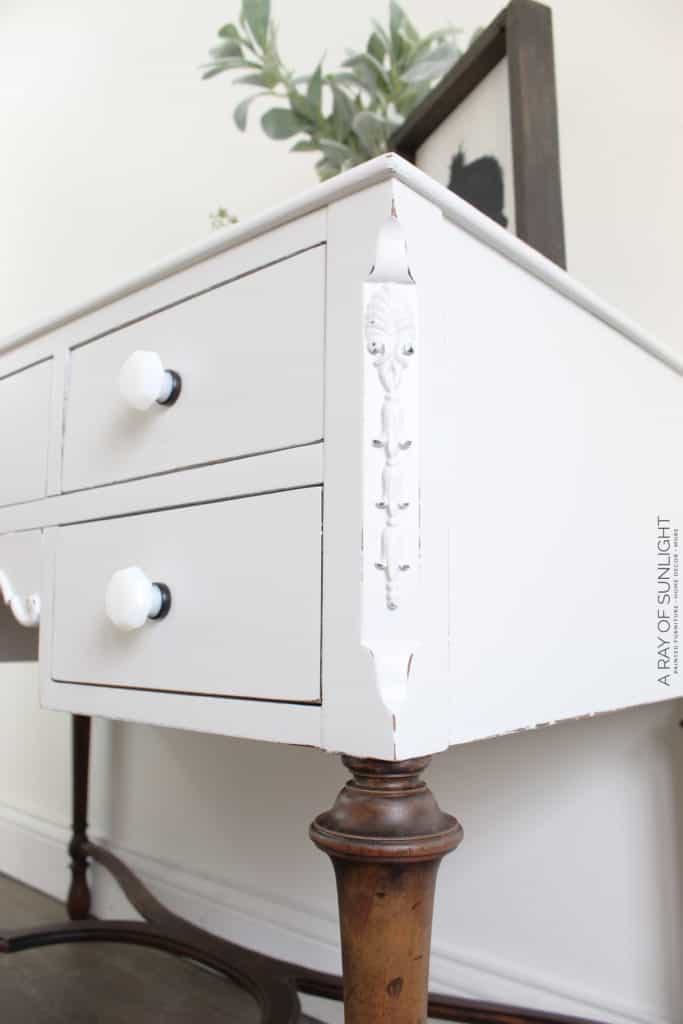
How to Repair Wood with Kwikwood
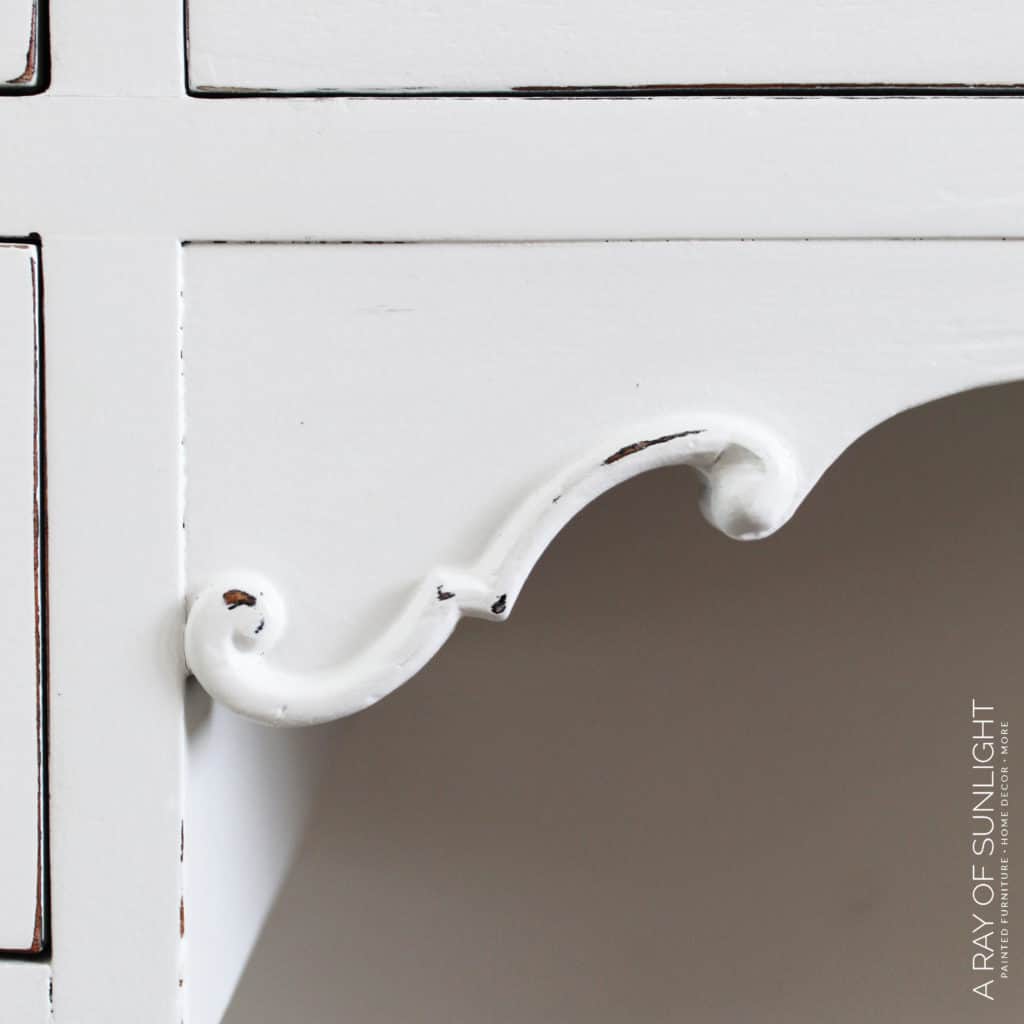
A small piece of detail was missing from the front of the table, so I molded a small amount of Kwikwood to recreate the detail.
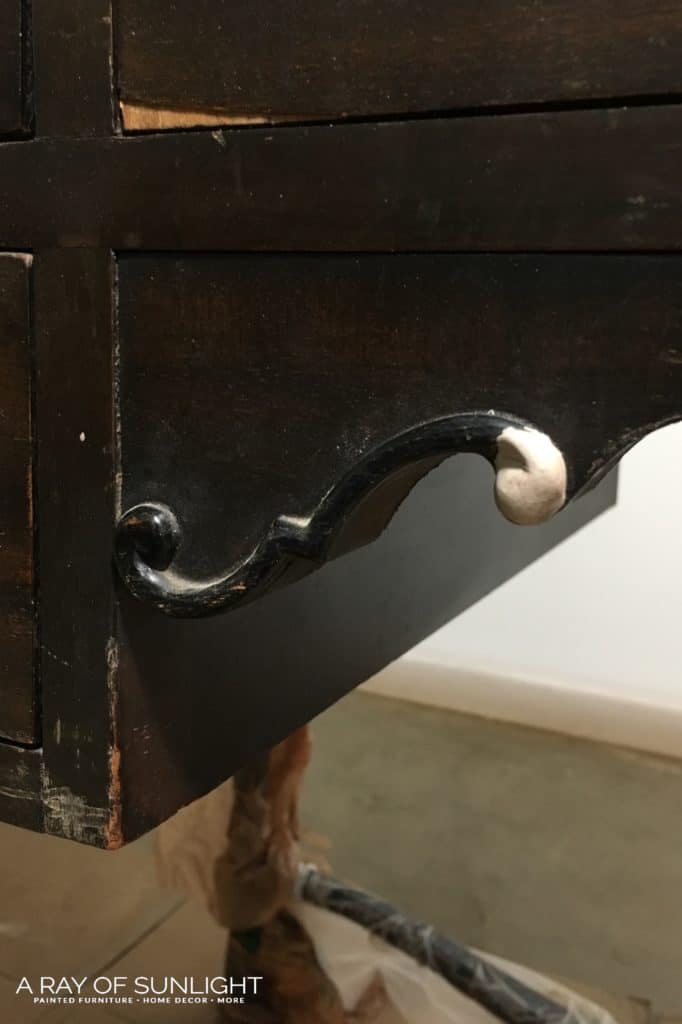
Kwikwood is an epoxy that comes in a small tube. You just cut the amount you need from the roll and then knead it together with your fingers until it all becomes one solid color.
Once it’s kneaded together, you have about 15 minutes to work with it before it starts to harden rock hard. It dries in an hour and then can be drilled into, sanded and painted, along with some other things. It worked really, really well for this application of recreating the missing detail.
It also works really well for filling in old hardware holes and fixing small chips in veneer. Learn more about how to use KwikWood here, and learn more about how it compares to other options in this post on the best wood fillers for furniture.
Priming Furniture for Bleedthrough
Over the years, I’ve learned to always prime for bleedthrough. Even if I don’t use a light color. Bleed through is caused by a lot of things, but it results in splotches and stains that come through paint and literally will not go away, no matter how many coats you apply over it.
It sometimes even waits to show up until after you have finished everything, and months go by. So I always always always prime to prevent bleed through.
This time, I used Dixie Belle’s BOSS stain blocking primer. It works really, really well and is easy to use. I just brush it on after everything is prepped and before I add the new color. It comes in clear or white. Learn more about how to stop stains from coming through paint here.
Here are more best primers to stop tannin bleed you can use, and here are best primer for chalk paint options if you’re using this kind of finish.
Mixing Paint Colors
Once the repair was made and all the prep work was complete, I mixed a few different Country Chic Paint colors together. I really wanted a light gray, but I didn’t have enough of the Lazy Linen (which is a really pretty light gray shade). So, I improvised with a new mix of colors.
First, I mixed a tiny amount of Dark Roast (deep brown) with a healthy amount of Simplicity (white). It came out to a really pretty warm gray. Then I added in the small leftovers that I had of Lazy Linen and Sunday Tea (another light warm natural gray).
Would you like to save this?
Mixing is such a great way to create new colors AND use up the small amount of paint that is always left over after a project or two. If you aren’t familiar with mixing or you’re scared to mess up, start with a teaspoon or two to make a sample of what it will become when mixed.
Check out my honest and detailed Country Chic Paint review here for more on this brand, and here are the best Country Chic Paint colors you can try out, too!
Spraying Chalk Paint
I personally love to use a sprayer. I love the professional finish it creates, and I love how much faster it is than a brush. Here’s all about painting furniture with a sprayer. And here are the best HVLP paint sprayers for furniture and the best paint sprayer for chalk paint options if you want to buy one.
You can spray a lot of different types of paints in these sprayers, and chalk style is definitely one that I use the most! Here’s how to spray paint a dresser with chalk paint to show you the process.
But you can also use a brush instead. Here’s how to chalk paint furniture to show you how. Plus, here are the best paint brushes for painting furniture you can use.
How to Protect from Overspray
It is super important to cover anything you don’t want paint on, because the sprayers have overspray that tends to get on anything you don’t cover.
So, I wrapped the legs up in paper and plastic and taped off the inside of the drawers with tape and plastic. You can get more tips on how to prevent overspray when painting furniture here.
Distressing and Topcoating Chalk Paint
Once the few coats on the top of the table were completely dry, I used 220 grit sandpaper to distress the edges. This step is optional. If you like the distressed look, learn more about distressing furniture techniques and how to distress chalk paint here.
Then I wiped off the dust and removed the plastic and paper from the legs.
The entire desk, along with the legs, got 3 coats of our favorite topcoat to protect the wood and finish. Here is how to apply polycrylic to painted furniture, and if you have an HVLP gun, here’s how to spray polyurethane. (This is my favorite way – here’s more on how to seal chalk paint!)
It looks like they were stained, but that is just the natural wood. If your wood isn’t dark, you can always use this technique on how to stain wood darker.
And then, we finished off the table with new hardware from D Lawless Hardware.
I couldn’t be more happy with the way this piece turned out, and apparently, I’m not the only one! It sold within a few days to an amazing customer who has supported our little family business for years now!
When this desk gets to her, we both will be living in different states than where we were when we first met! How cool is that! If you want to know how to make money painting furniture, check out this post to learn more.
If you like this gray piece, you’ll also like these gray chalk painted furniture and grey painted dresser ideas. If you prefer using this type of finish, check out these chalk painted desk ideas and chalk painted furniture!
For other similar makeovers, here are painted desk ideas, painted secretary desk ideas, and painted roll top desk ideas. Here are desk paint color ideas for more inspiration.

Anyway, if you found this tutorial helpful at all, please pin it and share it with your friends on your favorite social media! I greatly appreciate it, friends!!
More Before and After Makeovers
See All >
Click any of these “before” photos below to view the “after” of that makeover.


Chalk Painted Desk
In this chalk painted desk makeover, we'll go over transforming an old desk into something modern and chic with stained wood legs.
Materials
- Krud Kutter
- 220 Grit Sandpaper
- Wood Filler
- Tack Cloth for prepping
- Kwikwood
- Chemical Stripper
- Dixie Belle BOSS Stain Blocking Primer – Clear
- Tape
- Pre Taped Plastic
- Country Chic Paint in Simplicity
- Country Chic Paint in Dark Roast
- Country Chic Paint in Lazy Linen
- Country Chic Paint in Sunday Tea
- Varathane Waterbased Polyurethane
Instructions
- Prep table by cleaning, wood filling, scuff sanding, vacuuming, wiping down, priming for bleed through, and taping off areas.
- Strip table legs with chemical stripper.
- Prime to prevent bleed through.
- Mix paint colors of your choice.
- Wrap and tape legs with paper and plastic to prevent overspray.
- Brush or spray chalk paint.
- Distress edges of table with sandpaper.
- Coat 3 coats of topcoat to protect the wood and paint finish.
Recommended Products
As an Amazon Associate and member of other affiliate programs, I earn from qualifying purchases.


More Painting Furniture Tips
- Laminate Desk Makeover
- Painting a Desk Black
- Wax For Chalk Paint
- 5 Chalk Paint Problems and How to Fix Them
- Rustoleum Chalk Paint Review
Follow us on YouTube to get more tips for painting furniture. Or share your project with us on our Facebook Group and be part of our community. See you there!