Painting a Desk Black

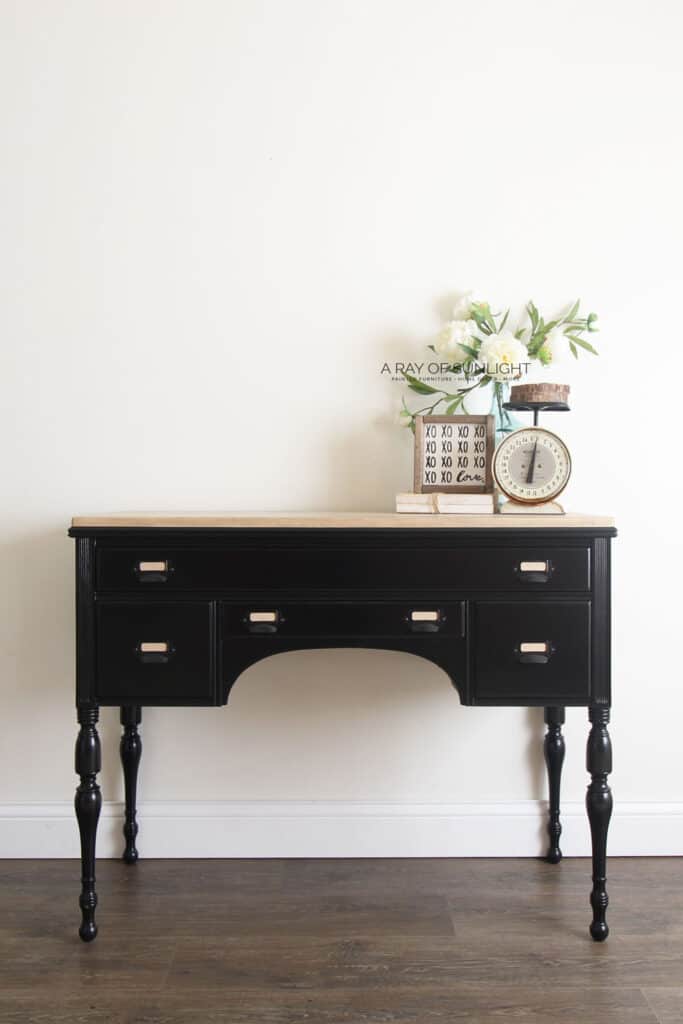
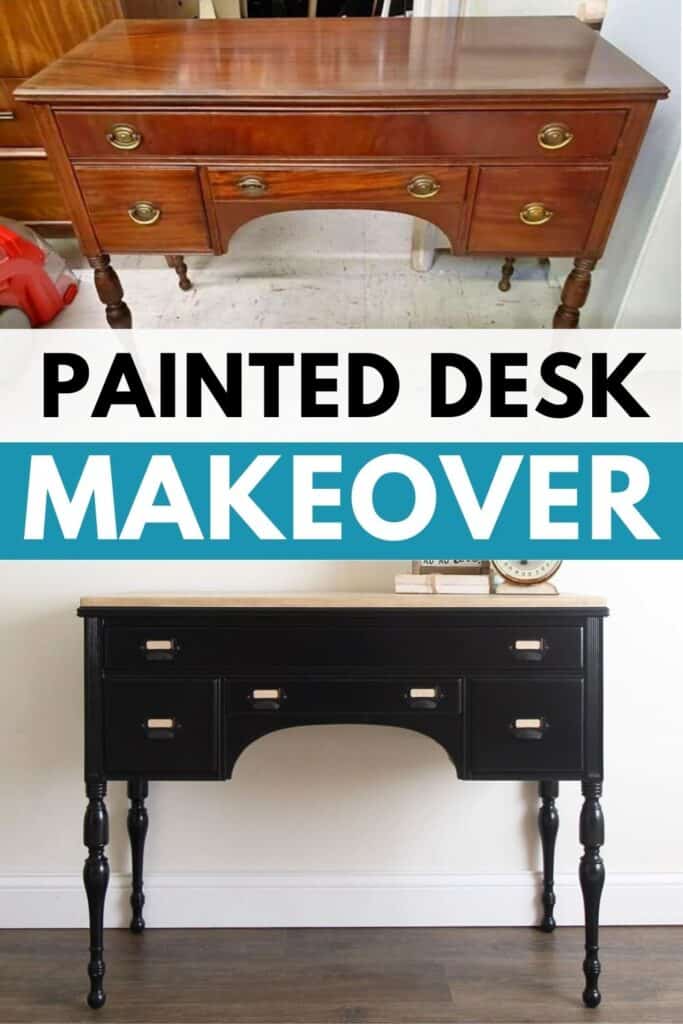
If you have an old desk that needs a fresh new look, here’s how to paint a desk AND transform it into a farmhouse style sofa table! Painting a desk black with General Finishes Enduro Poly creates a perfect satin finish that is durable enough for everyday use.
This is one of the simple yet impactful black painted furniture ideas to revamp your workspace and make it stylish and cozy at the same time.
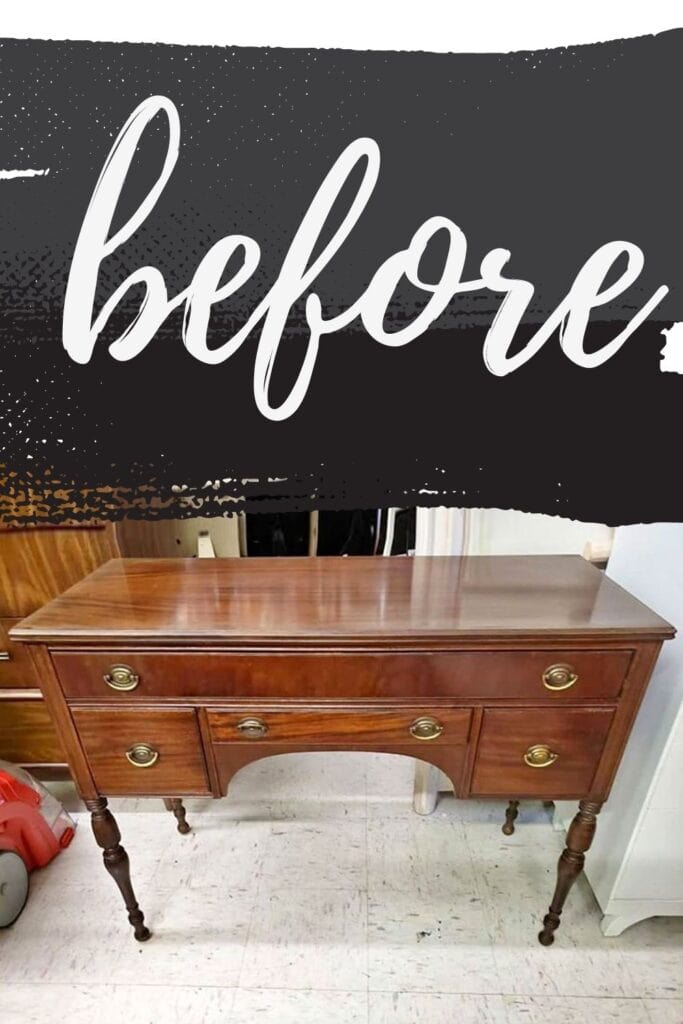
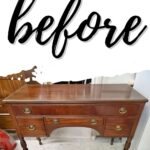
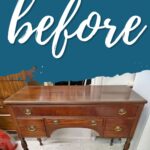
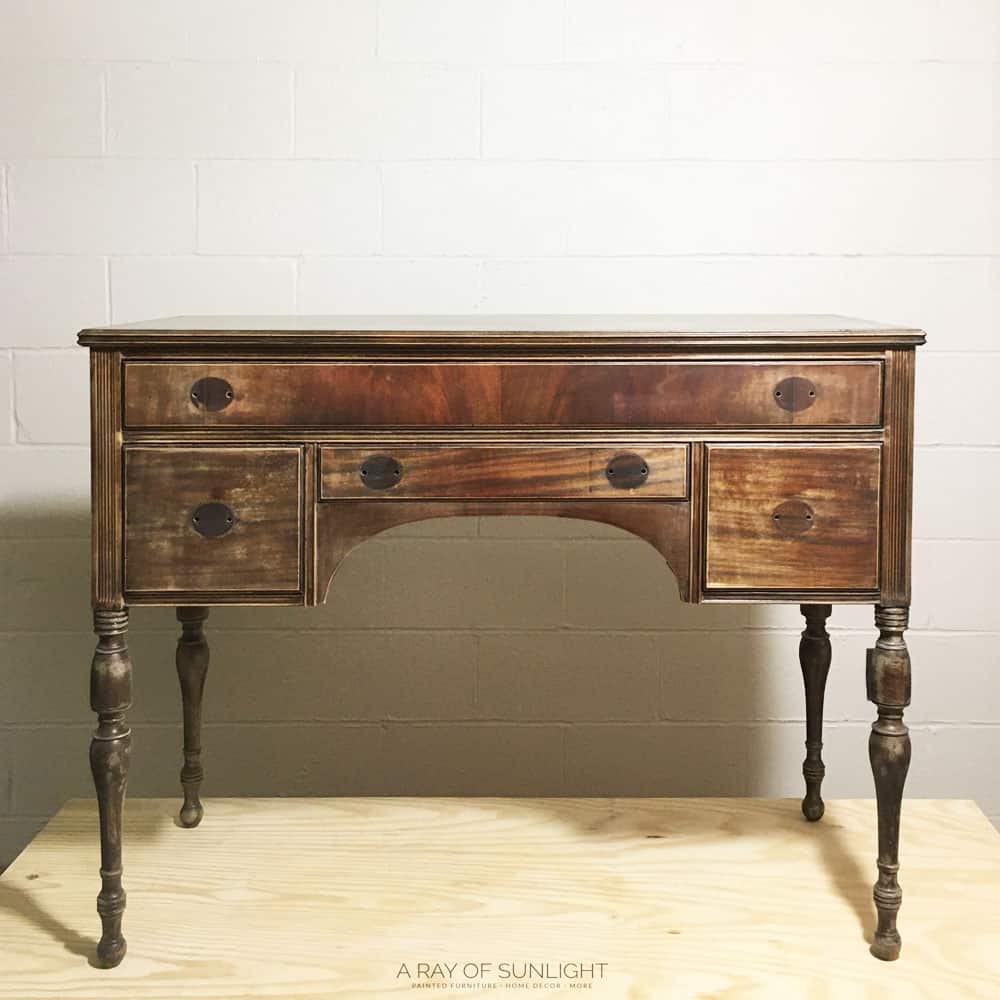
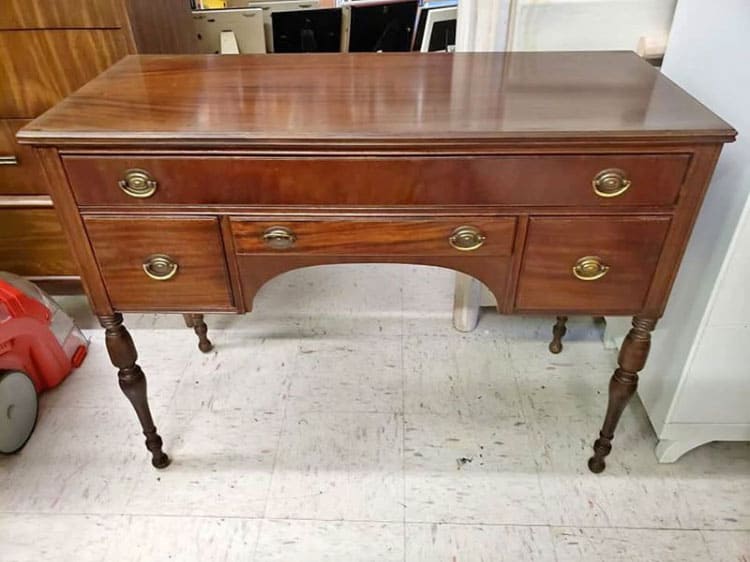
Above is what the desk/vanity looked like when we bought it. The old finish on the top was in really bad condition, but I loved the shape and style of it. So I scooped it up and couldn’t wait to fix it up!

Then I saw this desk by The Freckled Farmhouse on Instagram, and I was completely inspired! I loved the wood top on top of the existing top, and I loved the farmhouse feel!
I got to work, and here’s my version of painting a desk black! The dark base paired with the natural top creates such a great contrast. So, follow along to see how I transformed it into a beautiful and functional piece!

Supplies Used for Painting a Desk Black
As an Amazon Associate, I earn from qualifying purchases. I also may earn from other qualifying purchases with other companies or get free product to review and use. All opinions are my own.
- Krud Kutter
- 220 Grit Sandpaper
- Tack Cloth
- BIN Shellac Based Primer
- 3/8″ Nap Roller
- Paint Filters
- General Finishes Enduro Poly
- Fuji Q4 Paint Sprayer
- Wagner Double Duty (hobby sprayer I used to use)
- Respirator
- Edge Glued Wood for Top
- Homemade Water Based Wood Stain
- Waterbased Poly
- Brad Nailer and 1 1/4″ Nails
- Card Catalog Style Drawer Pulls
- Screws for the Card Catalog Drawer Pulls
Prep Before Painting Desk Black
First things first, in any DIY project, we always do this process on how to prep furniture for painting. Prepping shouldn’t take a long time – unless you have a bunch of damage (see all of our favorite ways of fixing damage and repairing old furniture here).
The best way to prep is to:
- Clean and remove any wax, oils, or grime.
- Scuff sand to remove any sheen.
- Remove the dust.
First – clean your piece with a grease/oil cutting cleaner. I like to use Krud Kutter. Learn more about how to clean furniture before painting here.
Second – simply scuff sand with 220 grit sandpaper. Rub it all over the piece, making sure that it removes all of the shine. Learn the importance of sanding before painting furniture here.
Third – then remove the dust with a vacuum hose attachment and/or a damp lint free rag. For the best dust removal, I like to use these tack cloths! They pick up all the dust and don’t leave any lint behind!
Now you’re ready to prime!
Priming to Prevent Bleedthrough
For the best results, apply two coats of primer, letting it dry between each coat (read the back of the can for exact dry time details).
If you choose not to prime before using Enduro Poly, be aware that the poly may:
- Scratch off easily
- Not have an even sheen
- Not be able to stick to your furniture very well
To create a soft and smooth finish, sand the dry primer with 220 grit sandpaper. Then, remove the dust.
First, I used a grey tinted waterbased primer. But after one coat of it, I could see a ton of bleedthrough!
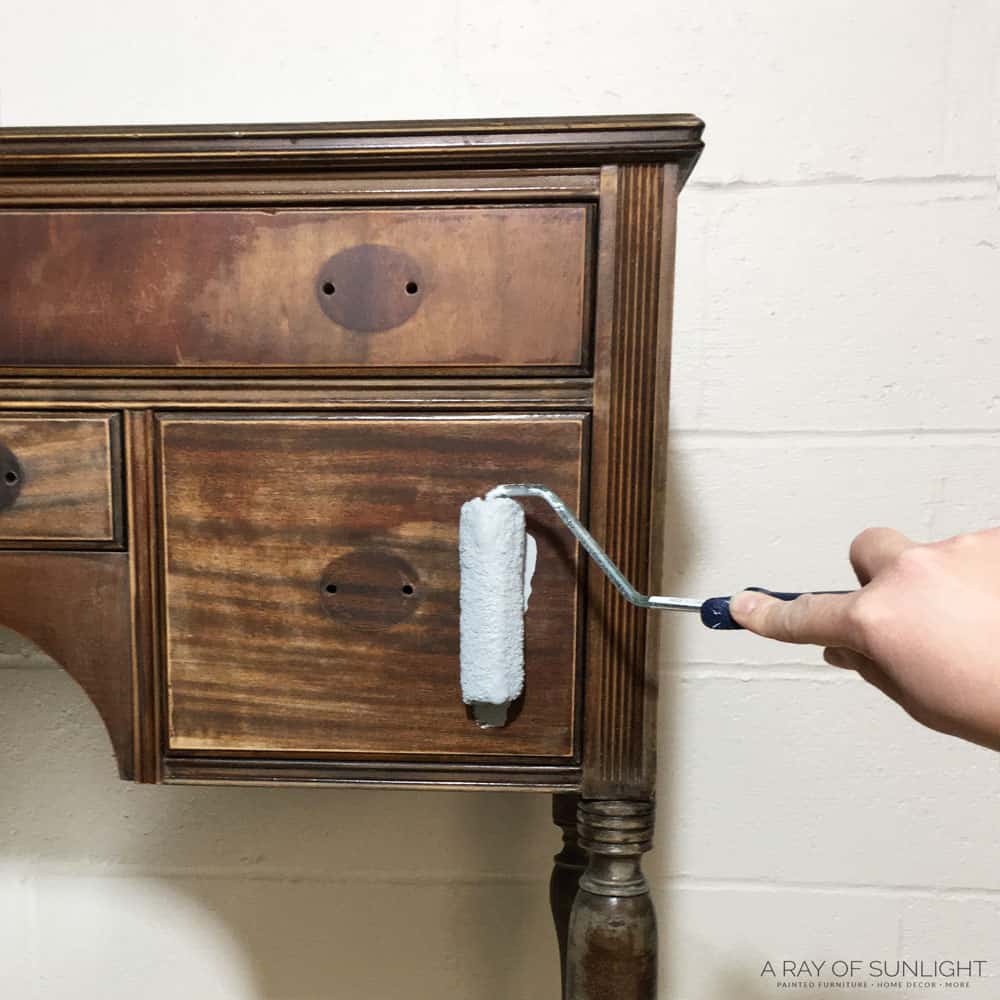
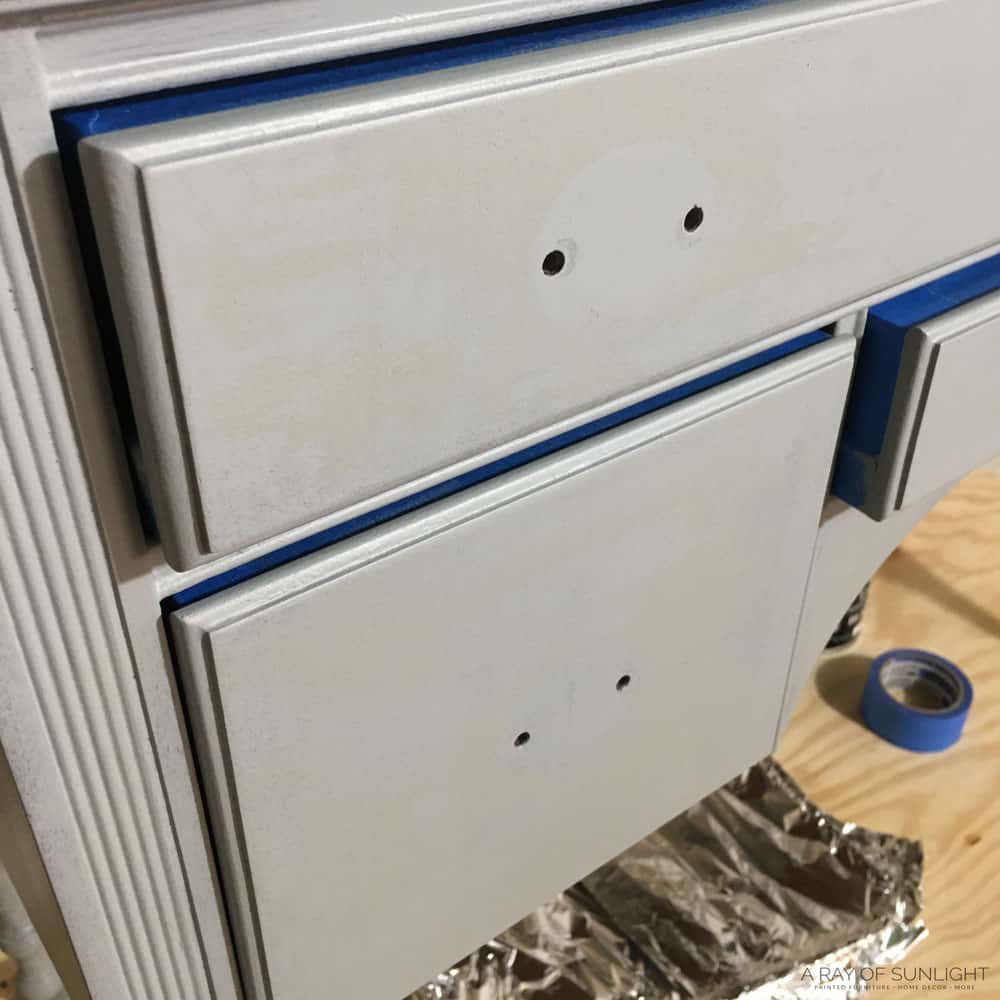
So then I went over the grey primer with 2 coats of the BIN shellac based primer. I like to use BIN shellac based primer because it has excellent adhesion and blocks any bleed through from the wood tannins. (yep, bleedthrough is an issue with dark finishes, too!)
Check out more best primers to stop tannin bleed here, and get more tips on how to stop stains from coming through paint here.
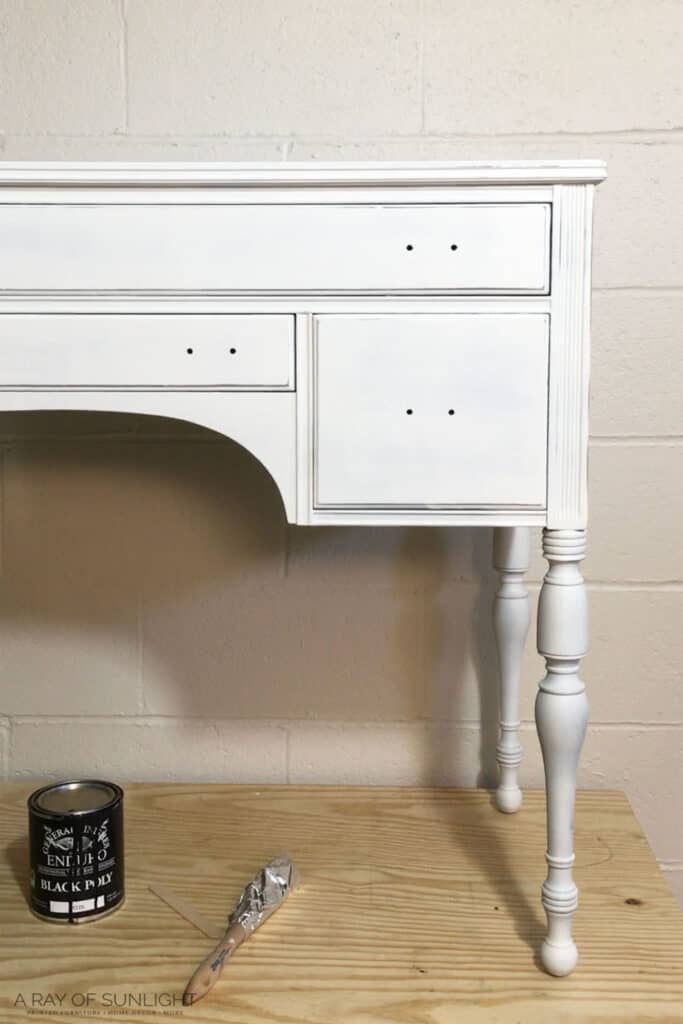
How to Paint a Desk Black with Enduro Poly
Pour your Enduro Poly into your sprayer (you shouldn’t need to thin it). But you’ll still want to pour it through a paint filter to get any lumps or debris.
(Even the smallest speck of debris or dried coating can clog a sprayer, so you do not want to skip filtering before putting it in the sprayer).
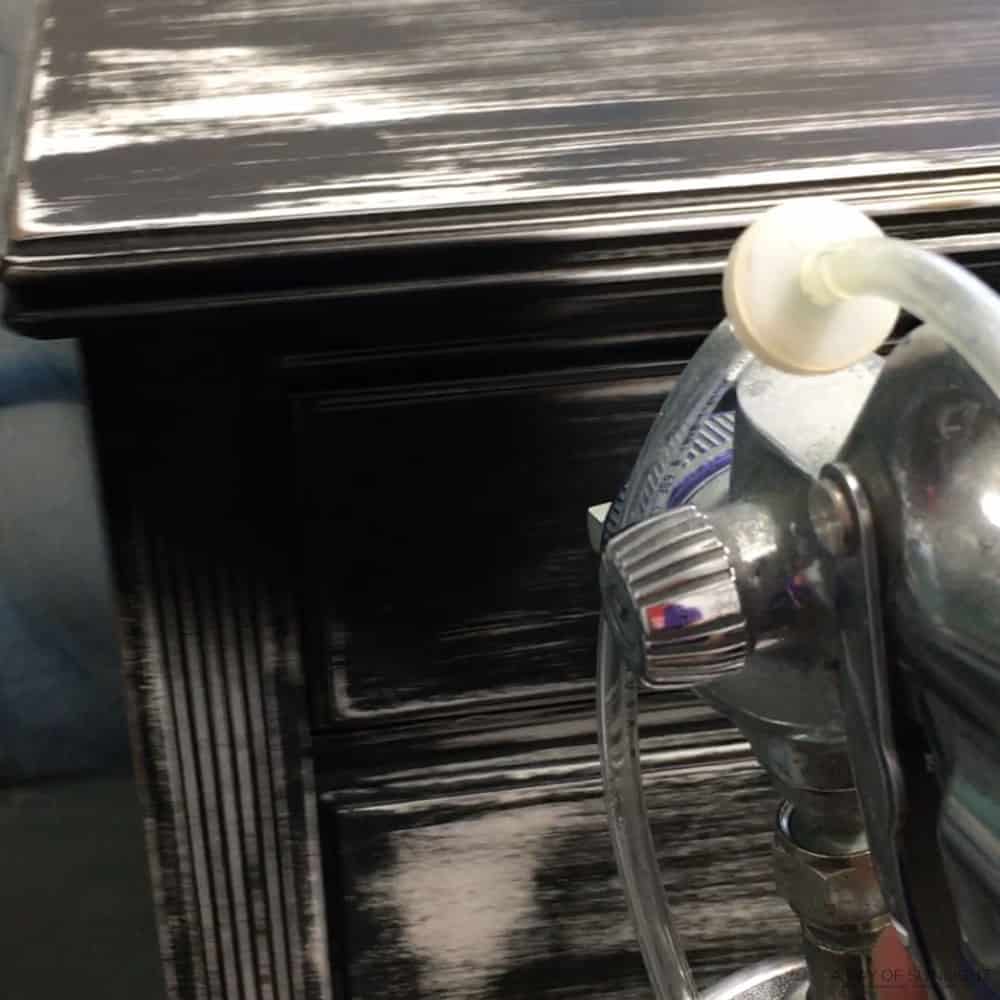
Then, spray a thin coat of Enduro Poly onto your piece. It should dry to the touch in about 5 minutes. After about 45 minutes, you can sand the poly smooth with 220, 320, or 400 grit sandpaper. This will create the most durable finish, but it will also make the finish really smooth.
You don’t need to go crazy with this step and remove all of the coating. Just lightly sand it so it feels nice and smooth. Then, remove the dust with the vacuum and tack cloth.
Spray another coat of the Enduro Poly, let it dry, and then sand it smooth again. If you need more than 3 coats, you can repeat this step until you are ready for your last coat. But General Finishes recommends using at least 3 coats for the best durability.
Spray your last coat onto your piece and let it dry completely. It will be super delicate until it cures (about 3-4 weeks), but it’s best not to set anything on it for at least 24 hours. Learn all about how to spray polyurethane with an HVLP gun here!
Here is a video of a dresser makeover with the same product!
Staining a New Wood Top
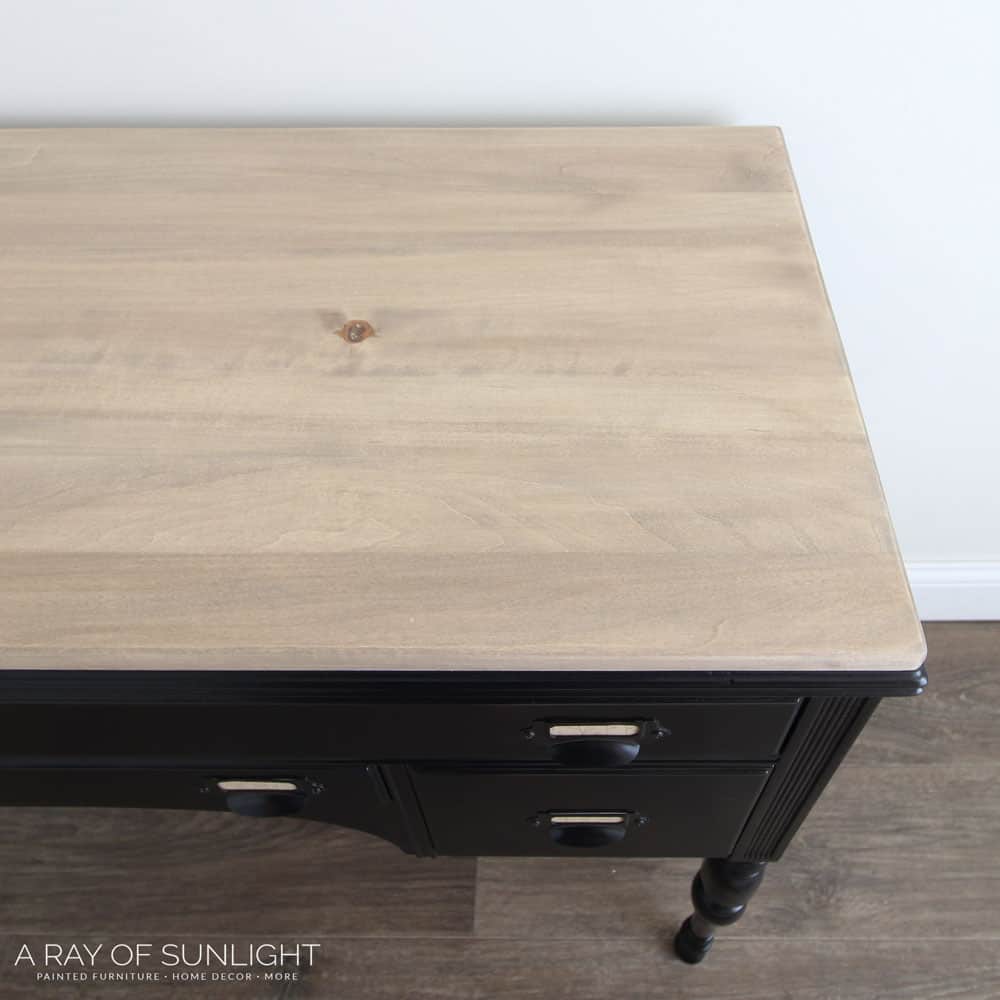
I think the wood top makes this piece really unique! Yes, you see it on a lot of furniture, but it’s usually part of the original piece. This one sits on top of the existing top! And I love the look!!
I picked out this edge glued wood from our local hardware store. I’ve also used reclaimed wood to make a new top – check out this post about how to make a plank top dresser to learn more.
And then I cut the wood to size with our table saw. For the measurements, I cut the wood just barely (about 1/8″) under the size of the existing top. Then I sanded it smooth with my 3×4 vacuum compatible SurfPrep sander (Use code RAY10 to get 10% off your order).
Man, I love this SurfPrep sander! (It really comes in handy for sanding between all of those coats!) Get our honest Surfprep Sander reviews here! But you can use any power sander or sand by hand. Check out your options for the best sanders for furniture in this post.
Would you like to save this?
Then I used a homemade waterbased stain (made out of brown latex paint) to stain the top with a very light weathered wood stain.
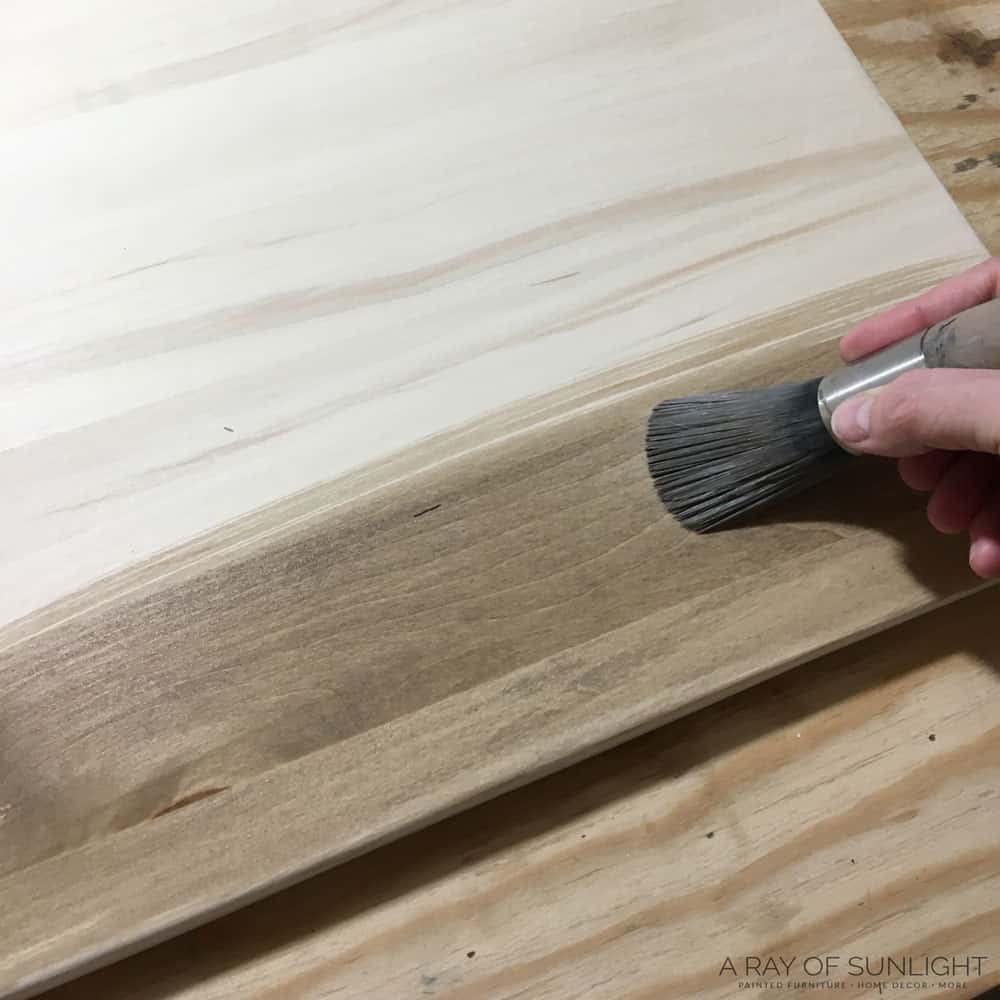
After the “stain” was dry, I sealed it in with 3 coats of my favorite waterbased poly.
Attaching New Top to Existing Desk Top
The next day, I attached the new wood top to the existing one. We ended up using my brad nail gun to shoot 1 1/4″ brad nails into the wood.
I really didn’t want to put nail holes in my new top, but I could not for the life of me get the old one off. (I wanted to screw or nail the new onto the old from the bottom of the old.)
But the screws were way too tight. So, after I put little brad nails in my new top, I filled the holes in with a little bit of natural wood filler. Learn more about the best wood fillers for furniture here!
When the wood filler dried, I sanded it smooth and then I used a small paintbrush to put a small amount of “stain” on it.
You can barely see that the holes are there now. So, it didn’t end up being a bad option. Read this wood stain repair post to see how to use wood stain on wood filler.
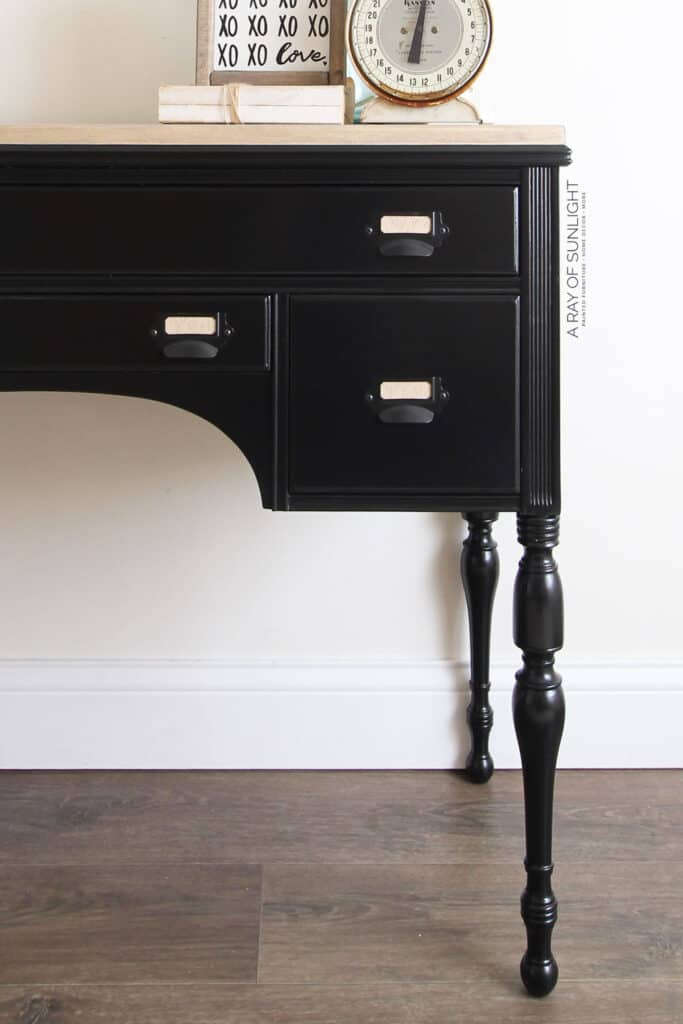
Attach New Hardware
To finish off the farmhouse look, I attached some card catalog style label pulls onto each drawer. And then, I added labels that matched the color of the wood. Here are 30 amazing faux card catalog makeovers you should check out.
More Before and After Makeovers
See All >
Click any of these “before” photos below to view the “after” of that makeover.


Pair this up with these DIY farmhouse drop cloth curtains to create the perfect rustic look for your home!
Best Black Paint for Furniture
This one that I used for this makeover is honestly the easiest one I have ever used! It dries quickly, levels really well, dries hard, is durable (you don’t need a topcoat), and doesn’t leave brush marks! Check out our painting a dresser black makeover and this post on how to paint furniture black where we also used Enduro Poly.
*Update: I have recently discovered another great all-in-one product that doesn’t require a top coat and looks so good! It’s Heirlooms Traditions Paint and here’s my Heirloom Traditions All In One Paint review for my experience with it. In this painting furniture black post, we updated a cedar chest with no topcoat!
Or check out this DIY slatted wood dresser to learn about a similar third option that doesn’t need a topcoat. Here is our list of the best black matte paint for furniture for other options.
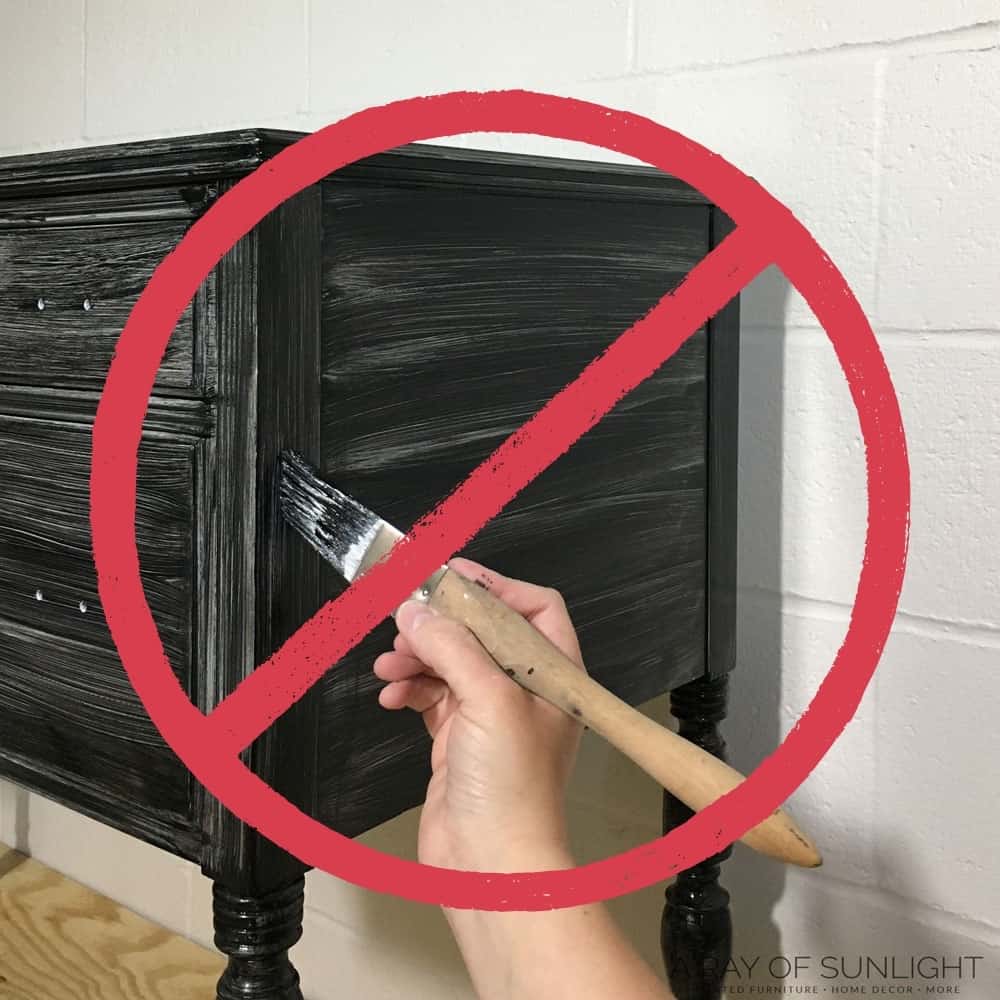
The one downside is that Enduro Poly has to be sprayed (Trust me on this one. I tried brushing it instead of spraying, just to see, and it was not easy to make it look good when I brushed it on.)
The other minor downside is that it only comes in clear, black, or white. You can get it tinted to any color, but you need to special order it from a place that can tint it. (This is a great company that can tint it!)
If you need more color inspiration for your makeover, here are desk paint color ideas you can use! You can also check out these painted desk ideas and painted secretary desk ideas for more inspiration.
How to Repaint a Desk
If this color no longer matches your style or home decor, a fresh coat can easily change things. But first, make sure the finish is still in good condition. If so, just prep the piece as you would for any other DIY project.
However, if the finish is peeling or scratching easily, you should remove it beforehand. Working from a clean slate will help the new coating stick better and create a smoother finish. Here’s our detailed guide on how to remove paint from wood furniture.
After that, you can do the usual prep work and use your color of choice this time. Here are 10 best painted furniture colors you can use! If you have a specific shade in mind, you can learn how to mix different colors of paint in this post.


So, that’s how painting a desk black went! Using a product like Enduro Poly definitely makes the process easier while still getting professional and long lasting results. Plus, you can add a bit more charm to your piece by pairing it with a new top that contrasts nicely with the dark base.


Painting a Desk Black
Paint your old desk and transform it into a farmhouse-style sofa table. Here are the steps for painting a desk black.
Materials
Instructions
- Prep the desk for paint by cleaning with Krud Kutter to remove any wax, oils or grime. Scuff sand all over to remove any sheen. Vacuum and wipe all the dust from sanding.
- Apply 2 coats of primer onto the desk, letting the primer dry between each coat. To create a soft and smooth finish, sand the dry primer with 220 grit sandpaper. Then remove the dust.
- Filter the Enduro Poly paint through a paint filter to get any lumps or debris out of the paint. Spray a thin coat onto the desk and after about 45 minutes, you can sand the poly smooth. Spray another coat of the Enduro Poly, let it dry and then sand it smooth again.
- Let the poly dry completely. It will be super delicate until it cures (about 3-4 weeks), and it’s best to not set anything on it for at least 24 hours.
- For adding new top to the existing desk top, cut the wood to size and sand smooth. Stain the top a very light weathered wood stain and after it dries, seal it in with 3 coats of water-based poly.
- Attach the new top and hardware to the desk.
Recommended Products
As an Amazon Associate and member of other affiliate programs, I earn from qualifying purchases.


More Black Furniture Makeovers
- Black Painted Antique Buffet
- Paint Furniture Black
- Black Coffee Table Makeover
- Painting Oak Furniture Black
- How to Paint Cheap Furniture
Follow us on YouTube to get more tips for painting furniture. Or share your project with us on our Facebook Group and be part of our community. See you there!
This piece turned out amazing! General Finishes products are top-notch. Thanks for sharing this tutorial! Pinned ?
Beautiful piece! I love the color and the drawer pulls!
Ahh thanks so much!