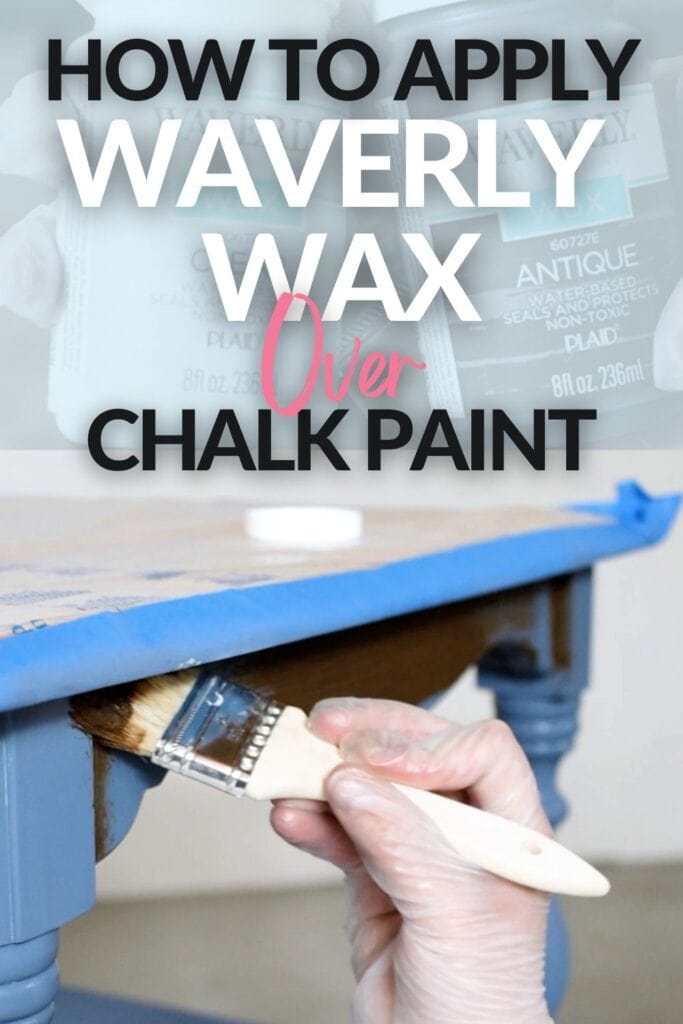
How to Apply Waverly Wax Over Chalk Paint
Are you recreating these chalk paint furniture ideas, but you’re not sure how to apply Waverly wax over chalk paint? We’ve got you covered! But there are some things you need to know before using Waverly wax on top of chalk paint.
Waverly wax is one of the easiest and cheapest wax to use as a topcoat for chalk paint. And if you’re planning to use it, keep reading to learn exactly how to apply Waverly wax properly and get that beautiful finish on your chalk painted furniture.
Waverly wax is a budget friendly wax option for chalk paint. But it isn’t like other wax! Waverly wax has a thinner consistency than most waxes. It is almost like a paint instead of a thick wax. I personally love the consistency of it because it makes it easier to use.

But are you aware that wax is not the best option for topcoating chalk paint? Wax takes a long time to dry completely, and it isn’t as durable as other options. But it is easy to apply, and it’s better than nothing!
Now, let’s dive into how to apply Waverly wax over chalk paint. Let’s start at the beginning so we know that all of your bases are covered. You don’t want to do all of that work only to realize you did it wrong in the end.
Supplies used to apply Waverly Wax Over Chalk Paint
As an Amazon Associate, I earn from qualifying purchases. I also may earn from other qualifying purchases with other companies or get free product to review and use. All opinions are my own.
- Krud Kutter
- 220 Grit Sandpaper
- Clear Shellac
- Chalk Paint
- Waverly Wax
- Disposable Gloves
- Chip Brush
- Lint Free Rags
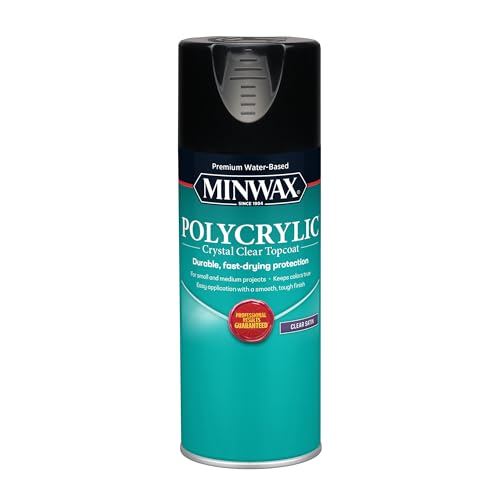
- Varathane Waterbased Polyurethane or Minwax Polycrylic
Prepping the Furniture
When prepping furniture for painting with chalk paint, it’s important to make sure the surface is completely clean and free from dust, dirt, and oils.
Start by wiping down the entire piece with a degreasing cleaner like Krud Kutter. Make sure all residue has been removed before allowing it to dry completely. Learn exactly how to clean furniture in our post on how to clean furniture before painting.
Once dry, sand any rough spots on the surface using 220 grit sandpaper until they are smooth again. Here’s our post on the best sandpaper for furniture painting so you can learn more about different types of sandpaper and their advantages and disadvantages.
For best results, lightly sand the surface of your furniture to help the paint stick. Yep, this is important to go even when using chalk paint. See how scuff sanding before painting makes a difference in our sanding before painting furniture post.
If desired, use a primer like spray on clear shellac before applying chalk paint to avoid any bleedthrough and to help the chalk paint stick to the furniture better. You can learn more on how to stop stains from coming through paint with primer here.
Since it is clear, you can still distress your chalk paint and see the wood underneath the paint! You can do any of these distressing furniture techniques here. If you don’t want to use clear shellac, here is our list of the best primers for painting furniture.
Letting the Chalk Paint Dry
Then it is time to paint! Paint on your chalk paint in thin coats so it can easily dry and so there isn’t too much texture left behind. Expect to paint on 2 coats of paint, but more might be necessary for lighter colors.
Here are the top chalk paint brands to learn more about different brands you can use for your furniture painting projects. And check out the best chalk paint brushes to get our recommendations and to learn about the benefits of using the right chalk paint brush.
After you’ve finished painting your furniture with the last coat of chalk paint, let it dry! Depending on the temperature and humidity in your room, it can take anywhere from 30 minutes to a couple of hours for it to dry. But, it’s best to let the chalk paint dry for 24 hours, so it has a chance to start to cure and stick better.
Why do we have to let the chalk paint dry for so long?? Well, after you apply the wax, you’ll rub at the paint, and if the paint hasn’t had enough time to dry and bond to the surface, then the chalk paint will easily rub off. So waiting 24 hours for the chalk paint to dry is super important if you don’t want it to rub off.
Applying the Waverly Wax
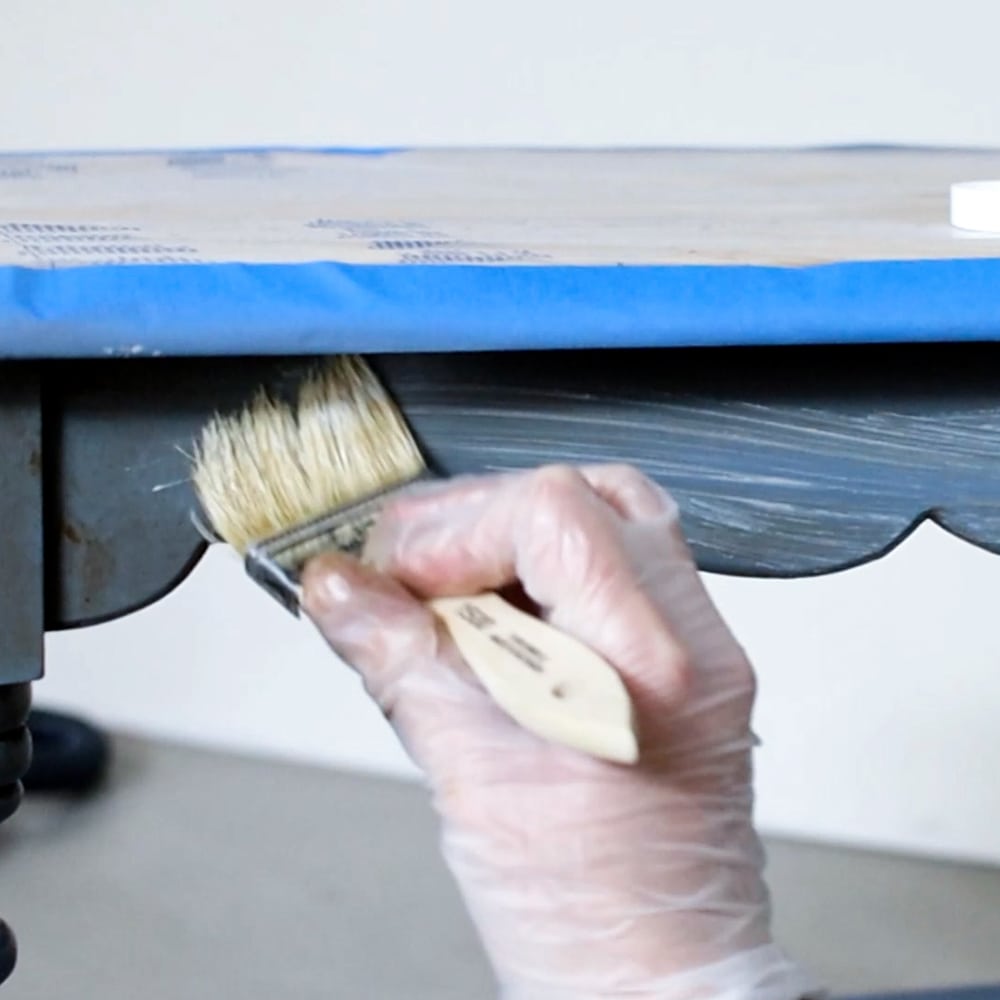
Now it’s time to wax! Grab a cheap chip brush, some lint free rags, and some disposable gloves.
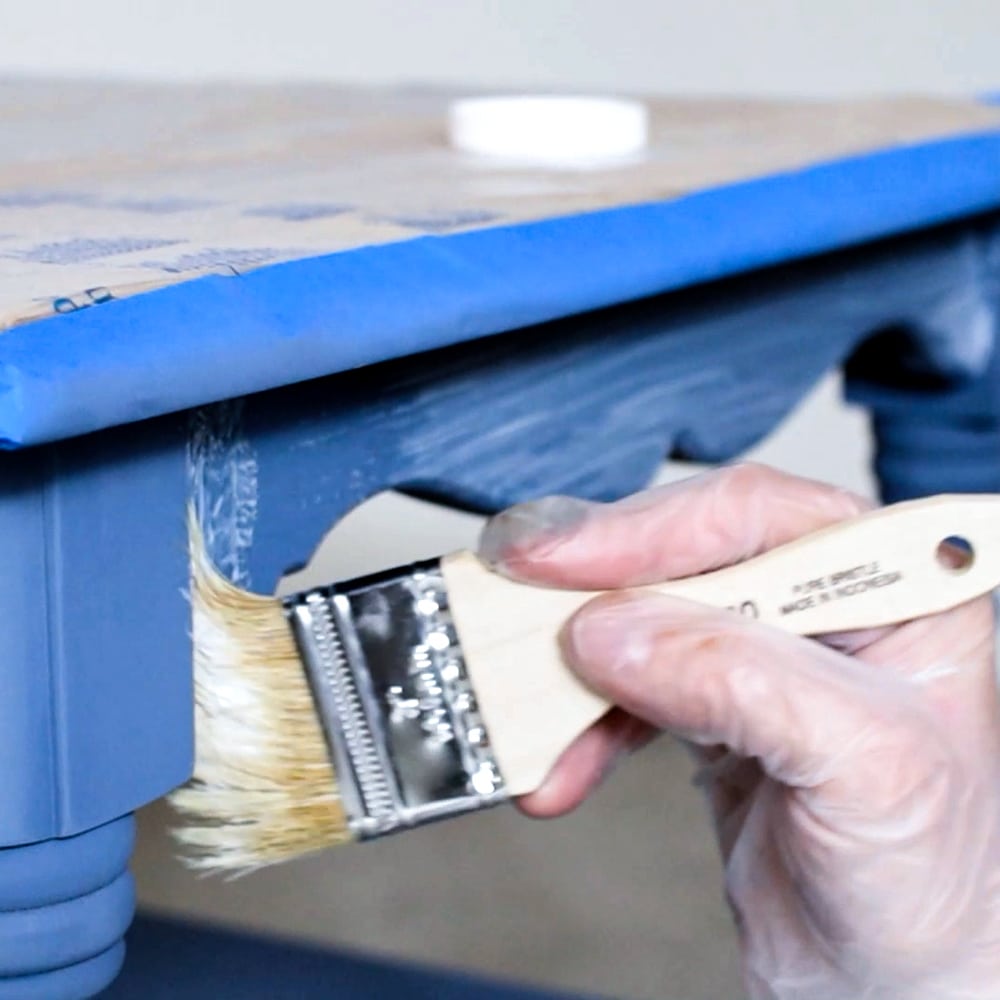
Working in small, manageable sections (1 drawer, 1 door, or 1 side of the furniture) at a time, brush on a thin coat of wax. You could use a rag to apply the wax too if you would like, but a brush makes it easier to get the wax into the details.
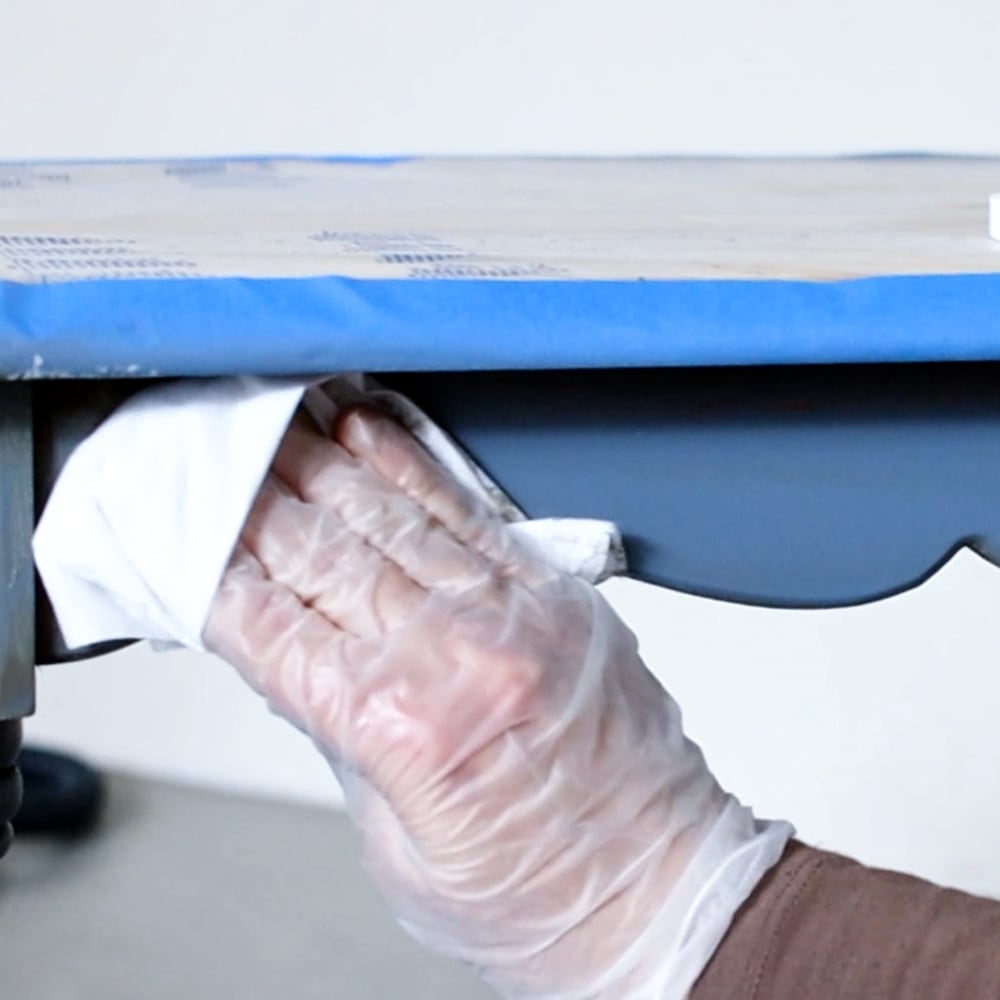
Then use a lint free rag to wipe off the excess wax. Try not to rub very hard in this process so you don’t accidentally rub off the chalk paint. It is still very fresh, even after 24 hours. The wetness of the wax will make the chalk paint even more soft at this stage.
Then move onto the next section until the whole piece has been waxed. Check out this blog post for a guide on how to use Waverly chalk paint and wax.
Would you like to save this?
Buffing the Wax
If you would like, you can go back over your piece of furniture with another clean lint free rag, and buff the wax. Basically, just wipe the rag over the wax, back and forth.
After a few times of going back and forth over a small patch, there should be less friction, and the wax will smooth out. It will also get glossier the more you rub.
But once again, be sure to not rub hard while doing this, otherwise, you could easily rub off the chalk paint.
Letting the Wax Dry
Finally, let your project dry completely for a few days. Wax takes time to dry completely. If the wax was applied in thin layers and most of it was removed in the process, it will dry faster than if there is a thick layer of wax left on it.
In my experience, wax can still feel tacky after a few days. Be sure to be extra careful with it during this time, but also for the next 30 days or so. The wax needs time to cure before it will be as durable as it will get.
If it is scratched during this time, there is a very good chance that the wax will not protect it very well, compared to once the wax and paint are dry after 30 days.
Other Topcoats for Chalk Paint
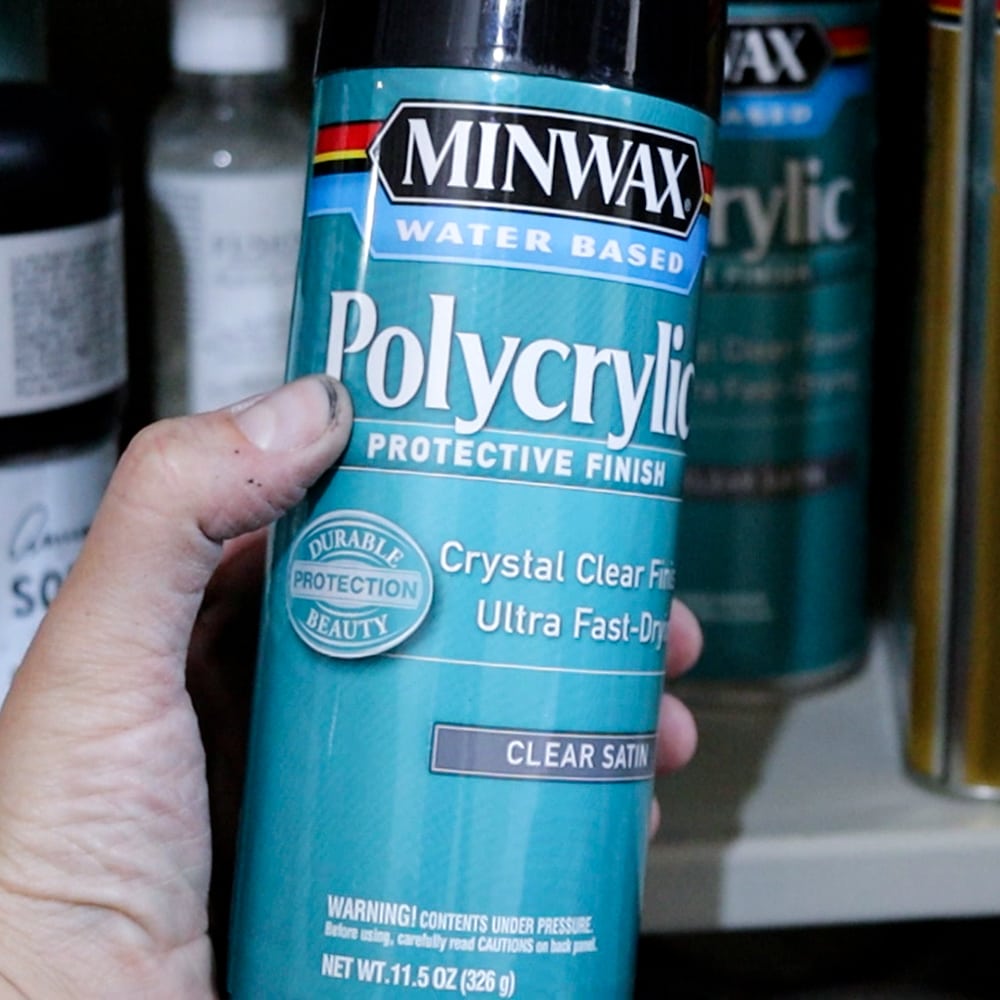
If you don’t want to wait a few days for the wax to not be tacky, you can use a waterbased polyurethane topcoat instead. Personally, Varathane Waterbased Polyurethane is my favorite topcoat for chalk paint. Or Minwax Polycrylic in a spray can is my next favorite if I didn’t have a paint sprayer.
Waterbased polyurethane is more durable than wax, and it dries faster than wax. They both dry to a clear finish. If you are new to painting furniture, wax is easier to apply by hand than waterbased polyurethane is.
Read our post on wax for chalk paint to learn if wax is the right choice for your furniture or not. You can also check out our wax vs polyurethane post to help you decide between the two.
But, you can use the spray can Minwax polycrylic to create a flawless finish that is even easier to apply than wax. Learn more about the features, and pros and cons of Minwax Polycrylic Spray here.
If you’re going to use polyurethane, here is how to apply polyurethane to painted furniture by hand, and here is how to spray polyurethane on with a paint sprayer (the easiest and best looking method, other than using a spray can haha.)
You can also learn the difference between brushing and spraying polyurethane in our spray polyurethane vs brush polyurethane post. No matter which option you choose, make sure that the wax or topcoat fully dries before using your piece of furniture so that it doesn’t get damaged easily.
Can you paint over wax?
So you may have a piece chalk painted then topcoated with wax, then thinking you want a new color for it and wondering if you can paint over the wax. Well, if the wax has already cured, then it’s possible to paint over it without any issues. You can learn about repainting over wax here if you want to see how it’s done.
But if you’re not sure, it’s still best to remove the wax from your furniture before repainting it. You can use mineral spirits to remove the wax, and then you can repaint it with your desired color. You can also totally remove both the paint and wax so that you can start with a clean slate. Here’s how to remove paint from wood furniture to guide you through this process.


With these tips in mind, you’re now ready to update your chalk painted furniture with Waverly wax! Just remember to apply it in thin layers, buff it gently, and let it dry and cure completely before using your piece.

How to Apply Waverly Wax Over Chalk Paint
Do you want to use Waverly wax over chalk paint on your furniture but are confused about how to do so? Check out our step by step process on how to apply Waverly wax over chalk paint.
Materials
Tools
Instructions
- Before painting, lightly sand the surface of your furniture to provide a good base for the paint to better adhere to. To further ensure adhesion, spray on a coat of clear shellac primer before applying chalk paint.
- Apply two thin coats of chalk paint to the furniture, allowing each coat time to dry completely before applying the next.
- Once both coats have dried for 24 hours, you can apply a thin coat of wax with a chip brush and lint-free rag. Be sure to wipe off any excess wax with another clean lint-free rag to avoid too much texture being left behind.
- After wiping off the excess wax, go over it again with another clean lint-free rag to buff the wax and make it smoother. This will also create a glossy finish once the wax has dried.
- Allow the wax to dry for a few days before using the furniture, as this will give it time to cure and become more durable over time.
- If you don't want to wait for the wax to dry, you can use a water-based polyurethane topcoat instead. This will make the finish more durable and have a shorter drying time than wax.
- No matter which option you choose, make sure that the wax or topcoat fully dries before using your piece of furniture so that it doesn't get damaged easily.
Recommended Products
As an Amazon Associate and member of other affiliate programs, I earn from qualifying purchases.


more Chalk Painting Tips
- 5 Chalk Paint Problems and How to Fix Them
- How to Remove Chalk Paint Easily and Quickly
- The Truth About Using Chalk Paint for Furniture
- How to Paint Over Chalk Paint
- How to Use Waverly Antique Wax

Follow us on YouTube to get more tips for painting furniture. Or share your project with us on our Facebook Group and be part of our community. See you there!
Can this type of wax be tinted?
I don’t see why not.