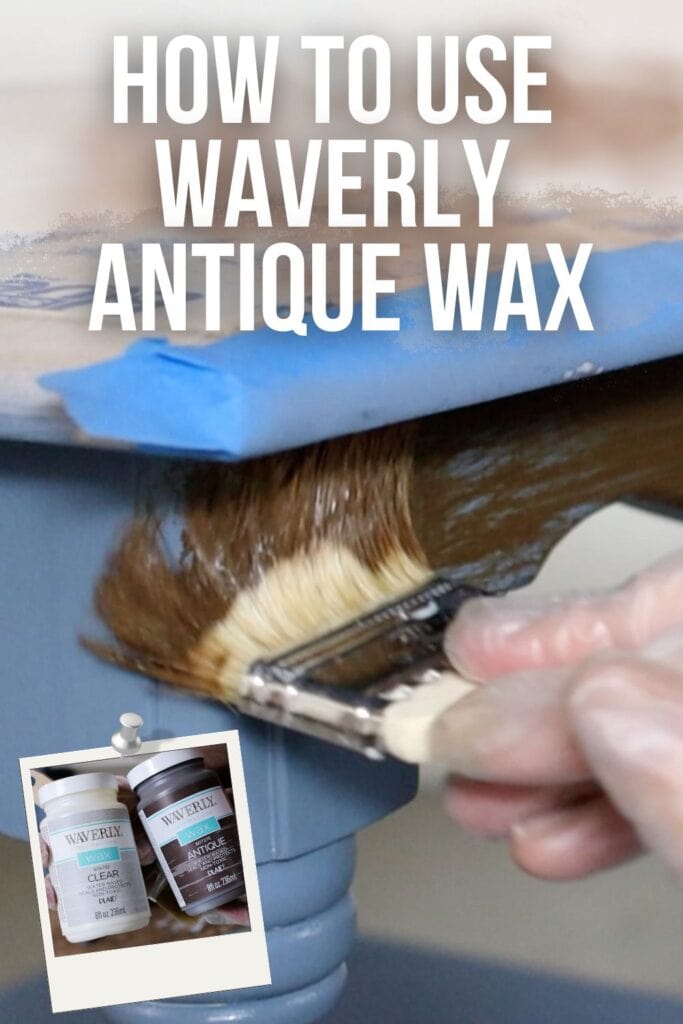
How to Use Waverly Antique Wax
Are you looking for a way to give your furniture and DIY projects a grungy antique look? In this blog post, we will walk you through step by step instructions on how to use Waverly Antique Wax in order to create a worn look when chalk painting furniture.
From what to do before applying the wax to applying it – everything you need to know about using Waverly Antique Wax on your chalk paint furniture ideas can be found here!
Giving your painted furniture an antique look is easy and budget friendly with Waverly Antique Wax. This popular product is a great way to add extra detail and texture to any project, giving it an aged, vintage feel.

A lot of people like this look, as it adds character and charm to any piece. So if you want to create this look on your next furniture makeover, here’s how to do it. With just a few simple steps, you can transform your project into something very special!
Be careful to follow these steps exactly for your project to turn out right. If you skip around, there is a very high chance you will not be satisfied with it in the end. Now, let’s dive into the process!
Supplies for Using Waverly Antique Wax
As an Amazon Associate, I earn from qualifying purchases. I also may earn from other qualifying purchases with other companies or get free product to review and use. All opinions are my own.
How to Use Waverly Antique Wax
It is very important to prepare the surface first. If the paint is still wet or has not fully cured for at least 24 hours, then waxing will not be effective and can potentially damage the piece.
So, after you have chalk painted your furniture or decor, wait at least 24 hours for it to dry. This way, you’re making sure that the finish is hard enough to withstand the rubbing that you will do when applying the wax.
Here’s our blog post about how to use Waverly Chalk Paint and Wax to learn more about how to use these two products together.
If the chalk paint hasn’t started to cure, or if no prep was done before using it, then it will most likely rub off while you are rubbing off the wax, since the wax gets it wet and kind of activates it again.
If you aren’t sure what things you should do first, here is our how to prep furniture for painting guide that walks you through the simple steps. Then, just make sure that your chalk paint is free of dust and grime before moving on to the next step.
How to Use Waverly Clear Wax
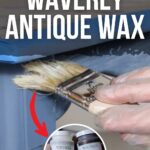
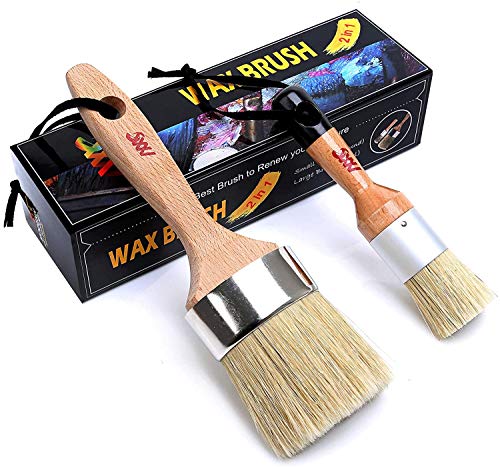
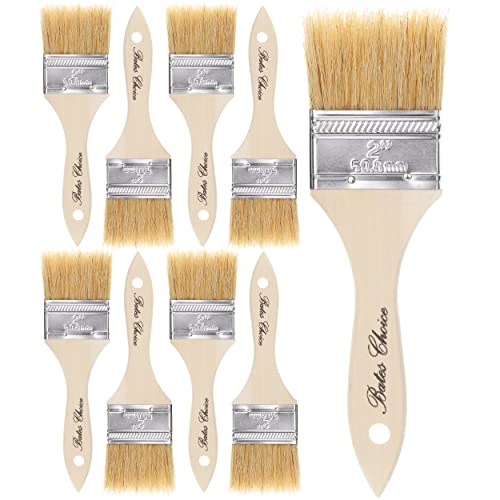
Once the surface is prepped and ready to go, it’s time to apply clear wax. Use a chip brush or wax brush for this step.
Dip the brush into the wax and then spread a thin coat over a manageable section of your project (ex: side of the dresser, a drawer, the top of the table, etc.) This wax has a thin consistency, unlike other waxes, so it is easy to brush onto the surface.
Make sure you get it all over, including in all of the crevices and details. Once you have applied a thin coat, use a lint free rag to wipe off any excess from the surface. We want a very thin layer of the clear wax to be left behind.
Would you like to save this?
Check out our blog post about how to apply Waverly Wax over chalk paint where we used Waverly clear wax for more information.
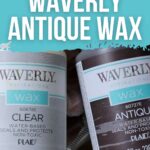
Why do we need to apply some clear wax before using the antique wax? If you apply the antique coat directly to the chalk finish, it will soak right in, and you will basically stain the whole thing and end up with brown blobs that aren’t easy to manipulate or remove.
The clear wax acts as a barrier to prevent the dark wax from soaking in too fast, so you can remove what antique wax you don’t want, and leave it in the places you do want it.
How to Apply Waverly Antique Wax
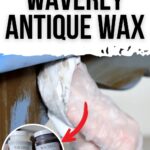
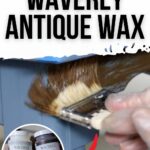
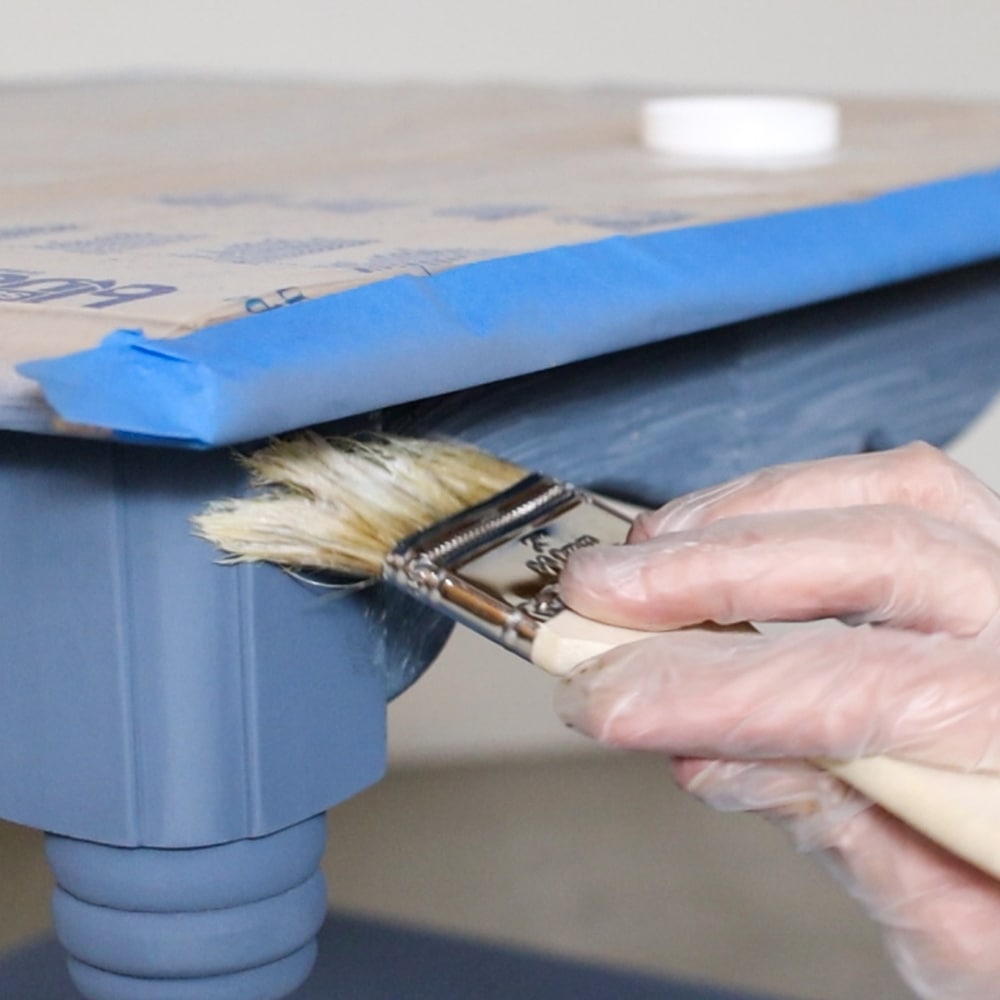
Once there is a very thin coat of clear wax on your paint, use another wax brush or chip brush to apply the Waverly antique wax in small sections.

I like to brush it into crevices, corners, and any details first, then I lightly brush the small amount that remains on my brush in the center of the area I’m working in. That way, I will have more in the details of the piece and less brown wax all over the rest of the finish.
I personally like the look of antique wax mostly staying in the corners and crevices, like dirt build up would over the years. And then the middle areas have just a light coat of it.
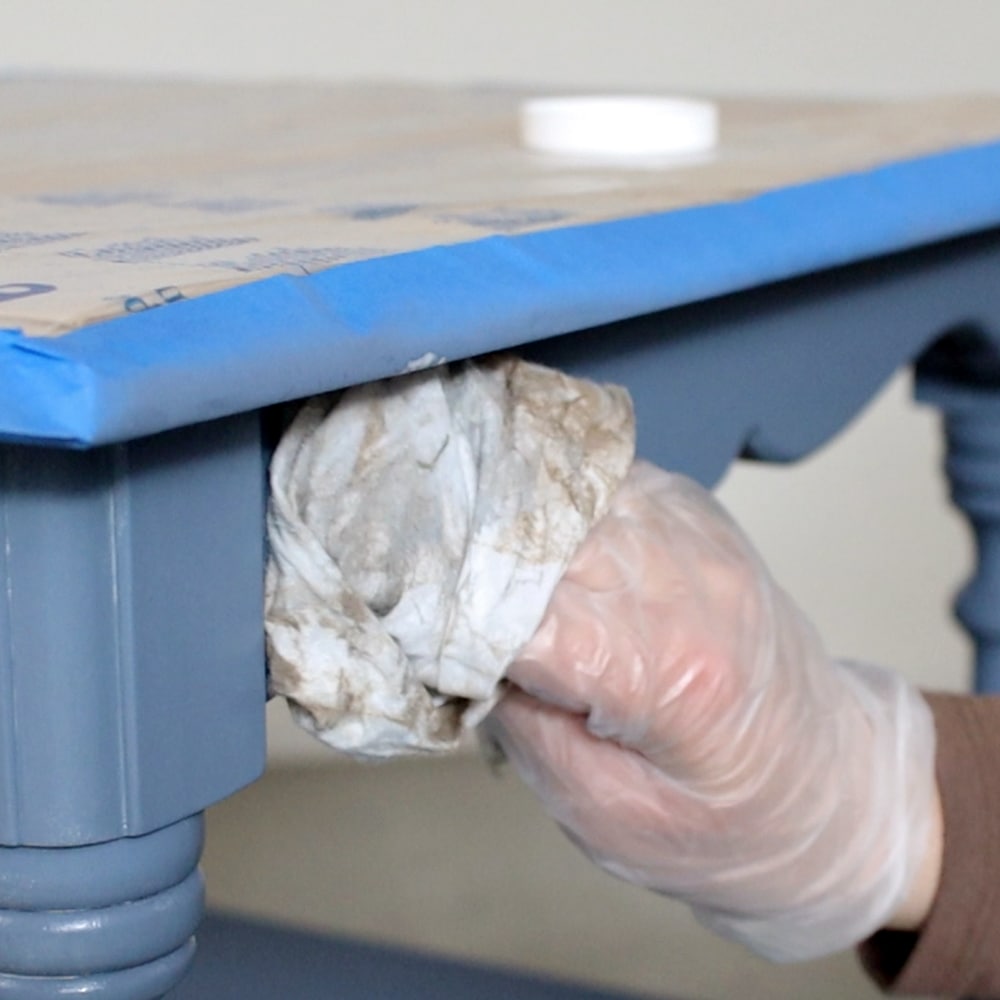
Then use the lint free rag to remove the excess. At this point, you can spread the wax around more, and you can even use some more clear wax to remove the antique wax if there is too much.
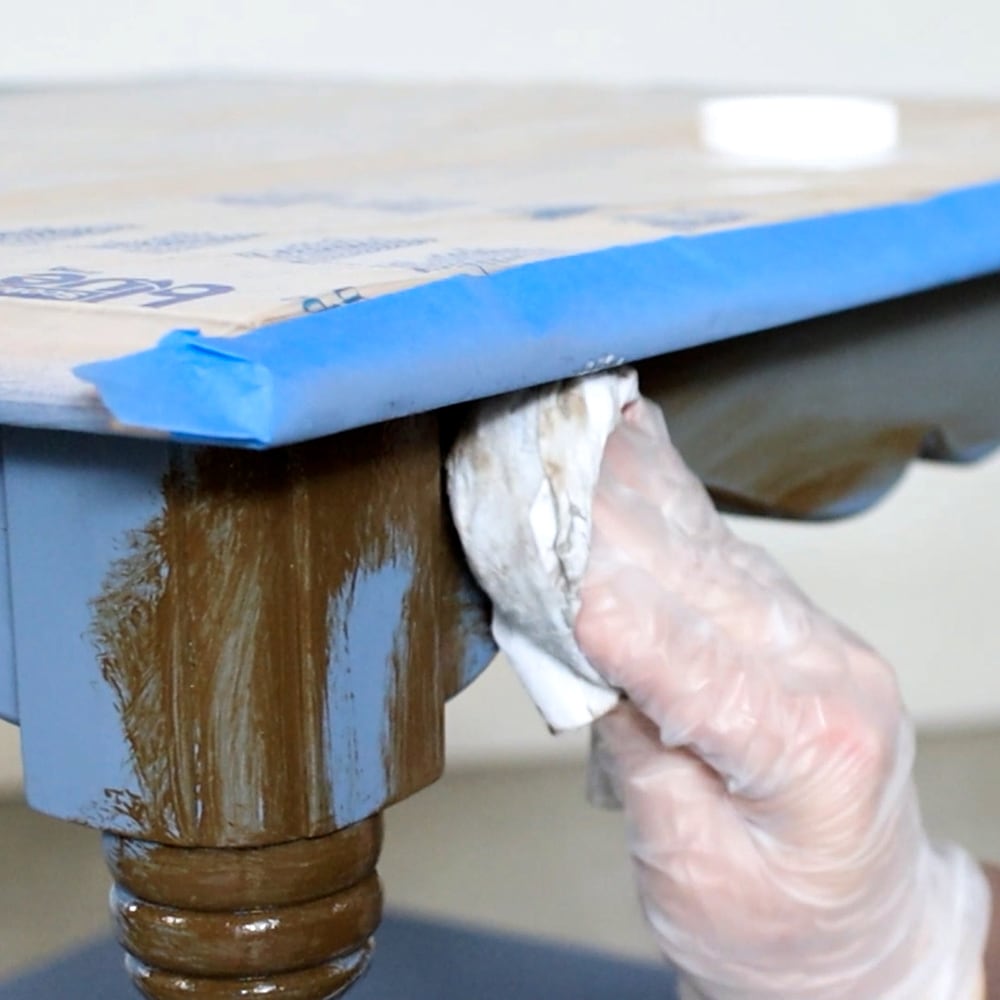
Use this time to manipulate the antique wax to look the way that you want it.
Completing the Process
Next, it is time to let the project dry. Depending on the climate where you are working, it can take anywhere from 2-4 days for the wax to completely dry and not feel tacky.
Then it will take about a month for it to cure. If you left behind thick layers, it will take even longer to dry and cure. Once dry, you’ll be left with a beautiful matte finish. Over time, reapply the wax if it looks like it is wearing off.
And there you have it! Another option is to use glaze instead. Glaze will dry and cure faster than wax will. If you want to see if it’s right for you, here’s how to glaze over chalk paint. We also compare glaze vs wax over chalk paint in this post.

And one more bit of advice, wax isn’t the only type of topcoat you can use over chalk paint. I personally like to use waterbased polyurethane because it dries quicker and is more durable. Check out our wax vs polyurethane post to see how they compare, and if you might want to use polyurethane instead.

How to Use Waverly Antique Wax
Do you want to give your painted furniture an antique look? Here's our step by step guide on how to use Waverly Antique Wax.
Tools
Instructions
- Prepare the surface before applying chalk paint. Let the chalk paint dry for 24 hours so the wax doesn't rub it off.
- Using a chip brush or wax brush, apply a thin coat of clear wax.
- Use a lint free rag to wipe off any excess wax from the surface.
- Apply antique wax using another chip brush or wax brush, and use a lint free rag to remove excess antique wax.
- Let it dry for 2-4 days, depending on the climate and how thick the layer of wax is.
Recommended Products
As an Amazon Associate and member of other affiliate programs, I earn from qualifying purchases.

More Chalk painting tips
- 5 Chalk Paint Problems and How to Fix Them
- Wax For Chalk Paint
- The Truth About Using Chalk Paint for Furniture
- Chalk Painted End Tables
- Waverly Clear Wax Review
Follow us on YouTube to get more tips for painting furniture. Or share your project with us on our Facebook Group and be part of our community. See you there!
If using glaze on chalk paint can you still spray on a satin water based poly on top to seal it?
yep you can. I would recommend it actually.
No picture of before-after?