Repainting Furniture from the Thrift Store | Flat File Cabinet Makeover
Repainting furniture that is already painted doesn’t have to be a big project. Check out how this flat file cabinet makeover where we repainted it into a stunning storage cabinet! If you’re on a budget, this is truly one of the best furniture makeover ideas to try.
With a fresh coat of color and some creative touches, you can transform any piece from the thrift store into a unique and stylish addition to your home decor. Let’s dive in!
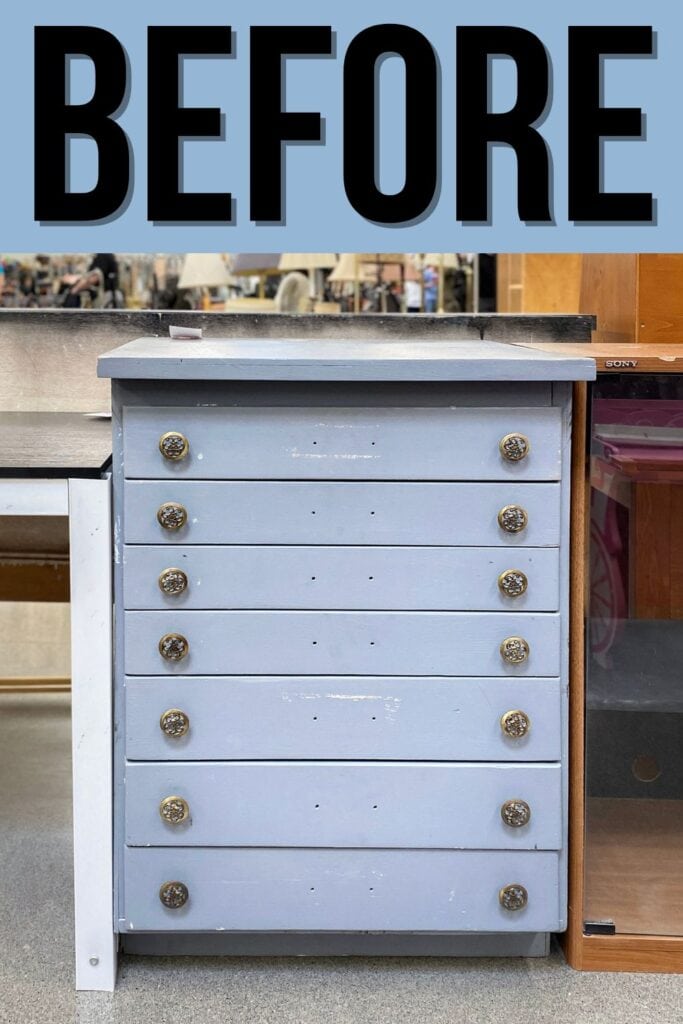
Looky at what we found at the thrift store! A homemade little flat file cabinet… that was looking outdated and… plain blah. And it was only $30! So, we brought it home and gave it a makeover by repainting it!

Yes, even if a piece is already painted, you can still transform it into something entirely new. Especially if you want it in a color that fits your home and style better. Plus, you can save a ton of money compared to buying new.
In this flat file cabinet makeover, we’ll show you how this grey thrift find turned into a beautiful, sleek black piece. Keep reading for the detailed steps, along with tips and tricks to make your repainting project a success!

Supplies Used for this flat file cabinet makeover
As an Amazon Associate, I earn from qualifying purchases. I also may earn from other qualifying purchases with other companies or get free product to review and use. All opinions are my own.
- Circular Saw
- Miter Saw
- 1×4” Pine Wood and Scrap Wood
- Brad Nailer (Battery Powered)
- KwikWood
- Krud Kutter
- Wood Filler
- SurfPrep Sander (Get 10% off with code RAY10)
- 220 Grit Sandpaper
- Shop Vac
- BIN Shellac Based Primer (Tinted Grey)
- Mohair Roller
- Fusion Mineral Paint in Coal
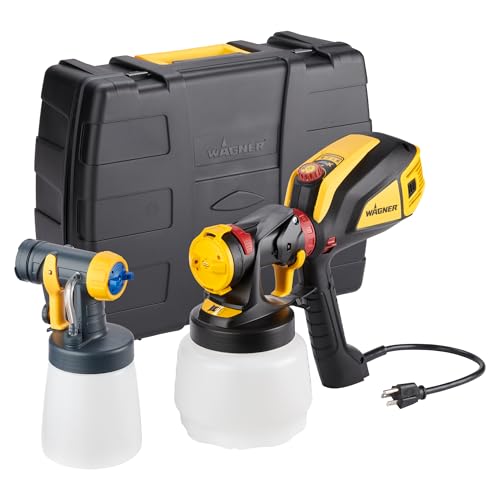
- Wagner Paint Sprayer
- Paint Filters
- Respirator
- Fine Grit Foam Sanding Pads (Get 10% off with code RAY10)
- Fusion’s Beeswax Topcoat
- Wax Brush
- Kreg Cabinet Hardware Jig
- Kreg Clamp
Grab our list of 10 must have painting furniture supplies, too, so you’re ready for any DIY project!
Before I bought this piece, I checked to make sure that all of the drawers worked well, and I scratched at it to make sure the finish was sticking well… because I didn’t want to strip it all off.
Reshape the Cabinet
I hated how far out the top stuck out on the front and then how there was another overhang on the very bottom. It just looked too much like a built-in workbench to me.
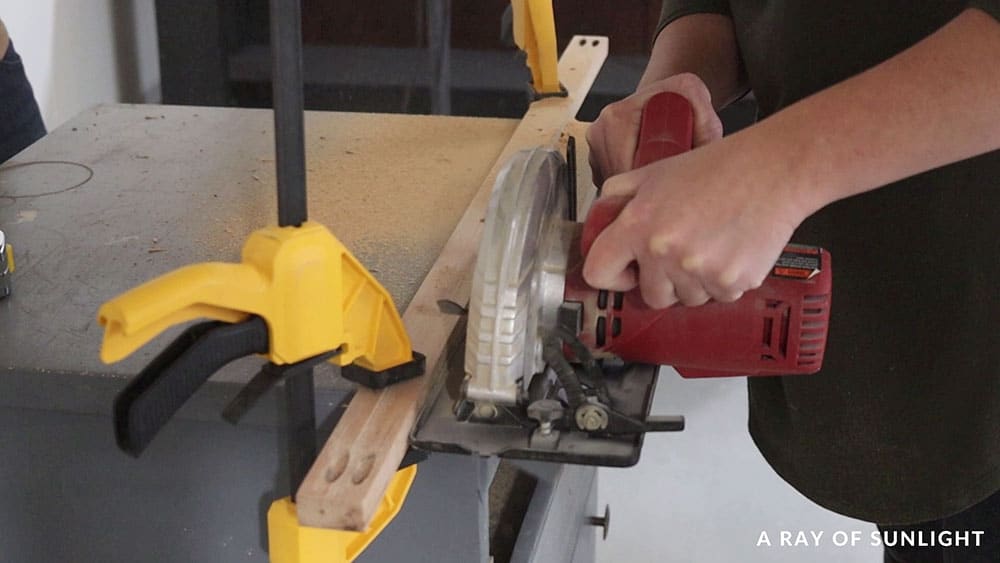
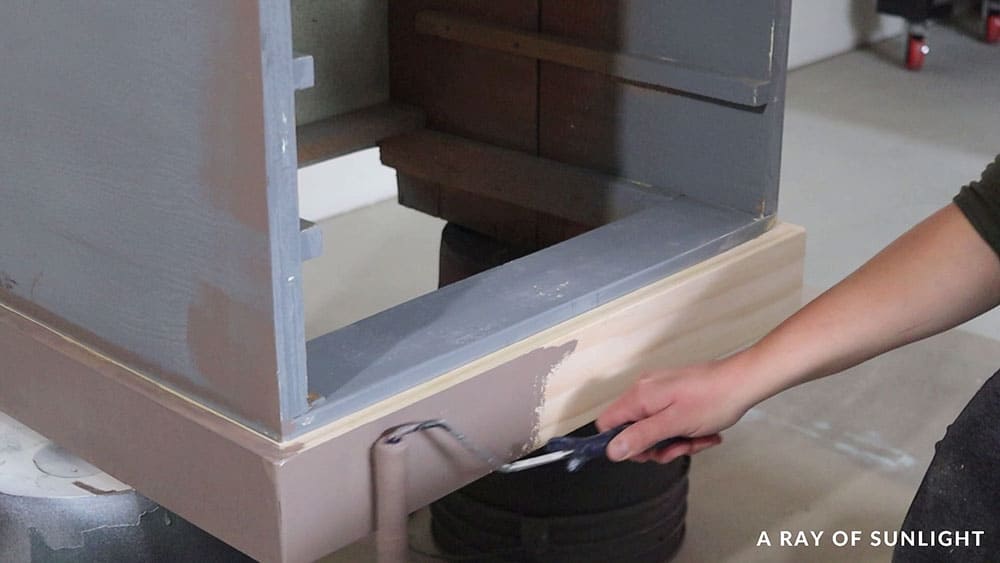
So I cut the top off with a circular saw and clamped a piece of wood on as a guide to help me cut straight. Then, I cut wood to cover up the overhang on the bottom. It all fit almost perfectly, which is so amazing for me with these miter cuts.
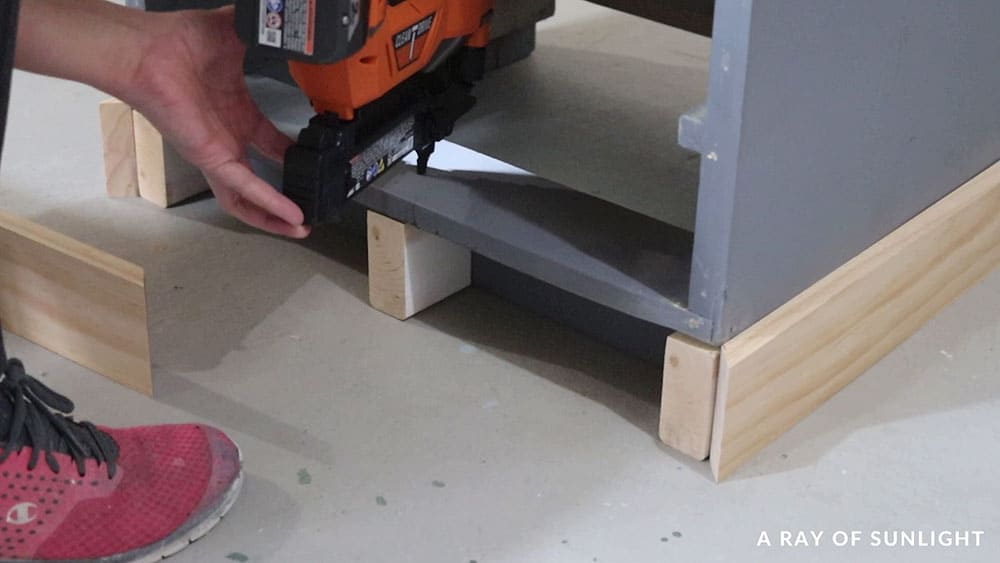
I also cut some 2×4” supports to support the front trim and give me something to attach it to, and then I nailed the trim on with my brad nailer.
Prep for Flat File Cabinet Makeover
On one side of the bottom of the piece, the corner didn’t go all the way down past the trim, so I filled that in with some KwikWood. I shaped it the best I could so that I wouldn’t need to sand it much after it dried.
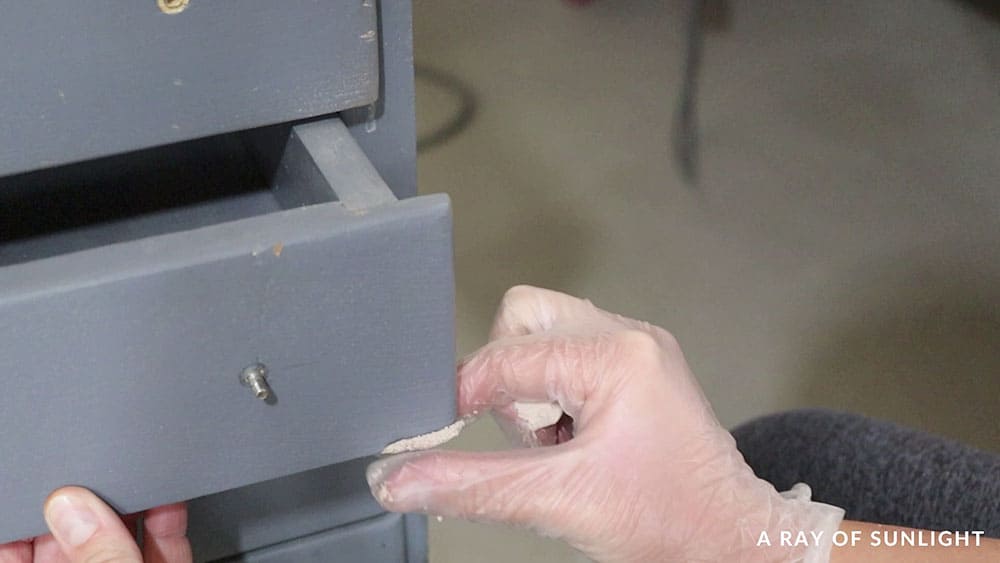
And then I filled in those middle holes, as well as a corner on one of the drawers that was chipped a little bit. Learn how to use KwikWood here if it’s your first time using it!
Then, I realized that I hadn’t cleaned everything yet, so I cleaned it all off with an old damp rag and some Krud Kutter… you know this stuff is my favorite. Haha, then I filled in some other holes and cracks with wood filler, and I waited for everything to dry.
Learn more about how I prepare furniture for painting here and how to clean furniture before painting here!
Sand Wood Fillers and New Wood
About an hour later, I lightly sanded everything with 220 grit sandpaper. Mostly focusing on the wood filler and the Kwikwood. But also lightly scuff sanding to help the new paint stick. Learn more about the best sandpaper for furniture painting here.
I usually always do at least a scuff sand for the best adhesion, but if you really, really hate sanding, then you can use Heirloom Traditions Paint, this all-in-one product we used on this black cedar chest in this post on painting furniture black.
Here’s my Heirloom Traditions All In One Paint review so you can learn more about it and check out more best all-in-one paints for furniture here.
I also sanded the edges of the new wood to make it not look brand new. Haha, then I cleaned up all of the dust with my shop vac. Learn more about the importance of sanding before painting furniture here. And here’s how to clean wood after sanding for more tips.
TIP: Test the paint before going all in. A couple of hours before, I applied a sample of some of the Fusion Mineral on the back, so I scratched at it before going any further. It didn’t scratch off at all! And this back wasn’t scuff sanded.
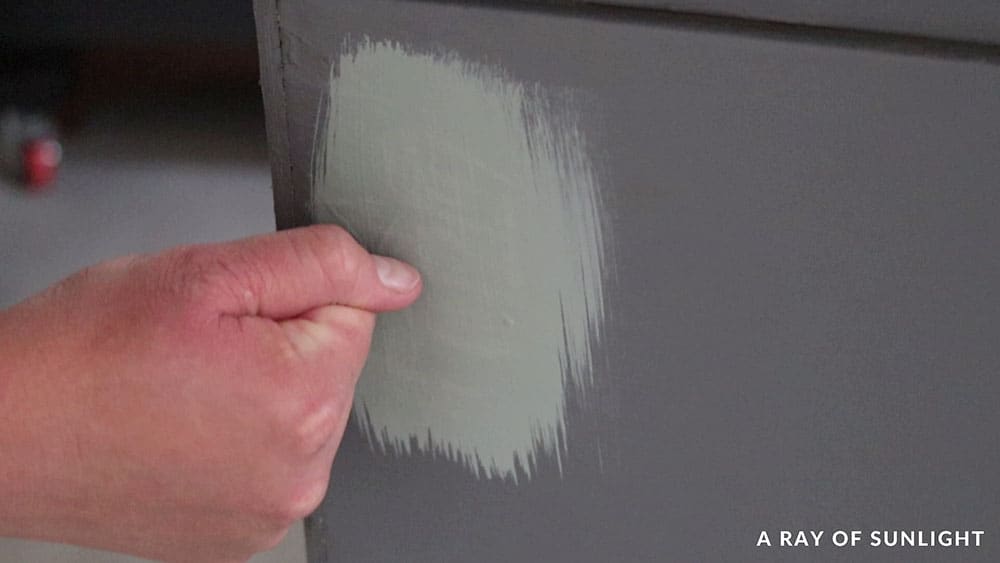
So I could move forward with the project knowing that the finish should all stick well.
(Fusion Mineral Paint doesn’t stick to everything; I had to prime before using Fusion for painting IKEA furniture.)
Prime Flat File Cabinet
And then I rolled on some tinted BIN shellac primer, with a Sherwin Williams Mohair roller that has a really thin nap. Check out the best rollers for painting furniture here.
(I primed the wood to prevent bleedthrough stains. Learn all about how to stop stains from coming through paint in this post.) I mostly primed the brand new wood.
TIP: Roll it on THIN. (Don’t get much primer on the roller, and then roll it all out.) Rolling it on thin leaves less texture behind!
But then I got carried away and started priming some of the rest of the piece. Haha, I don’t know why… But hey, it actually worked really well, and I didn’t even feel the need to sand down the texture before I applied the new color!
Read this post to learn more about the best primers for painting furniture, and how to choose the right one for your project.
Painting a File Cabinet Black
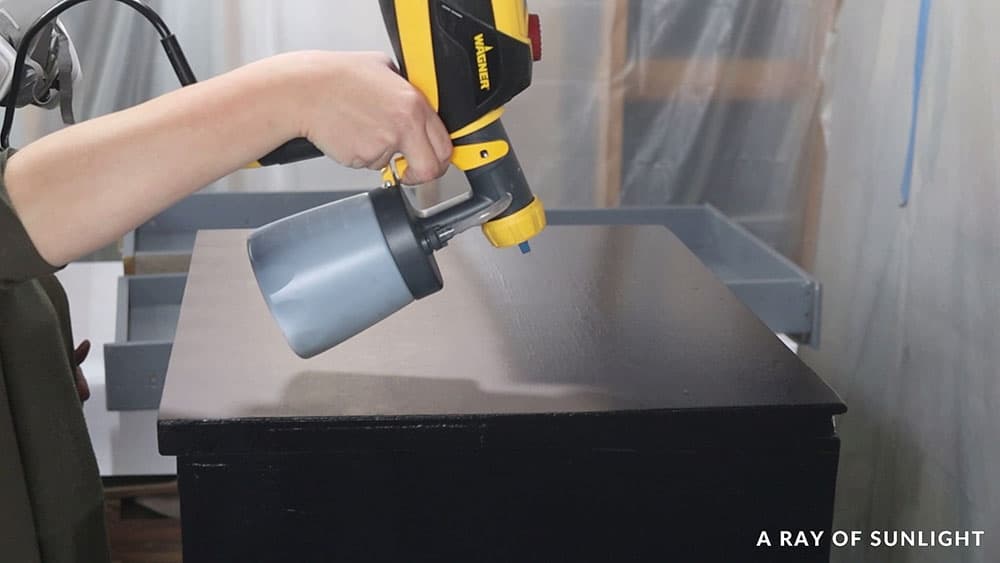
Alright, time for the new color. I used Fusion Mineral Paint in the color Coal black, and I put it in what’s becoming my very favorite budget friendly paint sprayer. If you like neutral shades like this, here’s our list of neutral furniture paint colors!
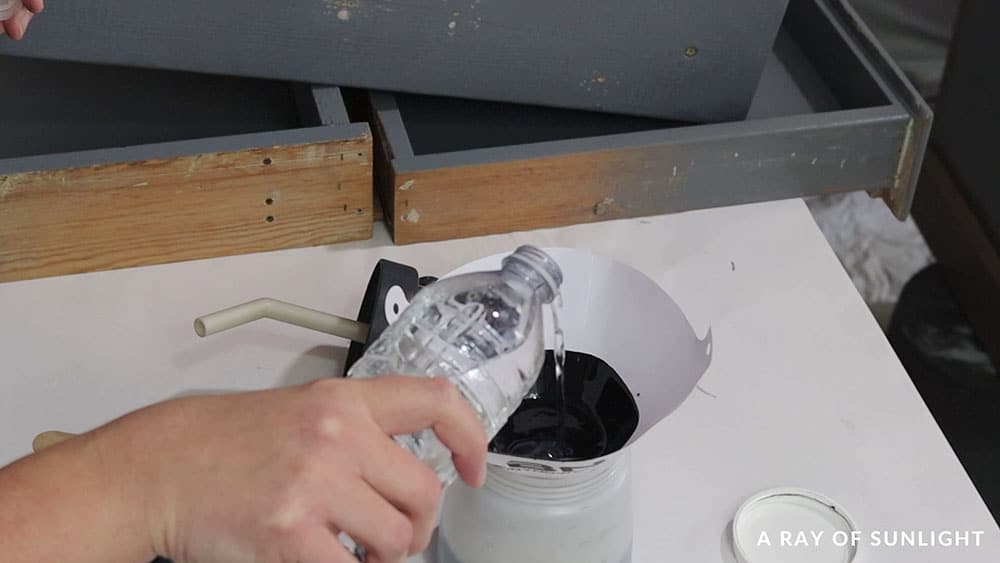
I put the paint through a fine mesh filter to make sure there wasn’t any dried or random debris in it that could clog the sprayer. And then I added a little bit of water like I always do to thin it out so it would leave a better looking finish behind. Learn more about how to thin paint for Wagner FLEXiO sprayer here!
Would you like to save this?
I tested the spray before I started on my little cabinet, and then I sprayed everything. The application went on SO well. I’ve honestly had some issues in the past with spraying Fusion, but this was a dream!
Since the insides of the drawers were also previously grey, I set them all out so I could spray the insides with the same black color.
Or you can also line the insides to give them a personal touch. Check out the best material to line dresser drawers here. We also have a guide on how to remove contact paper from wood if you need to update or replace your liner.
Oh, also, I chose this paint this time because I wanted an almost matte finish. I didn’t want it to have much of a sheen because I think the matte looks better on these old homemade pieces.
And Fusion dries to a very durable matte finish. Check out this Fusion Mineral Paint review and see my personal experience with it. We also have a Fusion Mineral Paint VS Heirloom Traditions Paint comparison if you’re considering the two brands.


I let the coat dry for a couple of hours, and then I sanded it with a fine grit foam pad to make it feel smoother to the touch. Then, I cleaned off all of the dust and sprayed a second coat of paint.
A pint of Fusion was barely enough to cover this whole piece with 2 coats… most of the drawers only got one coat inside, and then some touch ups with a brush where it needed some more coverage. Here are the best paint brushes for painting furniture you can use.
Topcoat Painted Cabinet (Optional)
So after that second coat dried, I brushed a coat of Fusion’s Beeswax all over, just to give the matte finish a tiny bit of sheen, so it won’t get dirty looking when you touch it. Haha
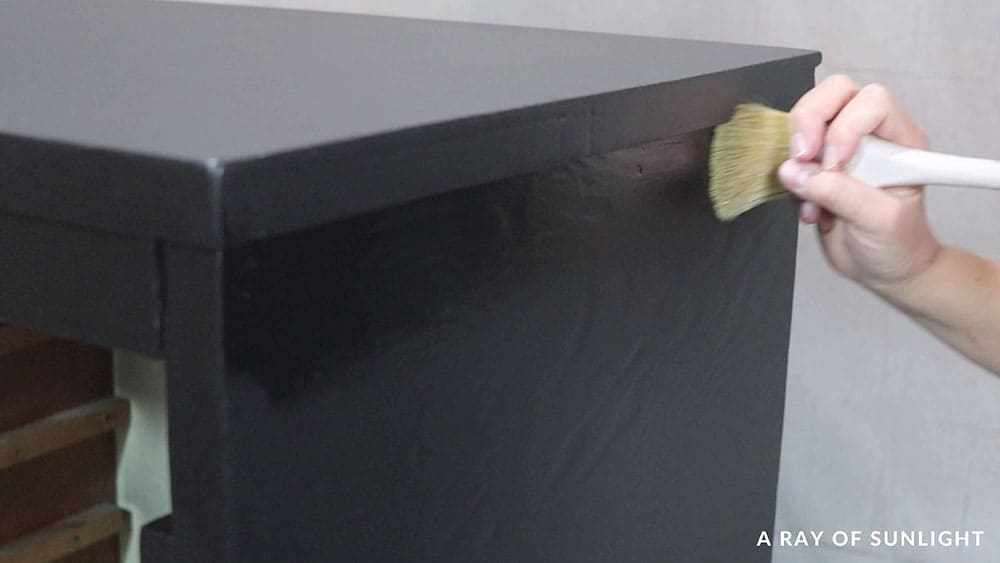
TIP: While that wax was soaking in, I rubbed some paper all over it to smooth out the nubs and just make the finish feel smoother. It feels SO smooth and soft now!
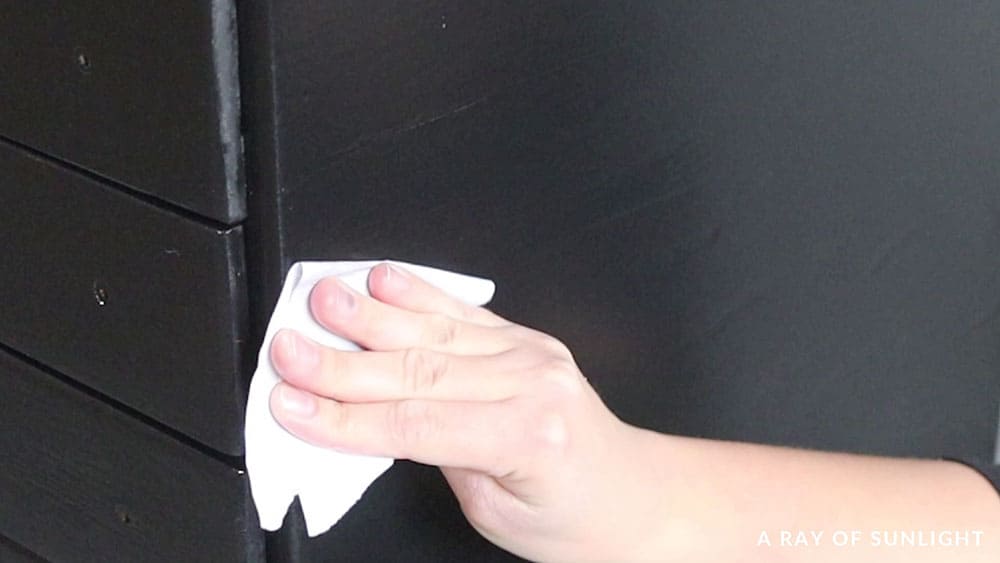
An hour or so later, I wiped off the excess wax with a lint free rag. You can check out more of the best topcoats for painting furniture here.
Add Flat File Cabinet Hardware
To finish it off, I put new hardware on all 7 drawers. I used this Kreg hardware jig to help me put the card catalog labels on… without wanting to pull my hair out. Haha
How to Use the Kreg Cabinet Hardware Jig
Basically, I marked where the center was on the drawer by making a mark on a piece of Frog Tape. And I adjusted the holes so they were the right distance for these label holder’s holes.
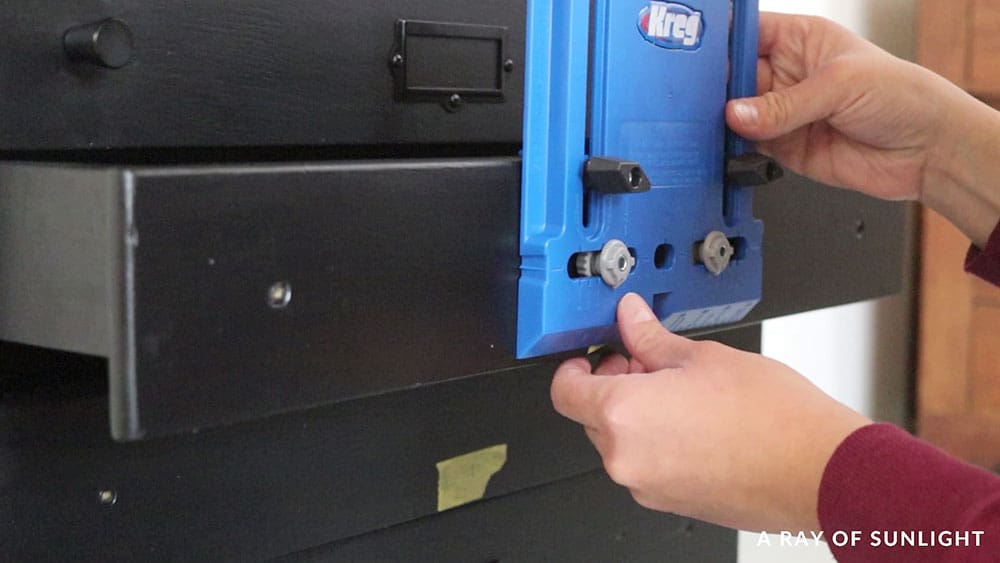
Then I measured how far down the center was, so I could put the back rest thing on the jig to that measurement. On this drawer, the center of the drawers was 1 ¾” down from the top.
Then, I lined the jig up with the center of the drawer and used my Kreg clamp to clamp the jig in place.
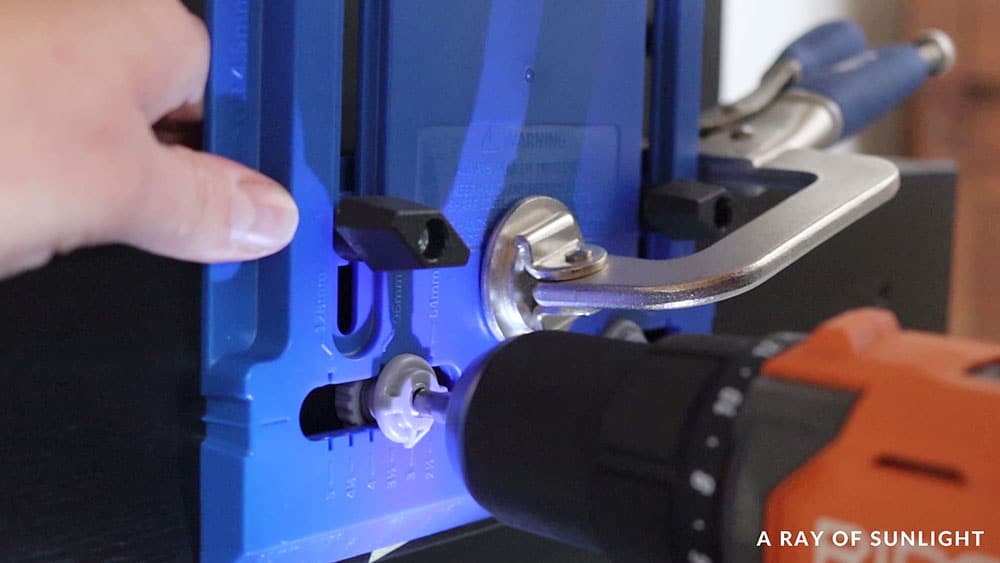
And then, I drilled the holes and screwed the label holder in place. And I put more boring black knobs on because I’m boring and like black on black. Haha
Oh, and yeah, the frog tape pulled off the wax, so I went back with the wax rag and just put more wax on those areas. And then, I let the wax dry for a couple of days so it wouldn’t leave marks every time I touched it.
Watch the whole process on our YouTube video below:
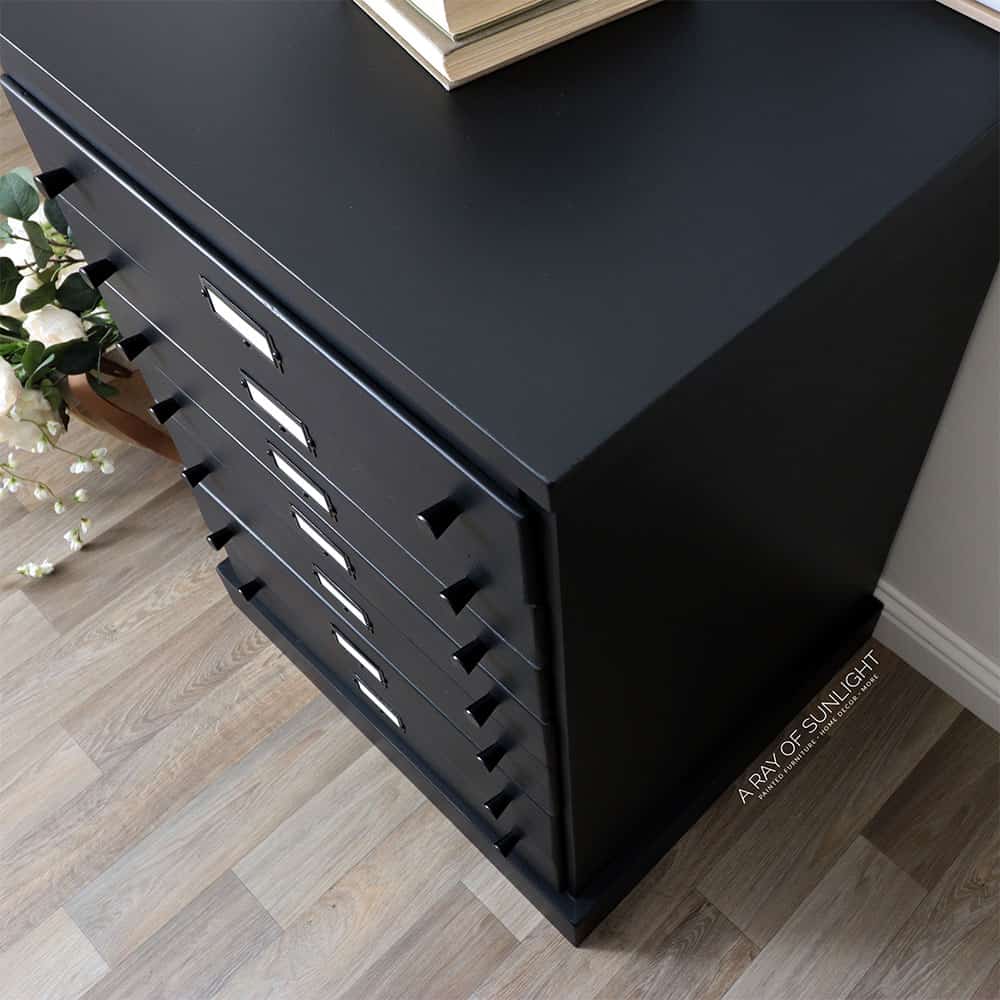
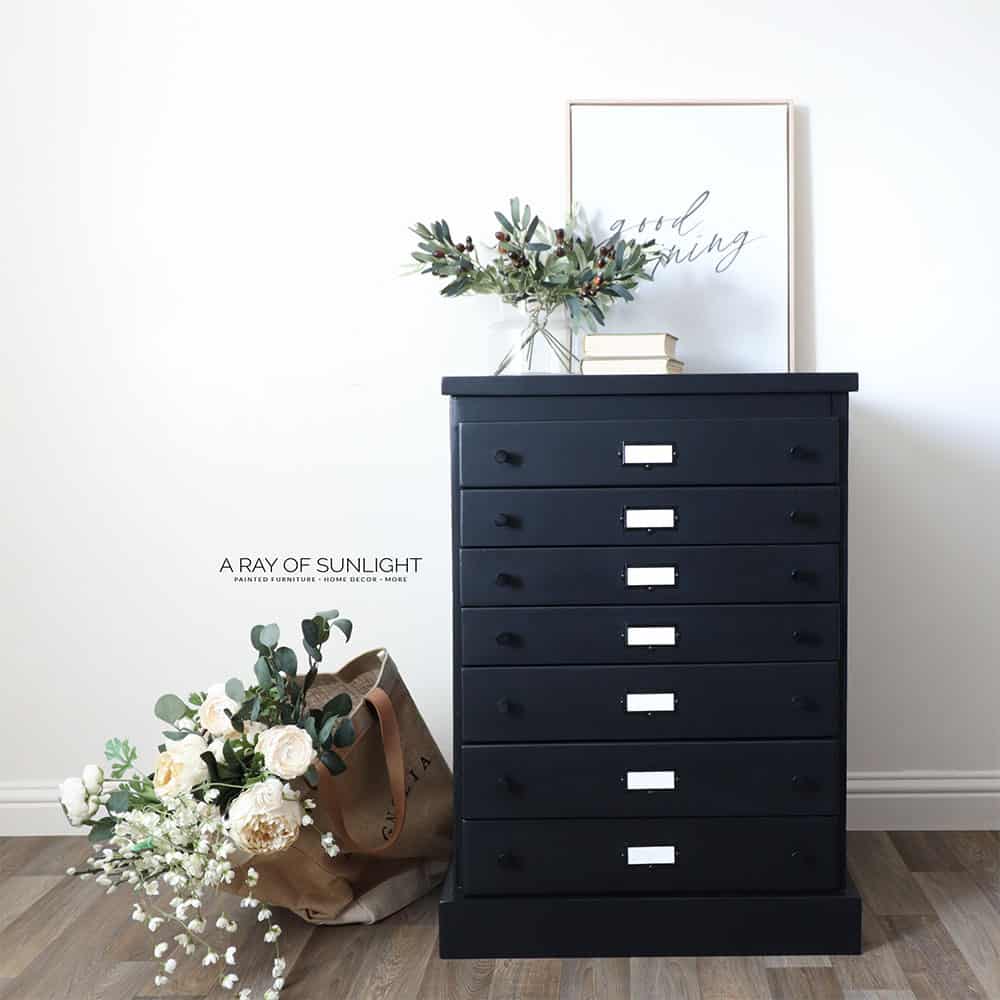
And here’s what it looks like now! For more similar projects, here’s our list of repainting dresser ideas. Check out more tips and tricks for repainting furniture here.
More Before and After Makeovers
See All >
Click any of these “before” photos below to view the “after” of that makeover.


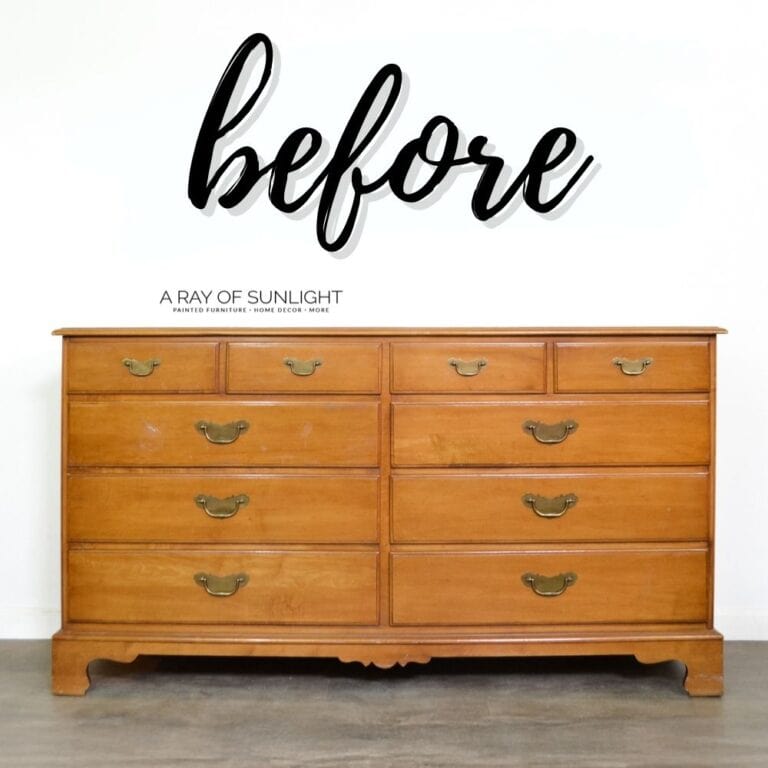
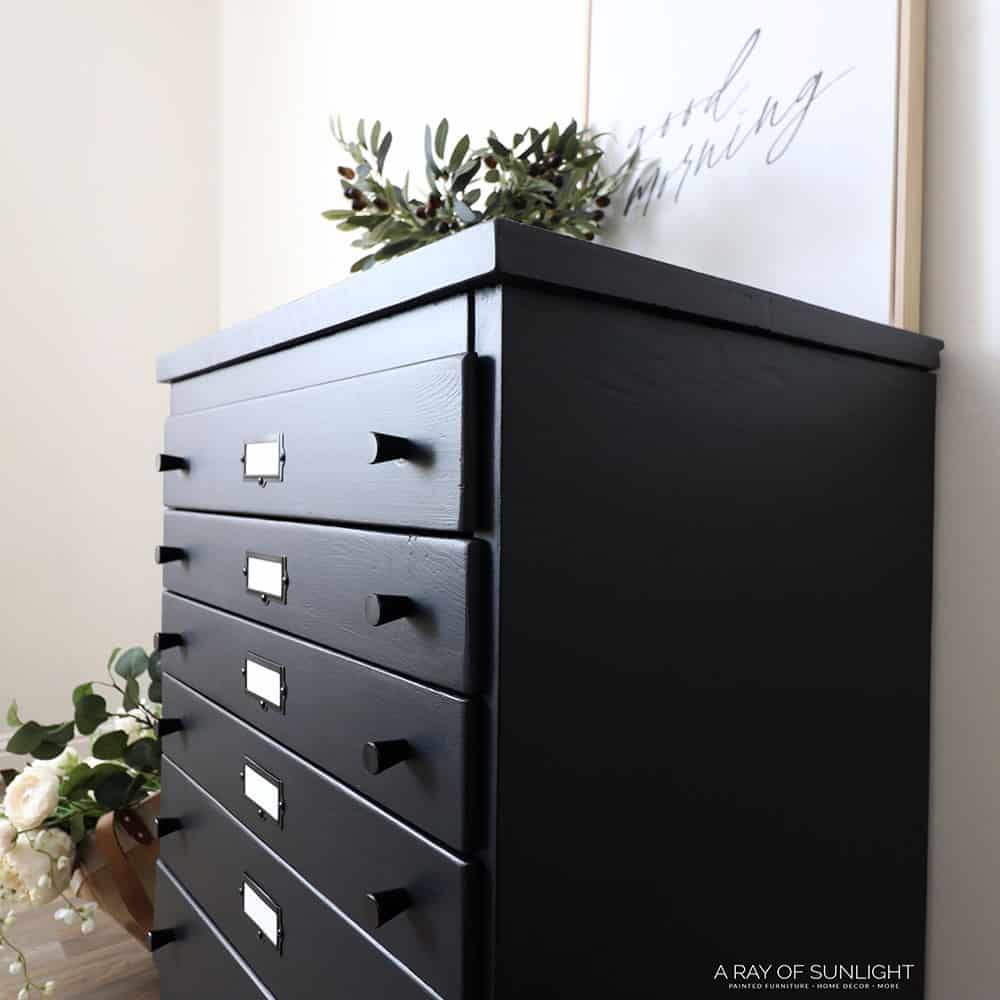
The way it was before… it looked like it belonged in a garage workshop. Now, I wish I had a space for it in my home as an accent table or some storage in my office.
Here are 30 amazing faux card catalog makeovers you should check out. Transform the bookshelf in your home or office with these painted bookshelf ideas.
File Cabinet Makeover Ideas
You can use a brighter color instead of black, like we did here. You can use white for a clean, crisp look, or try other light shades to add a bit of color while keeping it subtle. You can also use these bold furniture paint colors if you want to make more of a statement.
As we mentioned earlier, you can line the inside of the drawers or even other parts with pretty paper or fabric to add a fun pop of color and pattern. It’s an easy way to make your piece more personal and unique. Plus, there are so many designs and prints to choose from to match your style!
Changing the hardware can also make a big difference in the overall look. You can swap out boring knobs for more decorative ones or use leather straps or rope handles for a rustic touch. Here’s how to change hardware on a dresser to guide you if you want to try it out.
Well, that wraps up my flat file cabinet makeover! From a thrift store find to a cool, functional piece – we hope you enjoyed following along and that this inspires you to give repainting and revamping old pieces a try!


Repainting Furniture from the Thrift Store | Flat File Cabinet Makeover
Here are the steps for repainting furniture and giving your old piece a new look!
Materials
Tools
Instructions
- Reshape the cabinet to your liking.
- Prep the cabinet for paint by fixing any damages and filling in holes with wood filler. Clean it with a degreaser then sand the dried wood filler flush to the wood. Scuff sand the entire cabinet as well.
- Prime cabinet with clear shellac. Roll it on thin so there's less texture.
- Filter paint and add a little bit of water to thin it. Spray paint onto the cabinet and let the paint dry for a couple of hours. then I sanded it with a fine-grit foam pad to make it feel smoother to the touch. Then clean off all of the dust and spray a second coat of paint.
- After the second coat of paint dries, topcoat by brushing a coat of Fusion’s Beeswax all over the cabinet. An hour or so later, wipe off the excess wax with a lint-free rag.
- Add new hardware to your repainted furniture!
Recommended Products
As an Amazon Associate and member of other affiliate programs, I earn from qualifying purchases.

More Black Painted Furniture Makeovers
- Paint Furniture Black
- Best Black Furniture Paint
- Beyond Paint Review
- Painting Oak Furniture Black
- DIY Distressed Painted Dresser
Follow us on YouTube to get more tips for painting furniture. Or share your project with us on our Facebook Group and be part of our community. See you there!

Yes, i would have grabbed that up too but i don’t have the tools to make it look as good as you did. I love it!
Ahh thanks!! So glad you love it!
Looks great! I love how thorough you are with explaining your work and your decisions.
Aww thanks so much! This is so sweet!